

Install Steam
login
|
language
简体中文 (Simplified Chinese)
繁體中文 (Traditional Chinese)
日本語 (Japanese)
한국어 (Korean)
ไทย (Thai)
Български (Bulgarian)
Čeština (Czech)
Dansk (Danish)
Deutsch (German)
Español - España (Spanish - Spain)
Español - Latinoamérica (Spanish - Latin America)
Ελληνικά (Greek)
Français (French)
Italiano (Italian)
Bahasa Indonesia (Indonesian)
Magyar (Hungarian)
Nederlands (Dutch)
Norsk (Norwegian)
Polski (Polish)
Português (Portuguese - Portugal)
Português - Brasil (Portuguese - Brazil)
Română (Romanian)
Русский (Russian)
Suomi (Finnish)
Svenska (Swedish)
Türkçe (Turkish)
Tiếng Việt (Vietnamese)
Українська (Ukrainian)
Report a translation problem


![Wallpaper (1).jpg]](https://images.steamusercontent.com/ugc/2319984511055016344/9B0EFC2EAA7EA7EBE981F250DE7E4CAB1E3DB9C3/ "Wallpaper (1).jpg]")
![Grid (1).jpg]](https://images.steamusercontent.com/ugc/2319984511054909229/A0B0E149F7A2FD79C102B5ADECD477C65B1FFB60/ "Grid (1).jpg]")
![Nostalgic for the 80s.jpg]](https://images.steamusercontent.com/ugc/2313224671878228496/31949646A3CB17928DA5424A5BC14A42C817C991/ "Nostalgic for the 80s.jpg]")
![Whip It Good.jpg]](https://images.steamusercontent.com/ugc/2313224671878228502/A00723CE50582AB365E6E0B5C5ADE24097884CDA/ "Whip It Good.jpg]")
![A Wise Investment.jpg]](https://images.steamusercontent.com/ugc/2313224671878228505/4512E1B5936DD9E994DB77744863F5812E5005AC/ "A Wise Investment.jpg]")
![Who Ya Gonna Call.jpg]](https://images.steamusercontent.com/ugc/2313224671878228510/E7577403EA443212AD03664A6AB5BC231920E2E0/ "Who Ya Gonna Call.jpg]")
![Telephone Card - Kamurocho (1).png]](https://images.steamusercontent.com/ugc/2421319941031311229/A84AF8D00BBD8E94391A92CA519EAD1E5E4F099E/ "Telephone Card - Kamurocho (1).png]")
![Say You Wanna Dance.jpg]](https://images.steamusercontent.com/ugc/2313224671878228643/EF0079C3A7A8519D7E03EC5226D64CB8FF677B47/ "Say You Wanna Dance.jpg]")
![Tell Me a Story.jpg]](https://images.steamusercontent.com/ugc/2313224671878228521/5325573B3CF7CC794DCAB3AC4B90CB59B2948476/ "Tell Me a Story.jpg]")
![Telephone Card - Tokyo Pier (1).png]](https://images.steamusercontent.com/ugc/2421320026578614447/7DE80D115E0BF2214004611B2A326E822551BBC0/ "Telephone Card - Tokyo Pier (1).png]")
![Telephone Card - Kamurocho (2).png]](https://images.steamusercontent.com/ugc/2421319941031771438/947492448AA5226E9DF0B305EE5DF19702E41F15/ "Telephone Card - Kamurocho (2).png]")
![Mr. Shakedown Takedown.jpg]](https://images.steamusercontent.com/ugc/2313224671878228559/76E940244102423163A784BC816CFA1BA59B22BD/ "Mr. Shakedown Takedown.jpg]")
![Lucky Star.jpg]](https://images.steamusercontent.com/ugc/2313224671878228783/69EC4718985B96E7883CCD18F96DE5681ABE88CC/ "Lucky Star.jpg]")
![...I Did It for the Achievement.jpg]](https://images.steamusercontent.com/ugc/2313224671878228533/AB167C8EB0D93AD3E0381797D7F1B835D0DB8AD4/ "...I Did It for the Achievement.jpg]")
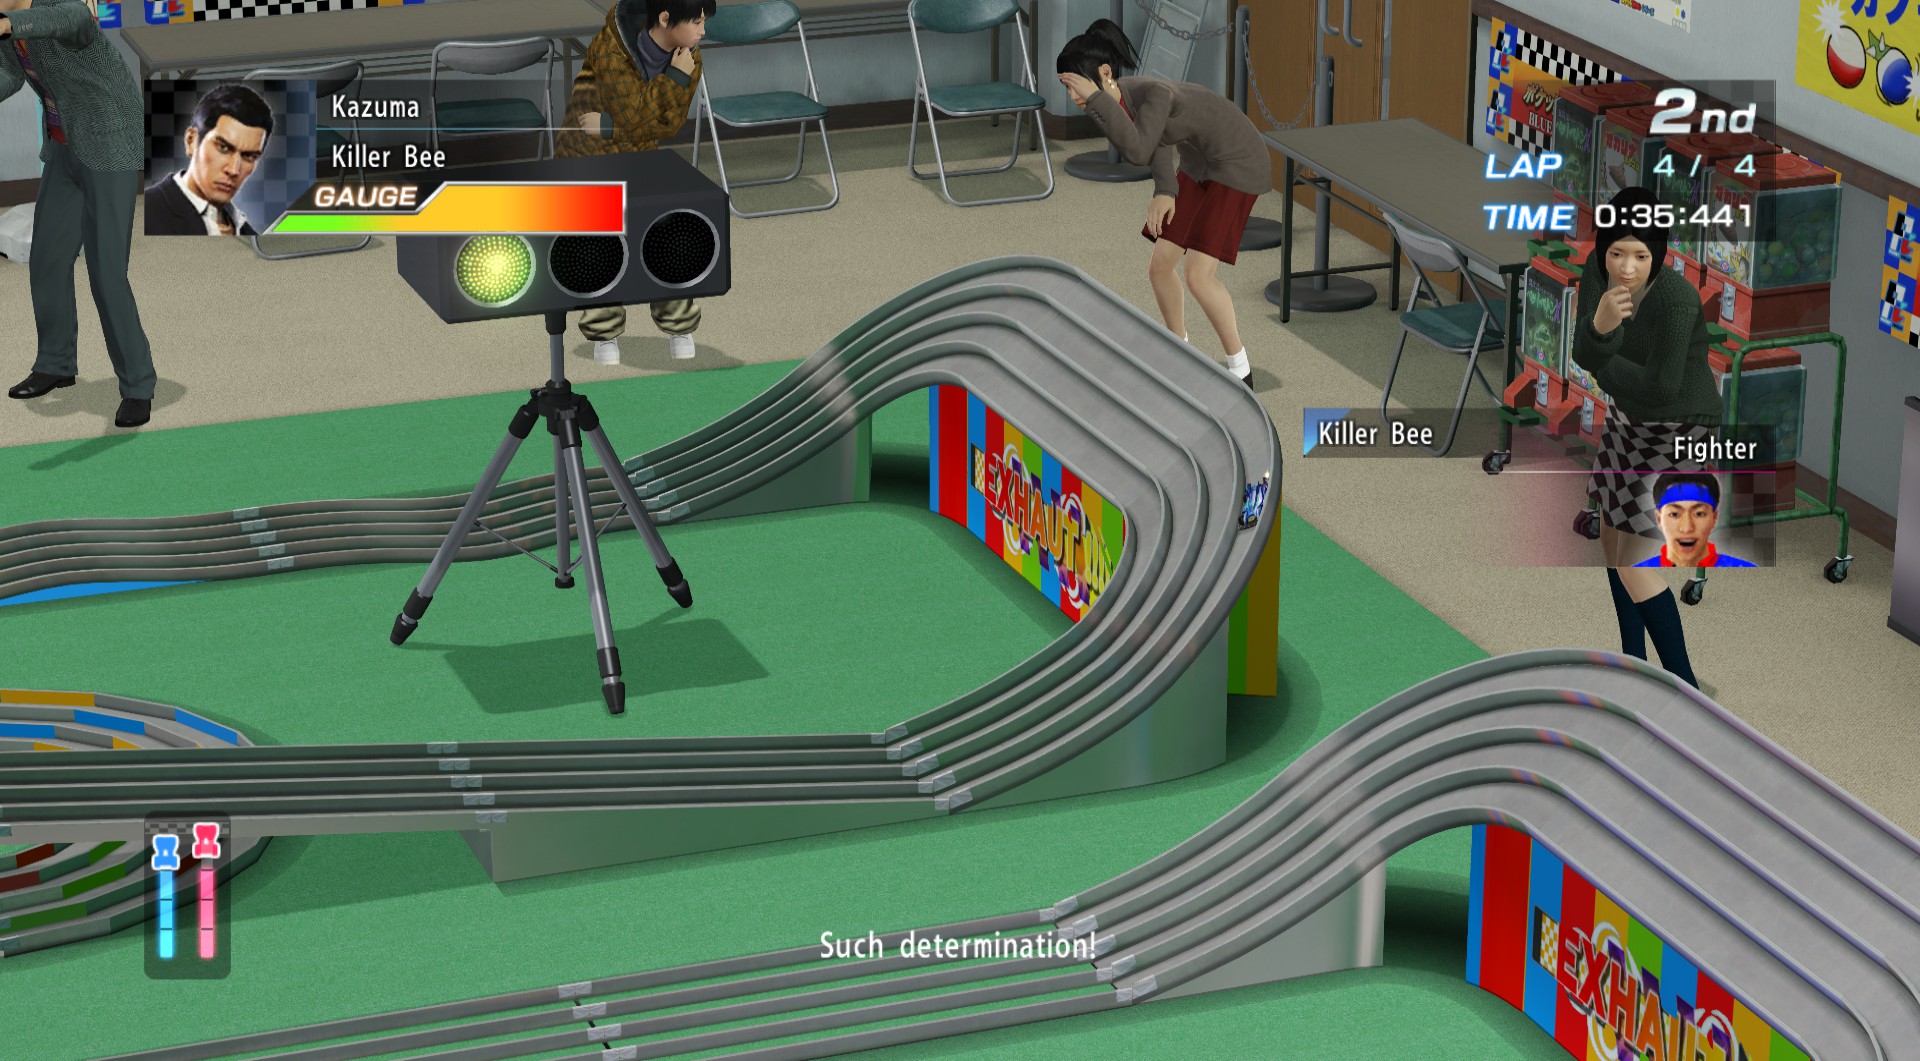
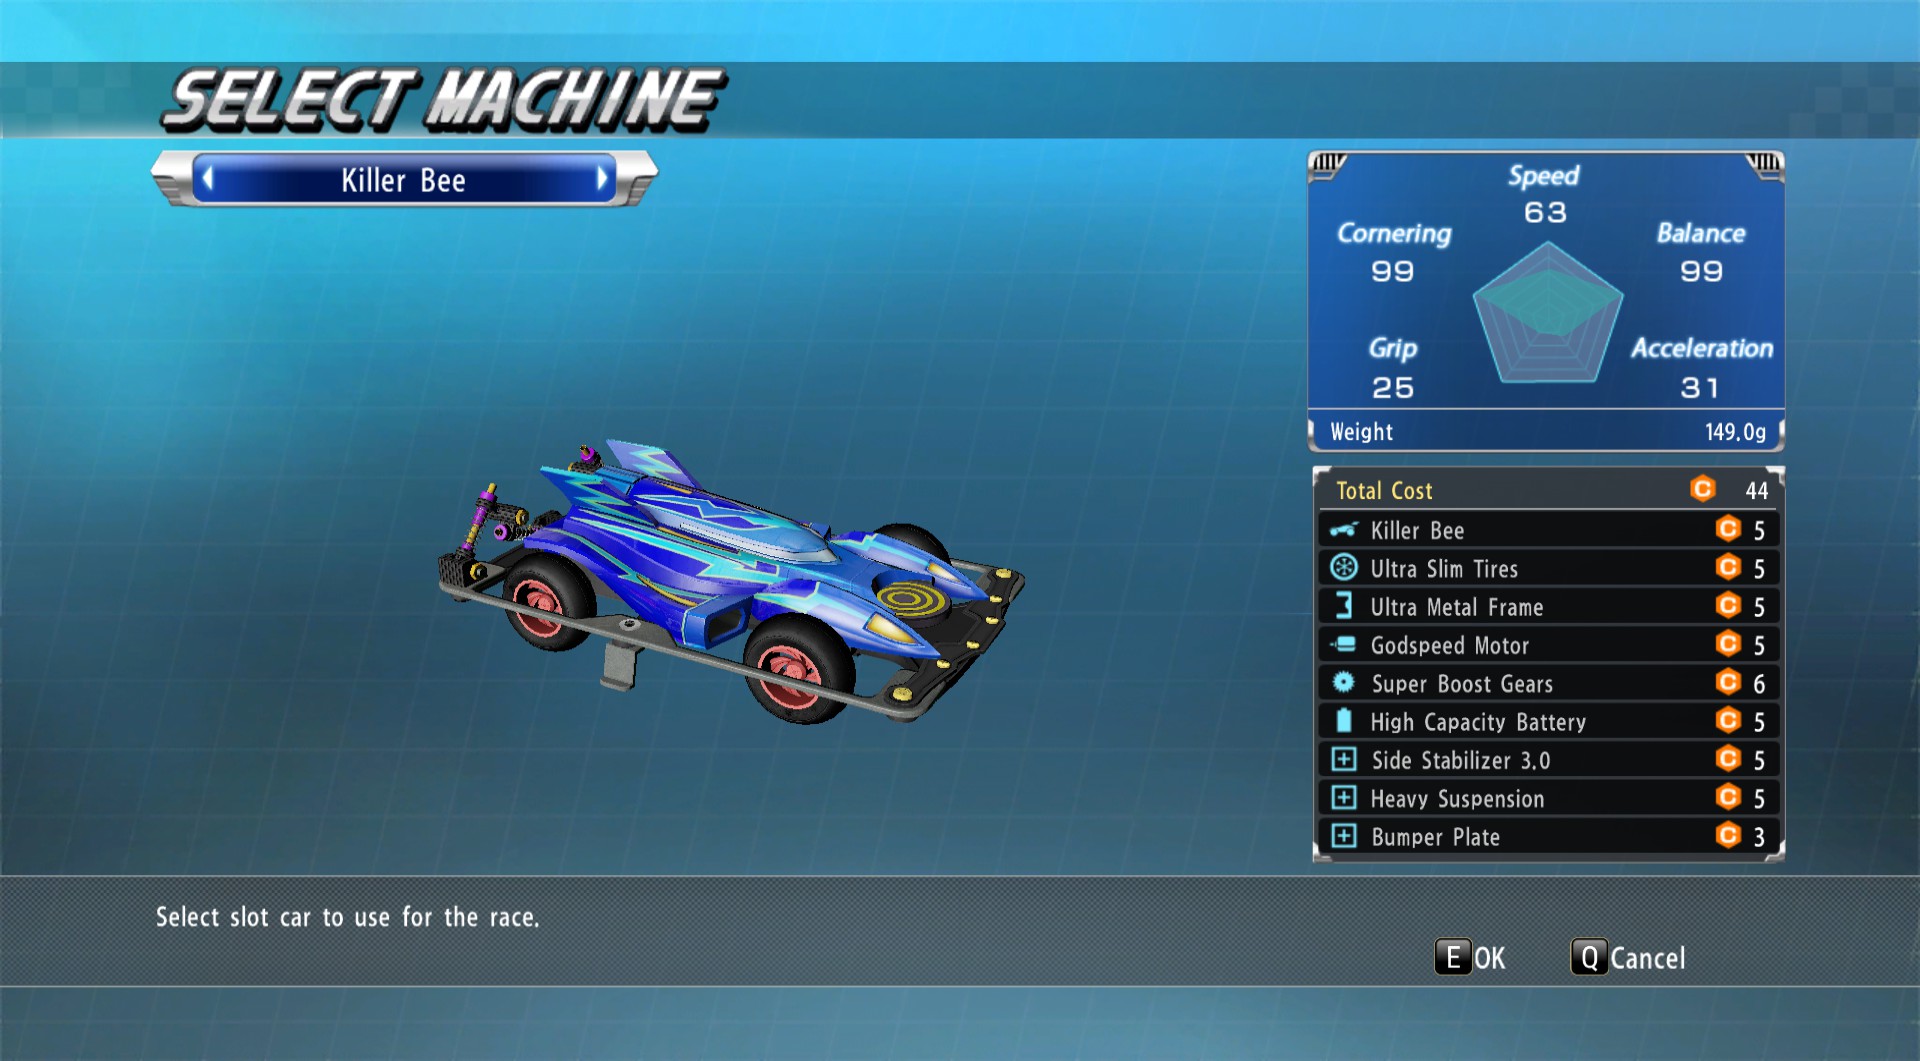
![The Dragon of Pocket Circuit.jpg]](https://images.steamusercontent.com/ugc/2313224671878228665/D4BB60F55D450C69A215450167B687AEC0400BD5/ "The Dragon of Pocket Circuit.jpg]")
![Rich Taste.jpg]](https://images.steamusercontent.com/ugc/2313224671878228633/35BC184BFAFA8D63145416463B2111619B4CFA5E/ "Rich Taste.jpg]")
![New Allies, New Foes.jpg]](https://images.steamusercontent.com/ugc/2313224671878228516/2F6A12DA04E132E04B01A4471BA6B9D4E99CC39B/ "New Allies, New Foes.jpg]")
![Telephone Card - Sotenbori (1) #1.png]](https://images.steamusercontent.com/ugc/2477617470097912650/43F23FD596304DA8E2AF221F41B7BB35DC223159/ "Telephone Card - Sotenbori (1) #1.png]")
![Hero of the Story.jpg]](https://images.steamusercontent.com/ugc/2313224671878228595/FF702BDF4D325077F7BBD6AE6771ECB5BD6E80C5/ "Hero of the Story.jpg]")
![Telephone Card - Sotenbori (2).png]](https://images.steamusercontent.com/ugc/2421320026578602580/AB2CFAE860061ADC7034F482BFFEFC337933E30C/ "Telephone Card - Sotenbori (2).png]")
![Smooth Criminal.jpg]](https://images.steamusercontent.com/ugc/2313224671878228687/A659038E255A1485B9C0A511F0964AB591C5E1D5/ "Smooth Criminal.jpg]")
![Training in Style.jpg]](https://images.steamusercontent.com/ugc/2313224671878228661/9143755057ADA438D63216747D8E204F74EBADF7/ "Training in Style.jpg]")
![A Matter of Life or Death.jpg]](https://images.steamusercontent.com/ugc/2313224671878228528/0D96D47647369DA0FE5E82B324DF5AC1C9C2E9D9/ "A Matter of Life or Death.jpg]")
![Telephone Card - Kamurocho (3).png]](https://images.steamusercontent.com/ugc/2421319941031836106/C8CEC27285871651D5A50BE17B05CF0CDBFCF8F0/ "Telephone Card - Kamurocho (3).png]")
![Business Etiquette 101.jpg]](https://images.steamusercontent.com/ugc/2313224671878228673/9D2FDF7E19CE8F59CAD4010001BD7681F26E6CFC/ "Business Etiquette 101.jpg]")
![President Kiryu.jpg]](https://images.steamusercontent.com/ugc/2313224671878228538/846FACDD49742A11F7B37348BADDF2849B340229/ "President Kiryu.jpg]")
![Generosity of Strangers.jpg]](https://images.steamusercontent.com/ugc/2313224671878228696/993BAD242F9EC1D443B0EA04BCA1FE6FE3E04C17/ "Generosity of Strangers.jpg]")
![The Promised Land.jpg]](https://images.steamusercontent.com/ugc/2313224671878228601/0F93EB275A8691140FD83FB5B4C2DE818390A0F1/ "The Promised Land.jpg]")
![High Roller.jpg]](https://images.steamusercontent.com/ugc/2313224671878228570/BA748EEA07858DDC0B182D43E556442458B03CCE/ "High Roller.jpg]")
![Half the Battle.jpg]](https://images.steamusercontent.com/ugc/2313224671878228655/D7CD028A10EB9E17F03B654738E89A51F66BDE91/ "Half the Battle.jpg]")
![Call Me.jpg]](https://images.steamusercontent.com/ugc/2313224671878228636/BBE191C50109E607639969EC02386FF737FAB0AD/ "Call Me.jpg]")
![Make It Rain.jpg]](https://images.steamusercontent.com/ugc/2313224671878228552/CB0D390AD7ABC7AA9644FD464D0AAC2DE70537DC/ "Make It Rain.jpg]")

![Worked Hard for the Money.jpg]](https://images.steamusercontent.com/ugc/2313224671878228646/9F144DA095F862F6373A0905837C64DE4334F99C/ "Worked Hard for the Money.jpg]")
![The Glamorous Life.jpg]](https://images.steamusercontent.com/ugc/2313224671878228652/02D0B48141FBC1B99DF6FDFAD99B23097B478211/ "The Glamorous Life.jpg]")
![We Built This City.jpg]](https://images.steamusercontent.com/ugc/2313224671878256912/671C5F6409495E8A62C37FFBFF77E98E4D47D2F5/ "We Built This City.jpg]")
![Time to Say Goodbye.jpg]](https://images.steamusercontent.com/ugc/2313224671878228543/B1137C825F4600C52FE5128A829D40FB1DFA798E/ "Time to Say Goodbye.jpg]")
![Best Served Cold.jpg]](https://images.steamusercontent.com/ugc/2313224671878228778/378B4EB5592E1B48BDF77801FDA6C403BF899F7B/ "Best Served Cold.jpg]")
![A Host of Hostesses.jpg]](https://images.steamusercontent.com/ugc/2313224671878228546/047E17DAD2BC2B09BAC79FA37048C41D1BF939F6/ "A Host of Hostesses.jpg]")
![Talk of the Town.jpg]](https://images.steamusercontent.com/ugc/2313224671878228608/E10E4D10A554852FAE8B38FE755B4E23DE99BC8B/ "Talk of the Town.jpg]")
![Welcome to the Jungle.jpg]](https://images.steamusercontent.com/ugc/2313224671878228670/06E099AEF701066460E0FCDF220F2741B41FC9EF/ "Welcome to the Jungle.jpg]")
![You're Still Number One.jpg]](https://images.steamusercontent.com/ugc/2313224671878228692/A45AD4C09D217C081A97E9DF09E43E5174A5D5CD/ "You're Still Number One.jpg]")
![Walking On Sunshine.jpg]](https://images.steamusercontent.com/ugc/2313224671878256916/78D619D548B657B95F9EA3992DF5972C534FD65E/ "Walking On Sunshine.jpg]")
![When It All Goes Wrong.jpg]](https://images.steamusercontent.com/ugc/2313224671878228556/92CB75DA212811331B84235F31E0C269208A0B1D/ "When It All Goes Wrong.jpg]")
![Telephone Card - Kamurocho (4).png]](https://images.steamusercontent.com/ugc/2421319941031968201/0A1F36498251B2F38C1334A9372B67BB2764B0FE/ "Telephone Card - Kamurocho (4).png]")
![It Takes Two.jpg]](https://images.steamusercontent.com/ugc/2313224671878228681/DE620E44B891CCC069FA4AB7BADE0D7BFB3A8E31/ "It Takes Two.jpg]")
![The Big Reveal.jpg]](https://images.steamusercontent.com/ugc/2313224671878228564/79E2D489FE35D3220FE1533B5F982664D86DFCFF/ "The Big Reveal.jpg]")
![Telephone Card - Bed of Styx (1).jpg]](https://images.steamusercontent.com/ugc/2421320026578614669/95E6777BEAE7BB8392B2D924559ED65741BF4B90/ "Telephone Card - Bed of Styx (1).jpg]")
![They Won't Mind.jpg]](https://images.steamusercontent.com/ugc/2313224671878228699/7318E775E60E79509EB307EB742CD27C6F0B8515/ "They Won't Mind.jpg]")
![A Familiar Name.jpg]](https://images.steamusercontent.com/ugc/2313224671878228576/E649E23DB8794DEDE59E903F50CD341B1D784363/ "A Familiar Name.jpg]")
![Big Hair in the Crosshairs.jpg]](https://images.steamusercontent.com/ugc/2313224671878228624/C7EFA45195A2F20654CA0D120BB4F409063F4A41/ "Big Hair in the Crosshairs.jpg]")
![Painful Reunion.jpg]](https://images.steamusercontent.com/ugc/2313224671878228582/AE5DC506DBF2E41E9814A3371DBE8A23DD603EF4/ "Painful Reunion.jpg]")
![Hitting the Bottle.jpg]](https://images.steamusercontent.com/ugc/2313224671878228678/BC5CD4BE679E3CFB1EC4DF54147620DCFE2C2887/ "Hitting the Bottle.jpg]")
![Lamb in the Lion's Den.jpg]](https://images.steamusercontent.com/ugc/2313224671878228588/4163FBEE4FD7E05A0B54AC58112CB71CFEB24478/ "Lamb in the Lion's Den.jpg]")
![Amon Defeated.jpg]](https://images.steamusercontent.com/ugc/2313224671878256927/7CFFF29AFC6BB6258990AD216BBA92AC6B1149DC/ "Amon Defeated.jpg]")
![Story of My Life.jpg]](https://images.steamusercontent.com/ugc/2313224671878228708/DD4BFCBC5C8B1FAC4B2AF11731DDD2C7F3FF295C/ "Story of My Life.jpg]")
![Awakened and Unleashed.jpg]](https://images.steamusercontent.com/ugc/2313224671878256907/50FDED74BB5428DA0CC6F3703AB9074BE2353B63/ "Awakened and Unleashed.jpg]")
![Master of Style.jpg]](https://images.steamusercontent.com/ugc/2313224671878256922/E6E726BCB5204032C87D4ACCD3AAF1C37121086C/ "Master of Style.jpg]")
![Eye of the Dragon and Tiger.jpg]](https://images.steamusercontent.com/ugc/2313224671878228727/85D573160F9A4A5737D3F9BF28E43120FD1FE35E/ "Eye of the Dragon and Tiger.jpg]")
![Prizefighter.jpg]](https://images.steamusercontent.com/ugc/2313224671878228711/153C7001CD7B1EABE2068719ACB79D7CB6322786/ "Prizefighter.jpg]")
![Carom Blocker Shot (1).gif]](https://images.steamusercontent.com/ugc/2376280195354367763/07772CE1F2457A2F61C9D9F61C284EC29C3AF68B/ "Carom Blocker Shot (1).gif]")
![Combination Shot (1).png]](https://images.steamusercontent.com/ugc/2376280195354377339/7BD86790BC8DF14EEDE00CB8F76652D7B386CA8B/ "Combination Shot (1).png]")
![Carom Shot (1).png]](https://images.steamusercontent.com/ugc/2376280195354377330/4411F725AD1B1C1E654F0B8C872BAE1C1C356934/ "Carom Shot (1).png]")
![Cat Scratch Fever.jpg]](https://images.steamusercontent.com/ugc/2313224671878228722/4A34AB6C453F2BA1AA8C18E1935FC3806A0CAF90/ "Cat Scratch Fever.jpg]")
![Fish Types (1).jpg]](https://images.steamusercontent.com/ugc/2421320026578661788/CB94AA8876B9605AA334ED8FEC4A0BCD3E38E06D/ "Fish Types (1).jpg]")
![What a Player.jpg]](https://images.steamusercontent.com/ugc/2313224671878228717/C6C0904369989944EF052508C0ED65FBFB5A381E/ "What a Player.jpg]")
![Mahjong (1).jpg]](https://images.steamusercontent.com/ugc/2376280195375423546/215A7FD93203906C4485D0EF2A43D5CB53287114/ "Mahjong (1).jpg]")
![Tsumo (1).gif]](https://images.steamusercontent.com/ugc/2477617470097985795/4FA40F8DB23946651F78DAB091741DF9DDFD6661/ "Tsumo (1).gif]")
![Mahjong (2).jpg]](https://images.steamusercontent.com/ugc/2376280195375424099/E160E1DCCC0DB917A197C3DDD1A3C7FA5DC022C1/ "Mahjong (2).jpg]")
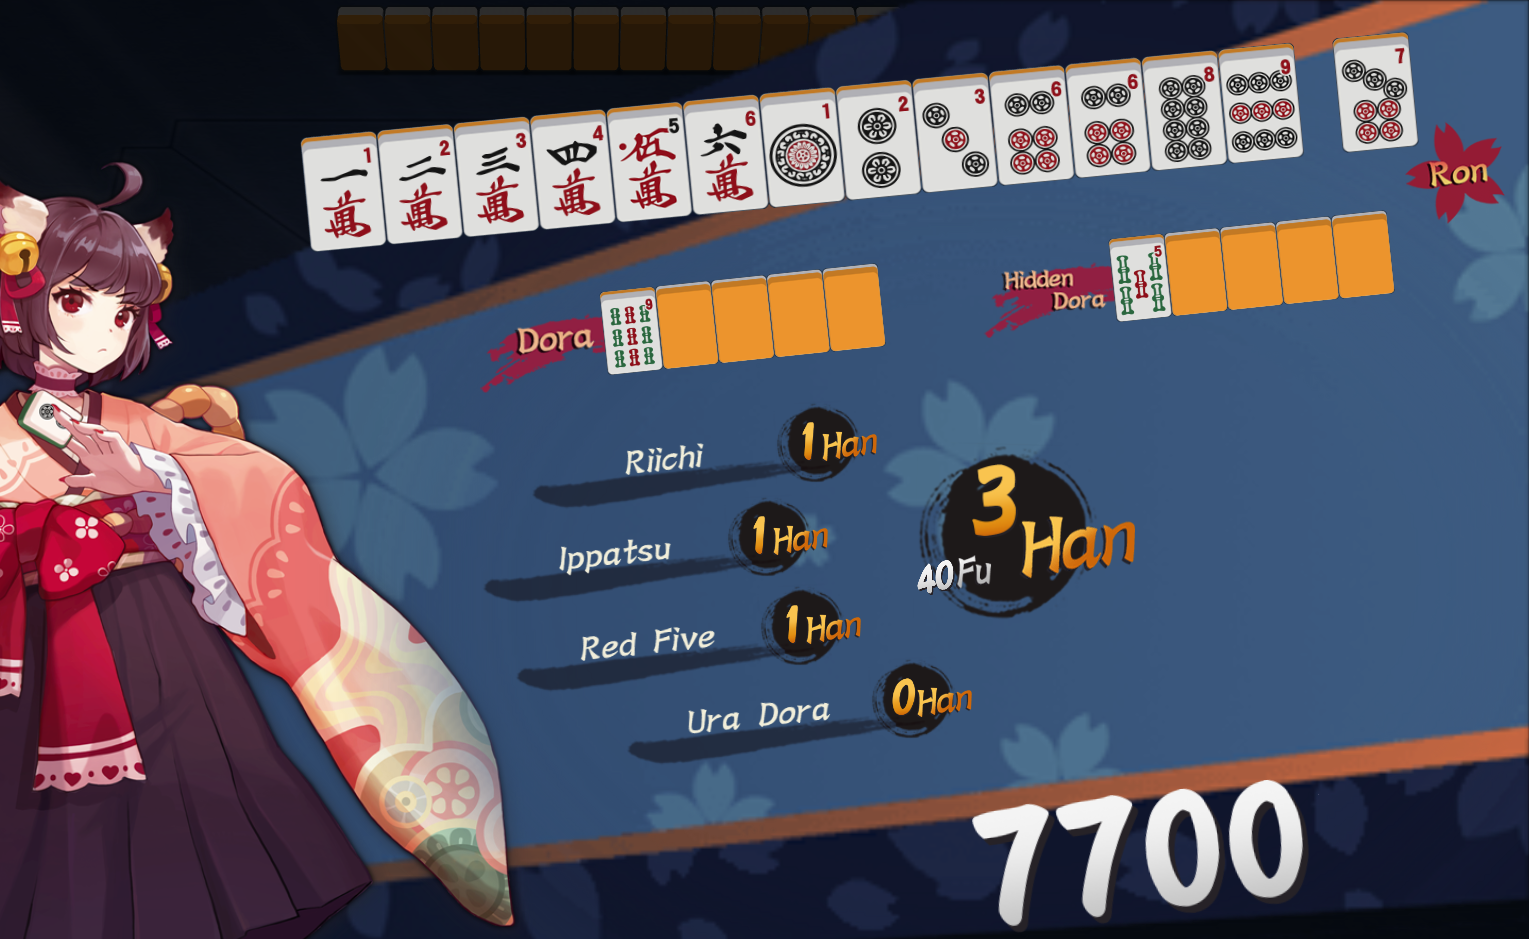
![Mahjong (4).jpg]](https://images.steamusercontent.com/ugc/2376280195383407372/66A2ADDCABE20EF18506F5E4D048F76147AD62A5/ "Mahjong (4).jpg]")
![Mahjong (3).jpg]](https://images.steamusercontent.com/ugc/2376280195380694650/7C3737CF652B9FE2C5D09AC9BCFF2CDD5457D3F8/ "Mahjong (3).jpg]")
![Perfectionist.jpg]](https://images.steamusercontent.com/ugc/2313224671878256942/F8D76E4124054DC125F112756D4D564F4B9D59AB/ "Perfectionist.jpg]")
![Staminan (1).gif]](https://images.steamusercontent.com/ugc/2376280775145494564/C8B3D64FD530171A2F741C76E71C4571FE86FDD3/ "Staminan (1).gif]")
![Stuff of Legend.jpg]](https://images.steamusercontent.com/ugc/2313224671878256939/21530233EC18FD32A81A141290F266CEFB94E934/ "Stuff of Legend.jpg]")
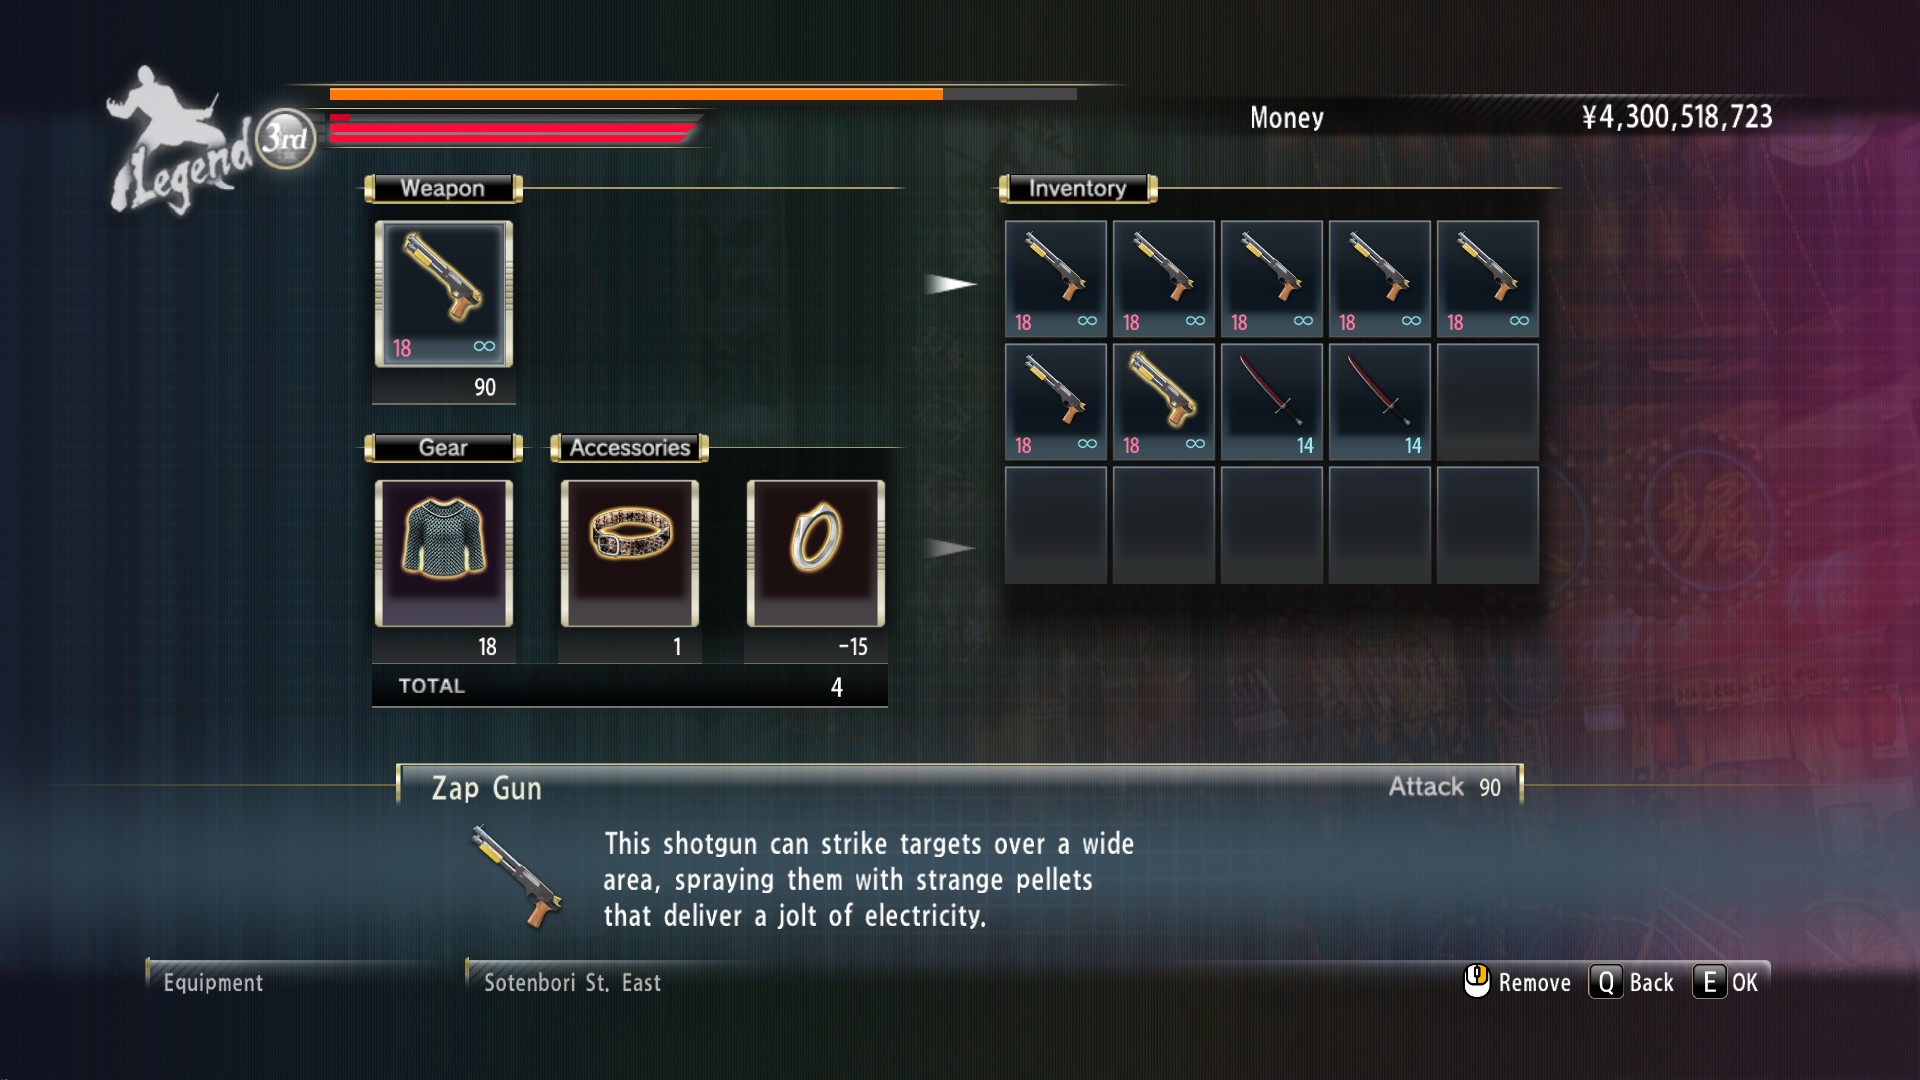
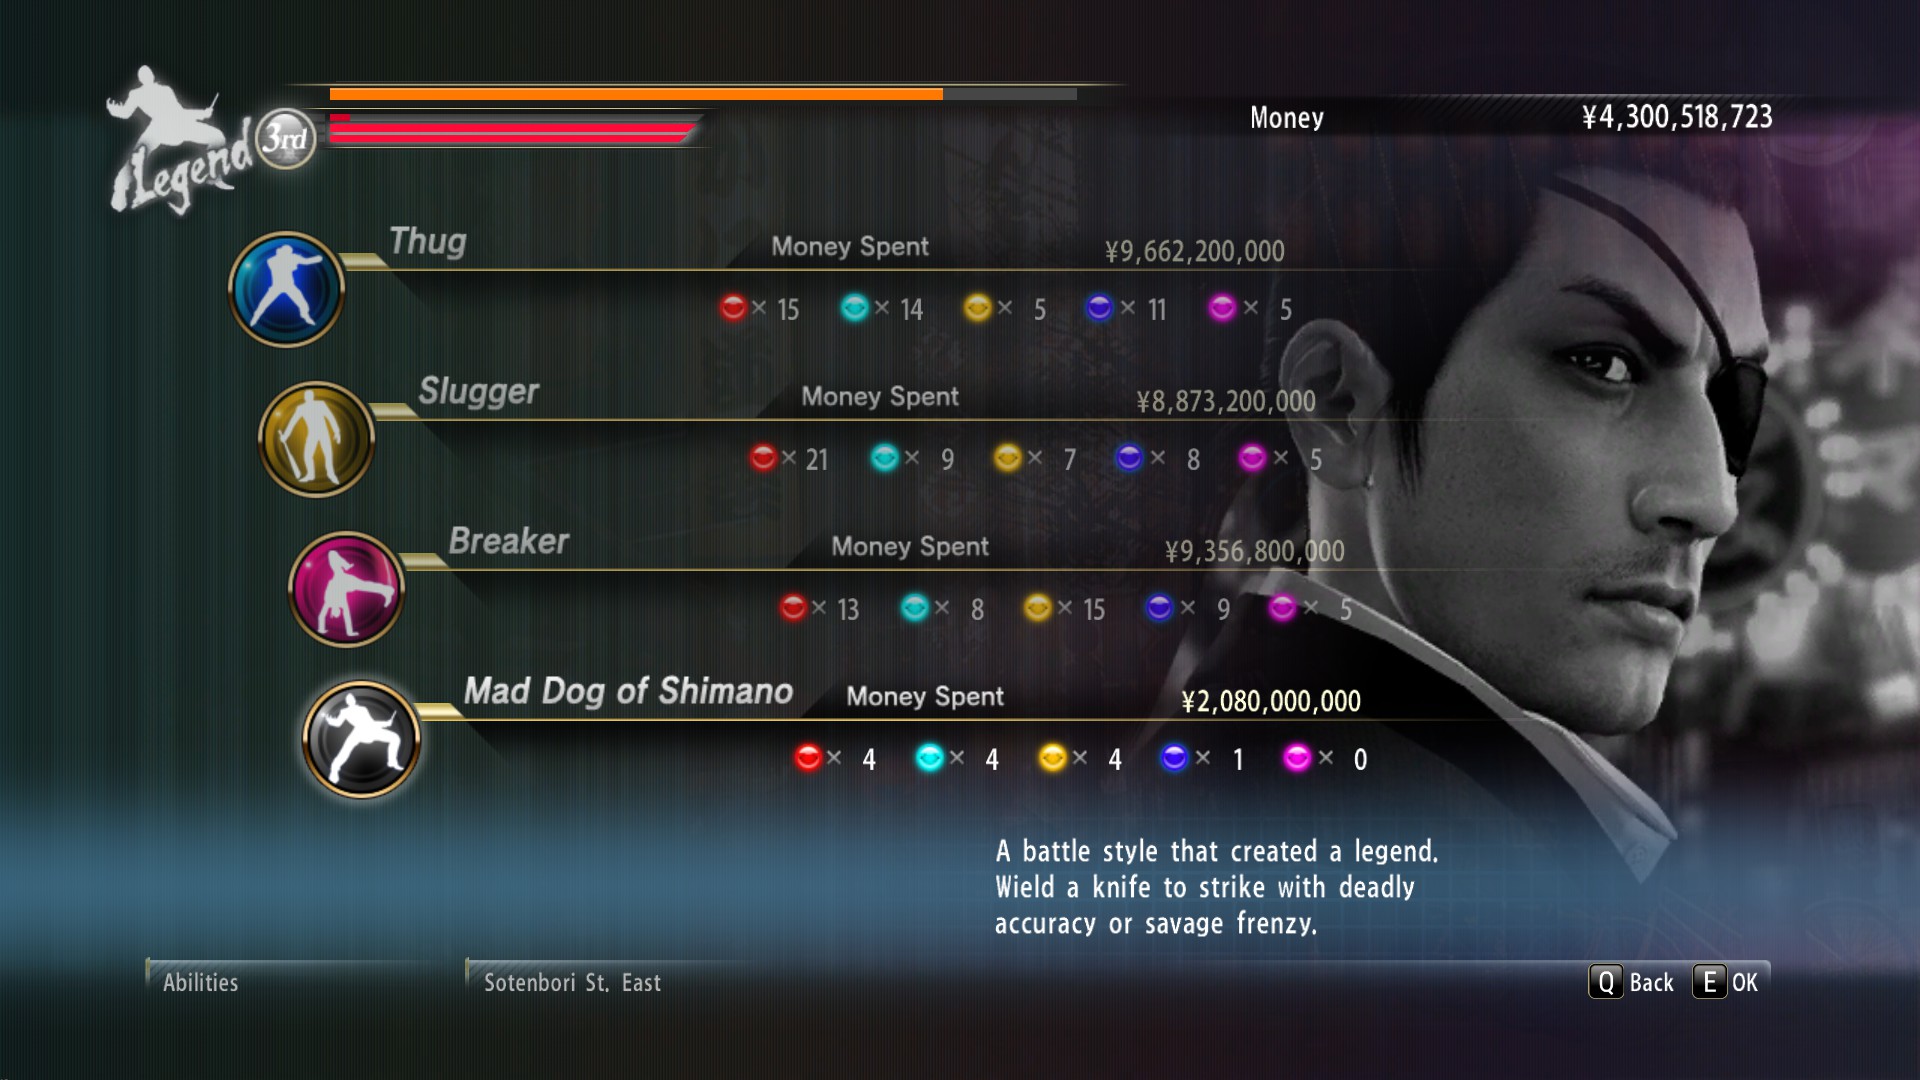
![Legend (1).jpg]](https://images.steamusercontent.com/ugc/2376280775151745529/03B65F72A943B0FBD6FAA0859795F619513ECCCC/ "Legend (1).jpg]")


![Kuze (1).png]](https://images.steamusercontent.com/ugc/2376280775173554204/BAE281DBFF5B63901DD638122FB1AA78002A59C2/ "Kuze (1).png]")
![Just Beat It.jpg]](https://images.steamusercontent.com/ugc/2313224671878256934/70A5C621321496B90B2D36BE6797674CA9DBBB62/ "Just Beat It.jpg]")
![Where It All Began.jpg]](https://images.steamusercontent.com/ugc/2313224671878256947/E4602E70E549C2FCC74FEF64F089B7D763CC491D/ "Where It All Began.jpg]")
![Wallpaper (2).jpg]](https://images.steamusercontent.com/ugc/2376280775146103034/013804A1AF33A0CB96DEA9164213DC4D48C0C89A/ "Wallpaper (2).jpg]")


⠀⠀⠀