Haydee
466 ratings
How to flawlessly complete the Tutorial.
By Vanessa
A guide on how to beat the Tutorial of Haydee with no damage taken, no shots fired, and no items missed.
2
18
2
3
   
Award
Favorite
Favorited
Unfavorite
Rooms 1-8
Room 1
Welcome to Haydee. All you need to do to start off is walk through the door. Easy, right?

Room 2
You can jump up and grab a ledge, pressing jump again to pull yourself up onto it, and once more to climb to your feet. Then, continue on.


Room 3
This is where most people will die for the first time. First of many. Stand with your back to the door and sprint towards the gap, jumping right at the very last moment so you don't hit your head. Haydee will grab the ledge automatically if you're holding foward.


Room 4
You'll notice some sort of item to your right, but we can't get that just yet, so climb up on the block to the left and grab onto the ledge. Shimmy along until you can pull yourself up and head through the door.


Room 5
Press crouch to duck down, get a face full of robot booty and squeeze through the gap to progress.


Room 6
Haydee can grab onto ledges from above, a vital mechanic you need to be familiar with. Stand with your back to the ledge as shown - you can orientate Haydee by holding the right mouse button.
While facing away from the ledge, crouch, and then press crouch again to drop down and grab the ledge. Shimmy along, pull yourself up, and on you go.


Room 7

There's a locked door that requires a keycard and a convenient keycard right in front of it - but don't use the keycard! Remember that gated off item a few rooms ago? Yep, time to head on back and pick it up. Grab the keycard and return to Room 4.

Don't jump down from this ledge.

You will take damage from the fall - only a small amount, but Haydee's health does not regenerate, health items are rare, and you don't want even the slightest setback from the tutorial stage. Instead, turn around from the ledge, crouch, crouch again to grab onto it, and then crouch one more time to drop safely to your feet.


Now you can pick up some body armour - this reduces the damage Haydee takes from enemies, and makes her rack bigger. Underneath the armour will be another keycard, which you can use to open up the door in Room 7 and continue.


Room 8
Hit the button to open up the deactivated elevator shaft.


Jump down onto the box so you don't take fall damage, and inside it will be another keycard. You'll also notice a button on the wall above the box. You can jump up and press it, and it does... nothing. Later on, it'll do something, but right now you don't need it.

Grab the keycard and head forwards, and you've done the first half of the tutorial.
Rooms 9-15
Room 9
So uninteresting I didn't even screenshot it. Just head through the door.


Room 10
If you look to your left you'll see a crawlspace. Hop up and crawl through it...

Make sure that you hang from the ledge at the end of it so you don't take fall damage.

Then you can grab the Screwdriver.


This nifty little tool lets you open vents like this, but we're not bothering with the one in the Screwdriver room just yet. Instead, head back to the room with the deactivated elevator shaft and crawl through that vent instead.


It's in this room that you'll be able to hit a button to open a door elsewhere. Now it's time to head through that vent next to the Screwdriver's resting spot.


Room 11
In this room, you'll see a Save Point on your right and some Diskettes - 5 on Softcore, 3 on Hardcore. These consumable items let you save your game, which I would advise doing as a first timer. But we're doing the tutorial flawlessly, so it's a better idea to save these for when you actually need them. Pick them up and instead head to the door on the left.


Room 12
Behind this door is an enemy Walker. These robots, as their name implies, slowly walk towards you and hit you. They'll do a good third of your health, and god forbid if you're on Hardcore or didn't get the Body Armour. Haydee can outrun them, though, and to navigate this room you'll be running it in circles staying out of its melee range.

The corpse of another, less fortunate Haydee bot lies at its feet. You'll need to loot this body for the Purple Keycard, which is what lets you escape from the Tutorial area.


On the right side of the button that opens the door is a box with a Pistol in it. Pick it up, this is going to be your only friend for a while. No bullets just yet, but a Walker takes four headshots to kill and you can certainly save ammo here.


Loot the body as quick as you can to pick up the Purple Keycard, and open the vent in the back of the room with a Screwdriver. I actually got hit while attempting to take a screenshot, but it's not as difficult as it may seem.

The other button in this room will open up a door that connects it to Room 9, saving you some time, but it's not necessary.

Room 13/14

Crawling straight past Room 13 you'll see this tiny little room. In it is another body, this one having a very useful Medkit to restore your health back to full when you need it. The button opens up one of the two grates to access another area, but since we've yet to find another button, there's nowhere to go but back. Hit the button and take the medkit anyway.


Head back to Room 11, the one with the save point. On top of the boxes here there's another vent for you to crawl through.


Room 15


This room contains the door that we unlocked earlier from the first vent. Through here is the last and hardest section of the Tutorial.
Pistol Ammo & Escape

In this last room, you'll be needing to make a series of jumps to pick up some ammunition for your Pistol. It's right down there, on the platform to the right. Make sure you don't have your Pistol in your hand or Haydee will be unable to grab ledges.


First, hang down from this ledge and shimmy along to the platform ahead of you.


To reach this next platform, sprint but don't jump off the edge onto it. Jump, and you take falling damage.


The same thing goes here. Sprint, don't jump. Then crawl through the vent.


Hit the button and perform the hat-trick; sprint onto the Pistol Ammo's platform without jumping. Then turn around and jump back the way you came - the jumps on the way back up seem daunting, but it's just like the very first pit, wait until the very edge of each platform before you jump.


With a fully loaded Pistol and the entire Tutorial section picked clean, we can leave. Head all the way back to Room 7 - the one where you picked up the very first keycard.


There's a vent here too, and this leads to the Tutorial's exit.


Open the door with the Purple Keycard and leave. You should have the Body Armour, the Screwdriver, the Pistol, 12 rounds in the magazine, 5 Diskettes (3 on Hardcore), a Medkit, and be topped up at full health. You can't get a better head start to this.


If you're still completely lost as what to do now, I do have a full walkthrough series covering the rest of the game, starting in the Green Zone.
76 Comments
I Am Absolutely Useless 23 Nov, 2023 @ 6:08pm 
I didn't expect the funny Thicc robot game to be basically Resident Evil sweet god.
10/10
Vanessa  [author] 25 Jul, 2023 @ 2:56am 
Same deal - you have to wait for the very edge of the ledge before you jump.
OldManSprinter 24 Jul, 2023 @ 7:45pm 
I can't for the life of me make that last jump after I've gotten the pistol ammo. Any tips?
karmandio 30 Sep, 2022 @ 10:33am 
OMG I just browsed through your walkthrough here and the green zone, and I have to say, thank you so much Vanessa, for all your work. Definitely appreciated!
AuroBrew 28 Feb, 2022 @ 4:15pm 
Is this guide for a certain achievement? or just to make the game easier.
queen's gambit 2 Apr, 2021 @ 9:30pm 
Kinda glad you posted this. I didn't think to wall crawl and missed the ammo my first time through the tut.
Mykar_NZ 30 Nov, 2020 @ 6:45am 
If you want to avoid taking damage from the Walker in Room 12 while looting the body, you can use the other button that this tutorial says to ignore:
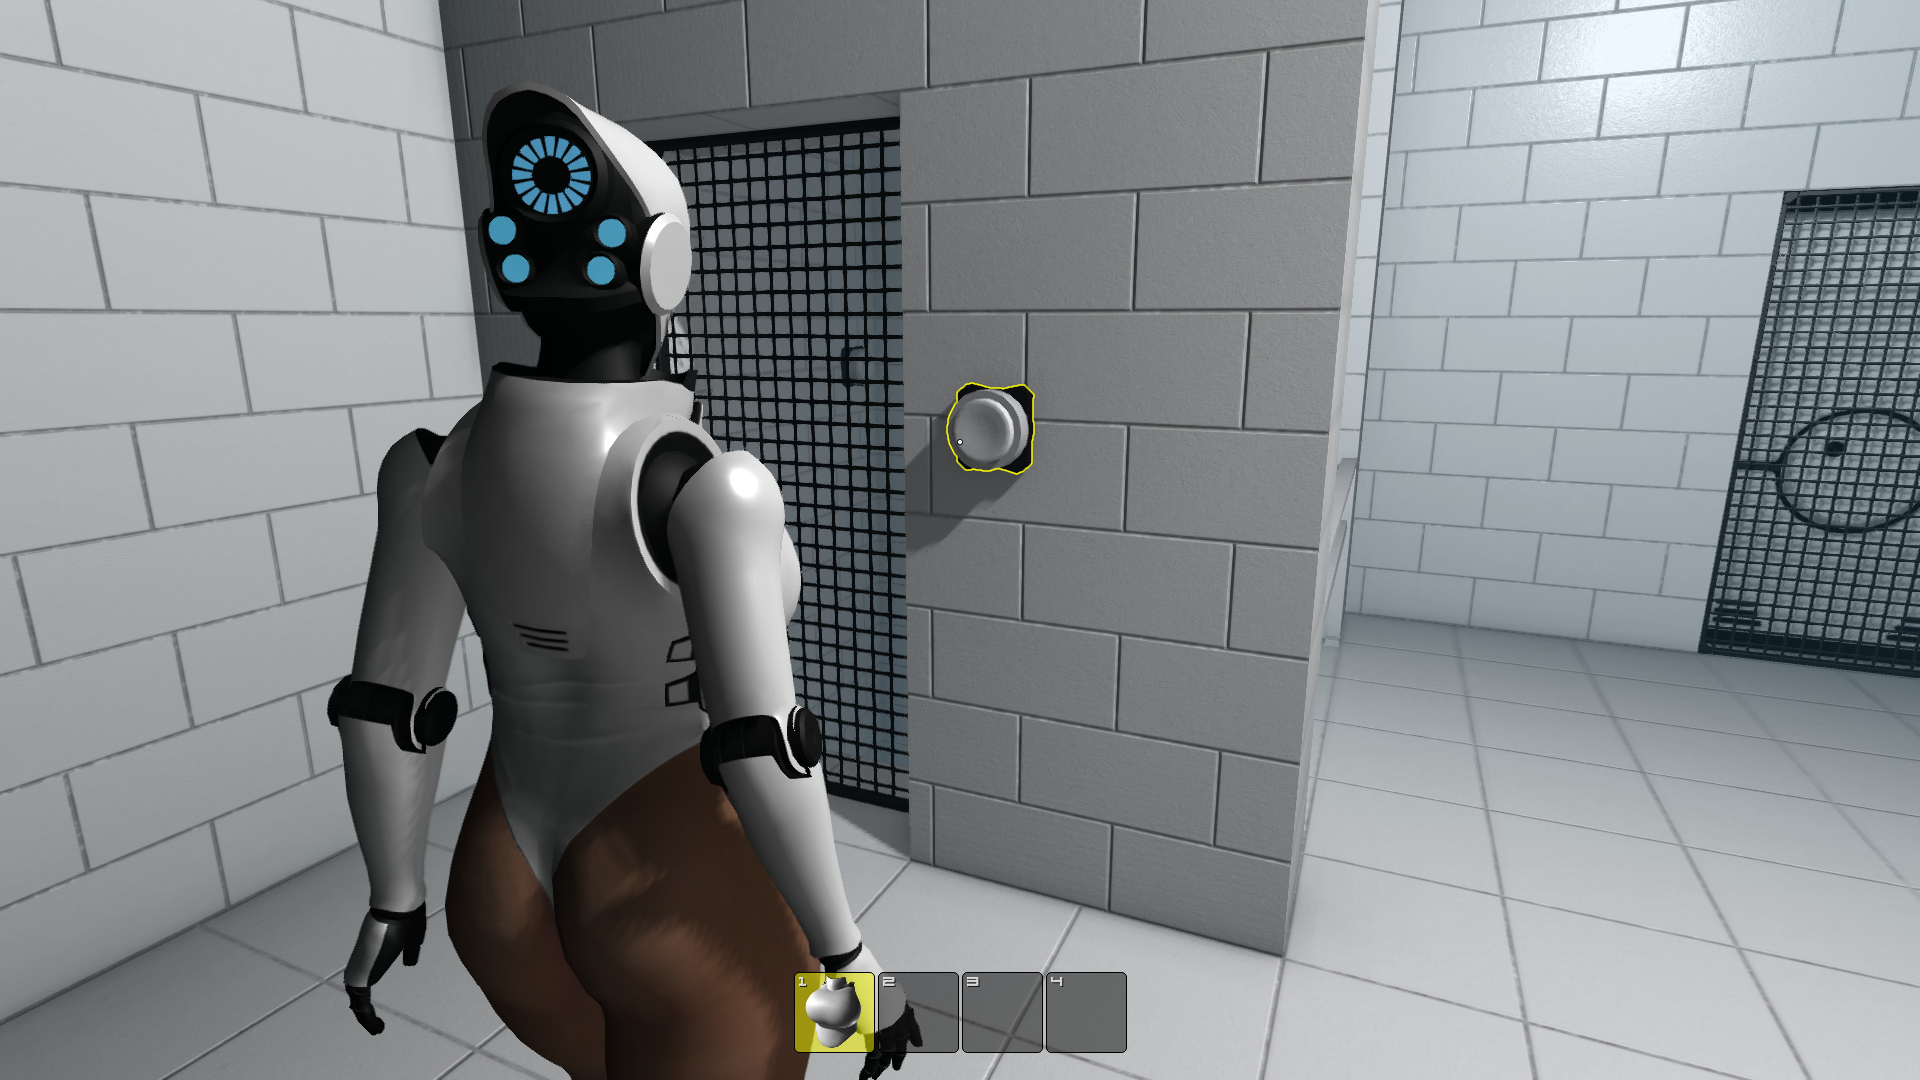
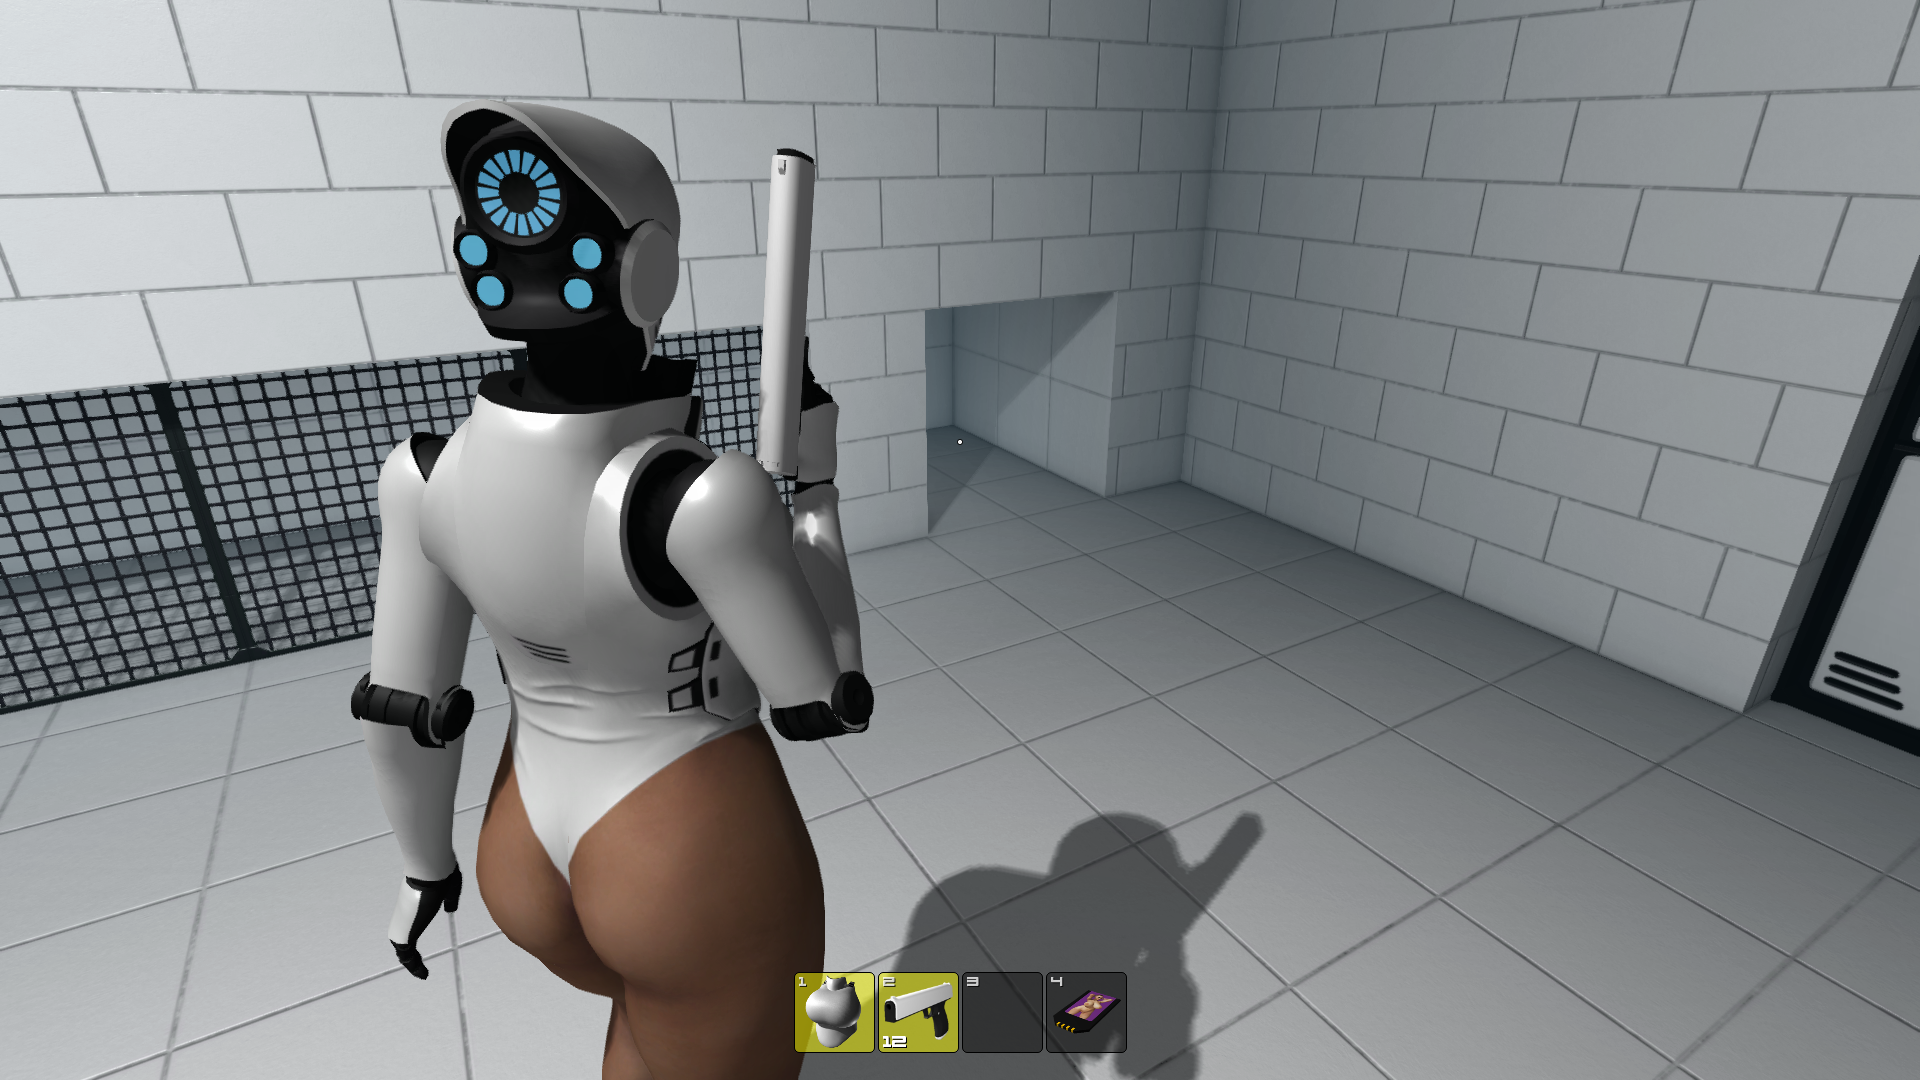
- While avoiding the Walker: run in, hit that second button, then run back to the door that it has just given you access to but don't click to go through it until the Walker is right behind you.
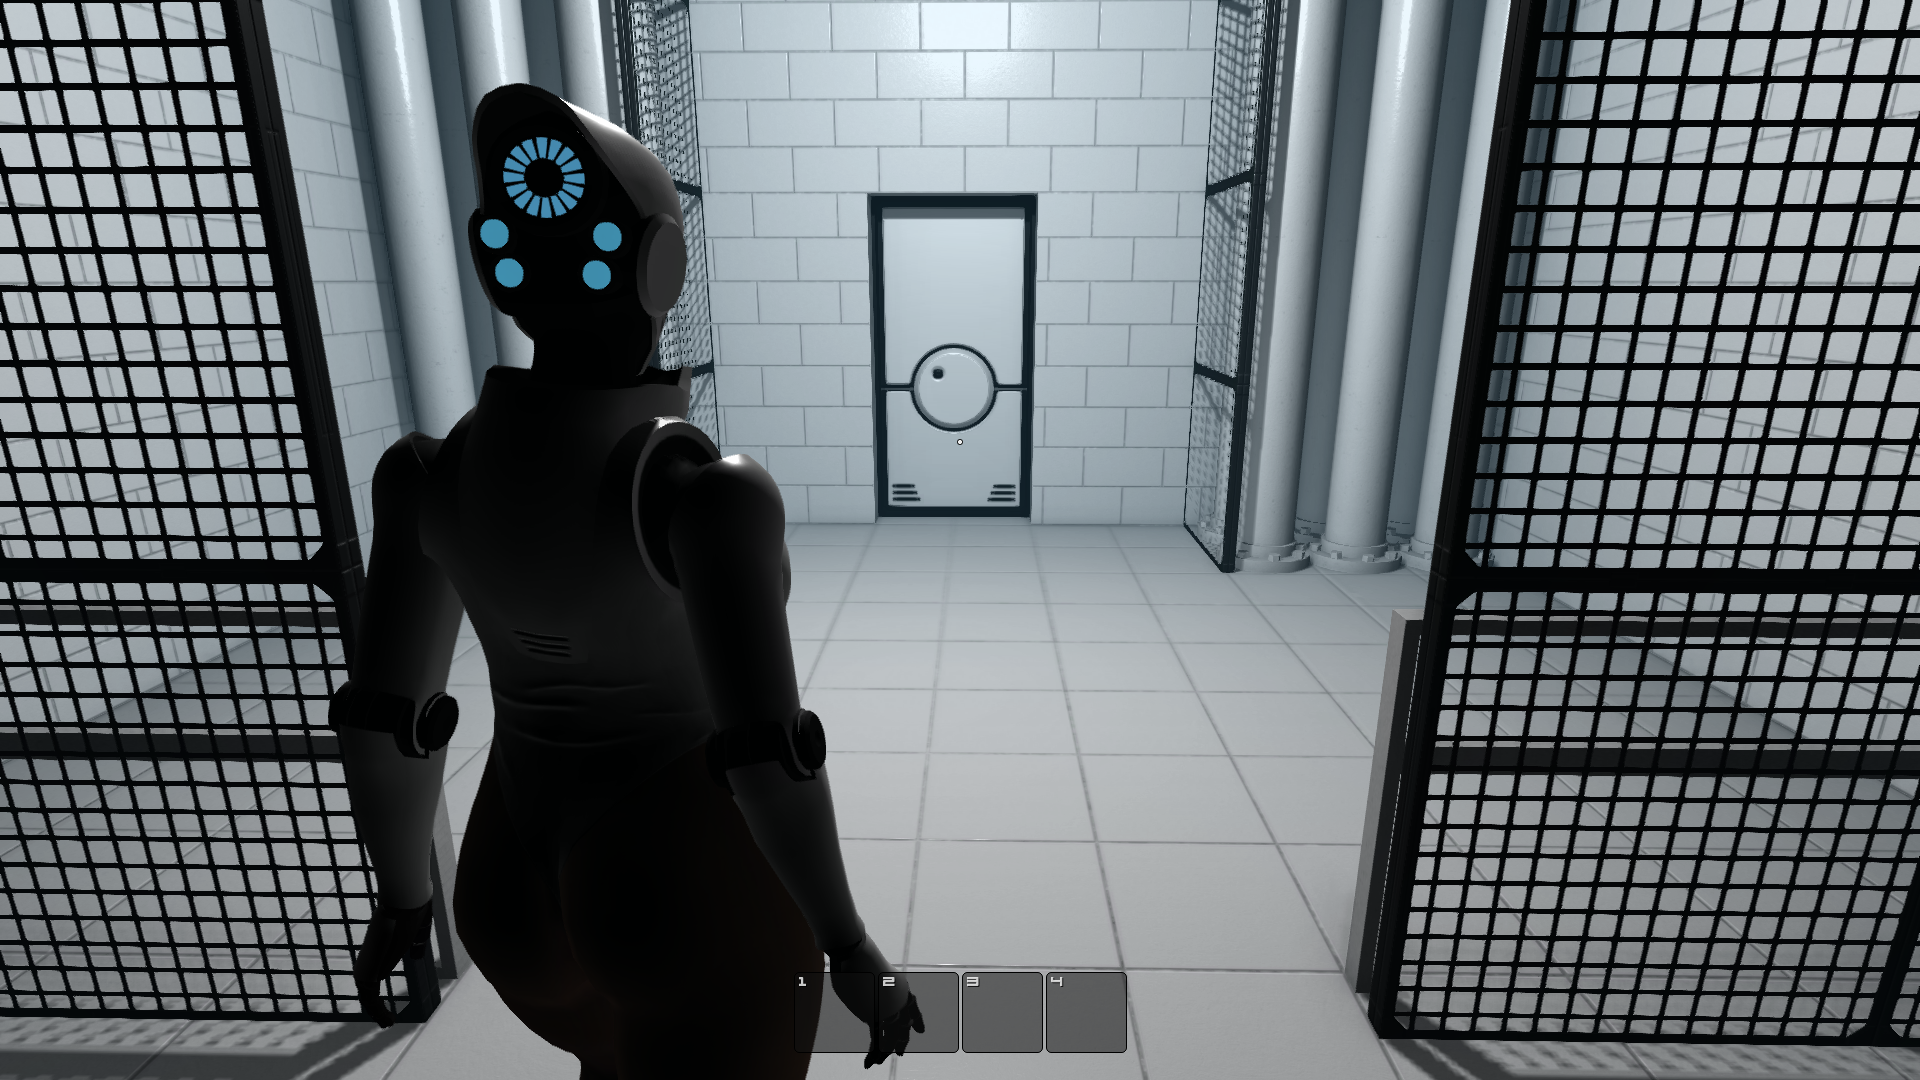
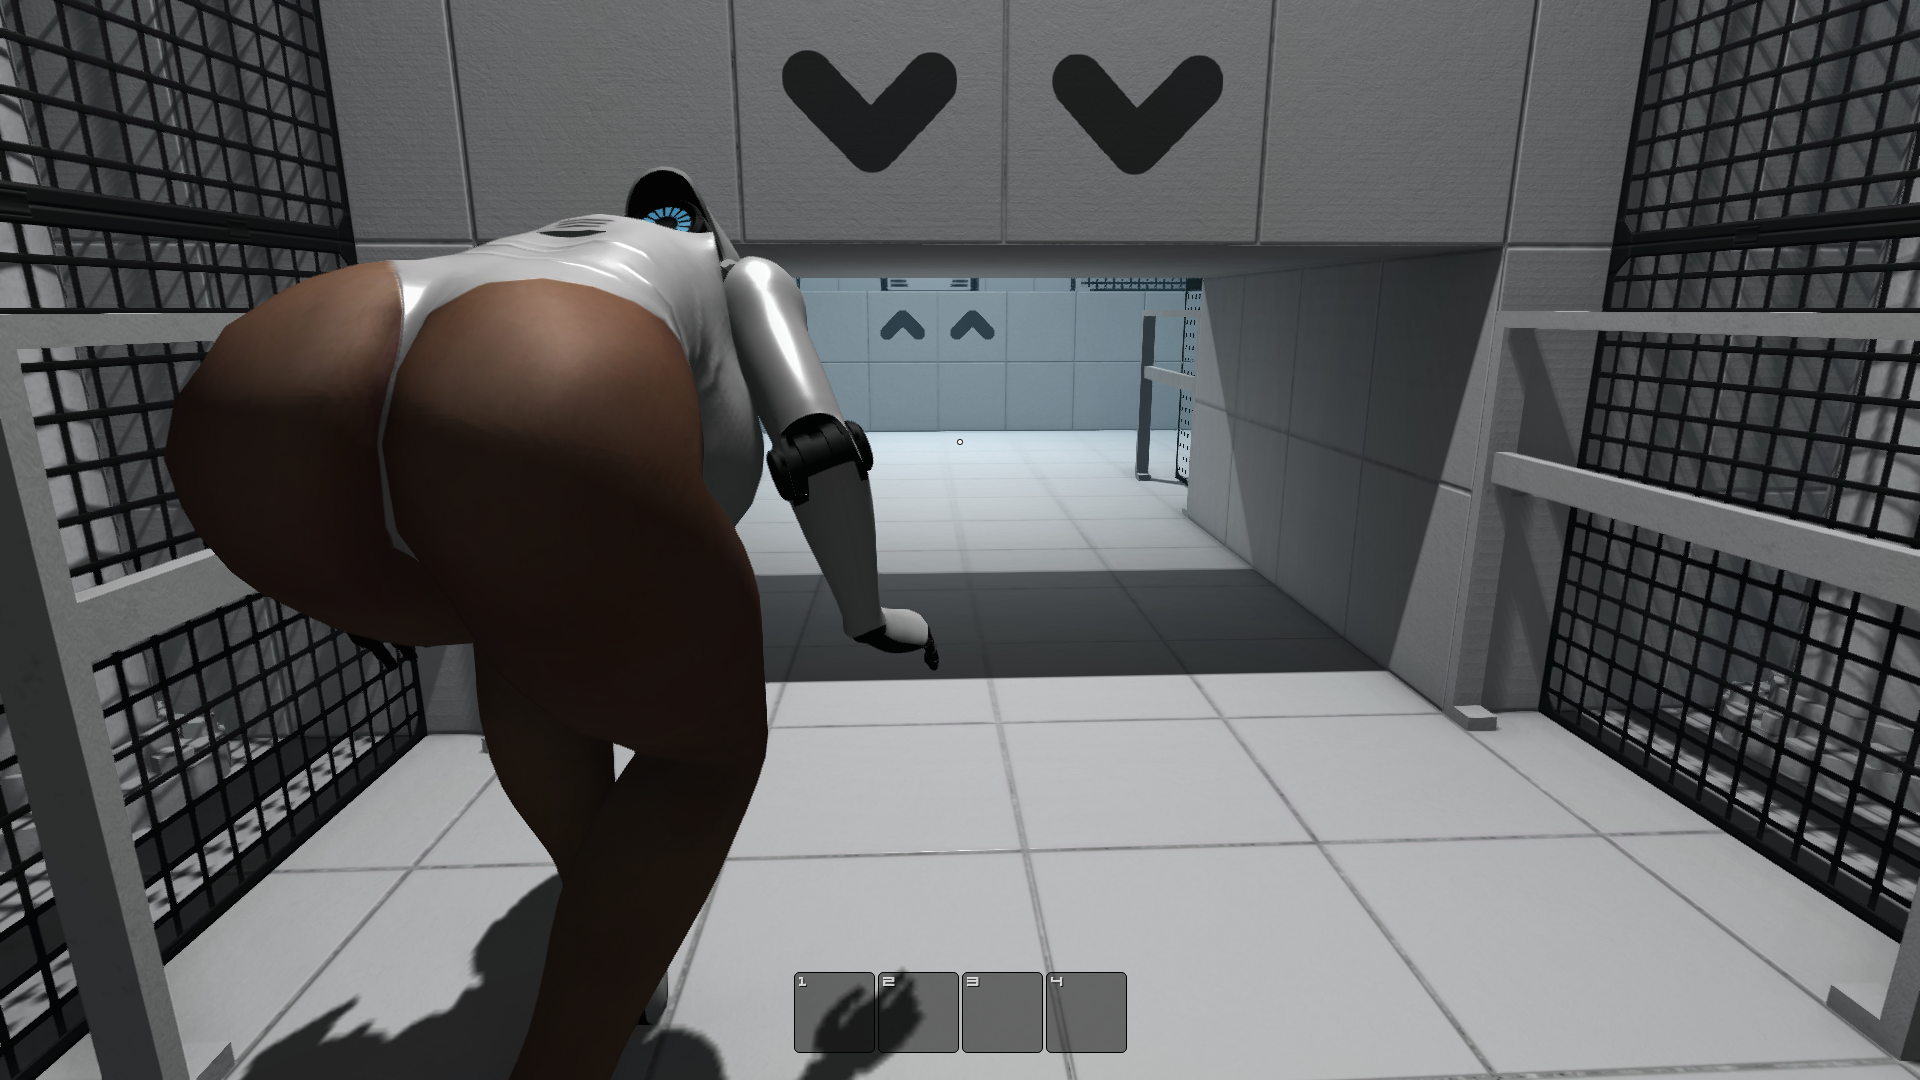
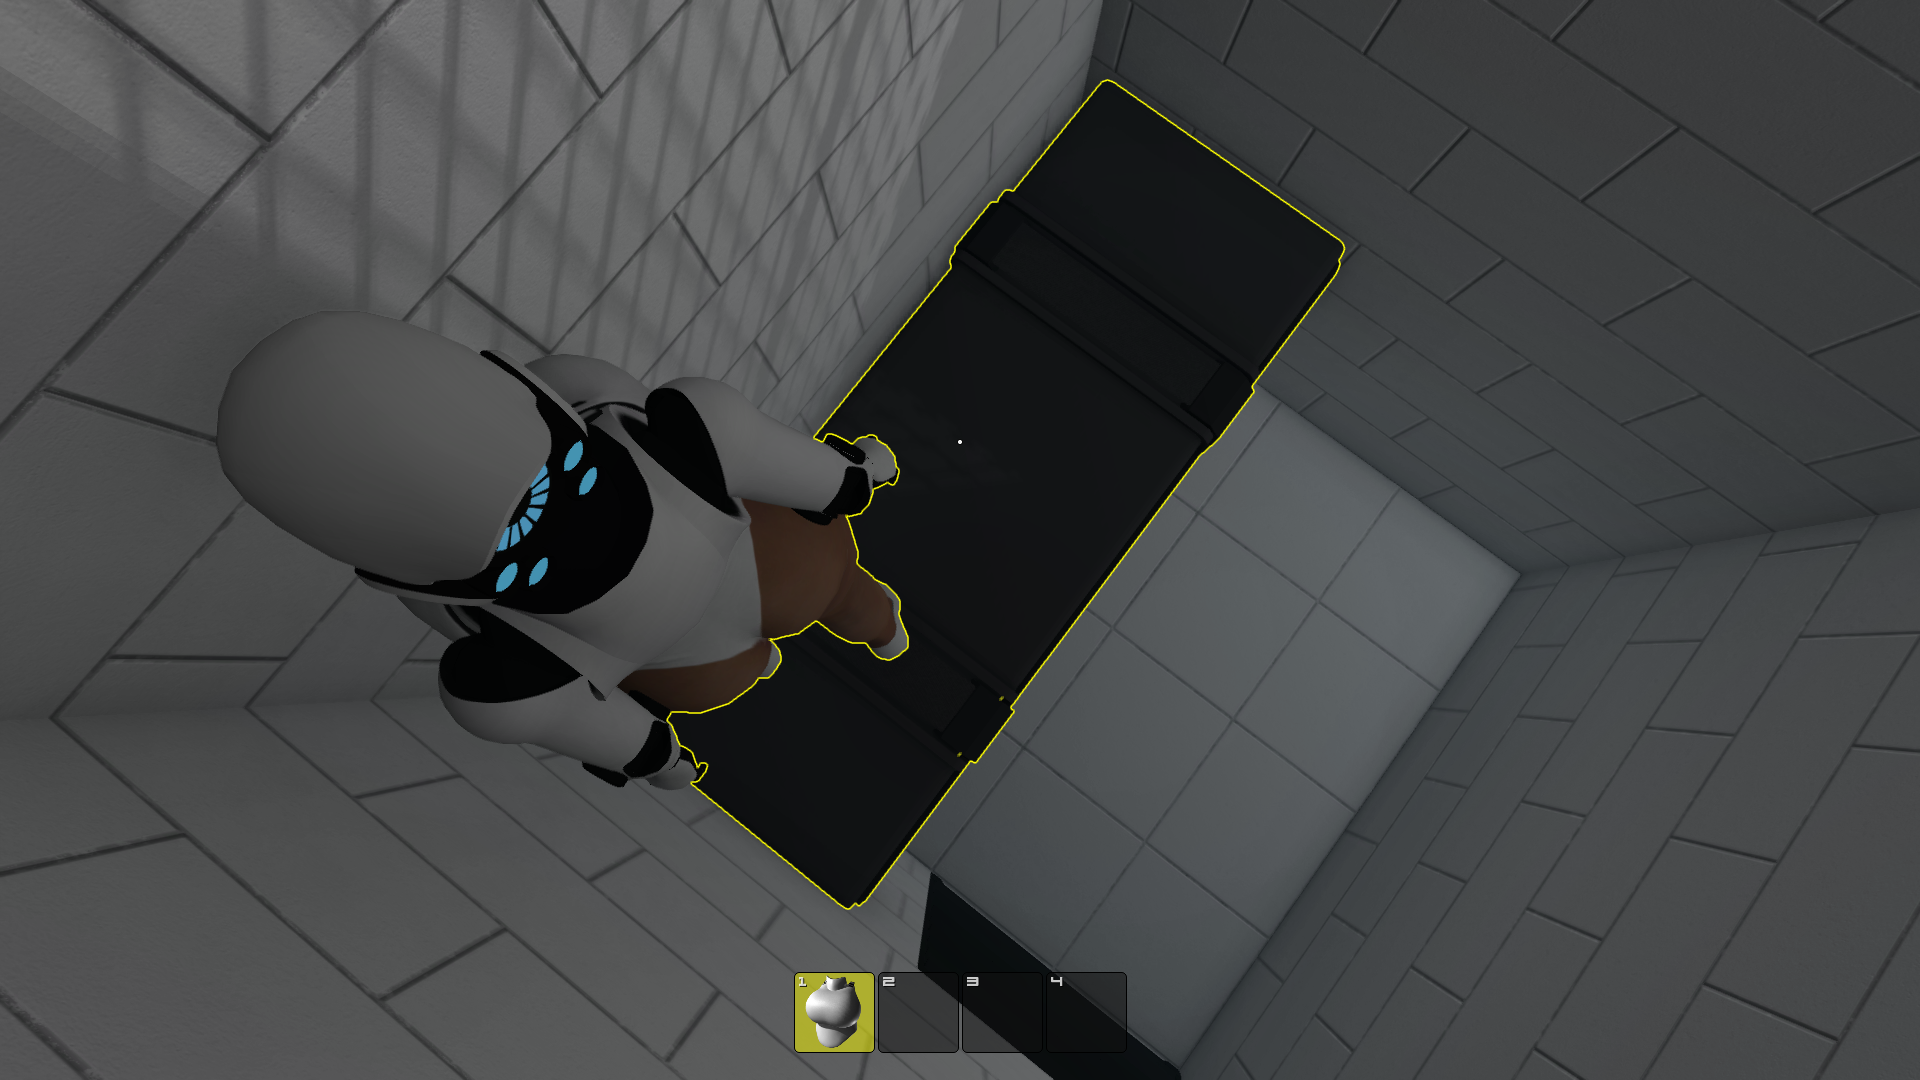
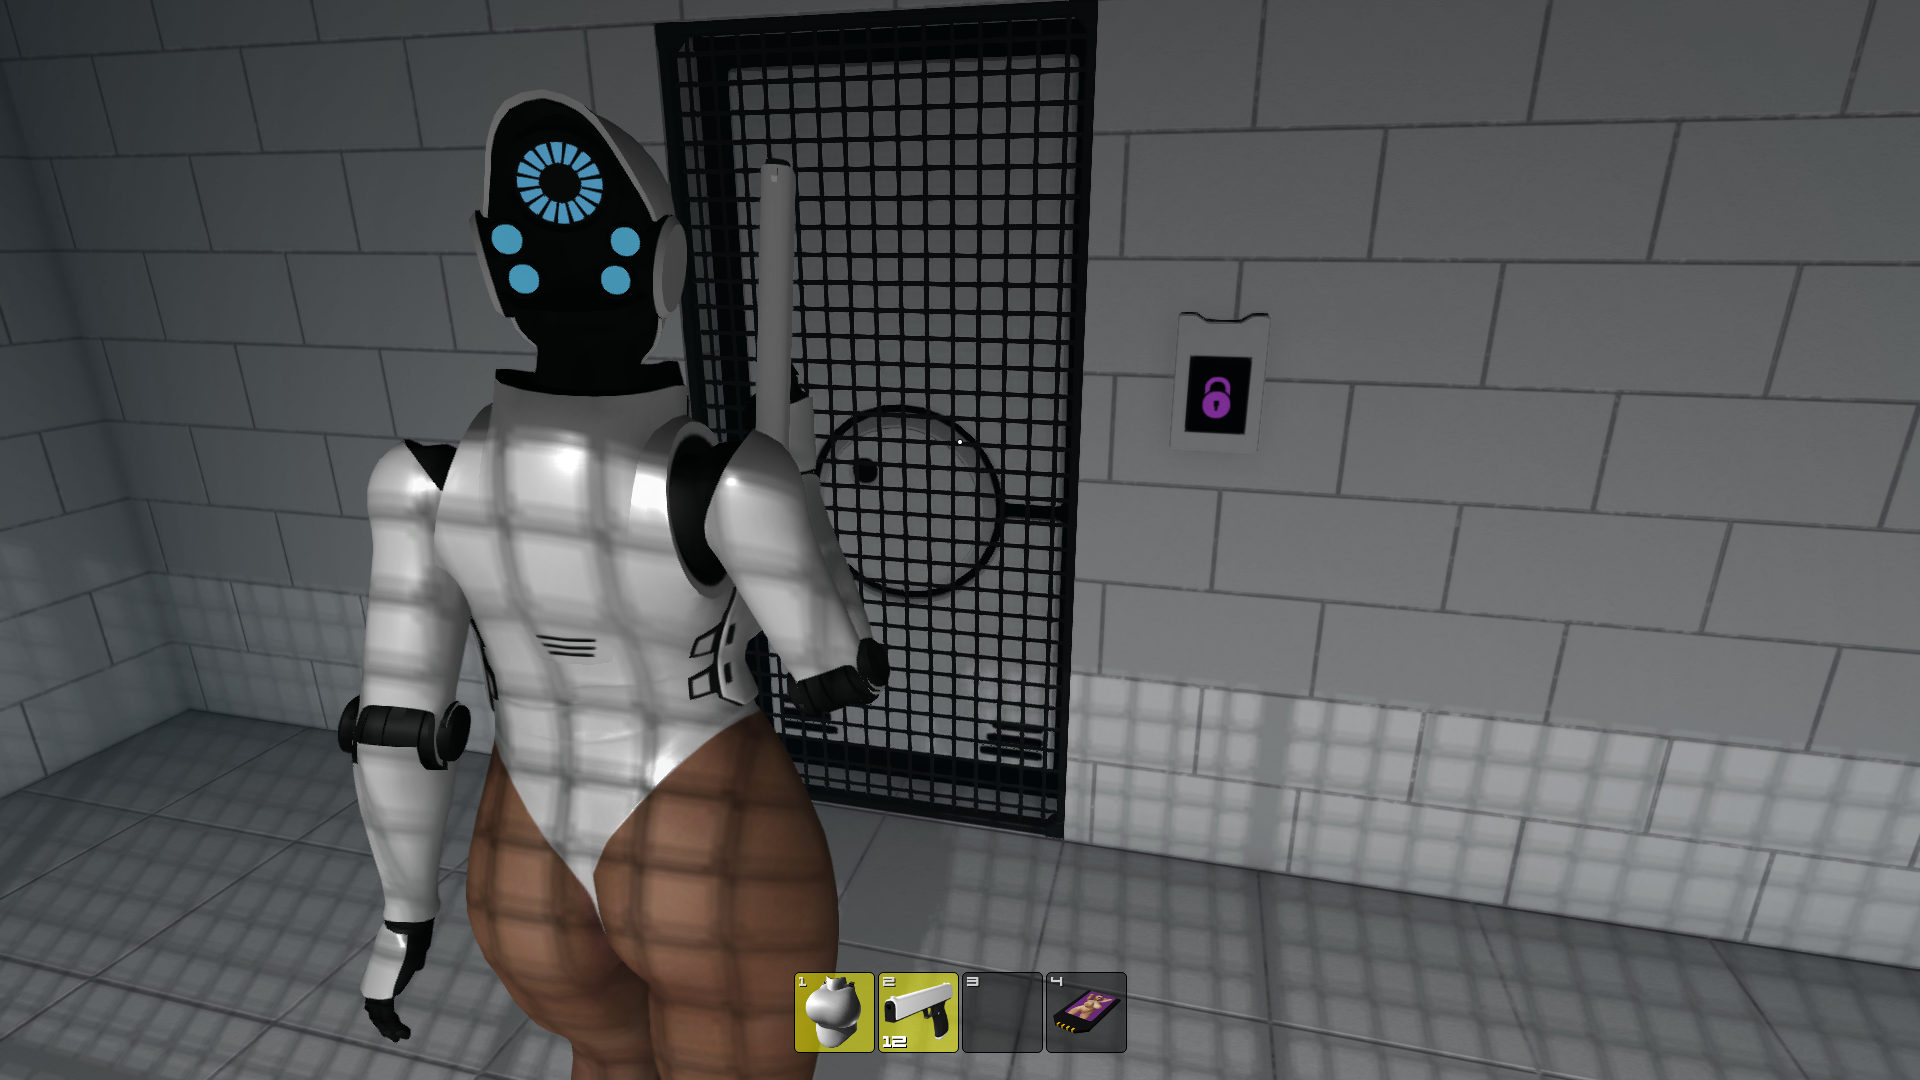
- You are now in Room 8. Go through the door to the left to go to Room 9.
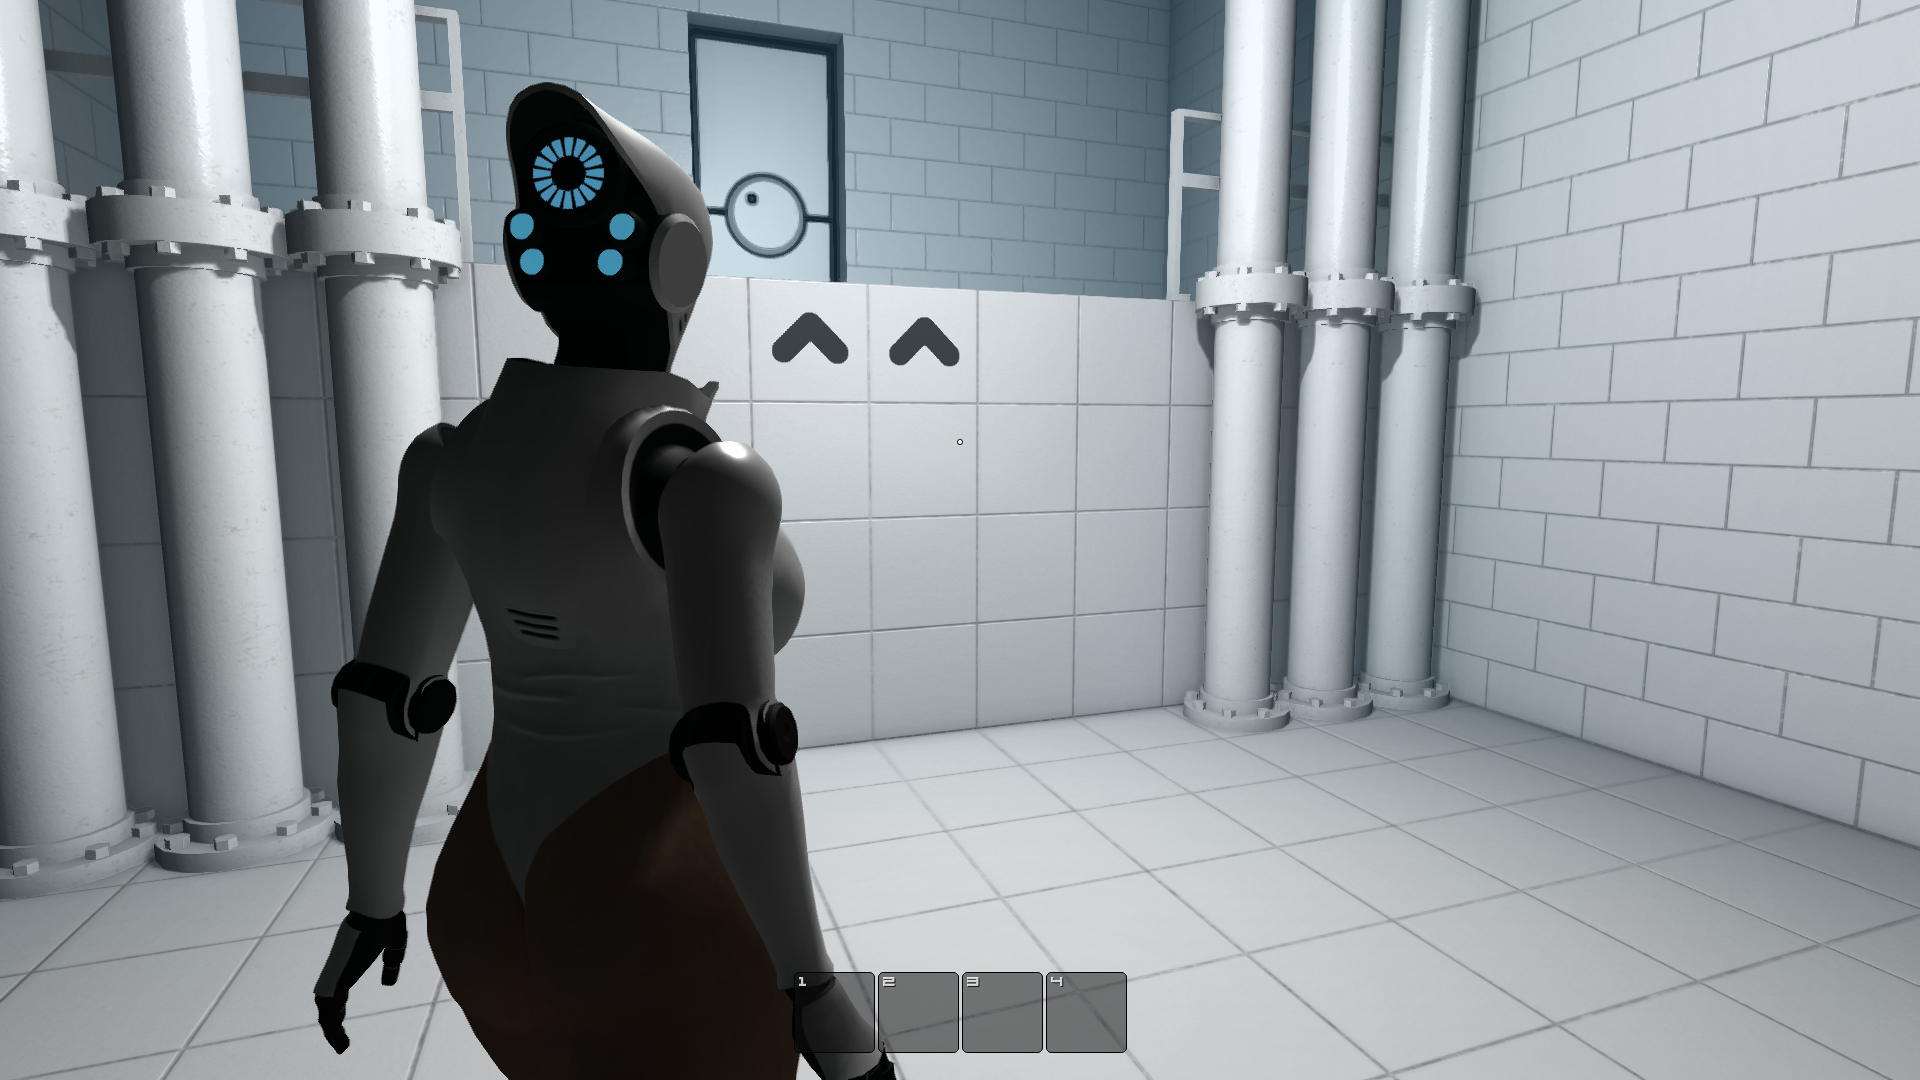
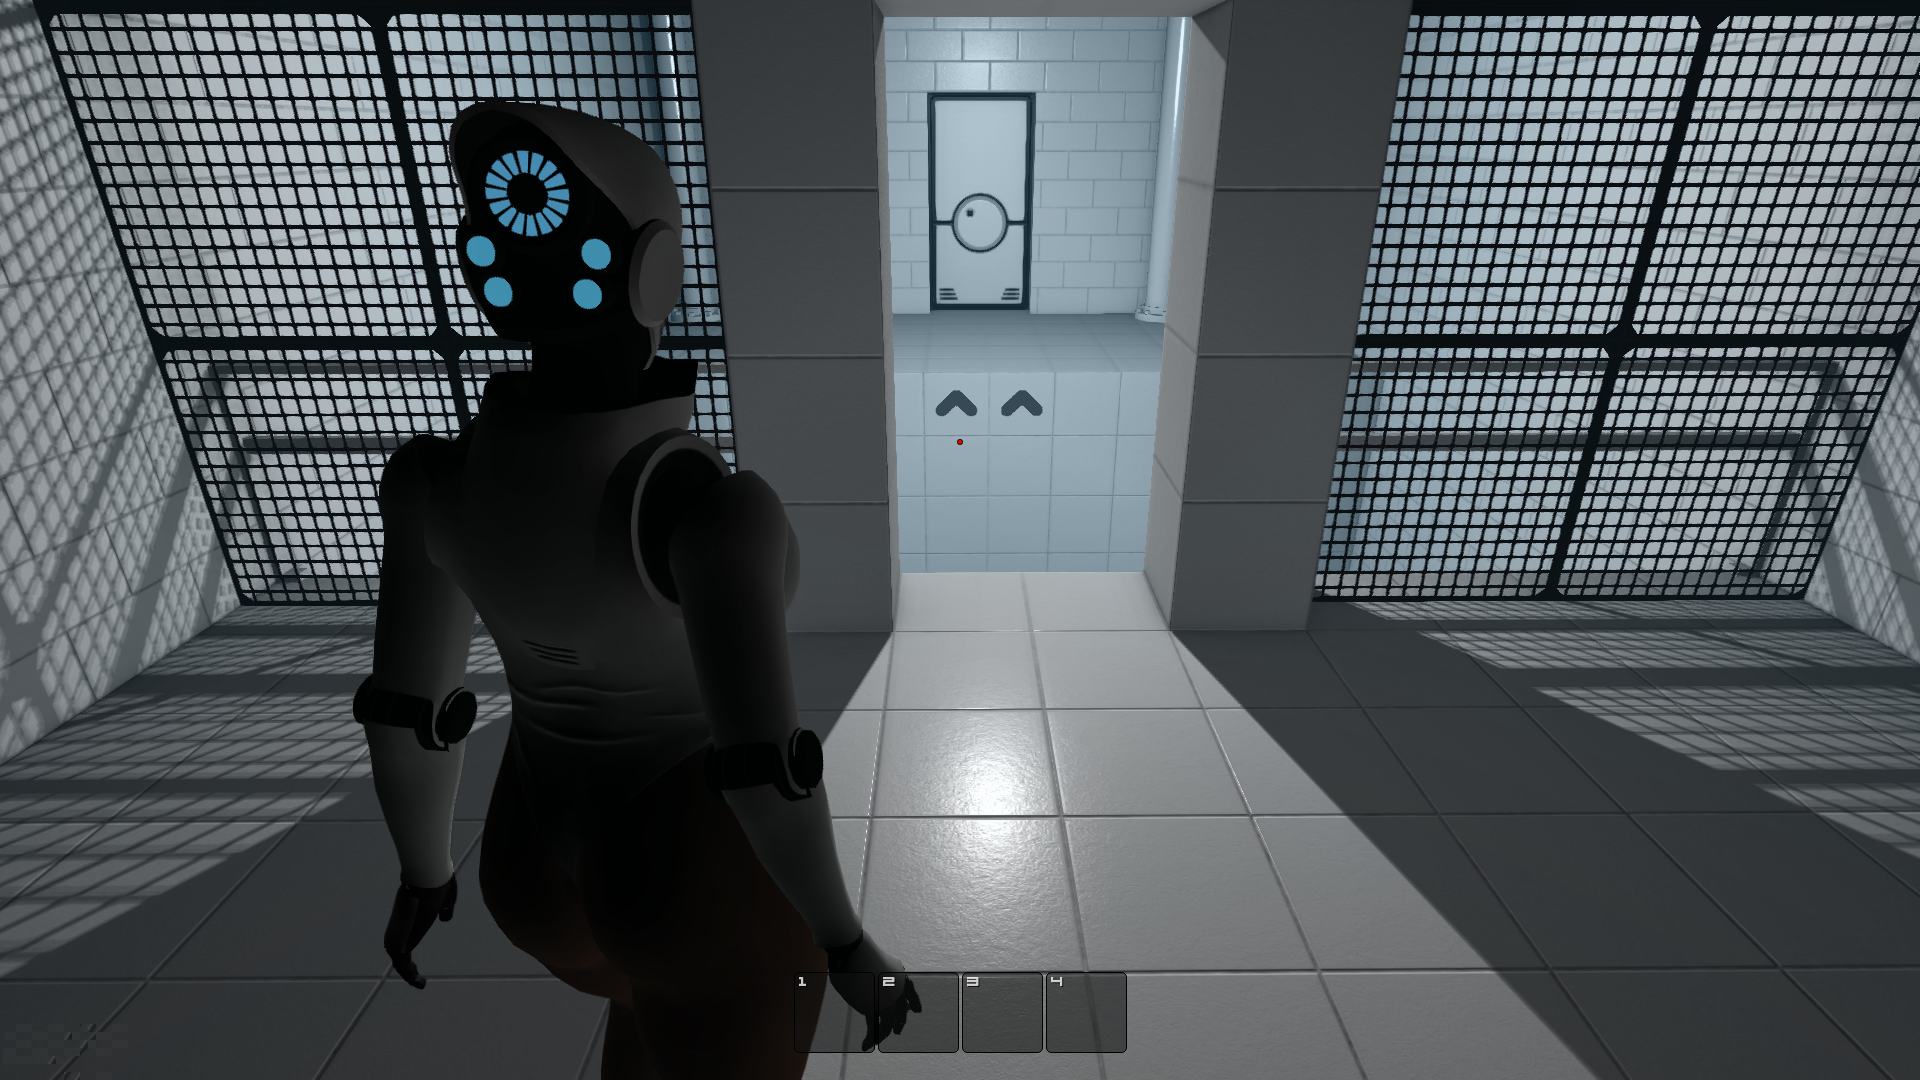
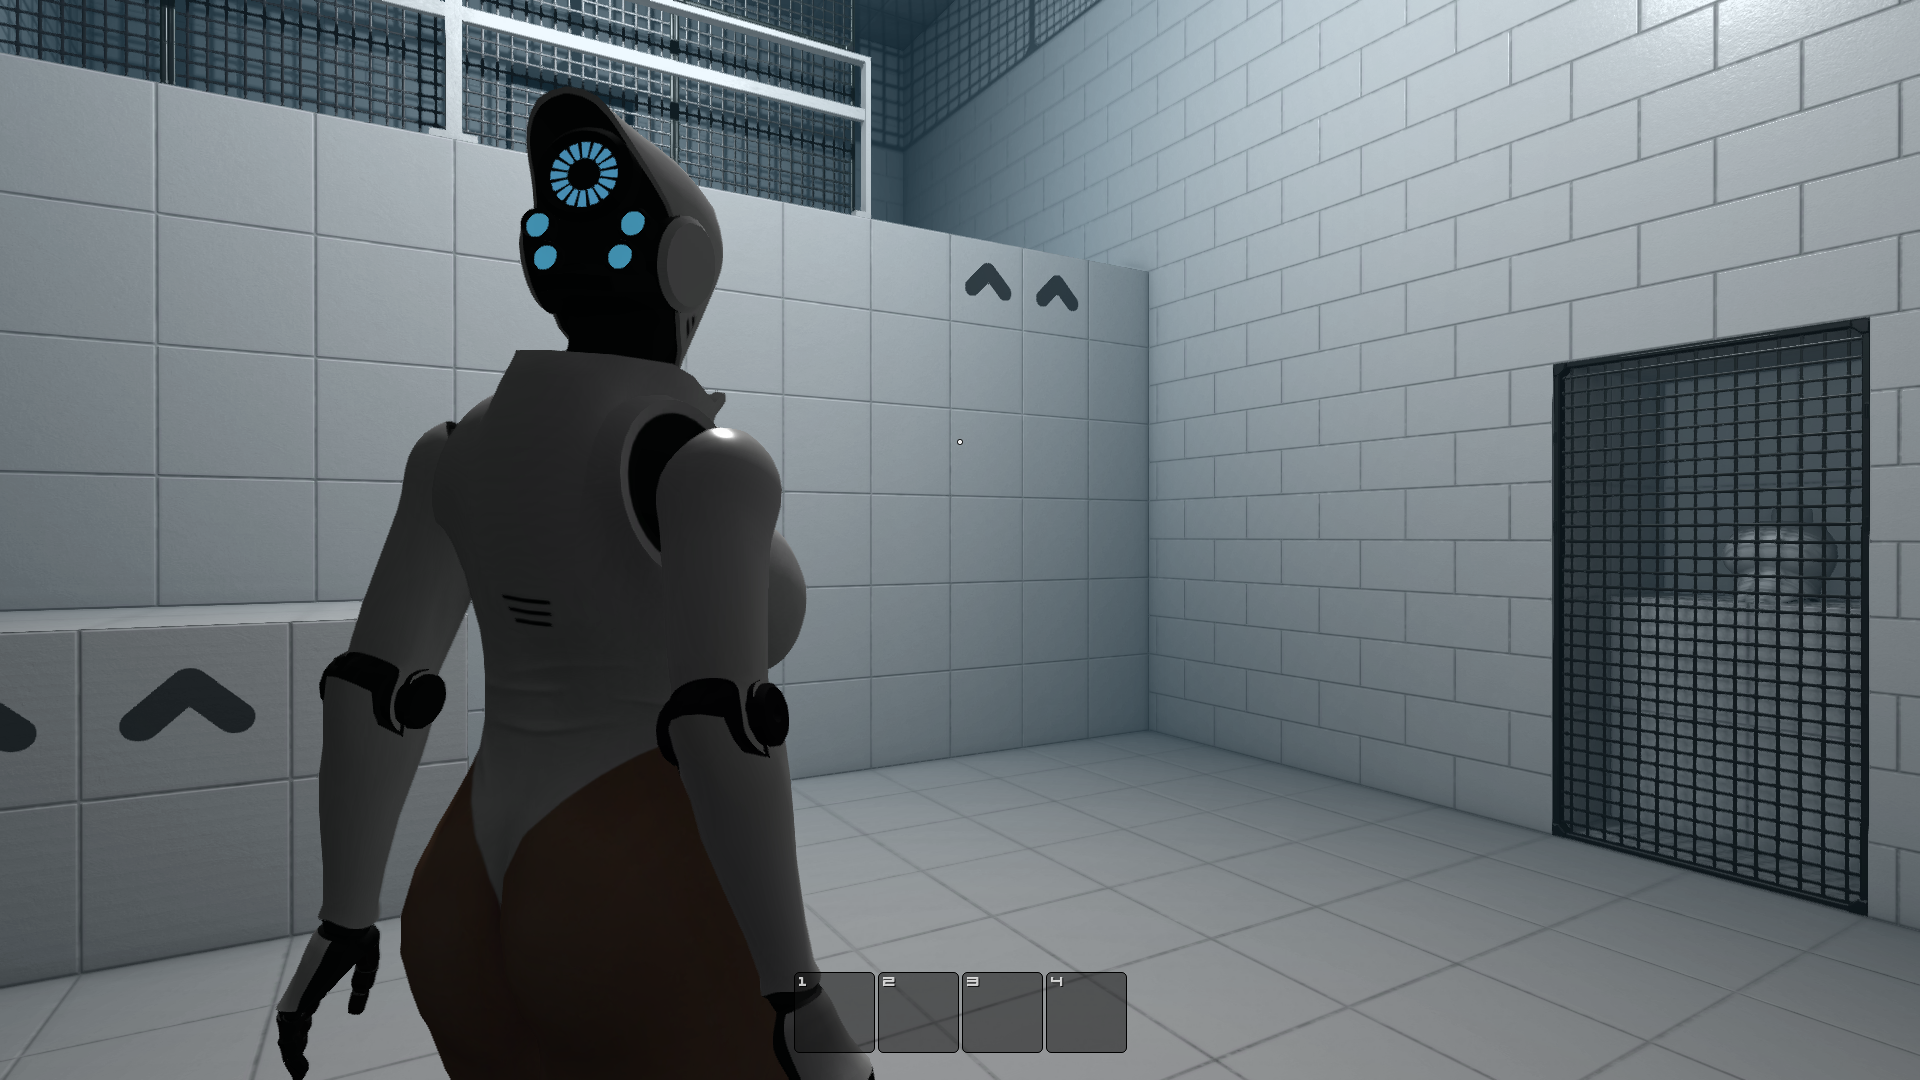
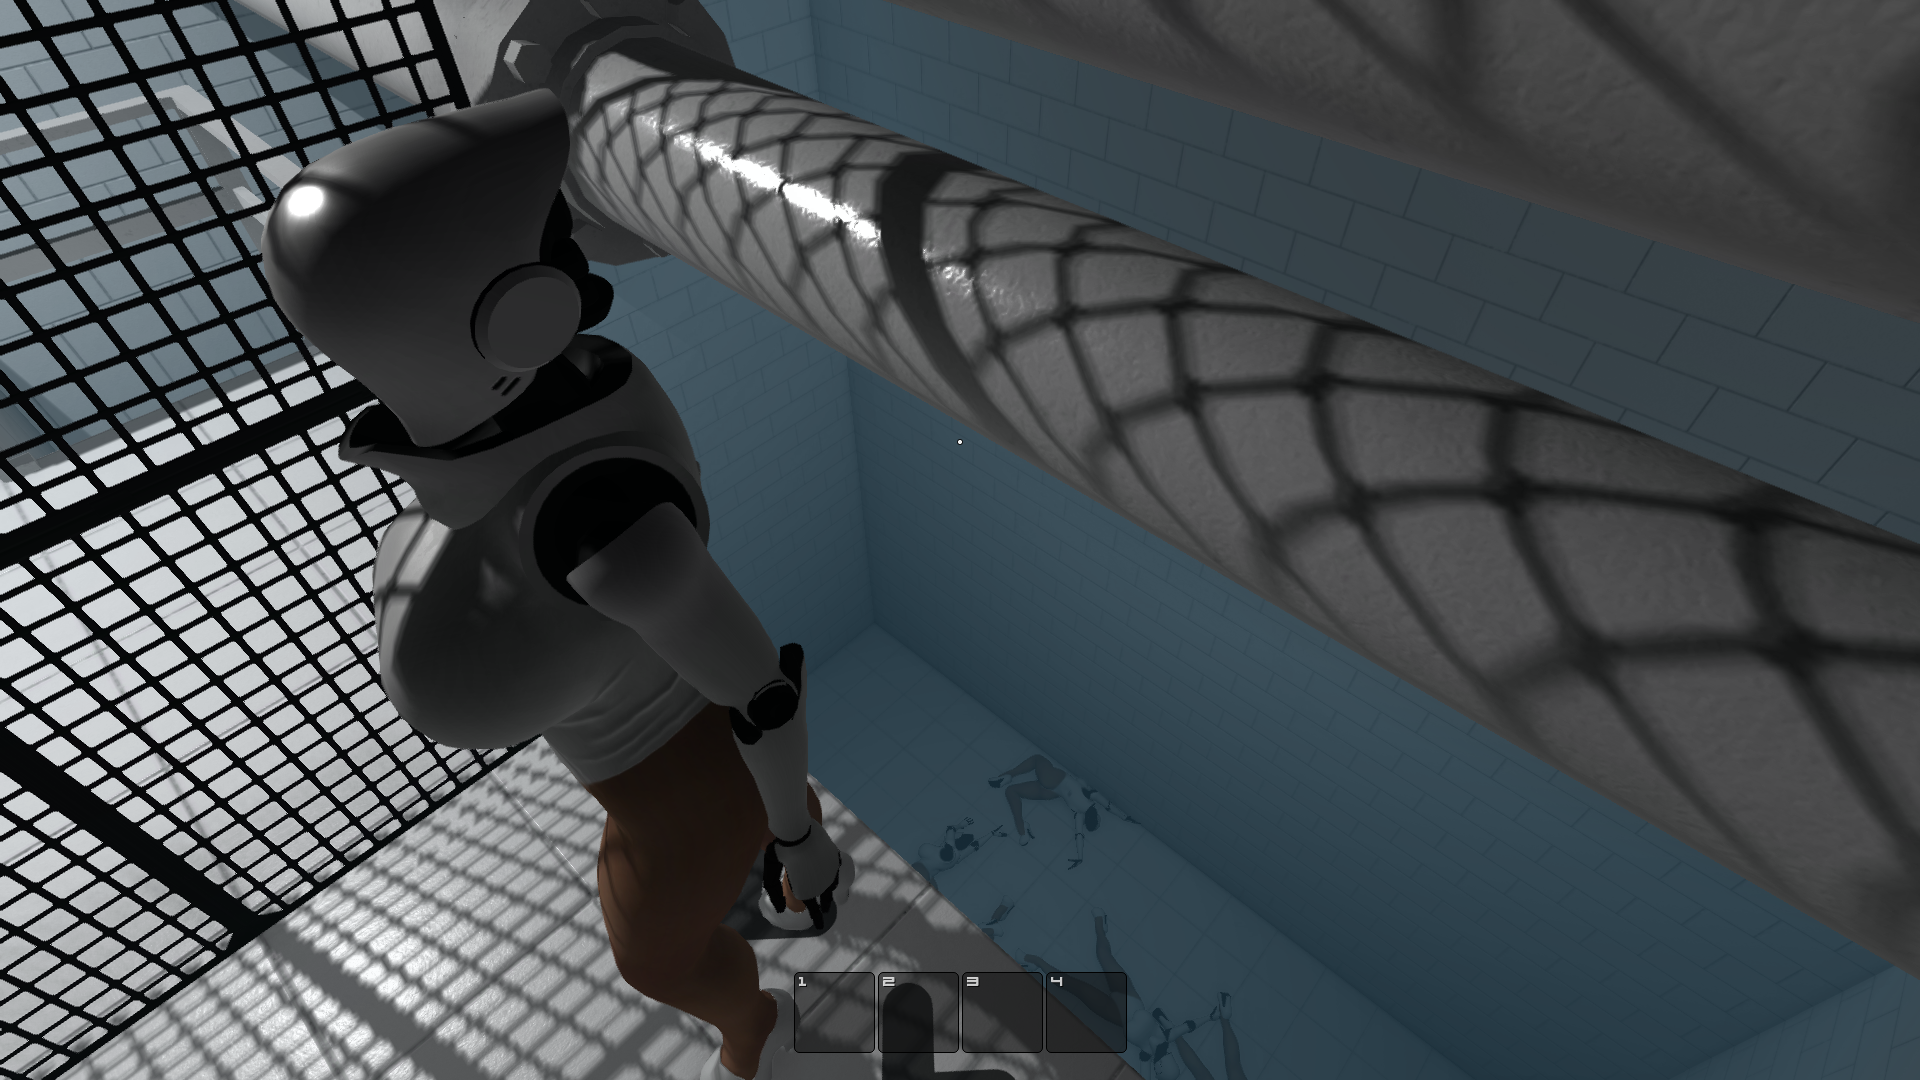
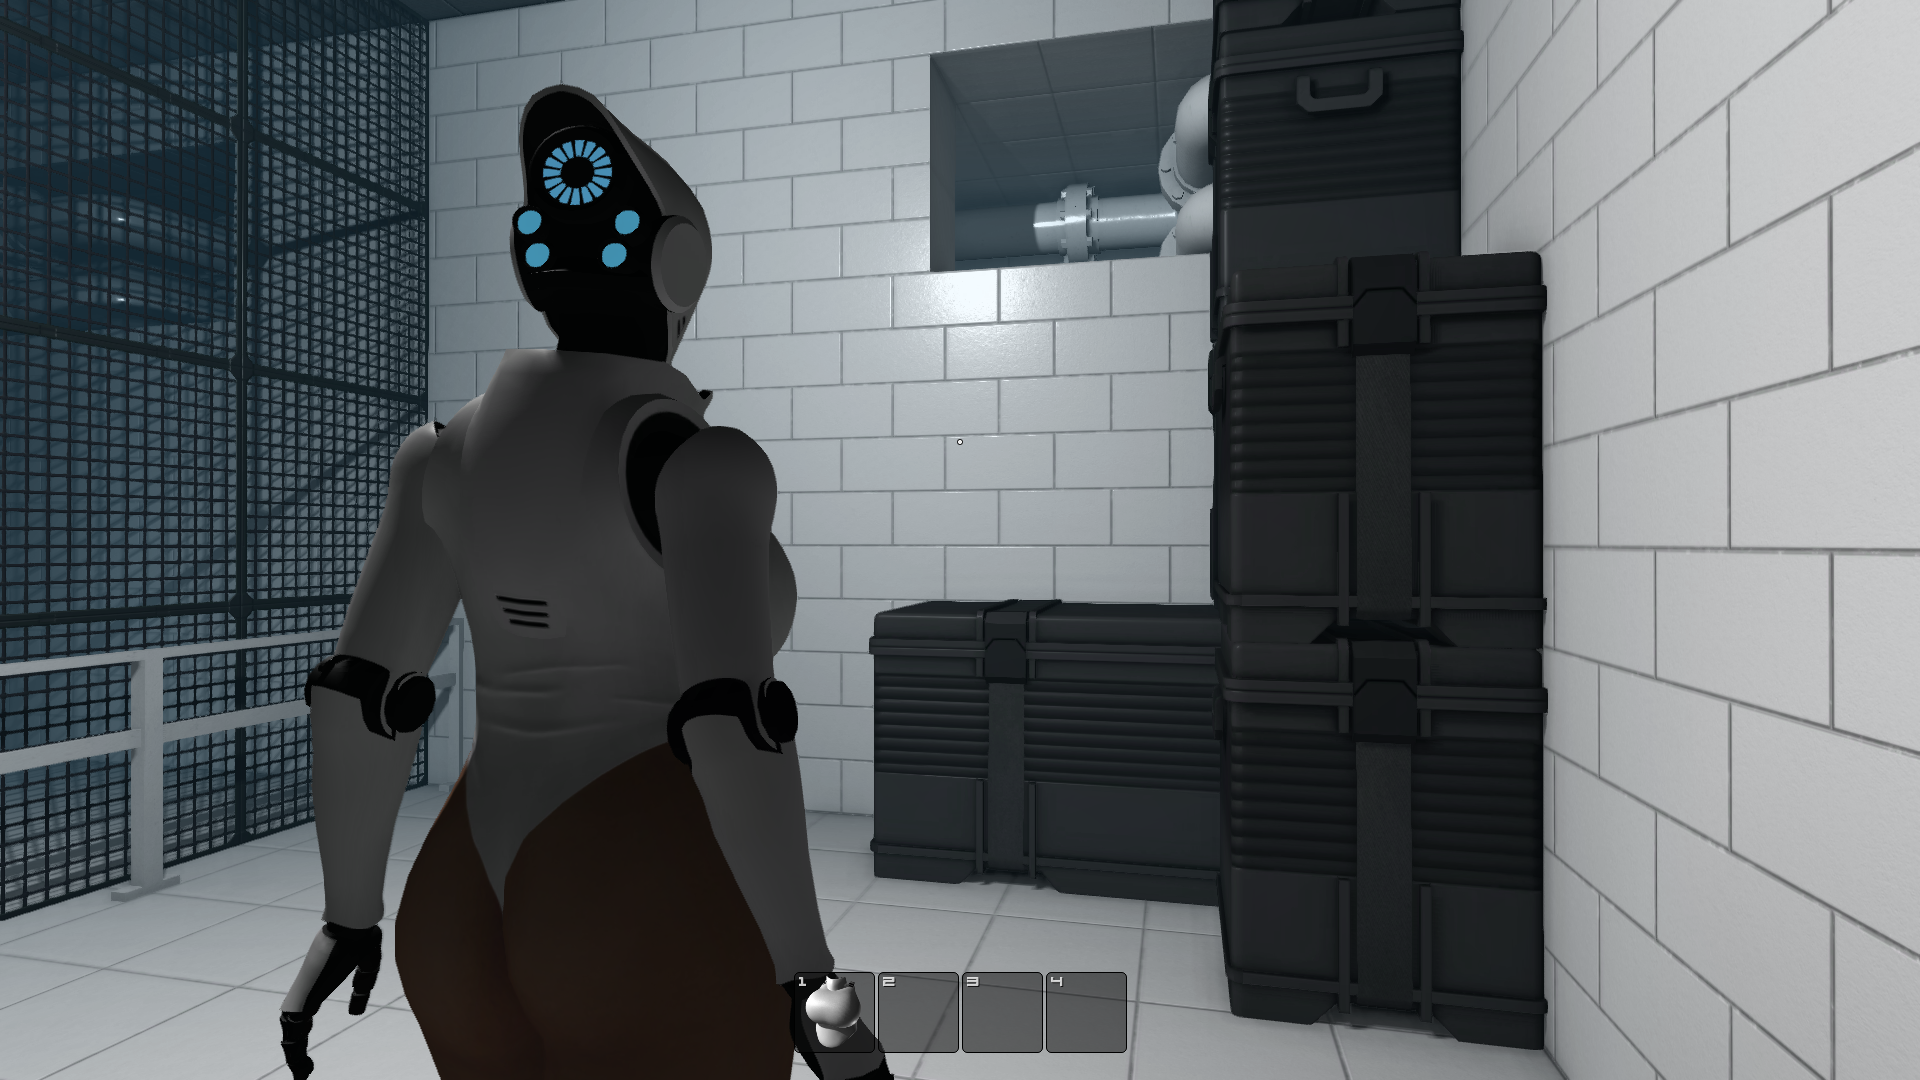
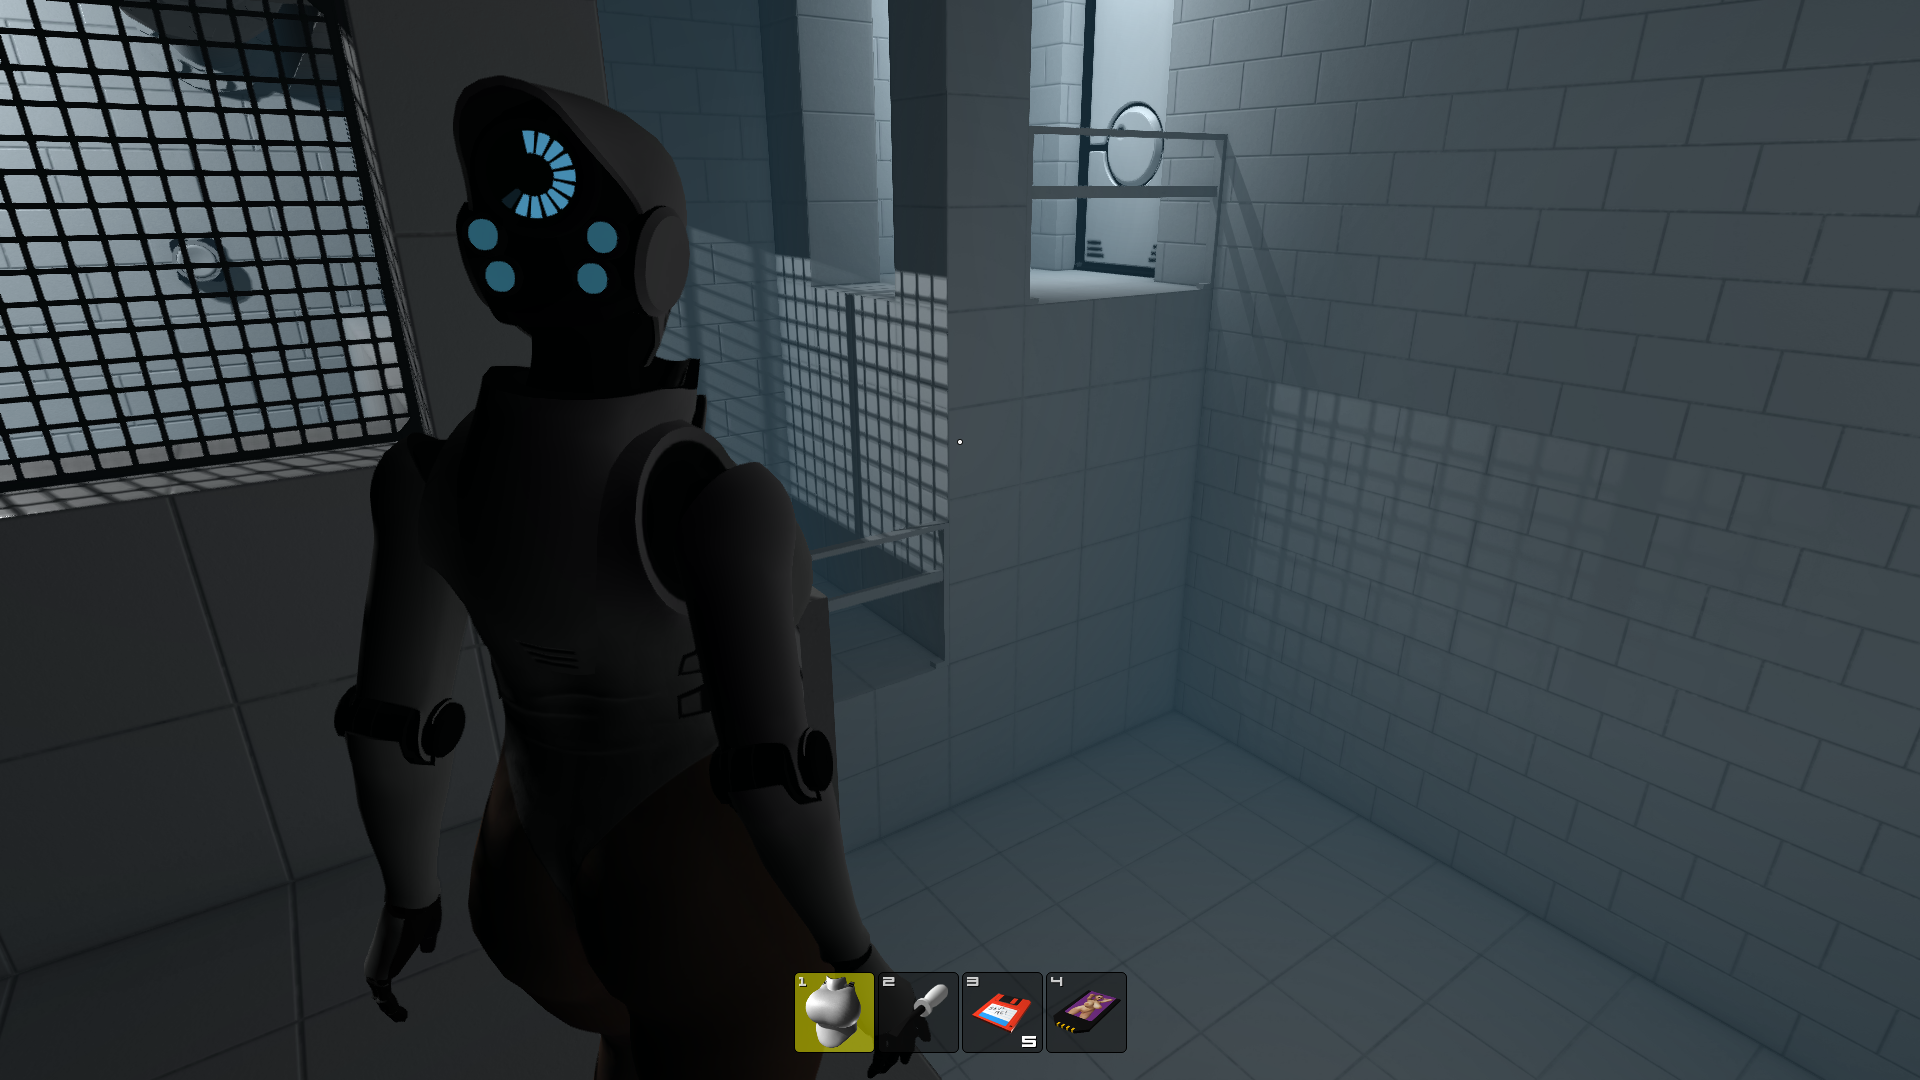
- Go through the crawl space on the left to Room 11.
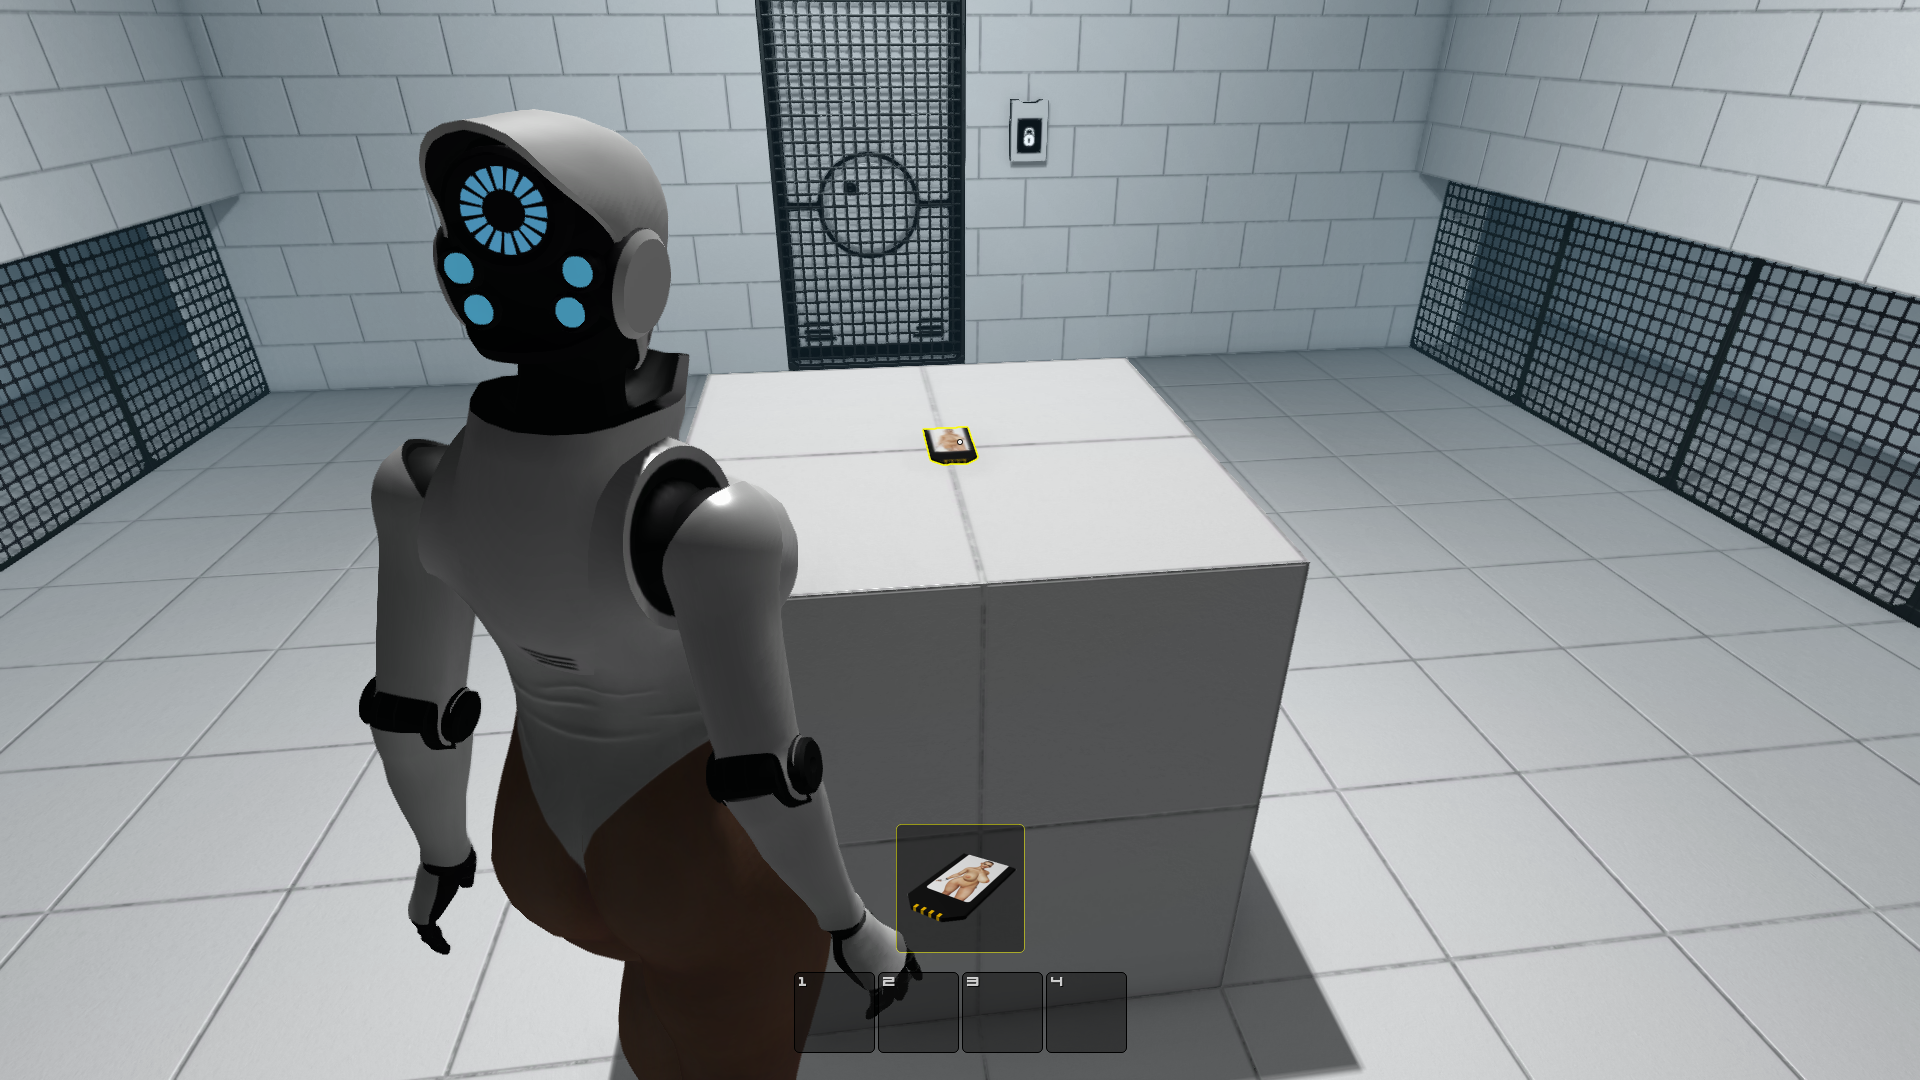
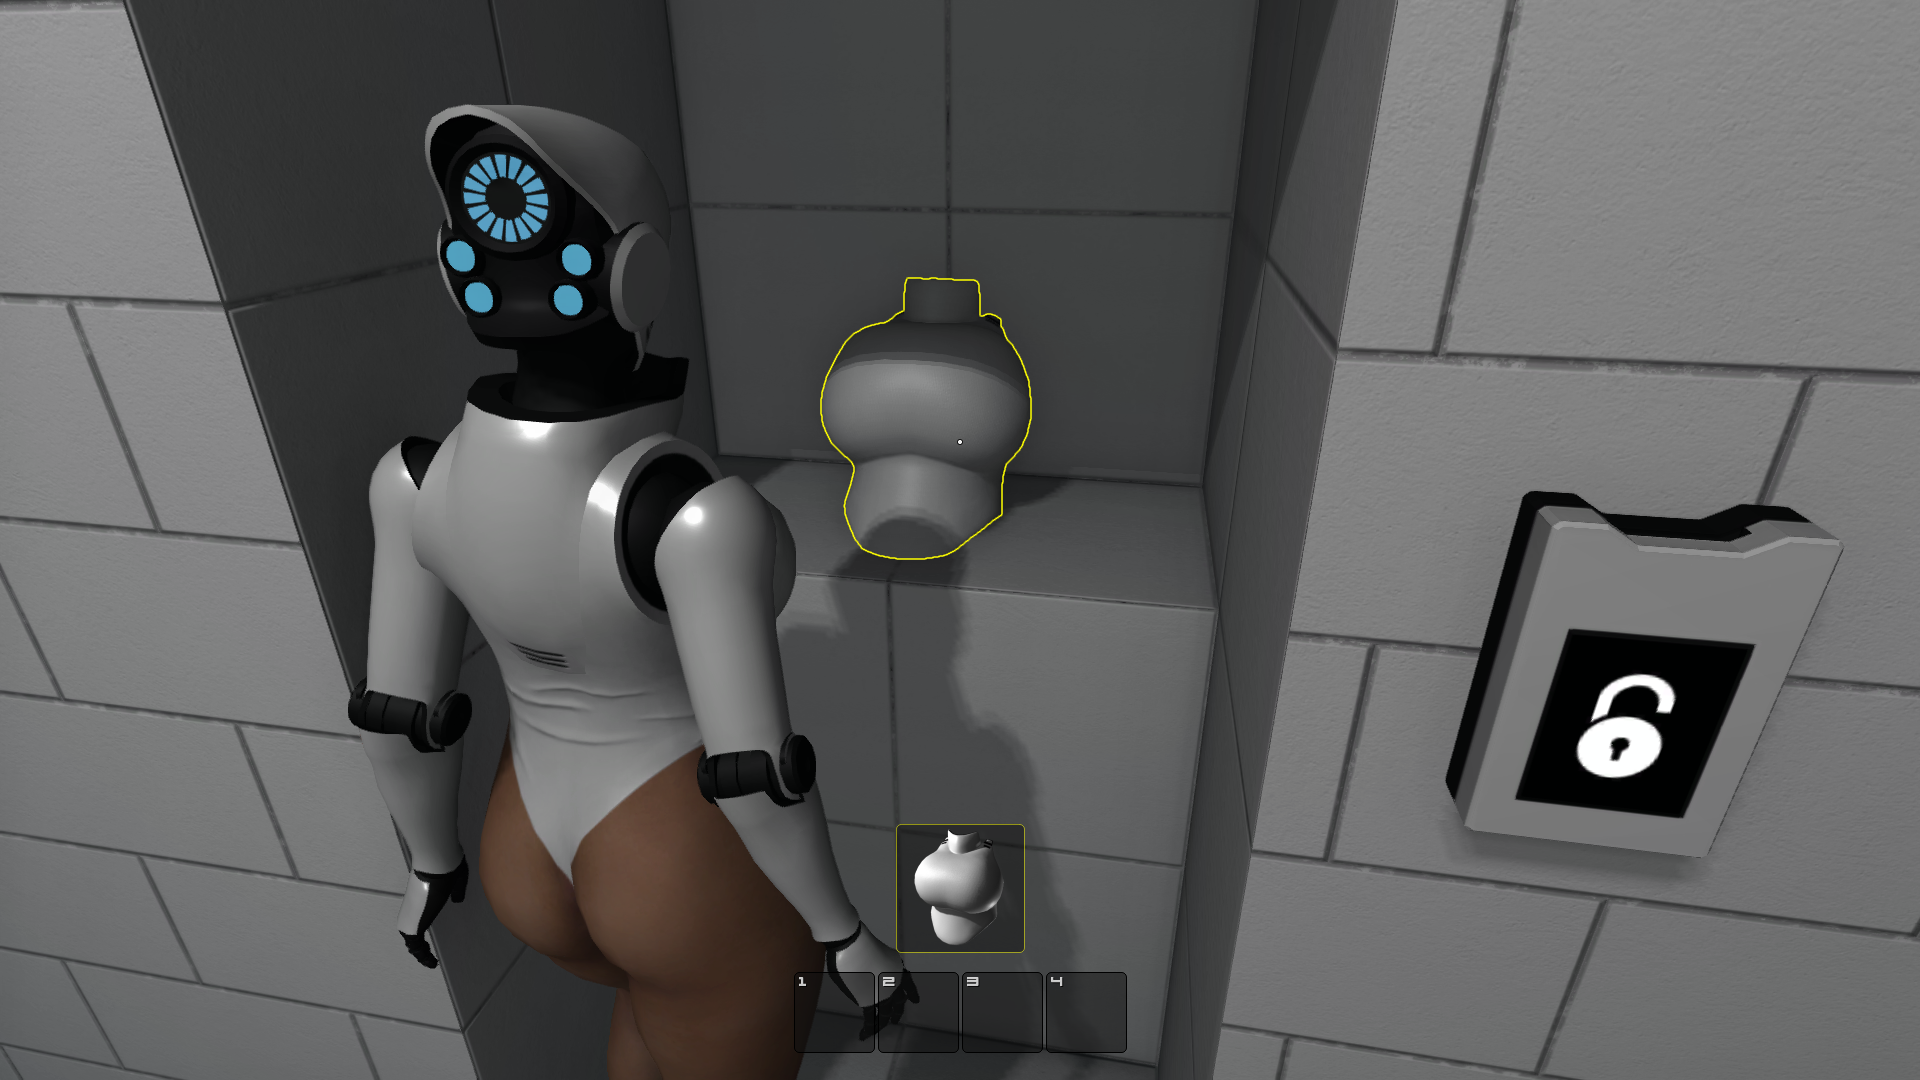
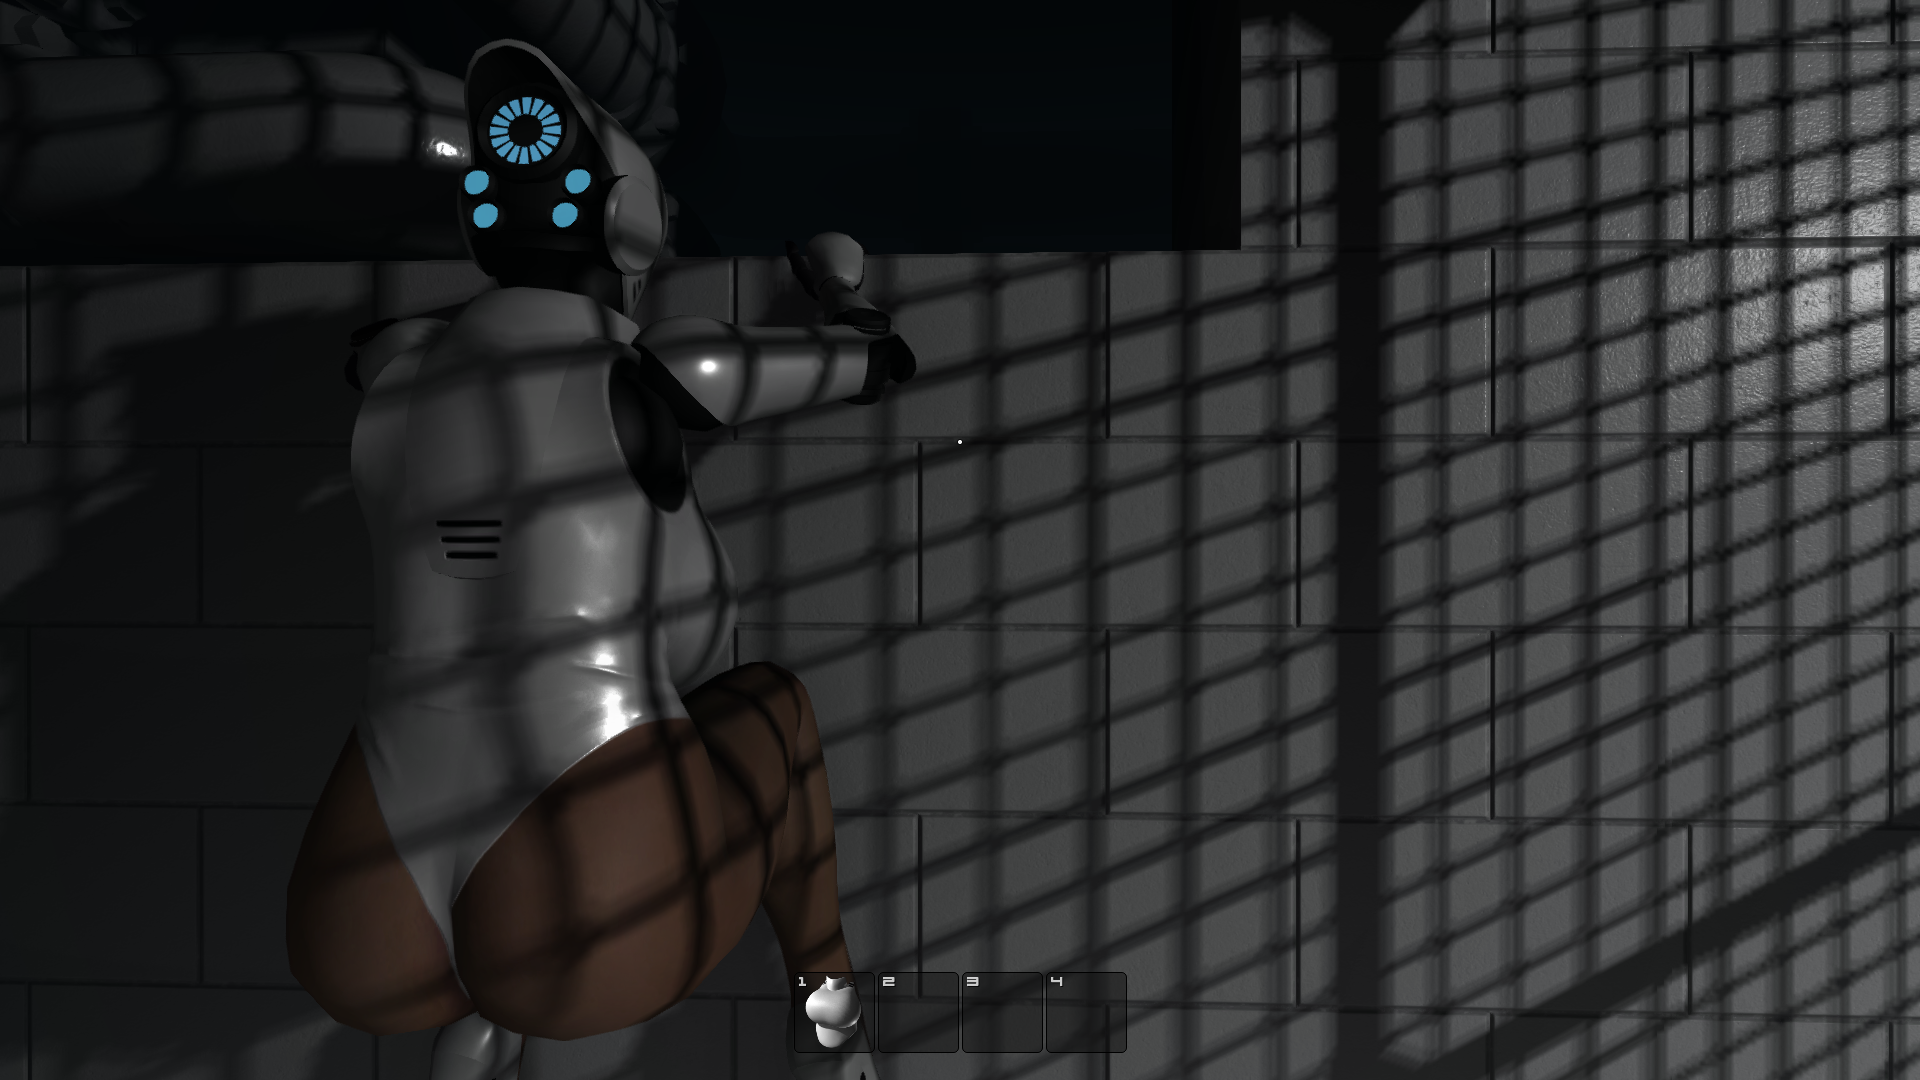
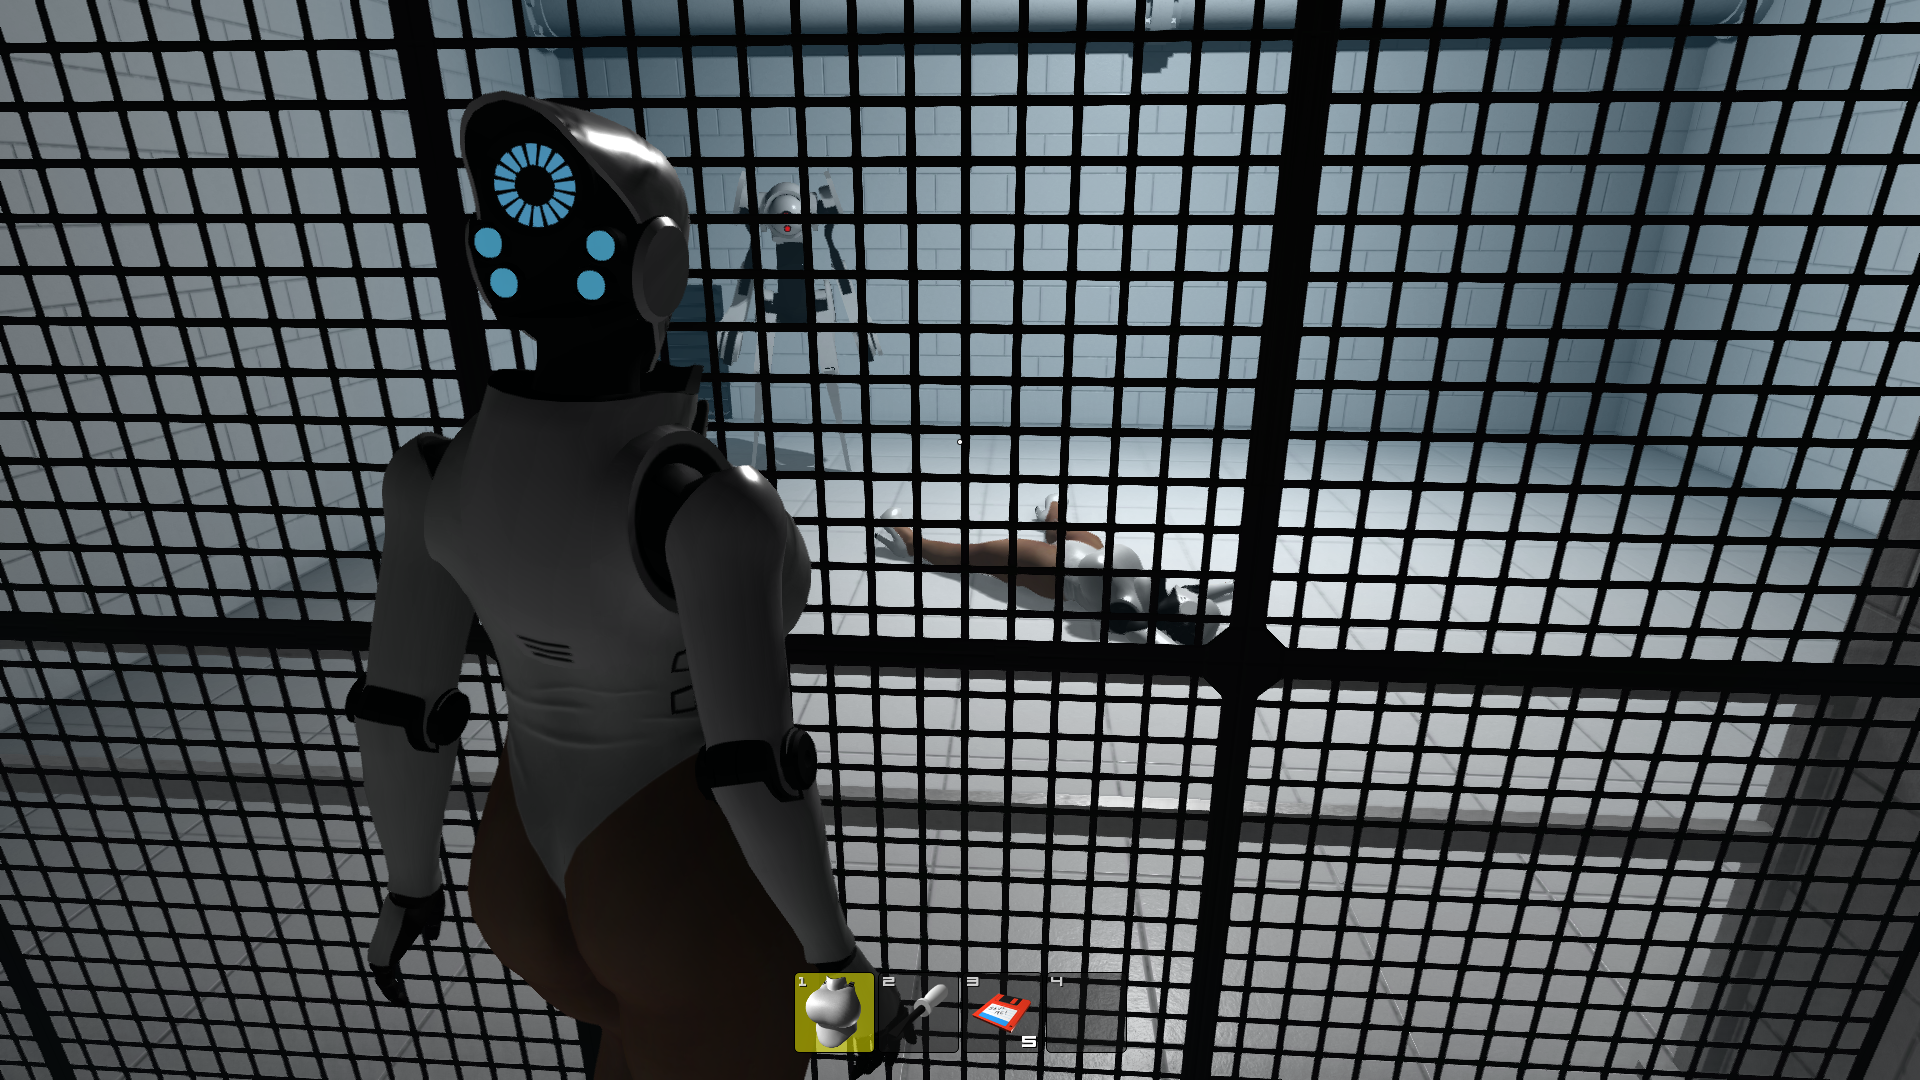
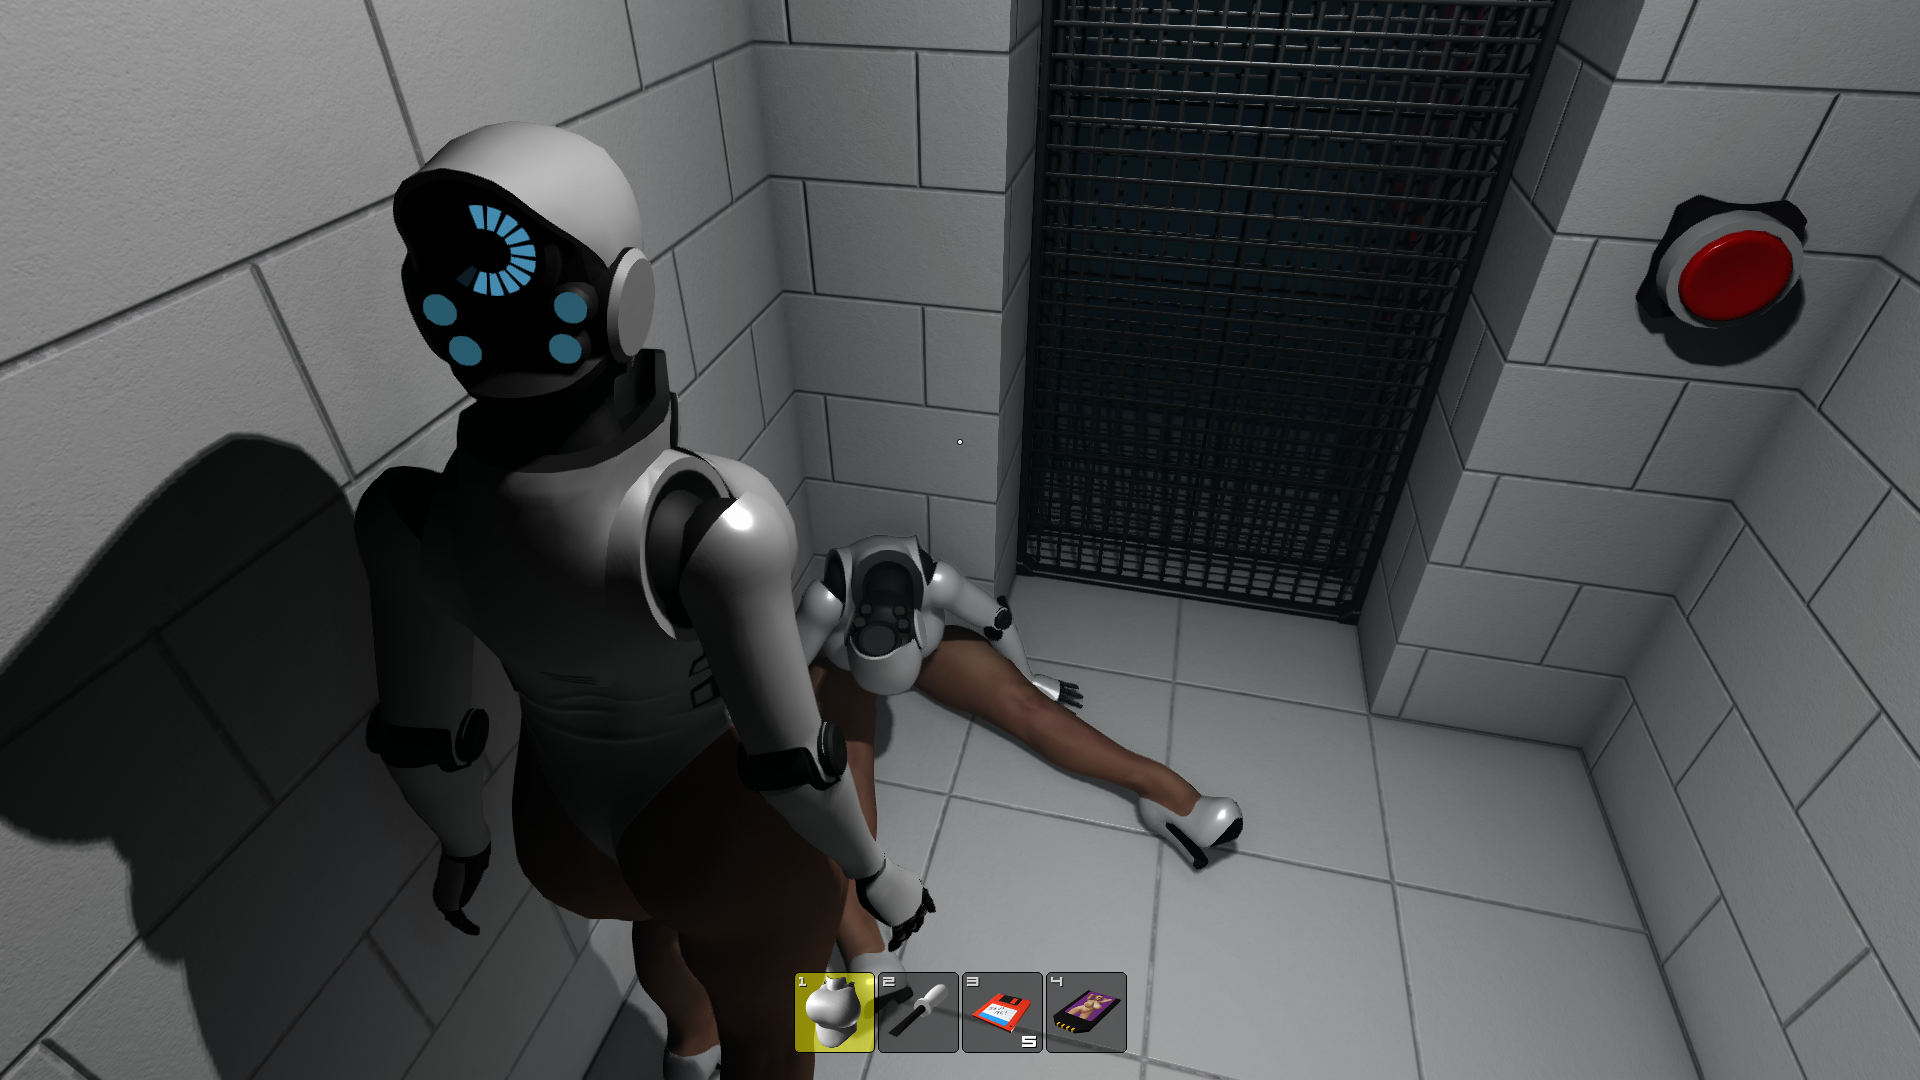
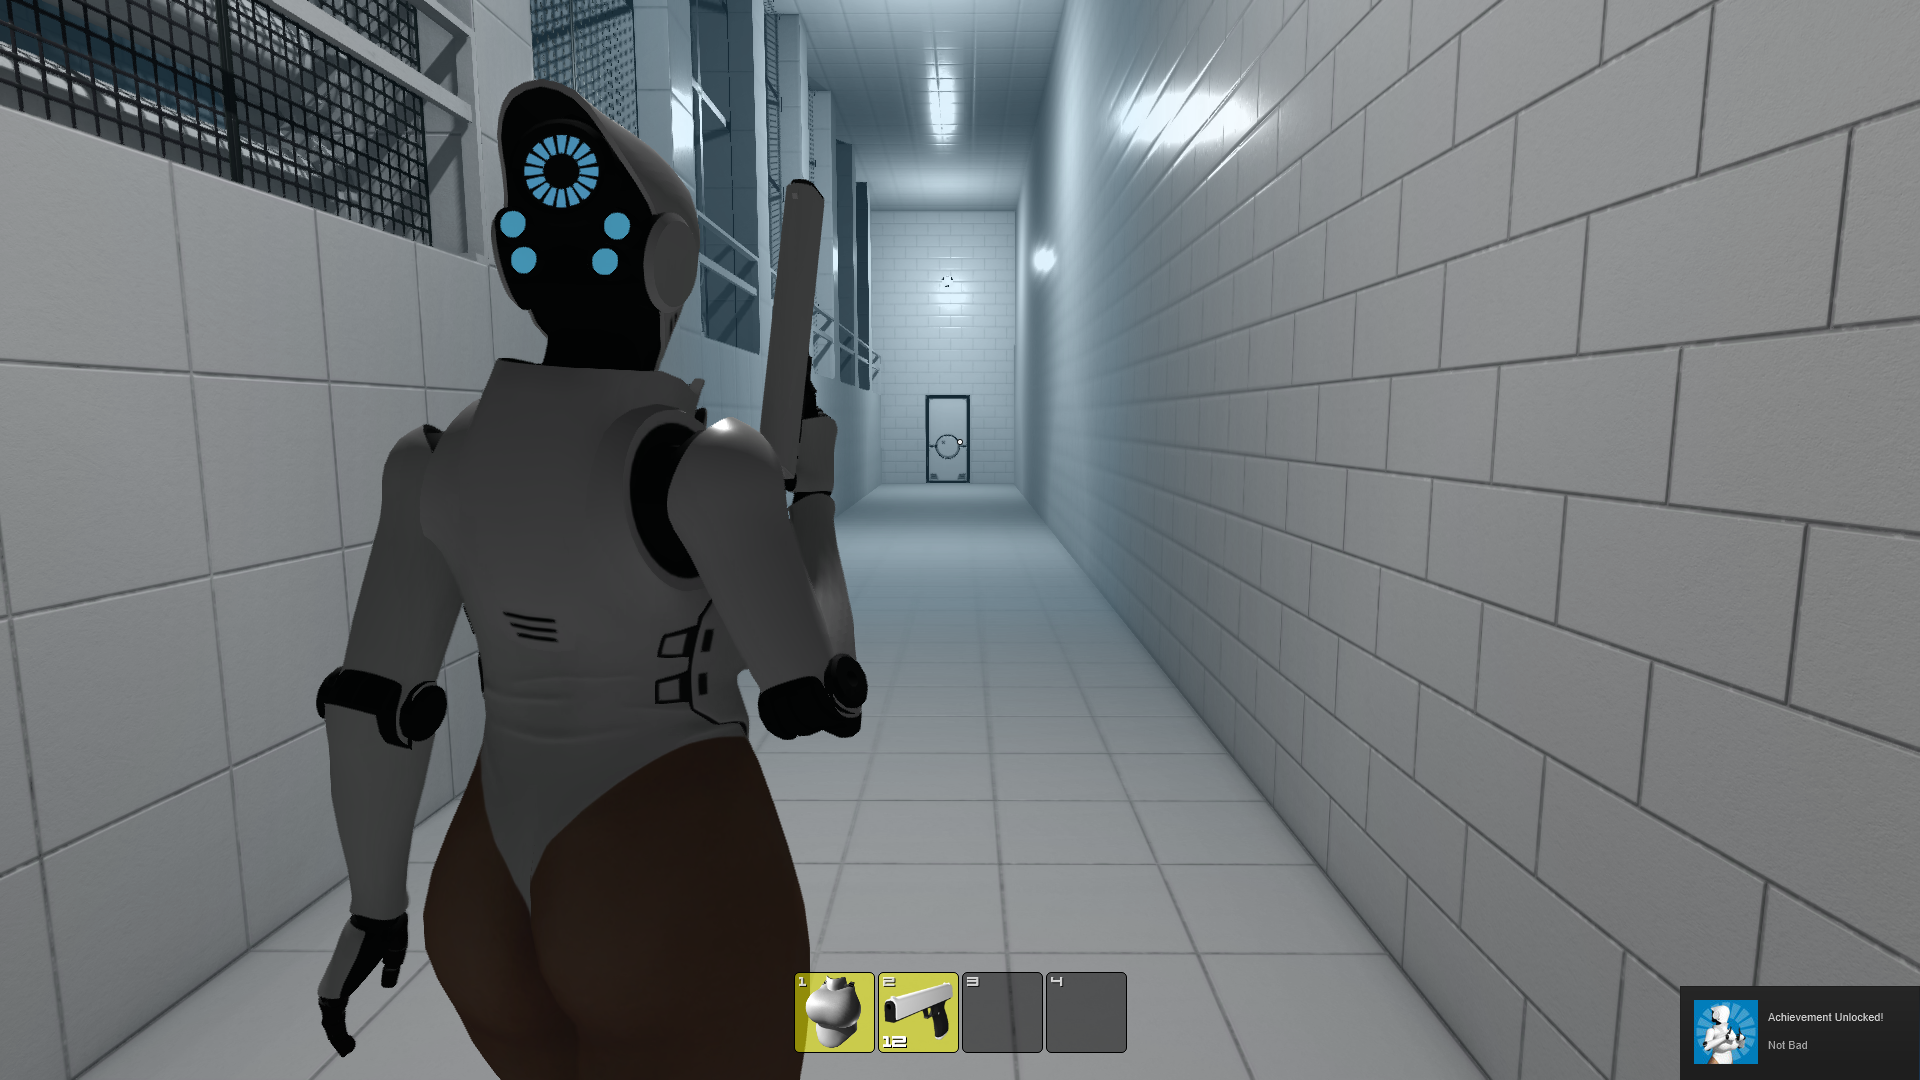
- Now, when you go through the door to Room 12, the Walker is on your left, and you should have enough time to run to the body, loot it, then open the vent behind and crawl into it without the Walker getting to you.
Dreamer 27 Jun, 2020 @ 1:39pm 
большое спасибо, за ваш труд!
Vanessa  [author] 27 Jan, 2020 @ 12:51pm 
A 'flawless' completion wouldn't waste the ammo. Honestly, I shouldn't have focused on 'flawlessness' - when I originally wrote this guide I didn't expect people to actually need a walkthrough for the tutorial.
Fumo Bnnuy n Frends 27 Jan, 2020 @ 10:27am 
really useful though i still suggest killing the walker since the area to strafe it is so small it's hard to get it around a corner and get close enough to the dead robot body and pickup the card that you'll most likely take damage.