

Install Steam
login
|
language
简体中文 (Simplified Chinese)
繁體中文 (Traditional Chinese)
日本語 (Japanese)
한국어 (Korean)
ไทย (Thai)
Български (Bulgarian)
Čeština (Czech)
Dansk (Danish)
Deutsch (German)
Español - España (Spanish - Spain)
Español - Latinoamérica (Spanish - Latin America)
Ελληνικά (Greek)
Français (French)
Italiano (Italian)
Bahasa Indonesia (Indonesian)
Magyar (Hungarian)
Nederlands (Dutch)
Norsk (Norwegian)
Polski (Polish)
Português (Portuguese - Portugal)
Português - Brasil (Portuguese - Brazil)
Română (Romanian)
Русский (Russian)
Suomi (Finnish)
Svenska (Swedish)
Türkçe (Turkish)
Tiếng Việt (Vietnamese)
Українська (Ukrainian)
Report a translation problem


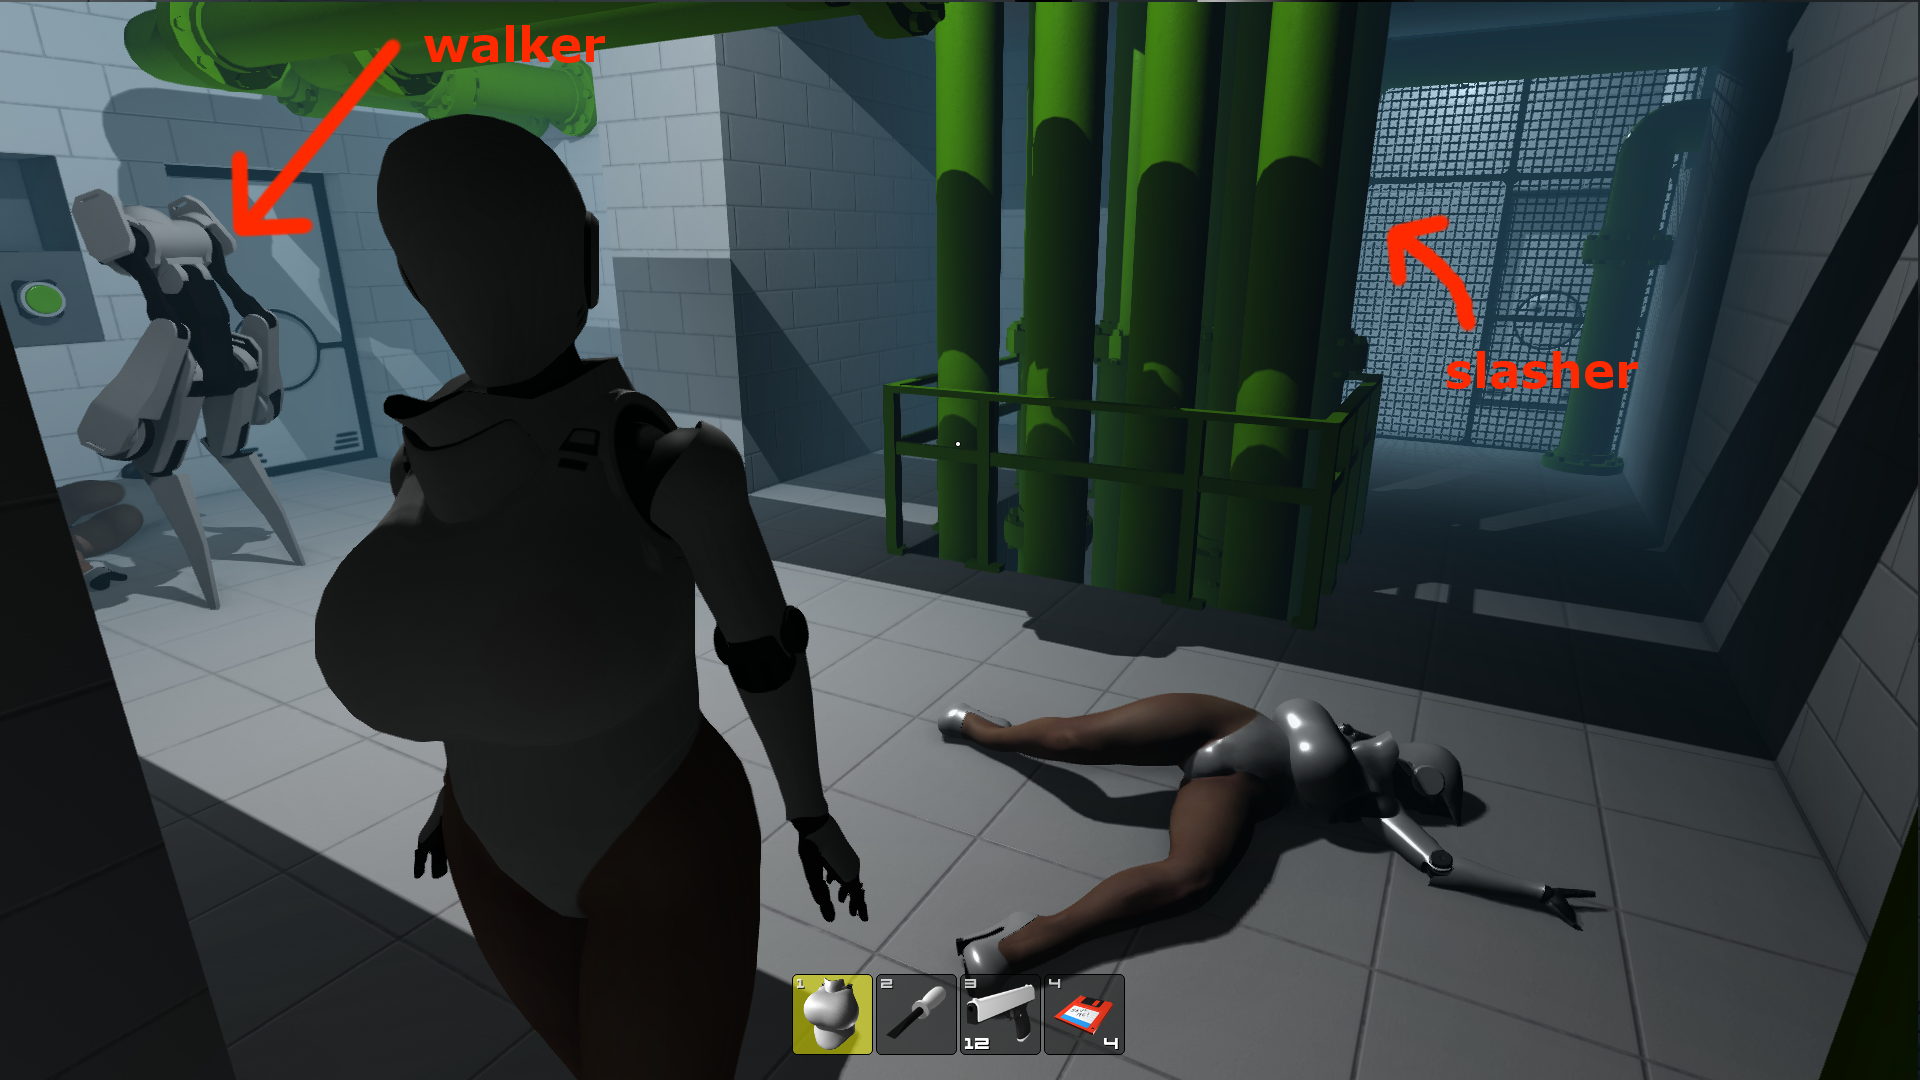
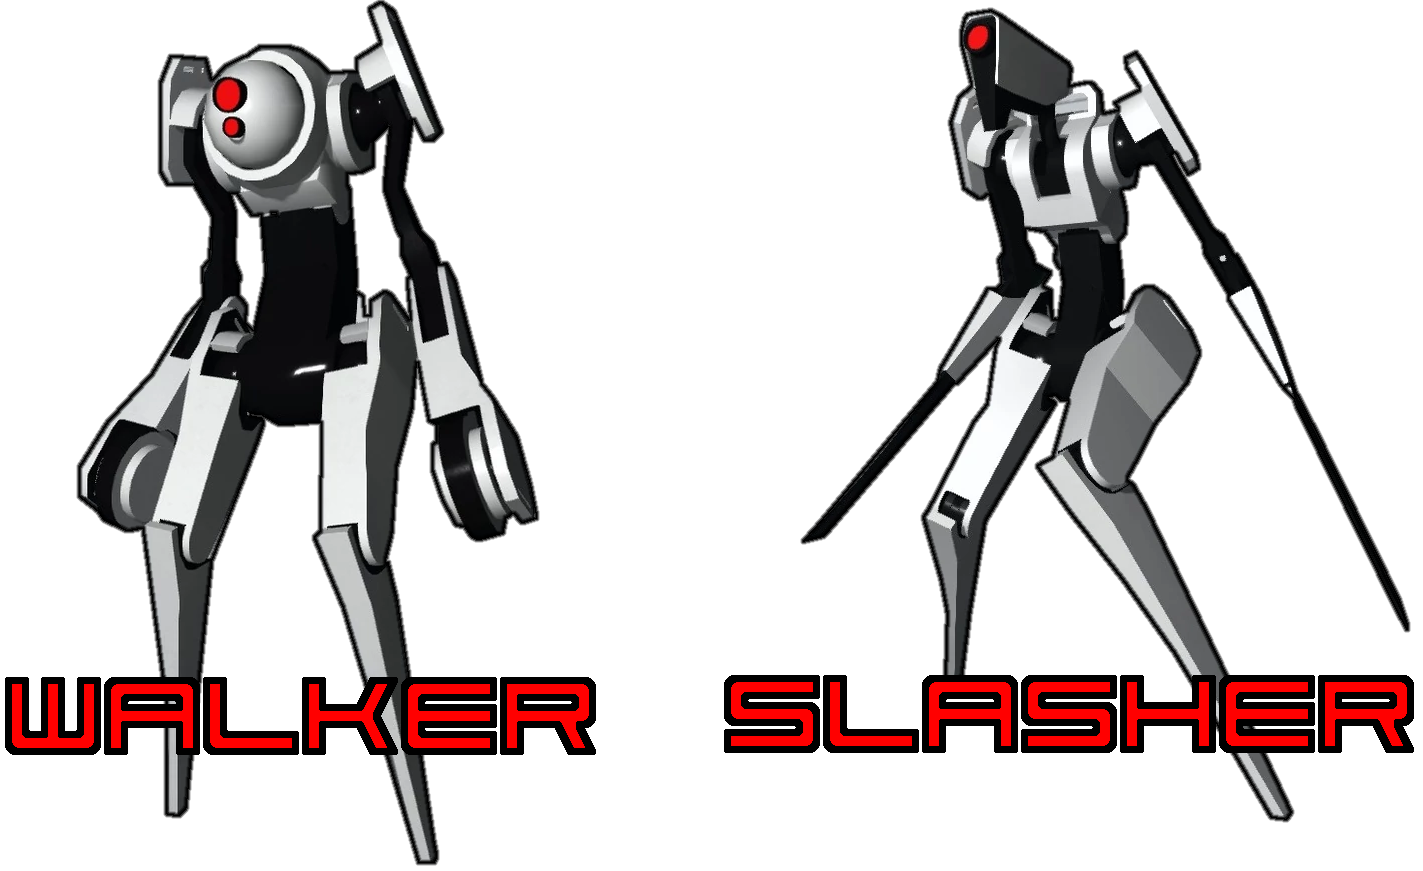
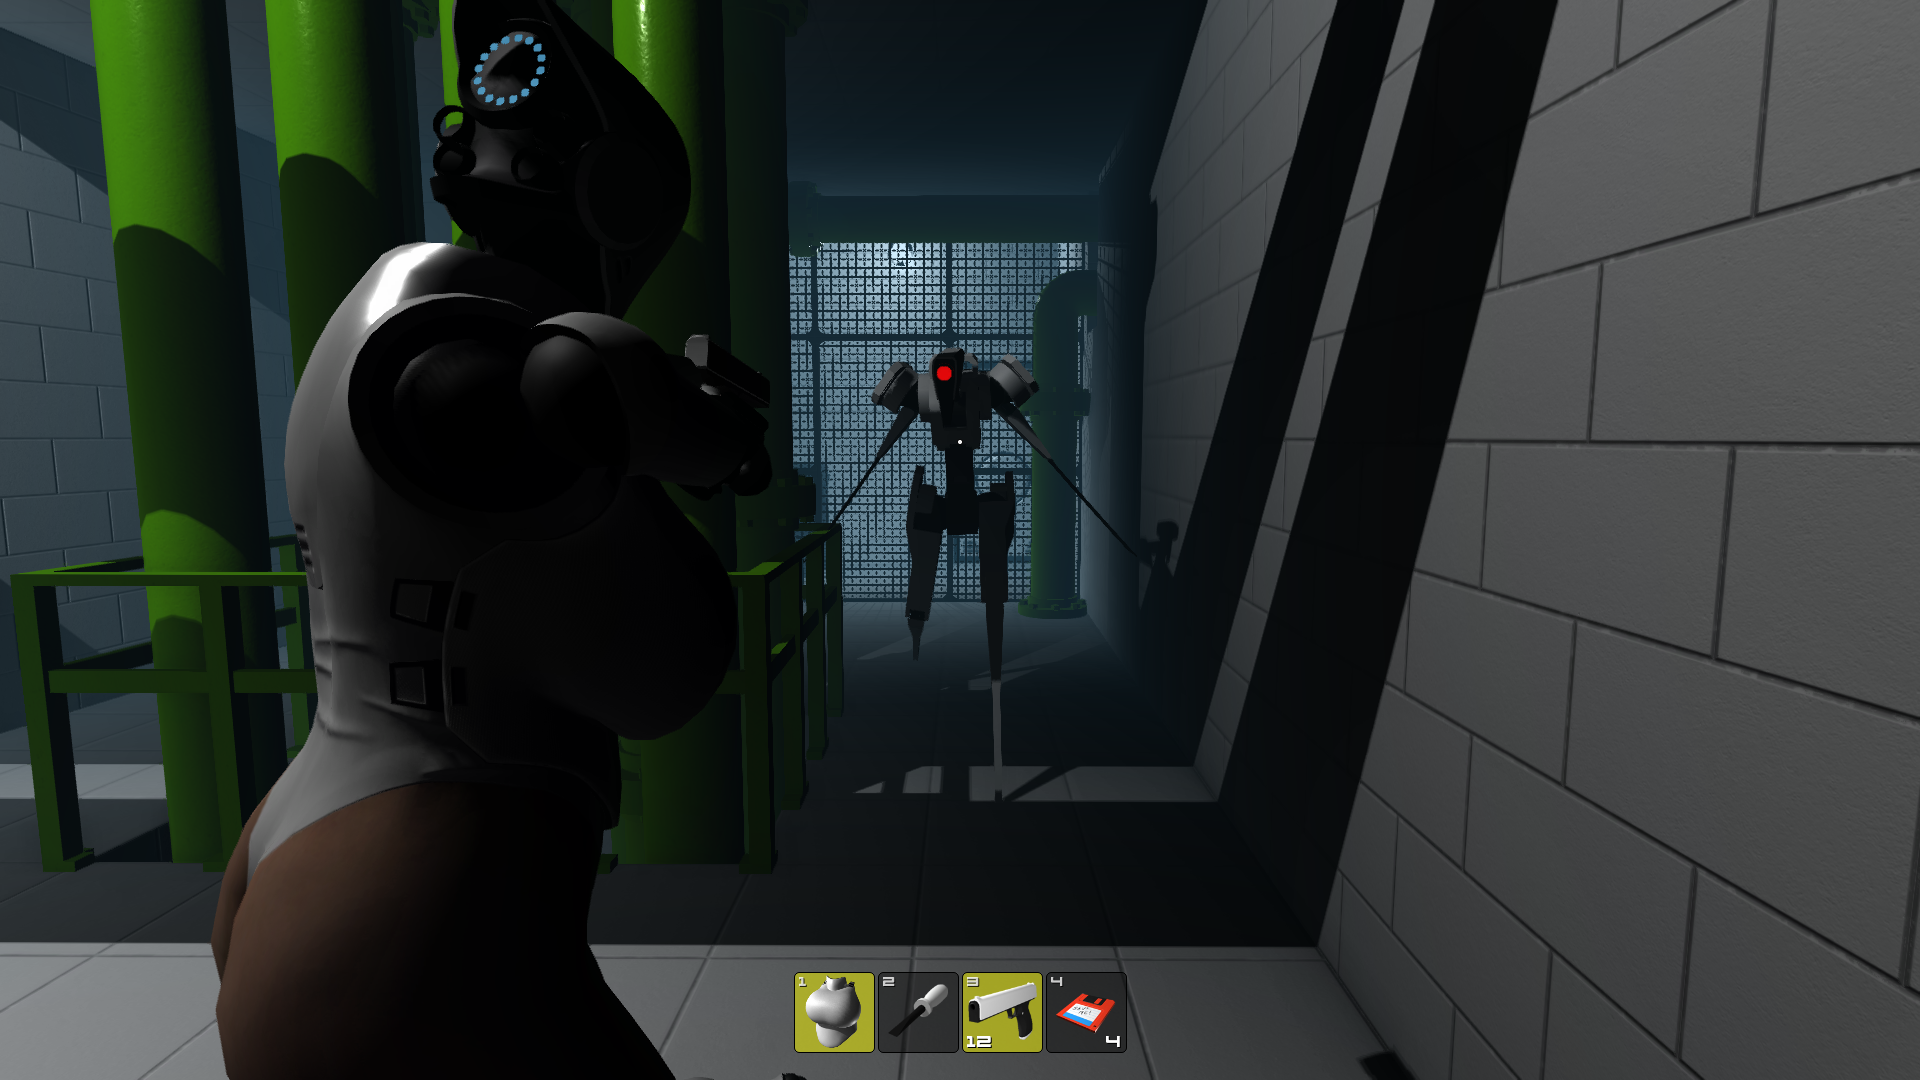

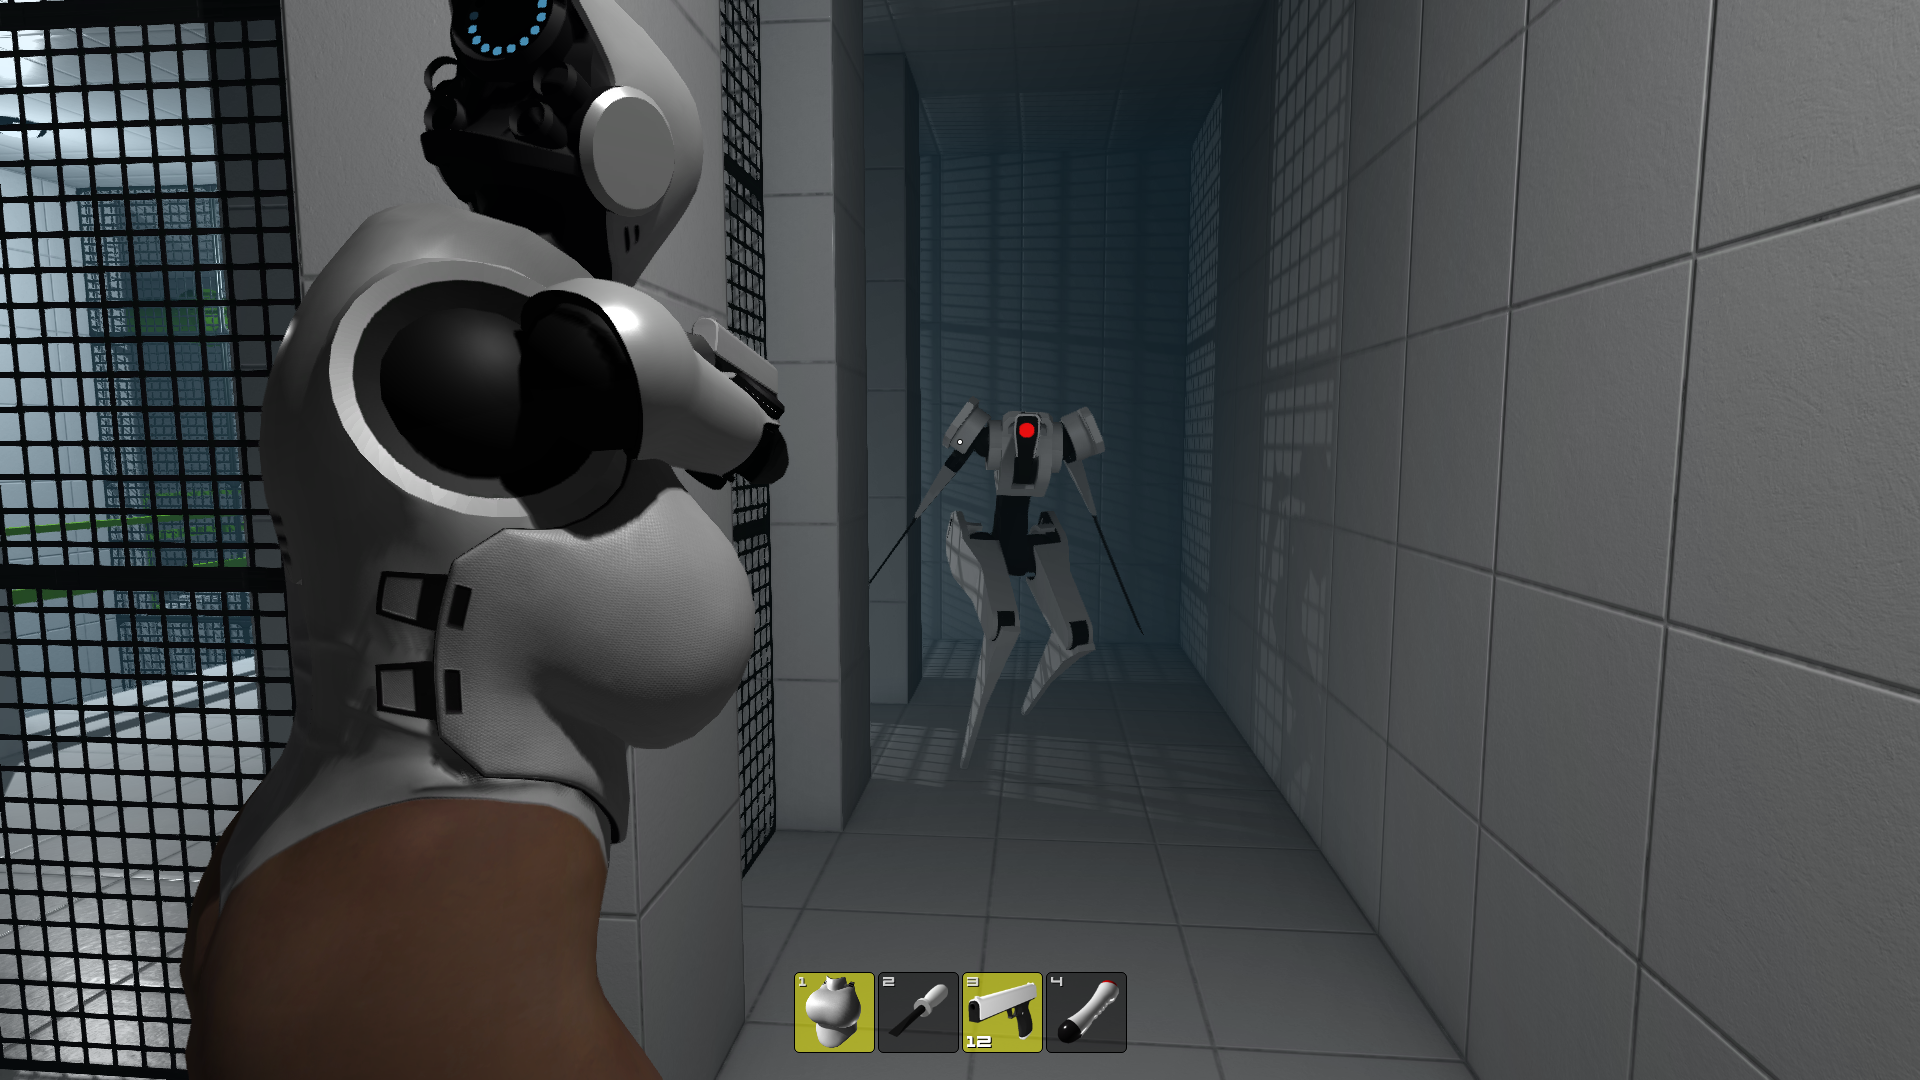


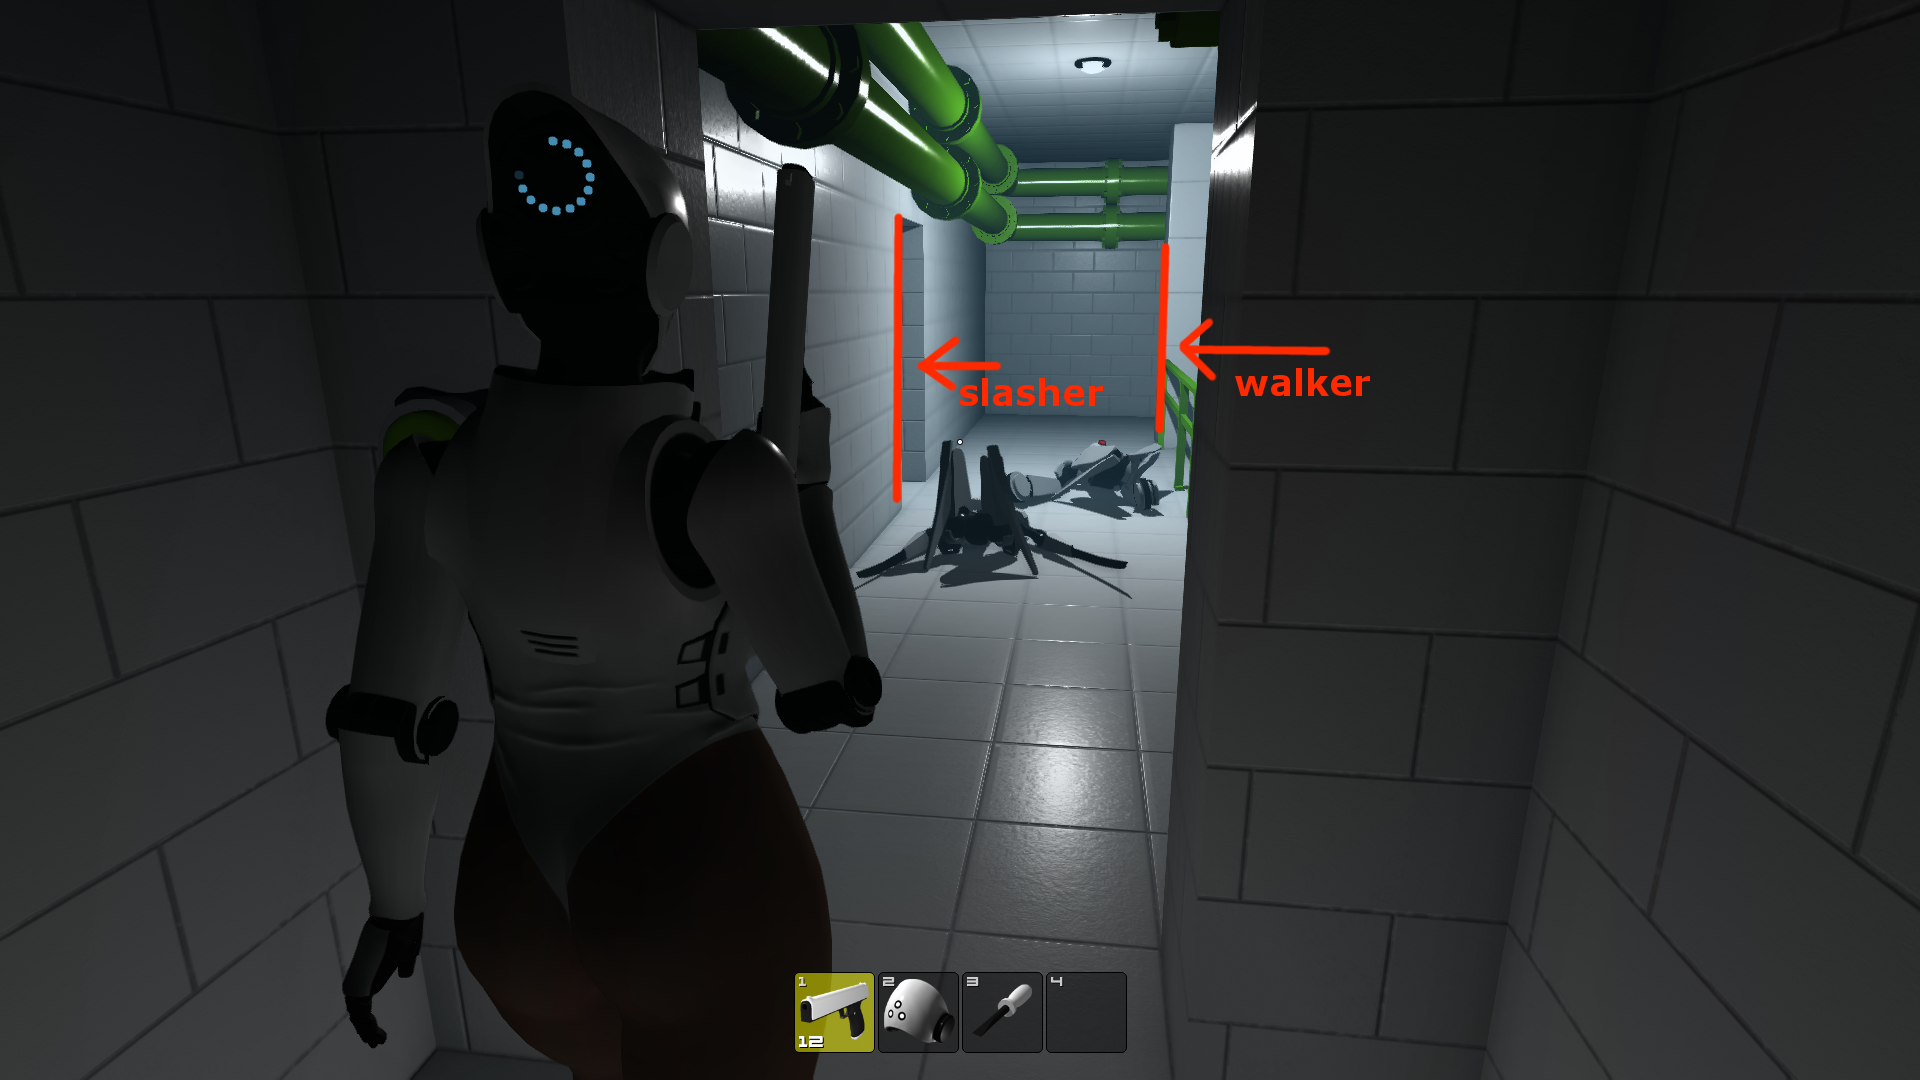
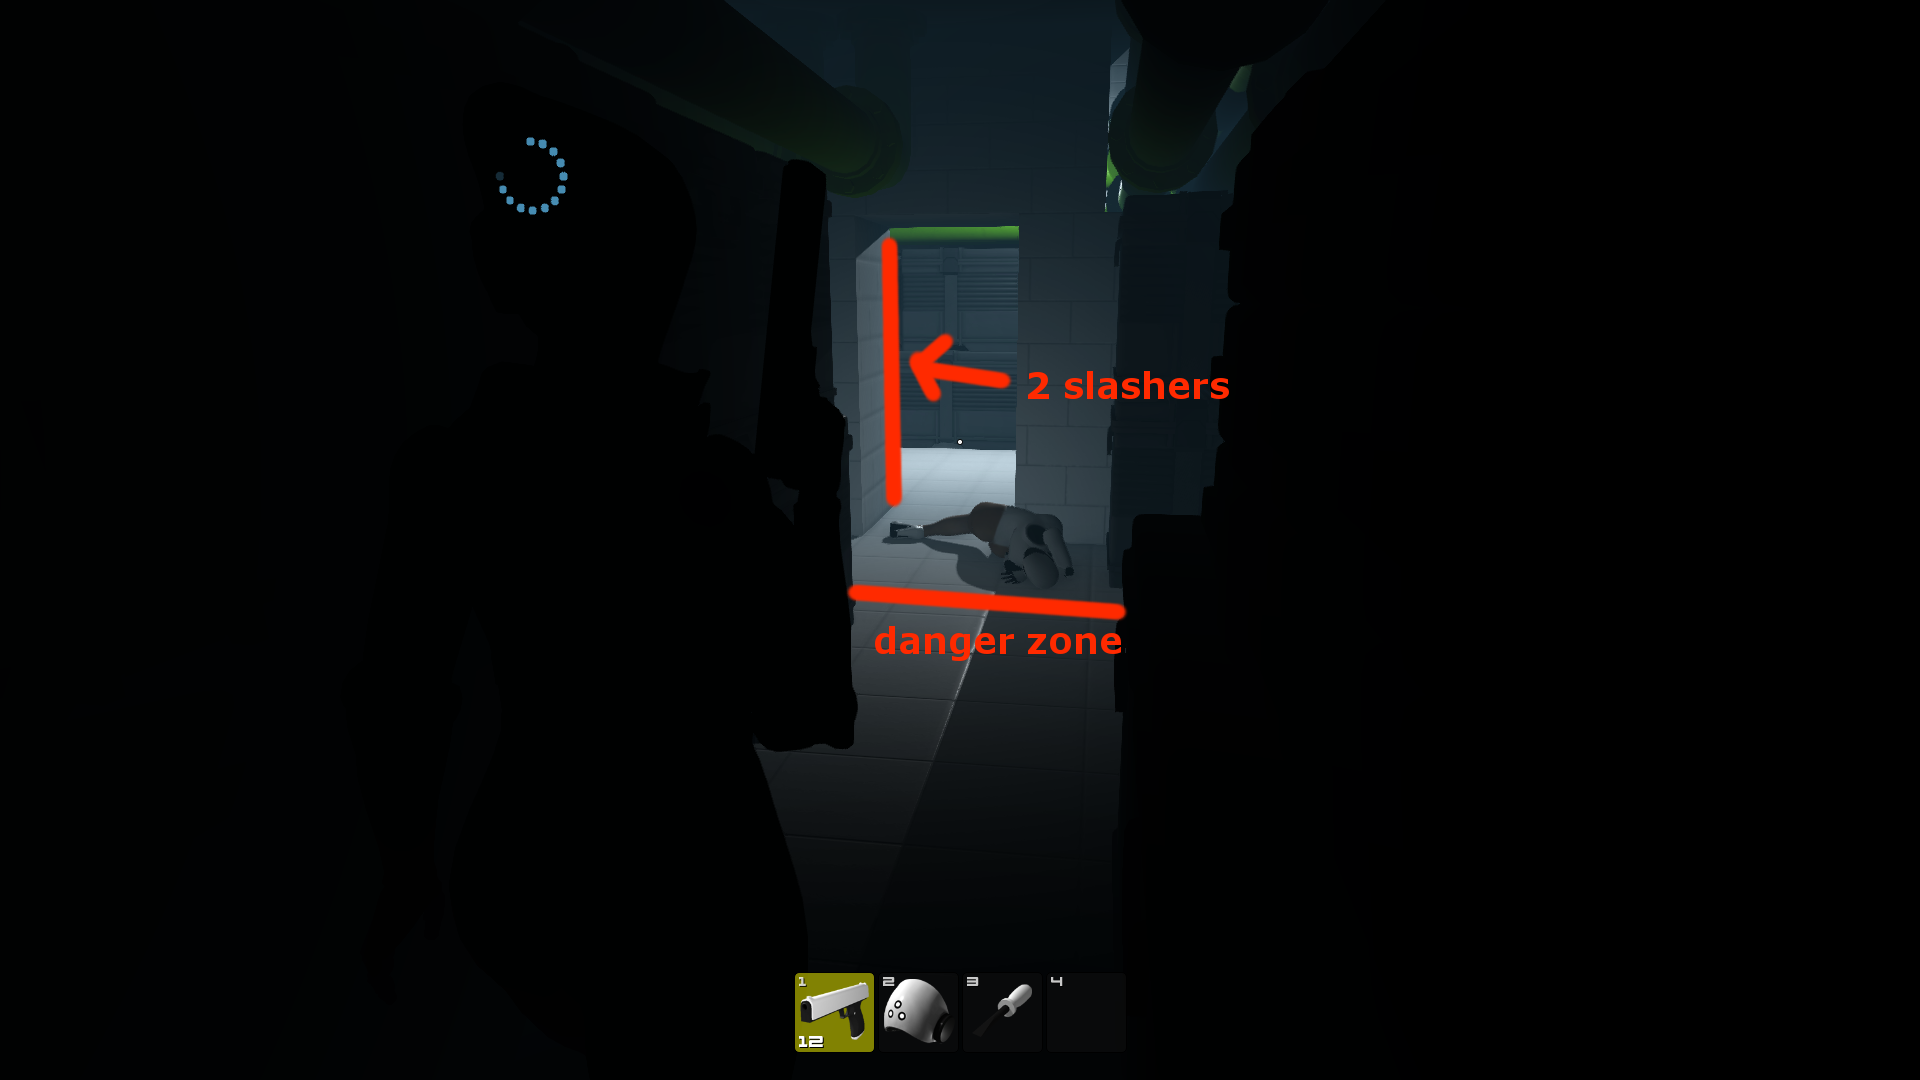

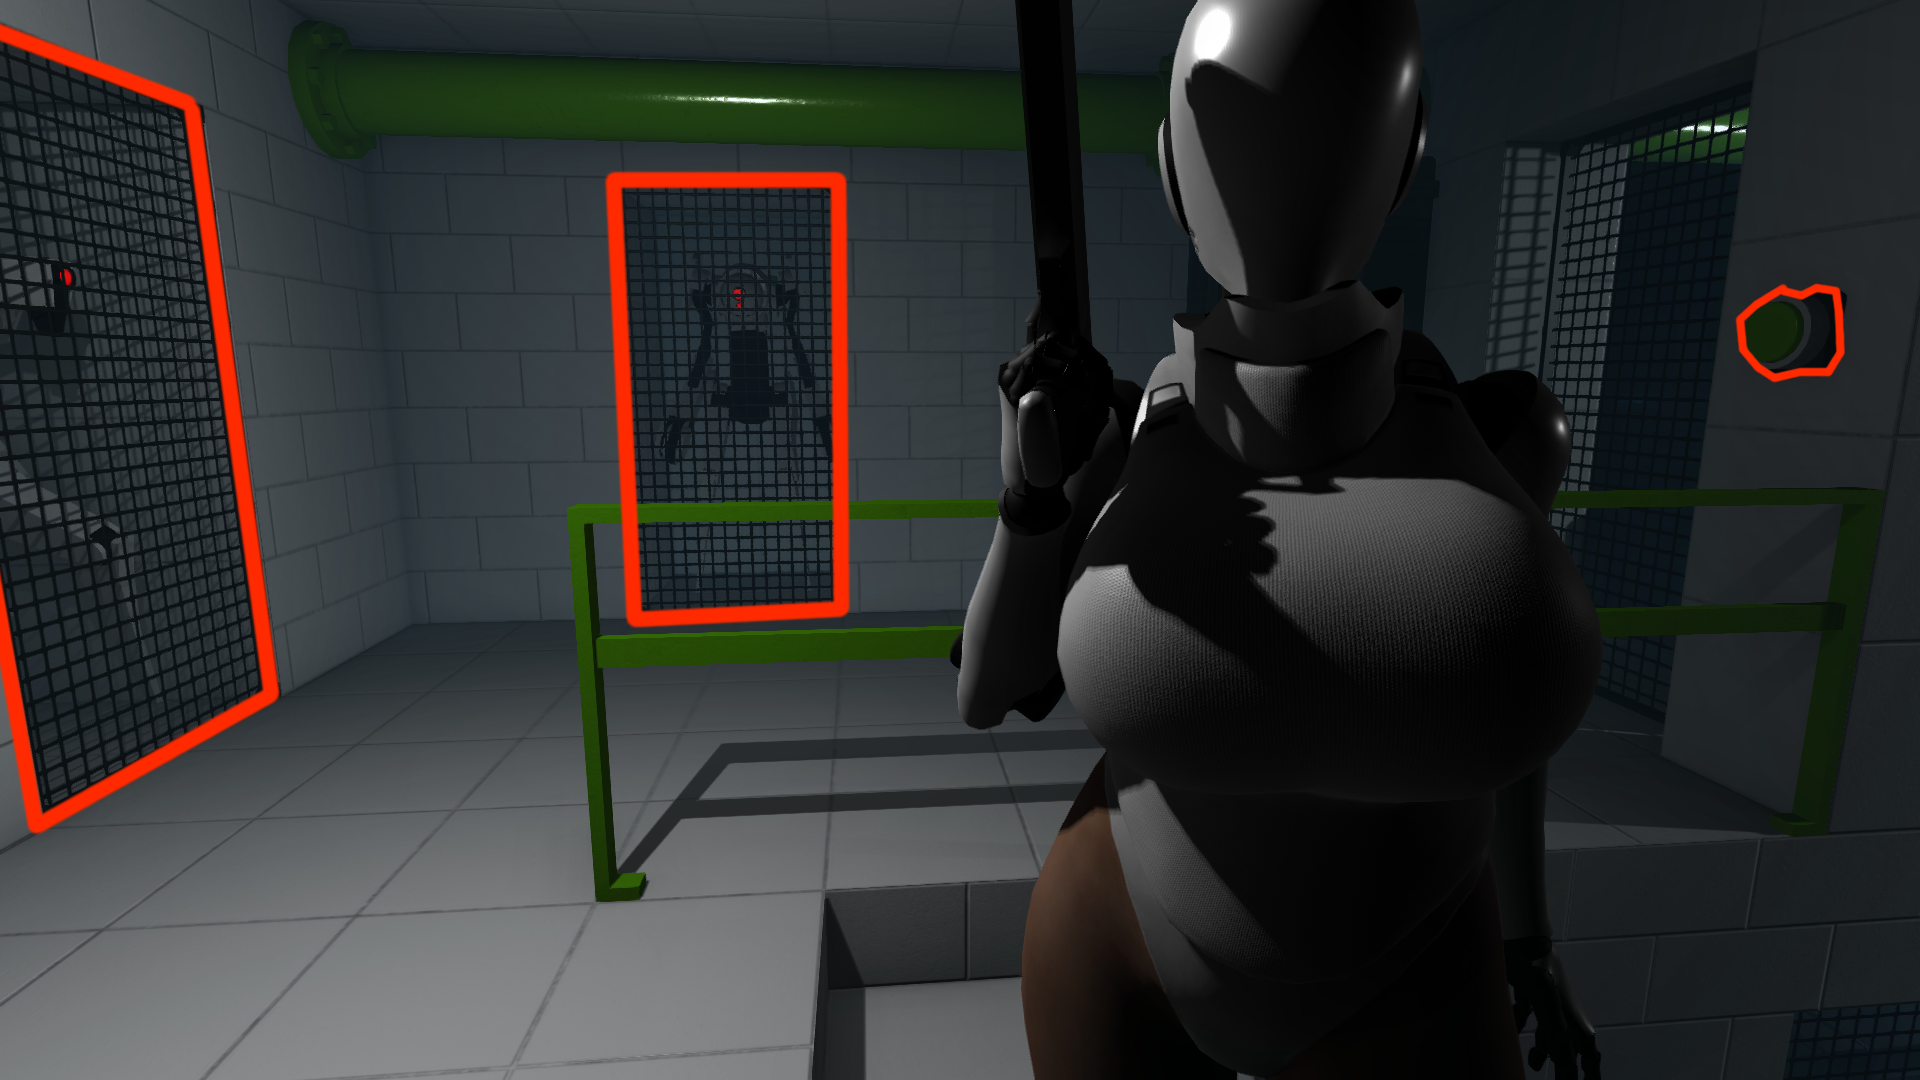


I did find a better way to handle the four slasher bots in the fourth red key card section, though. If you put a mine at both ends of the middle hallway, stand in the middle of that hallway and fire off any weapon, all four will come charging at once and each mine disposes of the two adjacent bots, thus cutting the expenditure down to two mines and a single round from any weapon.
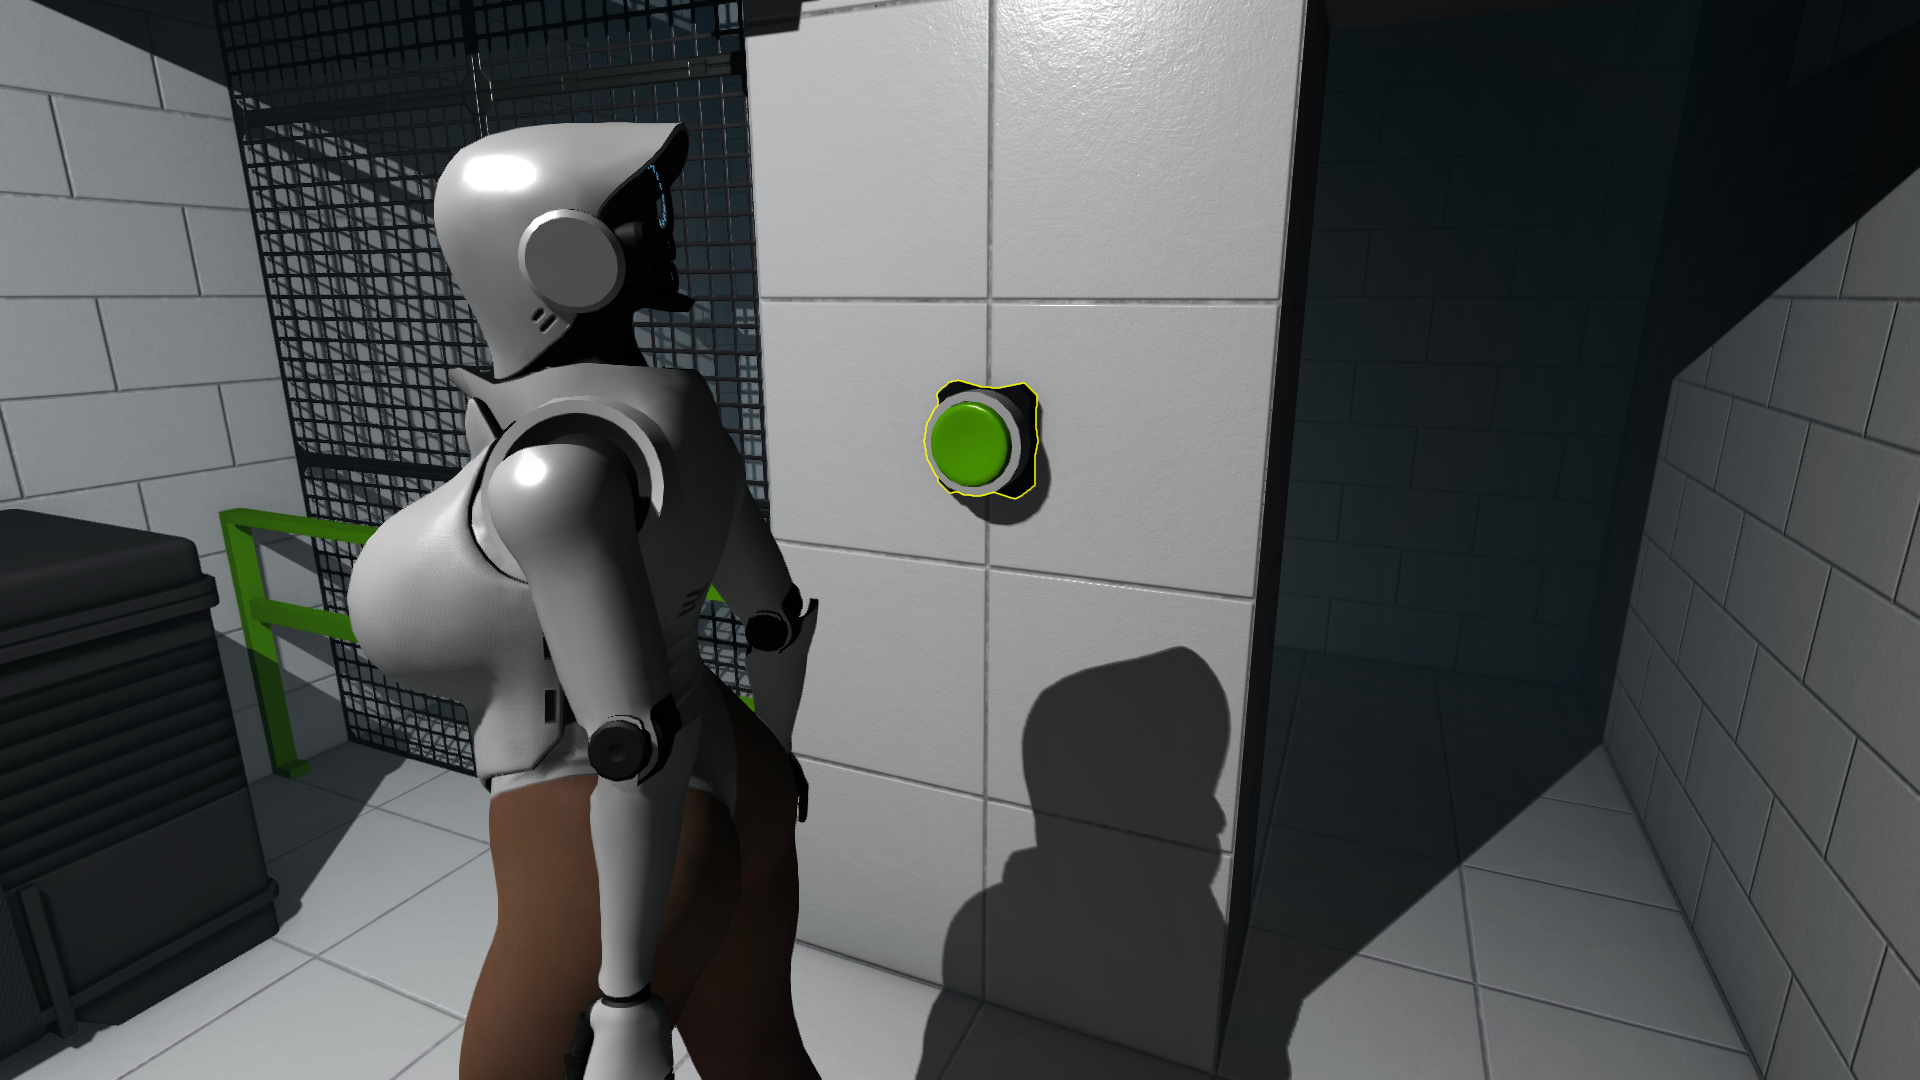
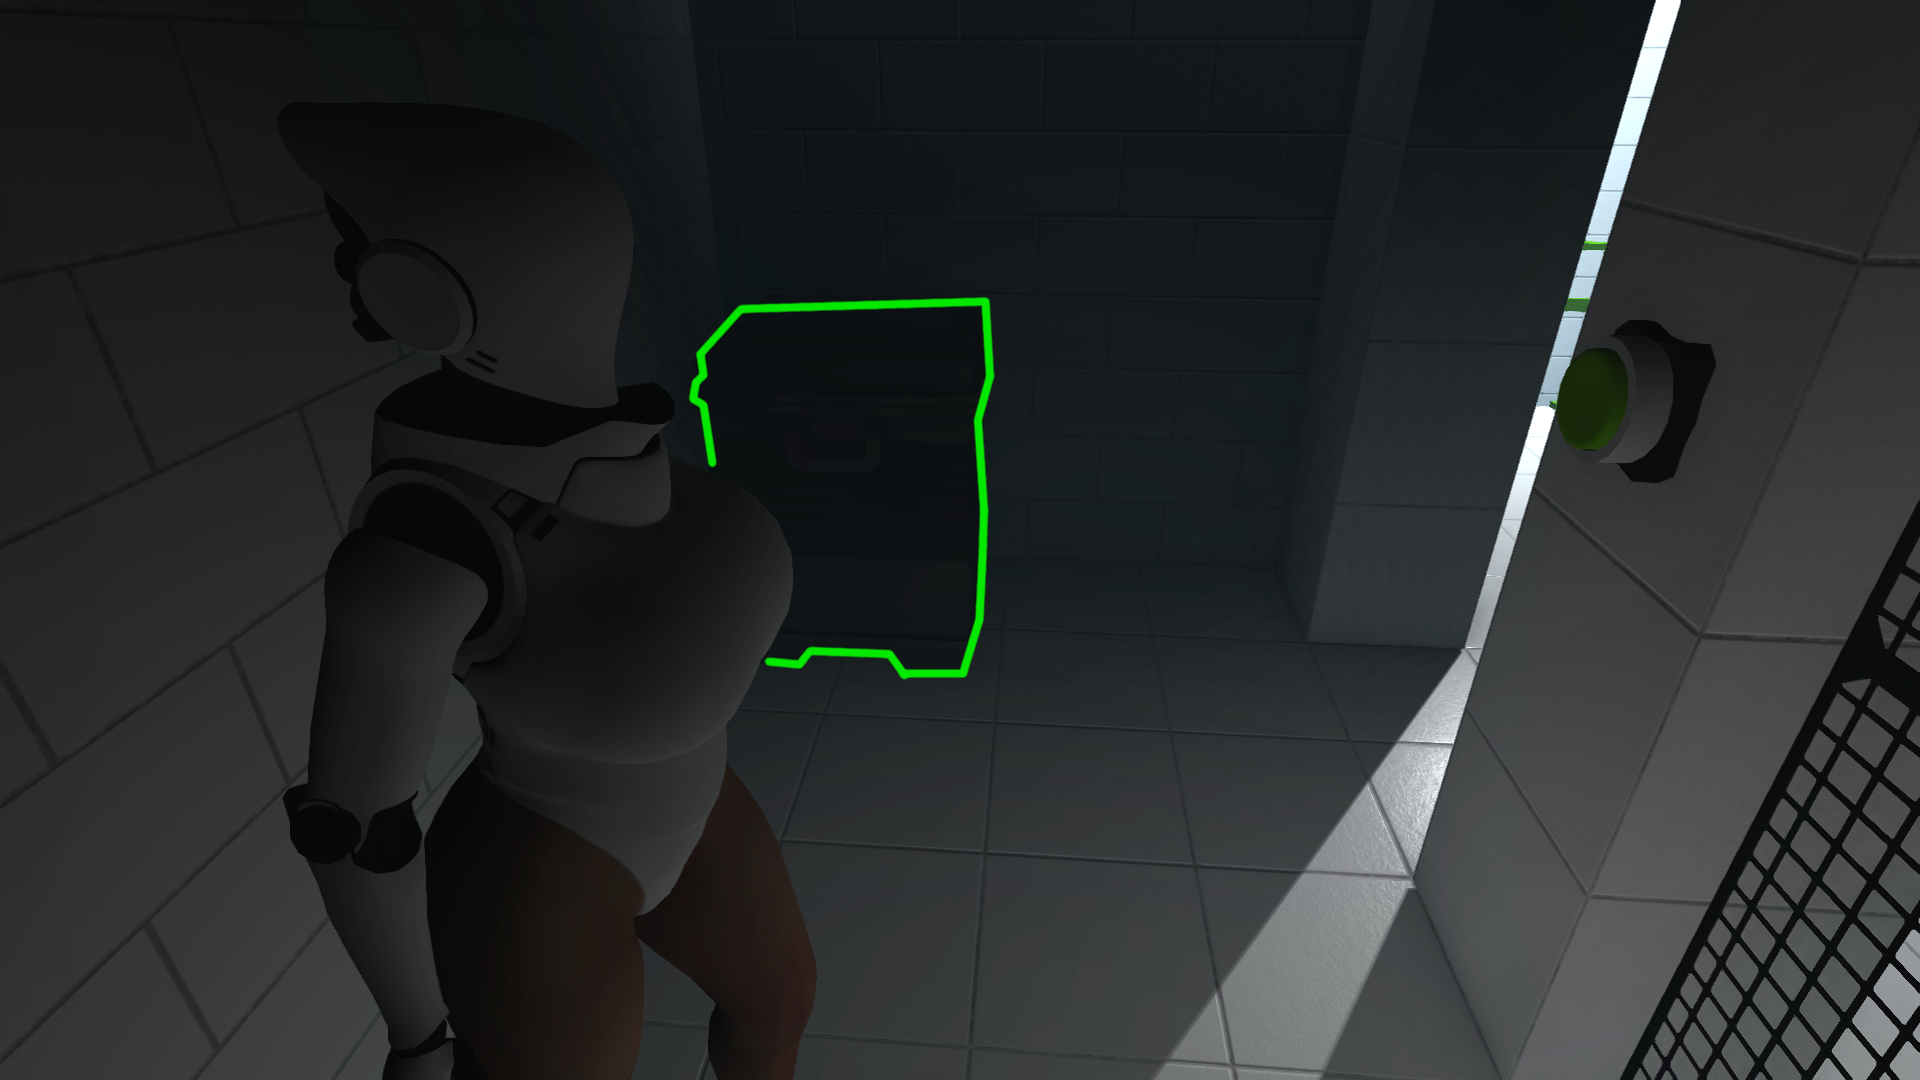
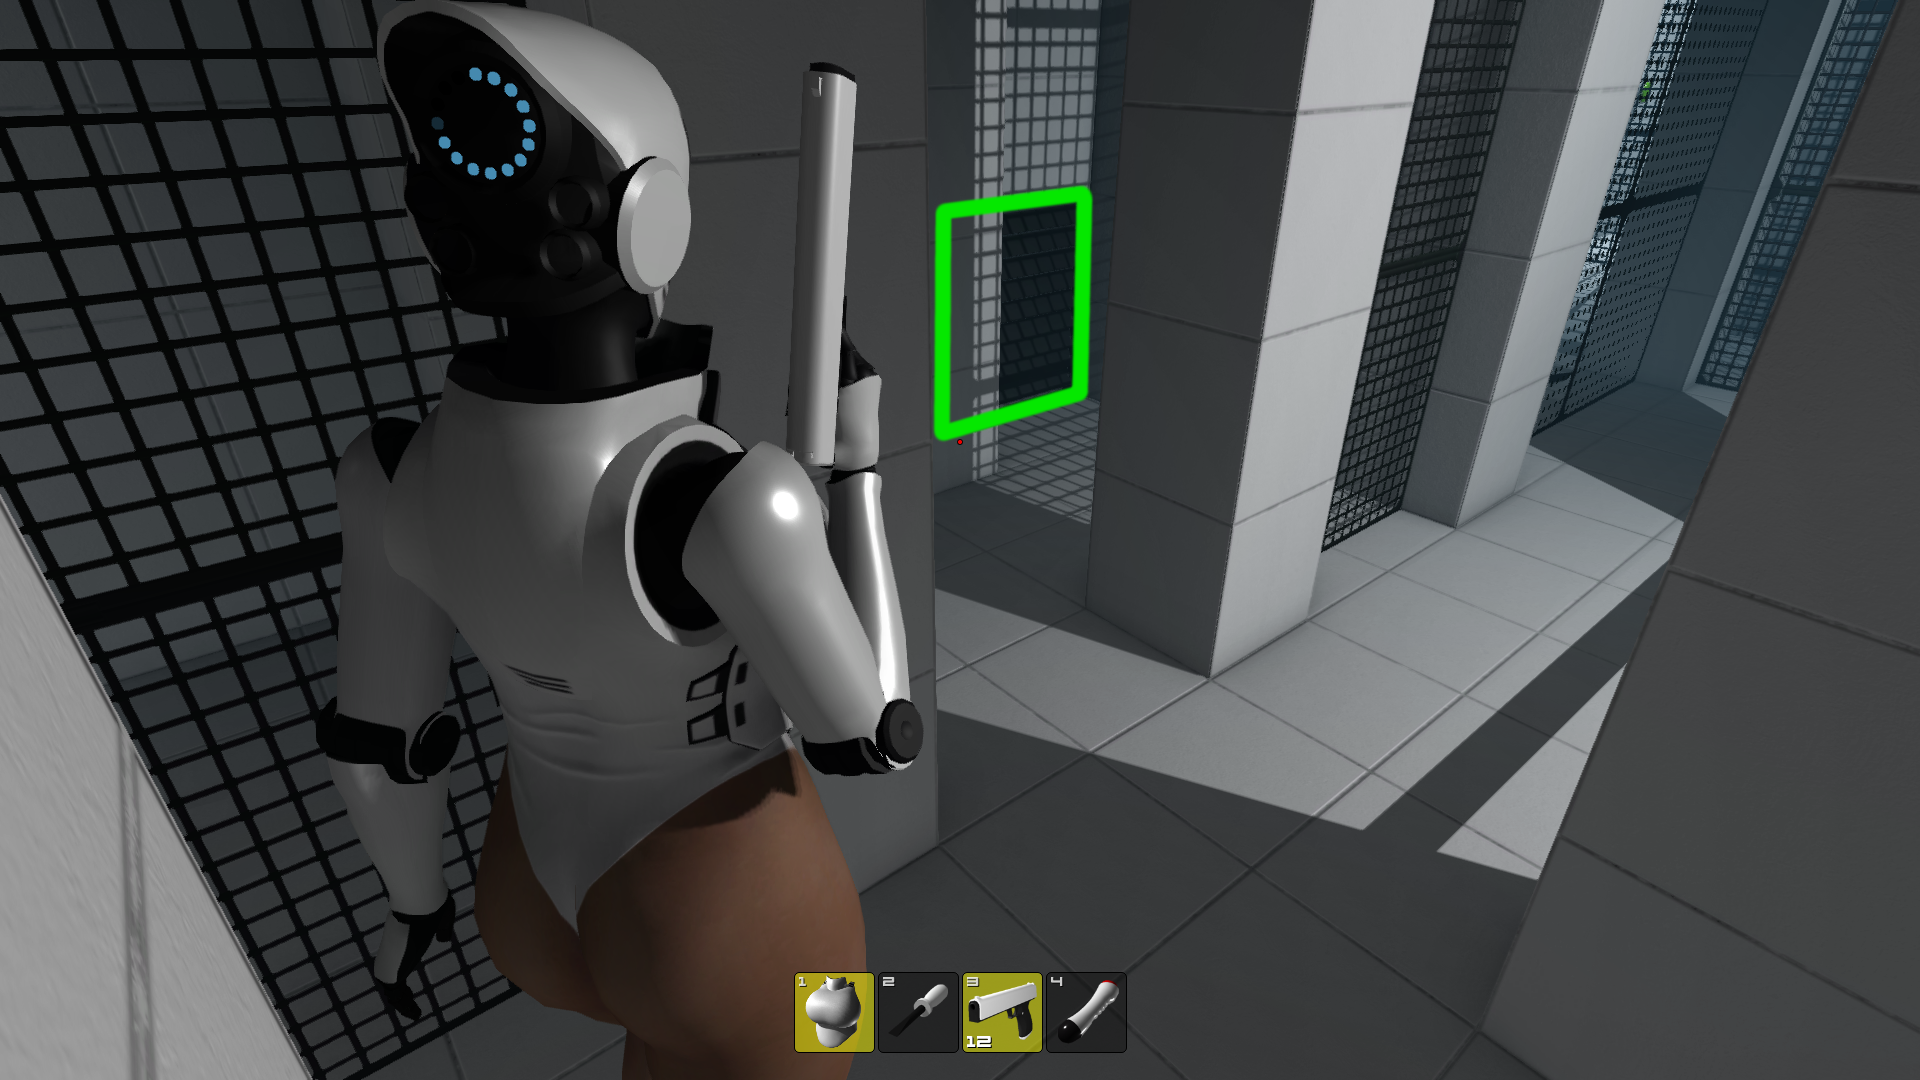
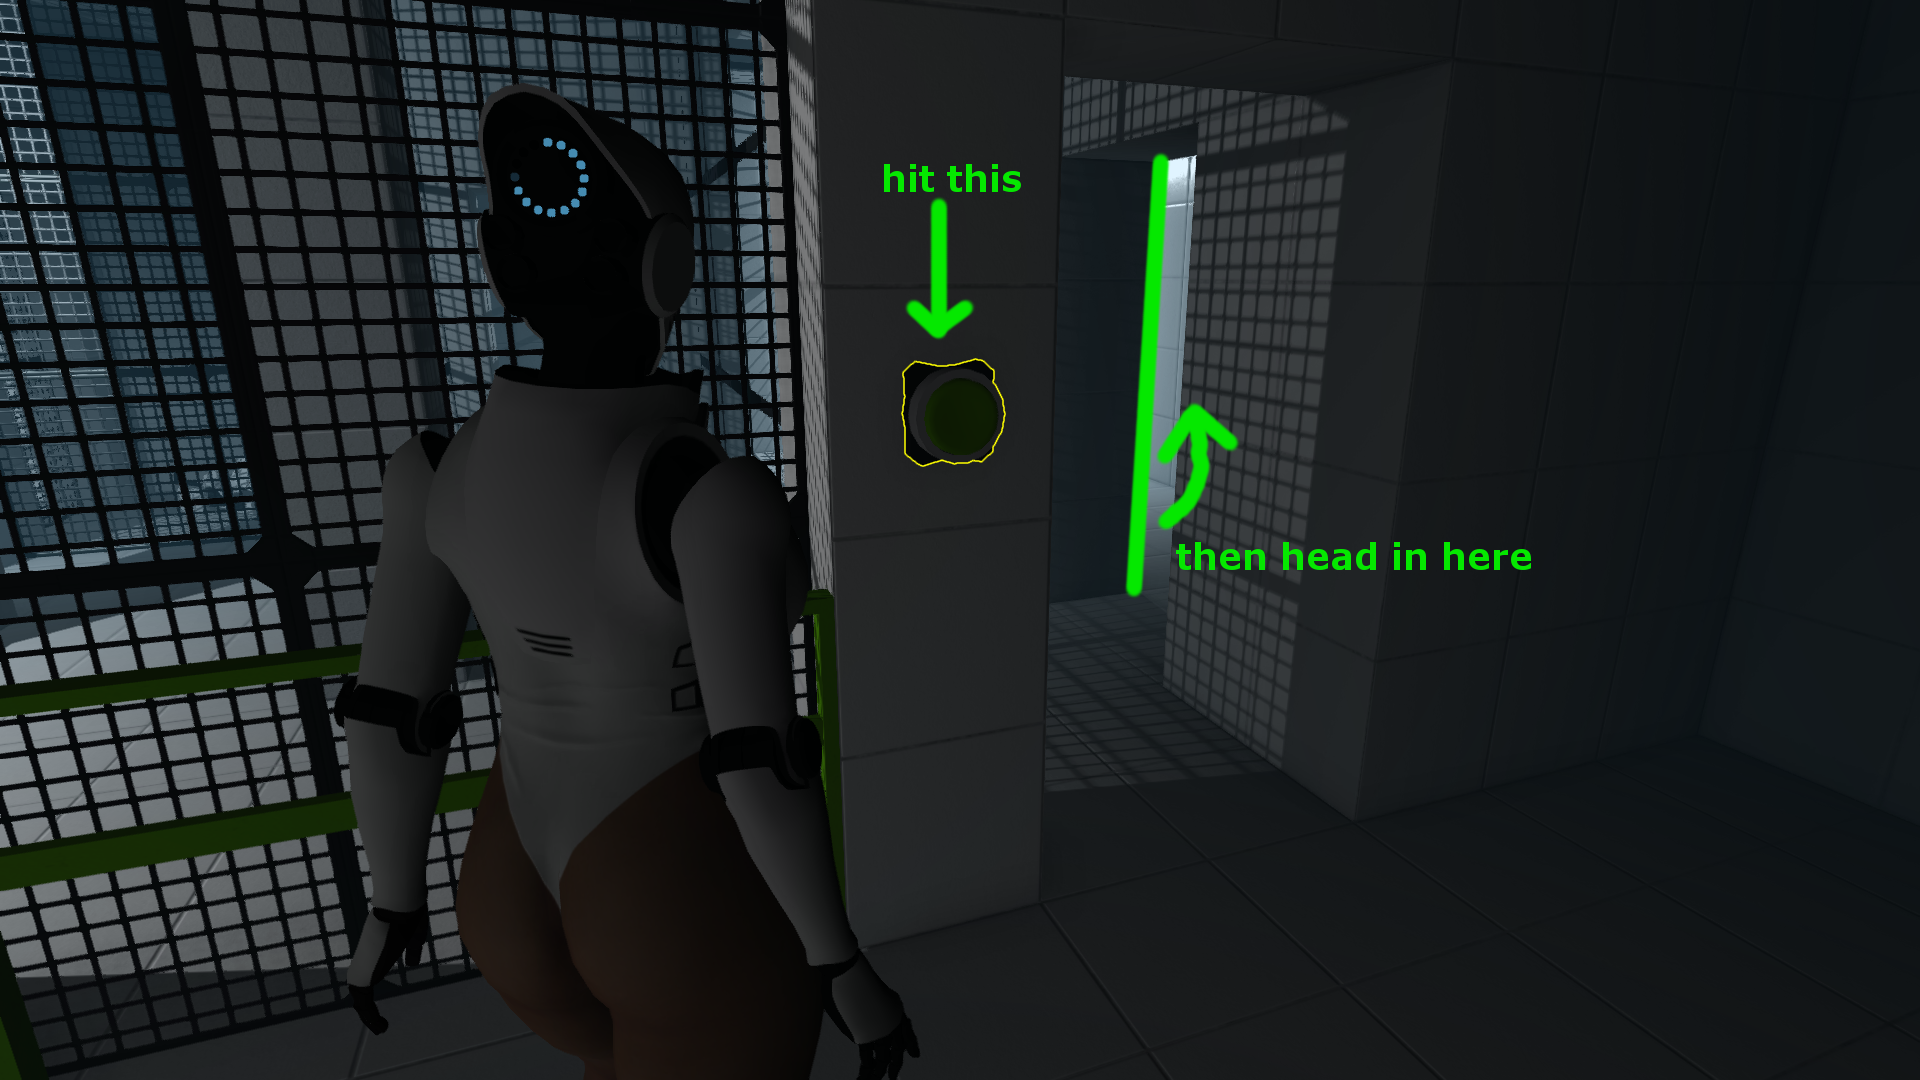
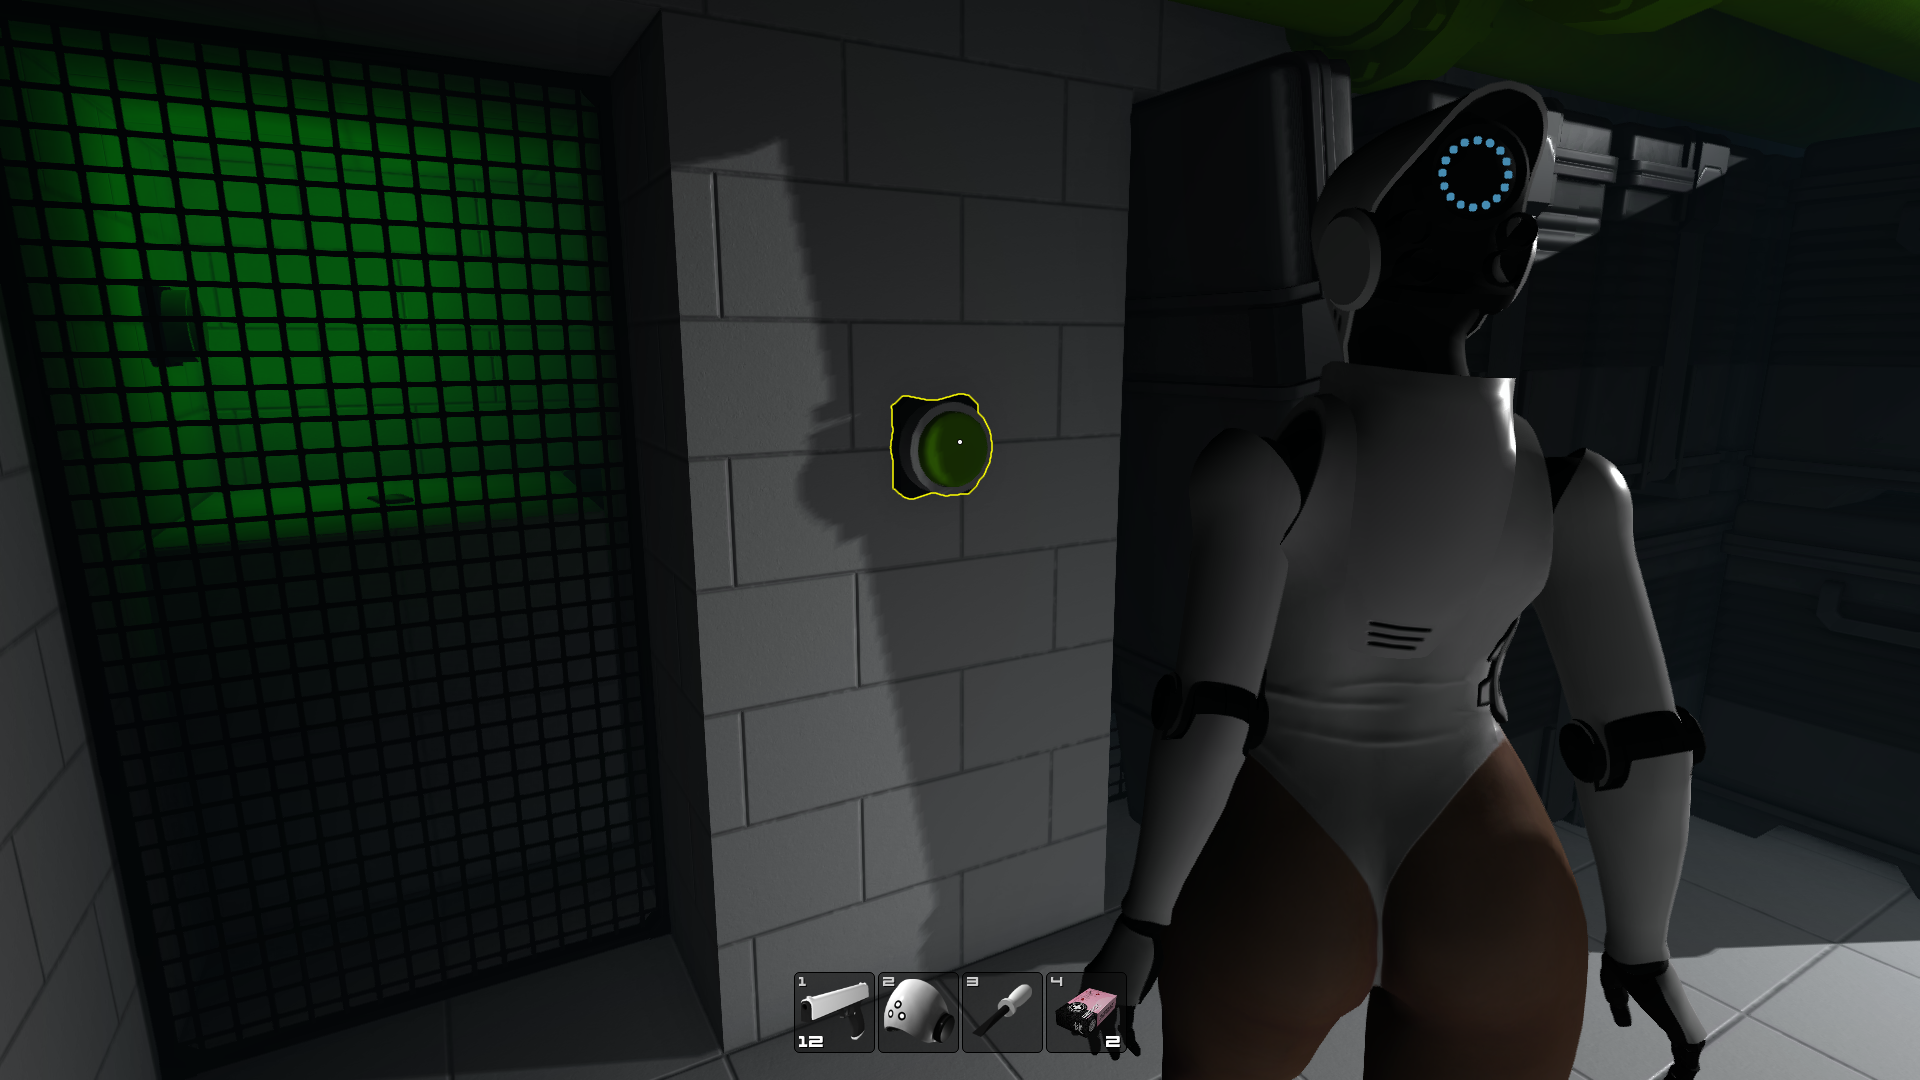
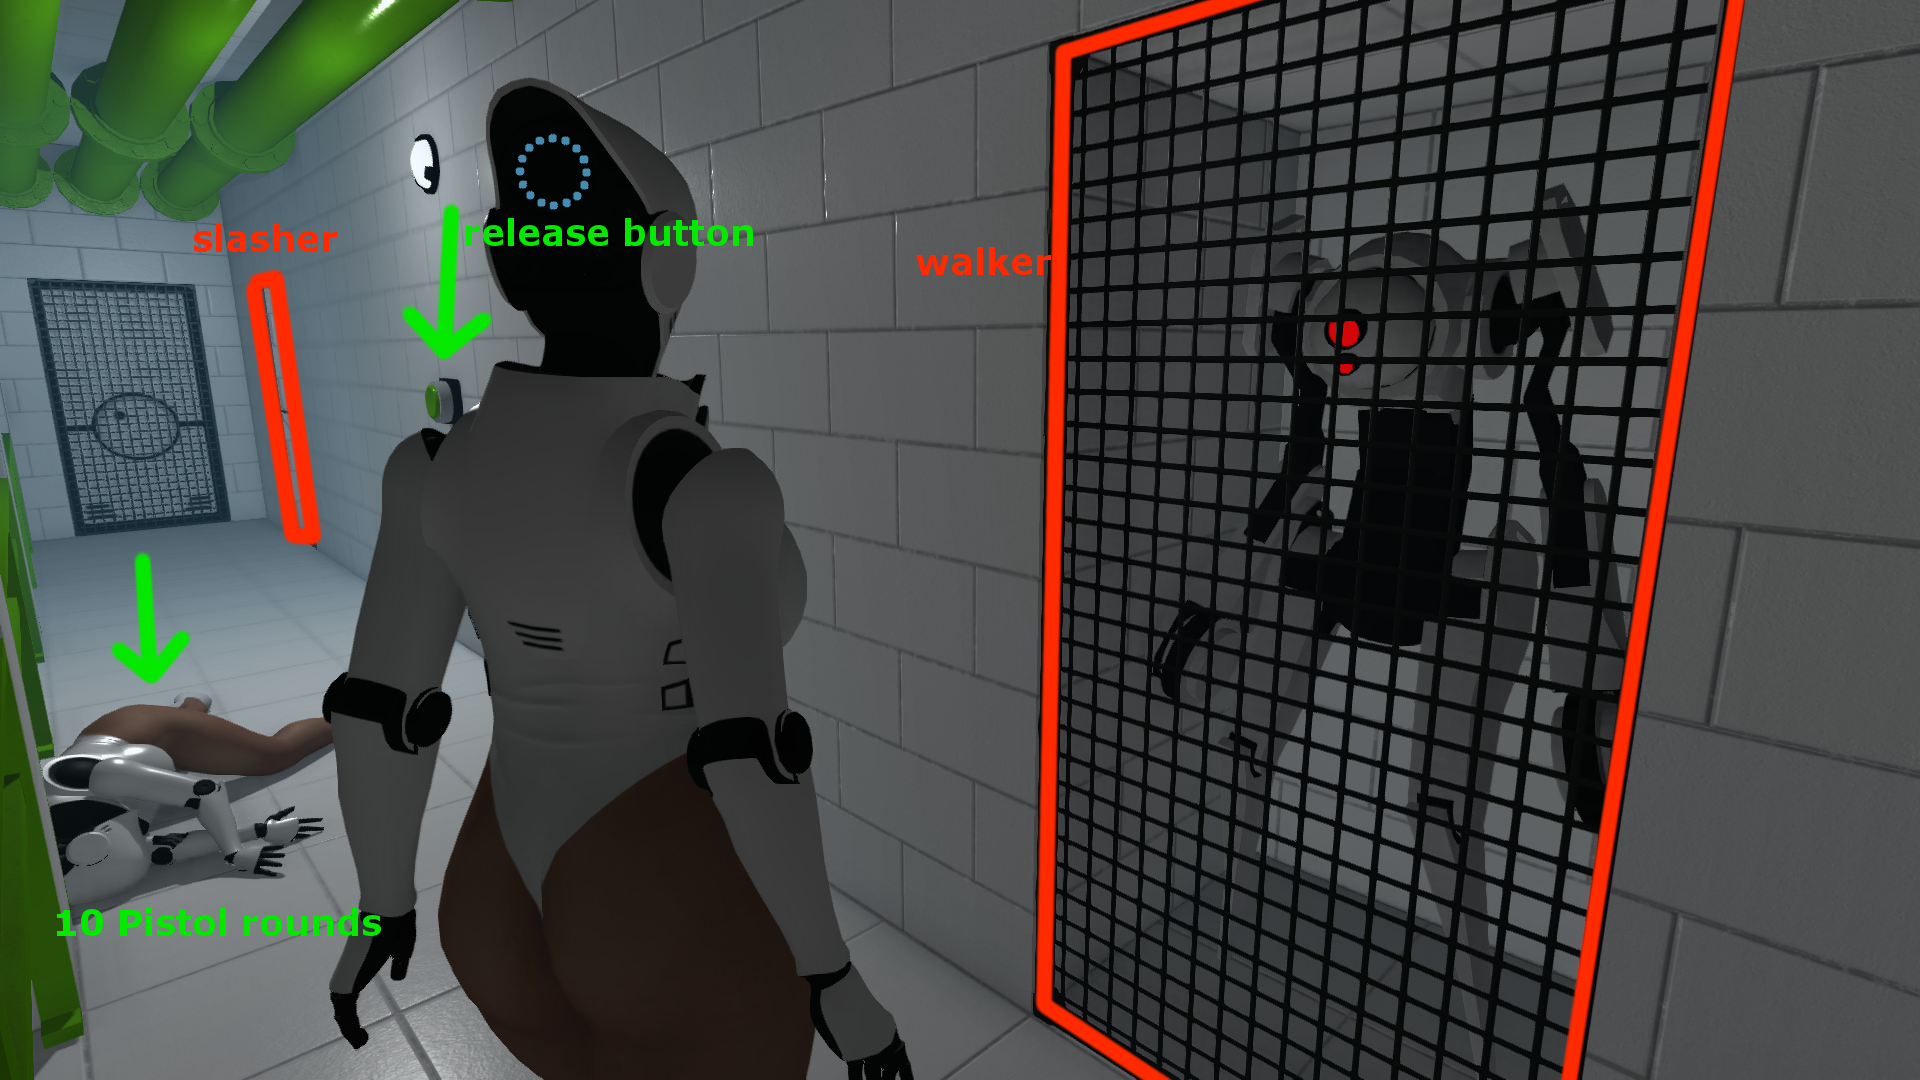
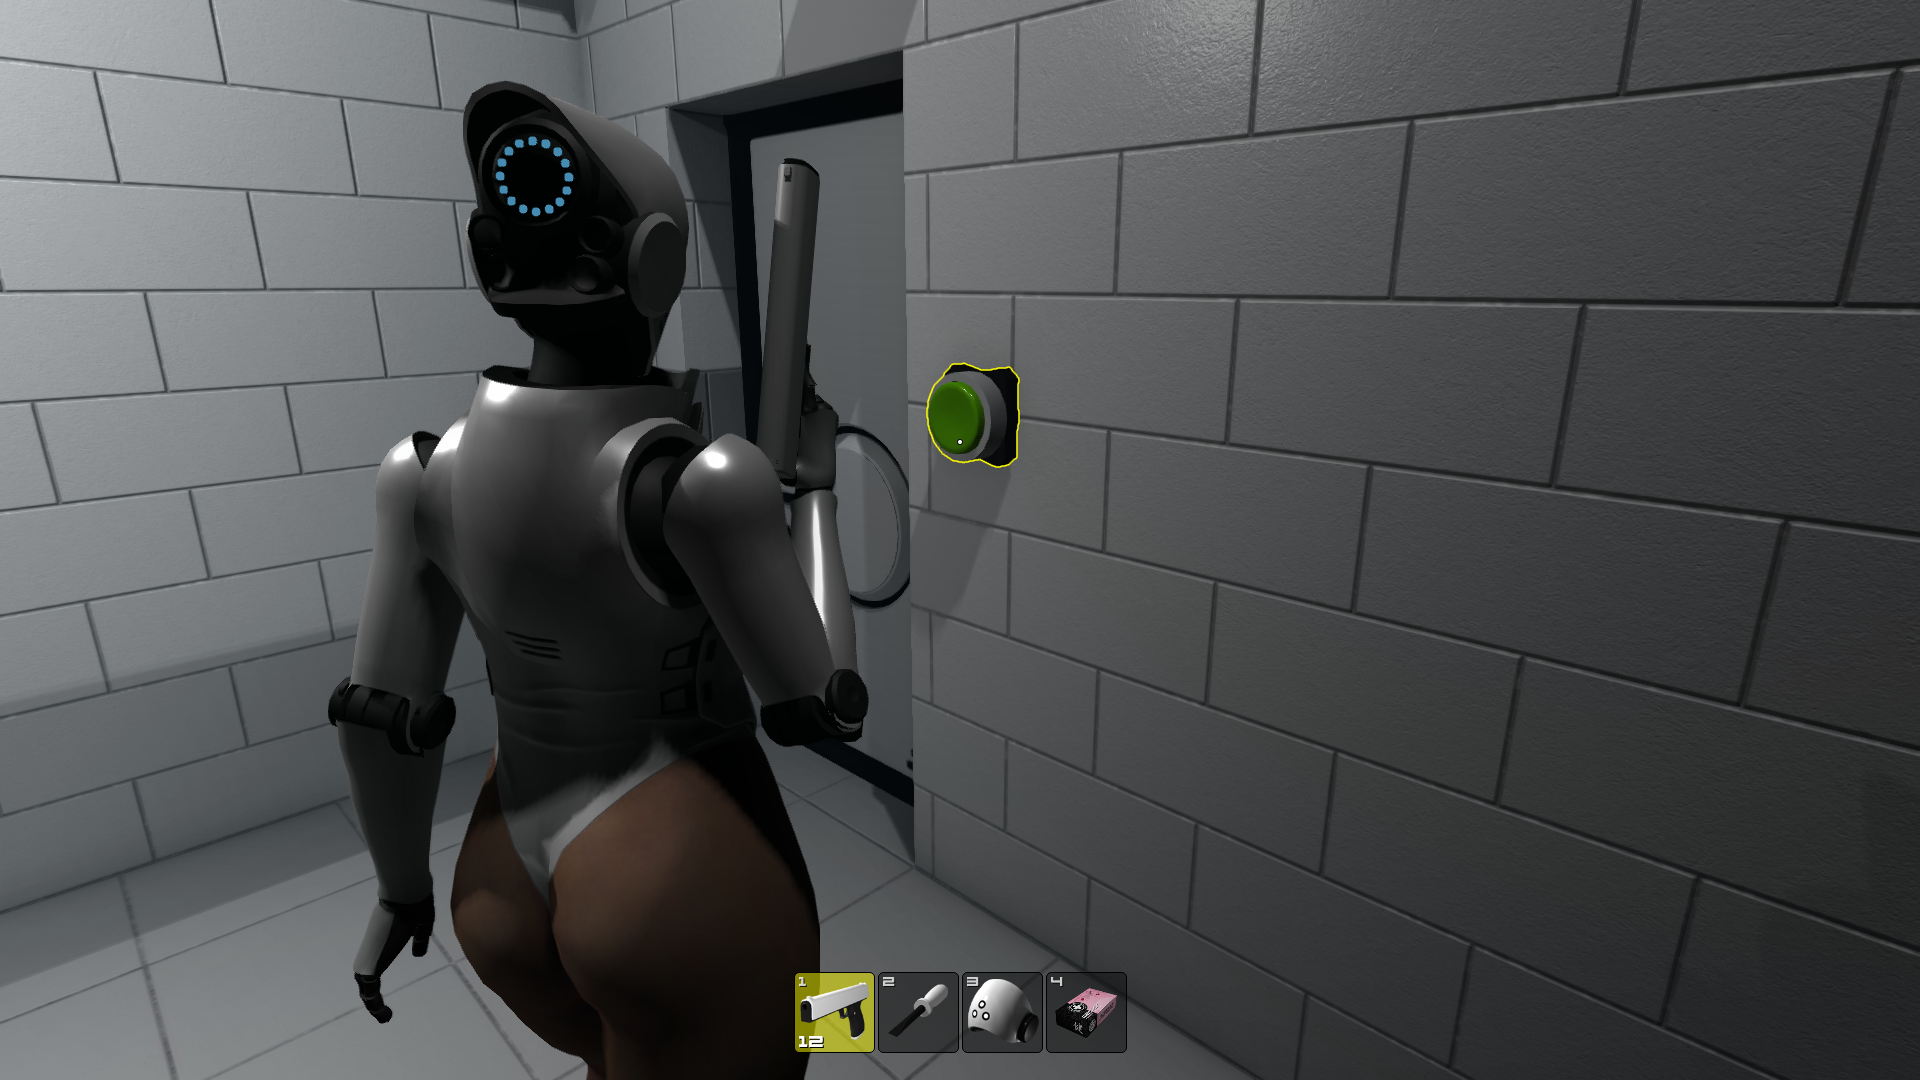
It's also possible to save the mine above the button in the first red key card section. You are able to push the button without triggering the mine but if you do, you would be required to backtrack out the same way you got to the button in the first place and then return to fetch it.
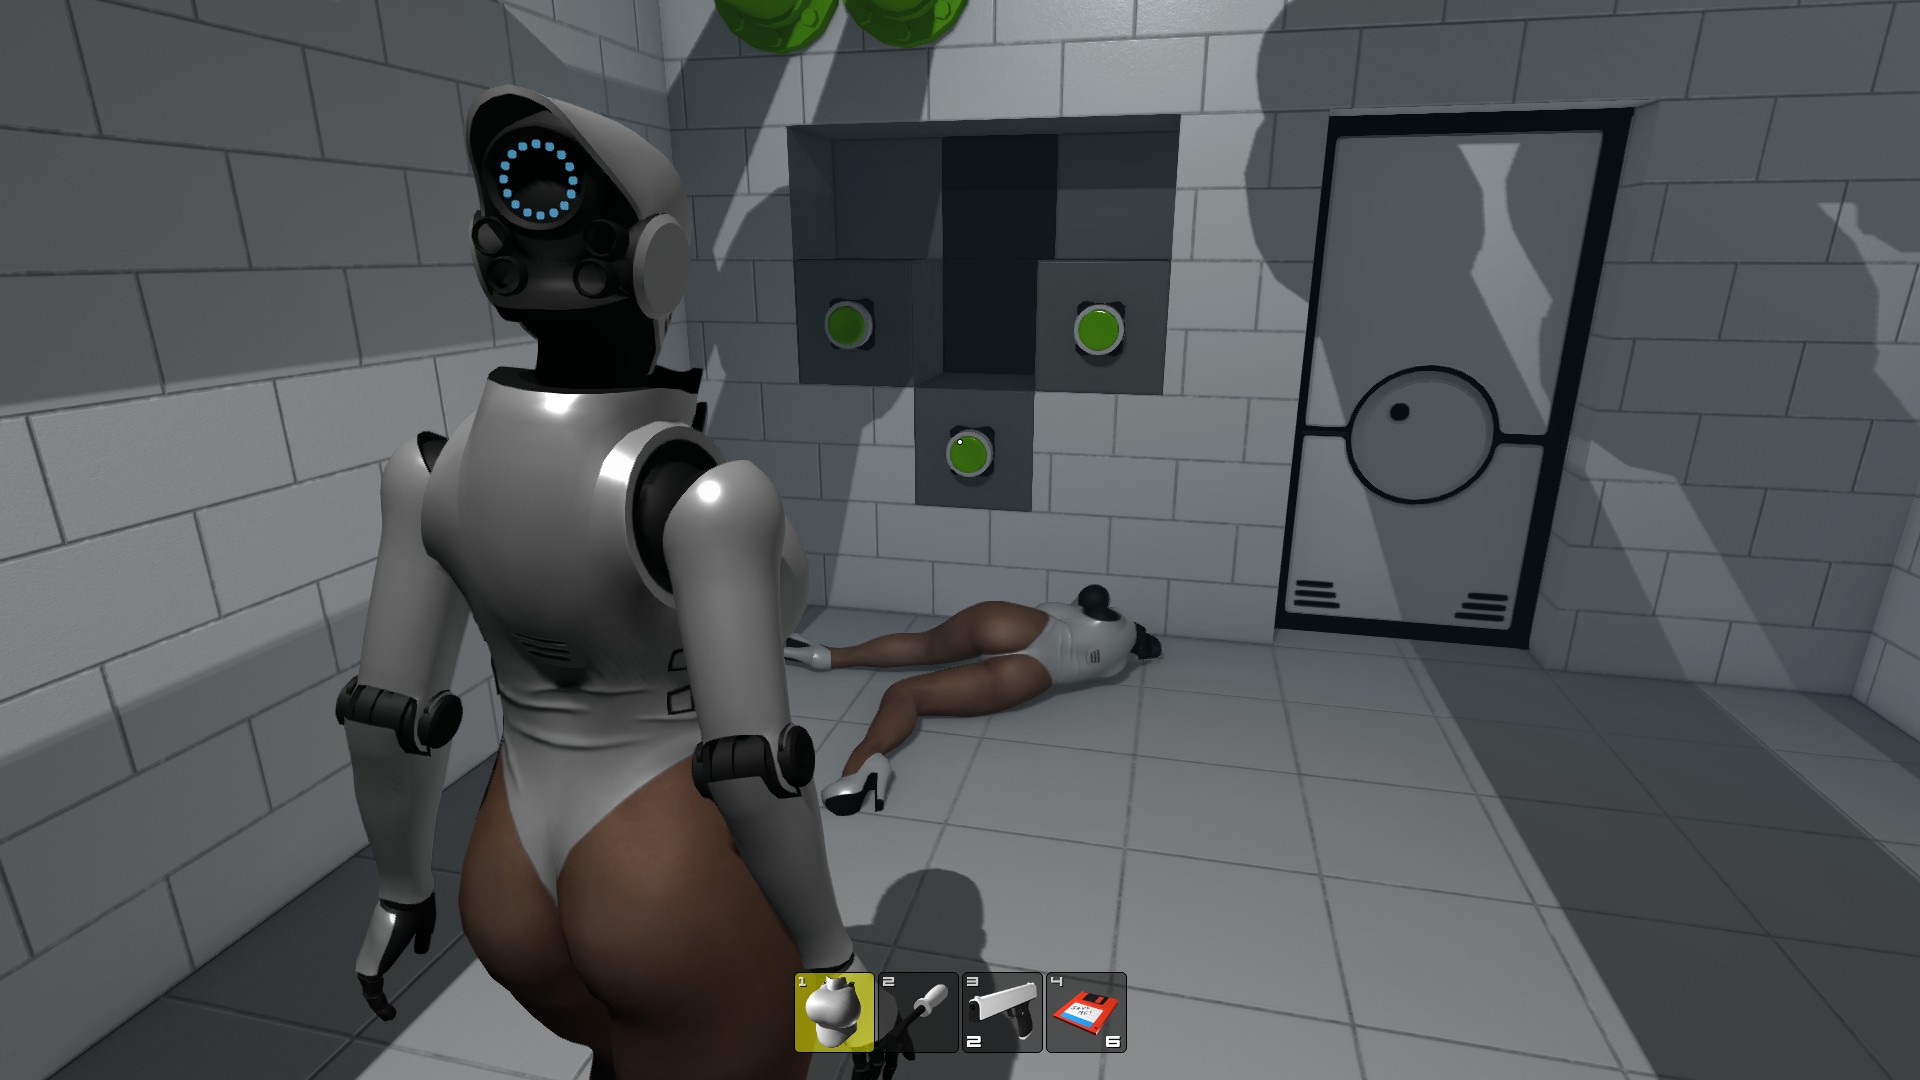
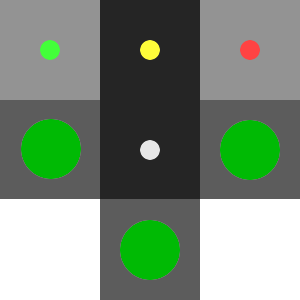
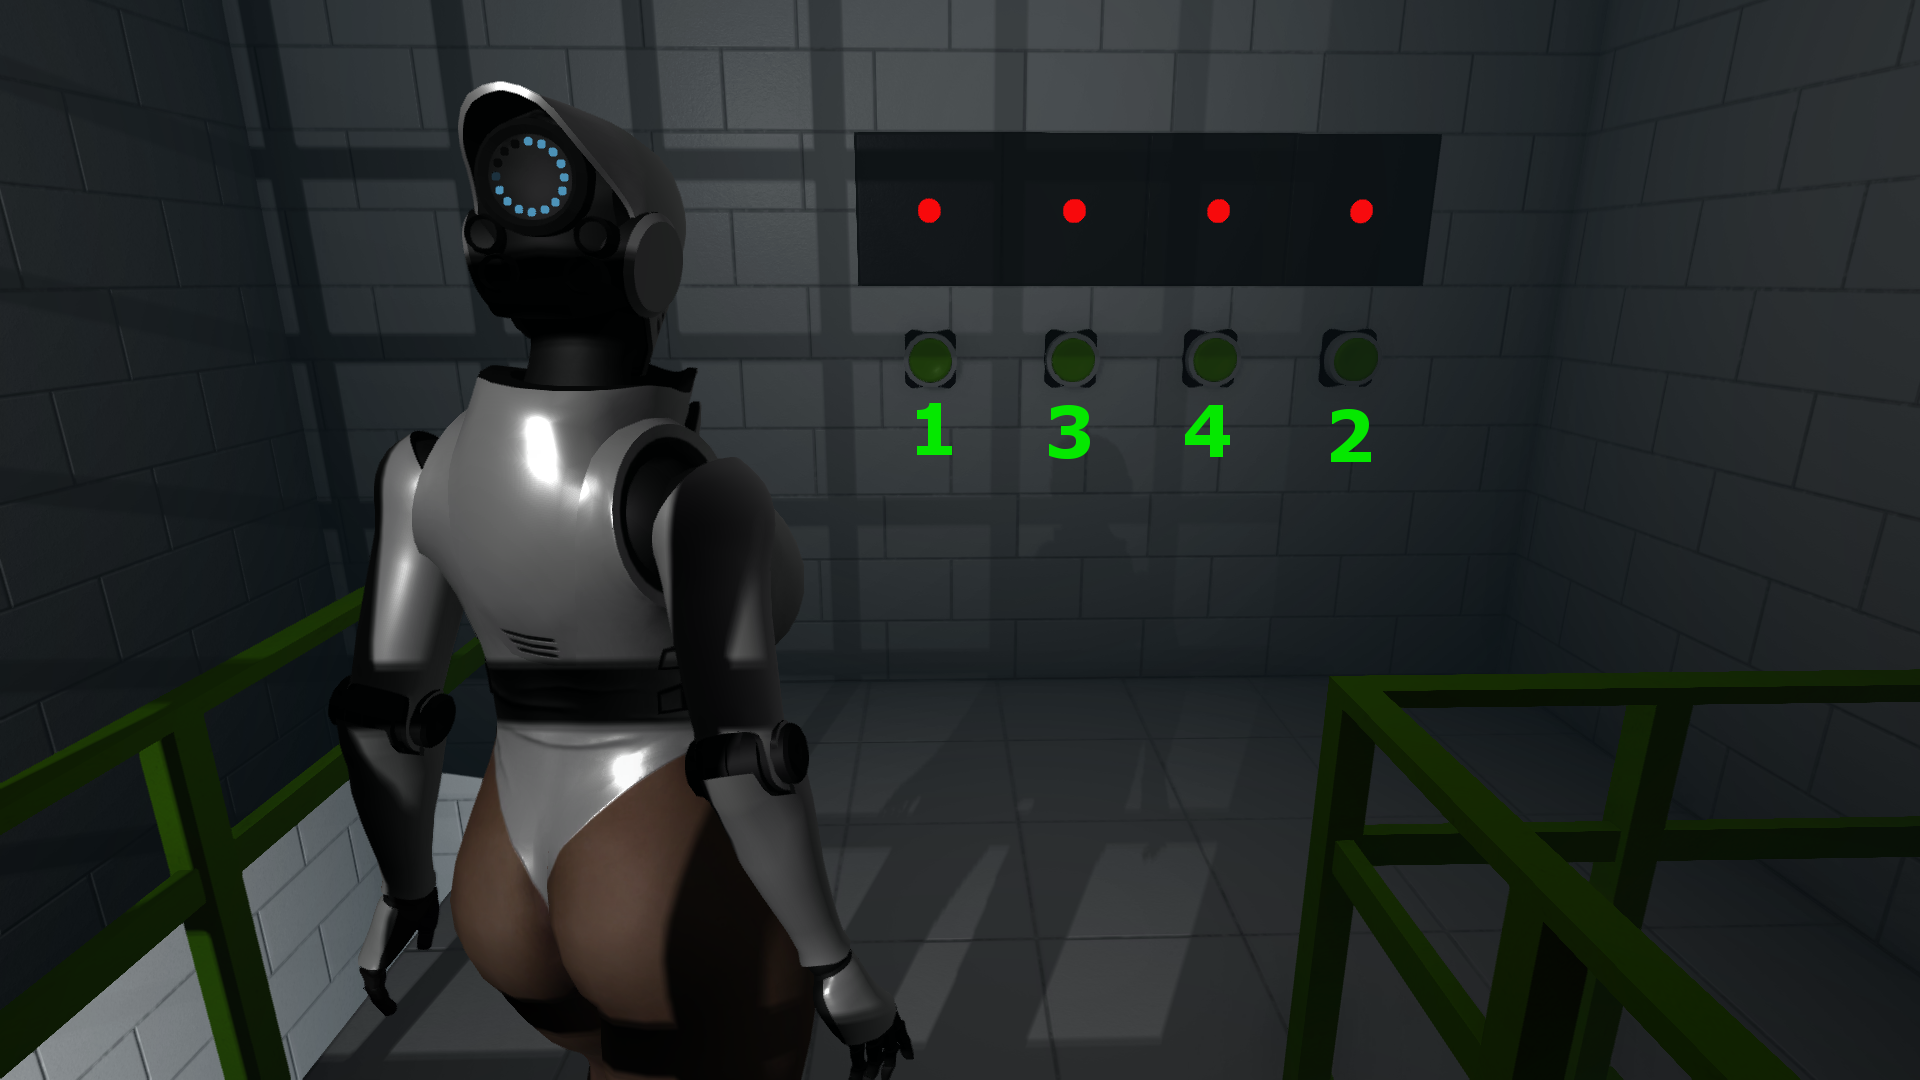
I did notice that the room with the three red buttons and doors numbered zero through seven is actually in binary which counts from right to left so that the sequence would be 000, 001, 010, 011, 100, 101, 110, 111. Granted, there are two numbers not in use (one and four).
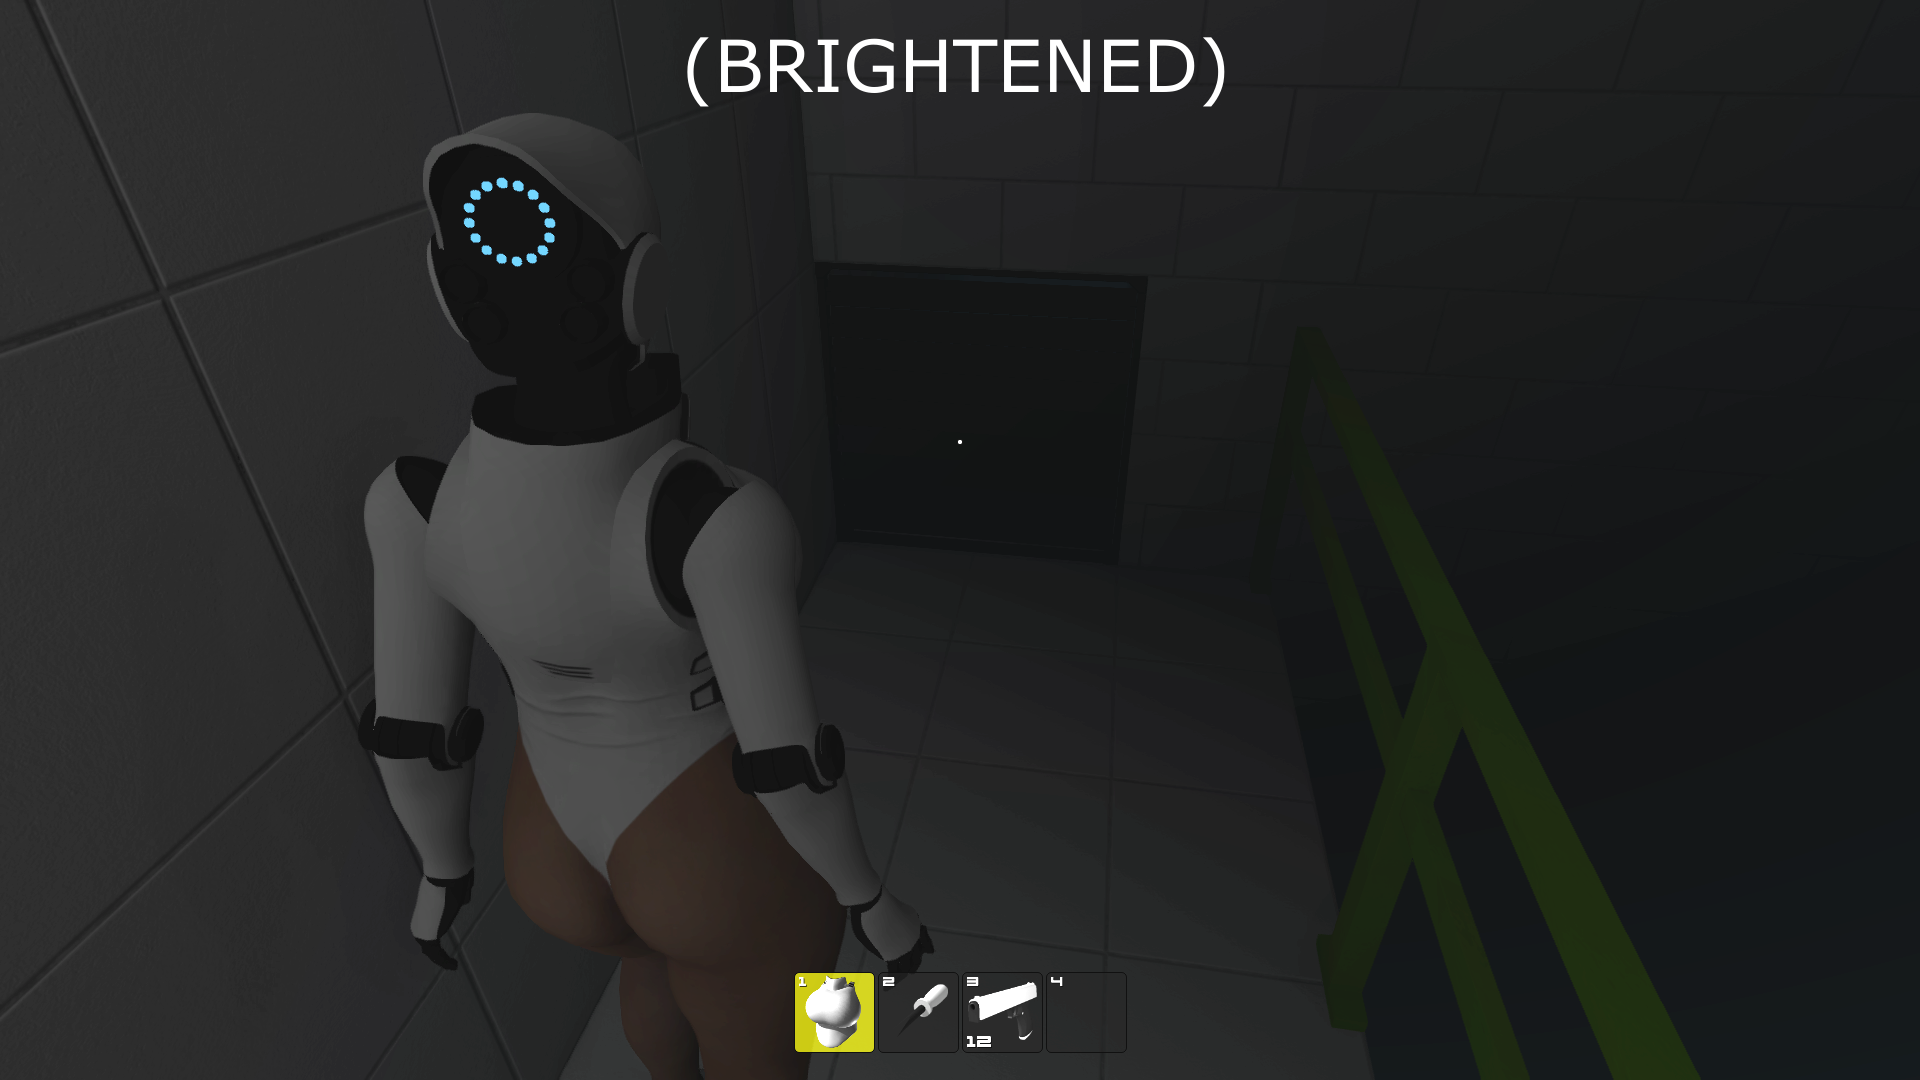
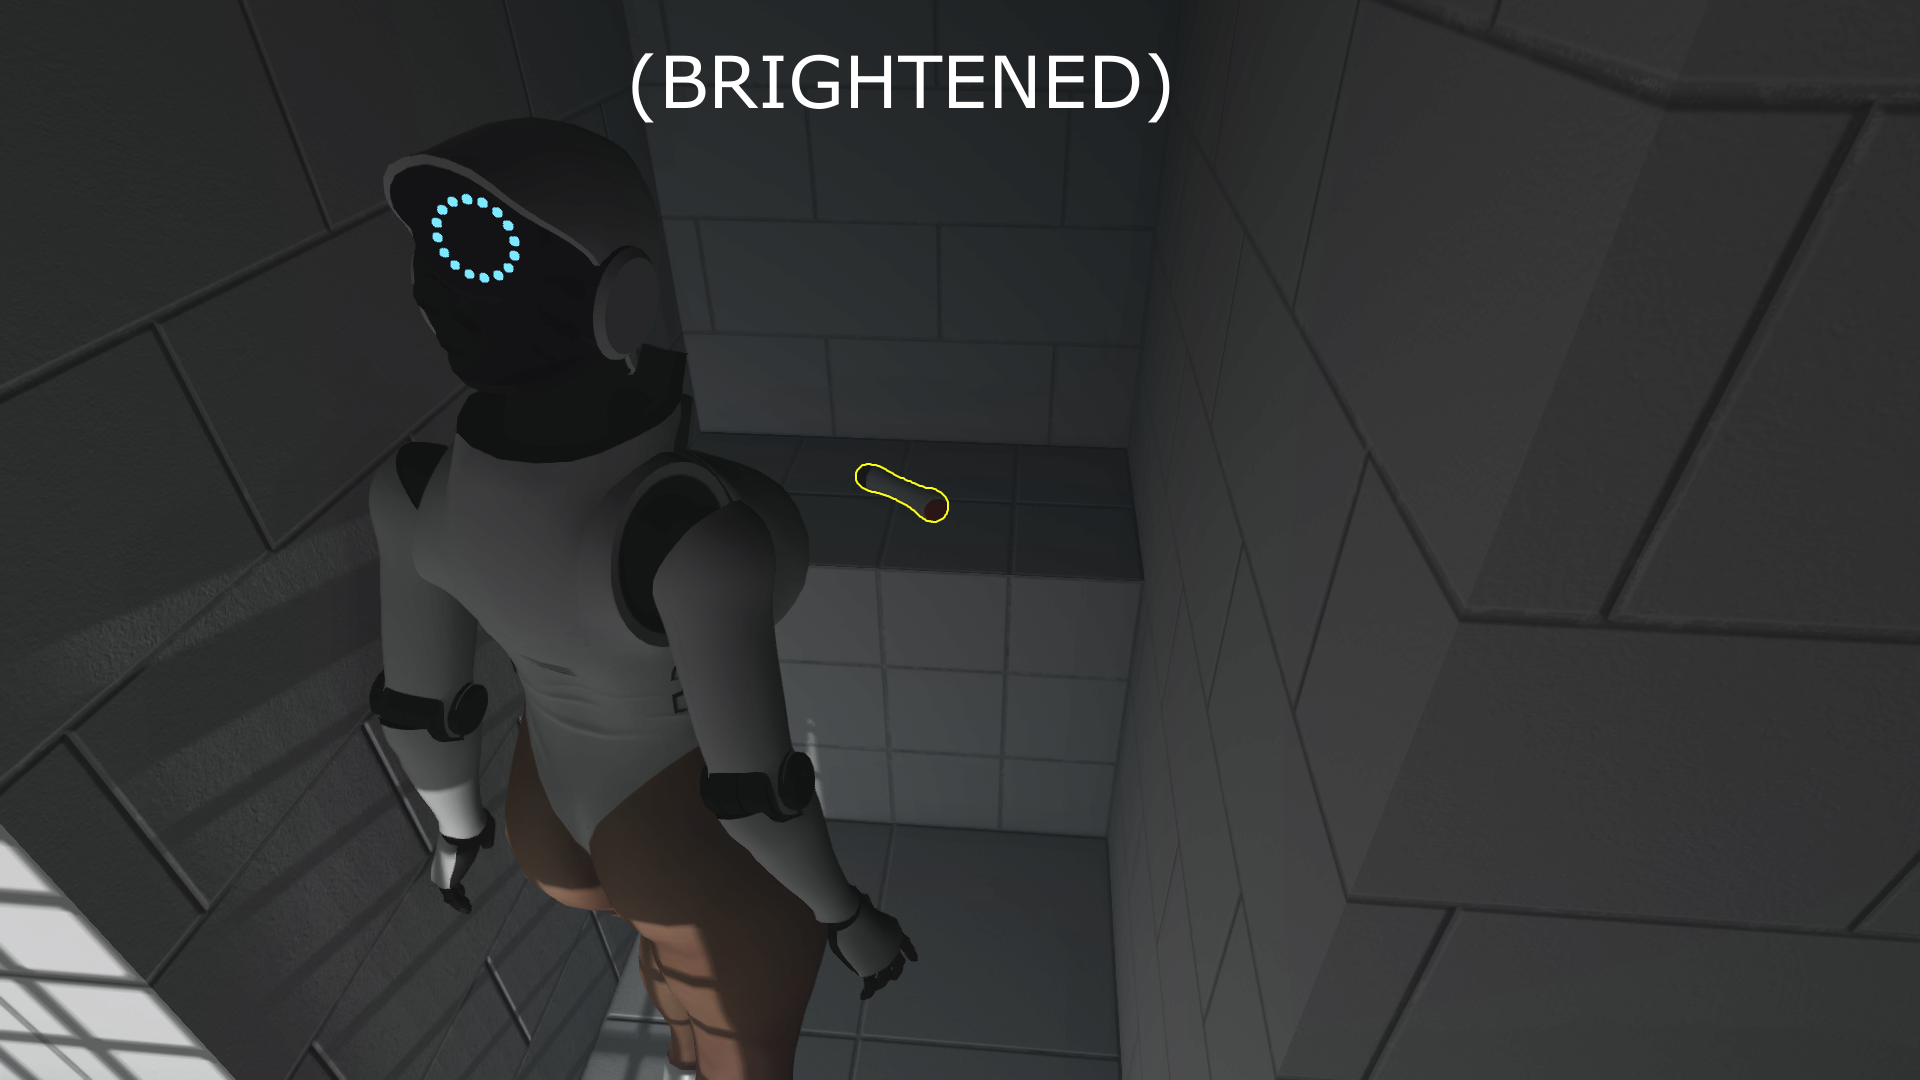
Any other differences I might have misremembered since the game's lighting wasn't working properly when running on the Steam Deck. It would be pitch black in the dark areas even when using the NVG. This seems to have been fixed rather recently and I was able to load my game that was saved right before entering the room with the NVG in it, thus I didn't play through the beginning again.