

Install Steam
login
|
language
简体中文 (Simplified Chinese)
繁體中文 (Traditional Chinese)
日本語 (Japanese)
한국어 (Korean)
ไทย (Thai)
Български (Bulgarian)
Čeština (Czech)
Dansk (Danish)
Deutsch (German)
Español - España (Spanish - Spain)
Español - Latinoamérica (Spanish - Latin America)
Ελληνικά (Greek)
Français (French)
Italiano (Italian)
Bahasa Indonesia (Indonesian)
Magyar (Hungarian)
Nederlands (Dutch)
Norsk (Norwegian)
Polski (Polish)
Português (Portuguese - Portugal)
Português - Brasil (Portuguese - Brazil)
Română (Romanian)
Русский (Russian)
Suomi (Finnish)
Svenska (Swedish)
Türkçe (Turkish)
Tiếng Việt (Vietnamese)
Українська (Ukrainian)
Report a translation problem


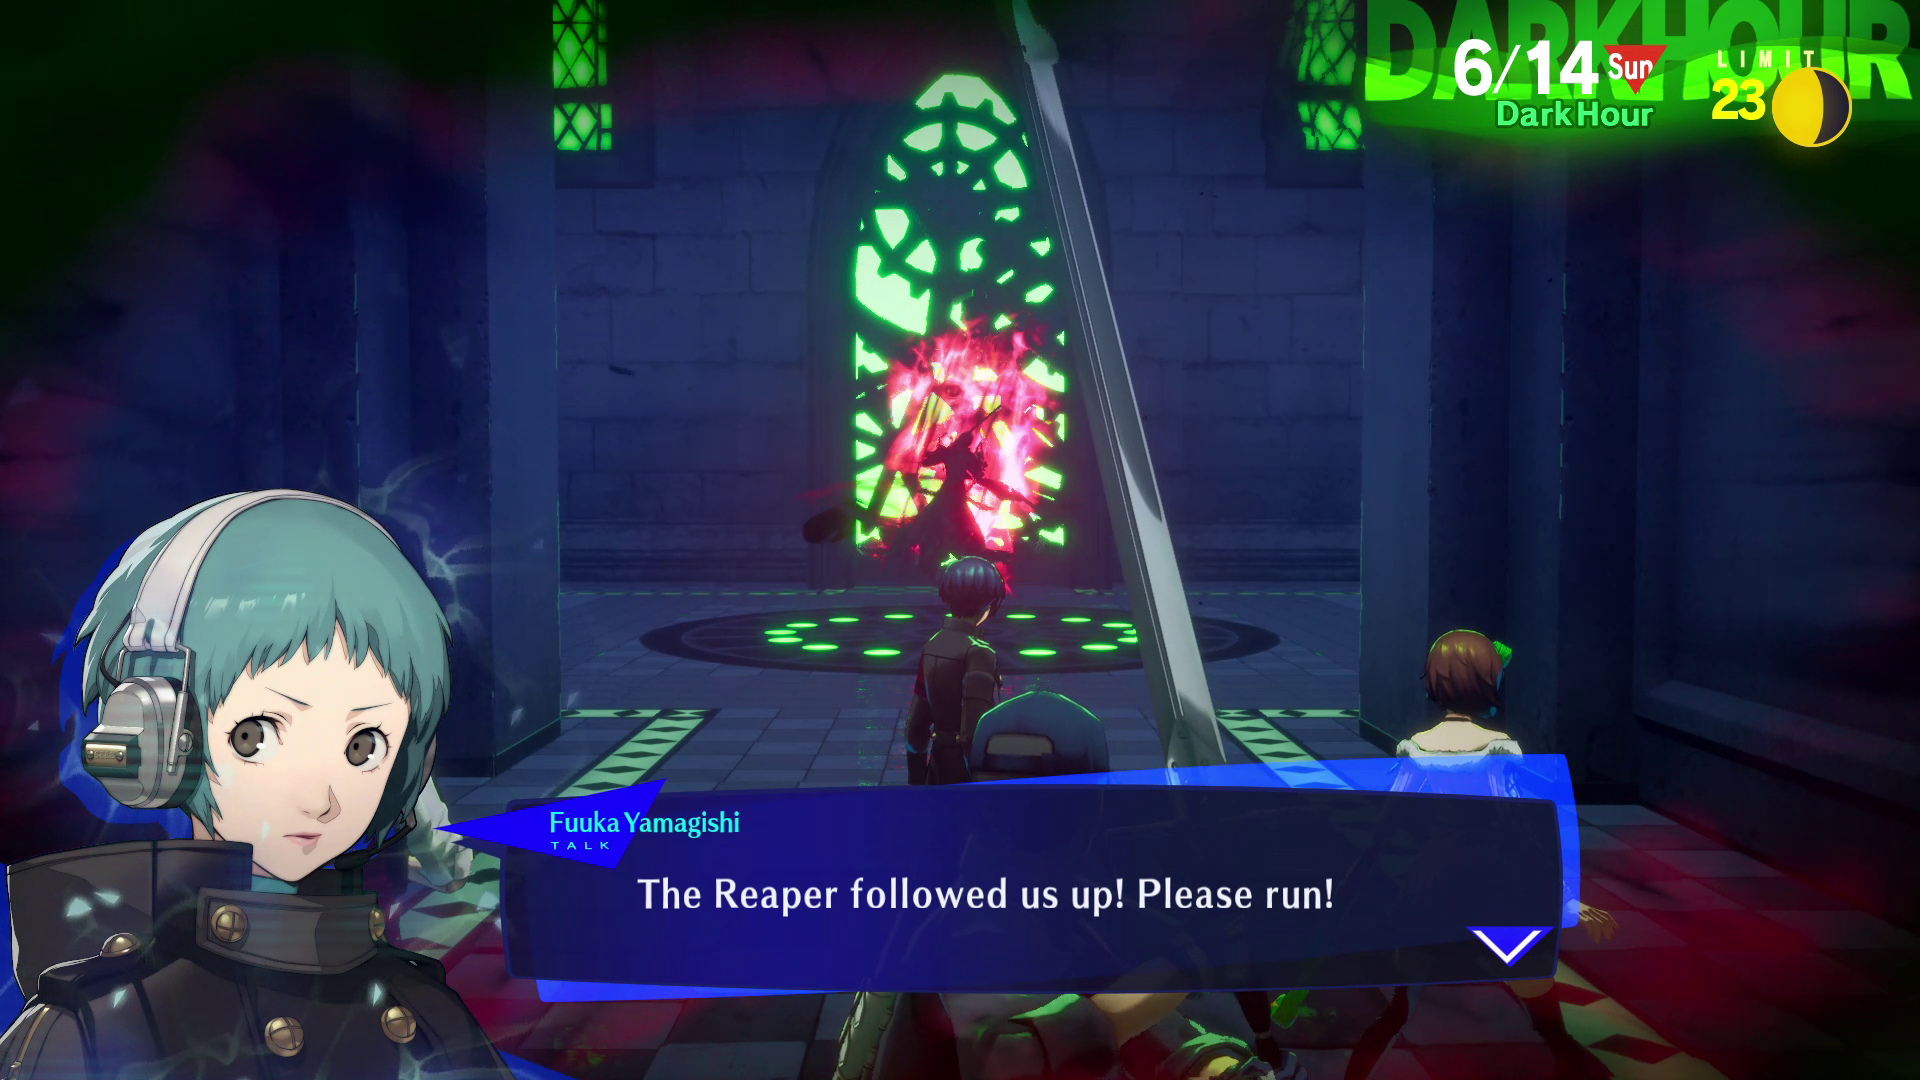


Got it from 3rd door after making previous comment LOL
So either i am beyond unlucky or something fucky is going on.......Trying to build ultimate team & setup for secret boss, but i just ain't getting this last drop
Sandman (Res Elec) + Lucifer (Res Phys) = Jatayu
Jatayu + Thanatos (Dark Amp) = Melchizedek
Melchizedek + Angel = Virtue
Virtue + Valkyrie = Setanta
Setanta + Cendrillon = Neko Shogun
Orobas (Res Ice) + Ose (Multi Boost) = Mishaguji
Mishaguji + Baphomet (Dark Boost) = Ganga
Ganga + Apsaras = High Pixie
High Pixie + Pixie = Jack-o'-Lantern
Tam Lin + Jack-o'-Lantern + Neko Shogun = Arsene