Trepang2

Trepang2

695 ratings
100% Achievements Guide - Trepang2
By Draynoth
A guide containing info on earning all achievements, including a collectable guide with screenshots.
37
16
42
9
2
4
4
2
2
2
   
Award
Favorite
Favorited
Unfavorite
Intro
If you're not using cheats, none of the achievements are missable with the exception of Big Brain due to a bug.
Multiple people have reported not getting the achievement despite getting all the intel.
I would personally suggest backing up a save file before collecting the last intel piece in the case it doesn't unlock, and otherwise waiting for an update.

If you are using cheats, be cautious of collecting the last collectable too.
Cheats will disable achievements, and if you collect the last collectable with achievements disabled you potentially have to do everything over again.

Achievements can be earned on any difficulty with the exception of the difficulty specific tasks.

Any hidden achievement will be marked off by spoiler tags. Like this!

If you have any changes you wanna propose, leave a comment or message me.

Guide written by Draynoth on Steam. Do not repost anywhere else without my permission.
Difficulty specific achievements
Not So Hard
Complete all campaign and side missions on Hard difficulty or higher


Supersoldier
Complete all campaign and side missions on Very Hard difficulty or higher


Subject 106
Complete all campaign and side missions on Extreme difficulty or higher


Unbreakable Will
Complete all campaign and side missions on Rage Mode difficulty


I would recommend attempting Rage Mode after getting more familiar with the game.
Miscellaneous Achievements
Trepangus
Throw an enemy into the vent in the first combat encounter in Site 14


On the first combat encounter after taking off your restraints, grab an enemy while stealth and bring him back to the vent you came in from and throw him in there.
It might take a few tries to properly wedge him in and get the achievement.

Average Weapons Fan
Use a weapon bench to customize a weapon for the first time


Pretty straightforward. You'll find weapon workbenches and weapon parts throughout the game.
Simply use a workbench and add any attachment.

You Monster!
Throw a TF27 soldier into the helicopter blades in Site 14


These are the friendly soldiers that help you extract. Attack a few of them before extracting to aggro them, only then you'll be able to grab them and throw them.

You’re Paying For Their F***ing Surgery!
Kill all TF27 soldiers in Site 14


These are the friendly soldiers that help you extract. Simply kill them all before hopping into the helicopter.
Don't forget to throw one into the helicopter blades for the "You Monster!" achievement aswell.

Dry Party
Destroy 100 beer/wine bottles


This one is hard to miss, there'll be a lot of bars full of beer/wine bottles throughout the game that will probably be destroyed by any grenades flying about.
If by some miracle you don't have this, go to the Pandora Institute stage and destroy some there with your own grenades.

50 shades of burnt
Destroy 1000 cultist books


Also hard to miss, but if you still need this, Jorvik Castle is the stage and use grenades.

Slide Into Your DMs
Slide into an enemy and grab him while he’s ragdolled


Pretty straightforward, although might take a few tries to work.

You're a Firework
Shoot an enemy while he’s thrown as a hostage grenade, detonating his grenade


Grab an enemy and press the throw grenade button, shoot the enemy afterwards.
Use focus mode if you're struggling.

Efficient
Use every bullet in a pistol magazine to get headshot kills


Another tricky one.
The easiest I found attempting this is towards the end of Pandora Institute, when all the zombie-like creatures attack you.
Use a lot of focus mode to make sure your shots hit or invisibility so you can line your shot up while the enemy is stationary, just be weary that other enemies can bump eachother over.
Another option is to attempt this while taking out the enemies through stealth.

That Was a Close One!
Kill an enemy with a headshot on final bullet in the mag


If you're going for the achievement up above, you will also get this. Pistols and DMRs are the easiest for this.

Solid 106
Stealth kill an entire squad without anyone becoming alerted


There's and easy opportunity to do this on the first encounter of Jorvik Castle.
Equip a DMR along with the silencer and snipe the enemies from above.

Stylish
Grab an enemy, throw and kill him with a headshot


If you're throwing a lot of enemies you might get this on accident. Otherwise just throw an enemy straight in the air, focus, and snipe with a DMR.

Oh Snap!
Execute your first hostage


Grab an enemy, melee to execute.

How's That Helmet Working?
Kill an enemy by shooting through his helmet with a DMR


Should be plenty of opportunities for this. If you struggle to aim just use focus.

Cost Effective
Kill 3 enemies with 1 grenade


There's some good opportunities in Site 14, on the last encounter with enemies coming out of the elevator.
Just throw a grenade when the light lights up on the elevator and if you fail you can always reload your latest checkpoint.

Backfired
Shoot an enemy’s thrown grenade, killing him with it


This one is tricky.
I would recommend bringing a DMR and finding an enemy that can throw grenades you can quickly reach in case you fail and need to reload the checkpoint.
I would recommend damaging the enemy a bit in order to ensure they die in 1 attempt.
Use focus mode when an enemy is about to throw a grenade and shoot it as soon as you can.
There's no surefire way as far as I can tell to bait out a grenade, just cloak after the enemy spots you and hope for the best.

Stick Around
Kill an enemy with a tomahawk


You'll find tomahawks near the end of the Jorvik Castle stage and you'll unlock it in the safe house to bring with you in other missions after.

Flashlight!
Alert an enemy by shining a flashlight from behind, shoot him before he turns around


This one can easily unlock if you fight while having a flashlight on.
If you don't get this, attempt to do this on any encounter on an isolated enemy with a high damage weapon.

Think Fast!
Kill an enemy with a flashbang impact


I have tested a lot of different things to try and make it work but just can't despite clearly killing enemies with a flashbang impact, it seems to just work randomly for some people.
The most reliable way for a lot of people and myself seems to be to go to a combat simulator map on easy mode.
Buy flashbangs when you can then use your pistol to shoot an unarmoured enemy in the leg 3 times and then throwing a flashbang at their head in focus mode.
You might need to keep progressing through waves till you find an enemy that you can take 3 shots in the legs to begin with, since sometimes enemies die sooner.

Emersus
Eviscerate Dr. Emerson's Corpse


On the Pandora Institute level, you'll eventually run into a cutscene where you pick up a syndicate medallion off Dr. Emerson's corpse.
Just punch the corpse till it explodes to get the achievement.
Collectable achievements
Smol Brain
Collect 50% of all intel docs


Big Brain
Collect all intel docs


Make sure to not have cheats enabled on the last collection to ensure you don't miss this achievement.
The game displays how many intel you have under the Database menu, however, it won't display any missions that you haven't collected anything for, so if you're till missing the intel achievements, make sure to double check if you have collected something for each mission.
Average Weapons Enjoyer
Acquire all weapon parts


Make sure to not have cheats enabled on the last collection to ensure you don't miss this achievement.
Intel - Site 14
Subject 106 Preliminary Observations
After passing through the first vent at the start of the mission, directly to your right on some filing cabinets.


Guard's Memo
After unlocking your restraints, on the table across from where the key was.


Site 14 Security Message Log: Maintenance
Right past the tutorial that tells you how to slide and before you drop down on the floor on the way.


Brain Transplant Proposal
After exiting the elevator going up, take the first right to enter an office and find the intel on the desk.


Site 14 message log: Budgeting
After exiting the elevator going up, go straight forward and take the second door on the left side.
The intel is on the desk.


Operation BRIGHT STAR
Sierra 4 Mission Report
From the last intel, proceed and enter the first door to your right to find both on a desk.


106 Memory Transplant Attempt Report
Continuing from last 2 intel, keep moving through the hallways and take the very first right you can.
Pass through one more short hallway and you'll notice a conference hall to your right.
The intel is on the table in this conference hall.


Security Complaint
From the last intel, move through the conference room and there will be one room in front of you you can enter with lots of boxes and some chairs.
The intel is on the desk behind some boxes.


Scientist's Briefing
After running through a few more hallways from last intel, you will run into another encounter in a more open office area.
The intel is in the room on the left as you enter on the corner of the table.
Intel - Pandora Institute
Welcome to the Pandora Institute
At the start of the mission, before going down the stairs.
When facing the door that leads downstairs, the intel is on the couch to your left.


Security Memo
At the start of the mission, take the stairs down.
The intel is on a couch that is up against the stairs you just went down.


Featured Patients
After going outside once and then back inside, you'll go up some stairs.
Take the first door on your right and the intel will be on a couch in front of you.


Patient Consent Form
After disabling the AA gun and using a breach charge to go through the door, you'll run into a bar.
Proceed one more room, the intel is on a table on the left hand side when you enter the room.


Social Media Post 1
After planting the second breach charge, you'll proceed through the building until you drop down a vent.
Go down the first set of stairs and the intel is on the corner of the planter directly to you right.


Quotas
In the same room as the last intel.
The intel is on the bottom portion of this room on a desk by the door that leads outside.


Patient Transfers
After dropping down the vents, you'll move outside again once and then back inside.
Inside, you'll eventually go up some stairs, the intel is directly to your right at the top of the stairs on a table.


Guard Related Incidents
Across from the last intel, on a couch in the outdoor lounge area.


Social Media Post 2
From the last intel, enter the nearby door and the intel will be on a couch ahead of you on the right.


Facility Staff Emails
Once you enter the memorial room, enter the first room to your right.
The intel will be on a couch in front of the TV.


Oasis Tower Incident
On a desk in the security room after you enter the memorial hall.


Atrium Situation Report
After defeating the Samitarian, proceed to follow the hallway.
The intel is at the end of the hallway in the hospital area.


Email to Family
After the last intel, stick to the right after entering the main hospital area.
The intel is on a table by a bunch of blue crates.


Patients Last Message 1
Patients Last Message 2
After taking the elevator to the basement, stick right until you enter a room that's behind the counter.
Both pieces of intel will be in this room.


Conflicted Scientist Email
After taking the elevator to the basement, stick left until you enter the executive lounge.
The intel is on a table in the back of this room.


Patients Last Message 3
After taking the elevator to the basement, follow the path until you see a door blocked off by a forcefield.
Enter the next room and the intel will be on the desk directly in front of you.


Patient Exposure
From the last intel, proceed and take the very first right you can take.
The intel is on the desk at the end of this room.


Experiment Log
After you kill your first zombie, enter through the broken glass and stick to the left.
It's on a desk shortly after.


Pandorium
After the last intel, on a desk slightly further up ahead after taking a left.


Black Ops Mission Log
After the last intel, at the end of the hallway on the right on a desk.


Corporate Pressure
After the last intel, proceed forward as normal and as soon as you enter through a double door it will be on the desk to your right.


Mission Archives: December 15 1967
After getting the XCV Coin off Dr Emerson, underneath the table to the left of the body.


Dr. Emerson's Note
After getting the XCV Coin off Dr Emerson, enter the armory and take the room to the right.
The intel is in the corner on the bar.


Security Message
After the armory and descending into the sewers, you will eventually run into a forcefield.
Follow the cable to disable it.
The intel is in the corner of the same room as you disable the forcefield.
Intel - Jorvik Castle
Patriarch Speech Transcript 1
At the start right before entering the courtyard.
Take a right before dropping down and the intel will be at the end of the hall.


Patriarch Message to 106
After calling in the chopper and entering through a stone door, you will be in a big hall with some pillars and a painting near the end of it.
The intel is on the table near the painting.


Cultist Journal Entry 1
After calling in the chopper and entering through a stone door, proceed until you see the enforcer and proceed down a set of stairs shortly after.
The intel will be at the end of a long table directly after ascending these stairs.


Enforcer Log 1
During your first encounter with the enemy indoors, you will go up 2 sets of stairs.
Between the first and second, there will a room on the side which contains the intel.


Librarian Entry 1
After the last intel, after going up the second set of stairs, run to the back end of the room and the intel will be on a desk to the right.


Librarian Entry 2
In the same room as last intel but on the opposite corner on a small table in front of a couch.


Enforcer's Doomsday Plan
Patriarch Speech Transcript 2
Cultist Journal Entry 2
Enforcer's PT routine
After the last 2 intel, proceed down a hallway and up some stairs into another enemy encounter.
In this big room, drop down and the intel will be on 4 desks.
One is closest from where you entered, one is on the opposite side of that, and one is on the right side from where you entered.
The last one is on the top portion in the center of the room.


Cultist Doctor Entry 1
After the last intel and passing by a room with a weapon workbench.
Take the first left and the intel will be on a table against the wall.


Cultist Doctor Entry 2
Start the same way as last intel but take the first room to your right instead.
The intel is next to one of the beds.


Cultist Journal Entry 3
In the room after the room with the hospital equipment where you found the last intel.
On the top portion on top of a desk.


Cultist Journal Entry 4
Patriarch Message To Martyrs
After the last intel, at the end of the hallways where you get attacked by multiple enemies with molotovs.
Both are on a table left and right when you enter the room.


Black Ops Mission
After defeating the Enforcer, directly after proceeding through the door to leave the arena and to the left on a barrel.


Librarian Entry 4
Librarian Entry 3
After clearing the courtyard a second time, move through the door, past the weapons workbench and through a small corridor, you will enter another big room.
One intel is on the other side of where you entered from on a desk, the other is on another desk further down on the same side.


Dr Kramer Log 1
After proceeding further from the last intel, you go down into the wine cellar where you will hear a bit of dialogue over the radio.
In this room, the intel is on the floor next to the pillar before taking the door out.


Enforcer Log 2
When you enter the big open warehouse area after the last intel.
Next to the pallet in front of the wooden structure as you enter.


Dr Kramer Log 2
From the last intel, enter the building and the intel will be on the kitchen counter near the center of the wooden building.


Burn the Books
After the third courtyard fight and descending with the monument, you'll move past a weapons workbench into a burning library.
The intel is in front of the very first pillar you run into.


Patriarch Speech Transcript 3
Still in the burning library, on the second-last floor.
The intel is on a small table in a corner in front of the window.


Patriarch's Will
In the room you drop down in where you encounter Sokol, on a desk by the window.
Intel - Site 83
Gas Mask Protocol
After descending the elevator at the start, in the room you need to open the gate from.


Logistics Report
After opening the gate, move on down a small set of stairs and up a small ramp.
The intel is in front of the ramp on the wooden crate.


Article: Siberian Craters
You'll move through some locker rooms.
The intel is on a bench next to a door on the way.


History Log 1
After the pipe leaks in front of you, enter the next room and the intel is directly to your right.


Scientist's Log 2
Right outside of the door after you split off with your crew, before using the switch to open the gate.


Scientist's Log 1
After passing through the gate you just opened, take the first right into the room with the intel on the desk.


History Log 2
Just after the last intel.
Pass some lockers and take the first right you can and the intel will be on the desk.


History Log 3
After a spooky moment and you get taken into the bathrooms.
Proceed to the next room with the bunk beds and lockers, it will be under the bed directly to your left when you enter.


Scientist's Log 4
Proceed from last intel and crouch under some shelves.
The intel will be on the floor directly after on the way.


Scientist's Log 3
After exiting the hallway where you have to hide from the spooky creature, hug right till you enter a room with intel on the desk.


Medical Officer's Note
During your first encounter with the Hazmat Units.
Exit the room with the weapons workbench, then go through a double door directly left of you, then hug the right side until you reach a room with 2 desks and some monitors, the intel is here.


Expedition Report 2
Expedition Report 1
After the encounter with the Hazmat Units and still in the hospital area, proceed till you go through a door and enter a hallway with lots of blood and a bunch of dead enemies in Hazmat Suits.
The intel is on a desk in the room directly on the left side, and another in the small room slightly further ahead in the same room.


Backrooms Expedition 3
After exiting the area with yellow walls and being taken back the the Site.
Crouch under the first shutter on the left and it will be on the desk.


Expedition Report 4
After dropping down the elevator shaft, next to the fence as you proceed.


Lost Expedition Member Log
After being taken to the area with yellow walls a second time, proceed till right before you're forced to drop down into an encounter.
Jump up on one of the walls up to the upper area where the intel will be next to a dead hazmat unit.


Expedition Member Log
After getting taken into the room with yellow wallpapers for the second time, you'll eventually run into a weapons workbench.
Drop down slightly after that and the intel will be on a table behind you.


TF27 Mission Log
When you enter the room with the crystal in the center.
On the floor right next to the switch and weapon as you enter.
Intel - Horizon HQ
Newspaper
Maintenance Email
After planting the first breach charge, enter the next room.
The intel is on the wooden crates directly in middle of the room, the other intel is behind you from where you picked that up on another wooden crate.


Defense Plan
After detonating the charges in the first part and fighting over a bridge, take a right immediatly after crossing the bridge and go to the parasols, vending machines and couches nearby.
The intel is on a couch.


Resignation Letter 1
Letter From Board To CEO
After entering the main building on the reception desk.


Resignation Letter 2
CEO Letter To Board
CEO Letter To Staff
News Report
After entering the second room of the main building, hug the right side until you go past a bar into a lounge area.
All 4 intel are place around on tables and chairs.


Memo To Horizon One Pilot
After taking the elevator up and disabling the forcefield.
Enter the room and the intel is on a couch opposite side from where you enter.


Employee Surveys
After the last intel, head up a set of stairs and enter the area on the right and pick up the intel on the desk.


CEO Message To Holdouts
From the last intel, you will eventually go up another set of stairs into a bar.
The intel is on one of the corners of this bar.


Emergency Project
In the room before the armory, in the middle on a chair.
Intel - Syndicate
Incinerator Report
At the start, on the other side of the room you're in.


106 Status Report
At the start, on a table in the hallway.
Intel - Side Jobs
Gunnarson Complex
RAISE Magazine
When facing the weapon workbench, one room the the left on a table between the couches.


Unidentified Structure (Site 32)
Email to CEO
Outside behind a truck.


Security Leader Message
In the building underneath the stairs.


Personnel List
In the main room on some wooden boxes.


Metal Sheet Installation
On the second floor in a room in the corner.


Research Associate's Log
After descending below the building, follow the path a bit and it should be noticeable on the floor in the first hallway.


Researcher's Log
From the last intel, proceed and take the first right, then take the first left.


Research Consultant's Log
Proceeding from the last one, jump over some server racks and the intel will be on the ground below 2 metal beams.


System Log
In the spooky room that requires you to turn off some monitors.
To the right of the monument in the center.


Crash Site
Flight Manifest
In the cockpit.
From the start of the mission, go left and follow along the wreckage till you reach the cockpit.


Kellington Colliary
Raid Report
Facing the workbench in the center, go right and up the stairs, then take a right at the top and you'll notice a shelf with the intel slightly up ahead.
Weapon Parts
Site 14
Pistol: Laser
Pistol Suppressor
Both are found in the room where you find the first weapon customisation terminal.


Pandora Institute
DMR: Laser
Placing the second breach charge, you'll move through a building until you drop down a vent.
The part is on the bottom of that room, in a corner under the stairs closest to the exit door.


Shotgun: Suppressor
On the desk after entering the security room in the memorial hall.


Pistol: Compensator
After taking out the Samitarian and exiting the hospital area, take the first room you can enter to your right.
The attachment is in the far back corner of this room.


Shotgun: Choke
During the escape after destroying the reactors right before a weapon customisation workbench.
At some point you will run through a short hallway with some computers and monitors.
Directly after to the right, the part is on a shelf before the stairs.


Jorvik Castle
DMR: Suppressor
At the start of the mission, to the left of the weapon workbench after dropping down.


DMR: Compensator
After dropping down into the courtyard, go underneath the bridge closest to where you dropped down from.
The part will be by a pillar.


Pistol: Auto
During your first encounter with the enemy indoors, you will go up 2 sets of stairs.
Between the first and second, there will a room on the side which contains the intel.


Bolt Launcher: 2x Scope
After clearing the courtyard the second time and going back inside again, keep moving through some rooms until you reach a corridor with a red carpet spanning it, a statue at the end of it and a flare by the door, enter this door and stick right and the part will be in the corner.


Shotgun: Incendiary
Right after the last part, proceed further till you notice 2 pillars near a weapon workbench.
The part is next to the second pillar on the floor.


Bolt Launcher: Penetrator
After descending down the monument in the third courtyard fight, on the table across the weapon workbench.


Site 83
Pistol: Burst
After the spooky encounter and being taken into the bathroom.
Proceed until you crouch under some shelves and get into the hallway with this spooky creature.
The weapon part is in a room on the left side near the end of the hallway.


Rifle: Suppressor
After getting through the hallway of the last part, enter the first room on your right.
In this room, follow the path all the way to the end and the part is behind some wheelchairs.


Rifle: Laser
After being taken into the area with yellow walls for the second time.
Drop down, finish the first encounter, and take a right after going up some stairs.


Horizon HQ
Minigun: Laser
After planting the first breach charge, enter the next room.
The part is behind a crate to your left when you enter.


Minigun: Smart Gun
After taking the elevator and heading outside but right before entering the main building.
It's on a box next to the weapon workbench right by the door.


Safe House
SMG: Suppressor
At the shooting range.
Weapon Parts - Side Jobs
Iron Dragon Data Center
Minigun: Suppressor
On top of a server rack on the opposite side of where you start.
Find and take the stairs up to the catwalk and drop onto the server from above.


Gunnarson Complex
DMR: Iron Sight
From the start, go through the door behind the reception in front of you.
Once you enter a new room, go down some steps.
The weapon part is wedged behind one of the benches on the left side.


Unidentified Building (Site 31)
SMG: Long Barrel
On the top floor of the house in the central room on top of a shelf.


Oil Rig
SMG: Laser
Inside the room the opposite corner from where you start with the weapon workbench.


Kellington Colliery
Minigun: Bayonets
On a table to the left of the weapon workbench.


Crash Site
Grenade Launcher: Homing
In front of the left plane wing on some crates.


Rifle: 2x Scope
Facing the workbench closer to the front of the plane, directly to your right on some crates.


Minigun: 2x Scope
Near the same as the last weapon part on some crates next to an engine.
Secret Ending achievement
One Last Mission
106 is reborn


This achievement unlocks after getting the secret ending.
You can get this ending by interacting with 7 different drones throughout the game, then finishing the game as you would normally.
Falconwing3 has already made a good guide for finding the drones that I would recommend checking out.

https://steamproxy.net/sharedfiles/filedetails/?id=2993052131
Unmissable/Story achievements
CV
Collect the Syndicate coin “CV”


JuggerNOT
Kill a heavy soldier


Erase Your Light
Escape from Site 14


XCV
Collect the Syndicate coin “XCV”


Pest Control
Kill the Mothman


Take Your Flight
Complete Level: Pandora Institute


TrePayne
Acquire the dual wield serum


XCI
Kill the Patriarch


To A Place Where You Will Be Remembered
Complete Level: Jorvik Castle


To A Place Where You Will Be...
Complete Level: Site 83


LXXVIII
Kill the Horizon CEO


...Loved
Completed Level: Horizon HQ


CVI
Cycle 106 comes to an end


TREPANG2
Break The Cycle


The Truth
Let the world know
92 Comments
DarkRookie 17 hours ago 
For Efficient, you can kill the first 13 people in the first mission after getting the pistol pretty easily to get this one. It is how I did it
BS Matador 22 Aug @ 10:55am 
I got got Stick Around by sticking the Patriarch in the face with it. This was mostly by accident, I was reloading and he only had a sliver left. Didn't even expect to hit him let alone kill him. Felt pretty dope.
Didn't have anywhere to share that so I'm putting it here. :Owl:
faxfan9000 21 Aug @ 8:43am 
how do i get the the truth achivement
Kajoken 13 Aug @ 4:49am 
Xavers "Backfired" tip is sadly very unreliable. I just tried this method and the TF27 Soldier threw the grenade only once in 20 tries. Still looking for a better way to get it.

Edit: Finally did it after about 30 tries, it was a completely differen TF27 soldier but at least it worked.
Xaver15 CZ 25 Jul @ 11:32am 
My take on Backfired achievement was:
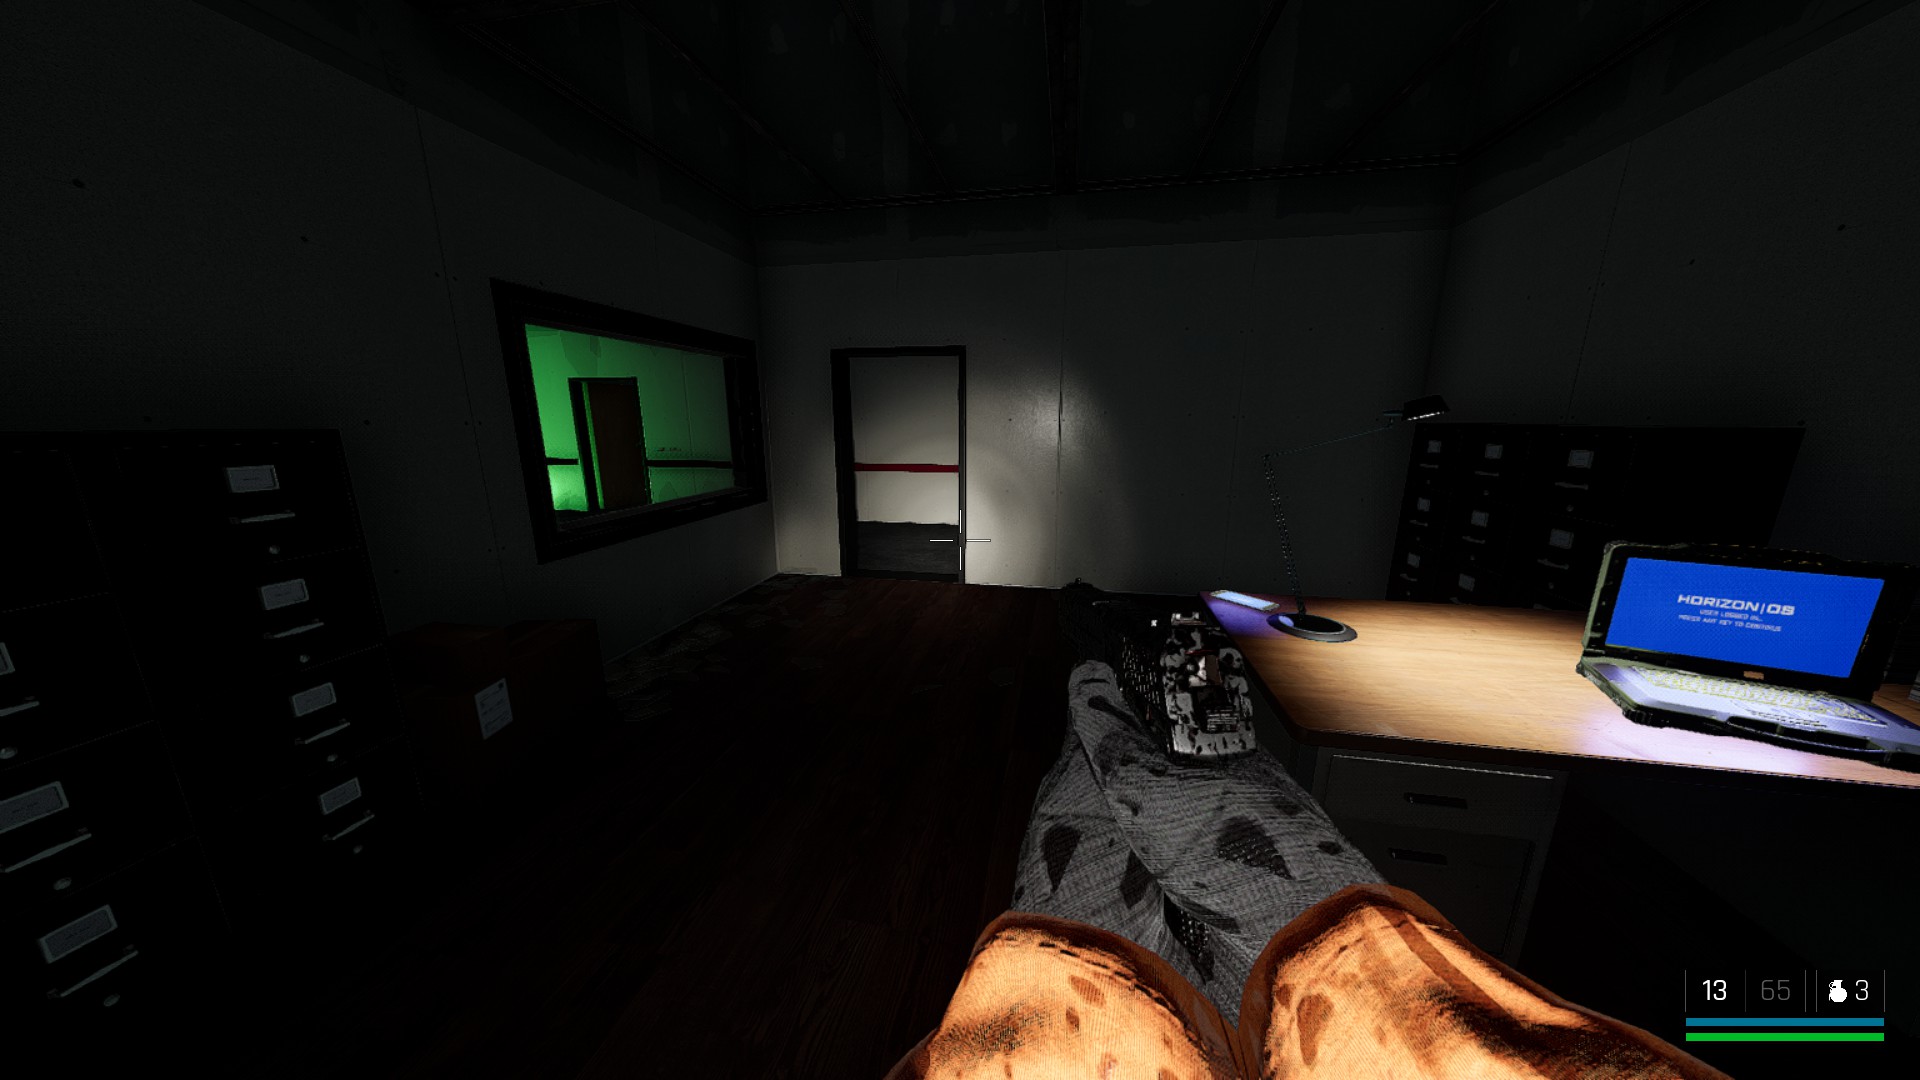
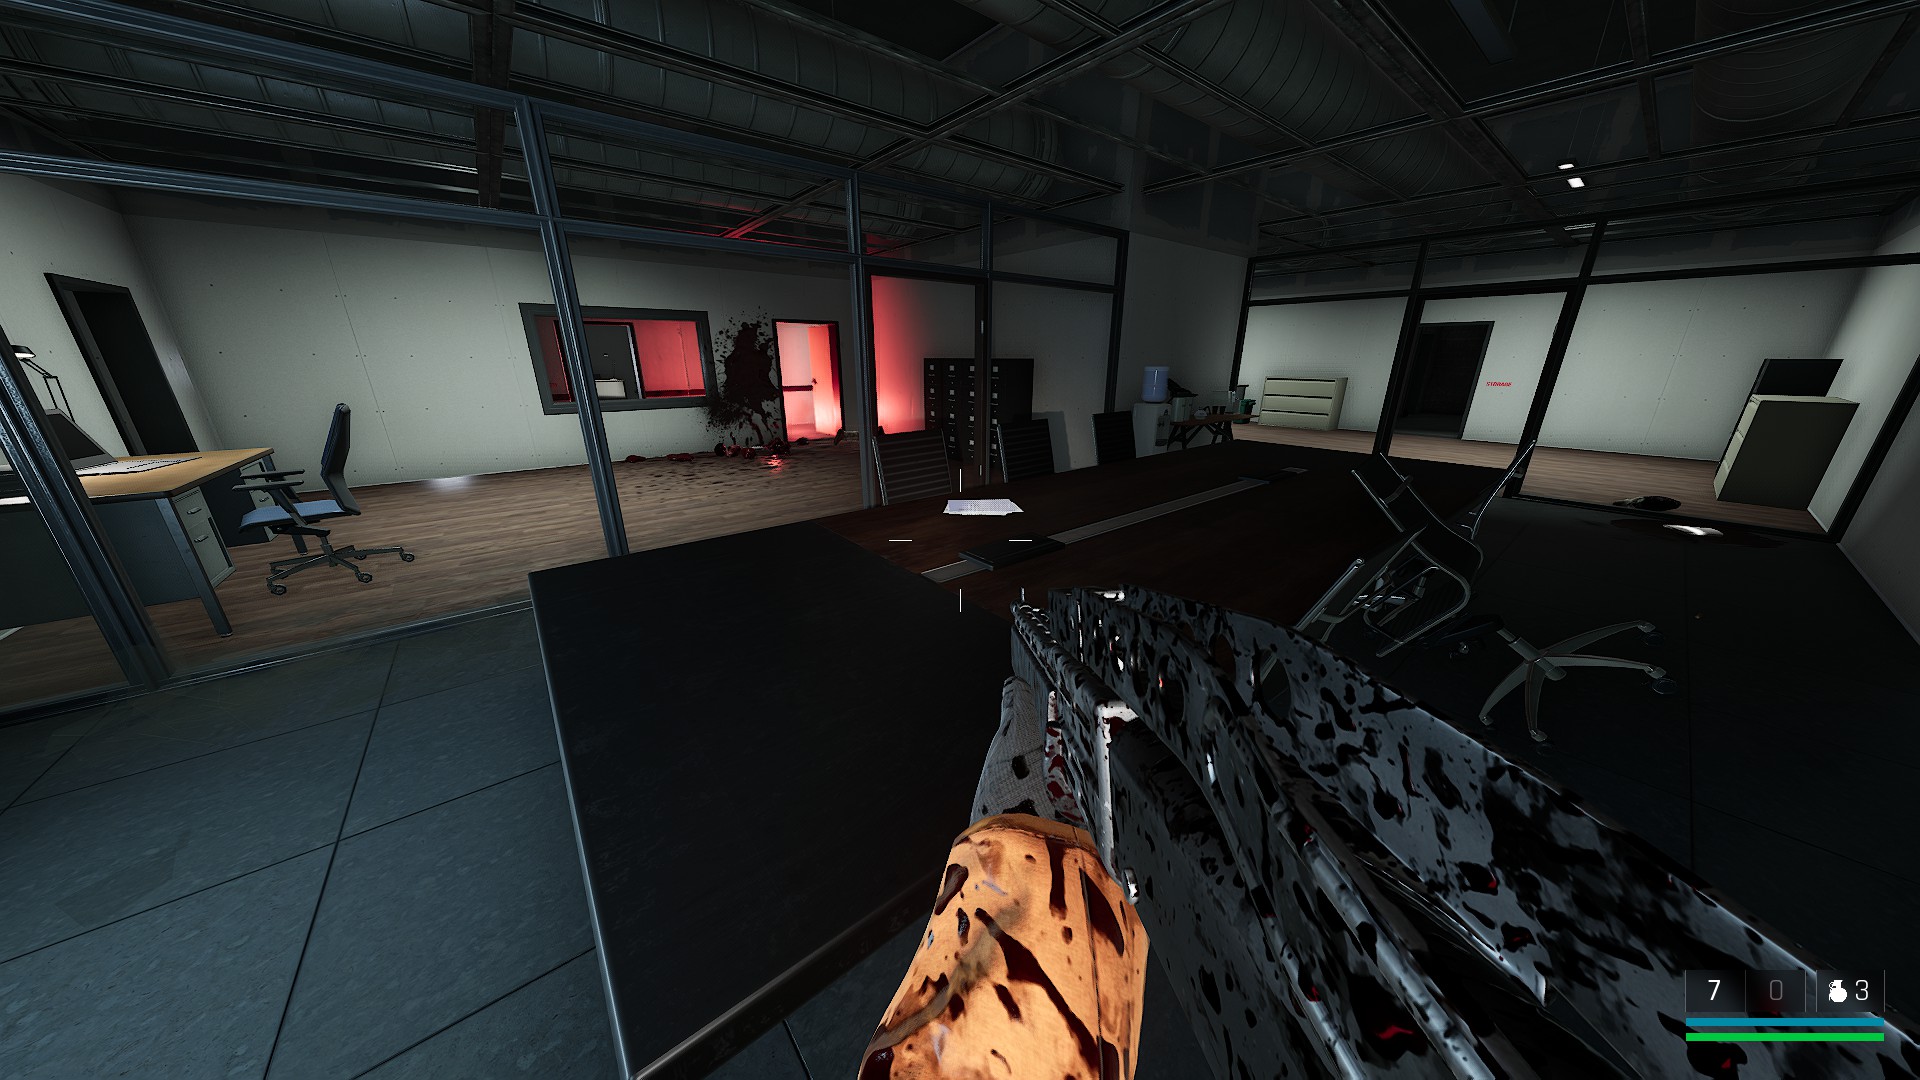
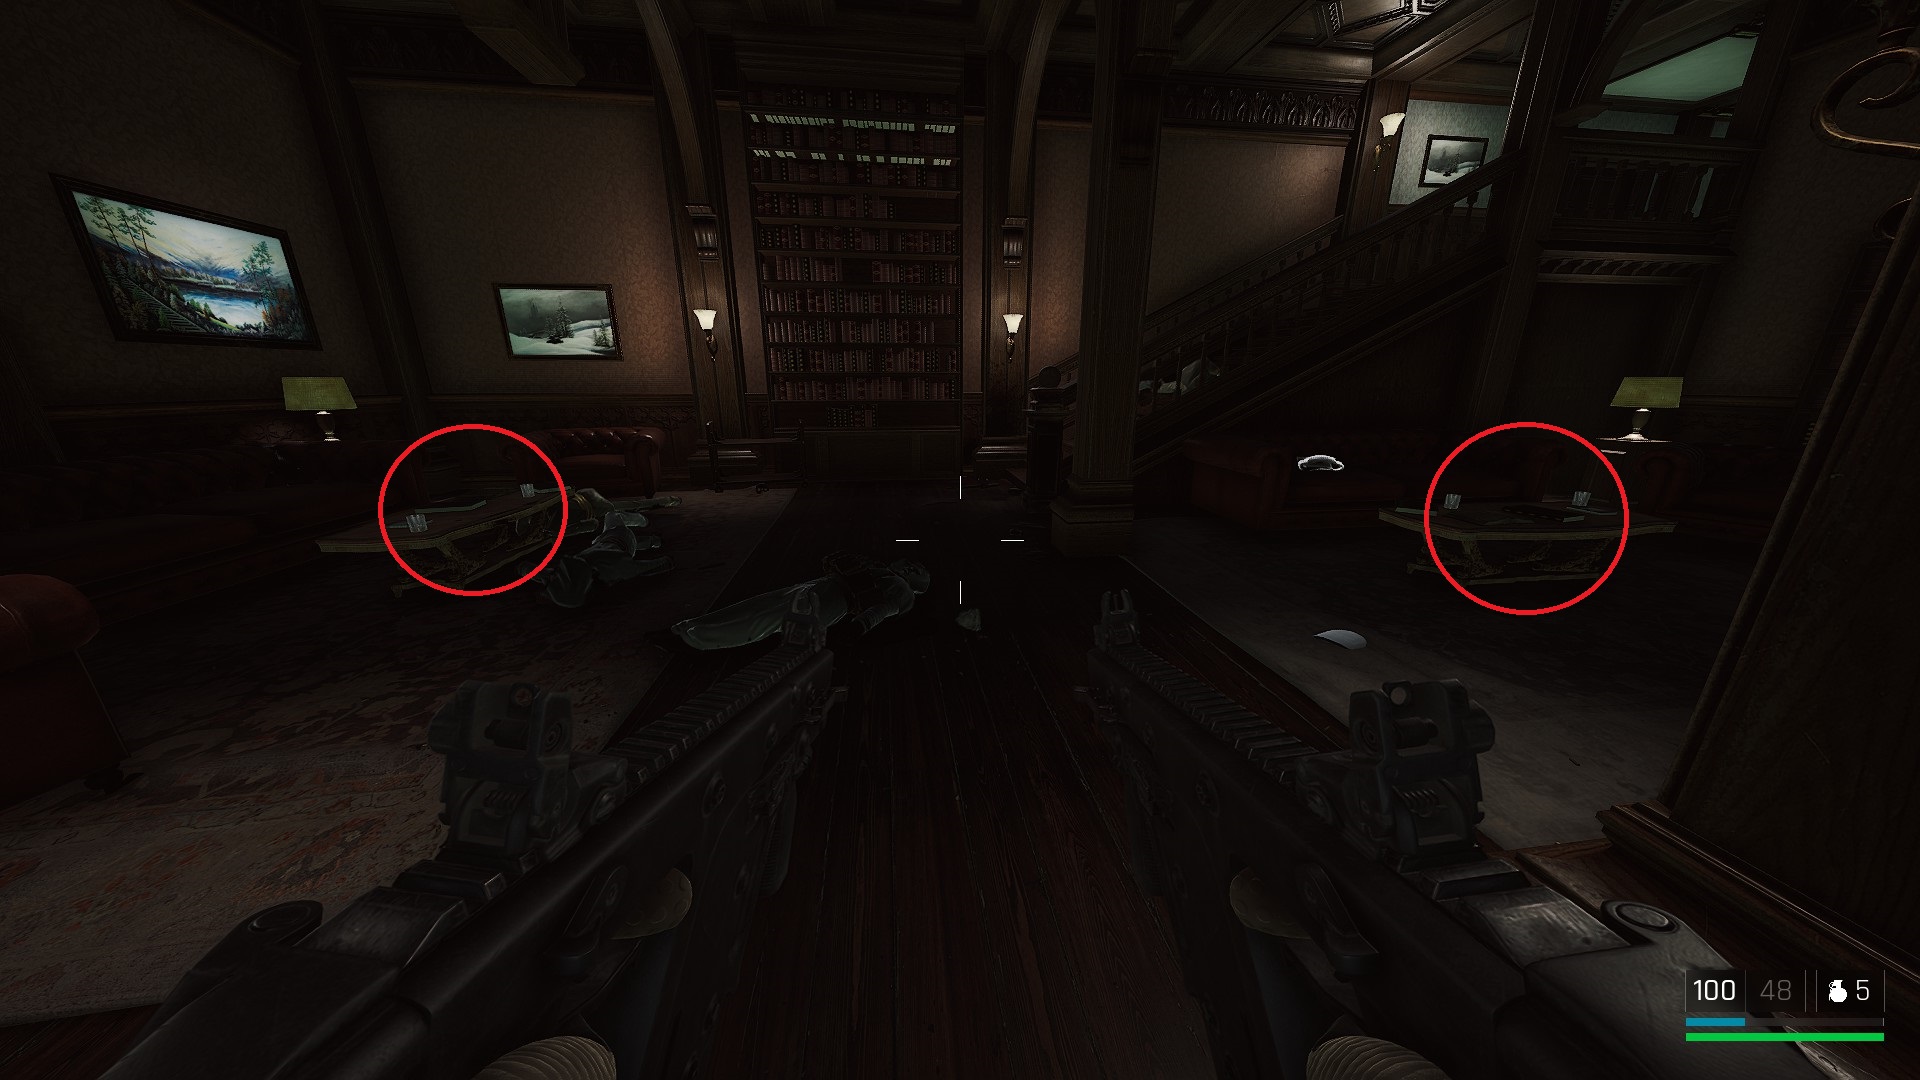
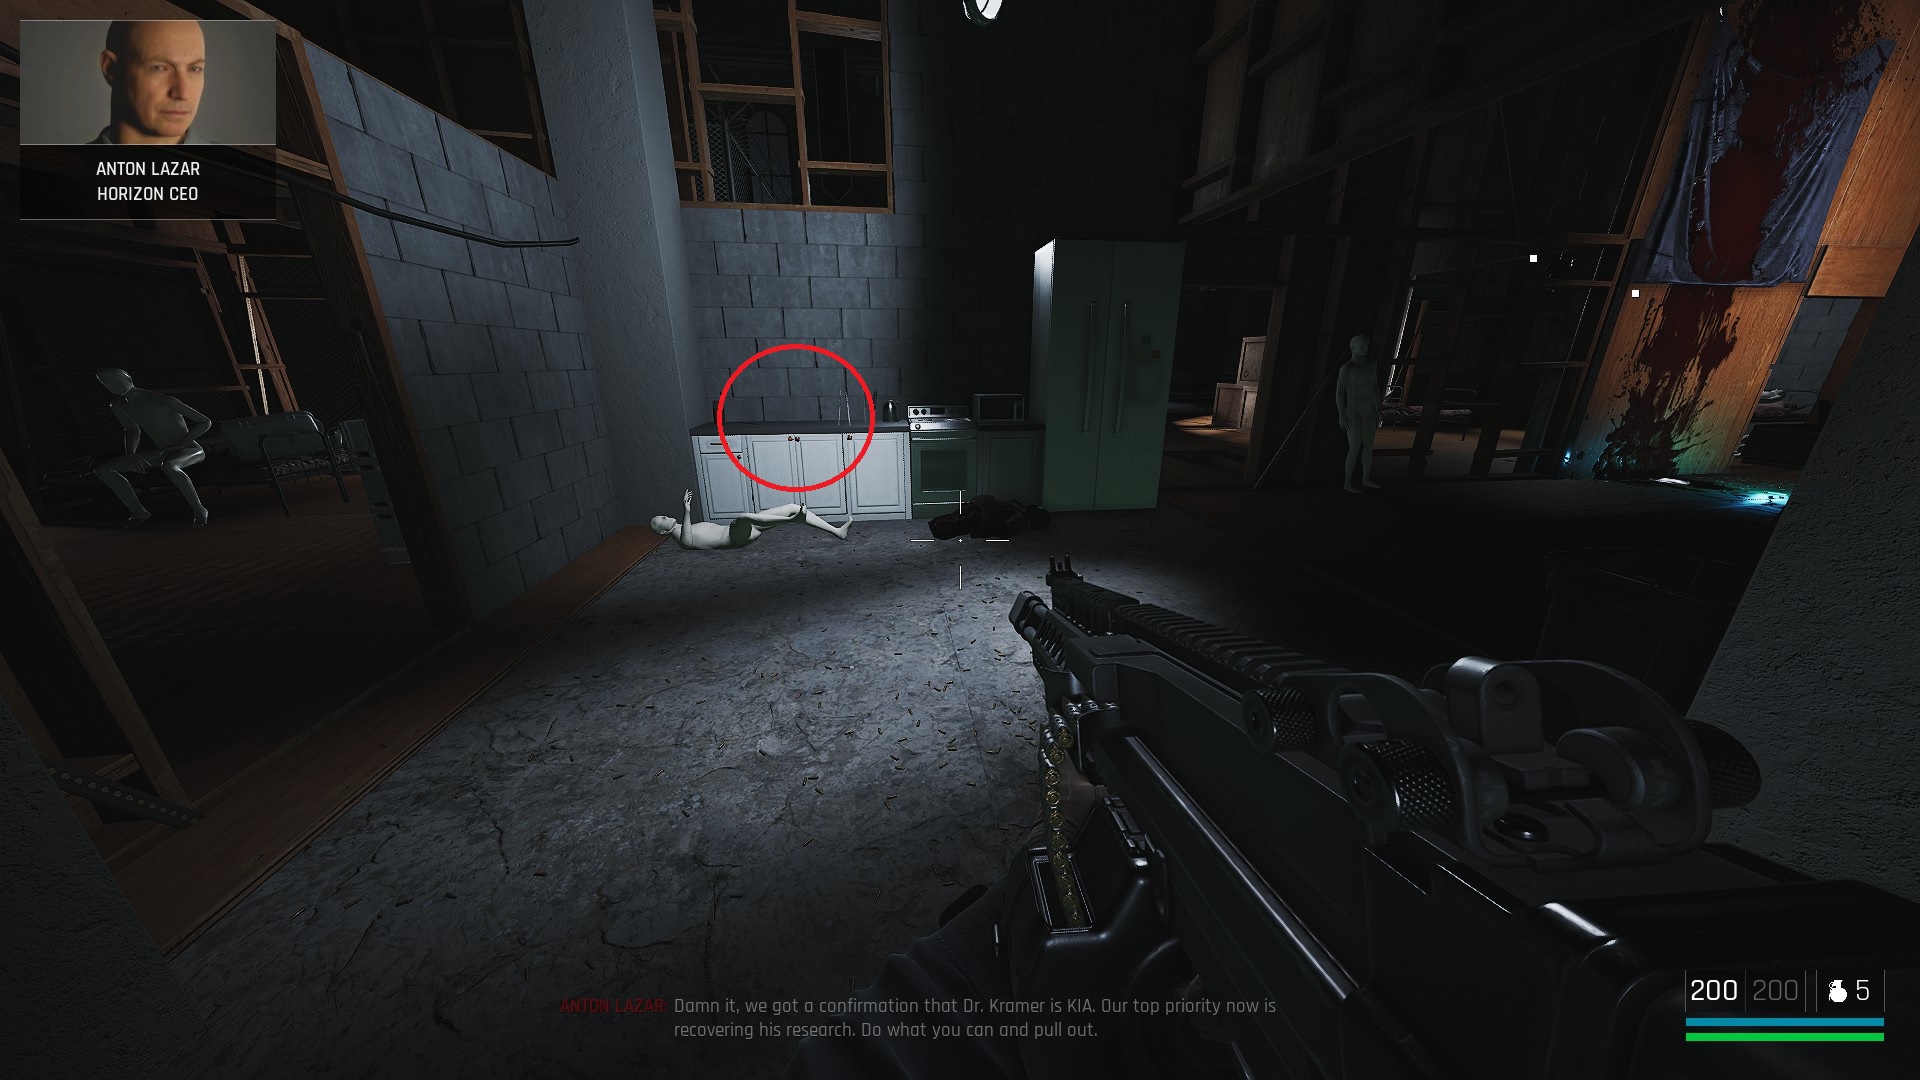
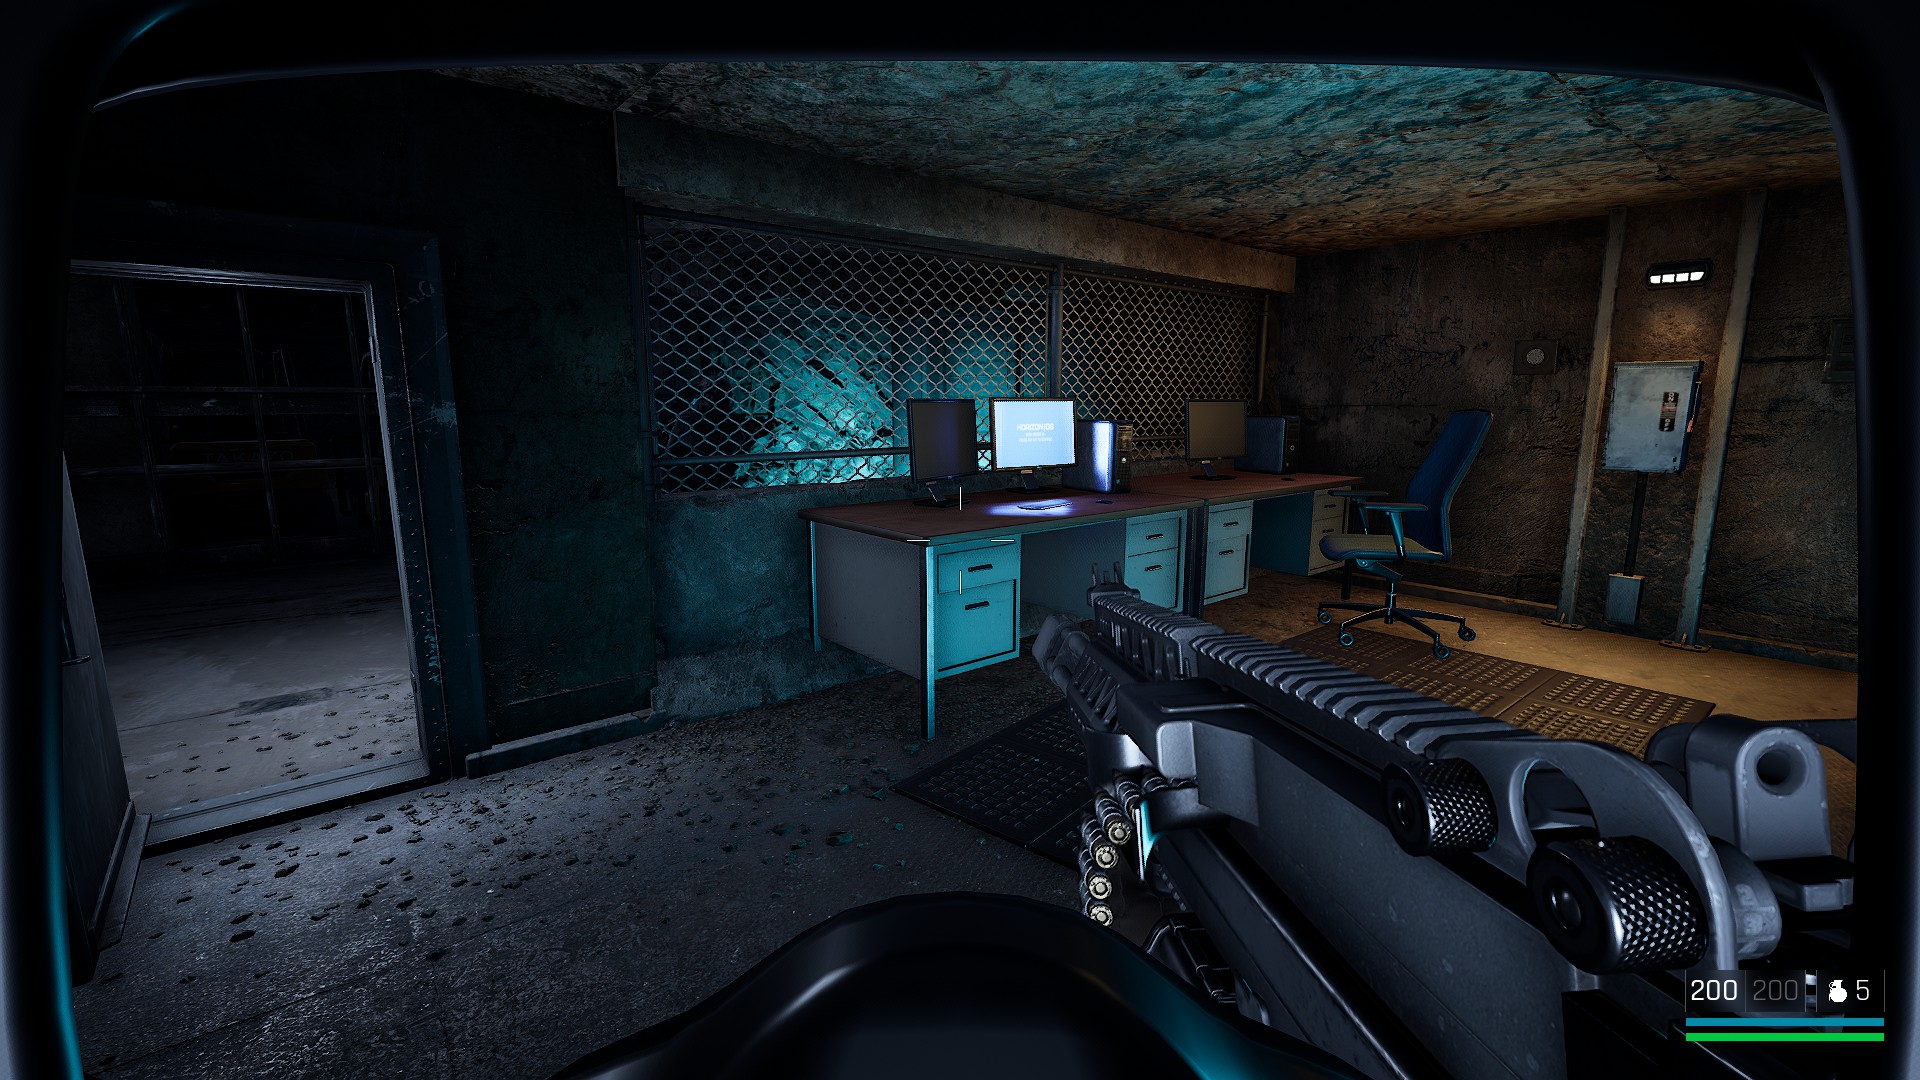
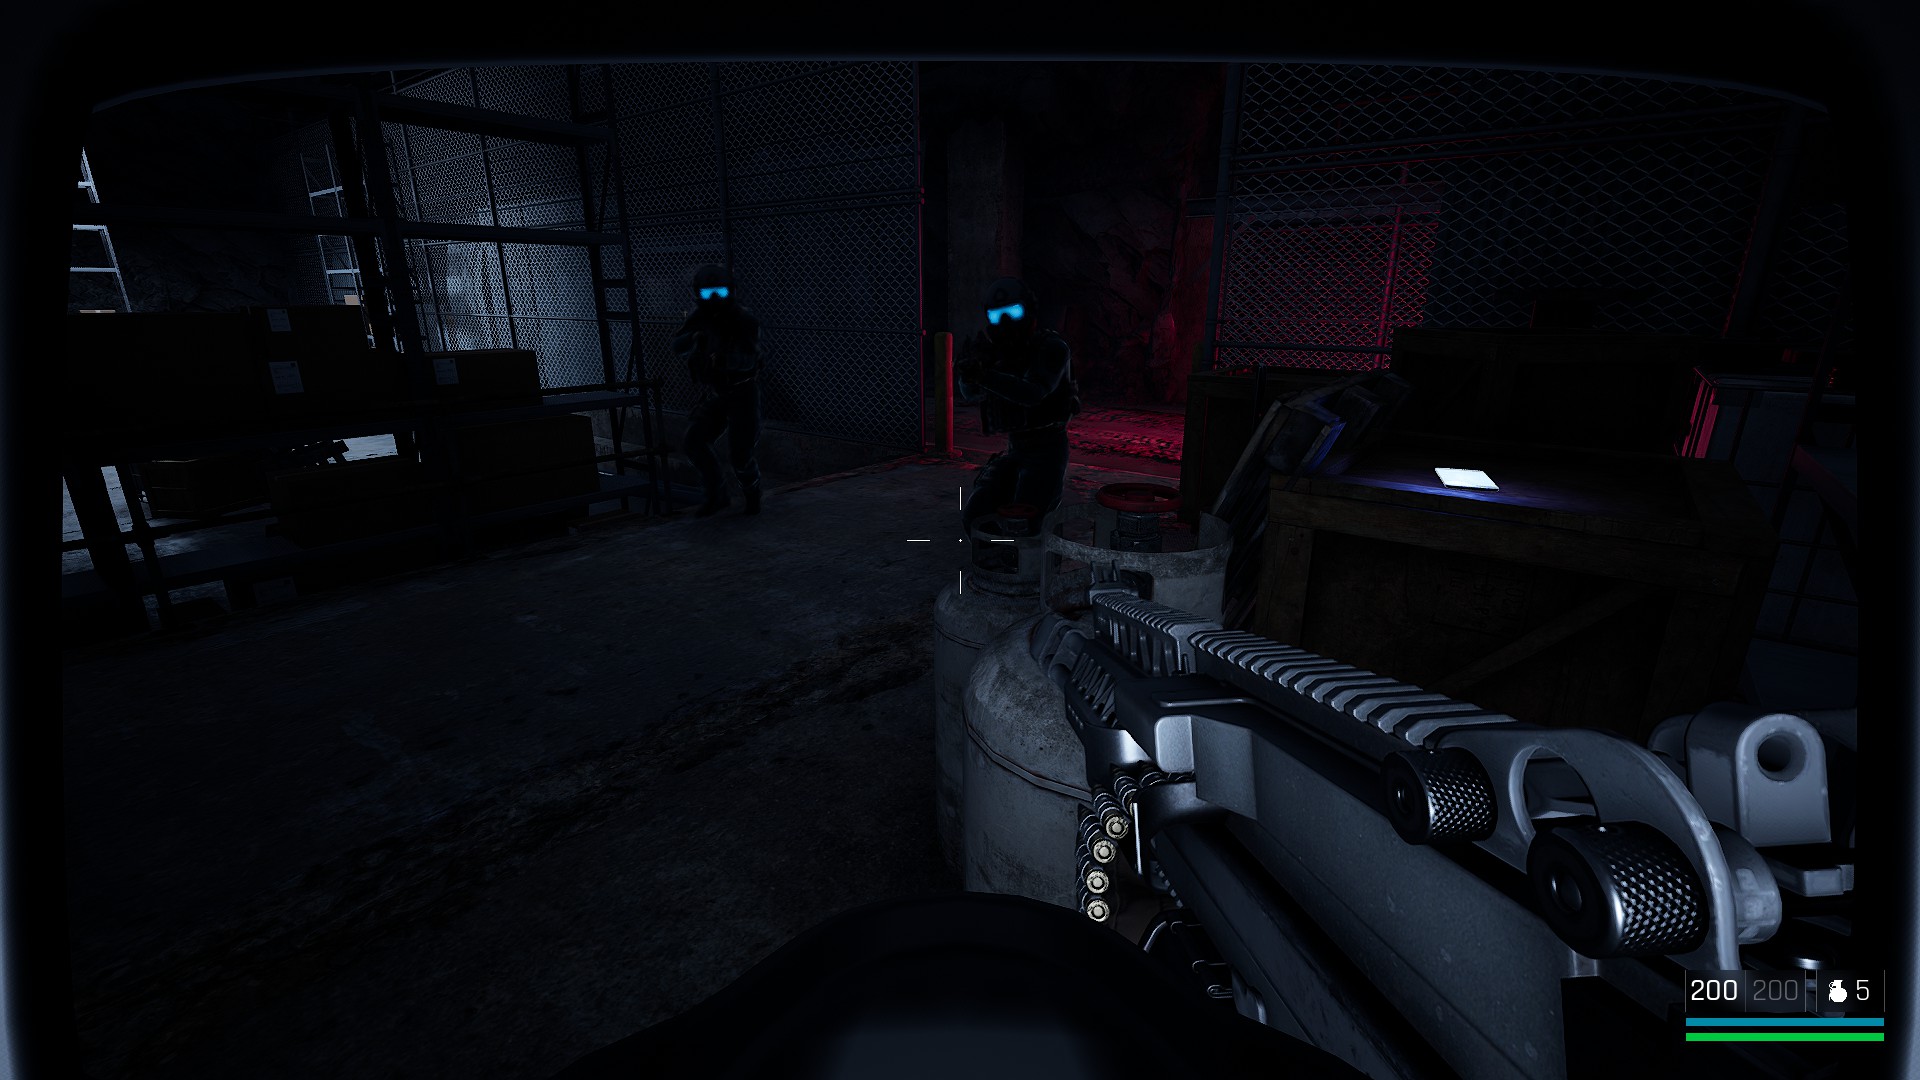
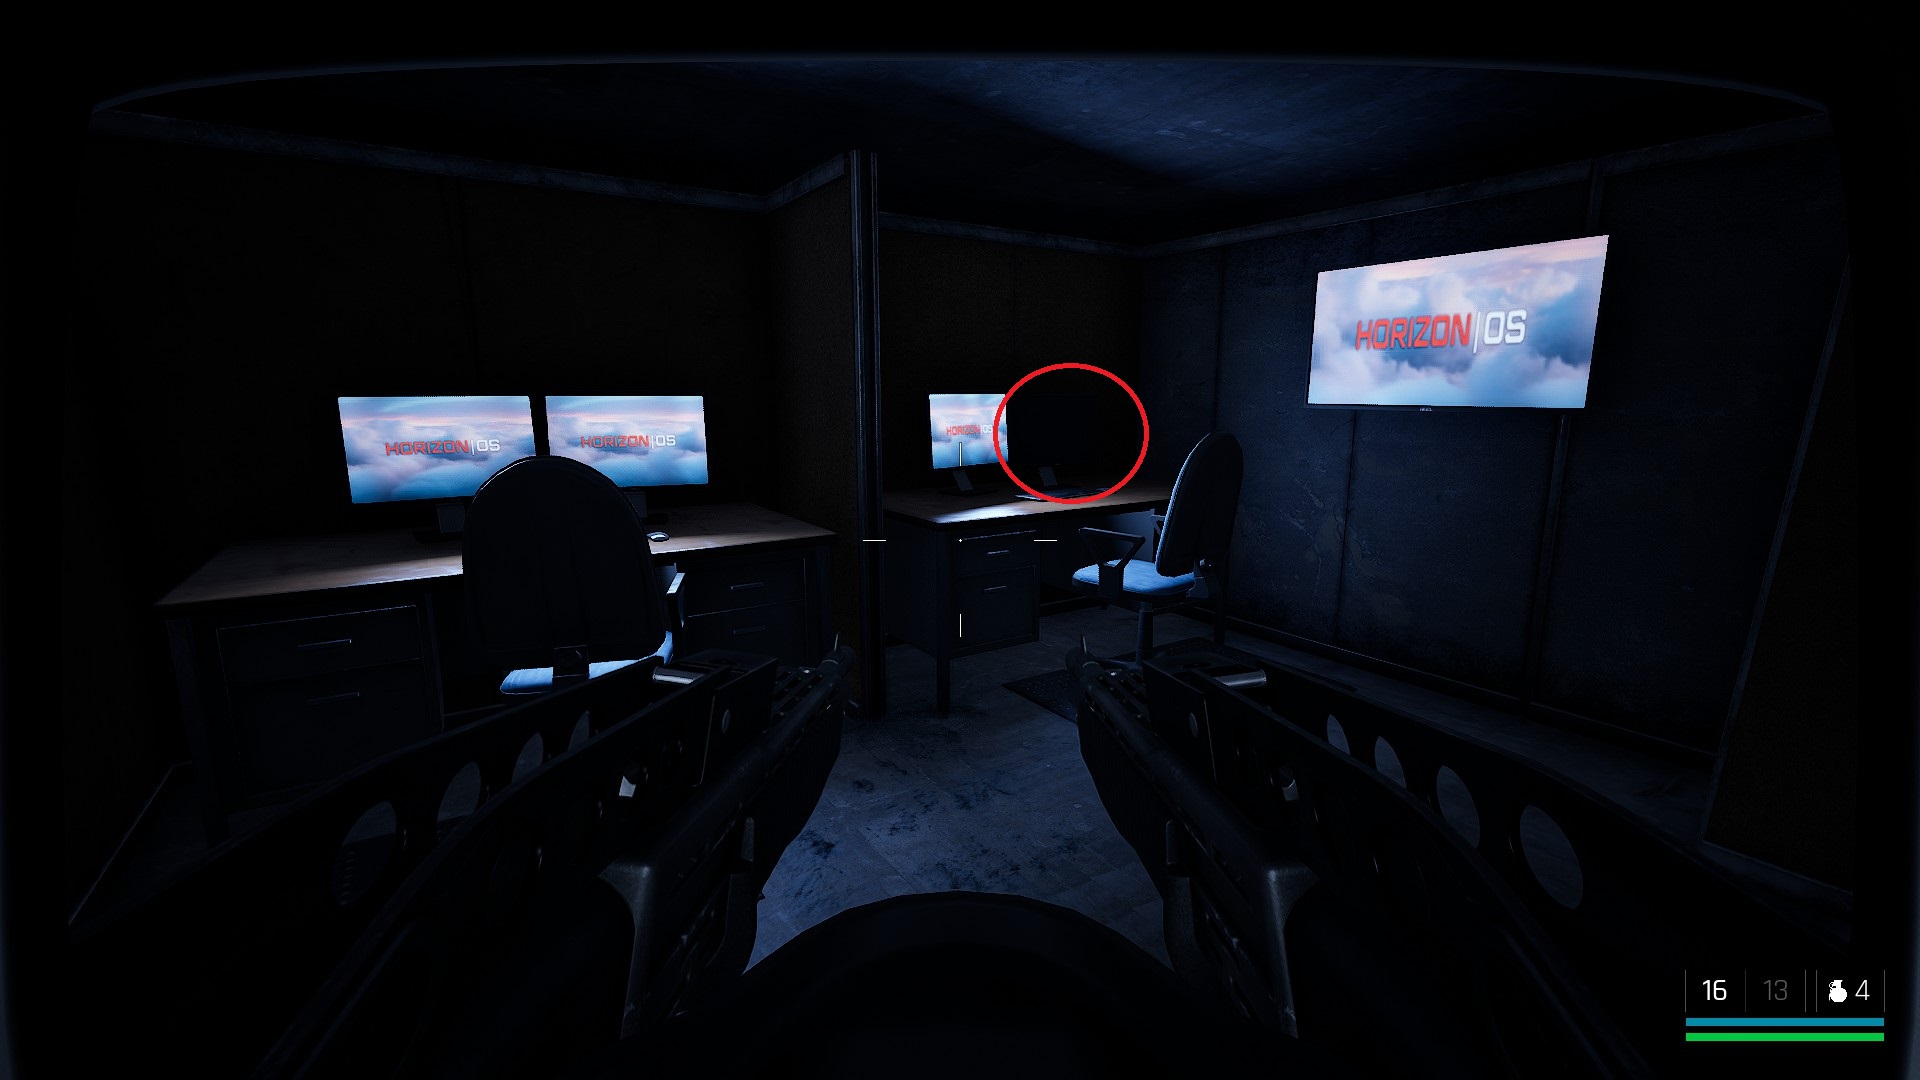
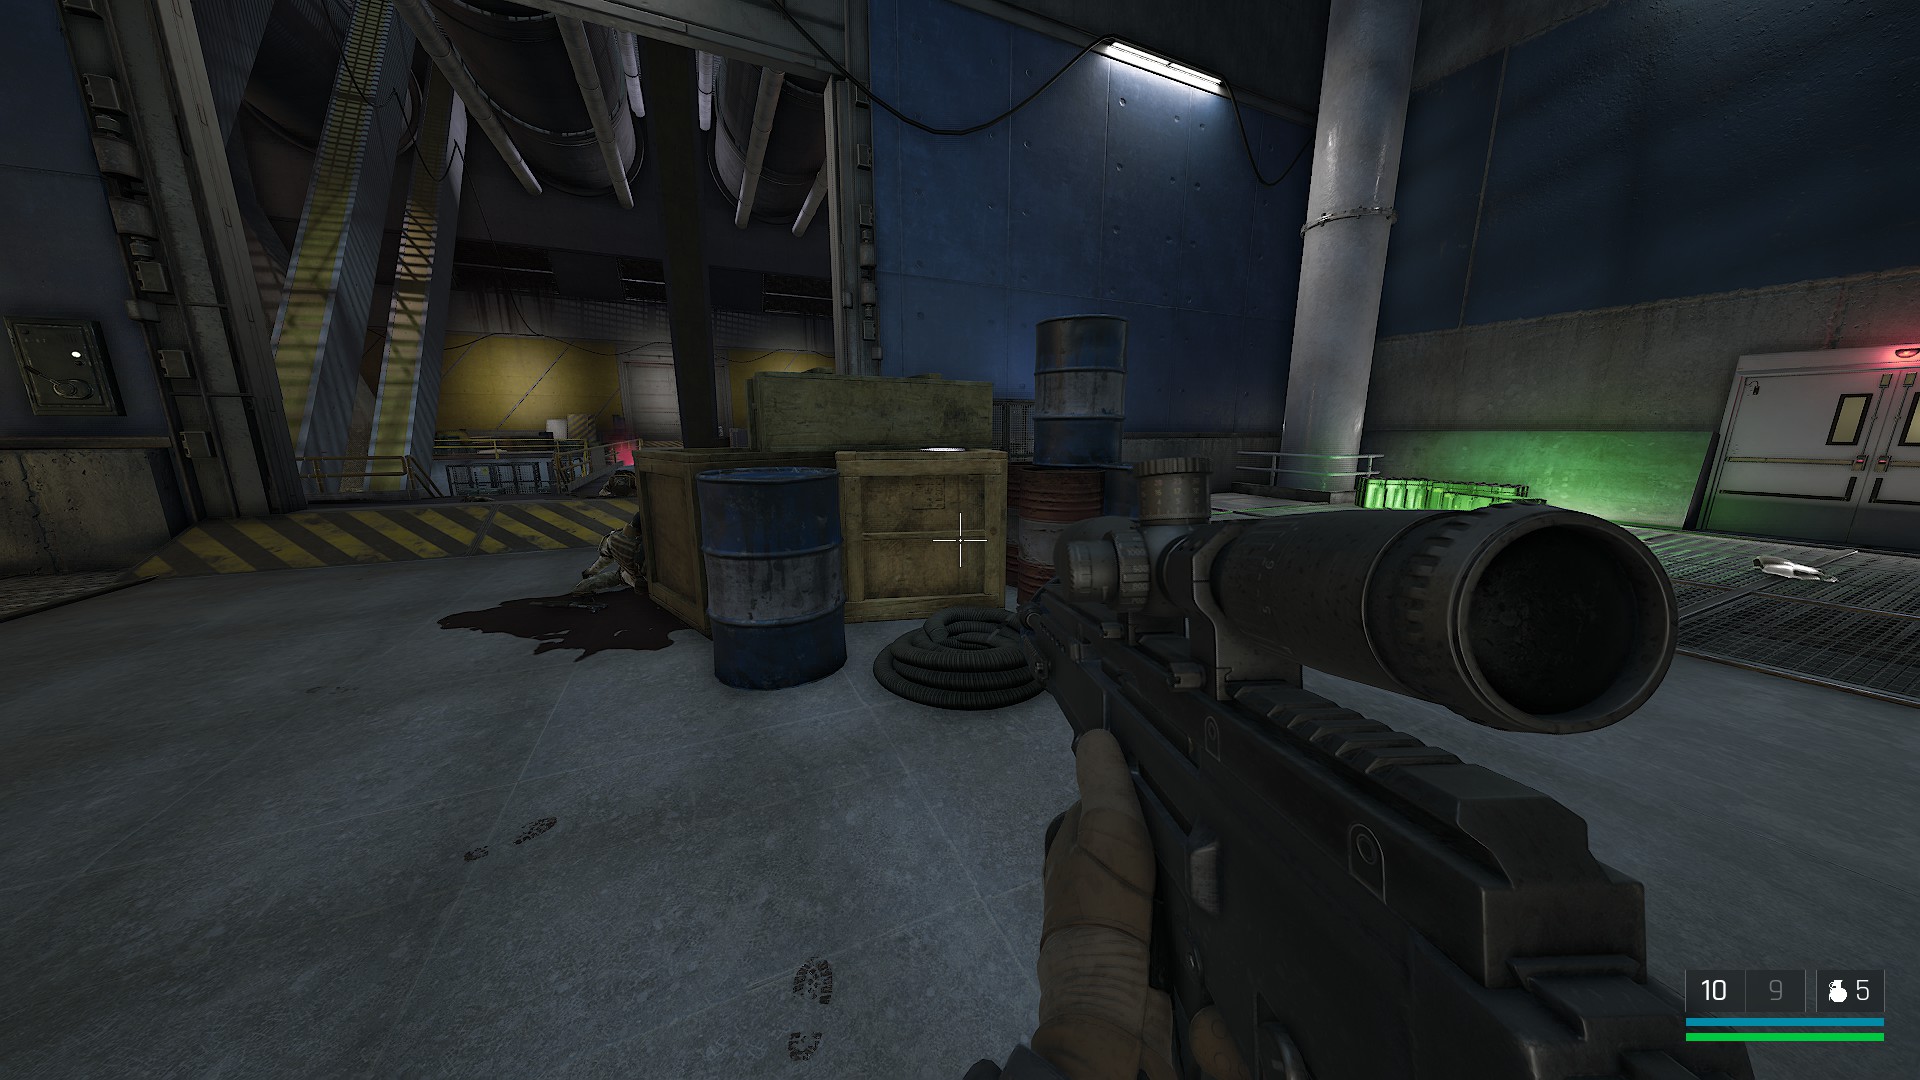
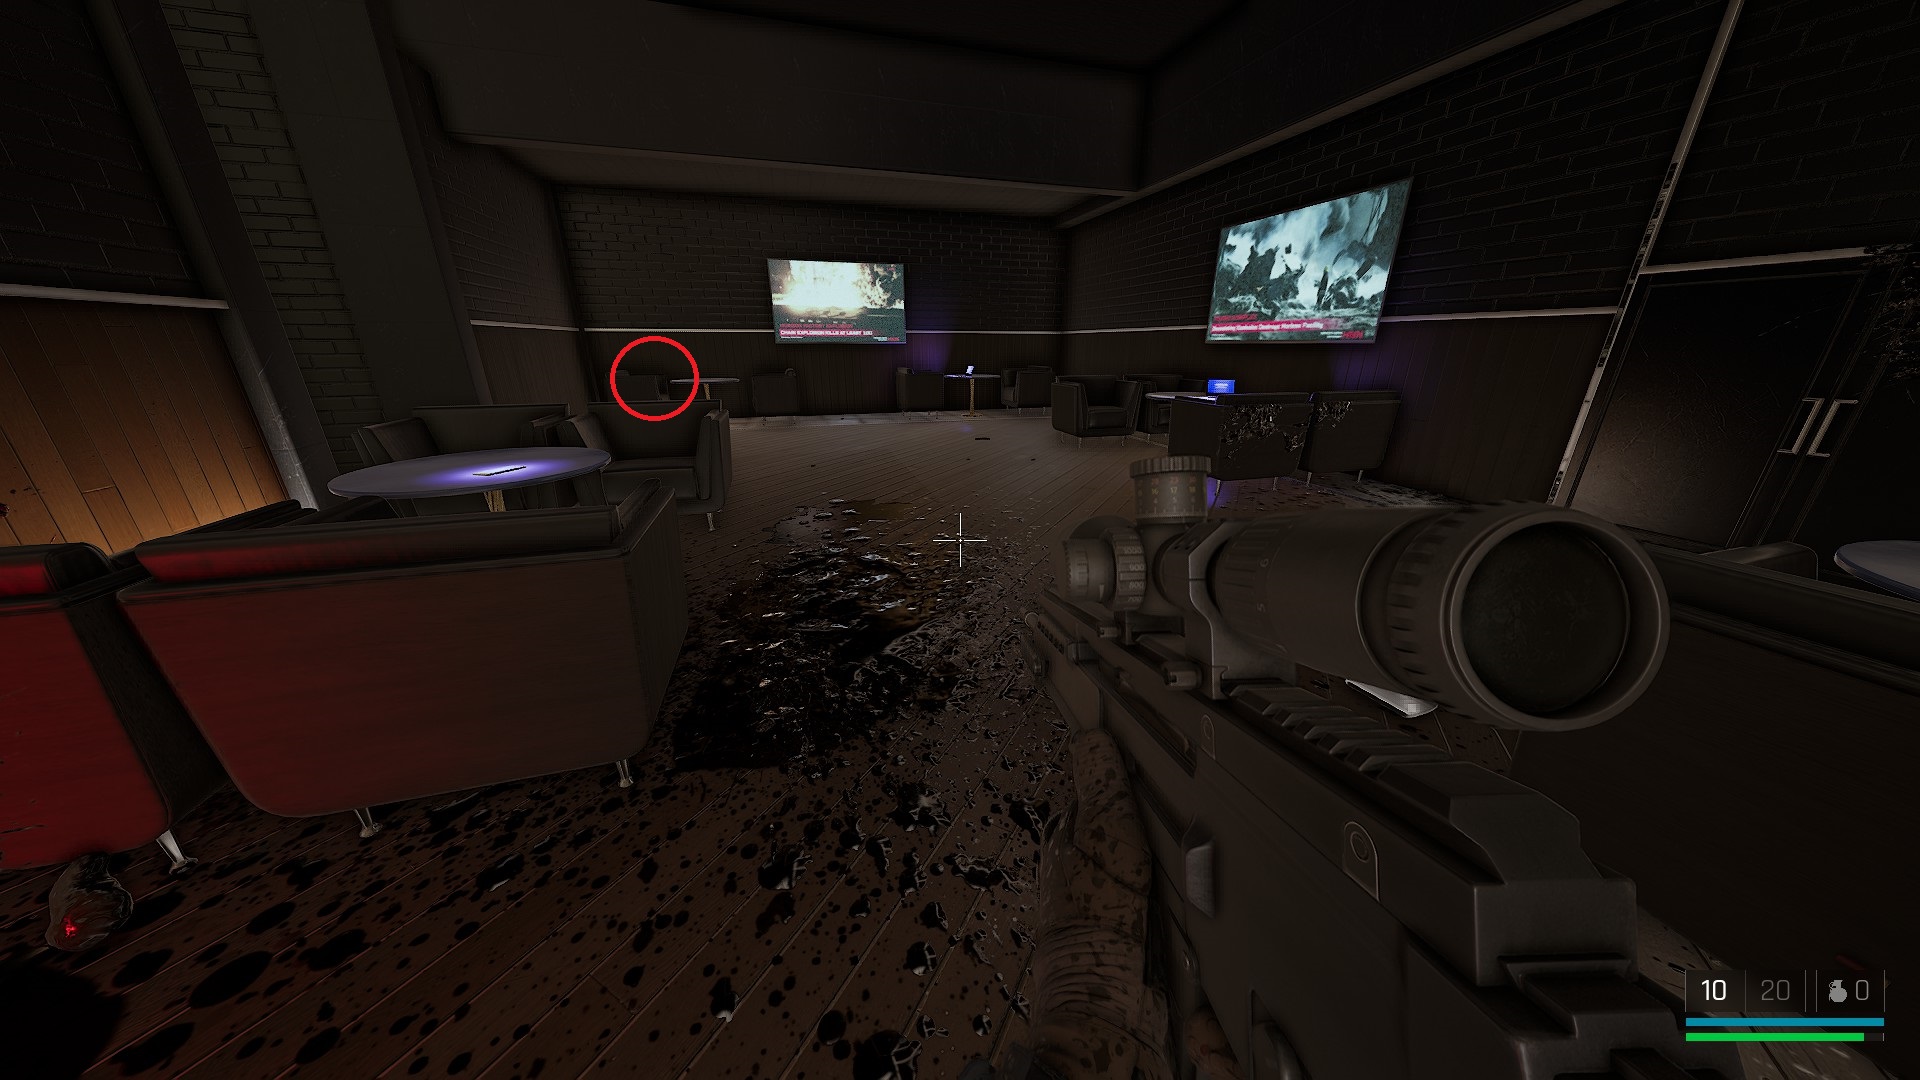
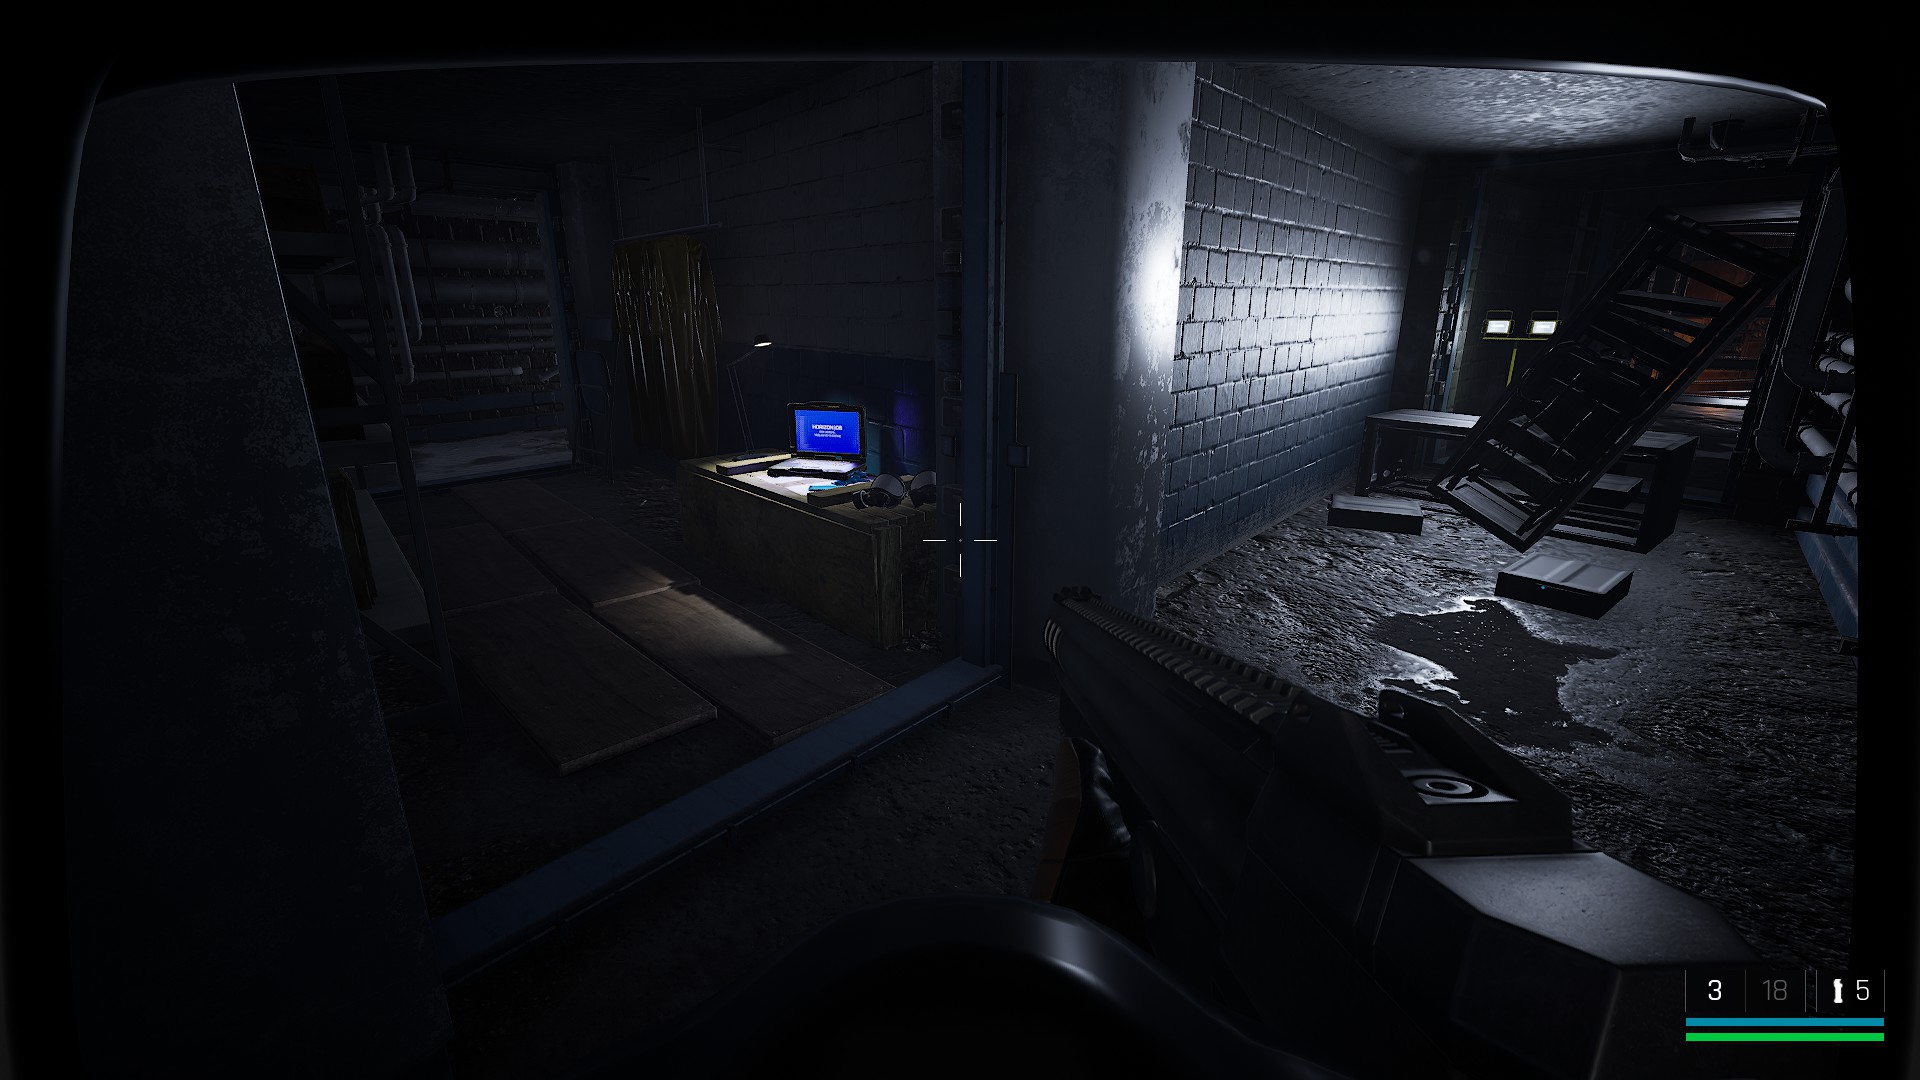
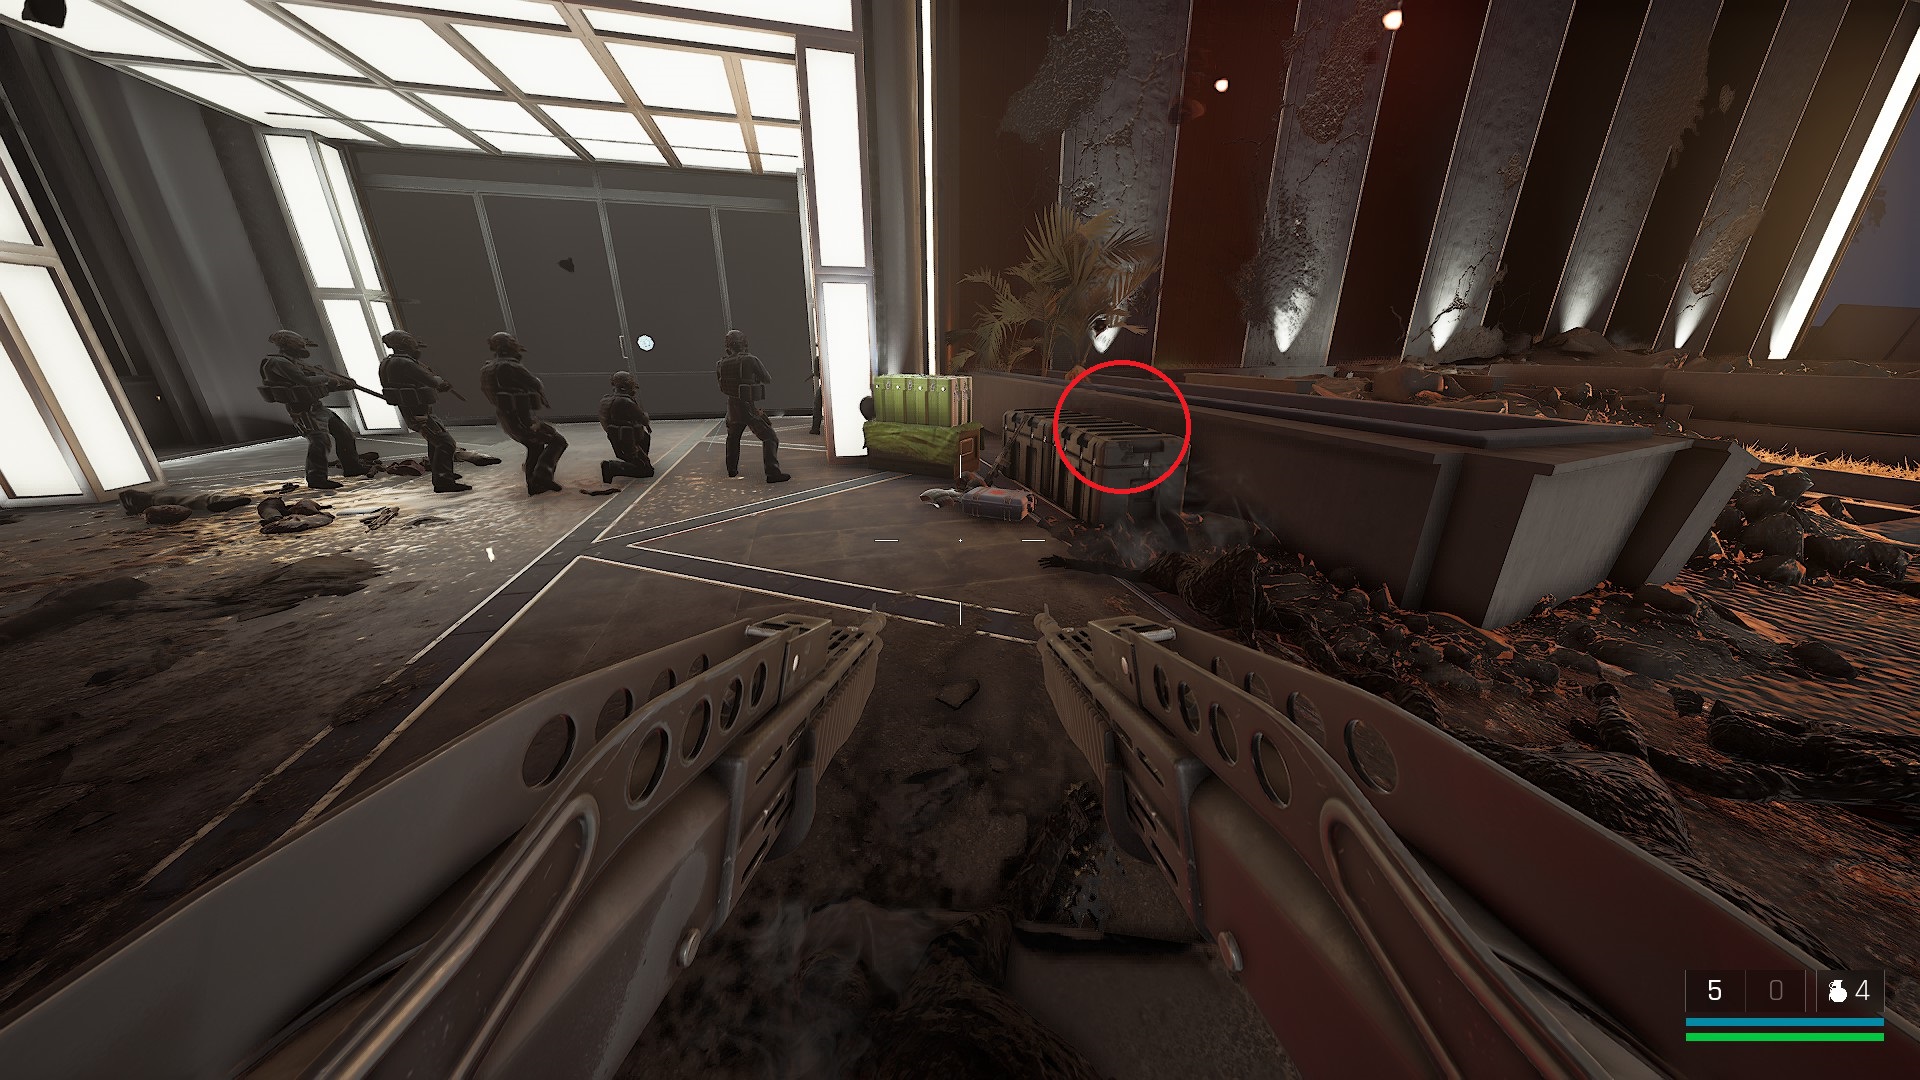
on Site 14 after final room, you can attack TF27 soldiers.
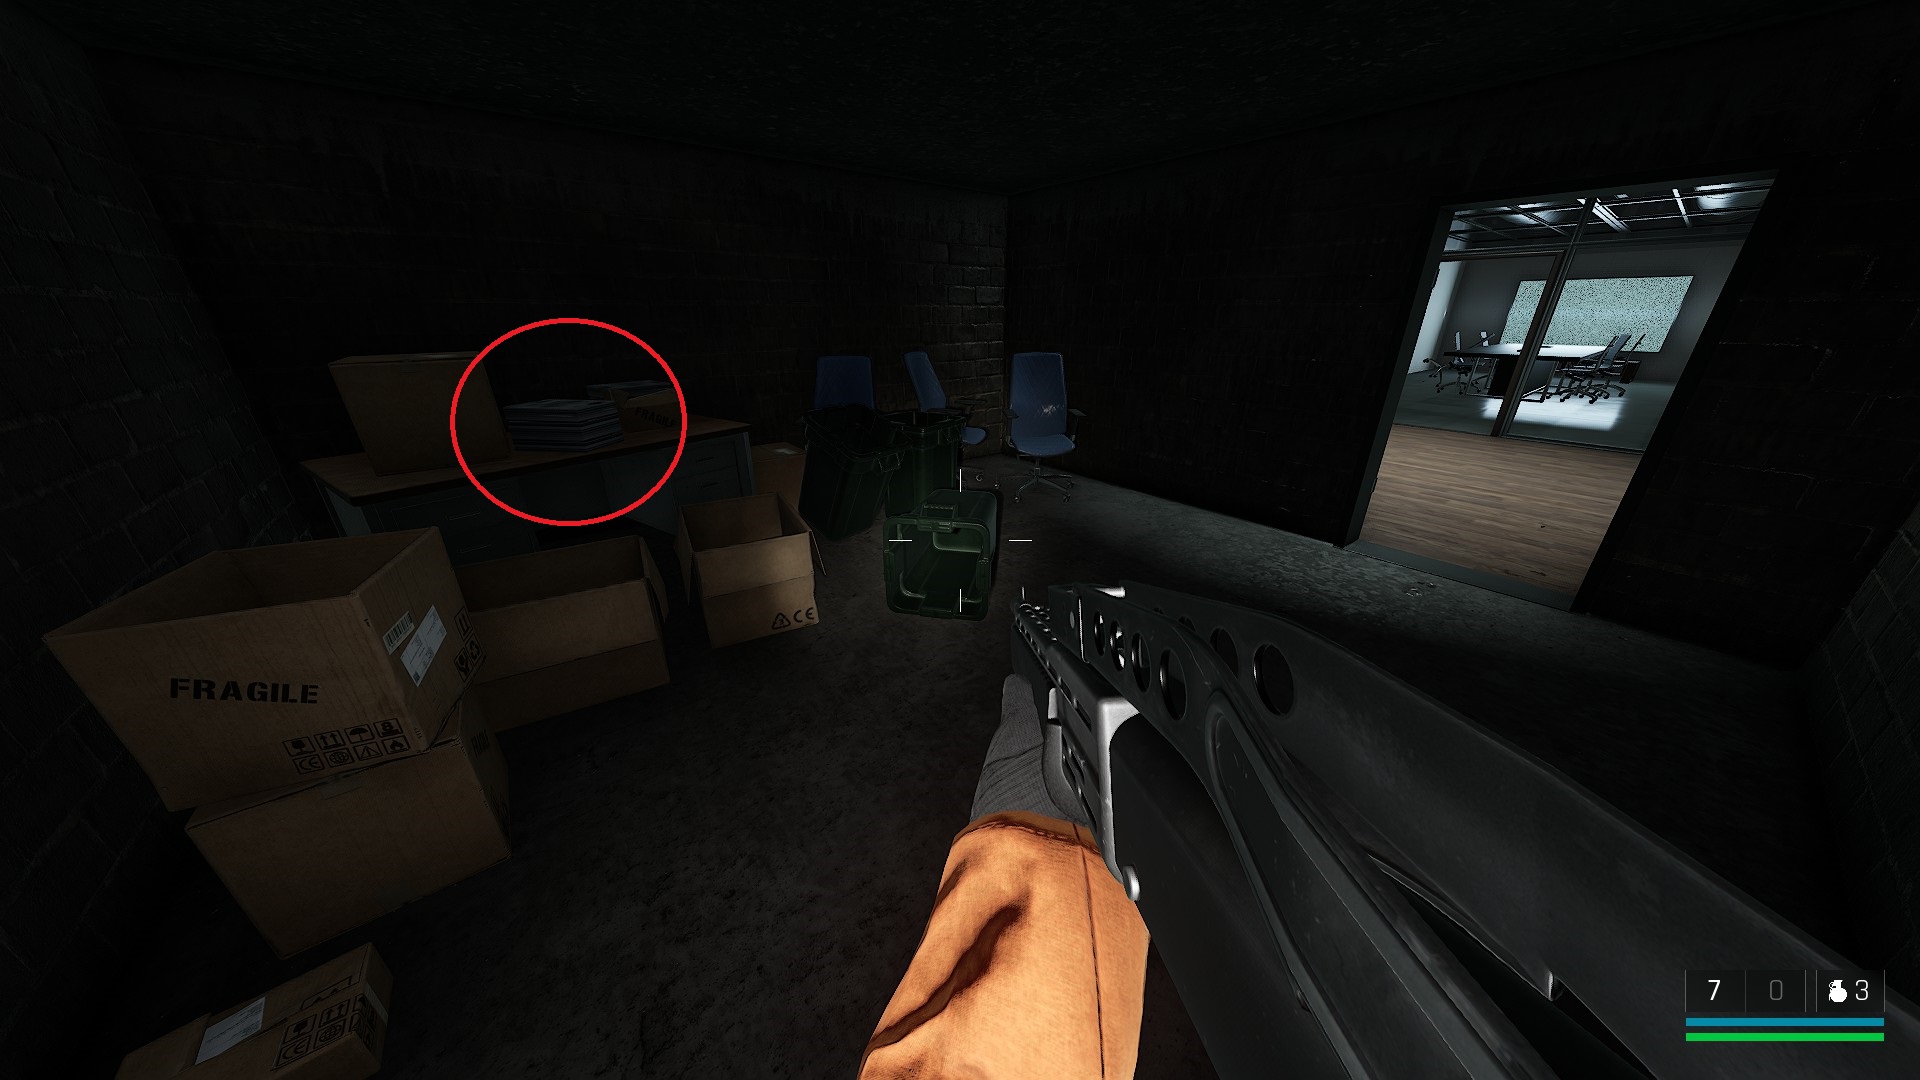
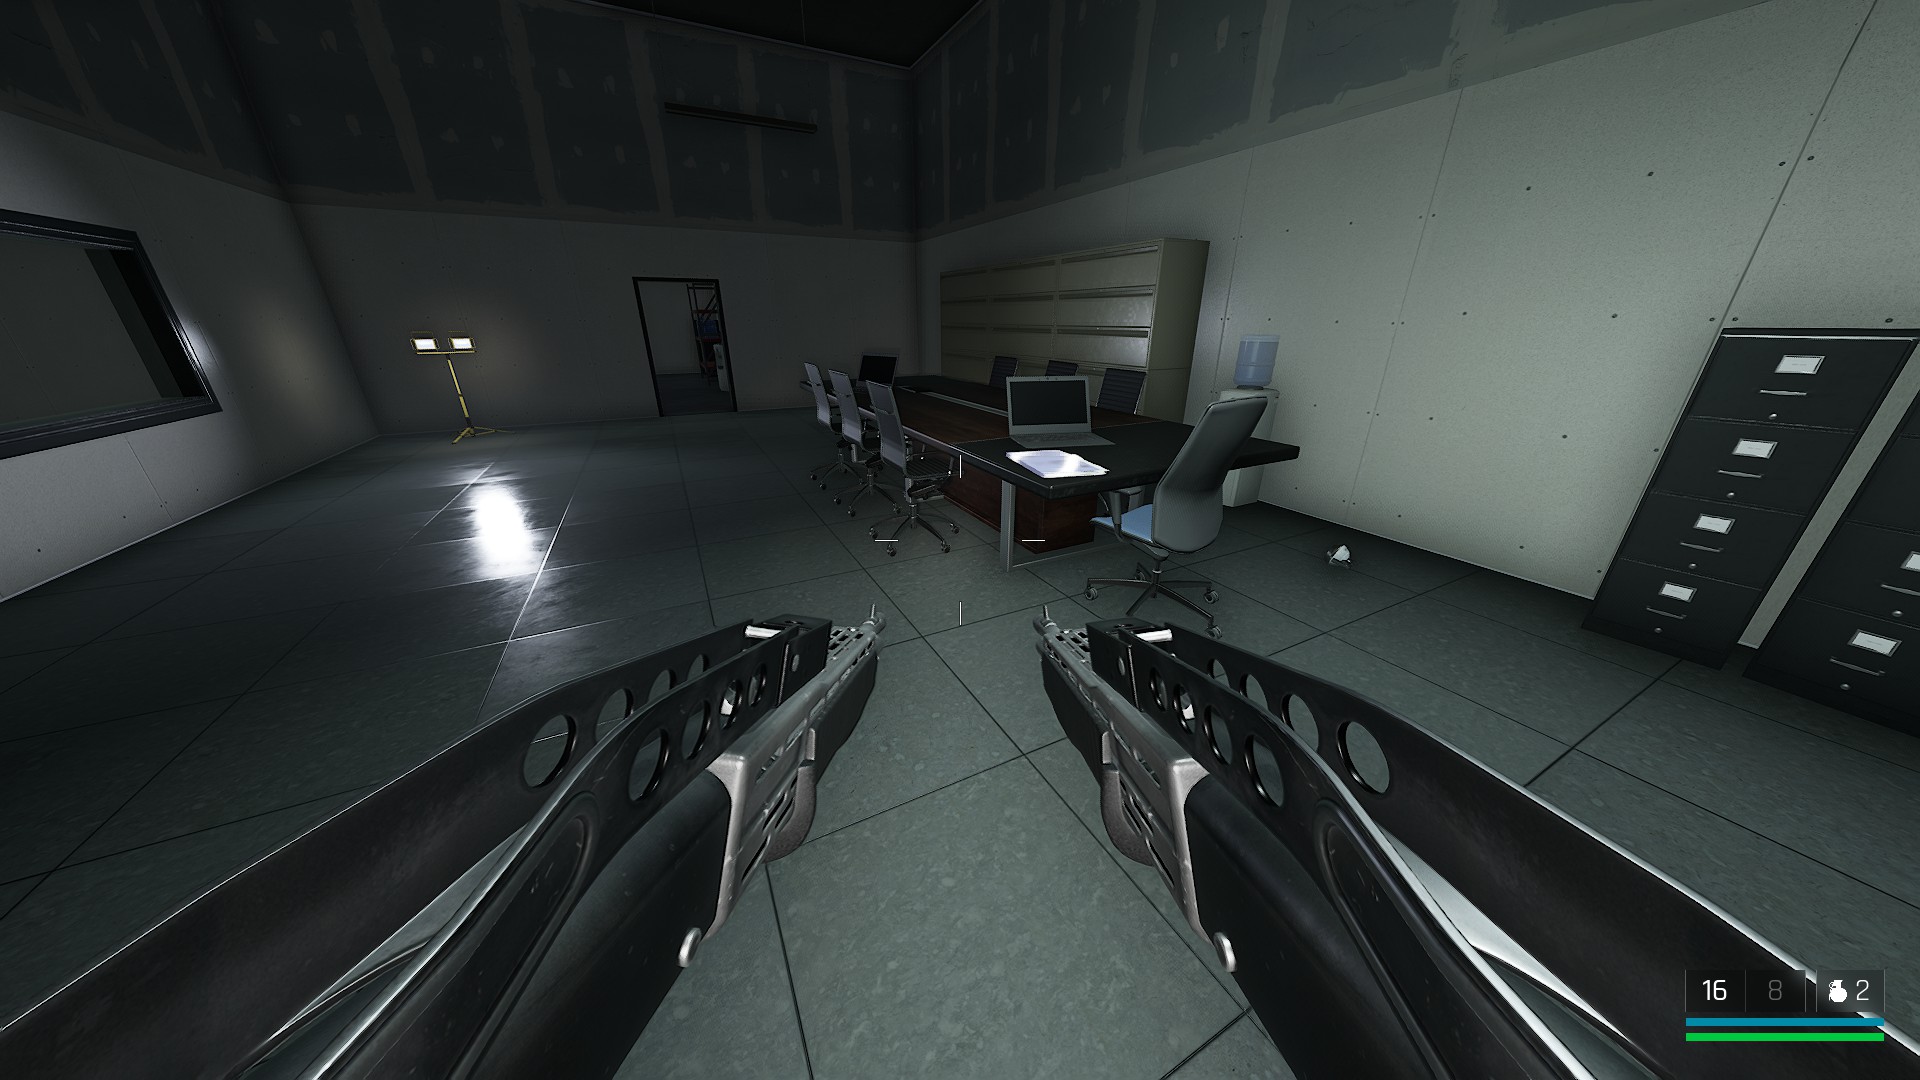
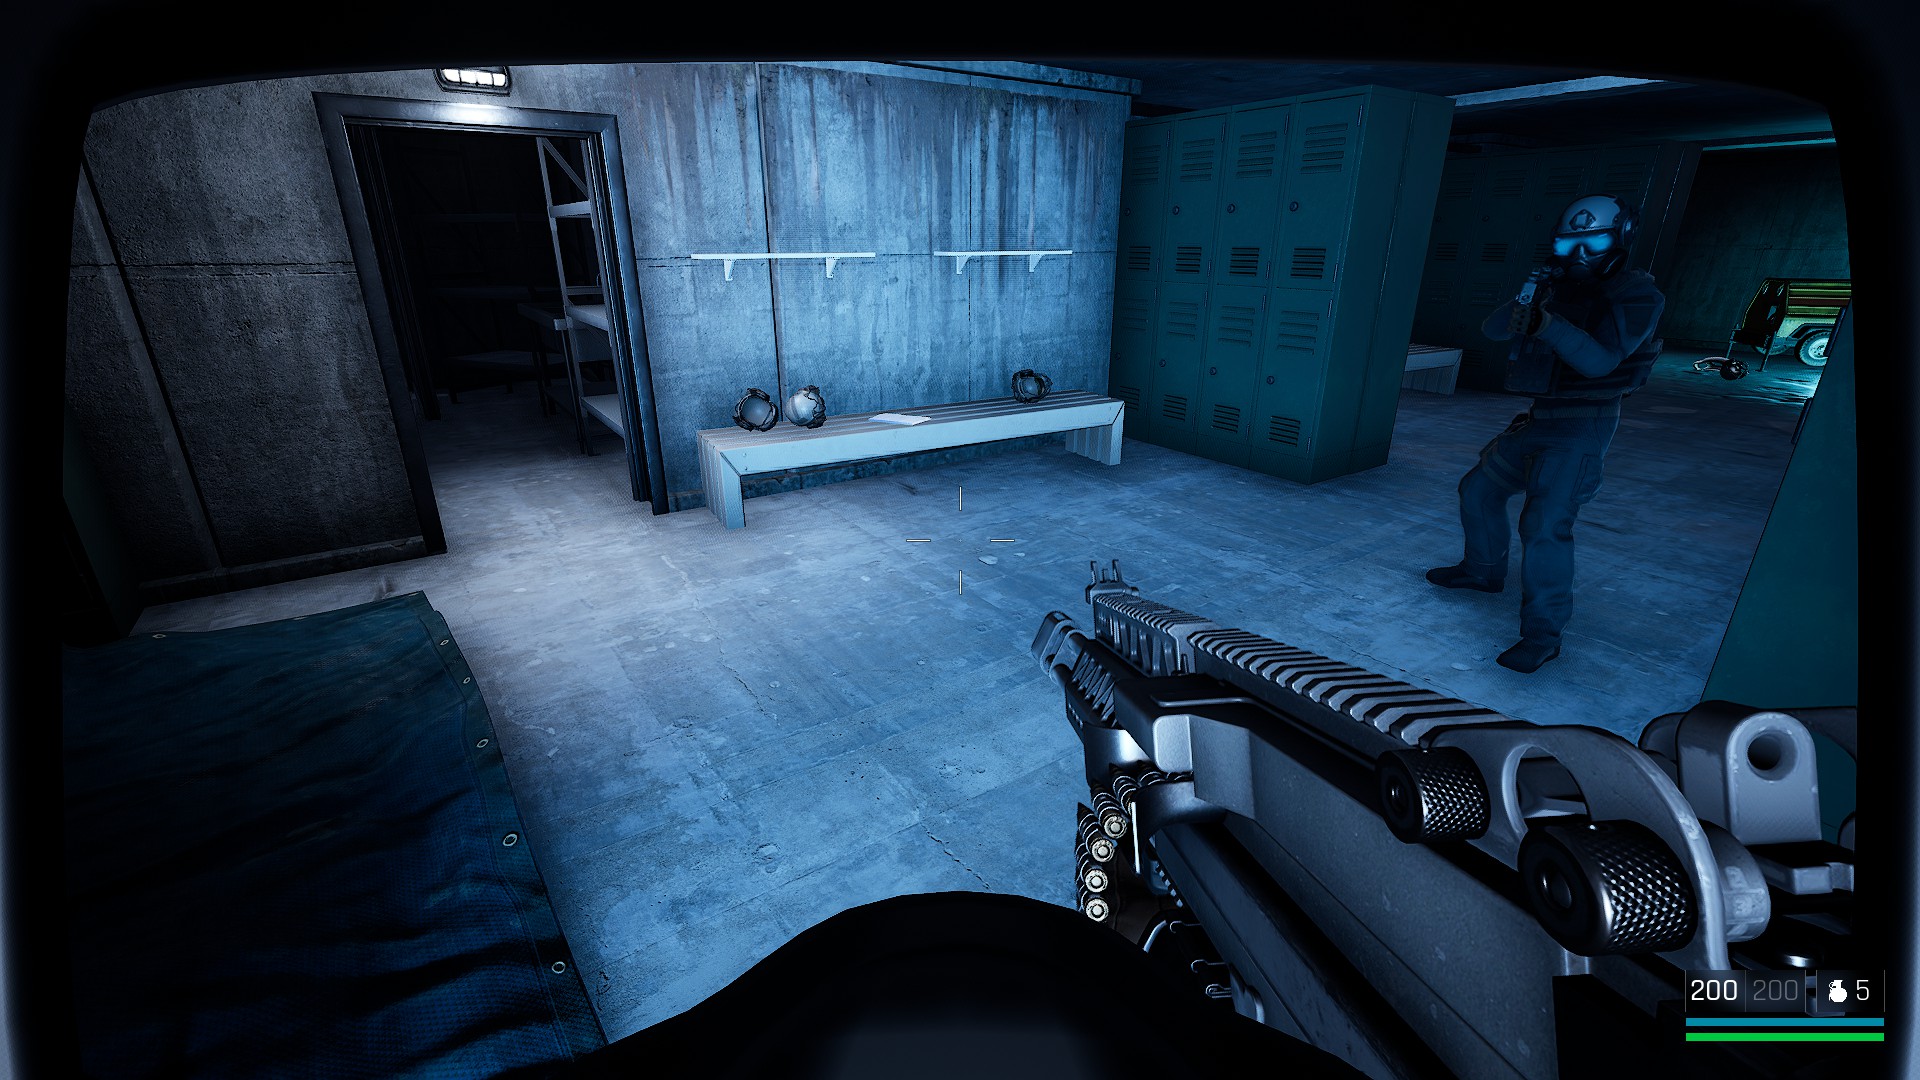
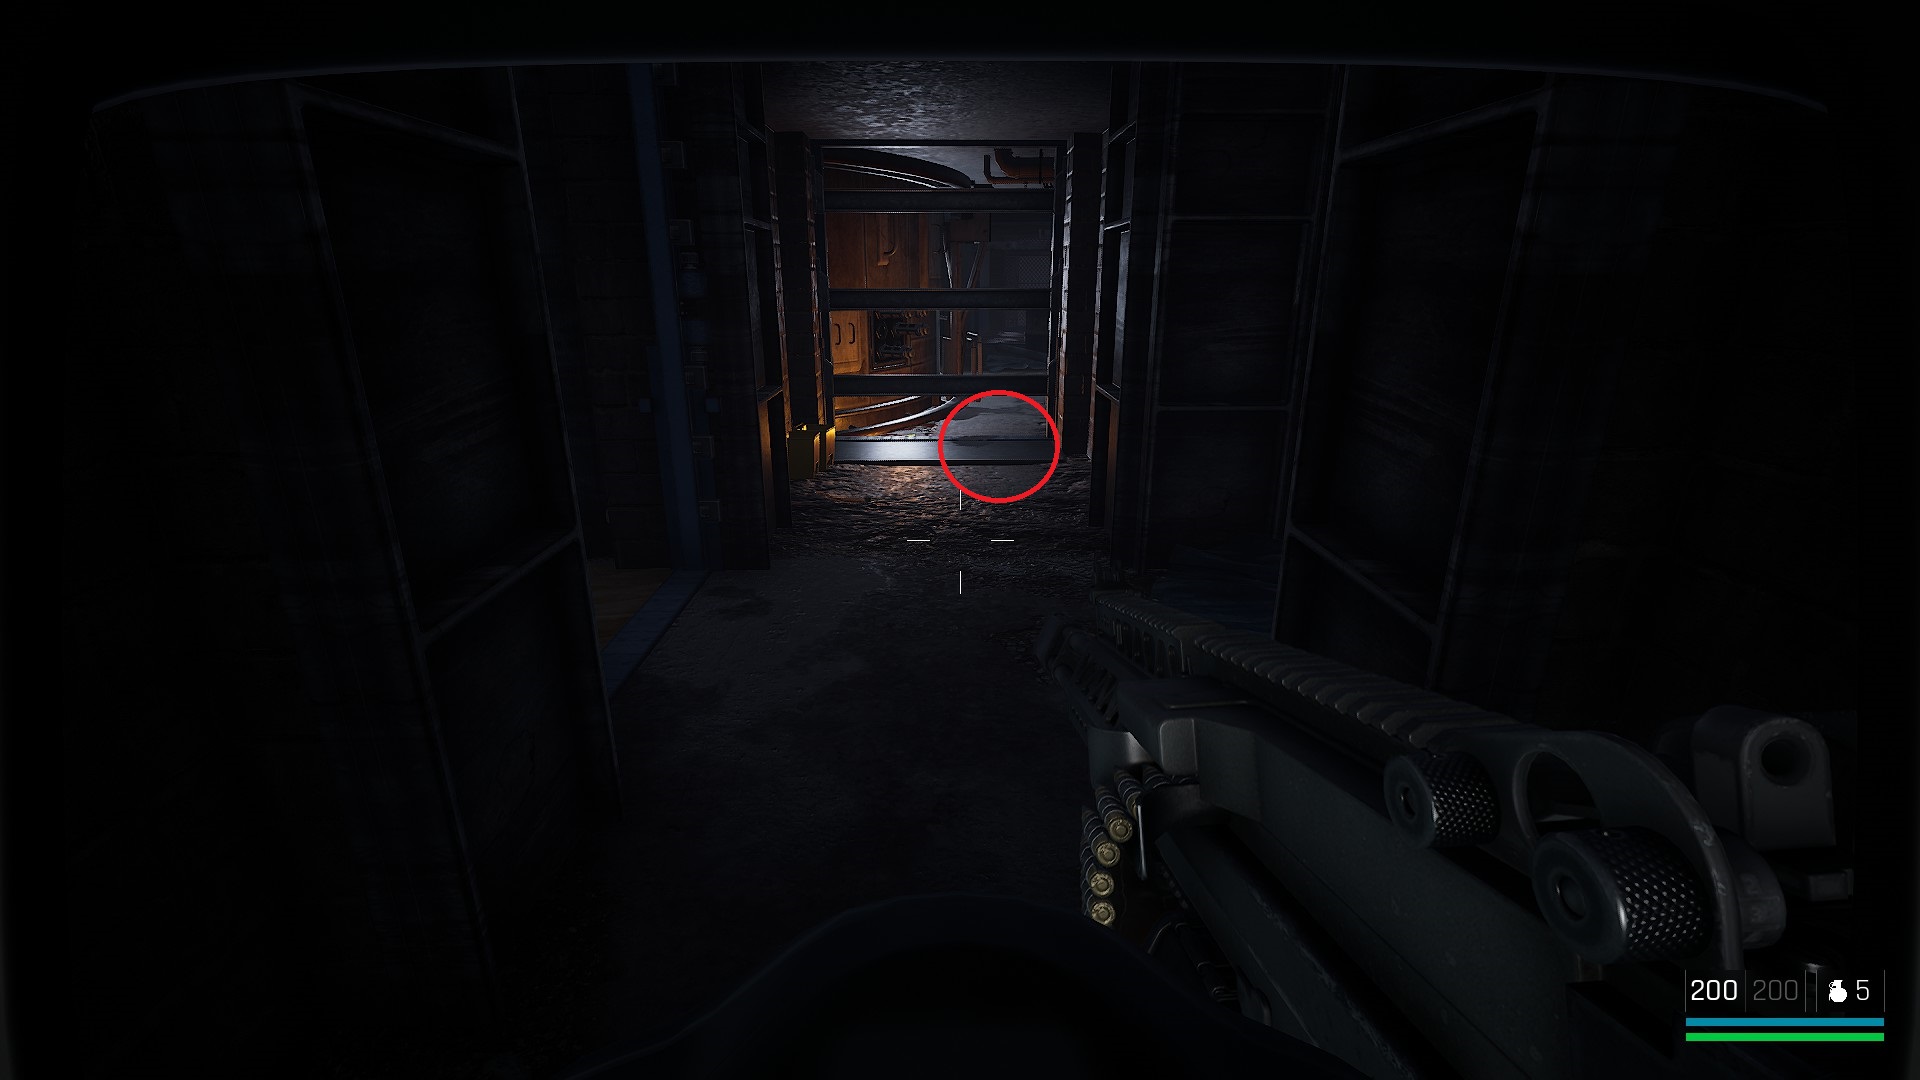
Just as you are making second kill that starts aggro, be in slow motion, because the guard above stairs to helicopter pad will throw grenade on you the moment you kill the second guy. (I took out the two guys right in front of the door)
This has happened every time until i made the shot.
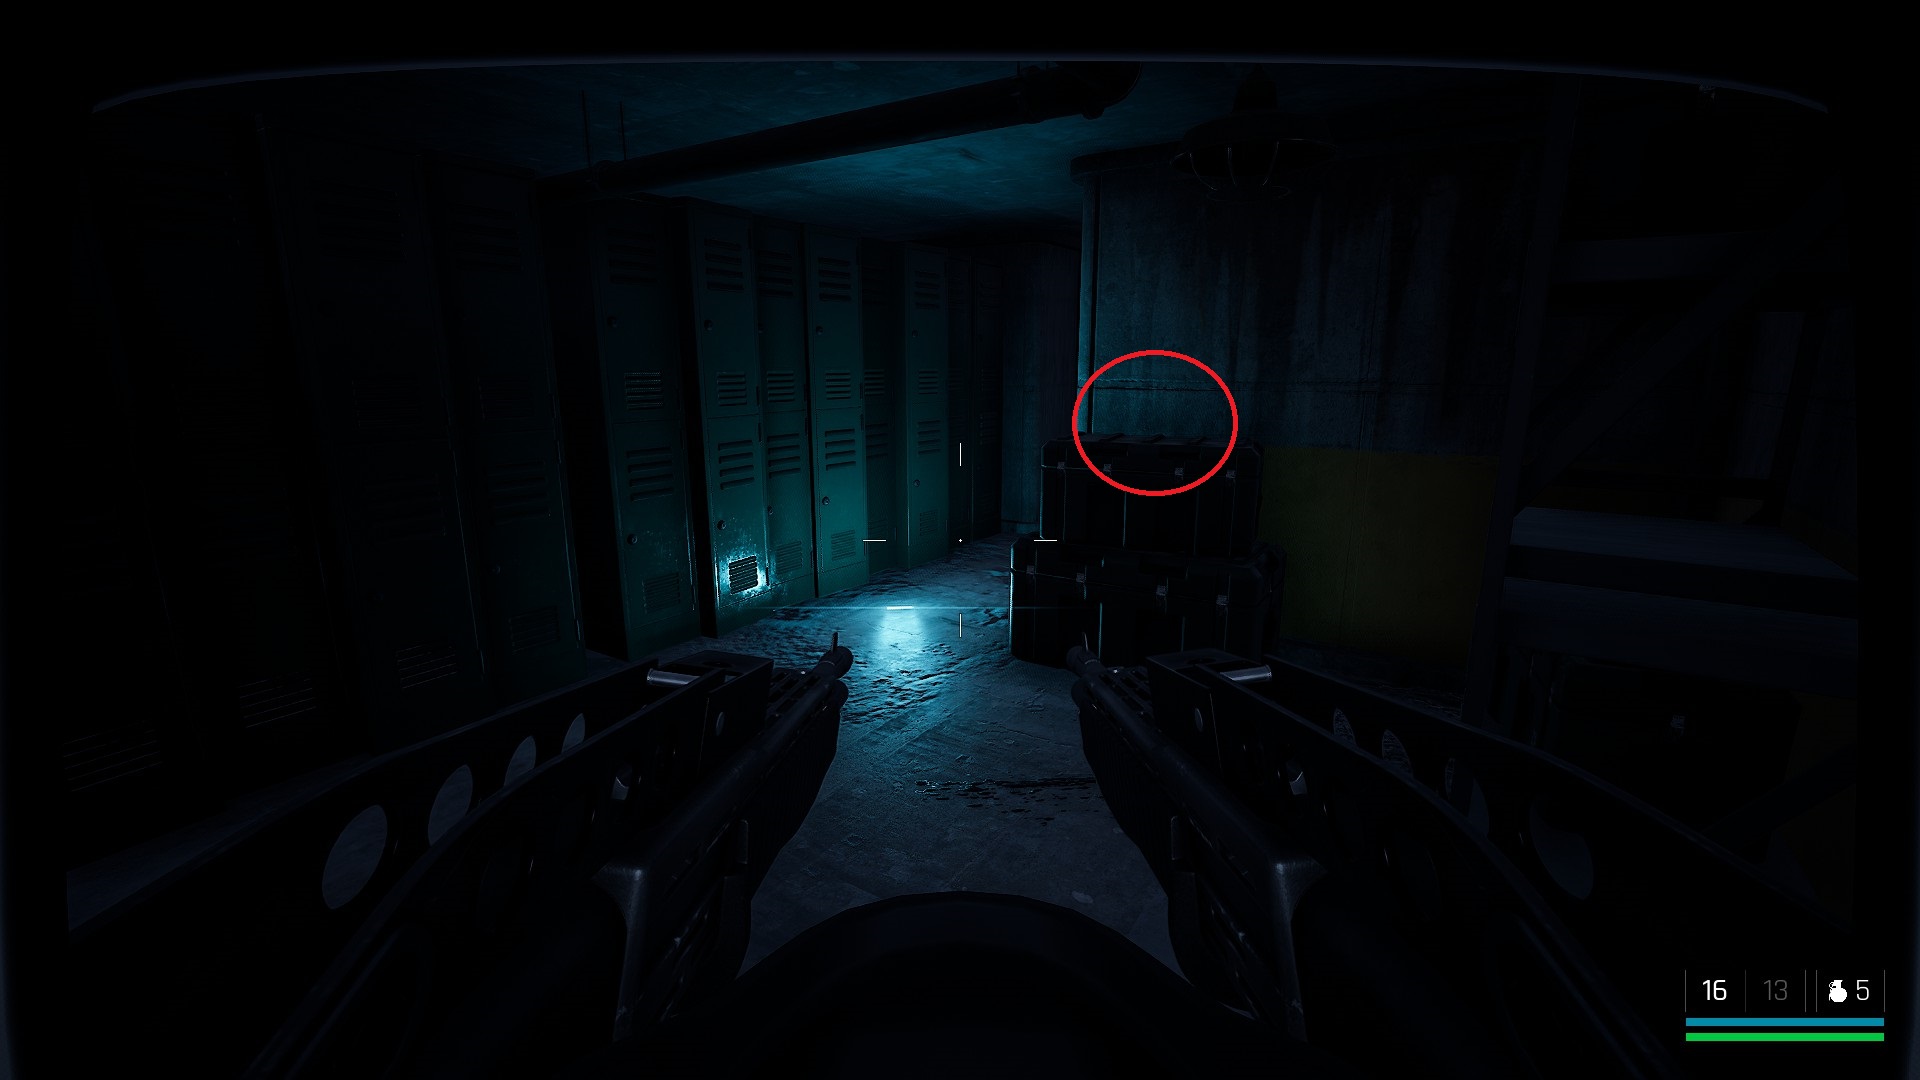
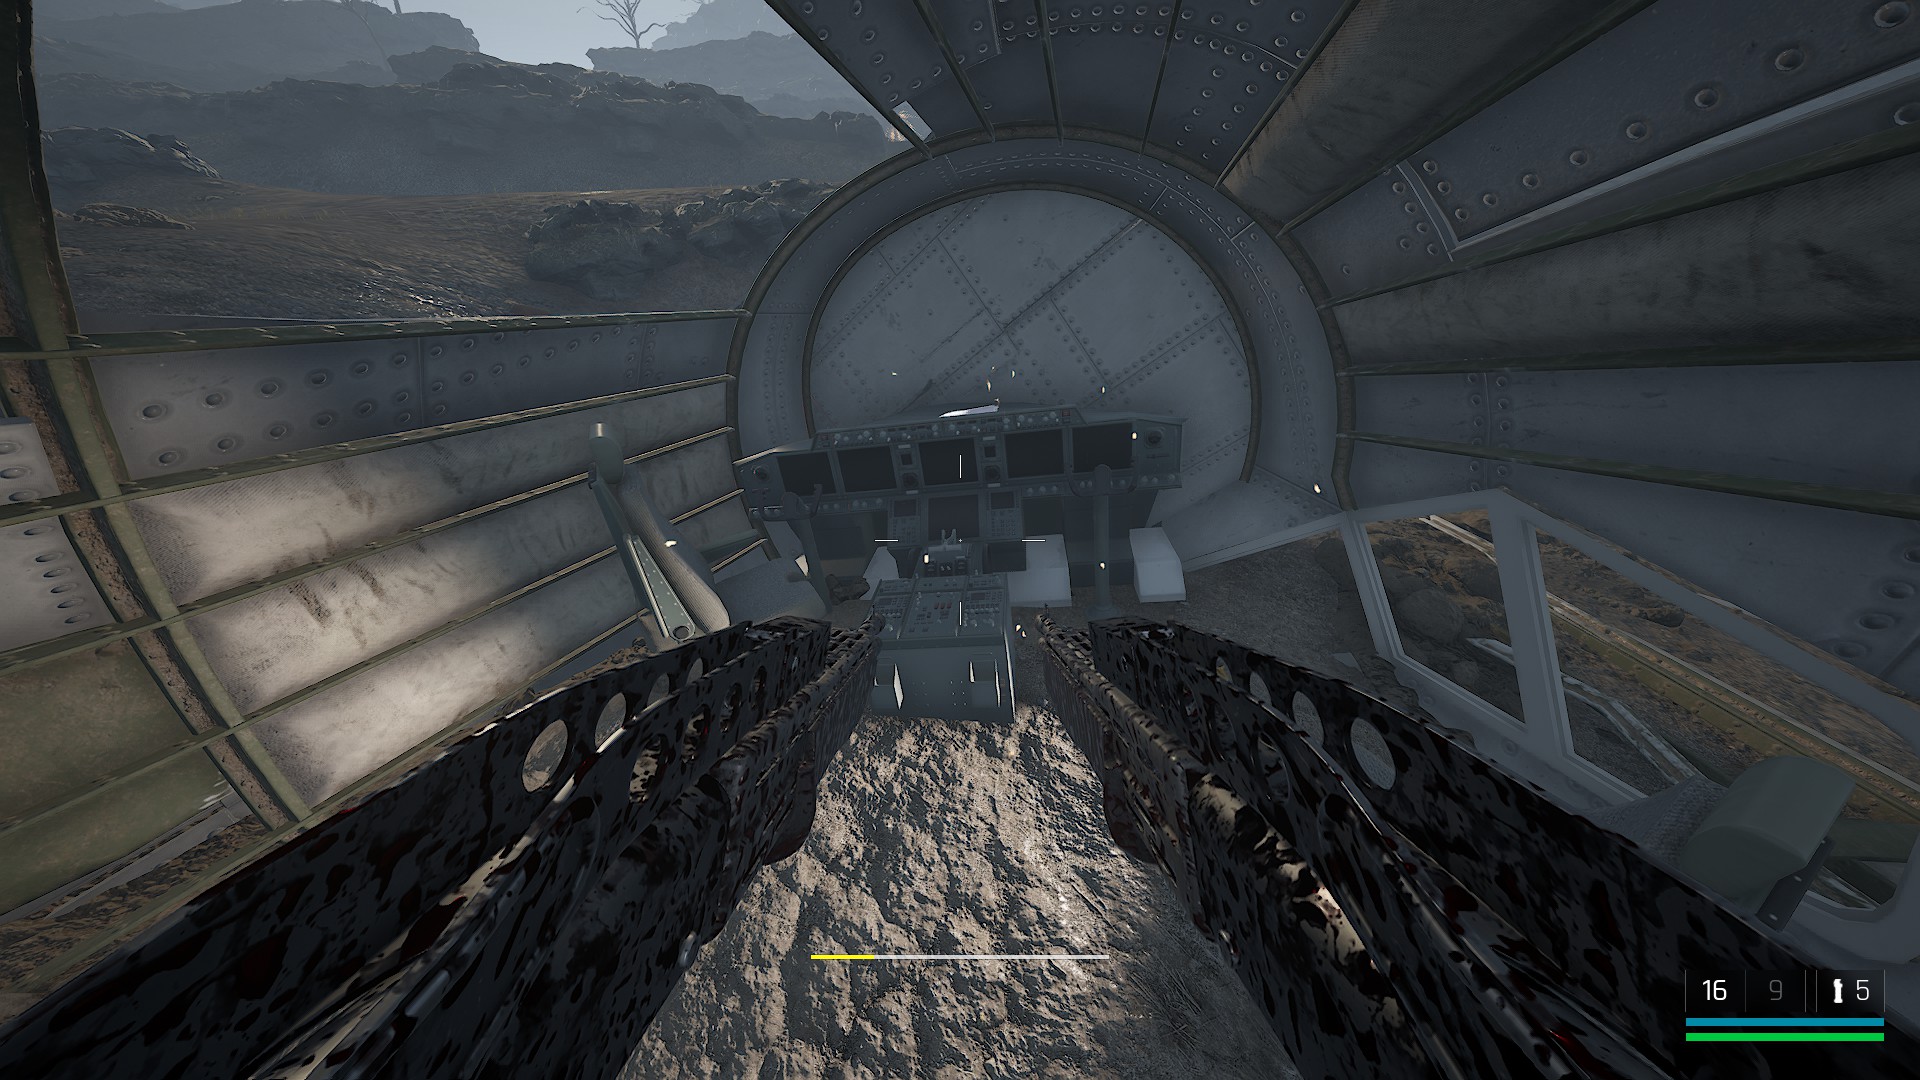
If you fail, you can reload checkpoint, remake final wave and try again. I recommend easy difficulty. And supposedly you have to be 8 meters away too.
Thechugg7 24 Jul @ 4:15pm 
Your guide is missing the Machine Gun suppressor
sallyspace 19 Jun @ 6:45pm 
PSA: You can miss the One Last Mission achievement if you skip the cutscene. I'm in extreme pain. :D
Corrupt_Code_TTV 29 May @ 4:00pm 
I missed the Trepang2 achievement. I beat the game but don't know how to get it.
Class 18 Mar @ 3:18am 
To get the think fast achievement I loaded up Kellington Colliery on Easy and just threw 3 flashbangs at a dude and it worked.
暴风败絮 27 Feb @ 10:02am 
it‘s useful:steamthumbsup: