Monster Hunter: World

Monster Hunter: World

151 ratings
T'n'A (Tips and Advice) to make hunting Fatalis easier
By Mel
Slaying the Black Dragon Fatalis is the proof of a hero! Hunting the Big Bad Black Dragon is no simple task and many hunters have trouble defeating him. If you are one of those hunters, this is the guide for you! Just like any challenge, we can overcome it and make it easier figuring out what to do step-by-step. Featuring GIFs!
3
6
2
   
Award
Favorite
Favorited
Unfavorite
The Beginning
Greetings and welcome to T'n'A (Tips and Advice) to make hunting Fatalis easier! Here in this detailed guide l will be discussing about Fatalis and tips to make the hunt easier; including any other extra advice I can give you on him. Whether you are still pursuing your first Fatalis completion or you are slaying your 30th Fatalis, this information should be applicable for everyone to having a faster and more comfortable hunt. The spooky Black Dragon is the final and most difficult challenge in Monster Hunter: World and that means you have to use every asset and advantage to best him. By the end of this guide, I hope to fill your noggin with enough knowledge to be the Ender of the World Ender!

 All information has been tested via a sample size of 100 Fatalis carcasses and approved by your local academic database for validity in your research paper.
Fast Fatalis Facts
Here are some noteworthy details for the quests and basic characteristics about the Big Bad Black Dragon himself.

 Can verify that Fatalis can't be captured and placed as a pet in your room.

Questerino Hunterino

The special assignment quest, "The Black Dragon' has five carts and the event quest "Fade to Black" has three carts. Both quests have a 30 minute time limit instead of the standard 50 minute time limit. Eating for Felyne Safeguard and Felyne Insurance is heavily advised as it will raise the cart limit to seven and five respectively when stacked together. Felyne Moxie is a wonderful alternative if one of your teammates has already acquired Safeguard.

Side Note: For hunters using Felyne Moxie/Guts, having Fire Resistance to negate Fireblight and Heat Guard to negate floor damage in unison will save you from carting instantly after being left with 1HP.

Unlike Alatreon, Farcaster is available for use outside of novas. When the going gets too hot, retreat back to camp then regroup with your team, restock potions and reassign mantles to ones that are ready to go. Speaking of potions, the item box features an abundance of EZ Max Potions and EZ Dust of Life which is of significance for the hunter on a budget or in need of extra supplies midway through the hunt.

You can choose when to get dropped onto the battlefield by the wingdrakes while hovering in the air for a limited time. This helps avoid getting toasted upon landing by an untimely breath attack or an interim nova. No more getting dropped head first into hell by birbs.

Basic Characteristics

Elemental heavy weapons like Bow and Dual Blades should use dragon elemental weapons as Fatalis has a three-star dragon weakness. The hit zone value on the head for ranged weapons is mediocre, thus shooting the chest will achieve the highest damage. However, it is also ideal to shoot the head on occasion during opportune moments to assist in head breaks.

Despite being considered as one of the most intelligent monsters to exist, Fooltalis' suspicion is not aroused by the birb delivering a bush onto the ground or the hunter concealed in a spontaneous puff of smoke. The Ghillie Mantle can be used to hide from Fatalis to load cannons and set up other siege weapons without danger. Smokebombs are effective in granting safety while using the Roaming Ballista or Ballista (he does not care about the strange cloud spewing hazardous projectiles). In solo or coordinated teams particularly, you can drop a few smokebombs to induce a flying Fatalis to land alike Alatreon.

Fatalis does different attacks depending if he is standing on two legs or four legs. This is a nice visual aid to predicting what attacks he can do in his current state. Beware of Fatalis switching from two legs to four legs due to damage because he will come crashing down belly first and cause any hunters caught underneath to be incapacitated on the ground temporarily.

Executing a Flinch Shot on Fatalis has different effects for which state he is in. When on two legs, he will get slapped in the face and be forced onto four legs. While on four legs, Fatalis acts as any other monster to Flinch Shots and can be set up for a wallbang.

Fatalis drops Dragon Pods and firing two of them will force him to be staggered. This completely cancels his attacks and is handy dandy for stopping breath or charged attacks in general and as an escape tool after being crippled by a belly flop. Dragon Pods are needed to rescue teammates from the new pinning attack in Phase 3.

Statuses

 If Fatalis can be paralyzed, that confirms Paratoad > Fatalis!

Fatalis is immune to being KO'd, but will fall over after receiving a certain amount of damage from siege weapons or a head break. Hammer, Hunting Horn, Impact Charge Blade and Sticky Bowguns lose the benefit of stunning the monster and the Slugger skill will have null effect on Fatalis.

Fatalis can be paralyzed or slept. If running solo or duo it would be a wise decision to equip your cat with a paralysis weapon for the chance at a terrific damage opportunity. Sleeping is a very viable strategy with a Bow or Gunner in the team. Waking up a sleeping Fatalis with the Dragonator can dish out significant damage, but it is still not as much as the damage done from back in nineteen ninety eight when the Undertaker threw Mankind off Hеll in a Cell, and plummeted sixteen feet through an announcer's table.

Fatalis has a high mount threshold and it is less stamina intensive to brace only instead of evading while mounted on him. Take note to not be the Glaive who only does the downwards spinning aerial attack or ledge hopper to snag a mount on Phase 1. Mount strategically in Phase 2 or 3 to maintain momentum and double check that your whole team is there to take advantage of the mounting knockdown dogpile.
Siege Weapons
Remember fighting Zorah Magadaros? Well me neither, but if there is anything I remember about Zorah; it is that siege weapons can put in serious work. Castle Schrade features many siege weapons on its battlegrounds and they will be responsible for nearly one-third of Fatalis' health when used correctly. The Heavy Artillery skill and Felyne Bombardier food buff increases the damage of siege weapons.

 This map is accurate, though they probably should have found a better place to include it instead of the long cutscene for the monster that everyone is brimming in excitement to hunt.

Cannons

 A lot of Ghillie agents lost their lives gathering these reconnaissance photos, make sure their sacrifices were not in vain.

Cannons deal an absurd amount of damage assuming you have Heavy Artillery equipped and land all your shots. In Phase 1 exclusively, there are two cannons placed atop scaffolding in the left side of the area. These two cannons are amazing for creating an opening to the battle as they alone can cause Fatalis to fall down for an painless entry knockdown, a strategy to be discussed later in Phase 1: Big Black Carnivore. The cannons are destroyed after Fatalis performs his first nova to transition into Phase 2. They can also be destroyed earlier by wallbanging Fatalis into the scaffolding which is something you should be cautious about when a teammate is still using the cannons.

After reaching Phase 2, there is a lone cannon in the top right corner of the map near the platform. I personally do not suggest using this cannon as it is more dangerous and harder to land shots on Fatalis in the new area. I suppose it can be worthwhile though if loaded without harm and reserved for when Fatalis is binded.

Ballista

 Once you're on the ground, you're nothing but a big fire-breathing lizard to me.

Ballistae are questionable for damage with the normal ballista ammo, but they count towards Fatalis' siege weapon knockdown. Hunters with weapons of short reach can employ them to reliably hit the head to contribute in breaking it. Use of Smokebombs are encouraged to ignore the uncertainty of fireballs when operating ballistae and Fatalis' programmed aggro towards siege weapon operators.

 One-shot binder location #1

 One-shot binder location #2

The real allure of the ballistae is the two one-shot binders in the Phase 2 area. These binders immobilize Fatalis momentarily to afford your team a chance to get untroubled damage/tendies or unload the upcoming Roaming Ballista into Fatalis for maximum railcarnage. Binders drop Fatalis right out of the sky mid flight, a superb alternative if Fatalis is enraged and unable to be Flinch Shotted.

You cannot achieve a head break when Fatalis is binded or knocked down on the ground, so it would be a great pre-emptive maneuver to claw on before he recovers and tenderize the head to confirm a break if you believe the threshold has been reached. Why is breaking the head important? The reason will be revealed in Phase 3: Ashes to Ashes...

Roaming Ballista

 Railcar go brrrrrrrrrrrrrrrrrrrr.

Awwwww yeah, the Roaming Ballista or railcar as I like to call it personally (gud times with Lao Shan Lung). The Roaming Ballista is affected by Heavy Artillery and when Fatalis is tenderized, it produces some severe damage. It is feasible to aim either for the chest for guaranteed massive damage or the head for less damage, but more progress towards breaking the head. Be certain to use all the ammunition because it will not regenerate until the supply is completely emptied.

Dragonator

 Every monster gangsta until your theme is the battle theme.

You know what it is and you know what it does. The only question is... WHERES MY DRAGONATOR? The Dragonator at Castle Schrade is located on the platform right at the center. It does not become available after the beginning of Phase 2, but begins ticking down a timer following the start of Phase 3. When ready for use, make sure Fatalis' head and front legs are tenderized because it boosts the damage of the Dragonator. Scaling from player count affects the Dragonator and gives Fatalis a remarkable whopping in a full squad with every softened part pending for a bending. The best moment to activate the Dragonator is to wait when Fatalis is on all fours and begins worming towards the platform. Ándale, ándale!

Bow users with Sleep Coating or Bowgunners with Sleep Ammo should consider sleeping Fatalis to inflict double damage on the first spike. It will most definitely take more than a clip, so build up the sleep status beforehand and unload when Fatalis is within range of the Dragonator.
Tenderizing
Clutch Claw is an integral asset to slaying Fatalis due to the 30 minute limit causing time to be of the essence. Tenderizing parts often will be required to slay Fatalis before timing out.

Side Note: Tenderizing one of Fatalis' front legs also softens his chest and adjacent front leg. You can also claw onto his front legs by aiming for the wings to avoid clawing onto the less rewarding rear legs.

Openings and Attacks

 Can you tackle a charged fireball? Yes, but no.

Upkeeping on softened parts is key during the hunt, but clawing all willy nilly onto Fatalis is a death wish unless you are wearing the Temporal or Rocksteady Mantle. However, he has multiple openings you can take advantage of to tenderize parts. It is smart to recognize the Clutch Claw can be used defensively to evade certain attacks. Written below is a few notable attacks that I can give advice on:

Triple "Rapid-fire" Fireball

 A pitch and a swing into first base for that wicked evil eye.

Fatalis does the Triple "Rapid-fire" Fireball regularly when standing on two legs and it is a real pain in the arse if you are attempting to Flinch Shot or tenderize the head. Both the front and rear legs are safe during this, so you will make it intact when clawing onto him during his first or second fireball. With a little prediction on the timing and position of the head bobs, the Triple "Rapid-fire" Fireball is a cheeky way of sneaking in some gradual advances to a head break.

Sweeping "180" Breath

 A barrel to the face, power without asking; authority without question.

The Sweeping "180" Breath is a mirror image to the laser type attacks of other monsters and every part is safe to tenderize during it. Be careful not to claw onto the head recklessly if you are in front of Fatalis during the attack as you will get burnt unintentionally. Very simple to evade at range with diving as with any other laser type attack and has a noticeable tell where Fatalis steps back before doing the breath. It is also dissimilar to Safi'Jiiva's sweeping laser which can be avoided by hiding behind crags as the ruined pillars on Castle Schrade will not protect you from the Sweeping "180" Breath. The pillars can only be used for the imminent and infamous Continuous "Cone" Breath...

When Fatalis is concentrating the Sweeping "180" Breath or Triple "Rapid-fire" Fireball at someone on the platforms, everyone on the ground will be safe. The opposite is also true so take this in account while waiting to use the Ballista or Dragonator.

Continuous "Cone" Breath

 With this character's death, the thread of prophecy is severed.

Extremely deadly with insane damage that melts hunters in the blink of an evil eye and possesses a far reaching cone shaped range. The Continuous "Cone" Breath is responsible for making Castle Schrade contain more carts than a Walmart™ parking lot with how abrupt it can be. Despite its lethality, it is your best way of dispensing damage to the head as it is very vulnerable during it. You have multiple ways of surviving the deadly attack and some examples are...

  • Using Farcaster after seeing the tell.
  • Diving before the breath starts and spamming dive midst the inferno.
  • Hiding behind the destroyed pillars in the area.
  • Blocking it with the Guard Up skill equipped
  • Hiding behind a friendly Lancer with sufficient guard skills.
  • Hitting Fatalis with two Dragon Pods to cancel the attack.

Every part is safe to tenderize during this attack and tenderizing the head is very nifty for eluding the exploding pool of fire left behind by the breath. Hammer's charged attacks into claw mount combos are spectacular for this purpose specifically. Another thing to add on for weapon specific tips, is the fact that some weapons may not be able to land their strongest combo string in time before the Continuous "Cone" Breath ends. Greatsword and Sword & Shield for example, will not be able to connect the final hit of TCS and Perfect Rush respectively. This is can be circumvented by doing the first hit prematurely at the tell before the attack begins. EX: Whiffing OS early on purpose below Fatalis' head to make sure the last hit of TCS lands during the breath.

Continuous "Golden Mommy" Breath

 Float like a butterfly, sting like a bee!

Another familiar attack is the Continuous "Golden Mommy" Breath. It is akin to the attack of Kulve Taroth and MR Teostra where they breath downwards into the ground to catch slow to react hunters. Surprisingly every part is safe to tenderize, but it is preferable to claw on before the breath starts as clawing on mid-breath may impose a first-degree burn or more. Hunters with weapons that cause you to land downwards after tenderizing should hang on for a moment on the head before attacking.

If you were in the middle of attacking right as the tell happens and it is too late to run away, simply claw onto the rear legs A.S.A.P and you should escape with a lively heart rate.

Aerial Shenanigans

 Boop! Got your nose!

Fatalis has a mirrored moveset in the air, so you should be fine following the same advice for the flying versions of the above attacks. Be wary not to claw the head during the Triple "Rapid-fire" Fireball and hang on for a moment when it is doing the Continuous "Golden Mommy" Breath Alatreon style. lolwut

These are the bulk of the openings I can recall off the top of my head for you to exploit for tenderizing. There are also the bite attacks for when Fatalis is on all fours, but I do not endorse latching on during those as you will get knocked off. Even with Temporal or Rocksteady Mantle it is not really worth it since the duration on your yellow rainjacket will be cut down and Rocksteady will cause you to receive lots of pain to your pancreas from Fatalis simply moving. A specific claw swipe with Fatalis' front legs ignores the Temporal Mantle, so do not be too frisky risky with the cat's claws and get your health bar up even with the yellow security blanket on.

 The way of unifying energy condensed into one swift motion.

Side Note: The physical attacks like the belly flop and aforementioned bite attacks are subarashii for Longsword users to build meter with the Foresight Slash and magnificent for Lancers to tenderize with Counterclaw.
Phase 1: Big Black Carnivore
For the first run of the special assignment for the story, the Excitable A-Lister will accompany you on the hunt. Until you reach Fatalis’s first nova at the tailend of Phase 1 that is. The dawn of Phase 2 unlocks the use of SOS and allows people to join your quest so do not worry about having to combat the Big Bad Black Dragon all by your lonesome. All subsequent quests start you off at the camp as normal.

Lock and Load

 Spectral-chan returns as a guest for another volume of T'n'A and this time showcases the fruits of autonomous synchronization.

After eating and buffing up, the best way to fire up the quest is to get a swift and elegant knockdown using the two cannons on the scaffolding by giving Fatalis the proverbial Middle Ages greetings. This is where two underused assets come into play, Ghillie Mantle and Heavy Artillery. Popping on the Ghillie Mantle at camp lets you load and angle the cannons in peace once you get your boots on the ground. Heavy Artillery's damage boost is sufficient for meeting the siege weapon threshold of knocking down Fatalis with 7/8 cannonball hits. I recommend popping on the Rocksteady Mantle before firing the cannon to avoid getting stunned by the roar. When swapping to the second cannon in solo, wait for Fatalis to approach you like a worm on four legs and nail him after he stands up. Straightforward and quite rewarding innit?

Fatalis will be in his four legs mode after recovering from the knockdown and this sets up an easy wallbang if you have the Rocksteady Mantle on from firing the cannons.

It is not strictly necessary to use the cannon entry strategy for Phase 1. If you are confident in not needing the easy peasy damage and knockdown from the cannons, opting out has its perks. Drawing the fight out longer by avoiding the cannons can net you more chances in Phase 1 to hit the head for more progress towards a head break. This is especially beneficial for hunters using weapons that have a more difficult time breaking the head before Phase 3 in solo or duo.

If you are not participating in the cannon entry strategy at all and perhaps entered an SOS hunt late, it would be polite to standby and wait others who may be setting it up to complete the task first. You can use the Surveyor Set received from the Lynian Researcher to scope out your allies from camp and know when is an optimal time to depart.

Hot and Steamy Tent

 Smells like the homemade bread that Grandma used to make.

Once you have accomplished enough havoc in Phase 1, Fatalis will fly away and begin unleashing his first Megaflare nova. To survive this you must escape to the tent on the right side of the area, exactly as the cutscene except do not be a dum like the Excitable A-Lister. The hunt will transition to Phase 2 and the area will expand after the tent melts.
Phase 2: Melting Point
Now that the surrounding area has been torched, the battlegrounds will morph into their classic layout. This offers you access to more siege weapons and space to dance around in. Fatalis introduces this phase with his now unrestricted flight mode.

 This nightmare thinks it can eat us! I'd say let it eat lead!

As a team, someone should sprint for the Roaming Ballista located north of the melted tent and start firing if Fatalis is already tenderized or as the others are tenderizing the currently flying Fatalis. There is a one-shot binder located near the Roaming Ballista and Cannon, so another person should pick it up to use for the operator of the Roaming Ballista or save the binder for later. In solo, you have to figure out what is necessary to do first depending on the situation and if you tenderized Fatalis a moment ago before the phase transition.

Using Smokebombs after Phase 2 is a helpful tactic in solo or a coordinated team to prompt Fatalis into landing quickly without having to use binders or other resources.

Castle Crashers

 If it takes forever, I will wait for you for a thousand summers.

Again, Fatalis will perform another nova once you have done enough damage. This time you have to retreat all the way back into the fort near the Dragonator and raise the Barricade to survive. It is very sharp to be mindful of this nova during Phase 2 since if you are clashing on the edge of the map; you will not make it when Fatalis decides to do the nova. When you are sensing the end of Phase 2 is near, draw Fatalis closer to the Dragonator platform. The first person to reach the barricade lever should interact with it and hold down the button (just like the Dragonator in arena for those in the know) then release when everyone is inside the fort.

If someone got unlucky at the edge of the area, you may have to sacrifice them to ensure the rest of the squad stays alive. It is a tough burden to bear, but losing one person and securing the well-being of the three left inside alive will carry on the hunt instead of resulting in an sudden failure.

With the barricade melted and nova completed, this marks the end of Phase 2 and the true fight finally begins.
Phase 3: Ashes to Ashes
At last arrives the third and final phase of the hunt, and it heats up with Fatalis presenting his new supercharged form. His flames will turn blue and be even hooooooooootter. This is the most grueling phase, but on the bright side it could be worse. Imagine if Capcom made a Fatalis capable of summoning meteors or lightning or something, that would be weeeeeeeeird.

 Undergarments saturation level: Mildly Damp

Phase 3 is a gauntlet as Fatalis purchases the Iceborne expansion and gains new moves. Nearly all of his previous moves are now upgraded and capable of instantly carting hunters. Fortunately, the strength of Fatalis' flames can be nerfed by fulfilling head breaks on him. If you have previously broken his head during Phase 2, the Serious Handler will mention it is weaker. Otherwise, I highly recommend to pursue breaking his head partly to prevent the attacks from one-shotting or else Fatalis will end up plowing your team; not the fun kind. The head can be fully broken another time for an additional knockdown and a further nerf to the damage of his flames.

New Tricks

 You will not forget this devil's power!

Fatalis has nasty new attacks in his Phase 3 form and they can quickly snuff you out. Here is some of notable ones that I can give advice on:

Triple Charged Fireball
This is basically his Triple "Rapid-fire" Fireball from normal form, but charged and capable of firing in different directions. The Triple Charged Fireball is a good opportunity to get a chunk of greedy damage off on his glowing chest, but you run the risk of him firing at a dangerous angle while you are attacking. Charged fireballs cause more injury than what week old chili does to my rectum in the midst of a four hour lecture, so pay attention and attack when he is charging a fireball to the side away from you. Hunters with a weapon that bounces them off Fatalis after tenderizing will want to hang on until a little after the third charged fireball begins charging to avoid getting vapourized upon landing.

If you need to heal during this attack, I strongly discourage doing so until the third fireball is complete. Due to the intense splash zone of the charged fireballs, chugging instead of running or diving will justifiably result in your toasty demise.

Sweeping "360" Breath
 Quick demonstration to help showcase the difficult to explain safe spot.

Fatalis charges his breath to the side while on four legs and unleashes a sweeping breath as he spins around and engulfs the area in flames. For melee hunters, the Sweeping "360" Breath can be nonchalantly avoided by frolicking near the chest between the front and rear legs on the opposite side of his head. Ranged hunters will have a harder time with this and most likely have to sheath and dive to avoid the attack. You can climb up onto the platform to sit out this attack, so it is worth looming near there just in case.

Clawing onto the opposite side of the breath is safe and a Flinch Shot is viable, but I frequently have to remind myself that Clutch Claw has a 69.42% probability of latching to the lethal side. Best to avoid clawing for the Sweeping "360" Breath until after the initial burst as it is very proficient at murdering anything currently clawed on.

Reverse Gear
Fatalis charges his breath to the side while on 2WD and backpedals with a double breath attack for some defensive offence. The hitbox on Reverse Gear is wild, but hugging the center of Fatalis' chest at the front is safe as long as you move along with him. Dodging near his tail from the back is also viable if you roll to the side away from the breaths as they come. A safe and marvelous idea is to claw onto Fatalis when he is charging before the attack.

Reverse Gear is not one of my favourite attacks because even without blue flames, it is still very painful and fast. Luckily, it is not an inescapable fire hazard as much as my little sister attempting to fabricate her own dinner though.

Yummy In My Tummy

 Would you like dinner? A bath? Or perhaps... me?

A pinning attack where Fatalis pounces on a specific hunter and then attaches them to his belly to melt them. Yummy In My Tummy is very fatal to any shield weapon hunter camping near his chest or any unwitting hunter caught by his pounce. Anyone caught by this move can be saved by flinching Fatalis by any means necessary; using two Dragon Pods most ideally. If left unsaved and the victim is still alive after melting, Fatalis will chew and spit them out which is generally a cart. How does it feel to be the undesired piece of edible plant now?

Nova Boogaloo

 The sounds of calamity from the Black Dragon's flames is now rendered mute, for it has been blocked off by the melodies of the one in operation of the lute...

Yep, Fatalis has a nova in this phase as well. Not only one, but three to be exact.

As the phase progresses, there will be damage checkpoints for each nova. Just like the Phase 2 nova, you want to stay away from the edge of the map. Battling in the center of the area in particular is sublime because in Phase 3, Fatalis can use his nova from the north, west or south side of the battlegrounds. The nova breath is cone shaped and running towards the left or right instead of the center of the breath will get you in the clear more quickly. Phase 3 novas are affected by head breaks which makes it possible to tank and heal through it when Fatalis' head is fully broken. Speaking of head breaks, the health of Fatalis' and his parts cannot drop below 1 during any nova. This means overkilling Fatalis during the nova with ranged weapons will not slay Fatalis or break his parts until after he lands.

Some extra notes to be aware of is when Fatalis has not completed all three of his Phase 3 novas, the Dragonator is most assuredly to provoke him into performing one after he wakes up. A lovely instinct to have is to disengage early then evade his roar and wind to escape the nova in time. The Roaming Ballista can be cleverly used to steer clear of the nova if it is in a favourable position and Fatalis is attacking from the north or south side of the area.

Side Note: The Assassin's Mantle is extremely potent for this situation with it's +30% to movement speed when you are sheathed. In combination with the mad dash when sprinting from a crouch and long uptime, the Assassin's Mantle will get you out of the danger zone faster than an Italian ruffian after copulating with a Florentine nobleman's daughter.

After Fatalis has done the nova three times, you are finally in the endgame! Finish the job and if you are not pressured from time by this point, play it safe and be careful not to choke from the excitement.
Skills For Your Frills
At this point of the game, I assume you possess a build featuring high end gear with all the standard armor skills such as Health Boost, Critical Eye, Agitator, Weakness Exploit, and etc. In this section of the guide, I have listed all the armor skills that may not be used in general purpose builds, but are particularly applicable against Fatalis. These are in order of usefulness from my opinion.

 The slots and set bonuses are pretty cool, but whatcha think of the dragon theme of the armor?

Clutch Claw Boost (Shaver): Clutch claw weapon attacks wound monsters easier, and have a better chance of dropping slinger ammo.
Mandatory for light weapons, especially weapons without a one hit tenderizing combo like Sword & Shield and Dual Blades. Clutch Claw Boost for light weapons is as essential as a barrette for any orderly lady because being able to tenderize parts with only one attack eases the matchup exponentially. This new skill released with the Fatalis update only costs a single level 3 slot and the deco can be melded at the Elder Melder.

Heavy Artillery (Heavy Artillery): Increase the firepower of ballistae and cannons.
Siege weapons are actively used in the quest and make up a huge portion of the overall damage against Fatalis, thus Heavy Artillery is without a doubt a priority skill to slot in. It increases the damage of the siege weapons which will indisputably speed up the hunt.

Equipping two level one decos in a Rocksteady Mantle for the Phase 1 cannons is an adequate stand-in if your build is tight on space. However, be mindful of the Roaming Ballista in Phase 2 and set it aside for your allies with Heavy Artillery equipped in their armor to use it when your mantle is on cooldown.

Fortify (Fortitude): Increases your attack and defense every time you fall in battle.
This applies more specifically to the special assignment version of the Fatalis quest, where you have five carts instead of three. With a whopping five carts, Fortify is a no-brainer as you are able to use the large double stat boost without too much risk of failing the quest. On the event version, the skill is less valuable due to having three carts. However, Fortify is still worthwhile for an unlucky cart with credit given to it only requiring a single level 1 slot.

Coalescence (Phoenix): Temporarily enhances attacks after recovering from blights or abnormal statuses.
Fatalis uses flames for 75% of his attacks and inflicts Fireblight constantly. This allows Coalescence to be kept active for basically the entire battle thanks to Fireblight being one of the easiest aliments to deal with. Costing only a single level 3 slot for a freebie +12 attack is an excellent value.

Partbreaker (Destroyer): Makes it easier to break or sever parts of large monsters
Speaking of breaking, breaking the head can make or break the hunt in Phase 3 where the power of Fatalis' flames depends on it. Partbreaker helps accelerate this process and can even secure a head break before Phase 3 to stop the upgraded flames prematurely. It assists in getting the more rare materials such as Evil Eyes and Fellwings as an added bonus.

Guard (Ironside): Reduces knockbacks and stamina depletion when guarding.
You can get away with Guard 3 against almost all of the monsters in the game, but this monster is not one of them. Hunters actively using a shield should absolutely equip Guard 5 for this hunt. Lancers very much so. Fatalis' flames are hotter than a freshly fornicated fox in a forest fire and can place you at the threat of getting chipped out even with Guard 5 equipped.

Side Note: Divine Blessing is a general use survival skill, but I wanted to make mention of it here because it can actually be a valid substitute for Guard 5. Divine Blessing 5 with Guard Up is capable of surviving a blue Continuous "Cone" Breath without points in Guard, thanks to the damage reduction procs mitigating the chip damage.

Also gives ranged weapon users a 40% chance to not get one-shotted.


Guard Up (Shield): Allows you to guard against ordinarily unblockable attacks.
Another important skill to have for any hunters actively using a shield. Guard Up is necessary for blocking many of Fatalis' flame attacks. In addition, it allows you to be a temporary pillar for teammates during the Continuous "Cone" Breath.

Slinger Capacity (Stonethrower): Increases the loading capacity for the slinger ammo obtained in the field.
Slinger Capacity is an underrated skill for letting you land a Flinch Shot more frequently. It allows you to keep some stones after a Flinch Shot. You can execute a Flinch Shot to drop Fatalis on all fours and then rapidly proceed to doing another to wallbang Fatalis. The deco is cheap at the cost of a single level 1 slot and you can add more levels if you desire to up the amount of Dragon Pods you receive.

Evade Extender (Jumping): Increases evade distance.
For some weapons, Evade Extender may be needed against Fatalis for a more comfortable experience. Fatalis has a lot of range on his attacks and a roll with a longer distance can help heavy weapons immensely in escaping those. The sweet spot for Evade Extender is level 2 in my experience.

Evade Window (Evasion): Extends the invulnerability period while evading.
Not really a skill to focus on acquiring, but a very nice bonus skill to have from getting other important stuff via level 4 decos. Evade Window is splendid for dodging exploding pools of fire last sec and iframing through fireballs. (iframing through breath attacks is somewhat janky even with Evasion Mantle on)

It is really personal preference for how much Evade Window to equip. In my experience, I believe 2 or 3 is the sweet spot since 1 is negligible and 5 is so lenient that it gives every fireball the accuracy of Katon: Gōkakyū no Jutsu in exchange for a hefty investment.

Fire Resistance (Fire Res): Increases Fire Resistance.
I personally think Fire Resistance is not a must-have since it can deny the use of Coalescence. It does have undeniable practicality though in a hunt where fire is spewing 24/7 and when your armor set has negative fire resistance. Equip it to get your fire res to 20+ if you hate dealing with Fireblight and wish to focus on attacking.

Windproof (Wind Resist): Grants protection against wind pressure.
The damage of the novas are not the main killing factor, but rather the wind pressure that stalls you from escaping in time. If you are feeling unlucky with the wind pressure before novas, Windproof can be your talisman. Level 1 reduces the wind pressure and 3 negates it entirely.

Heat Guard (Cooling): Nullifies damage from heat.
Let us reminisce about the bowgunners in the base game who lost their sanity farming Arch-Tempered Xeno'jiiva. Heat Guard is a skill seldom equipped, but possesses some value against Fatalis for the cost of a single level 2 slot. While not as intense as Xeno'jiiva or Lunastra, Fatalis can turn the floor into lava and inflict slight damage over time. Heat Guard negates the floor damage and grants a more cozy time when using health dependent skills such as Peak Performance or Heroics.

These are the recommended skills in my opinion for increasing survivability and shortening the hunt to minimize casualties. Support skills such as Wide Range are also viable, but with mostly everyone chugging Max/Ancient Potions and Lifepowder/Dust of Life being sufficient for keeping the team up; I would opt out of using it unless you really want to reduce the likelihood of carts.
Insightful Perspective
As an additional bonus supplement to the guide, here is a self-created video with subtitles showcasing my thought process and what I am pondering during a standard Fatalis hunt. While it is a little tailored to Greatsword specifically, all hunters should be able to understand and be capable of using the video for an insightful perspective. I hope it will be of valuable assistance in your future Fatalis hunts and grant you some new insights to think about.


Horn "speedrun" fun run because why not?
The End
We have now arrived to the end of the guide and just like I said before at the start, I hope you will see the end of Fatalis after soaking in all this knowledge. If you are struggling with the hunt and are continuingly having a disheartening quest failure at the tailend of Phase 3, don't stress it and keep trying to get into the routine of success. Fatalis is a difficult foe and every loss you take in learning will later on increase the amount of euphoria upon finally defeating him.

For those who have slain Fatalis after reading the guide, congratulations! Take the time to enjoy your victory and scope out your sweet new powercreeped digs. Maybe even help out others who still haven't achieved that victory yet. Speaking of helping others, if it is not too much to ask... Could you rate up this guide? It aids in letting many others in need of advice see the guide and I would certainly be greatly appreciated. Maybe even leave a comment if you have a tip that I am not aware about, happily succeeded in a recent Fatalis hunt or just enjoyed viewing the guide?

Thanks for reading!

 "Another gigantic flame! Head for Fatalis' position!"

35 Comments
Mel  [author] 18 Jul, 2023 @ 3:35pm 
Better late than never! :mhwhappy:

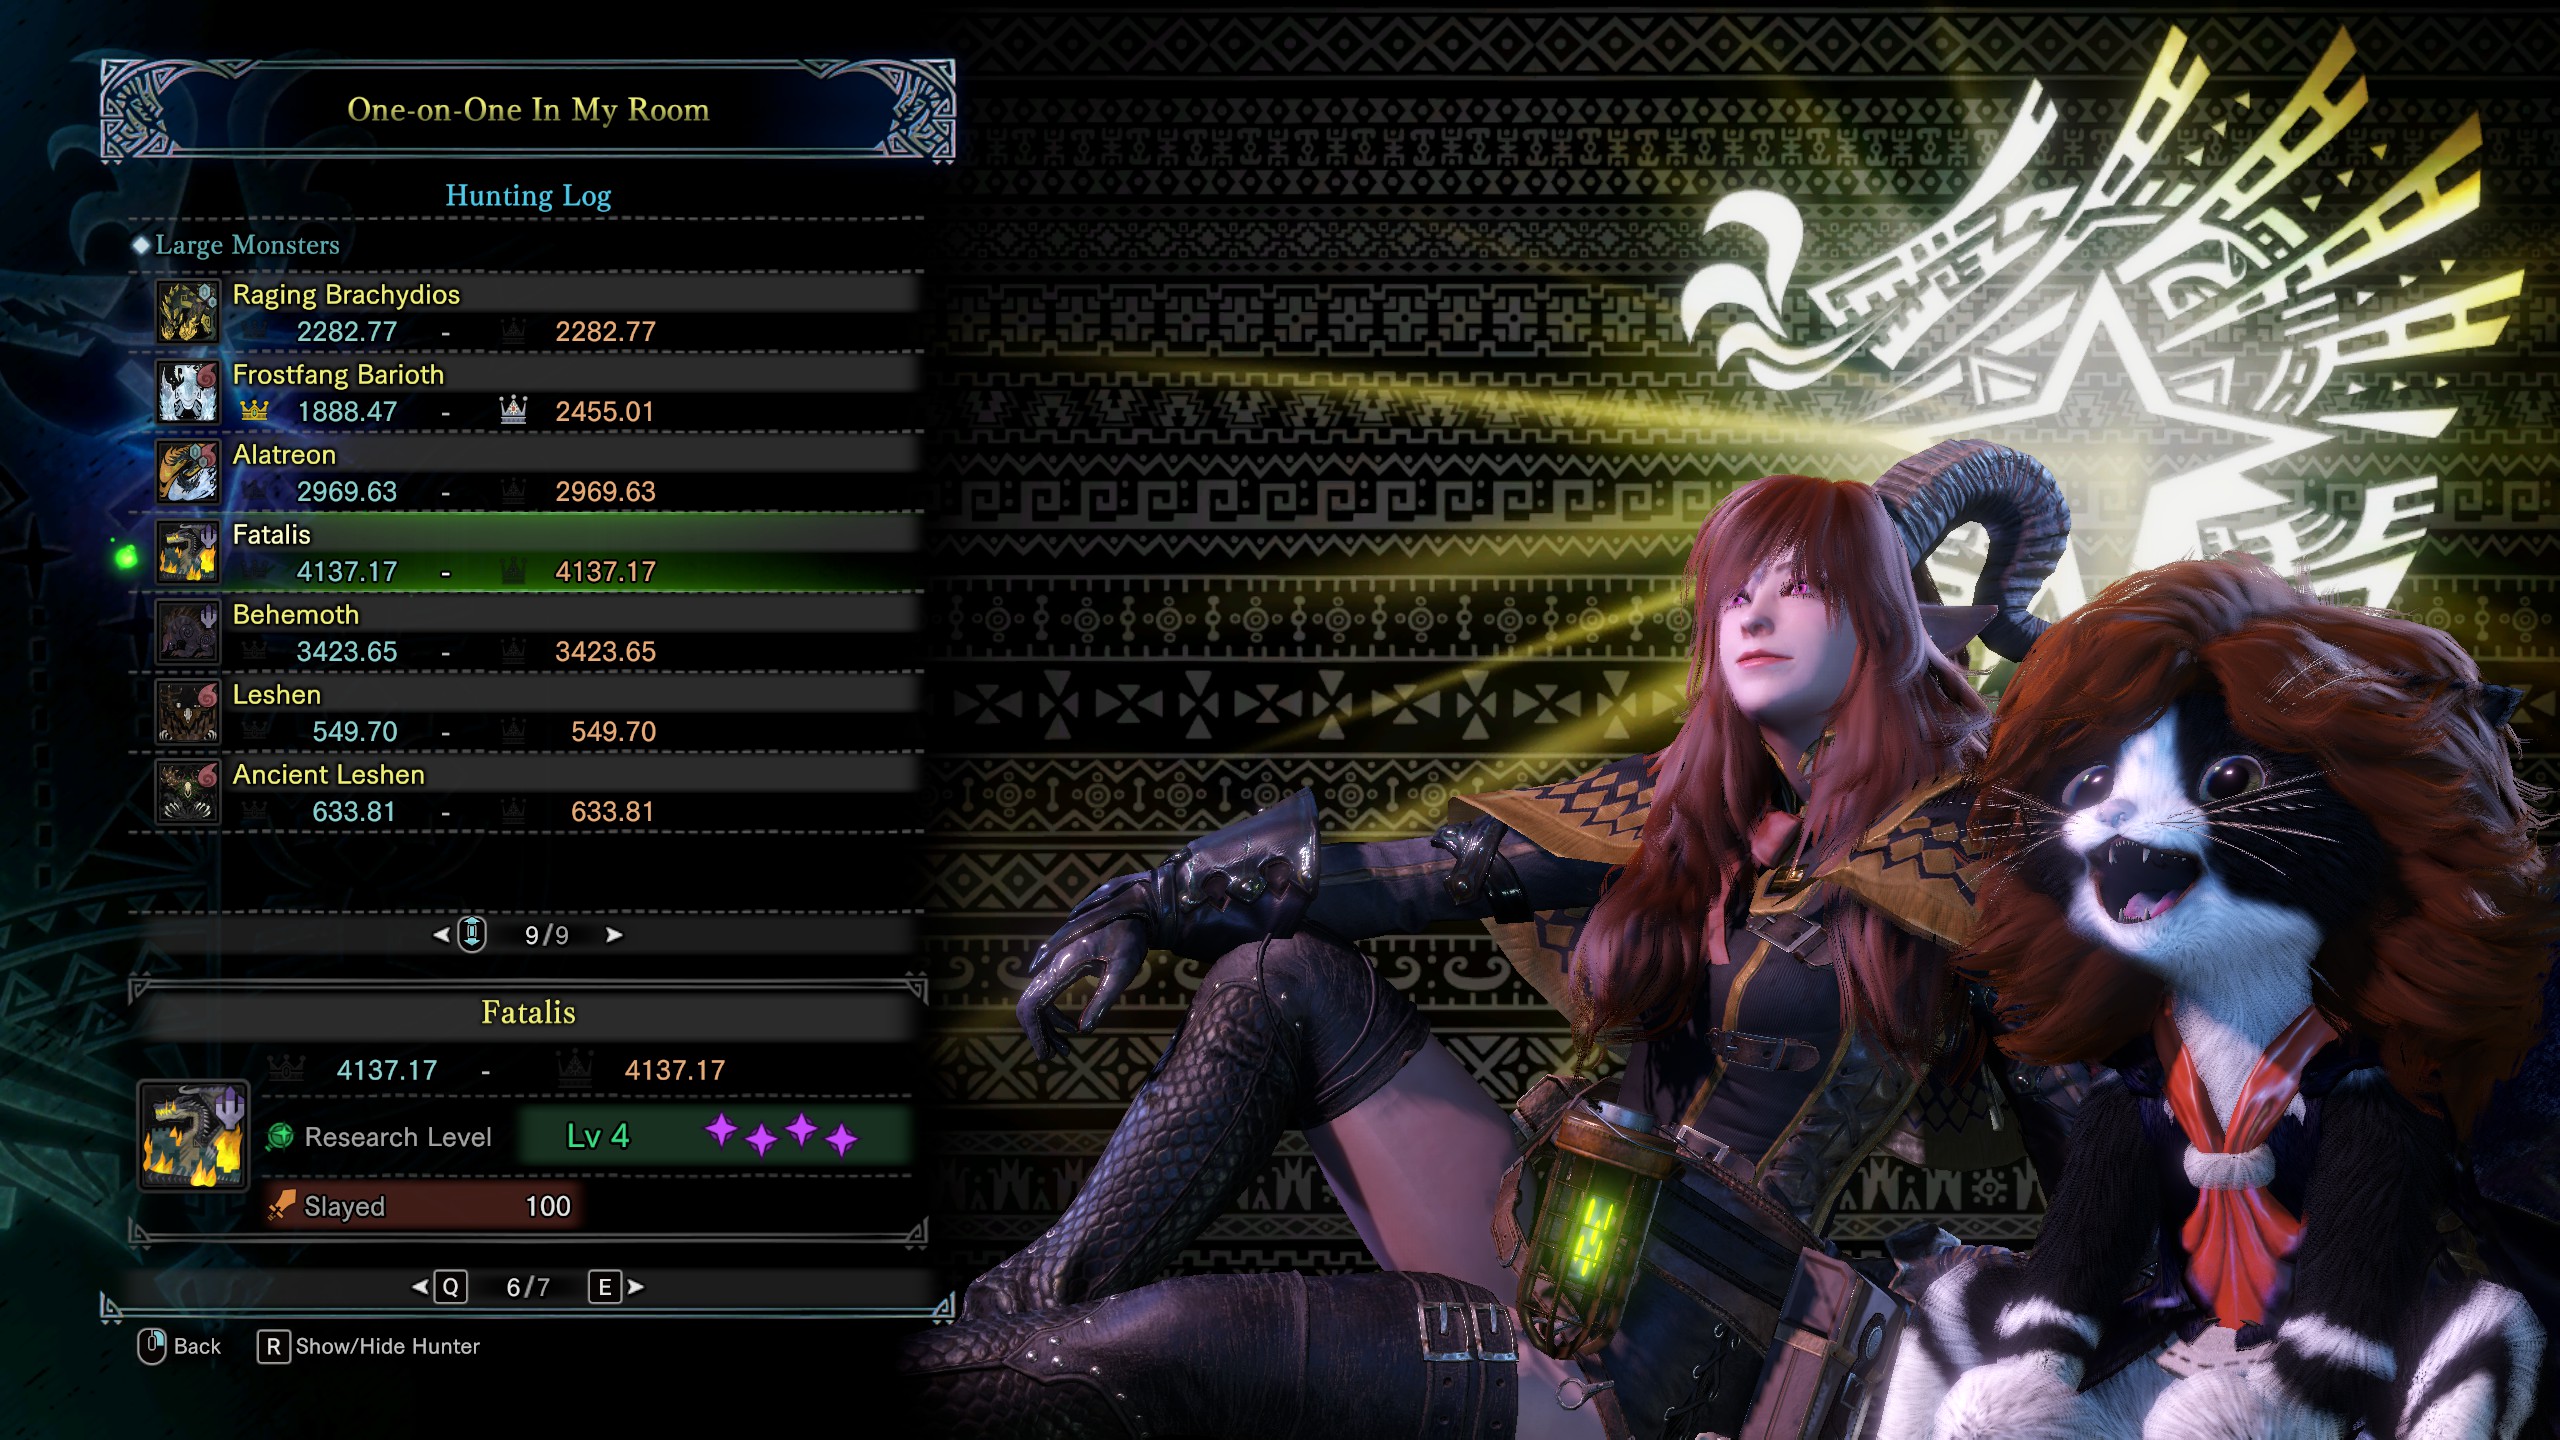
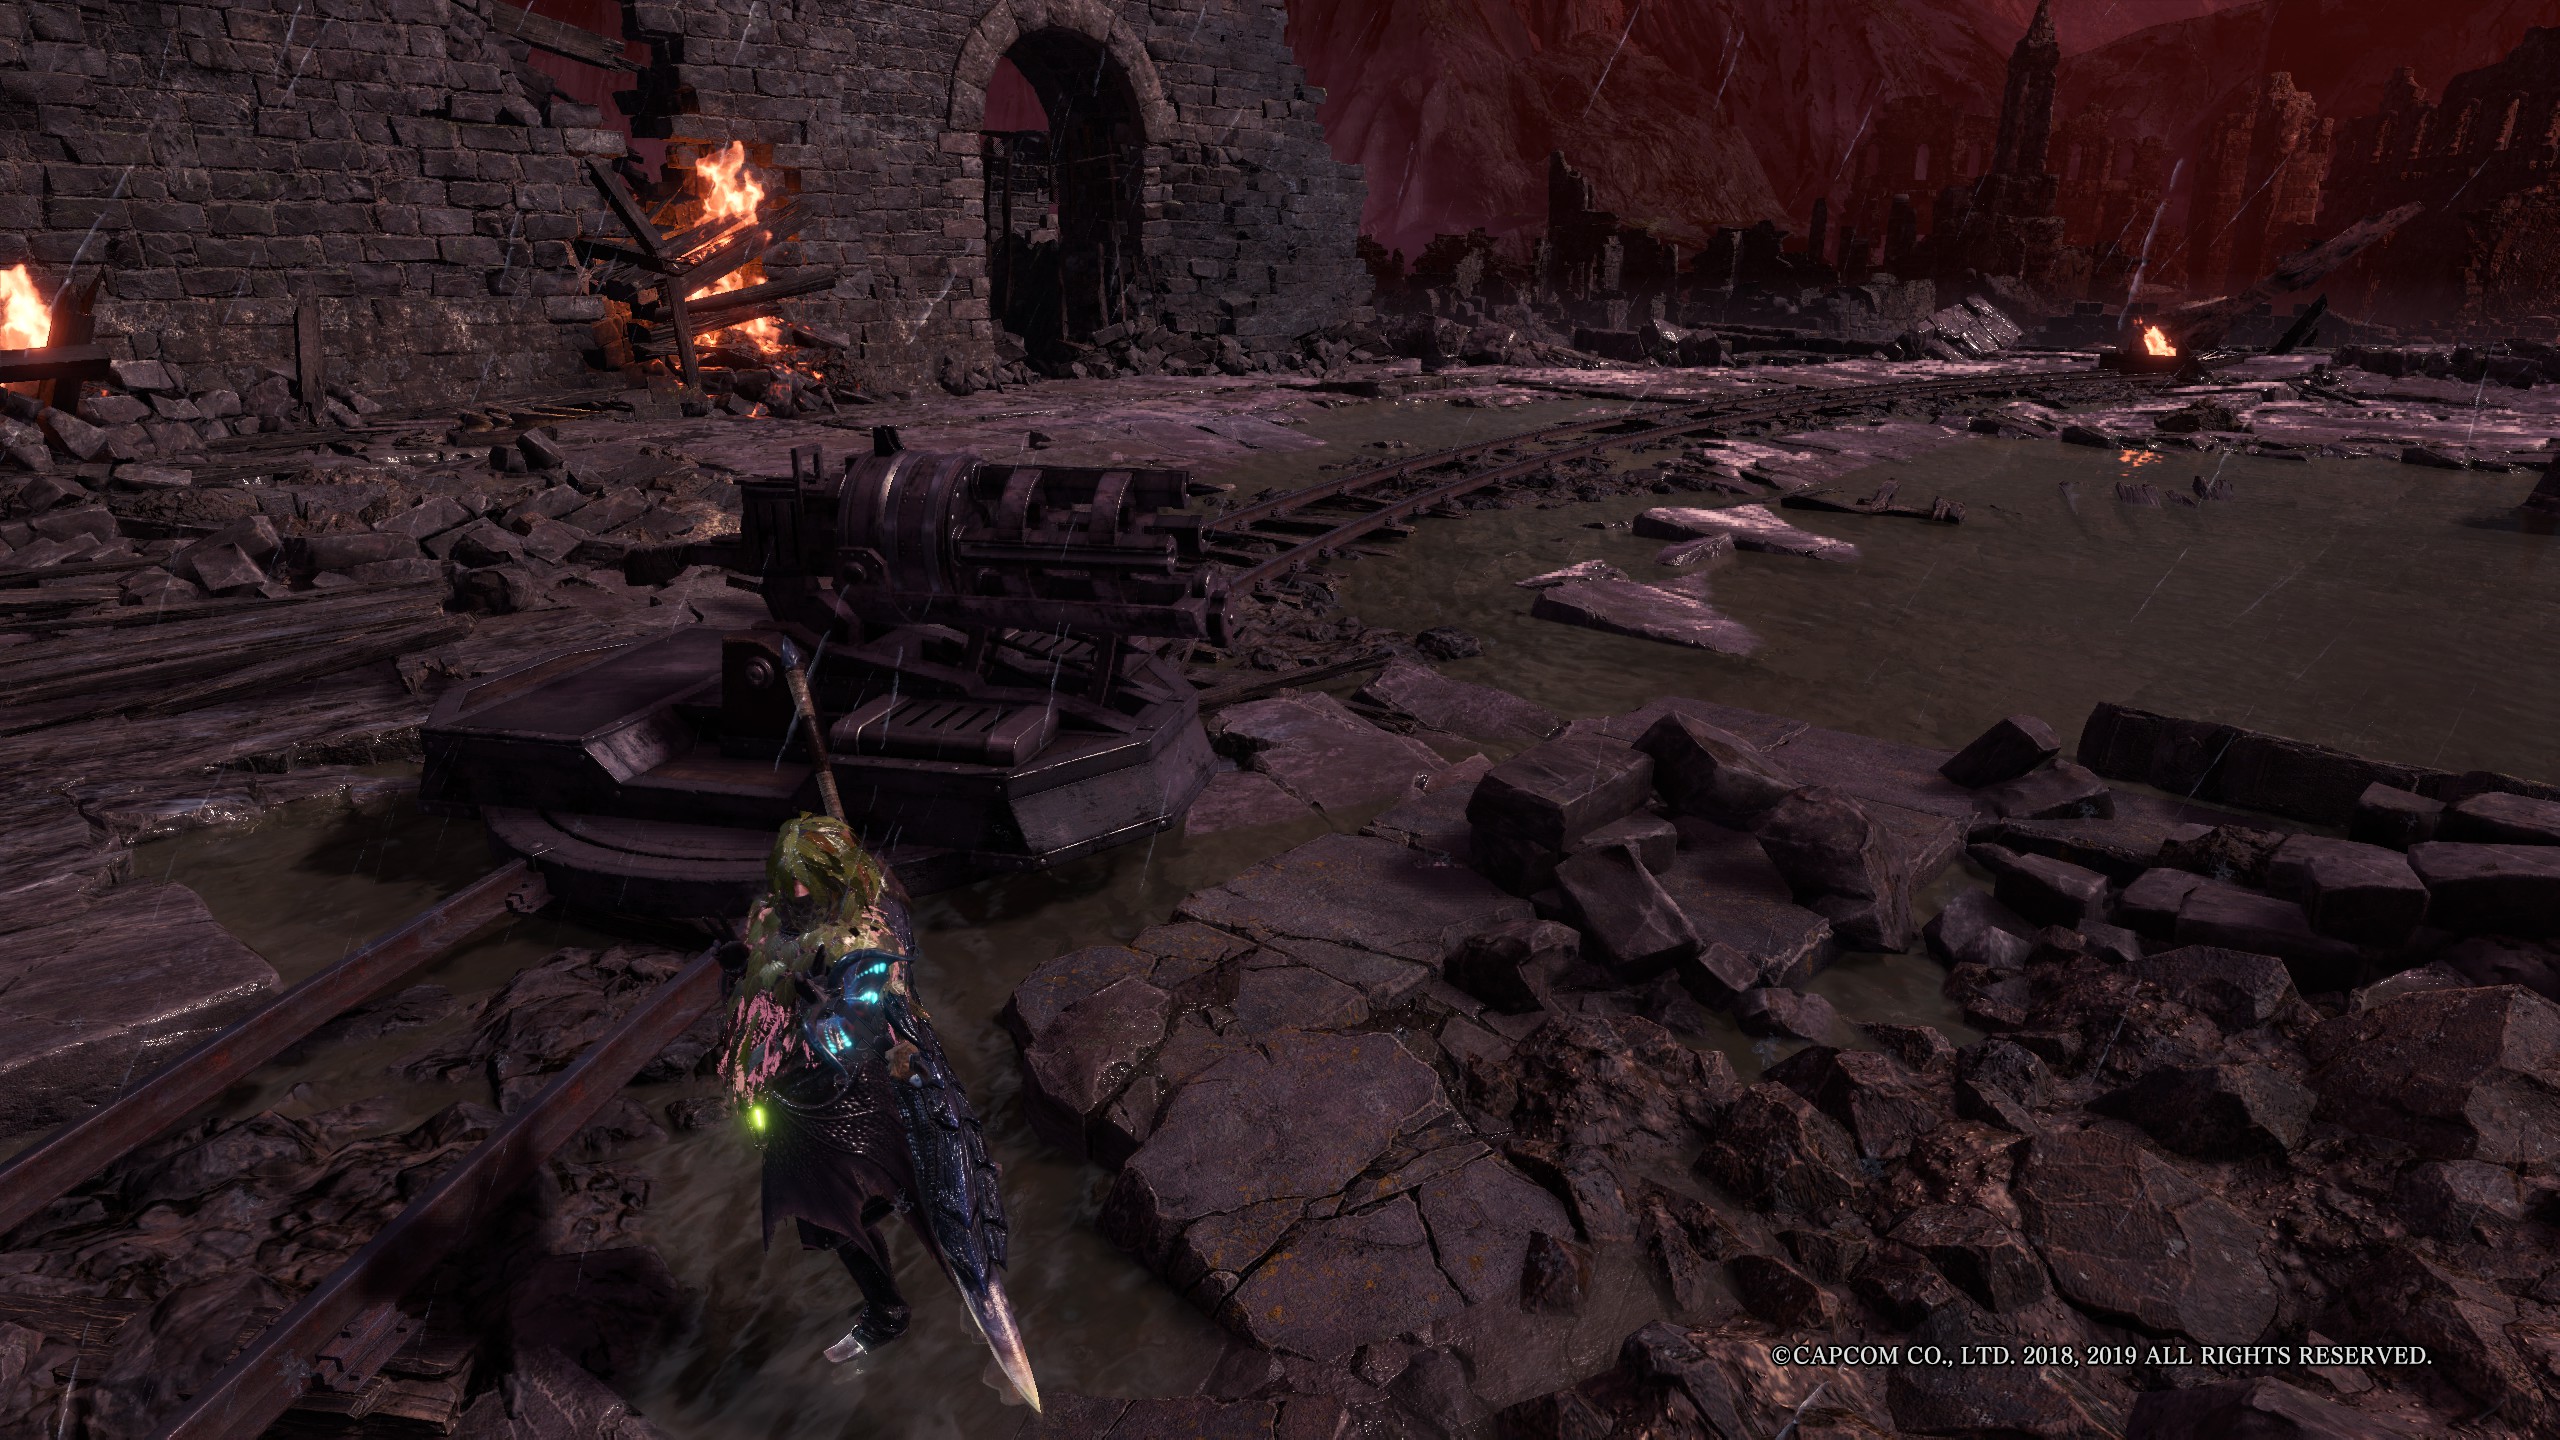
Thank you for the compliment. Looking back on this guide, I'm actually surprised I created something this impressive. Though, MHW definitely was a baller game in it's prime time.
Hammer Of Evil 10 Apr, 2023 @ 10:46am 
huh. i was probably the third person to read this guide and to my detriment never commented.

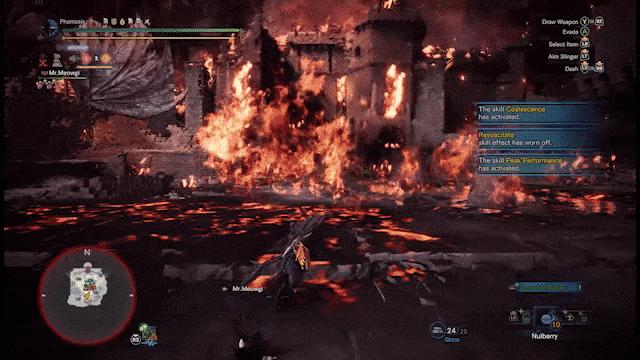
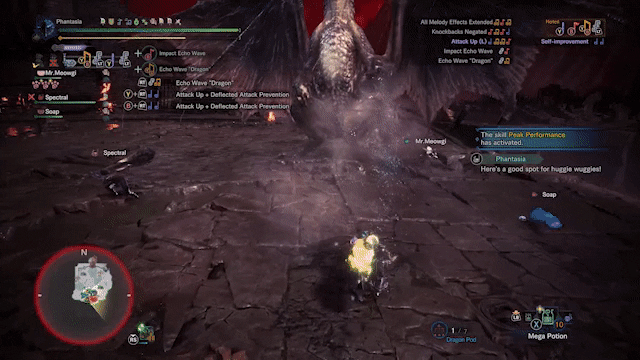
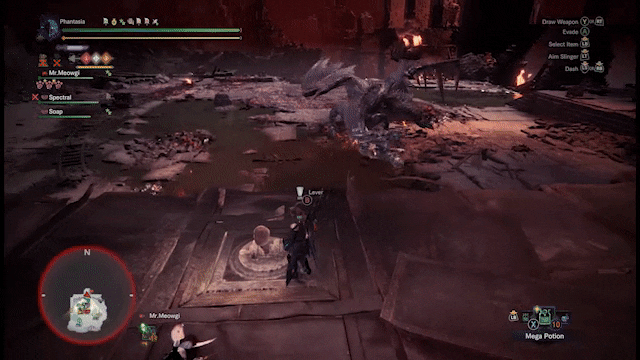
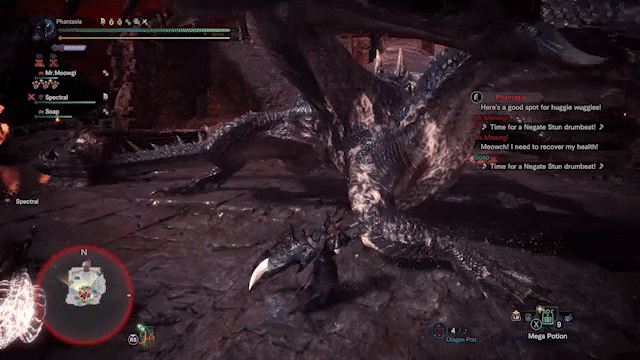
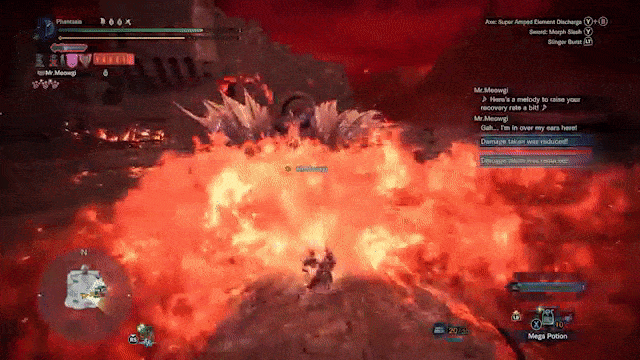
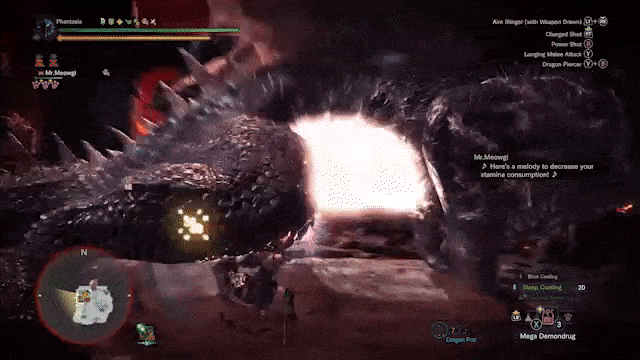
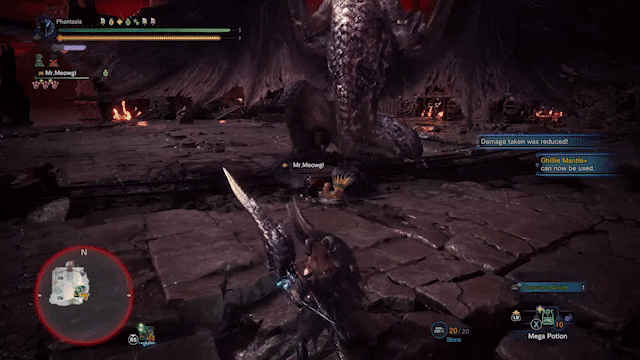
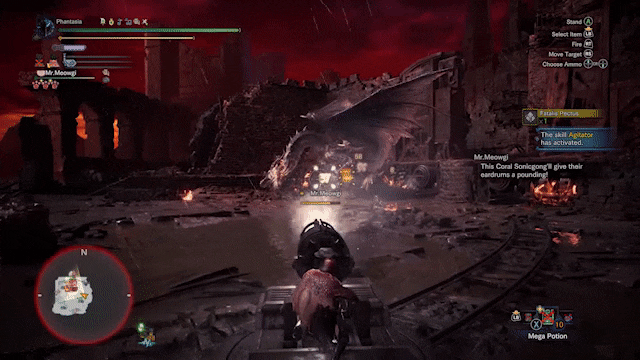
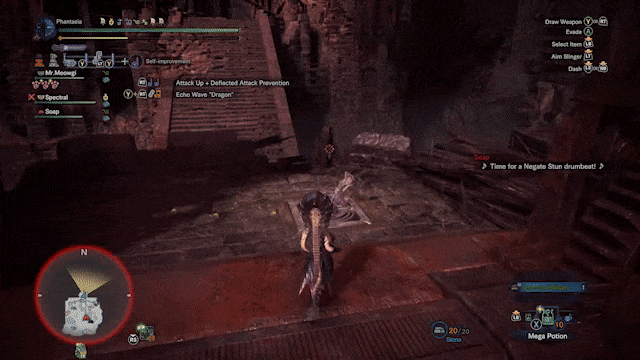
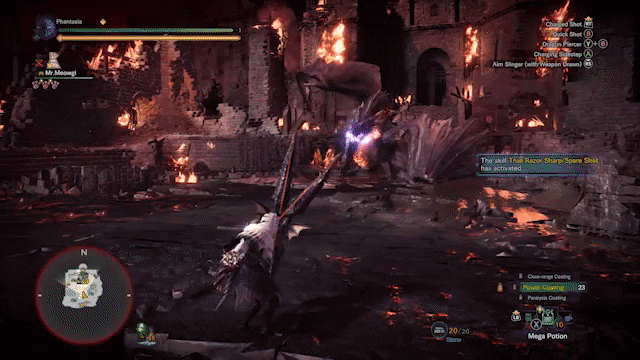
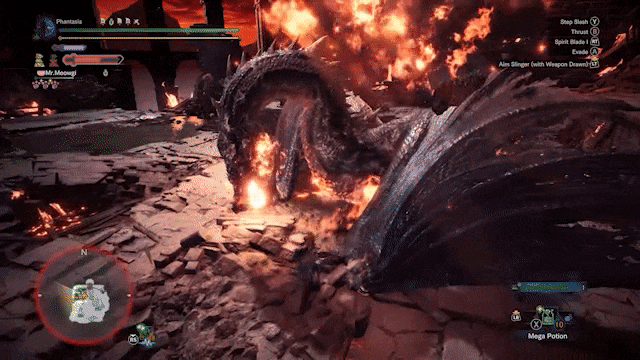
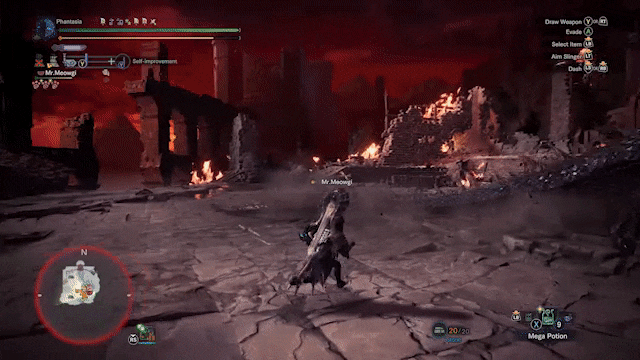
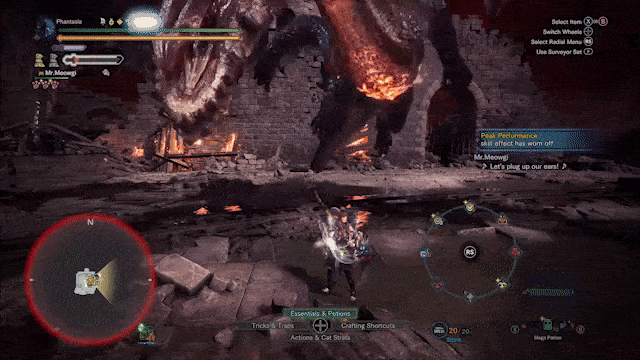
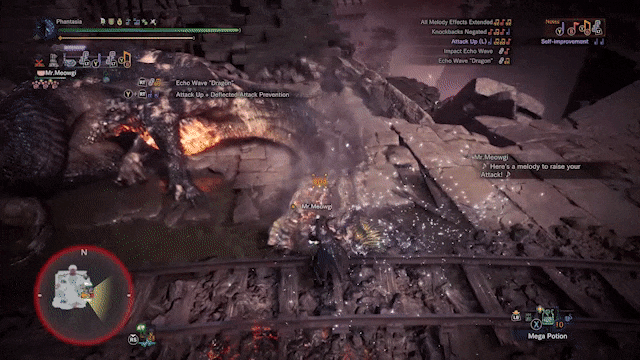
it's absolutely one of, if not 'the' best guide for a monster hunter boss fight, that exists on steam. and demonstrates a totally one sided solo boss kill with the great(est) sword, and has commentary for an explanation of tactics and positioning. so thorough.

the arrangement of information is particularly excellent.

its well done. many thanks.

:GIGANTUS:
Mel  [author] 26 Aug, 2021 @ 3:48pm 
No problem, I hope you will have a swell time with your future runs!
Tamblyn 25 Aug, 2021 @ 12:46am 
Excellent guide, I learnt one or two tips to ease the fight. Thanks :steamthumbsup:
Mel  [author] 26 Jun, 2021 @ 9:12pm 
It is a very simple attack to dodge, but it is not uncommon to see someone get caught off-guard by it with all the tension in this hunt. :theDoge:
O97M/Y2K 26 Jun, 2021 @ 11:48am 
I didnt even know about about the "yummy in tummy" attack. :steamthumbsup:
Mel  [author] 2 Dec, 2020 @ 2:44pm 
Definitely a nice way to send off Iceborne off. He is quite exciting both gameplay wise and thematically.
Kreddi 2 Dec, 2020 @ 8:39am 
Seems like a good guide, excited to get back to Iceborne and try this monster out.
Mel  [author] 30 Nov, 2020 @ 3:18pm 
Thanks sunbro! :47_thumb_up:
Cozy 30 Nov, 2020 @ 2:45pm 
Great Guide :praisesun: