Team Fortress 2

Team Fortress 2

348 ratings
Creating Flair Decals
By Jimo
I will explain how to use the Flair template to create custom decals in Team Fortress 2. For this guide you will require Adobe Photoshop, GIMP or PAINT.NET.
3
7
   
Award
Favorite
Favorited
Unfavorite
Introduction
This guide will explain how to use the Flair template to create custom decals in Team Fortress 2.

What You Will Need
Before we get started you are going to need a few tools so you can follow along with the guide.

You will need some form of image editor. In the guide I will be using Adobe Photoshop CS5 but other revisions of the program should work just fine. You can use GIMP or PAINT.NET as a free alternative to Photoshop as well.

In addition you are going to the need the required items in TF2 which can be found on the shop, as well as a template which is provided below to follow along with the guide.

You can find links to all of the necessary stuff below.


Getting Started
Before we begin creating our Flair we are going to need to decide on what we want to include. The item allows for four separate designs, the size and spacing on each design will vary depending the class. Keep in mind that this item is small, so you don't want to include something which is overly detailed.

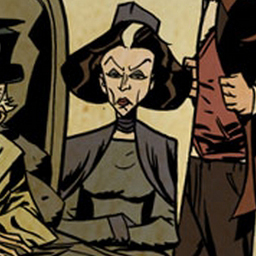
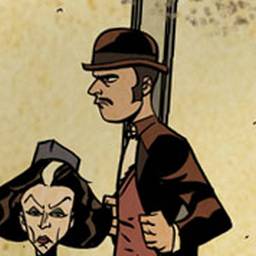
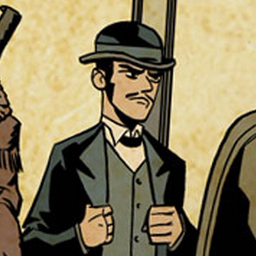
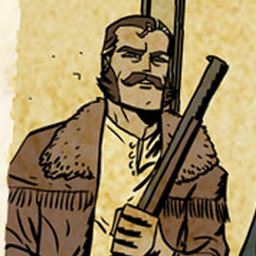
For mine I will be using faces from the TF2 comics. They are not too detailed, so they should look good on the Flair! item.

If you'd like to follow along with this guide you can find all of the source images I used below.

Understanding The Template
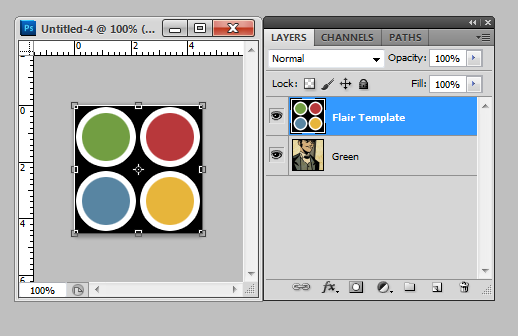
The Flair template will help us position our four designs on our image so they perfectly line up on each badge in the game. You have a space of 256 by 256 pixels to fit all four of your designs.

When you first open the template you might be slightly confused by the look of it. There are three different areas to it.

  • Colored Circles: The Green, Red, Blue and Yellow circles are where we will want to put the most prominent areas of our design. These areas represent the center of the badge.

  • White Boarders: The White boarders to the circles will be shown on the edge of the badge, they will appear wrapped around the item in the game and represent the cut off point.

  • Black Background: Anything that appears in the black void between the circles will not be rendered in the game.


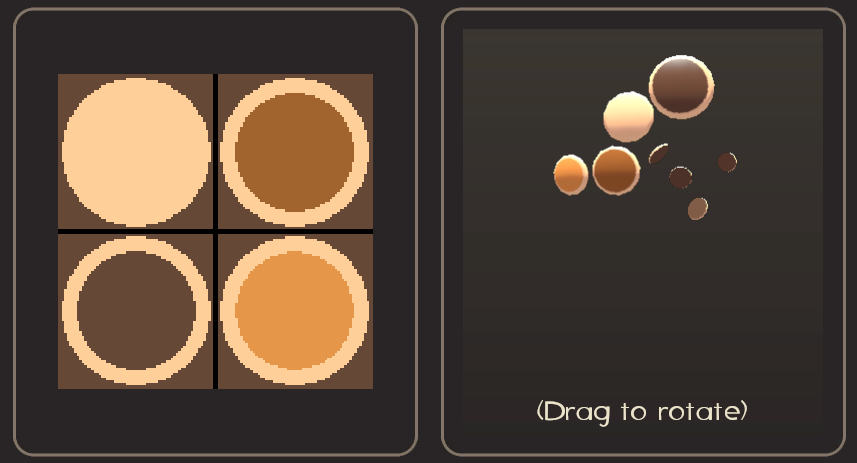
To give you an idea of how all of this works, I've used a Decal tool on my Flair! and I have only imported the template instead of placing a design on to it. You'll be able to see each area of the template on the item in the game.

Applying Your Designs
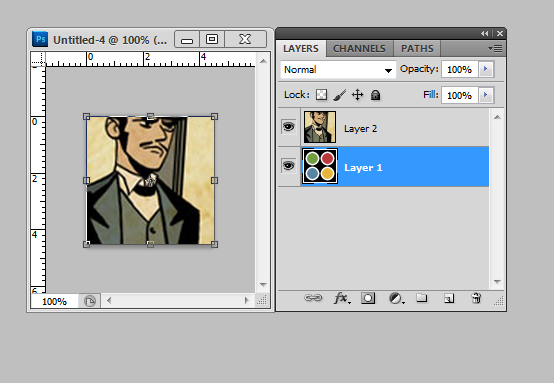
Pull up Photoshop and open up the Flair template by going to File > Open. With the template open we are going copy our first design to our clipboard and then paste it on top of the template by going to Edit > Paste.

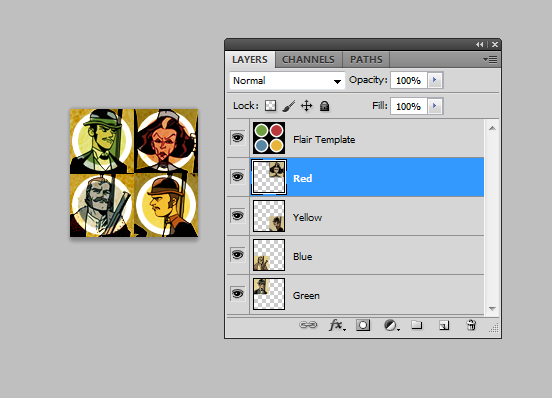
You should have something which looks a little like this.


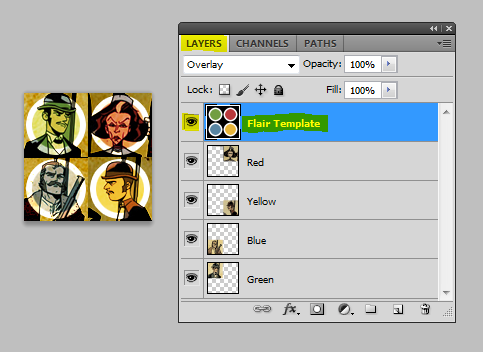
Before we begin lining up our design up we need to make the template visible. To do this visit the Layers tab and move the Flair template above the design we just imported. If the Layers tab is not visible, go to Windows > Layers and it will enable it.


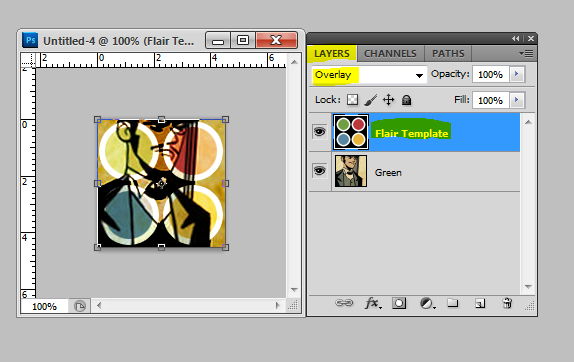
On the Layers tab there is a drop down menu which will be set to Normal by default. Set the mode to Overlay with the template layer still selected. You will now be able to see your design through the template.


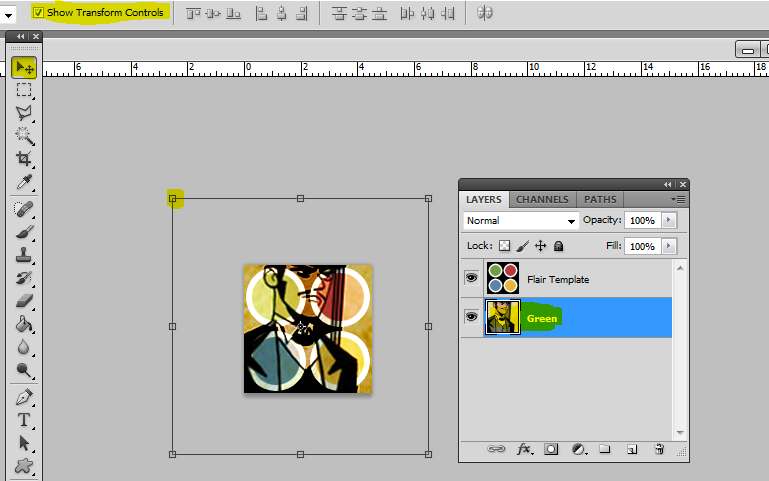
Select the layer that your first design is on. Click on the Move Tool and make sure you have Show Transform Controls checked at the top. Once this is turned on you will see some areas around the image that you can use to resize it. Grab one of the corners and hold down Shift on your keyboard. This will keep the image constrained perfectly so it's impossible to make it look squished or deformed.


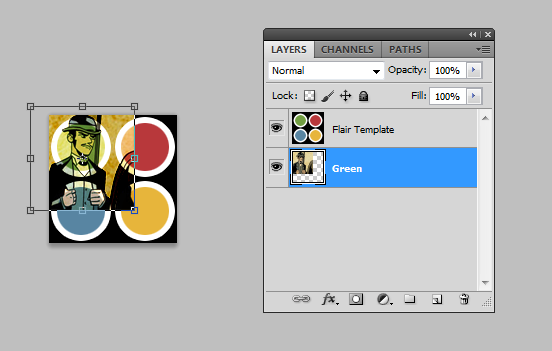
Re size it so it fits within one of the circles. You should have something which looks like this.


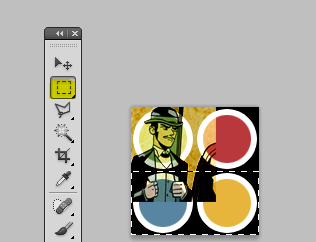
We are now going to remove the areas that spill over in the other circles. There are a lot of ways we can do this but I've found the easiest way is to simply select the Rectangle Marquee Tool and drag a rectangle over those areas. Once you're happy with your selection simply hit Delete on your keyboard and the areas selected will be gone.


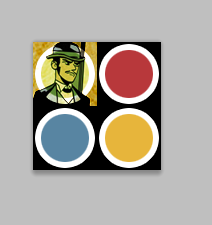
Here is what mine now looks like after I'm done deleting. Remember that anything that falls in the black areas on the template are not rendered, so as long as the design on one of the badges doesn't touch the white space on another, you're fine.


Repeat this process until you have all four of your designs on your image. You should have something which looks like this.


Removing The Template
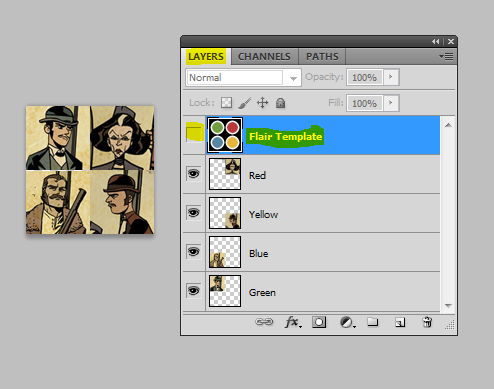
Before we are able to test out our Flair, we will need to remove the template. Visit the Layers tab again in Photoshop and click on the eye button on the left hand side of the layer.


Once the eye has disappeared, your image should look similar to what I have.


All you need to do now is save your work. Go to File > Save As and choose PNG on the drop down menu.

Using the Decal Item
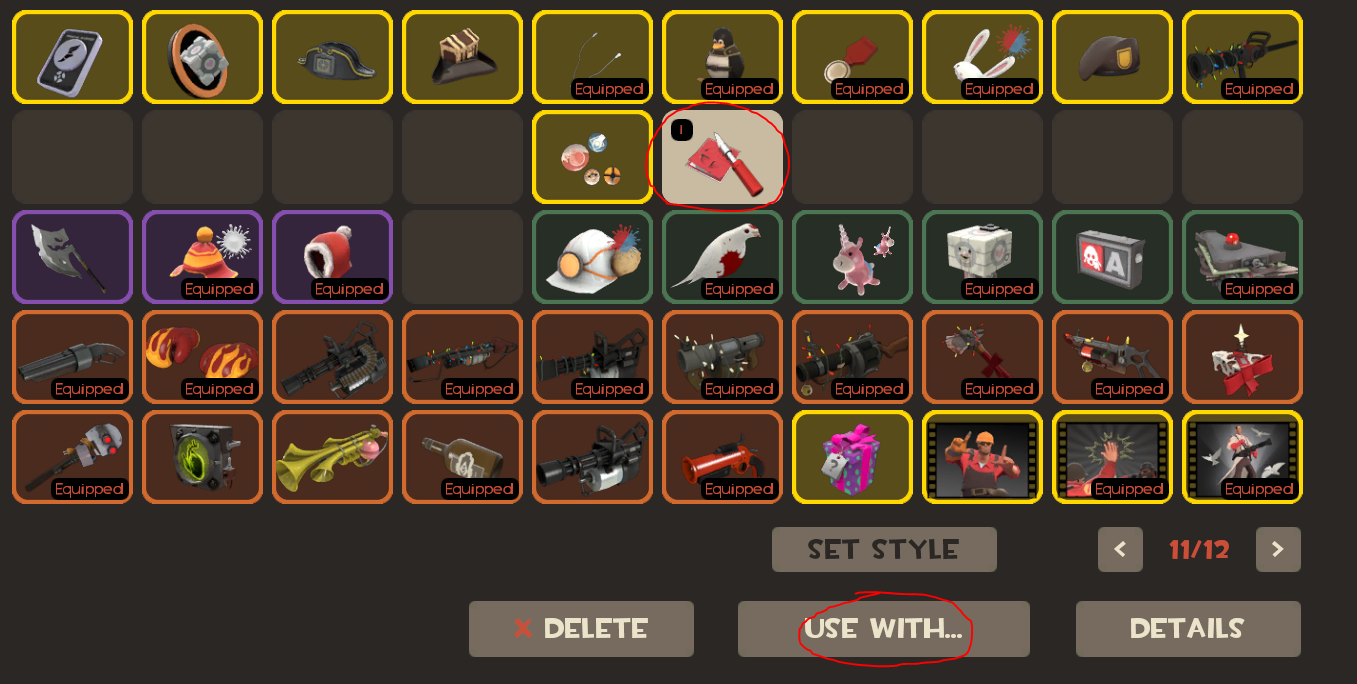
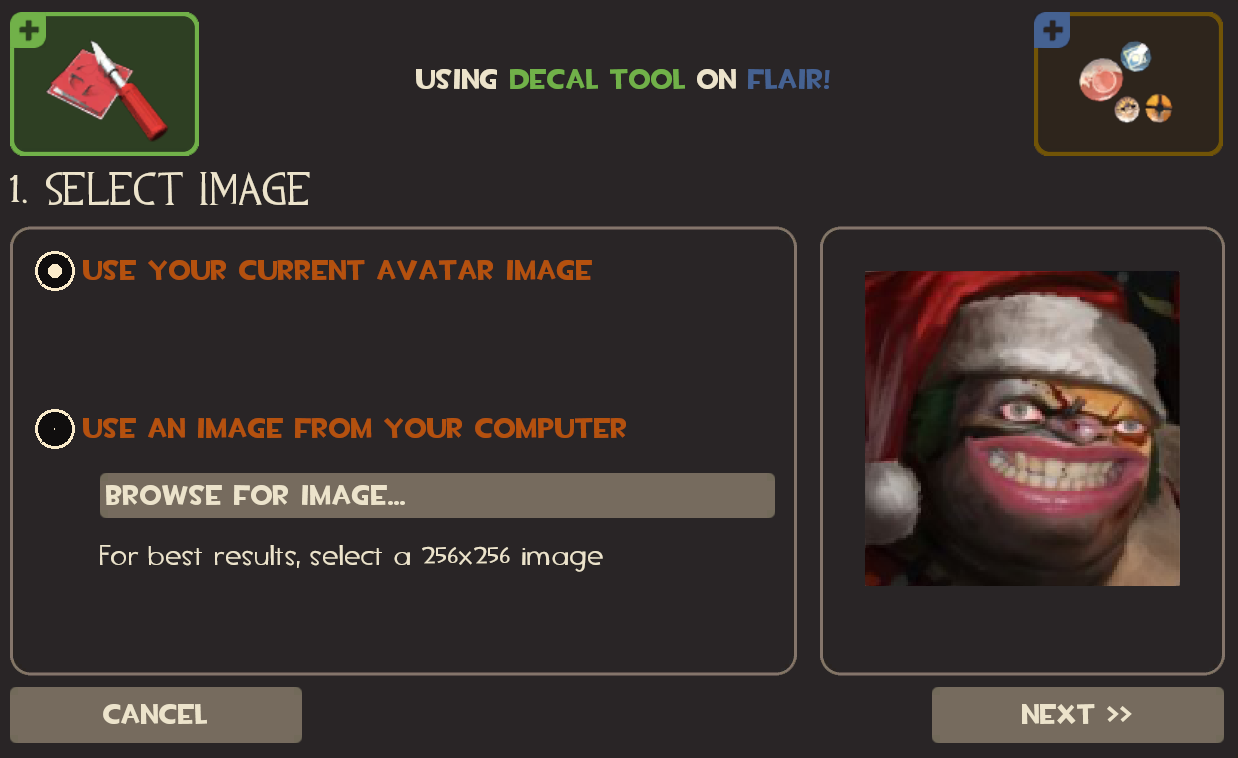
The final part of the process is applying our design in the game to the Flair! item. Open up your backpack and locate your Decal Tool and your Flair! Click on the Decal Tool and select the button at the bottom which says Use With...


Once you've clicked on that, navigate to your Flair! and select it.

You will now have a large utility screen popup which is asking you to select an image.


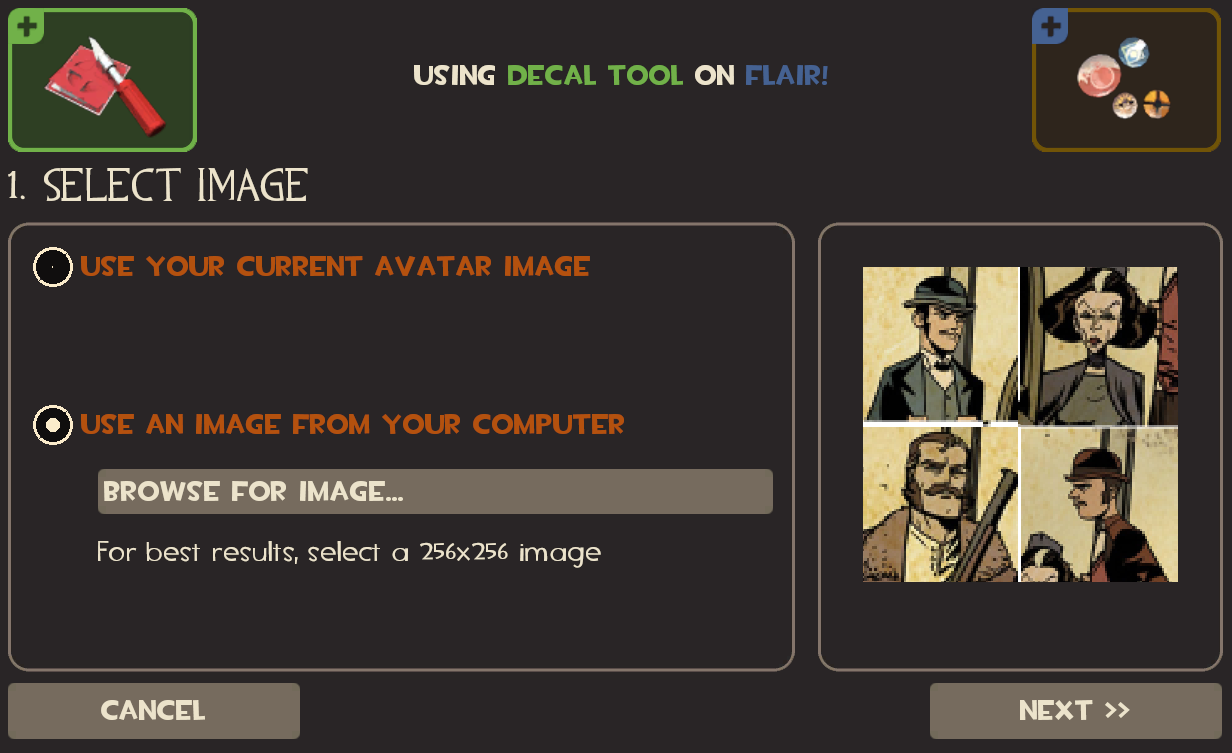
Choose the radio button which says Use an Image from your computer and then click on Browse For Image... Locate the PNG we just saved from Photoshop. Once you've done that the utility screen should now look like this.


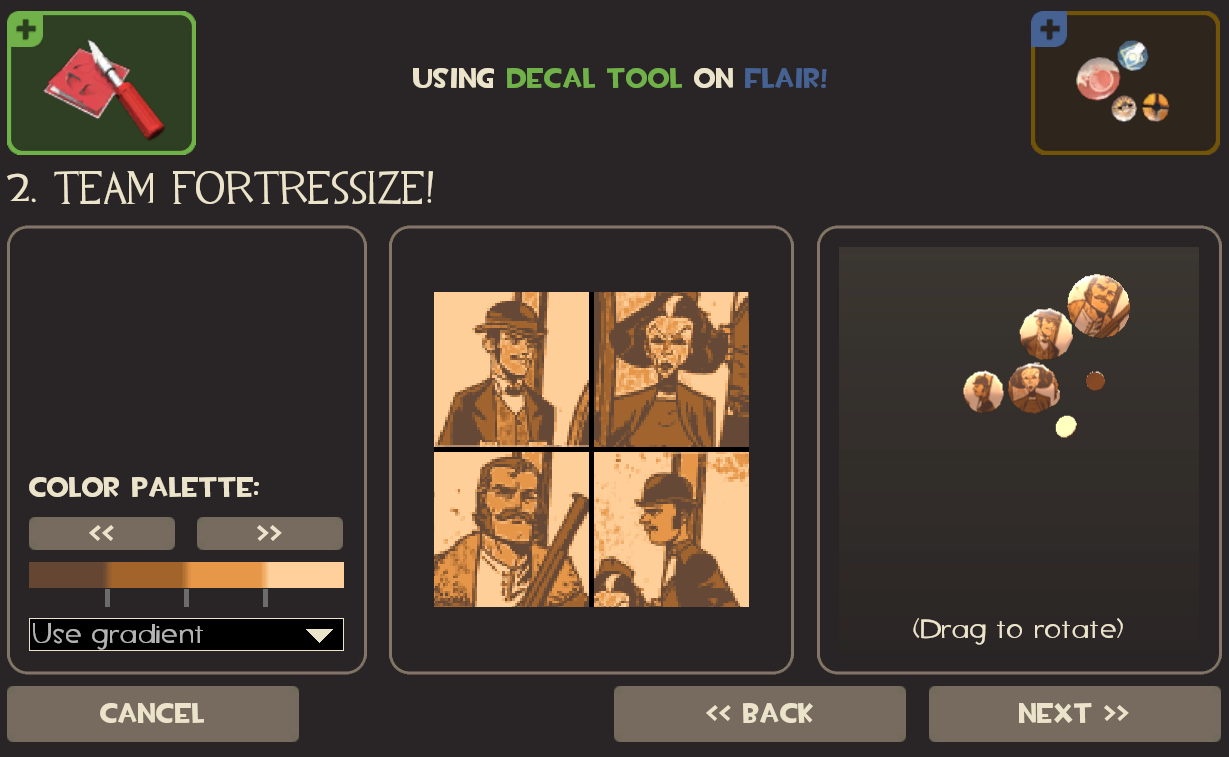
Select Next. You will now be on the color profile page. Team Fortress will apply a filter to your image so it matches the color scheme within the game. Play around the colors to your liking until you are happy with the way it looks.

Note: In previous versions of the game there used a color option which matched the colors to your image exactly. This has since been removed and is no longer available. There is apparently a way to still do this, but I'm not willing to go in to any details on unofficial workarounds which may or may not be against the Steam TOS.


Click Next again. Make sure you're satisfied with how everything has turned out. This will be your final chance to go back and make changes. Once you click Apply the Decal Tool will be consumed.

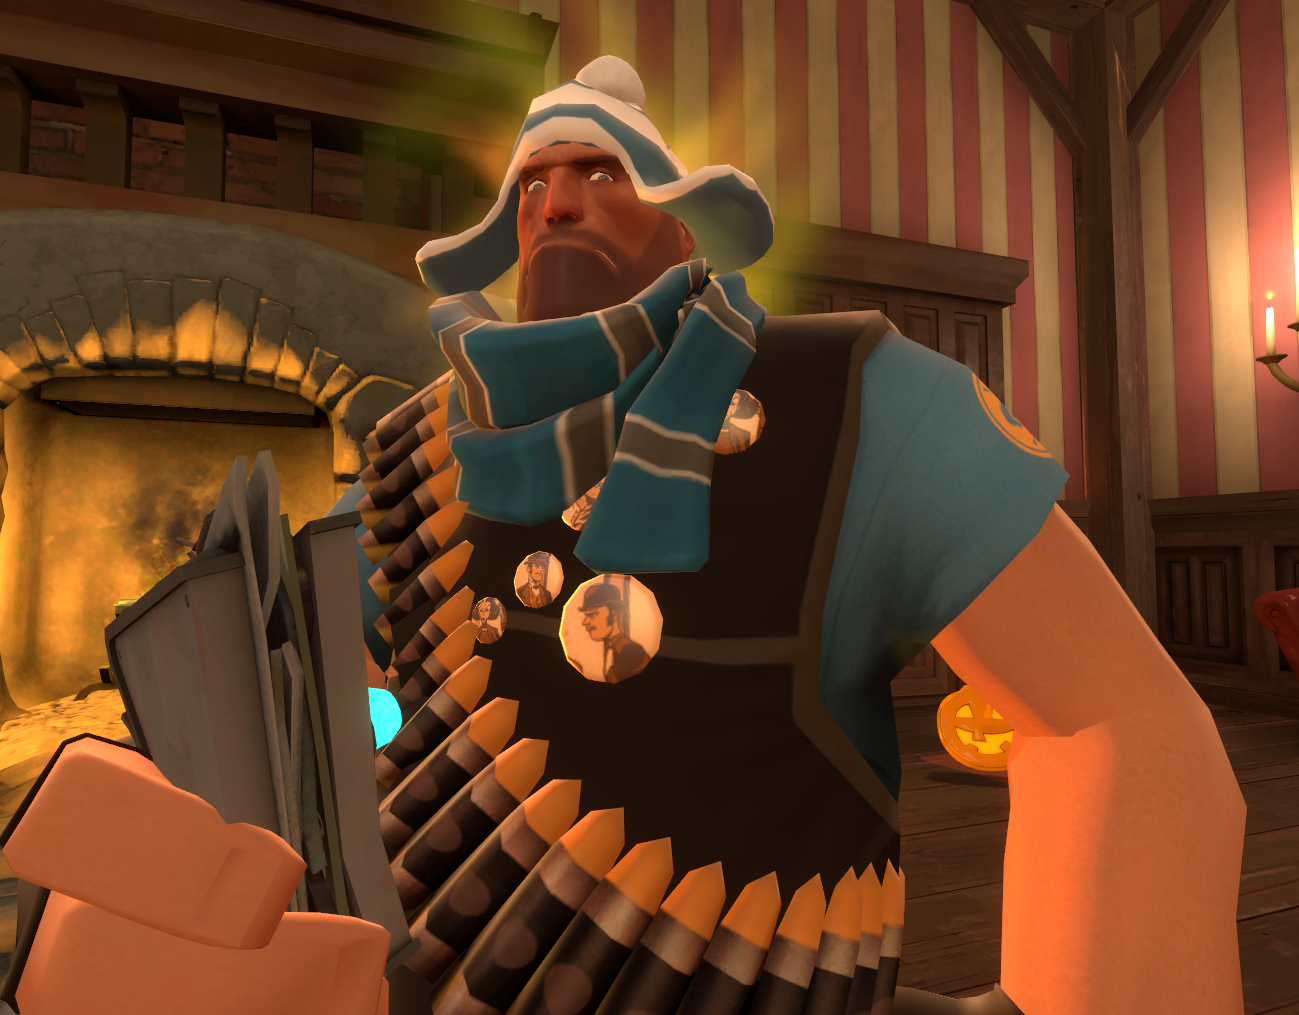
You're now ready to see how your Decal turned out, go to your class load out through your backpack and equip the Flair!

I'm pretty happy with how mine turned out, keep in mind players who are standing right next to you in the game will be able to see your Decals much more clearly.


If you would like to download my finished decal you can do so by clicking here[www.Jimo.co.uk].
61 Comments
THE CREATURE (she/her) 17 Mar @ 10:50am 
does microsoft paint work?
raw maw 24 Jul, 2023 @ 7:34pm 
doesn't work. is still in the dull colors
marlee_goat 29 Jun, 2023 @ 10:36am 
@Reed Timber that's because you need to actually get them
Reed Timber 16 Jun, 2023 @ 3:53am 
cant find the decal tool and "flair!"
Quinn the Maid of Rage 7 Jun, 2023 @ 11:51pm 
I keep trying to readjust and have the layer stay in place using GIMP but I swear this shit just doesn't work! How the hell do people even manage this?!
Magenta disease 1 Aug, 2022 @ 11:51am 
<3 you should probably not set your profile to private then
karambwan 18 Jul, 2022 @ 6:17pm 
can someone make me a flair template and its just canadian flags i will pay u thanks add me
cooldoggy 11 Jul, 2022 @ 11:30am 
you can't craft it but it's like 3 ref lol just buy it
Div3rDown82 12 Jul, 2021 @ 1:55pm 
https://sites.google.com/view/tf2flairtemplatefix/home heres a link to the image.

Right click it, click "Copy image," and then paste it into whatever editing software you use.
bennie is back 28 May, 2021 @ 4:37pm 
can I crAFT THE GOD DAMN THING?