Space Engineers

Space Engineers

298 ratings
Wheel Configuration For Planets and Other Shenanigans [Updated]
By lateasusual_
This guide aims to get people set up with everything they need for wheel-based ground exploration, covering everything from small scout bikes/rovers to large mobile bases! A much better, revised version of my previous guide.
2
   
Award
Favorite
Favorited
Unfavorite
Planning and Designing - Small Grids
Wheel start off this guide with a bit of planning and preparation before building your rover.
It's important to have an idea in mind of what you want the rover to do and how large it needs to be before building the rest of it, since once you begin tweaking the wheel settings it's a big hassle to move the wheels if you change your mind on the size of your rover.

Some quick things to think about when planning your rover:
  • Role: What job you want your rover to fulfil, be it exploration, combat, cargo hauling etc. This will influence things such as how well the rover needs to handle rough terrain, how much load it's intending to carry, armour, etc.
  • Size/Weight: Pretty simple, just roughly how big the rover needs to be. it's important to know this early on so you can set out the wheel base in a stable pattern.
  • Special Requirements: If you're building a rover with a special purpose, such as a mining rover or a crane, it's important to consider the stability of the rover and how easily you can attach large, complicated piston/rotor systems to it without it losing stability.
Planning and Designing - Large Grids
If you're planning on building a mobile base, or just a massive rover, large grids are the obvious way to go.

Things to think about:
  • Size: The same as for small grids, you need a rough idea of the size before building the basic shape of the rover.
  • Role: Again, you need to consider things like Cargo containers, Refineries, Assemblers and Cargo bays/Rooms etc. as these will affect the overall shape and weight distribution of the rover.
  • Accessibility: Something you need to think about right from the start when building a Large Grid rover is how you'll board it. Simply using your jet pack is fine for creative mode, but what about when you're in survival and you run out of hydrogen? I'll cover the many ways of providing access to large rovers later on in this guide, but think about it when you're designing the overall shape of the rover as well.
  • Complex Parts: If you're building a large grid rover, there are loads of opportunities to add complicated moving parts such as ramps, turrets, cranes, lifts, etc. Think about where you'll put these so they don't tip the whole thing over or hit the wheels etc.
Wheel Base - 4x4 - Small Grids
Now we move on to the technical stuff: Placing the wheels. I'll have separate sections of this guide for each type of wheel setup to make it easier to read.

First off is small 4-wheeled rovers. These are usually small, light, fast vehicles for jobs like Exploration, Light Combat, and Racing

For this example i'll be using this little rover i made:


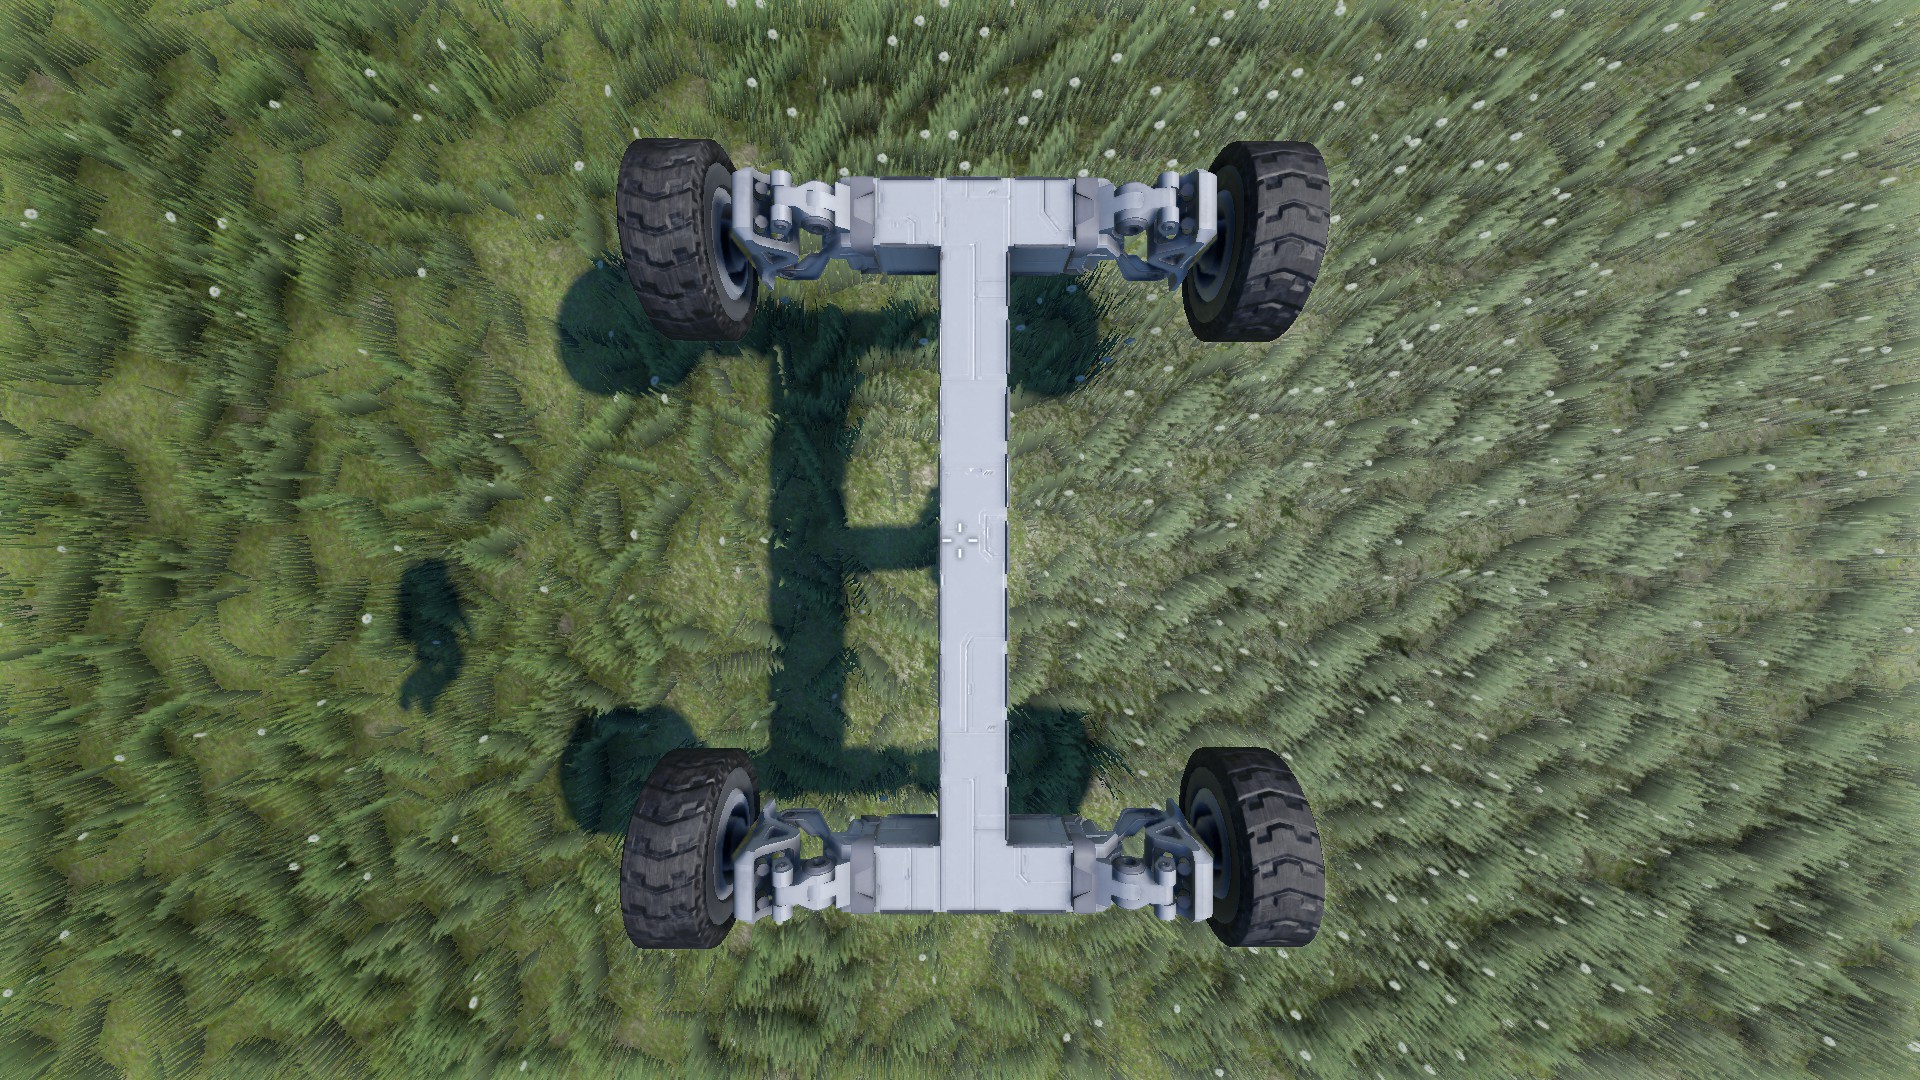
When starting your rover, place down your landing gear and build a few blocks up as usual. On top of this you want to build the basic wheel base, like this:

Some quick things to remember:
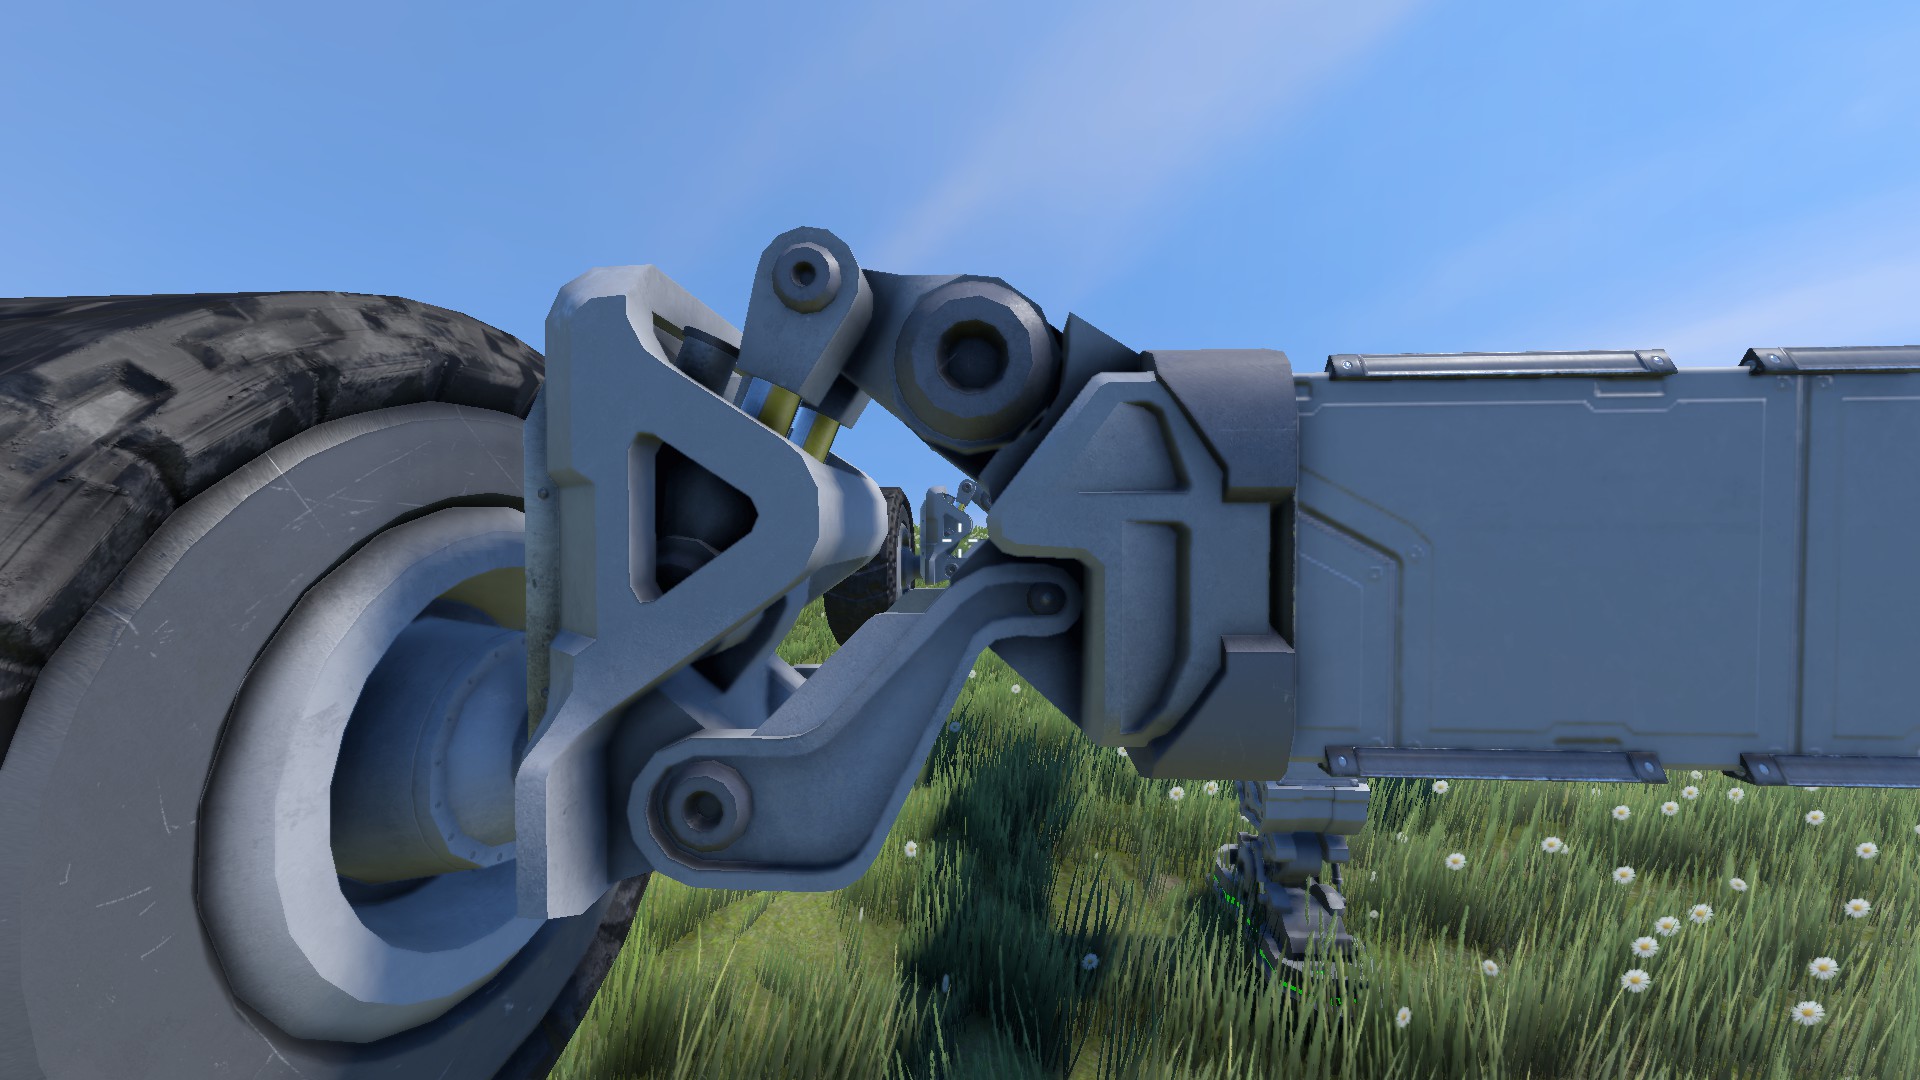
  • The wheels need to be placed the right way up, like this:
    Notice how the "Piston" is on top.
  • I'm using 3x3 wheels here. You can use 5x5 wheels as well but obviously they need to be put much further apart.
  • The actual size of this doesn't matter, it's the layout and the ratio of length/width that's important to minimise flipping and steering wobble. Take a good look at your rover from the top, it should be fairly obvious if it's too long and thin or short and fat.
Wheel Base - More wheels! - Small Grids
If you want more power/grip/weight, adding more wheels is a good way to achieve this. Although adding more wheels will add a lot to your rover, it does make it a little bit more fiddly when setting it up when you have more than 6 wheels, since then you have to adjust different pairs of wheels differently depending on how you want to distribute the load. I'll cover this further down.

6 Wheelers
I'll cover 6x6 wheel bases first:
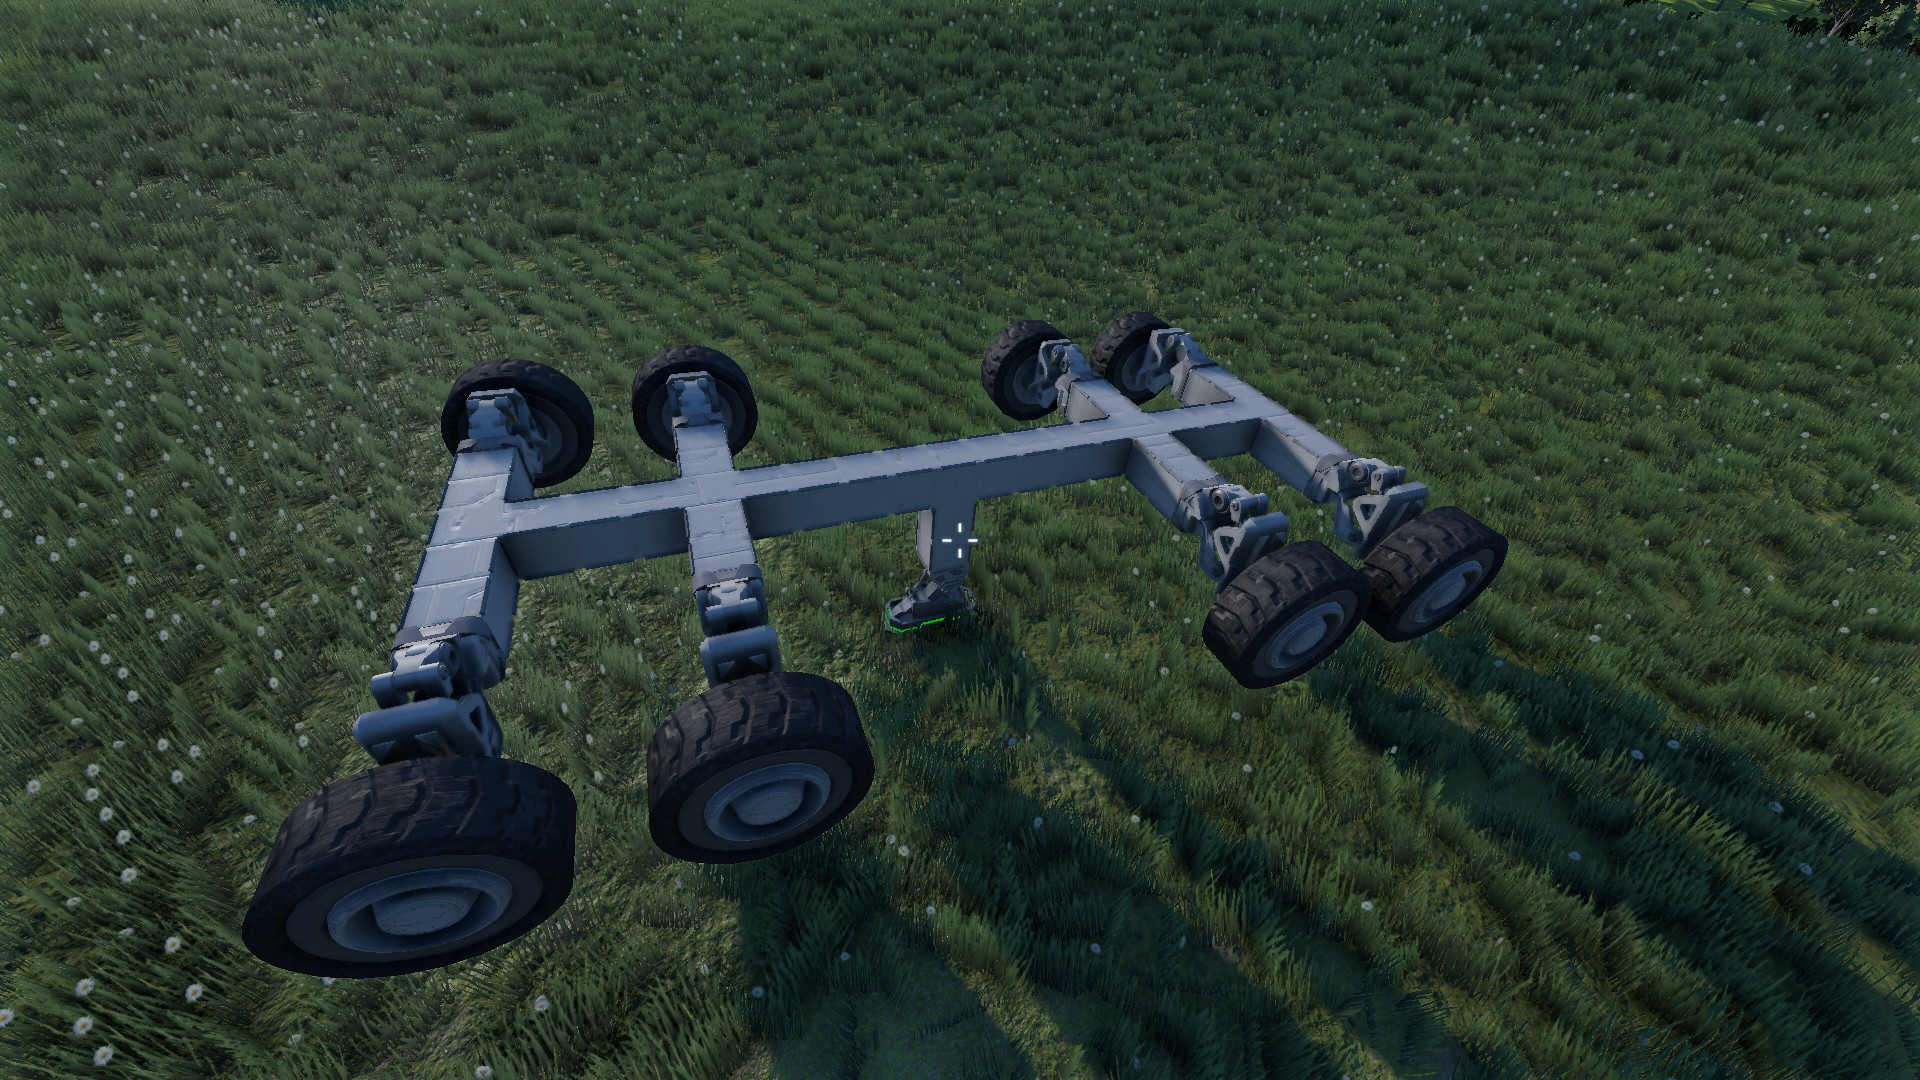
Depending on the rough shape you want, you can either go for a 2+4 layout like this:

Or a 2+2+2 layout like this:


Some quick things about the 2+2+2: All the wheels must be in line with each other. If the middle wheel is sticking out or pulled in closer the whole thing becomes very unstable for some reason. I'm not entirely sure why this happens, but just keep the wheels in line and everything will be fine (hopefully)

8+ Wheelers
6 wheels is all good, but what about more?
More than 6 wheels isn't very common unless you're going for a tank, or for a more complex design (I'll talk about that later.) but you do see the occasional 8-wheeler.
Generally if you're doing 8 wheels you want 2 pairs of 2, at the front and the back, like this:

You could have them evenly spaced along the length of the rover, but i find that if you want to do that then 6 wheels is a better choice.

Complex Multi-Wheels
If you want more than 8 wheels, you're either building a tank-like vehicle or you're going for the Double-Layered wheel setup (If you're familiar with W4stedspace you'll have seen this one before)
For a "tank" it's really just the same as for 8 wheels, you just add more.

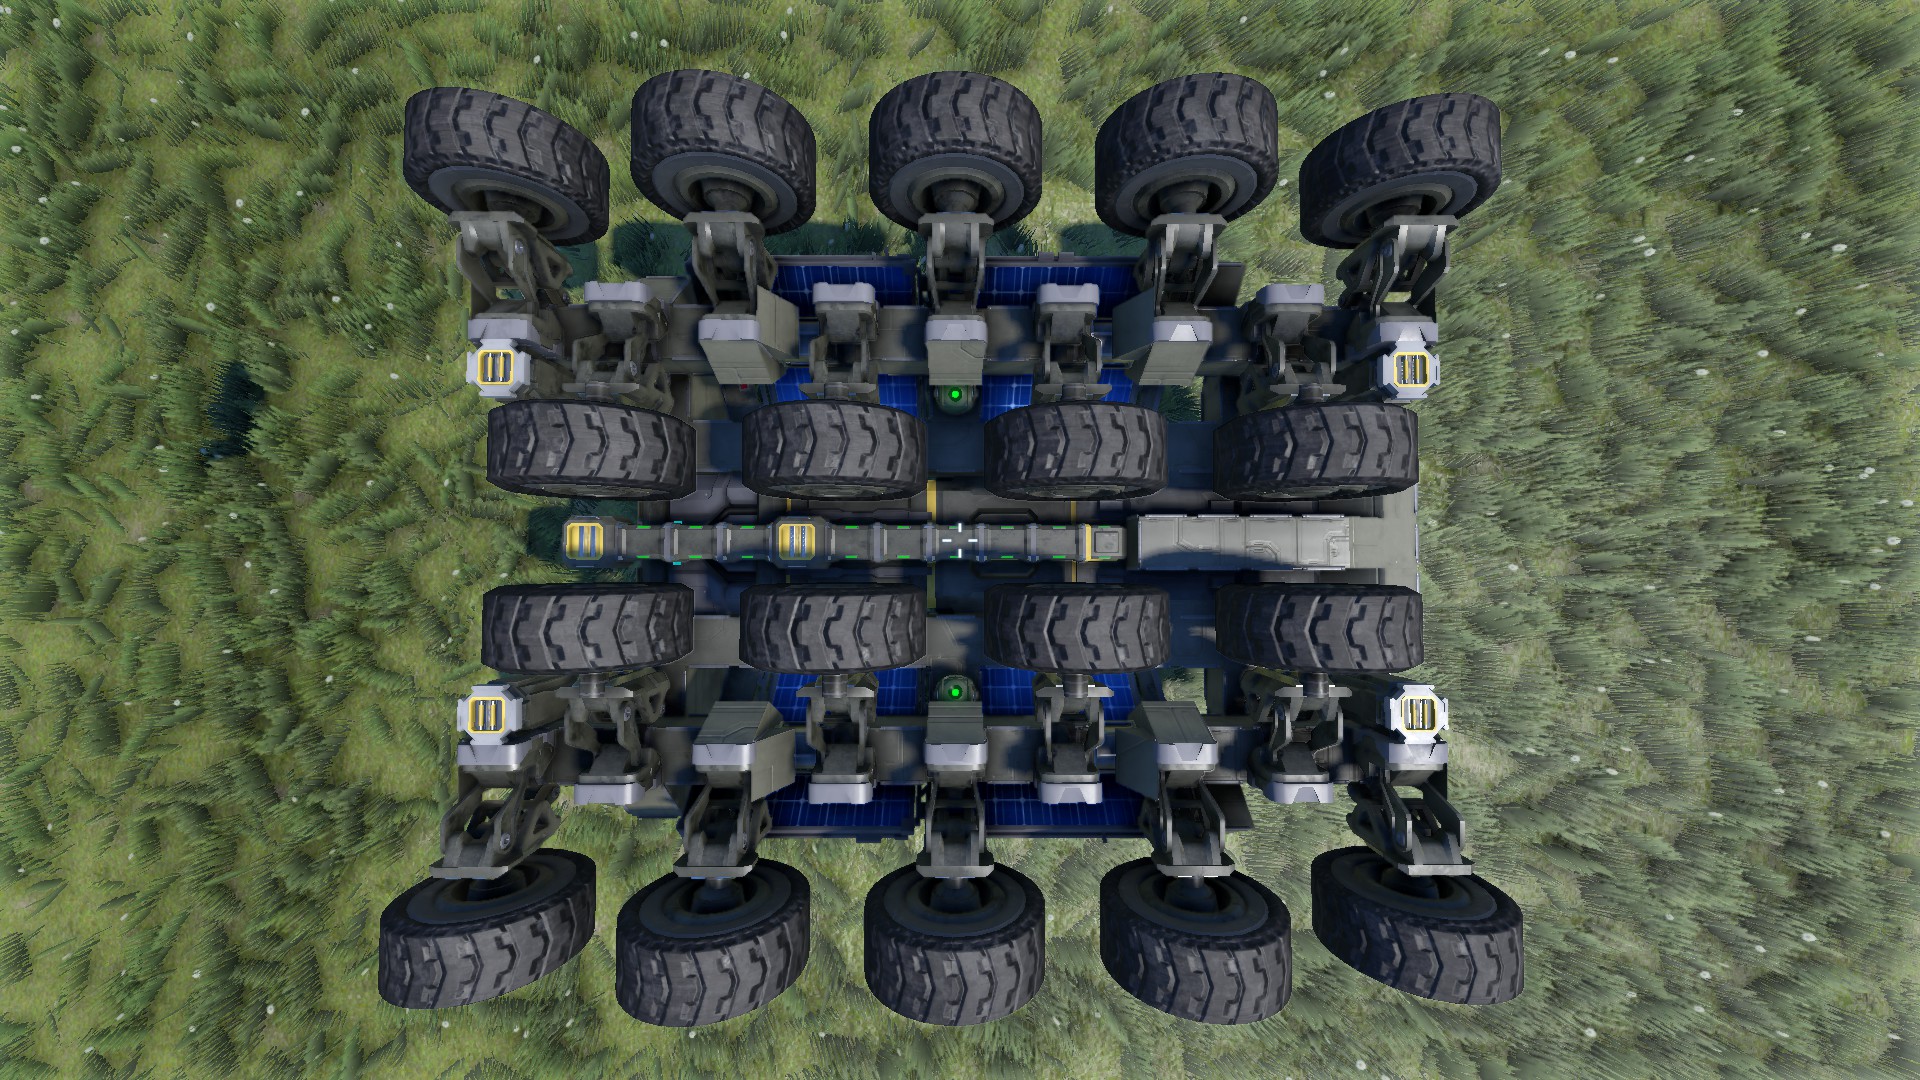
The Double Layered wheel setup is where things get a bit crazy, and is the most complicating thing this guide will cover. It's not really necessary for regular vehicles, but if you want a crazy, overpowered, almost-indestructible wheeled death machine then this is for you. When set up correctly, these types of vehicles can easily survive 100m/s impacts with the ground and keep driving like nothing happened. They can also climb almost vertical cliff faces with enough fine-tuning. Here's a double layered vehicle i made, on it's back:

If you want to see more of these kinds of vehicles, W4stedspace has some great examples such as this one: (at around the 3 minute 40 second mark) https://youtu.be/N-cC7KqNx_A?t=3m42s
Wheel Base - Large Grids
For Large Grids, just follow the same principles as Small Grids, but scale it up.
Some things to keep in mind:
  • The ground clearance doesn't need to be so much compared to the overall size of the vehicle, so don't build it too tall
  • If you want a ramp or elevator to get onto your large grid rover you'll need to be fairly close to the ground

I won't go into too much detail since it is mostly the same as for Small Grids, but here's an example rover base without any extra features apart from the wheels:
Wheel Tuning - Overview
In this section I'm going to cover the wheel settings menu and what everything means.
Here's the settings menu for your wheels:
Toggle Block: Turns the wheel on and off. This only affects power and steering, the rover will still roll and the suspension keeps working.

Show Block In Terminal: The usual, hides the block in the terminal menu. It can be useful to hide left and right wheels and to just group them into pairs, to keep everything symmetrical.

Toggle Block In Toolbar Config: You should probably turn this off as it's unlikely you'll ever need it.
Name: It's best to name your wheels based on their position, e.g. FR for front right, or for more wheels just R1, R2, R3 for Right 1 2 and 3 works equally well.
Show On HUD: This can be really useful when working out which wheel is which when first setting them up and naming them.
Safety Lock Speed: Above this speed setting, the wheels will "lock" and stop being separate physics objects from the rest of the grid. This is usually disastrous, so turn this up as high as it will go.
Safety Lock Override: Turn this on to manually lock the wheels. You probably will never use this, but it can be handy if the game starts to bug out and you want to save your vehicle from klang.
Add Wheel: Creates a new wheel if the old one gets destroyed.

Steering Angle: The maximum angle the wheels will turn to when you steer left or right.

Steering Speed: How quickly the wheel turns towards the Steering angle when you press left or right.
Steer Return Speed: How quickly the wheel returns to being straight after you let go of the button.
Invert Steering: Makes the wheel turn the opposite way when you press left or right. Useful for rear-steer vehicles.
Propulsion: Whether or not the wheel applies force to go forward.
Invert Propulsion: Reverses the wheel (pressing forward makes it go backwards).
Power: How much Torque the wheel applies when you press forward.

Friction: How much friction to apply between the wheel and the ground.

Damping: How much the suspension resists sudden movements, like a shock absorber.

Strength: How much force the suspension applies down the way to lift the vehicle up.

Height offset: How high the suspension tries to keep the wheels. Usually you want this to be negative as far as it will go for maximum clearance.

Suspension Travel: How much the suspension can move up and down. 0% locks the wheel to whatever the Height offset is.

Speed Limit: Past this speed holding forward won't apply any extra acceleration (this doesn't apply a braking force though!)

In the next section i'll cover what each of these settings do in more detail, and give a rough guide on what values they should have for different vehicles.
Wheel Tuning - Basic Setup
In this section I'll go over setting up your wheels to make tuning them easier.

Firstly, make sure you know which wheel is which, and name them accordingly.
Use whatever naming system you like, but make sure it's obvious which one is which. If you don't know which wheel is which you can turn on "Show on HUD", but this does require you to have a working antenna on your rover. Alternatively, add the wheels one by one, naming them as you go. This is more time consuming but it is the easiest way.

Once you've named all your wheels you'll want to group them based on the wheel base you're using.
If you're going for a very simple 4x4 vehicle you can just group all the wheels into one group. If you want slightly more control, i prefer to split up the wheel groups into Front and Rear wheels.

If you have a 6-wheeled vehicle, for the "2+4" layout have the front wheels in a group and the 4 rear wheels in a separate group. If you're using a "2+2+2" layout then you'll want 3 separate groups for Front, Middle, and Rear wheels.

If you're going for 8 wheels, Have either 2 groups (Front and Rear) or 4 groups for each individual pair of wheels.

If you're using more wheels then you can use whatever groups you like :)

Once you've grouped all your wheels you can use "Show Block In Terminal" to hide the individual wheels so you don't accidentally change one side and not the other.

Now we can move on to tuning the wheels themselves.
Wheel Tuning - Steering and Power
Firstly I'll cover the Steering settings.
Enable Steering
Here's a table of which wheels to enable steering for for different wheel layouts: (for most cases)
Type
Front
Mid
Rear
4x4
6 (2+4)
6 (2+2+2)
8

Obviously this is just a rough guide; choose steering based on what suits your needs, but i'd recommend against having steering on front and back wheels for 4x4s as it tends to lead to flipping.

Steering angle & Speed
Again this is really up to you and how quickly you want to be driving. I'd recommend usually having the return speed fairly quick (2-3Nm) and having the steering speed slightly less than that. This helps to prevent spinning out from over-steering. The steering angle itself is fine at about 15-20° but again you may want to turn it up when you're manoeuvring in tight spaces.

Propulsion, Power, and Friction
Usually i'd enable propulsion for every wheel on my vehicle (unless i'm making a drift car, in which case you want it only on the rear wheels). There's not really much use for Invert Propulsion unless you want to turn on the spot by reversing the wheels on one side.

I'd recommend changing the Power as you're going along, depending on whether you're going up- or down-hill, how rough the ground is, how much weight you're carrying and so on. Usually between 10% and 80% is fine. More than that and you're going to skid, even at max friction, less than that and you'll not move at all.

Friction is another setting you're going to want to change on the fly. Depending on how fast you want to go, going up- or down-hill etc, it'll range between 20% and 80%. Too much friction and you're liable to the wheels spinning and then suddenly gripping and catapulting you away at high speed, too little and you'll slide about. Just drive about a bit and change it until it feels about right.

Next up is the Suspension.

Wheel Tuning - Suspension
Suspension settings are the things i see being done completely wrong most often when i look at vehicles on the workshop, and is one of the main things causing people's vehicles to drive oddly.

Damping
Damping doesn't really have a huge effect apart from when you hit the ground after a jump or going over very rough terrain. Depending on the weight of your rover i'd recommend you keep it between about 30% and 90%. If your rover seems too "bouncy" then turn up the damping a little bit.

Strength
This is the critical one. I'll download cars off the workshop with their strength set to things like 50% or 100%. This is almost always far too much. Usually the strength value will be about 7-10% for medium sized vehicles. The best way to get the strength right is to lower it down to 5% or less and notice how the whole rover sags. Then turn it up very slowly until the rover stops lifting up (i.e. the suspension has gone as far as it can go).
This is the ideal strength setting for off-road vehicles and the like, because it means the wheels actually function like they would on real off-road cars - if two of the wheels are off the ground the force on the other two brings them down so all 4 wheels are on the ground most of the time, even on the roughest terrain.

Suspension Travel
I'd usually leave this at 100% unless you're having issues with the bottom of your rover scraping the ground after jumps. If this happens i'd recommend turning up the damping first, and if the damping is at 100% and you're still having issues then your rover is too heavy.
Tips and Tricks (For getting the most out of your ground vehicles)
Uphill Climbing
If you plan to drive a car up hill, increasing the Power and friction is important. This gives you the extra power you need to get up. The other important bit is that you reduce the strength a very small amount (1-2%) This ensures that all the wheels stay on the ground, rather than spinning uselessly.

On Ice
Driving on ice is really fun, but it's best if you do it with a very low friction setting. Although it means you'll slide about even more, it also stops the wheels catching on anything and flipping your car at high speeds!

Gyroscopes
Attaching one or two gyroscopes to the car is a good idea. Firstly, it lets you steer the car in mid air, if you do a jump. Secondly, you can use it to effectively change the weight distribution in the car. For example, if you want to accelerate, holding the up arrow and W at the same time puts more pressure on the rear tyres by tilting the car backwards slightly. This means they get more grip and propel the car better, but also means the front tyres won't steer as effectively. On the other hand, if you're trying to manoeuvre in a small space, turning becomes especially awkward, and having gyros lets you nudge the car a little bit more in the right direction.

Pistons
There are two uses for pistons on a car like this - firstly, putting 4 pistons on the bottom of the car lets you raise it up for maintenance on the go, or for building on the underside. also sticking one or more pistons on the roof to help flip the car upright in the event of a crash is a good idea.

Thrusters
Small atmospheric thrusters in different directions can drastically change the way your rover drives, but they have some negative impacts as well. Wheels in space engineers use a tiny fraction of the power that a thruster uses, and that's why rovers are so viable, in that they can travel long distances and function for a long time on very little energy. Adding even one or two small thrusters can often require extra reactors or batteries, weighing the rover down and making it more expensive!

Back - Putting a thruster on the rear of the vehicle does exactly what you'd expect - it goes faster! generally i wouldn't recommend rear thrusters being on all the time - you'll just end up using more power and going too quickly, but they are useful for going uphill, or just to get going.

Sides - Thrusters pointing sideways on the car are pretty rare, but there are situations where they can be useful. Mainly, they would be found on "Drifty" cars, that rely on sideways thrusters to prevent them skidding out of control. Vehicles like these only really work on flat ground or ice, as otherwise little bumps can flip them if they're travelling sideways.

Bottom - Again, these thrusters have a fairly obvious function; going up. These thrusters can be used for jumps, crossing ravines, or getting down cliffs safely. They shouldn't really be necessary if the suspension is set up right, but if you're planning on going up mountains they can be good for getting over steep ledges. Keep in mind that once you put a certain number of thrusters on a car it becomes a flying machine rather than a rover!

Top - Thrusters on the top of the car are only really useful in two situations: To prevent flipping, and to recover from a flip. A thruster on the top of the car constantly pushing down with a thrust override will increase the pressure of the wheels on the ground, giving better traction etc, without making the car much heavier. If the thrusters on the top are strong enough, they can help the rover flip back the right way up again, but keep in mind pistons are normally cheaper.
Thrusters on the top are also important if you're driving in a lower gravity field! This means the car stays on the ground without adding loads of extra mass.

Front - Braking thrusters aren't hugely common, but they can be useful for slowing down in midair, if, for instance, you go off a cliff too quickly and would otherwise hit the ground at max speed.

Height Offsets
Height offsets are particularly useful for Large Grids and pickup-truck style rovers. By adding a button underneath your mobile base to decrease the Height Offset you can have a ramp that is normally clear of the ground, but that lowers itself down with the whole rover. It's like when buses pull up to a bus stop, and let out a hiss and lower themselves down so you can get on.

0% Friction
A trick you see quite often is to get 1x1 wheels and point them straight down and set the friction to 0. This lets you slide about all over the place, and if you stick thrusters in all directions it's just like a hoverbike!

Again, if anyone has any suggestions or corrections for this guide feel free to tell me, and thanks for reading! :)
22 Comments
Ronin Planetary Industries (RPI) 18 Feb, 2023 @ 6:11pm 
On frozen lakes, switching to front-wheel drive (no power to rear wheels) is much more stabile.
Also, I created a suspension manager script that lets you save and recall changes to your suspension blocks. It can be good when trying to park a rover in a small space or resetting your suspension for climbing or heavy loads.
https://steamproxy.net/sharedfiles/filedetails/?id=2733811089
xTRACKERx 9 Oct, 2022 @ 4:25am 
im unabble to create a car that can move straight forwanrd if i use any kind of piston, rotor or hinge in it.. the physic here is totaly broken..
cupstudio 21 Jul, 2022 @ 6:49pm 
Got lost after putting the wheels on... how can I access the wheel tuning? I feel like a TON of steps are missing between attaching the wheels and tuning them... I suppose this guide assumes quite a bit of SE knowledge already.
User5876 5 Aug, 2021 @ 8:15pm 
Thanks for the awesome guide, man! It really helps. Do you have any plan to update it?
lechkingofdead 20 Feb, 2021 @ 7:41pm 
also i got a idea as i read this.
lechkingofdead 20 Feb, 2021 @ 7:41pm 
i need to make some 0 friction bikes... hmm
K-I 27 Sep, 2020 @ 4:31am 
hey why ar u stopping to writ more guides like this 1,,, u got a lot potential... go on mate!:BC_ThankYou:
lateasusual_  [author] 26 Sep, 2020 @ 11:43am 
> Why don't I have the same settings you do?

I made this guide 3 years ago and haven't played the game since then ;)
Dionysus 🐭 25 Sep, 2020 @ 2:32pm 
Why don't I have the same settings you do?
fk u mandu 16 Jan, 2020 @ 3:00pm 
I know it's a couple of years later, but great guide. It's a shame you didn't do one for flying vehicles.