Don't Starve Together

Don't Starve Together

115 ratings
Base Fashion and Function Guide
By ŦheΩkayest
A guide on how to make a base more fashionable and pretty, whilst also covering how to make a base function better.
   
Award
Favorite
Favorited
Unfavorite
Introduction
Have you ever wanted to make your base look nicer? Have you ever looked at a base and thought it looked rather dull? Did your base fail miserably, and don't know why? Worry not, with this guide, your base will look much nicer, and function better!

This guide will cover aspects such as: Sections of a Base, Flooring, Structure Skins, and Structure Placement.
Base Placement
Finding where to place a base is a very important step to making a fine base.

It's usually better to put a base near a few biomes, rather than in the middle of a single biome. This is because it allows you to profit off of the biomes you're near, rather than have to walk further to another biome to obtain resources.

Run-down of biomes, and how suitable they are for a base:

Forest: Recognizable from the dark green turf and overabundance of trees, this biome provides a lot of wood, some basic resources, and a few pig houses can be found scattered around in this biome. This biome can also contain a good amount of spider nests within it. Not too great for a base, due to the massive amount of trees taking up space. However, a Maxwell or a Woodie can obtain a ludicrous amount of wood from this biome, so don't base too far from one.

Deciduous: Easily recognizable from the Truffula trees and the orangeish-red turf, and the massive amount of mushrooms, this biome provides a decent amount of wood, some mushrooms, meat from moleworms, mushrooms as filler, and some fireflies for light. The most vital part of the deciduous biome is that it can contain the Pig King, and his village. This village provides an excellent source of meat and pig skin, a material perfect for battle items such as the Ham Bat and the Football Helmet. This biome also is renowned for containing Glommer's Statue, a statue that allows Glommer to be obtained on a full moon. To put it simply, this biome isn't too bad for a base, but there aren't much sources of resources and food in this biome during the early game. The Pig Village provides decent protection from hound attacks and bosses, but other than that, it's more efficient to make a pig farm (covered lower in this guide), especially as it's better for food and pig skin supplies. As for Glommer, just have someone get him during a full moon, and if he isn't obtained, it's not the end of the world.

Savannah: Recognized by the hay-covered turf, this biome provides an enormous source of grass, and a smaller source of Beefalo and Rabbits. It is not great for a base, as the Beefalo are only needed for wool, and seeing as how bountiful they are in the biome, sending a player out to fetch wool will provide enough wool to make plenty of winter hats. Beefalo do provide a good defense against hounds and bosses, but such nuisances can be dealt with in other ways. As for the Grass tufts, digging them up and refertilizing them at the base should deal with any grass shortages. As for the Rabbits, they don't make a good source of food, and the only time they are really needed are for the creation of the Prestihatitator.

Marsh: Recognized by the dark purple turf and swampy appearance, the Marsh is known to be the most dangerous surface biome. However, this biome provides a very good source of food from Merms, Tentacles, and Spiders, especially considering they often fight each other in this biome. The bountiful amount of ponds are also good for the creation of Fishsticks. Not to mention that this place also contains Reeds, necessary for the creation of the Birdcage, and Wickerbottom's books. This place is a bit dangerous for a base, but can be utilized extremely well, making it not too terrible of a base option.

Desert: Recognized by the sandy turf and the cacti, this biome provides an excellent source of cacti for sanity management, tumbleweeds for grass, twigs, and rare chance at gears, and can even contain the Dragonfly, a grand boss that drops grand rewards. Overall, this place is excellent for a base, although there isn't much food coverage in this biome. The tumbleweeds and cacti, however, make up for the downsides.

Rocky: Recognized by the gray and rocky turf, this biome provides a great source of rocks, and, if you are lucky enough, you can find tons of spider dens close to each other in this biome. This biome is pretty bad for a base, however, as it only provides rocks, and the silk can only be obtained if the spider dens are there. If the spider dens ARE there, then it'd be best to relocate them to somewhere a bit closer to base, although not too close, so that the spiders can be used for resources but don't become a nuisance.

Mosaic: Recognized by the various turfs in the biome, the Mosaic provides a good source of rocks and especially flint. The mosaic, however, makes a terrible place for a place because of the meteors that fall in this biome. These meteors, however, provide a great renewable source of rocks, so making a base somewhat close to the biome (though not too close) could prove to be useful.

Grasslands: Recognized by the light green turf, the Grasslands provide players new to the world with the resources they need to survive the early days. However, past the basic resources, this biome doesn't necessarily provide enough of anything else to be entirely noteworthy. Despite this, it's not at all bad for a base spot. It provides a good and somewhat reliable source of resources, but it is still recommended to dig up tufts, saplings, and whatnot to place in your base, so that your source of resources is right next to you.

Other things to note:
  • Placing a base near bosses, such as the Dragonfly or Bee Queen is not recommended, although in Bee Queen's case, infinite honey can be obtained from hammering her hive, though this is a risky maneuver.
  • Placing a base near an edge or on a corner may seem like a good idea, but take in consideration that Night Hands will become more difficult to deal with. Placing a base in this area will also limit the space you can build up a base, though a workaround can usually be found.
  • Beware of any sinkholes, assuming the server has caves enabled. If one of these is mined, and the server has caves, then Batilisks will spawn from the sinkhole during nighttime and dusk, causing a considerable ruckus. For Wigfrids and Wolfgangs, they could prove to be useful, as these characters can easily one-shot Batilisks, but for other players, they'll simply be annoying. Not to mention they eat any meat left on the ground.
Sections of a Base
Sectioning off a base will allow for the base to become larger, make the base look cleaner, and allow for more efficient working.

The sections of a base include, but are not entirely limited to:

Firepit Area: The area of a base where the Firepit and Endothermic Firepit are included. This section of a base has a primary function of being the starting point of a base, meaning that this section will be the main section that you connect other sections to, and then go on from there.


Crafting Area: The area of a base where the crafting stations are located. These stations include the Science Machine, Alchemy Engine, Prestihatitator, and Shadow Manipulator. However, you only need the Alchemy Engine and Shadow Manipulator in this area, which means that the section itself will be rather small compared to other sections. Despite this, it is important to have this section, to allow for the prototyping of items. This area is best put next to the Firepit Area, to allow for you to craft during nighttime and to plan on what to make the next day.

Kitchen: The area of a base where the Ice Box(es) and Crock Pots are located. Placing this section near the Firepit Area allows for cooking throughout the night. It is suggested that you get two Ice Boxes, one for Input, where the Meat, Filler, etc. goes, and the Output Ice Box for finished Crock Pot products. (i.e. Meatballs, Honey Ham, etc.)


Forest Area: The area of a base where trees are planted for chopping down to obtain wood. Place this a bit farther away from the Firepit Area, so that a Maxwell with Chopper minions doesn't have to curb his minions when the trees aren't fully grown. If Treeguards or Poison Birchnut Trees spawn from this area, be sure to deal with them as quickly as possibly.


Resource Area: The area of a base where saplings, grass tufts, and berry bushes are planted. This area does not necessarily include farms. It is best to have a way to lure gobblers, so that the berries don't get eaten by the Gobblers, such as a 4x4 fencing with berries, veggies, mushrooms, or even a mandrake in the middle of the fencing.


Primary Storage Area: The area of a base with a small amount of chests for ease of access for crafting, use, or whatnot. Should have at least 5 chests. Having a primary storage area allows for quick and easy access to items when necessary. This section should be placed close to the Firepit Area.


Secondary Storage Area: The area of a base with a ludicrous amount of chests, meant for storing materials, junk, and bits and pieces here and there. Organization is essential in the Secondary Storage Area, so that items don't get lost in the mass of chests. Should have at least 15 chests, and more depending on size of base.


Farm Area: The area of a base with farms. We're talking Improved Farms/Basic Farms, not farms like pig farms or spider farms. This area should have at least 9 farms, though depending on the amount of people at the base, you should probably settle for more.


Pig Farm: The area of a base with a Pig Farm. Note that this area will take up a large amount of space, so keep that in mind when planning a base out. This area consists of Pig Houses surrounding a 4x4 fencing with rot in the middle. The rot in the fencing is so that the Pigs stay put, and don't bother the base dwellers. The purpose of the Pig Farm is to provide a steady source of meat and the ever-valuable Pig Skin, for making Ham Bats, Football Helmets, and maybe even Piggybacks with. Do be sure to manage Pig Skin well, for making more Pig houses until you've made (what you consider) enough. Usually, the limit is seen by pigs moving freely, even with the rot in the fencing, because of the pigs' distance from the rot.

Drying Area: The area of a base with Drying Racks all over. Drying Racks are used to extend the shelf life of meats by drying the meat into Jerky, and allow them to be used for sanity regeneration, although Cactus Flesh is more viable for sanity regeneration. Unfortunately, mass producing Drying Racks takes time, though with a Wickerbottom and a good amount of planted and fertilized grass tufts, making these things shouldn't take too much time and effort.

Entrance: An optional area, purely for increasing the overall appeal of a base. The Entrance of a base is exactly as it sounds, a grand entrance to the base, allowing for visitors to gaze in awe at how beautiful your base is, simply from the start. This area is usually adorned with flowers, though can also be adorned with End Tables, if you are THAT fancy. Be sure to replant any flowers anybody picks either on accident or without knowing the cosmetic potential of the flowers. Or, you know, just kick the person that picked the flowers, that works too.

Other sections of the base can include whatever you wish to include, get creative.

Be sure to make the outer parts of your base, or the otherwise unsectioned parts, spiffy. Whether it's adding trees or flowers, make it pretty. You DO want a good looking base, right? And besides, a base isn't memorable if it doesn't have a fantastic appearance.
Layout

The layout of a base is very important for making a base look even presentable. Having all the structures clumped together is not at all fashionable, and could even function poorly. However, having all the structures spread out too far will prove to be a nuisance, especially in the early game.

While it is common that the firepit be the center of the base, it is not entirely necessary, and could limit your abilities of making a fashionable base. Make sure to have the firepit's light area be able to cover the Crafting Area, Kitchen, and Primary Storage Area. The light area does not need to cover much else other than those three areas.

Near or connecting to the Kitchen should be the Drying Area, a Birdcage, and Farm Areas.

Near or connecting to the Crafting Area can be whatever you wish, though putting it near the Secondary Storage Area is recommended.

Near or connecting to the Primary Storage Area can be whatever you wish, but putting the secondary storage area nearby is recommended.

Near or connecting to the Secondary Storage Area should be the Crafting Area, Resource Area, Forest Area, and Pig Farm. Take note that the Secondary Storage Area is to be rather large, so take care when planning out your base.

Other than that, just be sure not to put structures too close to each other (chests being an exception), not only to minimize the damage a griefer can do, but also to make the base look less clumped and more stylish!

Flooring
Flooring is an essential part to making a base fashionable, and allows for sectioning off a base to be more apparent. The main reason flooring is used is to make a base look pretty, but certain flooring actually have function, other than cosmetic. Such floorings include the Cobblestone flooring and Scaled flooring.

Carpeted Flooring: A basic, but quite pretty floor for a base. This flooring provides a majestic look. Best used in the Firepit Area. This flooring tends to overlap most floors, so do keep that in mind when placing floors.


Wooden Flooring: An even more basic flooring, this floor is easy to make, especially with a Maxwell or Woodie at the base. With this in mind, use wooden flooring in areas to provide a rustic look. Best used in any Storage Area. If supplies are too short to make other floors, then this floor is a good floor to use in a pinch.


Checkerboard Flooring: A flooring that is not as basic as the floors previously mentioned, and takes a bit of time to produce in masses. Provides a regal look. Best used in Kitchen. Use this floor sparingly, it's not the easiest floor to obtain, and is not as stylish as Carpeted Flooring, though the floorings work well together.


Cobblestones: A very useful flooring that provides a 30% speed boost when walked upon. It provides a pathway look. This flooring has a few uses: Firstly, and primarily, it's best used as a pathway around your base, connecting all of the sections together. Secondly, it can be used as the flooring for a section, which isn't the most efficient use of the flooring, but can be used if wanted. (What am I to stop you?) Last but not least, this flooring can be used in an arena, allowing for kiting to be much easier.

Scaled Flooring: A useful, but very rare flooring. This flooring causes structures to be much more fireproof, though not entirely fireproof. This flooring can only be obtained from obtaining Scales, a drop that is only obtained from killing the Dragonfly, a chance to be obtained from killing Klaus and opening his Loot Stash, or from dealing enough damage when Dragonfly is stunned. This flooring provides a volcanic and fierce look. Best used on areas with a large amount of structures. It is not recommended to make this flooring, however, as the upsides can easily be obtained from an Ice Flingomatic and obtaining the flooring is difficult.

Grass Turf: A turf that has a main use of being flooring of farm and resource areas.

Forest Turf: A turf that has the main use of being flooring of tree areas.

Savannah Turf: A turf that has the main use of being flooring of areas with grass tufts.

Other Turfs and Flooring: Use in your own way, I don't wish to cover all of the turfs, that would be ludicrous. If you care so much about the different types of turf, experiment. Find out what works and looks good for you.
Skins

Skins are an optional way to make a base look very fashionable, and if you're a perfectionist, you will surely want some of these fine skins.

I won't cover all of the skins, because I'm not one with a large amount of patience, but do keep as a rule of thumb that usually having skins on a structure is better than not having skins on a structure at all. It's rare that the stock skin for a structure is better, but it's possible, and it's mostly up to you to decide what look you want to go for.

Firstly, Skins can be obtained as a random drop that occurs from time to time, or they can simply and easily be bought off of the Steam Community Market. Either way, Skins have monetary value, so the purchase of these skins means that you either are a perfectionist, want to make your base look even better, or just like to look at how these skins look.

Chest Skins: For Chest skins, just settle for any. The default chest skin is modest, and a bit rustic, but gets dull after staring at for a while. And plus, why not have fancier looking chests? However, despite saying this, you don't really need chest skins to make a base look good, though you can give your Secondary Storage Area an extra kick of spice with skins.

Firepit Skins: Firepit skins are absolutely essential to making a base look pretty. The normal firepit skin is simply not fashionable enough for showing off. The Bottomless Pit skin is best used for secondary firepits, the firepits used to light up other areas of the base. The Mini Monument and Fanged Firepit Skins are both ideal for the main firepit of the base. The Fanged Firepit skin gives a fierce and dominant look to the base, whereas the Mini Monument gives a more casual look to the base. If your base is the main base of the server, try using the Fanged Firepit, otherwise, use the Mini Monument skin.

Birdcage Skins: Literally settle for anything except the default skin. Whether it's the Pirate Birdcage or the Ornamental Birdcage, just don't use the default. The default birdcage will make the base look slightly less fashionable, and you certainly don't want that. In most cases, use the Ornamental Birdcage if you want to make the base look beautiful, but you can use the Pirate Birdcage if you don't have the Ornamental Birdcage skin.

Crock Pot Skins: Skins for the Crock Pot don't matter as much, as the normal crock pot looks fine enough already. However, if you want a more fierce or rustic look, use the Camping Crock Pot skin.

End Table Skins: Pick whichever one you want, and roll with it. The Austere End Table gives a regal look, the Dragonfly End Table gives a fierce look, while the Antique End Table gives an ancient/rustic look.

It is recommended that you get skins in consideration. If your income isn't looking too great, then don't buy skins. If you have some extra money to spare, are a perfectionist, or otherwise care about what others think of your creations, then go ahead and purchase whatever skins you wish to. Do note that some Loyal Skins are not obtainable anymore.
Basing in the Caves
Basing in the caves isn't too different from basing on the surface, but I'll touch upon it anyway.

Note: This section is assuming the server has Caves enabled. Obviously, if Caves aren't enabled, then a cave base cannot be made.

The first and foremost thing to note is that a cave base should sacrifice some, if not most, fashion for functionality. The reason for this is that the caves are simply not explored quite as frequently as the surface, greatly lessening the chance of visitors. Caves, however, can be utilized to extend bases beyond the reach of the surface, so if you plan on making a COLOSSAL base, then go ahead and use the caves to extend your base. The reason one would have for making a cave base is to survive summer easily, to brag about how you made a cave base, to more easily loot the Ruins, or simply for the heck of it.

Simply put, if you care about how a base looks, don't settle for a cave base. You won't get as many visitors to gaze upon your beautiful base in awe if it's harder to get to than on the surface, eh?

Fortunately, despite the downsides, there's some neat upsides to basing in the caves. Firstly, you won't have to worry about griefers even nearly as much, especially when basing in the Ruins. Only the most determined griefer would take down a base in the Ruins. Secondly, you won't have to worry about overheating and stuff burning, due to the fact that summer's downsides are almost nullified down in the caves. You'll still have to worry about the Antlion being angry, though. Lastly, the oppurtunities to make great gear are much higher, due to you being closer, if not in, the Ruins.

Unfortunately, farms are harder to manage down in the caves, as they need light to grow, but it's possible to work around. Not only that, but food is not as easy to obtain in the caves as on the surface. You'll have to rely on a farm of some sort, of the massacre of Splumonkeys.
Conclusion
Hopefully after reading this guide, you now know how to make a beautiful base that functions well, and can even support more players than before!

Just keep as a rule of thumb that the bigger a base is, the larger it will have to be. There may have to be a large amount of rearrangements and cleaning up, depending on how many people stay at the base, but overall it's better to have a larger base than a smaller one. It is also noteworthy that a base's location can contribute to how quickly the base is built, so be sure to keep that in mind when planning and building your base. For example, setting up near a forest allows for Chests and Flooring to be made much more easily, but if there's no rocky or mosaic biome, rocks will be scarce.

If you liked the guide, be sure to show your appreciation through a Thumbs Up rating, or go into the comments section if you have any criticisms, concerns, or just want to spam memes.
16 Comments
Eco-Friendly Wood Venneer 27 Dec, 2021 @ 7:28pm 
just get skins
cornnoodles 12 Jul, 2021 @ 1:54pm 
this is so helpful thx so much !!!
Gubbins 23 Feb, 2018 @ 3:09am 
Cheers dude :)
ŦheΩkayest  [author] 22 Feb, 2018 @ 4:43pm 
@Mountain_Dude01 Yeah, I kinda forgot to add that section, and since I'm too lazy to actually work on this guide, I'll sum up the Spider Farm Area in a single comment: The Spider Farm Area should be roughly 4 (more isn't too necessary, even 4 is pushing it, somewhat) Spider Dens placed somewhat close together, all about 2 screens away from the base, as you don't want any spiders going into your base. If you happen to have a Wickerbottom on your team, you can utilize her 'On Tentacles' to automate the process of spider killing, thus producing plenty of loot. Oh, and Webbers building a base together won't have to worry about placement much, other than the space the spiders and the dens take up. Remember to look out for Spider Queens, as they take up a lot of space, but can be utilized against Giants.
Gubbins 22 Feb, 2018 @ 1:34pm 
nicely done, but theres no spider farm area?
Uncle Ben 28 Jan, 2018 @ 5:31pm 
Thanks for this guide. Really well layed out and I will definetly take some of this away next time I build a base! :steamhappy:
ŦheΩkayest  [author] 7 Jan, 2018 @ 4:40am 
@Encouraged Basing near cacti is a good idea, but you'll also have to keep meat sources in mind, since meatballs are legendary. Cactus doesn't take too long to grow, either, just 3 days for it to regrow, making cactus a great filler option.

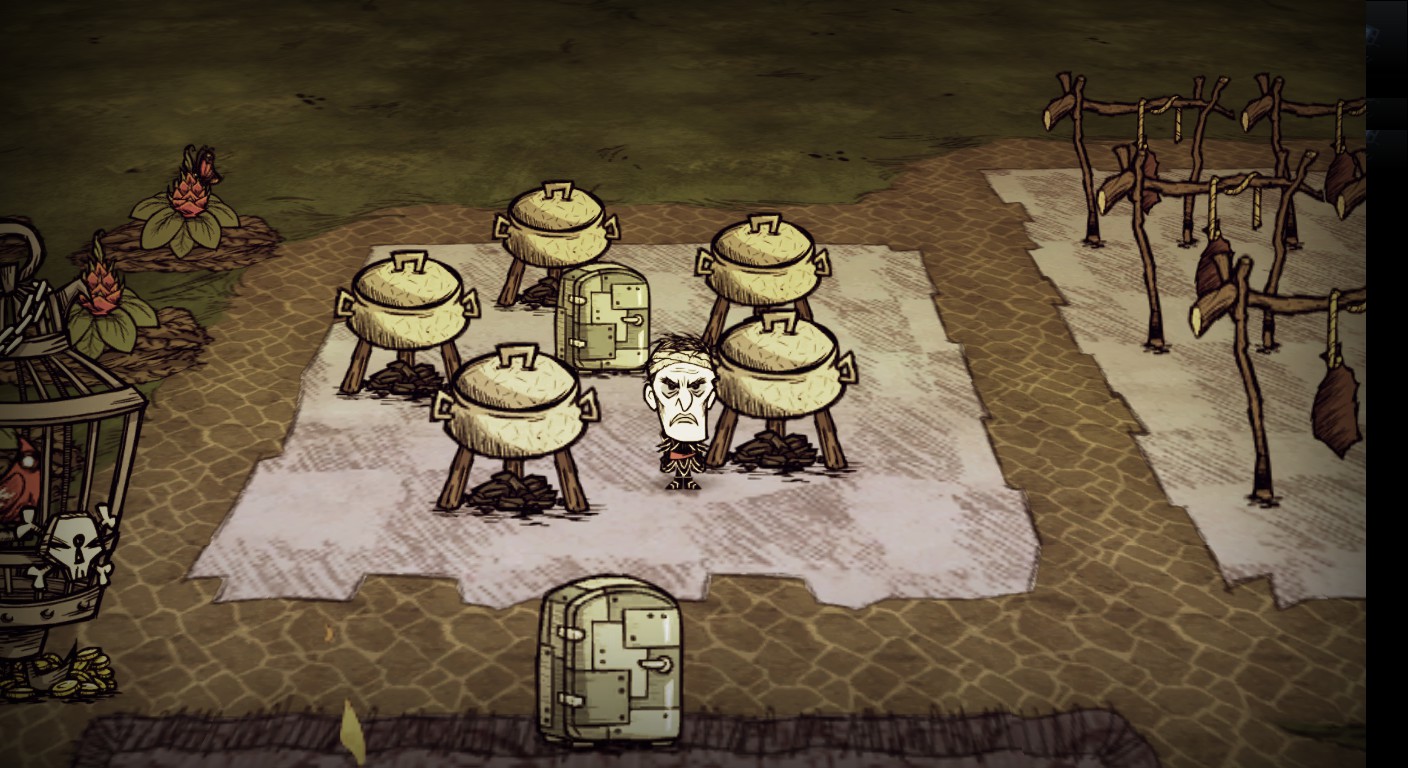
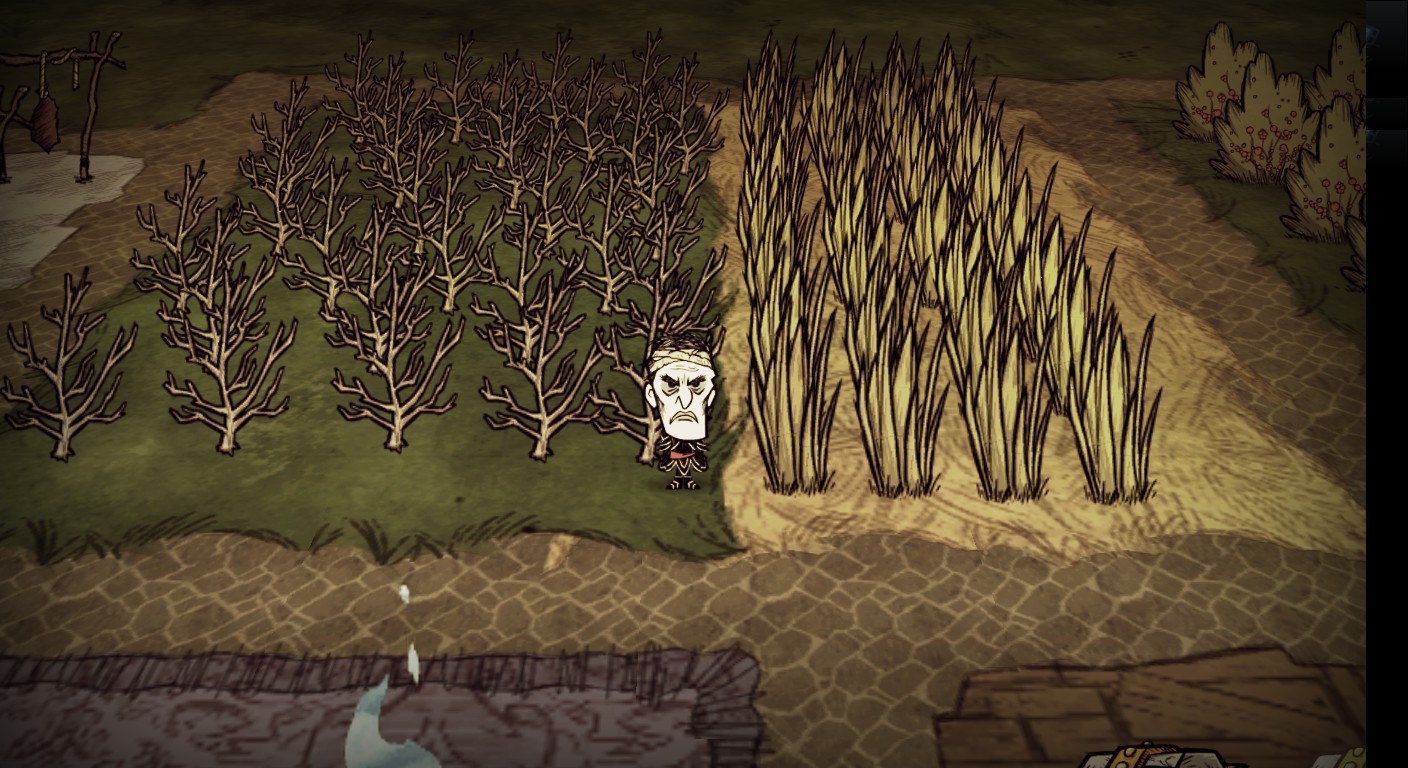
As for farms, well, they may be good, but mainly in large quantities (roughly 7-9 per person), since you need to feed birds the vegetables to get the respective seeds back to regrow the crop, while also keeping spare vegetables for filler/consumption. Because of this, I wouldn't really recommend farms, since you need a lot per person, but it certainly is possible, especially with a Wickerbottom and her Applied Horticulture book. Just remember that farms don't work in winter, unlike cacti.

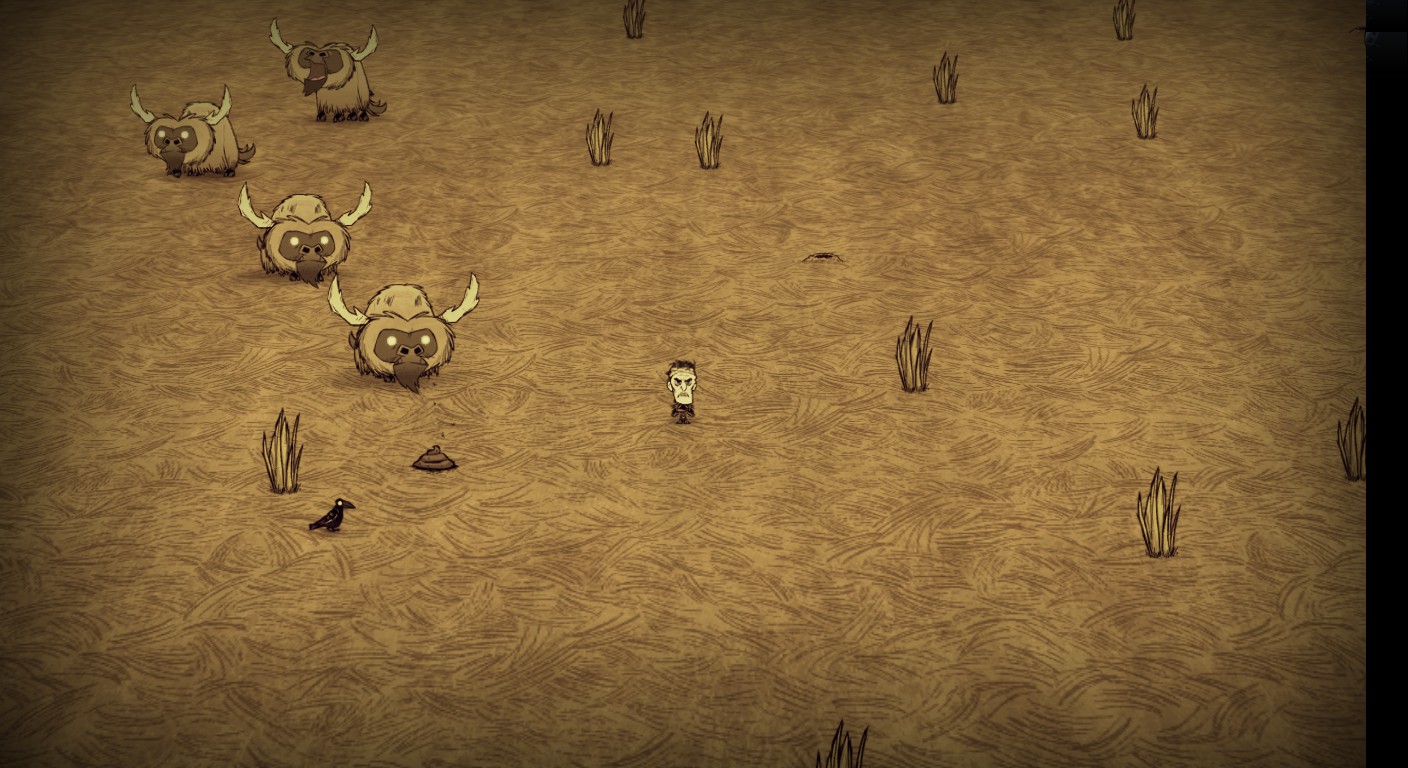
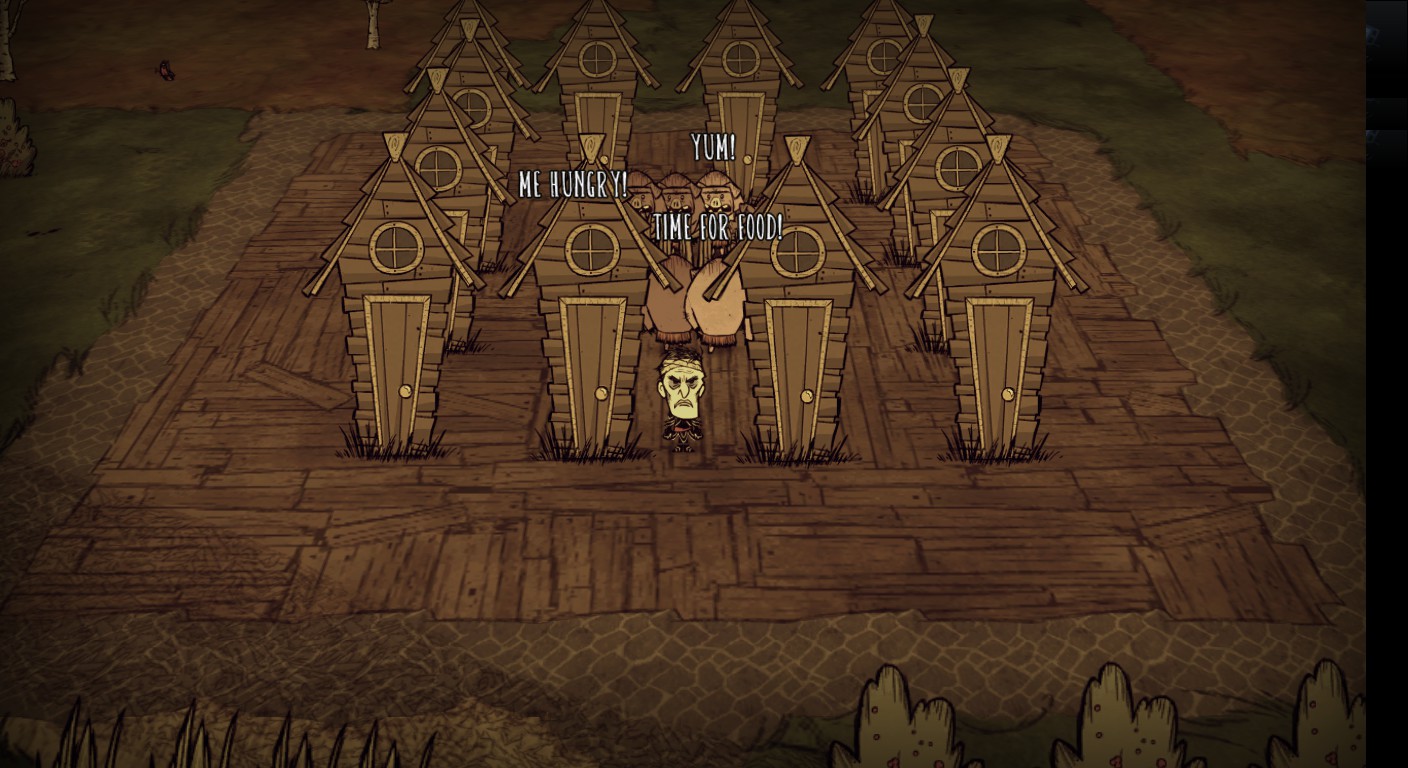
And to get meat for meatballs, since the filler was covered, knowing where a good meat source is, such as Hound Mounds or Pig Villages, would help. You can also utilize Koalaphants, as they yield a lot meat, but their tracks can also lead to a Varg/Ewecus.
BeasteBeat 27 Apr, 2017 @ 2:02pm 
im pretty sure people are fine
Владимир 26 Apr, 2017 @ 8:48am 
666
POV: you posted cringe 25 Apr, 2017 @ 1:49pm 
Well written and laid out, very impressive, thanks for this :dstools: