Source Filmmaker

Source Filmmaker

931 ratings
Quick Tips to Improve your SFM Experience
By Tobiased and 4 collaborators
Looking for the next step into Improving your Poster? Read up on these quick tips.
3
   
Award
Favorite
Favorited
Unfavorite
Introduction
Hello there young lad, my name is Tobiased and I'm here to (hopefully) teach you a thing or two about the In's and Outs of this love/hate relationship we have with Source Filmmaker.

Before I begin, I would like to point out why this guide was made, and how it stops people from asking us how to do things will breathe new life into your posters/creations.

It's important to note that this guide is merely from the perspective of a handful of SFMers including myself, and you may find a different way of creating your sfm master pieces. Feel free to give us your input in the comments.


Below, you will find a brief (WIP) guide to tweak your posters. Let us begin.
Window Layouts
This tip comes first as you should really "Keep It Clean" or at least make it easier for you to access the other windows.

Default Layout:


My Scene setup (and others) look like this:


(Screenshot provided by "Retro4214")
You may be rather confused or even surprised to see that my layout (on the left) looks considerably different than the average setup, but it's mainly my preference, and I reccomend you figure out a layout that is most comfortable for you, even the preset layout is fine if it works for you.
How to add a Secondary Viewport
You may notice the addition of a second viewport in our layouts. This can be used for a variety of purposes.
  • One being able to pose lights easier by dragging the light into the viewport
  • Having a differerent camera to pose, light and/or add models with the primary viewport as reference


You can add the viewport by going to Windows>Secondary Viewport, and drag it to whichever spot you wish to place it in. As you can see below, this is how I organize my windows. You don't have to have it like that though. "Personal Preference".

If you wish to revert to the "default" layout, go to Windows>Layouts>Default.

Scenebuilding
This is one of the more prevalent issues among newer SFMers, the lack of scene organization, and keeping a natural look to the scene. This means placing common items you'd expect or see fit for a lumberjack in need of heavy tools, A computer geek who likes to collect figures etc. This doesn't mean you have to decorate the whole area, only just what's in the view of your Camera. Always to keep things looking natural.

Simple pose + Background:
Here, you just have to manipulate the colors in your lighting, apply a few volumetrics, some stronger aperture to bring focus to the character, like this Demoman here.


Scenebuild + Natural Lighting:


There are a lot of familiar props "scene" here (hah) and a lot of them have been resized to be depicted as mini-figures, and collectors items. The use of posters, an added bookshelf layed out with his personal items. Nothing is overcrowded, and is spaced in accordance to what the camera sees, not how it actually looks from different angles. Main sources of light come from the window (and the one on the right of the bookshelf that nobody knows if it exists or not). Tuck stuff in within the Camera view. Remember, an objects position only matters if it can be seen from the camera, so don't worry about scenebuilding outside the camera view.

Further examples:
How to Paint TF2 Hats
Be aware that some hats may be broken; (to be cont.)
http://steamproxy.net/sharedfiles/filedetails/?id=216446685 The Manual Method (by: noddy)
How to Fix Broken Hats
From Robotic Boogaloo to broken All-Fathers, These guys got you covered.

Robo Hat Fixes:
http://steamproxy.net/sharedfiles/filedetails/?id=153130138
General Hat Fixes:
http://steamproxy.net/sharedfiles/filedetails/?id=253849032
Glow Fixes: (All-Father & Kringle Collection too)
http://steamproxy.net/sharedfiles/filedetails/?id=182880961
How to hide Specific parts of a Model
For people who like to use only parts of their model. (sickos..)
After somewhat in-depth searching, (thanks to Happysedits) we have the answer.

  • Right click > Add Overide Material
  • Right click > Show In Element viewer > Model

(While in Element Viewer...)
Located at the bottom,

  • Expand "Materials", then locate the part you would like to hide.
  • Right-Click > Add Attribute > Float.
  • Type in: $alpha

Source: (by: raptornx01)
http://steamproxy.net/app/1840/discussions/0/864977025772410829/

Video Guide: (by: RaptorNX01)
How to Manually Update TF2 Files in SFM
One of the most asked questions in the community is how the #$@% do you get the new tf2 hats into SFM? Retro's got your answer below.


To explain what he's covering, he is importing the the new textures, models, sounds etc. This is a pretty crucial step if you want to be the first to experiment with new updates.

Video too long? Would you rather watch the original 30+ minute long version? Didn't think so.


Detailed method to manually Import TF2 maps into SFM:
https://steamproxy.net/sharedfiles/filedetails/?id=510587953
TF2 Map Packs:
Scream Fortress X: https://steamproxy.net/sharedfiles/filedetails/?id=1544197768
Jungle Inferno: http://steamproxy.net/sharedfiles/filedetails/?id=1189727319
How to utilize the Workshop for Fixes & More
Broken textures and models are no fun, but thankfully you can trust the community on this one, as the Workshop has your back. Here's how to make the best use of it... and stuff.

Manual Posing
The next step is abolishing the "I can't pose" mentality. Sorry, there's no way out of this one, except for these neat tricks.

Forced Perspective:

Sometimes reality sucks, so we got stretch it a bit.
I reccomend having a secondary viewport (as stated earlier). So that way you can stretch out the limbs to your preference, while also keeping it normal-looking on your main camera. This is a handy trick if you want to make an action-y shot.


Other examples of forced Perspective:
https://twitter.com/_Tobiased/status/921156590111219712
Lighting Hacks & Techniques
Adding more than 8 lights
Me: Damn I wish I could go over 8 lights... ugh!
Lightrod: Did you try Disabling Shadows?
Me: u wot m8?

Lightrod:


Me: o ♥♥♥♥ ur a God
Lightrod: Ikr

Basic Rim Light Guide:

Probably the main selling point of a good poster is to get those sweet outlines on your characters, to give definitive shape to them, which makes them interesting. For Example Saitama's head here.
http://steamproxy.net/sharedfiles/filedetails/?id=567371502
------------------------------
Hello this is Nicerafi and I am going to teach you lighting
uhh...

Do's and Don'ts:
DO'S
  • use the scene as a guide; don't be stuck and always use three point. If you see a cool window in the map, put a light through it and make some cool shadows
  • use light colours, don't use like a over saturated red they suck
  • Radius and Shadowfiltersize are a wonderful mix, use them when appropriate (if yo pc sucks, dont)
DON'TS
  • opposite of what i said in do's
if your a lazy bugger like me use these light kits created by heavy shtopor : http://tumblr.nightboy.net/post/139806183149/heavy-shtopor-sfm-light-kit-presets-1
Unusual Filenames List
Unusuals to unusual weapon effects to Killstreaks, Sync's got It.
http://steamproxy.net/sharedfiles/filedetails/?id=187038852
Use this to prevent the hassle of finding the filenames of unusuals.
http://steamproxy.net/sharedfiles/filedetails/?id=374063312&searchtext=unusual
How to use Lenses
Yes, Lenses. Don't let me catch you hooligans not using em, especially for small scenes.
I'm looking at you, TF2bers!

High FOV:

Low FOV: (Ignore the quality & Screen change)

Good use of higher FOV:
Great for capturing larger scenes, where the background plays a bigger part

How to Apply Lenses:

After adding your Camera to the Animation set Editor (Right-click the set editor, then go to Create Animation Sets for Existing Elements>Camera1) Using the 85mm lens is a common preference
How to change the Skybox
If you're actually reading this, then you understand that backgrounds also make/break your poster.
There are Two methods here.

1. TF2 Skyboxes (Manual Method)
  • Open Console with: ~
  • Type in sv_skyname name (replace 'name' with the skybox name)
Skylist

2. Workshop Script *New*
A newly released script, that allows you to impliment a skybox with a visual example w/o the need to look up the skybox names. Surely, this is a useful tool.
http://steamproxy.net/sharedfiles/filedetails/?id=721125909 (by: OMG Theres A Bear In My Oatmeal!)

3. Workshop Items & Particles
http://steamproxy.net/sharedfiles/filedetails/?id=230886707&searchtext=skies (by: The Kins)
http://steamproxy.net/sharedfiles/filedetails/?id=355251295&searchtext=skies (by: Tim Miller)
To be continued...
Like an episode of Pokemon, this guide will have new stuff comin; so stay tuned!


Conclusion?
Yes, the conclusion... for now at least.

The SFMers and I will be adding to the guide over the course of time, and if you feel like we should cover a specific topic that will prove to be an issue among the average SFMer, we await your feedback in the comments.

Obviously a proper-anything will credit their sources, and with a community as large as this, there are many helpful guides to learn from. I took inspiration from the following:

Provided excellent knowledge on FOV: (Lenses)
http://steamproxy.net/sharedfiles/filedetails/?id=358587365
A good source of... well, sources!
http://steamproxy.net/sharedfiles/filedetails/?id=484369123
Also credit to Retro4214, for being a big help with screenshots and various tips written throughout the guide, cheers!

Hah, this took more energy to write than I thought I hope you learned a thing or two (or didn't, I don't care) in taking the next step into evolving your masterpiece within SFM.

Various examples of the steps executed below

Have a good one my mates, here's to dealing with SFM's Bull#$@%!


47 Comments
Sto1cal 17 Jun @ 2:48pm 
I've been using SFM for 8 months and now 6 months i started to get engine error and cutrbtree overflow someone can help me pls?Thanks
CommanderCTC 17 Dec, 2023 @ 7:13pm 
Been using SFM for years, but I never know on how to enlarge the Viewports.
Would be a major help on trying to figure out on how to make them full screen.
Bababooie 3 Feb, 2023 @ 1:33pm 
Hey, I noticed you forgot to credit me in the guide as I was the one who taught you everything...I know it's probably a mistake, haha
D'T 4 Aug, 2022 @ 7:05am 
Im only struggeling with the lighting cuz I dont have any idea how to light up the model and the background..,:steamsad:
Hikikuri 3 May, 2021 @ 2:27am 
Hey if its not rude to ask
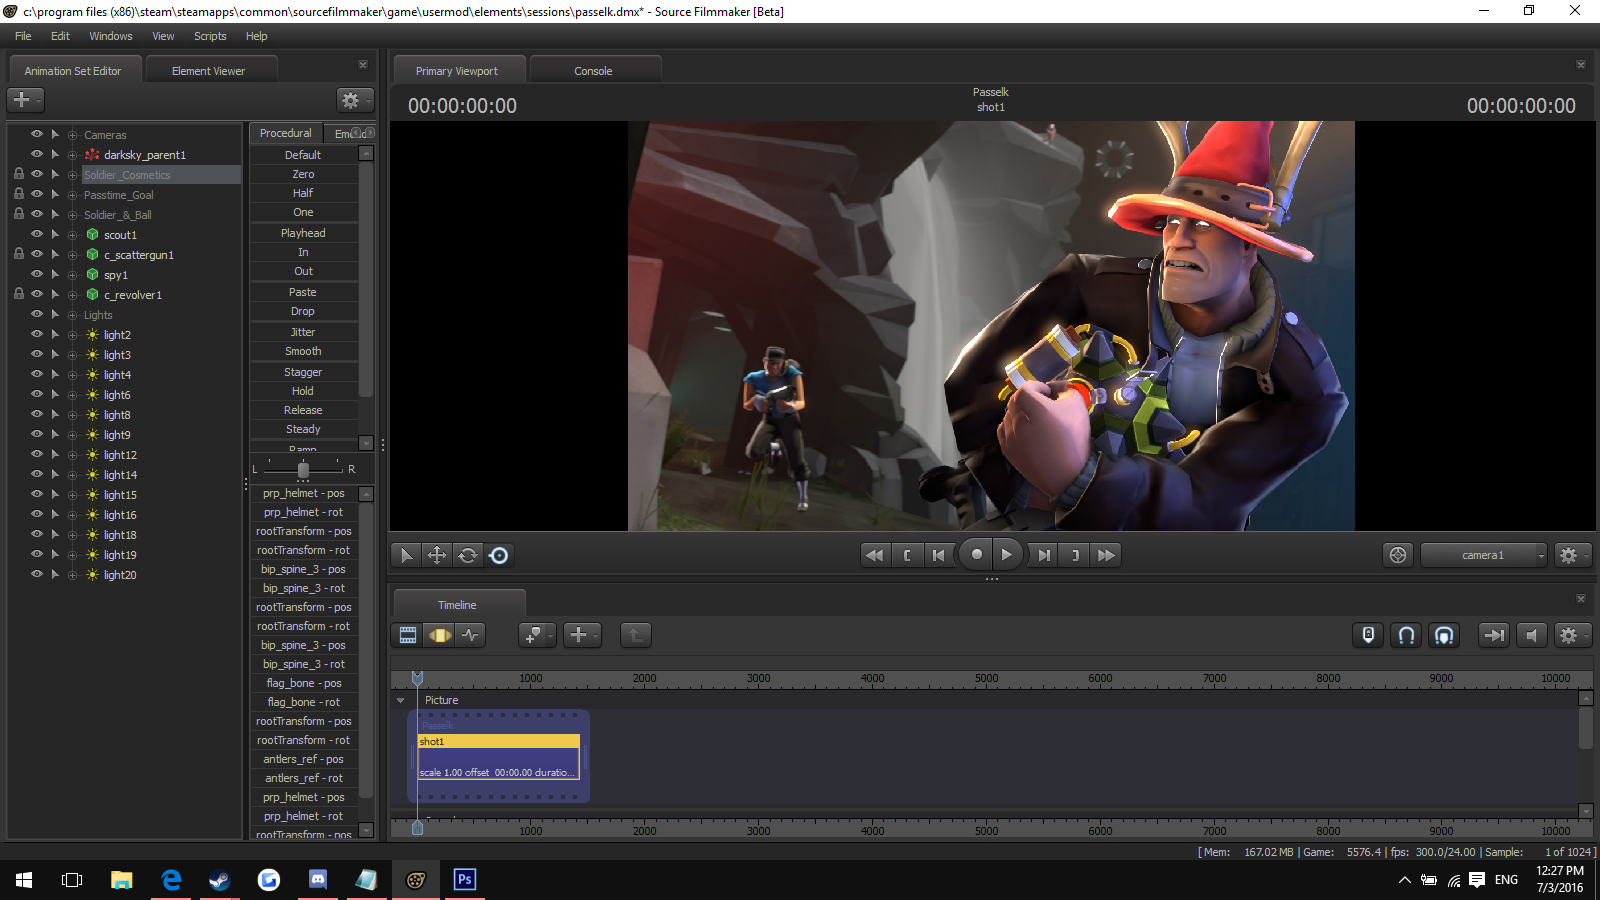
Ive been seeing these sfm posters that have colored backgrounds in them
How do you do those?
Not ManBeast 5 Apr, 2021 @ 6:48am 
@Slashy You have auto-hide engine window on. Turn it off and the blinking will disappear.
Slashy 4 Jul, 2019 @ 7:43pm 
everytime i move the camera the screen blips and my framerate drops. can someone help me on this thanks
AlexsTheDumbass 9 May, 2019 @ 1:41am 
jesus crise this is 2 much for me 2 learn for a day so all just go step by step and hopefully this school sfm will teach me 2 be come even great at it :D !!
Smoxex ZG 5 Aug, 2018 @ 7:53am 
After reading all of this, there is so much stuff I didn't know... Those camera lenses look interesting! Im just excited to start learning more about SFM!
DeVille 3 Jul, 2018 @ 10:11am 
My posters always come at a set size, instead of being as big as I want them even if I change the height and width. Even editing them in editing programs doesn't fix this, but I feel like I'm the only one with this issue haha. I can't figure it out for the life of me.