Space Engineers

Space Engineers

49 ratings
How to easily capture Argentavis, intact and full of loot
By Cheetah
A detailed and easy guide to safely disable, board, and capture the Argentavis Pirate Carrier without causing excessive damage or destroying it's loot. The guide is intended to be for newbies who already grasped the basics of game (know about kilonewtons per ton and such), but still lack knowledge about certain tricky mechanics.
   
Award
Favorite
Favorited
Unfavorite
Introduction
The Argentavis is present in the game for a few months; however, there's still very little information about how to properly deal with it without breaking it in small pieces and, thus, losing all loot. So, I decided to write a guide and explain a tactic to turn the bird of nightmare into wanted & hunted source of easy, almost effortless profit.

Classic picture: you have a pirate carrier in 5 kilometers above your head, bombarding you with drones and ravaging your base. You've lost many fighter ships in futile attempts to destroy it, or you've built a big battleship and in outcome of the battle you get a scorched wreck not worth the expensive repairs you have to do for your ship.

Many games, tactical or strategical, teach us that the best way to win is to know your opponent, all his strengths and weaknesses, as well as your own. I'm sorry for a long list, but there are the basics which you absolutely need to know:

  • The Argentavis is armed with 5 Gatling turrets, 1 Missile turret, and 5 Interior turrets inside the ship.
  • All external turrets have the targeting range of 800 meters.
  • It summons drones with it's antennae. Yes, the welders are here for nothing. To prevent drone spawning, you have to disable or destroy these antennae.
  • "Raid in Progress" antenna has the range of 10 072 meters and summons Barb drones and Gatling platforms.
  • Barb drone is a large, lightly armored drone, armed with one gatling turret. It has targeting range of 800 meters. It always flies directly towards player, without attempts to maneuver, until it's gun is disabled.
  • Gatling Weapon Platform is a small drone, posessing almost no armor, armed with one gatling turret. It has targeting range of 800 meters.
  • "Heavy Drone Manufacturing Started" antenna has a range of 3 000 meters and summons heavy Dyad drones.
  • Dyad drone is a large, heavily armored drone, armed with one gatling turret and one missile turret. They have targeting range of 800 meters.
  • Small ship rocket launcher, both standard and reloadable, have the range of 800 meters.
  • Small ship gatling gun has the range of 1 000 meters.
  • All Gatlings have a fixed bullet speed of 300 m/s.
  • All rockets start with initial speed of 100 m/s and then quickly accelerate to 600 m/s. Their acceleration is 700 m/s^2, so, it will take less than a second for them to reach their maximum speed.
  • You can view your target with good zoom using Camera.
Basic Requirements
To deal with the carrier, you will need some ships. Here's some basic ideas:

  • Fighter ship. Best option is to build a lightly armored, agile ship, armed with 3-4 gatling guns for Argentavis and 1-2 reloadable rocket launchers for drones. Seems like Russian Reversal, but it's really the best way, seriously. If you opt for modded weapons, better bring something long-ranged and precise, like 88mm CSD Battlecannon (however, even vanilla guns will do perfectly). Put a forward-facing camera on your ship, and the closer it is to your guns, the better.
  • Boarding drone. Little (5x5 or 3x3 in width and height) drone, armed with one gatling gun, to take down interior turrets. It is not necessary, but if you don't want to risk your life against turrets, you'd better bring a drone mounted under your fighter.
  • Freighter ship. Any ship of your liking with at least 218 000 liters of cargo space — that is 14 small ship large containers. By the way, this is only for loot found in Argentavis itself, and does not include disassembling.
  • Grinder ship. Selfdescriptive; any ship which will be used either to grind down all Argentavis or scuttle the most valuable parts and leave a useless hulk consisting only of steel. May be one with freighter, provided there's enough both cargo space and agility.

  • Pro tip: if you're not very attentive, or you're playing with modded pirate drones who don't show up on HUD, bring a gatling turret and set it to 550-600 meters. It will alert you with firing sound and also will tell you the direction towards enemy drone, so you can quickly answer with 3-4 missiles. Also, you may simply put a missile turret and set it to attack small ships only. However, it loves to waste missiles and has too low rate of fire to kill the drone before it will deal considerable damage to you.
  • Pro tip: if you're not sure that you will stay out of range both of Argentavis itself and it's drones, place a rod or two (6-7 blocks length), facing sideways of your ship, with decoys on tips. Thus, if you weren't careful enough and there's a missile flying towards you, it will not fly towards your cockpit, but will target the decoys 3-4 meters away from ship's body, exploding on a safe distance. Same goes to Gatling turrets.
  • Pro tip: we will use cameras extensively, so, you may want a mod to remove the blue scrap which shouldn't be there. For example, this one.
  • Pro tip: for easiness of looting, bring enough resources to build a large ship Connector. They can be retrieved from Argentavis itself; but it's more handy to have them already in case you're in a haste (you're in multiplayer or you have another Argentavis on radar).
Approaching and Battling
So, you've read the above walls of text, prepared yourself, built everything necessary, locked and loaded your fighter.

Now it's time to fight these scurvy dogs! Carefully approach the carrier, turn on your camera, zoom using the mouse wheel and examine it. Argentavis is a stationary target, it will not move if there's a player within 4 km, thus, it's easy to hit. Remember that the turrets have range of 800 meters; the distance may be measured by beacon placed in tail. The pirate ship is roughly 100 meters long, thus, the safe distance gradually decreases from 920 meters in front hemisphere to 820 meters in rear hemisphere. Your gatling guns have a range of 1 000 meters, thus, you have whopping 100-200 surplus meters and you can simply outrange both carrier and it's drones.

  • Pro tip: for easier targeting on such large distance, you may want to reduce gyro power. Simply put all your gyros in a group, then use the power slider or, better, assign Increase Power and Decrease Power actions into ship's toolbar. You may also use a script which does the same, but with one click of a button.

First, you need to disable the "Heavy Drone" antenna. It is placed under carrier's belly. Shoot it until it disappears from HUD, or, if you're using modded pirates, better shoot it off completely, just to be sure. You have 4 minutes to do this, counting from first time the "Heavy Drone" label appeared on your HUD, or a Dyad drone will spawn. In this case, gain 200-300 more meters away from Argentavis, then aim for Dyad, and wait until the Dyad's antenna will read 770 meters distance. Then destroy it with missiles, and, if it goes closer than 650m, thrust away. The drone is dumb and it always goes straightly towards you, so, fighting them is easy, just be sure that you're always keeping at least 650 meters away from drones and 850 meters away from Argentavis. Also, if you're feeling yourself a sniper, you may try to shoot off Dyad's turrets. But it's rather tricky, because the target projection is small in frontal direction (in other words, turrets are placed flatly against you and it's hard to shoot at them).

Second, disable the "Raid in Progress" antenna. Fighting the Barb is even easier and cheaper: because it's turret is placed wide across Barb's nose, so you can simply shoot it off with gatlings only.

Third, shoot off the Argentavis' external turrets. Remember, you don't have to be under their fire, you may outrange them with your gatlings which can fire to 1 km. Place yourself comfortably in 900 meters away, aim at turret and hold the trigger until there's no turret to fire upon. I recommend to destroy the missile turret first: if you would screw with range, gatling bullets need almost three seconds to get to you, and missiles need only one.

When all turrets are destroyed (there's 1 missile turret and 5 gatlings, double-check yourself!), it's time to board the ship and deal with interior turrets.
Boarding
Now goes the nasty part. The Argentavis has 5 interior turrets, and it's hard to get rid of them without exposing yourself to them.

First, break some windows (not all!) on the bridge, then look for one or two turrets on bridge's ceiling. Position yourself so that there's a window between you and turrets.

Now, detach the boarding drone and drive it close to the window, so it's 5 m away and there's still a window between turrets and the drone. Look through camera, and crawl to the window's edge until there's a turret's head barely visible.

Note that the turret isn't shooting. It's tricky, but it's possible to position yourself (or the drone, which is safer) so that you may shoot at the turret, but it doesn't. Aim using the red dot, and shoot until turret is burning. Unlike sturdy external turrets, these take only 13-15 shots to be disabled.

Next, there are two turrets positioned sideways, positioned just behind the hangar doors. Shoot them off.


Now, proceed through the main section. You will see another turret near oxygen generator. Shoot it off, too.

Now, there's only the turret in medbay/cryo room, which is under the door shown on last screen, still left. It's not necessary to remove, since it's enclosed in armor, but it's handy if you want to grind the jump drive.
Looting
Now — yarr, plundering the booty!

Of course, even the dead and disabled pirates won't release the grip on their loot so easily. The container is owned and privated by Space Pirates — you will have to hack it. Grind it below the blue line, so the all Computer components are removed, and weld it back above the red line so it's operational again.

Take a look at your loot, komrade! You not only cleansed the space of that kriminal kapitalist scumbags, you also earned some resources to build up your base. Motherland is proud of you! :D

Of course, you still have to get it out of pirates' ship. Due to how the Argentavis was build and conveyored, you may also want to hack and weld back the reactor, so it could pass the now-your cargo.

Exit the ship and go to rear array of welders. Rip them off, and weld a Connector here.
Thus, all you have is to bring your freighter and load your loot into it.

Now, just scuttle away the jump drive, medical bay, thrusters, reactor, and whatever else may interest you. Then, you may just grind down the remnants, if you're interested in steel, or place a warhead and bring epic retribution to what was on your nerves for so long.

Happy bounty hunting! And never put yourself under turrets.


P.S. Bonus: If you don't want to do the grinding in-situ, and want to bring the Argentavis to your base first, then get to the room behind the door with turret, grind down the heavy armor block directly under the red light and hack the Remote Control.
Why not simply take out the only reactor with something heavy?
To damage reactor, you will have to use something largely destructive to punch through armor and deal enough damage. Because loot container is positioned right next to the reactor, the risk of destroying it is too high. You may miss with your torpedo for one meter, blast container with missile's splash damage, or just get it crushed with another weird armor deformation or with gyroscopes bouncing all over the hull. My way is perfectly safe both for player and the cargo, while — most important — it is cheap. A maximum which you will have to spend is 10-15 gatling ammo boxes and 2-3 missiles, provided you take care of ranges. Cheaper than this is only a blast door dumbfire slug, which is prone to doing... well, excessive damage. And this is definitely not an option in Multiplayer or when Argentavises stockpile at base — you need to get off to safe place with the ship as fast as possible, and it's better be self-propelled rather than not.
Why not simply grind in from behind, there's a Deathstar spot?
Ok, what are you gonna do if there are 2-3 Argentavises near the same spot, efficiently covering each other's blindspots?
34 Comments
AmerBud 1 Aug, 2018 @ 6:50pm 
Idk why theres so much detail here. When I'm running around playing 30 minutes in it spawned and I took it with only the stuff you spawn in with.
scorpnoire 9 Nov, 2017 @ 6:59am 
Once you reached the belly just take out that one armor block mentioned below and then disable the reactor by hacking. All other turrets will fall silent immediatly and you can take her over without damaging anything. ;)
Incognito 8 Nov, 2017 @ 10:01am 
Thanks for awesome and awesomely useful guide, man!

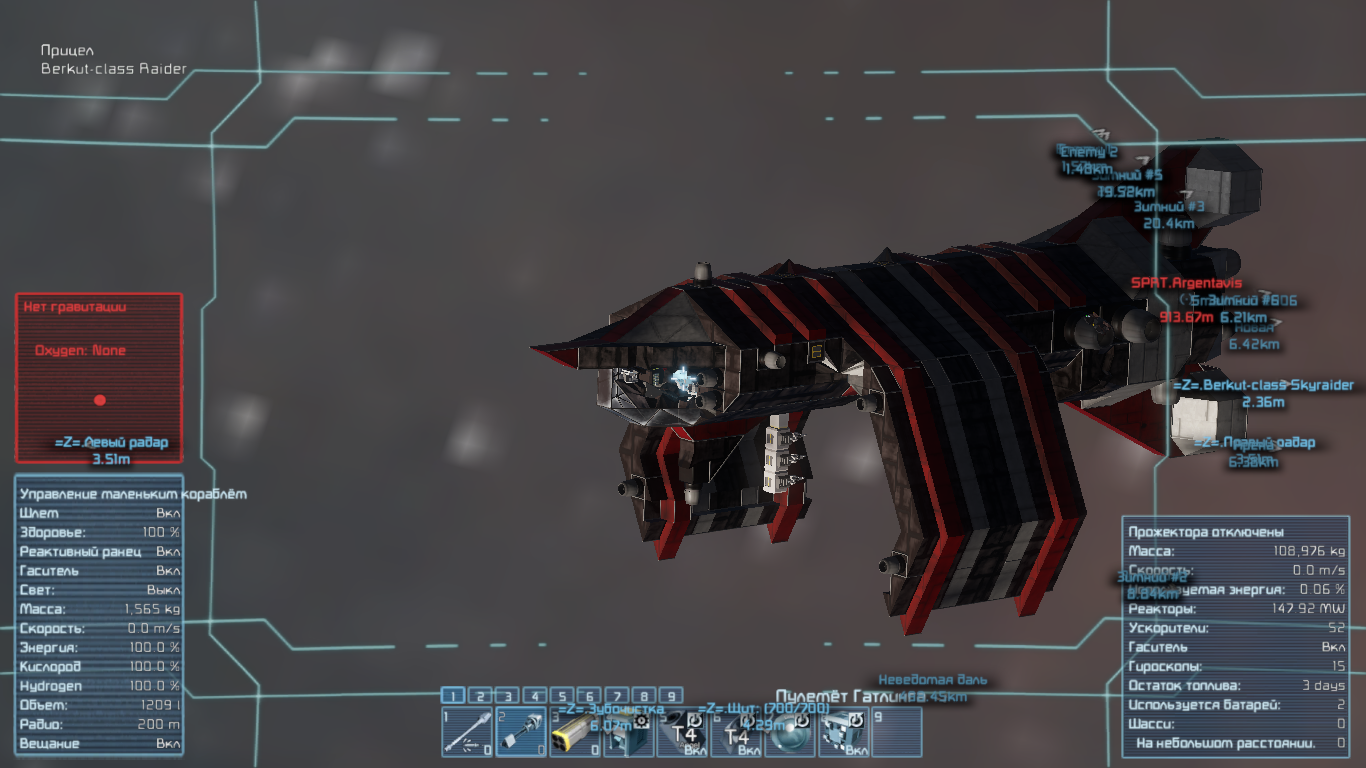
I prefer a situation, when ships to be grinded propel themselves to my base, so i changed your method a bit.

1. Shoot all the pesky drones that "carrier" succeeded to call.

2. Approach from belly side.

3. Determine gatling turret's firing range (about 650 m in my case).

4. Approaching and battling with that distance in mind. Kill just 4 turrets that you see.

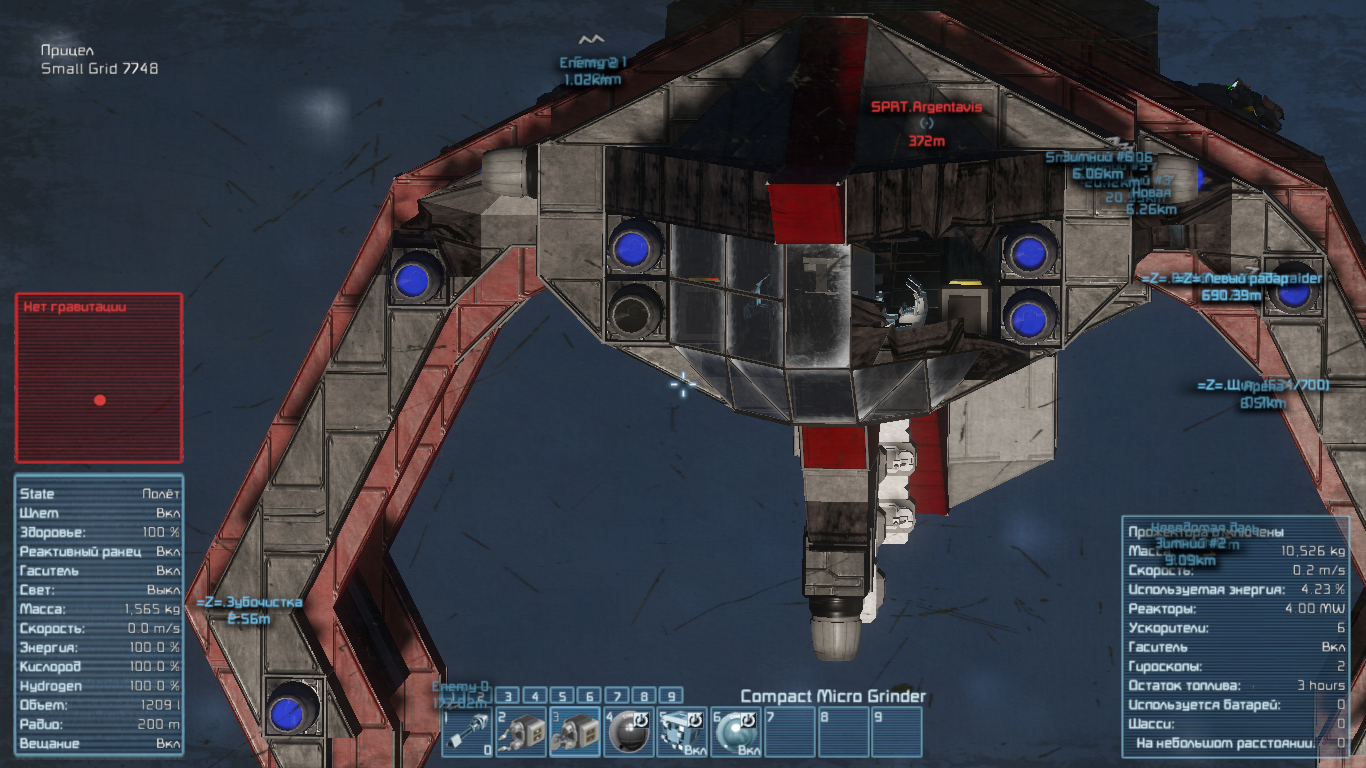
5. Synchronise speeds of your ship and carrier.

6. Get out and grind 2 remaining big turrets: approach to gatling from "back", and rocket one doesn't even shoot people.

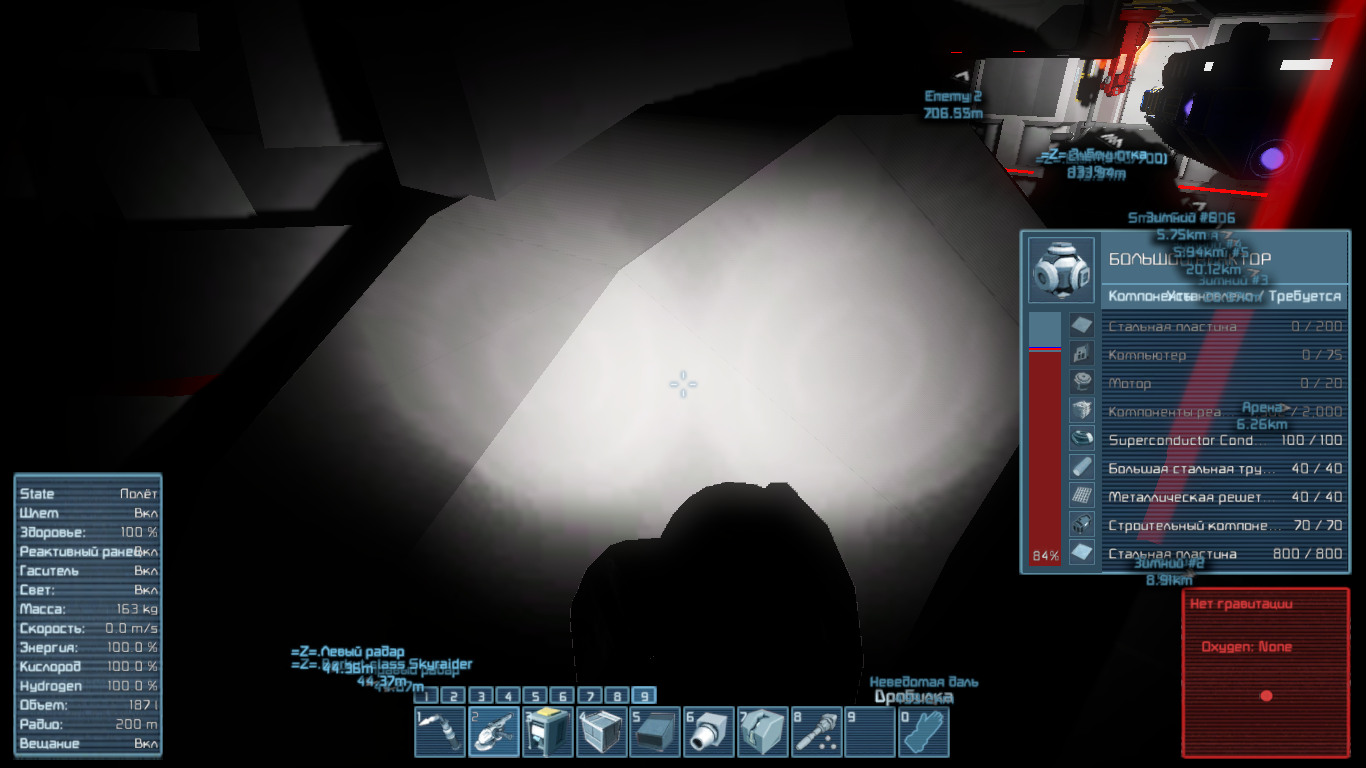
7. Break the frontal glass and shoot interrior turret with ship.

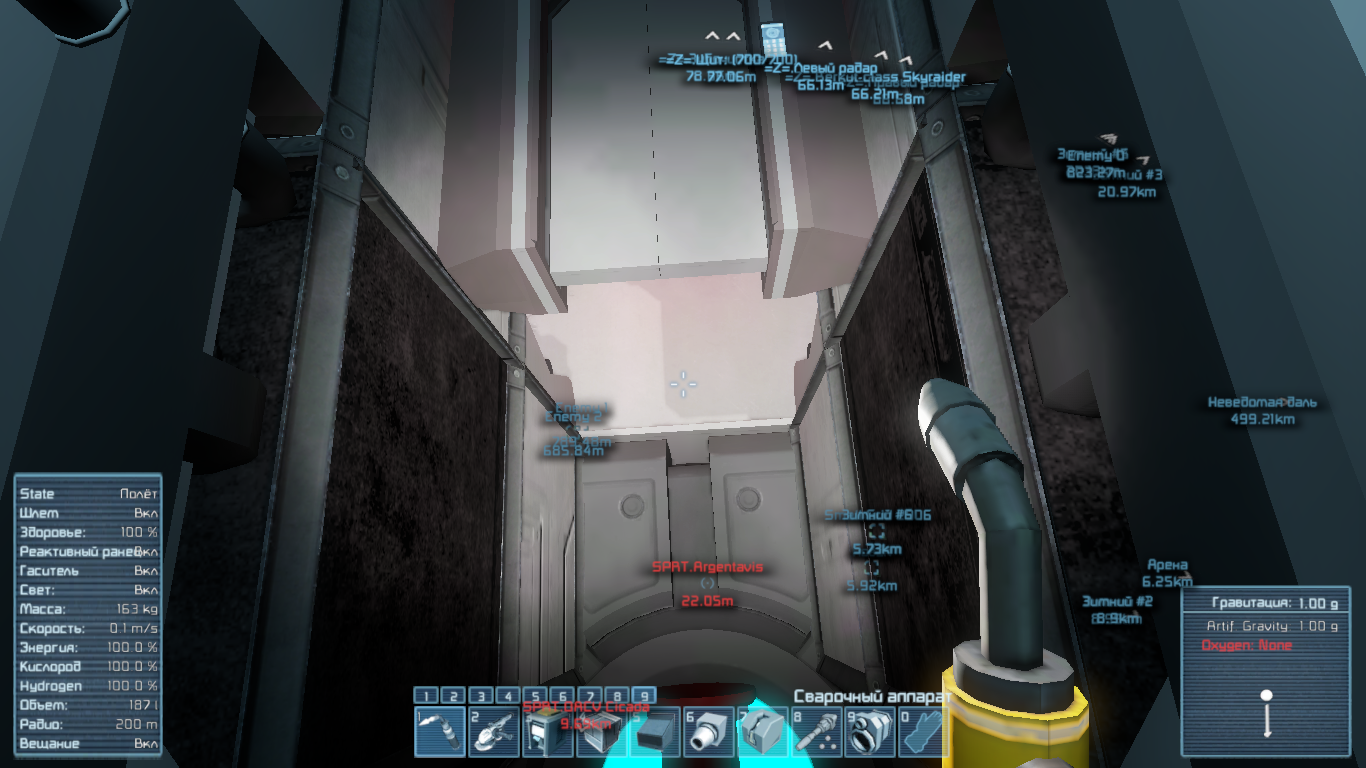
8. Hack one of flight seats and seat in.

PROFITABLE!1!!11!!!1!
Cheetah  [author] 27 Jul, 2016 @ 10:12pm 
P.S. If you think that the stock Argentavis is not much of a threat, try this.
Cheetah  [author] 27 Jul, 2016 @ 10:10pm 
They now are actually capped at 800m, they weren't before. But you still can snipe turrets out — you need a rocket launcher and, preferably, a GFD-based range finder. Carefully dive in 795m range, release a missile, thrust away.
scorpnoire 27 Jul, 2016 @ 8:58am 
Very good tips for the drones/antennae! Will try the drone extermination the next time I meet one of those.

Be careful: the gatlings now have a decent spray and really good sniping like I mentioned in my old how to cap NPC ship guide here: http://steamproxy.net/sharedfiles/filedetails/?id=424354870 might no longer work at all.
scorpnoire 27 Jul, 2016 @ 8:58am 
BUT: since the Argentavis is stationary I'd not try to go in with a drone at all!
After removing antennae and turrets on the side(s) and belly I'd simply pick my Elite Grinder+Welder and remove exactly one Block of light armor right in front of the rear welder conveyers and hack down the reactor without ever beeing in danger to get shot by internal turrets at all. This you'll save more than 4K of magazines in the internal turrets and some amount of ammo for the external ones, too.

If 2+ Argentavis really are covering each others asses you'd have to disable their antennae + turrets before anyways, so why bother with a drone?

ALWAYS remove the remote control block! I tried to fly her with a hacked but still remaining block and the thing went haywire.
Shas'Ui Demotana 16 Jul, 2016 @ 5:35am 
That's a fuckload of detail for capturing one ship. Damn... Nice.
Solaris 4 May, 2016 @ 11:44am 
I believe I know why: You are going off the Argentavis' beacon for distance. In reality, all weapons have a max range of 800m, but most Gatlings the devs placed only shoot within 650m, and missiles at 600. Just look at the red ship.
Also you can single-handedly destroy an Argentavis with only a grinder, if you ask I can tell you how.
General Porker 17 Apr, 2016 @ 6:28am 
its hard to do but you can do all this without a ship just need to be quick enough to fly to the bridge and take out a window then position yourself where you can shoot the turret inside without getting shot and then hack into a control station and turn off the power, then you would grind all turrets to disable them and turn the power back on, thus capturing the argentavis