Half-Life 2: Update

Half-Life 2: Update

1,290 ratings
Half-Life 2 (Update!) Achievement Guide - 100% Walkthrough
By Thortok2000
A guide to getting every achievement in one playthrough. Also helps find and jump to achievements you're missing.
6
4
19
2
2
2
   
Award
Favorite
Favorited
Unfavorite
Introduction and Setup
Hello and welcome! I created this guide for PC users because we have access to the console and can jump directly to any achievements or Lambda Locations that are missing, a feature not present in any other achievement guide at the time I originally wrote this. The guide is written in a mostly spoiler-free style and generally assumes that the reader has already played the game and is simply using this to collect missing achievements with.

First off, enable the developer console. To do this, go to Options, then Keyboard, then Advanced, then enable developer console. The default key for this is `, the tilde, left of the number 1, and one row up from Q on most keyboards.

Pressing this key will pause the game and allow you to input console commands. (Most people know this by now considering how long HL2 has been out.)

The first command you should put in is "sv_cheats 0". It should hopefully already be set at this, but in case it isn't, you should do it now. It has been reported that you can't get achievements if cheats are activated. So don't cheat!

Next command, put in cl_showfps 1. This will let you know what map you're on, and will also show your fps. It's small and unobtrusive in the top right corner but if you did want to turn it back off again you can use cl_showfps 0. Having this turned on helps you keep track of where you are in this guide.

The final command to tell you about is the 'changelevel' command. This goes like 'changelevel d1_trainstation_02', for instance. Most achievements, with the main exceptions being Zombie Chopper, One Man Army, and Hack Attack!, will not extend past one 'map' segment, so if that's the only achievement or Lambda Location you're missing, you can teleport straight there and save some time. This doesn't count as a cheat and is the same as doing a 'new game' at the start of a chapter, except with more specific locations to choose from to start at, and it doesn't reset achievements like 'new game' will.

Starting a new game will reset those achievements I just listed if you haven't yet completed them, which is why the changelevel command is better.

Let me say that again to be clear. If you start a new game, your progress on the achievements Zombie Chopper, One Man Army, and Hack Attack! will be reset to zero (unless you've already completed them).

Saving and reloading works just fine, though (both quicksave/load and normal.) For those three 'resettable' achievements, instead of wiping your progress completely, loading a save sets your progress to what it was at when you saved. You can basically use saving and reloading without fear of losing your progress, just remember to re-complete any achievement progress you did after your save point.

There's one more trick to keep in mind. Your progress in uncompleted achievements is saved in a file on your computer. (Completed achievements are saved on your Steam profile, assuming you were online when you got them.) When achievements were first added, it was quite common to see complaints that players had completed the achievement, but it wasn't showing on their community profile, but they couldn't re-complete it in game since the game was showing it as already completed! (One of the reasons this guide was originally written was to address this issue and help know where to 'jump to' in order to catch those missing achievements.) You don't see this bug much anymore, but on the off chance it does happen to you, here's how to fix it.

The file in question is Steam\SteamApps\common\Half-Life 2 Update\hl2\gamestate.txt. Removing or renaming this file will result in all of your achievements being wiped. Upon your next load of the game (unless Steam is in offline mode), your in-game achievements will be set to reflect what your Steam community profile shows. However, the Steam community profile only shows completed achievements, not partial ones, so all partially-completed achievements get wiped to zero progress. You can use this to reset Lambda Locator if you don't have it yet, which can be helpful if you want to do so in order to keep track of which ones you need to get. Using this trick and the changelevel command, you can very quickly get any achievement your Steam community profile is missing, and add HL2 Update to your 'perfect games' statistic!

In regards to the Lambda Locator achievement, I find that a quick playthrough, hitting every single lambda location, is the easiest (and most fun) way to get it, but if you'd rather not, or you've tried that already and you're still frustrated, there actually is a way to know which specific locations you're missing, using that same gamestate file. This isn't something I've personally tested, but simply check out this guide by gardian06 for a highly technical explanation of how to decode the file into telling you which ones you're missing. You can then refer to my guide to jump straight to them, using the changelevel command!

Alright, so. Let's get started. One last thing: difficulty doesn't matter, so go ahead and do the whole thing on easy difficulty if you like.
Chapter 1: Point Insertion
d1_trainstation_01

(Nothing)

d1_trainstation_02
So here's where you get your Defiant and Submissive achievements. One is to put the can in the trashcan, one is to throw it at the guard instead. Do one, then open your console and do 'changelevel d1_trainstation_02' and do the other. (Quicksave and quickload work just as well, if not better.) If you're doing all achievements in one play session, this should be the only time you have to use the 'changelevel' command.

d1_trainstation_03

(Nothing)

d1_trainstation_04

As you're climbing in the final window, just before the broken stairs, you'll get Malcontent.
Chapter 2: "A Red Letter Day"
d1_trainstation_05
After Alyx opens the entrance for you, as you're walking inside, you should get Lambda Location #1 automatically. If you don't, it's slightly to the right of the entrance.


Once you're inside, to your immediate left is a mini-teleporter. Use it several times (I lost count, it might be around 10 times or so) and it'll break. You can play with it if you want, it's mostly just how many times you use it that causes it to break. This gives you What cat?


d1_trainstation_06

You get Trusty Hardware here, of course.
Chapter 3: Route Kanal
d1_canals_01
You have to wait for a train to show up. After jumping across and breaking boards to enter the building, Lambda Location #2 is to your left.

Interacting with any part of a Lambda Location activates it, such as, picking up one of the items (or attempting to if you're full), or breaking open a supply crate, even if you don't pick up the items inside. The update mod does a much better job of making sure Lambda symbols are visible more than in the original game (although some locations are still missing a symbol), but in order to get the achievement you have to actually interact with the supplies; simply finding the symbols themselves does NOT get you the achievement! (The only exceptions to this are locations #1 and #19, those you get just by going near.) Make sure you have the Steam Overlay turned on; a notification will appear when you have successfully activated the location.

Almost immediately after is an air vent you have to go through, there's no way to avoid getting Lambda Location #3.


d1_canals_01a
There's an unlucky bird who shows you your first Barnacle, then a fight with some Combine, and then just before your second barnacle you should see Lambda Location #4. Hop on top of the red van to the left and duck into the rubble to get it.


There's a bridge with a ton of explosive barrels under it. In the very next room there's a ton of barnacles. This is your best chance to get Barnacle Bowling. Toss an explosive barrel into their grip, and as it's rising up, shoot just enough bullets to light it on fire but not explode it. It'll explode when it reaches the top and give you the achievement.

d1_canals_02
As soon as you head inside after getting shot at by a helicopter for your first time, if you're looking down, you'll see Lambda Location #5 through the grate below. The ladder to your right takes you down there.


d1_canals_03
There's a big orange pipe you have to jump on top of, avoiding barnacles and steam vents. At the end you break some boards. Before going through a dark hole to the right into some water, instead continue underneath the pipe for Lambda Location #6.


d1_canals_05
There's a curved room that you have to climb up a ladder and continue across the upper level of. If you stay on this level all the way to the end, you get Lambda Location #7.


Right after that room is the first radioactive water you encounter. Cross the pipes to the right side to get Lambda Location #8.


Hop in the boat at the end of the level to get the "I'm on a Boat" achievement. No wait, it's actually called Anchor's Aweigh! Nevermind.
Chapter 4: Water Hazard
d1_canals_06
Almost immediately, before you even reach the big red barn, you should see a lambda symbol once you reach clear water again. Stop the boat, look to your right, there's a ladder there for Lambda Location #9.


Then, head to the big red barn and go inside, climbing to the absolute top. There's a mechanism here with a barrel stuck in it, that can only be removed by the crowbar (shooting it doesn't work for some reason). Collect the items from what drops outside for Lambda Location #10.


Continuing on, one dropship flies overhead and one drops combine directly in your path. After running over the soldiers dropped in your path (so fun!) stop immediately and look at the right side. The leftmost pipe entrance is open. Head inside (you'll have to use the barrel to jump up there) for Lambda Location #11.


d1_canals_07
When your path is blocked, you'll need to head inside. In the room right before you come back outside to open the gate, there's two bluish turbine like things to the right. The ladder to climb up is not very visible, but it's there, and on top of one in the corner is Lambda Location #12 (New).


If you miss that one though, you can still get it at the original location (but not both). Later on, the second rocket-launching car you come across has a small grate entrance below it. Head inside for Lambda Location #12 (Original).


d1_canals_08
Immediately after entering this map segment, there's a part filled with rubble where you have to move a little to the right and bash through some wood to move on. Before doing so, there's a nifty little counter-weight pair of baskets. Solve this simple puzzle to get Lambda Location #13.


Your path becomes blocked as a gate closes. Then a helicopter shows up to annoy you. As you're making your way on foot through some buildings, there's a part where you go up some stairs to jump across containers. Just in front of those stairs is a new location for Lambda Location #14 (New).


Like Location #12, if you fail to get 14 at the new location, you can still get it at the original (but not both). After opening that gate and scaring off the annoying helicopter with mounted guns, it shows up again, fully repaired, and resumes its attack. There's some boats ahead so you turn to the right instead. Ahead there is a bridge above you with a parked train on it. Ignore the helicopter and dart to the left underneath the bridge for Lambda Location #14 (Original).


d1_canals_09
After avoiding mines from the helicopter for a bit as you travel down river, there's some pipes that you travel through as the water gets radioactive again. Next there is an easy-to-miss square room, immediately preceding a part where you have to go across the top of the pipes instead. In that square room, look for some scaffolding on the left and knock it away to get Lambda Location #15.

d1_canals_10
A few more turns up the river, and you'll be in a V-shaped canal with reddish-orange buildings on both sides. The helicopter is still attacking you at this point, but head up the left side and towards the end for Lambda Location #16.


Just after that as you make your next left turn, keep turning left, avoiding the boards with red X's where your path continues, and make an almost U-turn to the left into a darkish area for Lambda Location #17.


d1_canals_11
Let your boat experience some Vortigaunt lovin' and get Heavy Weapons.

d1_canals_12
You get the chance to shoot a rocket-launching car while it's being carried by a dropship, then there's a couple barnacles, then there's a fork with a dead-end to the right with a windmill. In this dead-end area is Lambda Location #18.


d1_canals_13
(First off, I think this is the prettiest sky in the whole game. I love this chapter because I think they did great on the water effects, and I like how the sun progressively sets more and more each map segment, for a perfect sunset for this and the next map segment.)


Get some Revenge on that helicopter and then heal up from the nearby building. Before opening the dam, head to the very far corner (continuing straight from the door that you can only open after you've killed the helicopter.) Back here are a couple pipes, the one on the left is open enough for you to slip into. You don't need any props to get in, just a good crouch-jump. (Jump, then crouch while you're in the air.) You'll have to be pretty high on health because you walk through radioactive water to get to the end. At the back is your reward, Vorticough.
Chapter 5: Black Mesa East
d1_eli_01
(Still love that sky!) Lambda Location #19 is at the ladder you use to get out of the boat for the last time. Note that if you load a new game at this chapter and/or map, you may not notice it because you're just slightly past it. Look two steps to the left and down, between the boat and the ladder. In a normal play session though, you've probably gotten this automatically. This location is the only one in the game (other than the first one) that you get just from going near it and don't have to pick up supplies or bust open a crate.

d1_eli_02
Allow Alyx to give you the Zero-Point Energy Field Manipulator. And remember, it is a toy. Also, in preparation for Zombie Chopper, from the moment the Gravity Gun enters your hands, don't use anything else. (If you pick up a new weapon, instantly press Q or G to swap back to the gravity gun again.) Technically Ravenholm hasn't started yet, but it's better to err on the side of caution as far as figuring out where to start from. (You don't need to shoot anything in Chapter 5 anyway.)

Wait until you've gotten next to Alyx after you've piled up some boxes. Look over to the left of where she asked you to pull down some barrels and you'll see the yellow rectangular plate that you can pull towards you with the gravity gun. You can also pile up stuff over in that corner to get there directly. Grabbing this with the gravity gun gives you Blast from the Past.

Now for an achievement that's actually hard! Two Points is possible with a little patience. Different people get it different ways, but the way I got it was to try to find the right distance to shoot from. I had to scootch a little closer in order to be able to suck it back to me for another shot, but I only backed up a little bit past that point. Eventually, Combine air support comes to shoot at you, but I just ignored it. I died once and just reloaded from the last autosave, and was able to get it before being killed again. Good luck!

(Ironically, in the update mod, I got this on literally my first try. Maybe it's easier? Anyway, good luck!)

At the end, there's a lock holding the ladder closed. Again, to be on the safe side, I used the Gravity Gun on it to open it.
Chapter 6: "We Don't Go to Ravenholm..."
d1_town_01
Use nothing except the gravity gun through to the last map segment in this chapter in order to get Zombie Chopper. This is not terribly hard as you're able to run past most enemies, which is in fact my recommended way of doing it. Similar to getting on to platform 9 3/4 for the first time: "Best take it at a bit of a run if you're nervous." Less time spent, less battles to fight, and should you somehow fail to get it when you should've, less time wasted before trying again. It is okay to use traps and physics to get kills with, just never switch away from the gravity gun, even to use crowbar or grenades. A lot of conflict can be avoided if you're just running past monsters and going where you need to go. I'll detail when you may need to actually stop and fight, otherwise if you know the correct path to take, take it at a sprint and you should be able to sail right past most enemies.

When you first meet Father Grigori, he's standing above a door blocked by fire. Once you're inside, hop on top of one of the green generators and go through a vent for Lambda Location #20.


In the area with the traps that involve cars, there's a fence with the symbol on it. Ride a car up and jump over this fence for Lambda Location #21.


d1_town_01a
To continue through this area, you have to drop down to the road and climb a ladder at the far end. Then you take a right turn into the next building. Instead of a right turn, take a left turn and go into that building instead for Lambda Location #22.


After getting that Lambda Location, the next building involves a couple tables, then stairs in a corner and a ton of zombies. This is the first part that was even moderately hard for 'Zombie Chopper' as your ammo consists of basically one can of paint and one saw blade against a ton of zombies that you can't run past. Stay above the stairs and use the saw blade, trying to angle it so that it doesn't fall downstairs and past the zombies where you can't recover it. Once enough zombies have come up the stairs (and have hopefully been killed), you can jump over the top of the stairs and skip past any remaining ones.

d1_town_02
You go outside again and quickly dart into the next building. There's one zombie that you have to kill in here as well on the stairs, the rest you can skip past. Then at the top, make sure to instantly switch back to gravity gun if you pick up a shotgun.

The elevator shortly after Grigori's speech can be skipped if you have enough health. Simply drop from the roof to the top of the car below (it's about 40 health of damage) and follow the boards to the next area. This skips a lot of conflict with annoying speed zombies.

d1_town_03
Quickly find the switch you need to activate, then continue on the upper level. There's one speed zombie that may catch up to you at the end, but if you're quick, you can jump over to underneath where Grigori is and avoid conflict with it. The next hallway is another 'hallway full of zombies' but the room just before it gives you more props, including two sawblades. This part should be easy as well. Right after the hallway is some stairs with another grouping of zombies that are probably easier to kill than to try to avoid.

d1_town_02 (again?)
After the map segment loads, I recommend taking the ladder up into a room with headcrabs (which can be killed or moved out of your way with the gravity gun without using any props), then out the door. This gives you a straight shot across some boards and a jump into the stairs leading to the area where you wait for the cart from Grigori. Be very quick and shut the door behind you, trapping the speed zombies outside.

That roof has pretty much nothing to use your Gravity Gun to fight with. So as soon as you hear the cart start to move, peek over the edge, drop down to the door you entered the building with, hop inside the building and close the door behind you again, making sure to shut out the speed zombies (you'll probably have to be quick). Simply wait inside this building until you hear the cart is ready to go, then head outside again and take it.

d1_town_02a
You pretty much have to kill every zombie in the graveyard in order for him to open the gate and allow you to get Hallowed Ground. While there are a couple props here, there are not a lot, so conserve your props and try not to lose any. I recommend zipping past the point where the speed zombies attack you both at the start and grabbing a sawblade from the actual cemetery itself before you actually cross the fence to go in. This will help you kill the speed zombies as they attack Grigori and yourself.

d1_town_04
You can pretty much ignore all conflict in this section and zip right through, with or without activating the trap at the end. If one of the headcrabs that doesn't have a zombie attached does start to bother you, keep in mind the gravity gun can attack it directly, without a prop.

d1_town_05
If you've been using only your gravity gun since the start of this chapter, you will earn your well-deserved Zombie Chopper as you step out into daylight. (It took all of chapter 4 for the sun to set, but only one map segment below ground for the sun to rise after your graveyard fight? Where's our sunrise, Valve??)


Don't forget to look above your exit for Lambda Location #23.


There's two snipers in this segment. I'm not sure if they count for Counter-Sniper or not, but I figure they do, so go ahead and kill them both. Not that it's really that easy to continue the game if you don't, but oh well.

(Did you find the hidden G-man sighting in this segment? =P)
Chapter 7: Highway 17
d2_coast_01
After your first jump, but before your first tunnel, the red building on the left hosts Lambda Location #24.


d2_coast_03
Lambda Location #25 is inside the building next to the first thumper. First building in this segment.


Taking down your first gunship earns you Where Cubbage Fears to Tread, and begins your progress towards One Man Army (#1).


d2_coast_04
Once you get in the crane, don't get out again until you've earned OSHA Violation. You don't need to worry about keeping the previous combine alive, 3 combine will come out as you're in the crane.


You have to stop and fight another gunship (#2 for One Man Army) shortly after your next jump.


Just past the pile of wrecked cars is a blue van on the left with Lambda Location #26.


d2_coast_05
After a bit of driving, you'll come to the billboard used for Targeted Advertising. Your road is blocked a bit and there's a slight hill with grass on it on your right, where you can pickup the crossbow. You can actually shoot from here and get it if your aim is well, or you can get closer. (Shoot a crossbow bolt that pins a combine soldier to the billboard.)


Around the same area with the billboard, there's a tanker with some yellow props that you have to remove. On the other side of the road, behind a fuel tank, is Lambda Location #27. If you simply shoot below the tank and break open one of the supply crates, that'll give you credit without having to figure out a way inside the fenced area.


d2_coast_07
There's a section here with a windmill, just before you reach THE bridge of Half-Life 2. If you don't know what bridge I'm talking about, you've clearly never played Half-Life 2. Stick to the left wall as you enter this map segment and in the rocky area just before the hill leading to the bridge is a place with some headcrabs and Lambda Location #28.

d2_coast_08
The only thing of mention here is another gunship (#3 for One Man Army.) You have to head back through d2_coast_07 to continue.
Chapter 8: Sandtraps
d2_coast_09
In the house with the batteries (car batteries, not suit-recharging units), to the right of the batteries is a bathroom. Instead of actually going IN the bathroom (unless you really just need to go), look above it. There's a small gap in the corner between the ceiling of the bathroom and the ceiling of the main room of this building. Pick up something from up there, using your gravity gun or a grenade or something, to get Lambda Location #29.

d2_coast_10
Another gunship (#4 for One Man Army.)


d2_coast_11
Alright, now for another annoying achievement. This one isn't difficult so much as it is time consuming, you can't just rush through it like we've done for nearly every other achievement. I got it on my first try without saving or reloading, so it's not hard if you're super-careful. The main thing to remember here is that you shouldn't even come close to touching the sand at all. It doesn't matter if you prevent spawning any antlions; you should not even hear the rumble that means they're about to spawn. If you're jumping across something and think "I think I might've touched the sand just then" it doesn't matter if you even hear the rumble, you probably did touch the sand. The rumble IS the key, but sometimes it's so faint and so quick it sounds like the background wind noises, so just be really careful and TAKE YOUR TIME.

The achievement starts with the Lazlo speech. From the moment you step up onto the rocks, it starts. I killed the antlions and allowed this guy to give his speech, I don't know if it's part of the achievement or not, it probably isn't, but go ahead and do it anyway just to be sure. After all, Lazlo deserves three seconds of mourning at least, right? Nothing less for the finest mind of our generation! Okay that's enough, let's move on.

The first few jumps are easy, then there's a part where the sand almost comes to the wall but there's a little bit of rock there. I jumped across that little corner of sand instead of walked across it. Remember, better safe than sorry.

Then you have jumps across a couple of props, but one of the props is just a tiny little corner of a box. Instead of using that prop, look behind you for one of the bigger, square pieces and use the gravity gun to replace that tiny little worthless prop.

The next few rocks you can get with some accurate jumping skills, but you probably wanna bring that big square piece of metal with you just to be sure to catch you if you fall. (By the way, I recommend sprint-crouch-jumping for additional distance.)

The next area has a metal square prop on your left, and a segment of sand leading to some long thin pieces of wood, don't know what they are, they kinda resemble power-line poles I guess. They're leaning against a rock with a second pair leaning on the other side. Use the square metal piece you brought with you, and the one on the left, to make a stepping stone pattern. (Get on the second one, turn around, grab the first, put it in front of you and use it as the 3rd, etc.) Once you get to the thin wood beams, you can leave those pieces behind, you'll get better props in a moment.

The two thin wooden beams on the other side are a seesaw. Grab the two props on the end (a metal square and a wooden box), and bring those to the near side to weight that end down and allow you to jump to the grassy area. (The bumps and things on these thin wooden beams can knock you to the sand if you try to go too fast, so take it slow and easy and jump across the bumps if you need to.) Continue on, turning to the left a little. You should see a red building with a white building up above it. Buried under some other props nearby to your right is a long thin board. This is the most useful prop in this entire area because it shortens your path considerably. Start off by using it to cross to the red building, placing it either as a bridge, or a ramp up from the sand. (If you find it annoying to maneuver and place this prop, try grabbing it from one end instead of from the middle.) (In the update mod, I had a hard time grabbing it from one end. Oh well. It's still helpful!)

Since you don't really need to go up to the white building above this place, toss a grenade or a rocket or something up there to get Lambda Location #30.


Be sure to bring the long thin board with you to help make a ramp up to the area with the next red building. Cross the cement to the wooden dock-looking thing and use the long thin board as a ramp up to the platform the red building is on.

Grab the board again and bring it with you to cross to a rock on the left (I ignore the thumper because if you're doing this right, there's no antlions anyway, so what's the point?), and then the rock on the right. Man this board is useful. But that should be the final time you need it unless you just want to bring it with you to avoid having to make risky jumps.

Go up to the top of this grassy area (be careful about the jumps here, use the long thin board one more time if you need to) and sprint jump down to the rock below to the left (or use the long thin board if you just suck at jumping). There's plenty of props around here but the board-like things with three strips and handles on the end or something are my favorite; the bigger the prop the easier it is to stay on top of. Do the whole 'stepping stone' routine over to a rock that's a little above ground level, then grab either one of the explosive barrels or a box or something as a stair up to the rock (if you still have the long thin board at this point, using it as a ramp is cool). A sprint jump over to the ramp leading up to the ledge and you should be done.

With luck and patience, by the time you reach this ledge, before dropping into the next area where you fight the antlion guard, you will have gotten Keep Off the Sand! Grats!


d2_coast_12
I found this achievement a little annoying too, since it's faster for me to just kill or avoid stuff myself. But from the moment this segment starts, use only bug bait. Make sure to deactivate all thumpers of course, and use the bug bait well. If you land a direct hit on one of the combine, it'll stop shooting a little bit and and do the funky chicken dance. (Well, it's actually trying to get rid of the pheromone smell or something, I guess.) Since you're not shooting back, it's kinda useful to get them to stop shooting at you (and your antlions). You can land this 'direct hit' on more than one combine at once, but keep in mind you have a maximum of four antlions alive at any one time, so they're a little slow on the killing.

Also try to look for where your antlions are being pinned down by gunfire and use the bug bait to make the Combine dance instead of shooting your antlions. Also, for any enemies really high above you, the antlions can probably still get there if you tell them to by tossing bug bait up at the enemies. That's really all there is to this segment and achievement. Just take it slow and make sure to leave no enemies behind.

All enemies count for this achievement, including manhacks and zombies and everything, so don't kill anything yourself, let the antlions do it.
Chapter 8: Sandtraps (Continued)
d2_prison_01
When you come up into the area with the watch towers, the antlions won't auto-acquire the targets up there because they're so high up, but if you throw bug bait up there, they can get up there and kill them. It was around this point that I finally got Bug Hunt.


You should also get the final two gunships for One Man Army. If you've been killing all that you come across, that is. If you're still short, there's a few more remaining in the game (I won't point out where they are, though.) Starting a new game or using the map command will reset this achievement, though, so I recommend sticking with your playthrough and only going back for this achievement if you still don't have it by the time you finish the game.
Chapter 9: Nova Prospekt
d2_prison_02
As you enter, find a cell with a toilet in it and grab it with your gravity gun. In a caved in portion that you have to go through, which has a headcrab in it, punt the toilet at it to get Flushed. (There's also plenty other places in the game that you can get this achievement, but I find that this is the easiest map segment or chapter to jump to and get this achievement quickly.)

This room is hard to describe because they all look alike. In the final room just before the next map segment, there are two turrets on the top level, and three columns in the middle of the room. Your path takes you to the next map segment by taking a right at the level the turrets are on, and the signs on the wall say you're in the A5 sector. Before you continue on, you should easily notice the Lambda symbol indicating Lambda Location #31 in a room behind some locked doors. Smash the boards blocking the window to get in.

d2_prison_03
I find that this is a good segment to start working on Hack Attack! You may not get all 5 in this one segment, but you should have it by the end of this chapter or the next if you work at it. Grab a manhack with your gravity gun while it's still 'alive' and punt it at one of the combine. If you hit it's usually a kill. Sometimes the manhack survives and you can use it again, but it usually doesn't.

In the section where you unplug the machine that the vortigaunt is strapped to, you'll soon head upstairs, and then turn left to a room with the switch that opens the gate to continue. After doing so, stay on this level and continue through the door that is here. You should see the Lambda symbol straight ahead on the other side. Go inside for Lambda Location #32.


d2_prison_04
Nothing of real note here, a couple more manhacks to work at Hack Attack! if you don't have it yet.


d2_prison_05
When you reach the laundry room, jump over the railing to the right and find Lambda Location #33 in this area.
Chapter 9a: Entanglement
(9a? What the heck, Valve?)

d2_prison_06
As you're waiting for Alyx to open the first gate, you should see a vending machine for Dr. Breen's Private Reserve over on the left. Lambda Location #34 is on top of that machine.


d2_prison_07
Survive the fight in sector D8 to get Warden Freeman.

d2_prison_08
(Nothing)

d3_c17_01
You can get What cat? if you didn't back in Chapter 2.
Chapter 10: Anticitizen One
d3_c17_02
Immediately upon stepping outside, look to your right. Pile up some stuff to get behind the fence behind the blue dumpster for Lambda Location #35.


d3_c17_03
You get Follow Freeman here.

d3_c17_04
After crossing the road where a strider takes a couple shots at you, your next alleyway is where combine start to be in windows. As soon as you enter this alleyway, look to your left for a small red shack with a lambda symbol on it. Remove the metal prop in the way for Lambda Location #36.


d3_c17_05
Right at the end of this map segment are some turrets guarding a hole in the wall. After going through this hole, the next map segment is down the hall to the door. Instead, go up the stairs to find Lambda Location #37 behind a gate.


d3_c17_06a
As you're going down the road, you'll come to an area with an open ceiling where a lot of manhacks come in. Afterwards, you'll go through a sidewalk on the left with windows on your right. As you go back onto the road again, U-turn to your right to find Lambda Location #38 tucked in a corner.


Soon after, you'll get Radiation Levels Detected.

d3_c17_06b
You should pick up this one almost automatically. Just before the first bridge that you lower yourself (after the one that someone else lowers for you), in the room immediately before it, on the left, is Lambda Location #39. It's hard to miss as it's pretty much in your path.


This one is just before the next map segment. Shortly after a massive battle between combine and zombies, there will be two wood-rimmed doorways. Your path continues to the left, up some stairs and into the next map segment, but if you're observant, you'll notice a lambda symbol through the one straight ahead, outside. Step outside and you'll see gates on both sides. In the dark area on your left is Lambda Location #40.

d3_c17_07
You get Plaza Defender here.

d3_c17_08
You'll come to a staircase kind of area with lots of catwalks around the edges of the stairwell. Several portions are gone, and your path continues at the bottom through a metal door you have to remove a bar from. At the bottom of this stairwell, below your exit even, is Lambda Location #41.


You'll see some zombies fighting combine in the bottom of this sewer-like area. Drop down and continue, and past the ladder that leads out of here, you'll see the lambda symbol on your right. Look in the tiny hole and suck the supplies to you with the gravity gun for Lambda Location #42.


Just past #42, don't go up the ladder yet, and continue past three metal pylons to the end to get Lambda Location #43.


Soon after, you'll come to a big room with a slow moving lift that you ride, and then you climb to the top of the room. I'm sure by the time you get to the top, you've noticed the big reddish building just slightly above your exit. Tucked behind it in the corner is Lambda Location #44.
Chapter 11: "Follow Freeman!"
d3_c17_09
Kill all the snipers in this segment to get Counter-Sniper. If you didn't get it, then you may need to go back and get the two from map segment d1_town_05. I don't know because I didn't skip those two.


d3_c17_10a

(Nothing)

d3_c17_10b

When you take care of the third generator, you'll get Fight the Power.

d3_c17_11
(Nothing)

d3_c17_12

(Nothing)

d3_c17_12b
This location is almost directly in your path, and immediately before the next map segment. A final strider chases you down a tunnel, and you have to climb to the top level of a building and then continue through a hallway and then through a hole in the floor. In that hallway (and really hard to miss) is your final Lambda Location #45. If you've gotten every one up to this point, you finally get Lambda Locator!

d3_c17_13

Head to the top where the crate of rockets is, and kill all the striders to get Giant Killer.
Chapter 12: Our Benefactors
d3_citadel_01
(Nothing)

d3_citadel_02
(Nothing)

d3_citadel_03
You can work on Atomizer here. You can use the aquarium (as long as you make them touch the center and disintegrate) or combine ball fields (the ones with infinite balls, not the ones you remove a single ball from); the objective is to have them vaporize, and it doesn't count to simply launch a ball at them, you have to launch them into the field.

d3_citadel_04
There's another aquarium here, and it has an infinite spawn, in case you somehow haven't finished Atomizer yet. By this time you should have had plenty of opportunity.

d3_citadel_05
(nothing)
Chapter 13: Dark Energy
d3_breen_01
Beat the game to get Singularity Collapse.
219 Comments
ThaliaFP 9 Jun @ 2:29pm 
Thank you so much, got my 100% today.
Thortok2000  [author] 15 Sep, 2023 @ 5:28am 
@KelpTheGreat - Good point. Added that sentence
pampushechka 30 Aug, 2023 @ 3:45pm 
Thanks for help:luf:
cssdan卍 14 Aug, 2023 @ 12:56pm 
thx i just finished it with a crowbar and gravity gun (in normal hl2)
Dellgrem 16 Nov, 2022 @ 10:01am 
Thanks!
PostalDudeXi 17 Sep, 2022 @ 2:53am 
one of the best guides, really helpful, thanks for your work
At1x 12 Sep, 2022 @ 9:57pm 
Good guide, thanks
KelpTheGreat 29 Aug, 2022 @ 7:38pm 
Oh, of course. But that was my point, it doesn't actually say what you need to do for that particular achievement. For Targeted Advertisement, it says, "After a bit of driving, you'll come to the billboard used for Targeted Advertising. Your road is blocked a bit and there's a slight hill with grass on it on your right, where you can pickup the crossbow. You can actually shoot from here and get it if your aim is well, or you can get closer."

It doesn't actually say that you need to use the crossbow to pin a Combine soldier to the billboard, so if you're going through the guide, it doesn't tell you how to get that achievement, just that that's the place you have to do... something.
Thortok2000  [author] 28 Aug, 2022 @ 3:08pm 
@KelpTheGreat - I'll consider it next time I make an update to this, although in my defense the guide assumes you want all achievements so just do what it says and you'll get all achievements; it's not really giving instructions for anything else.

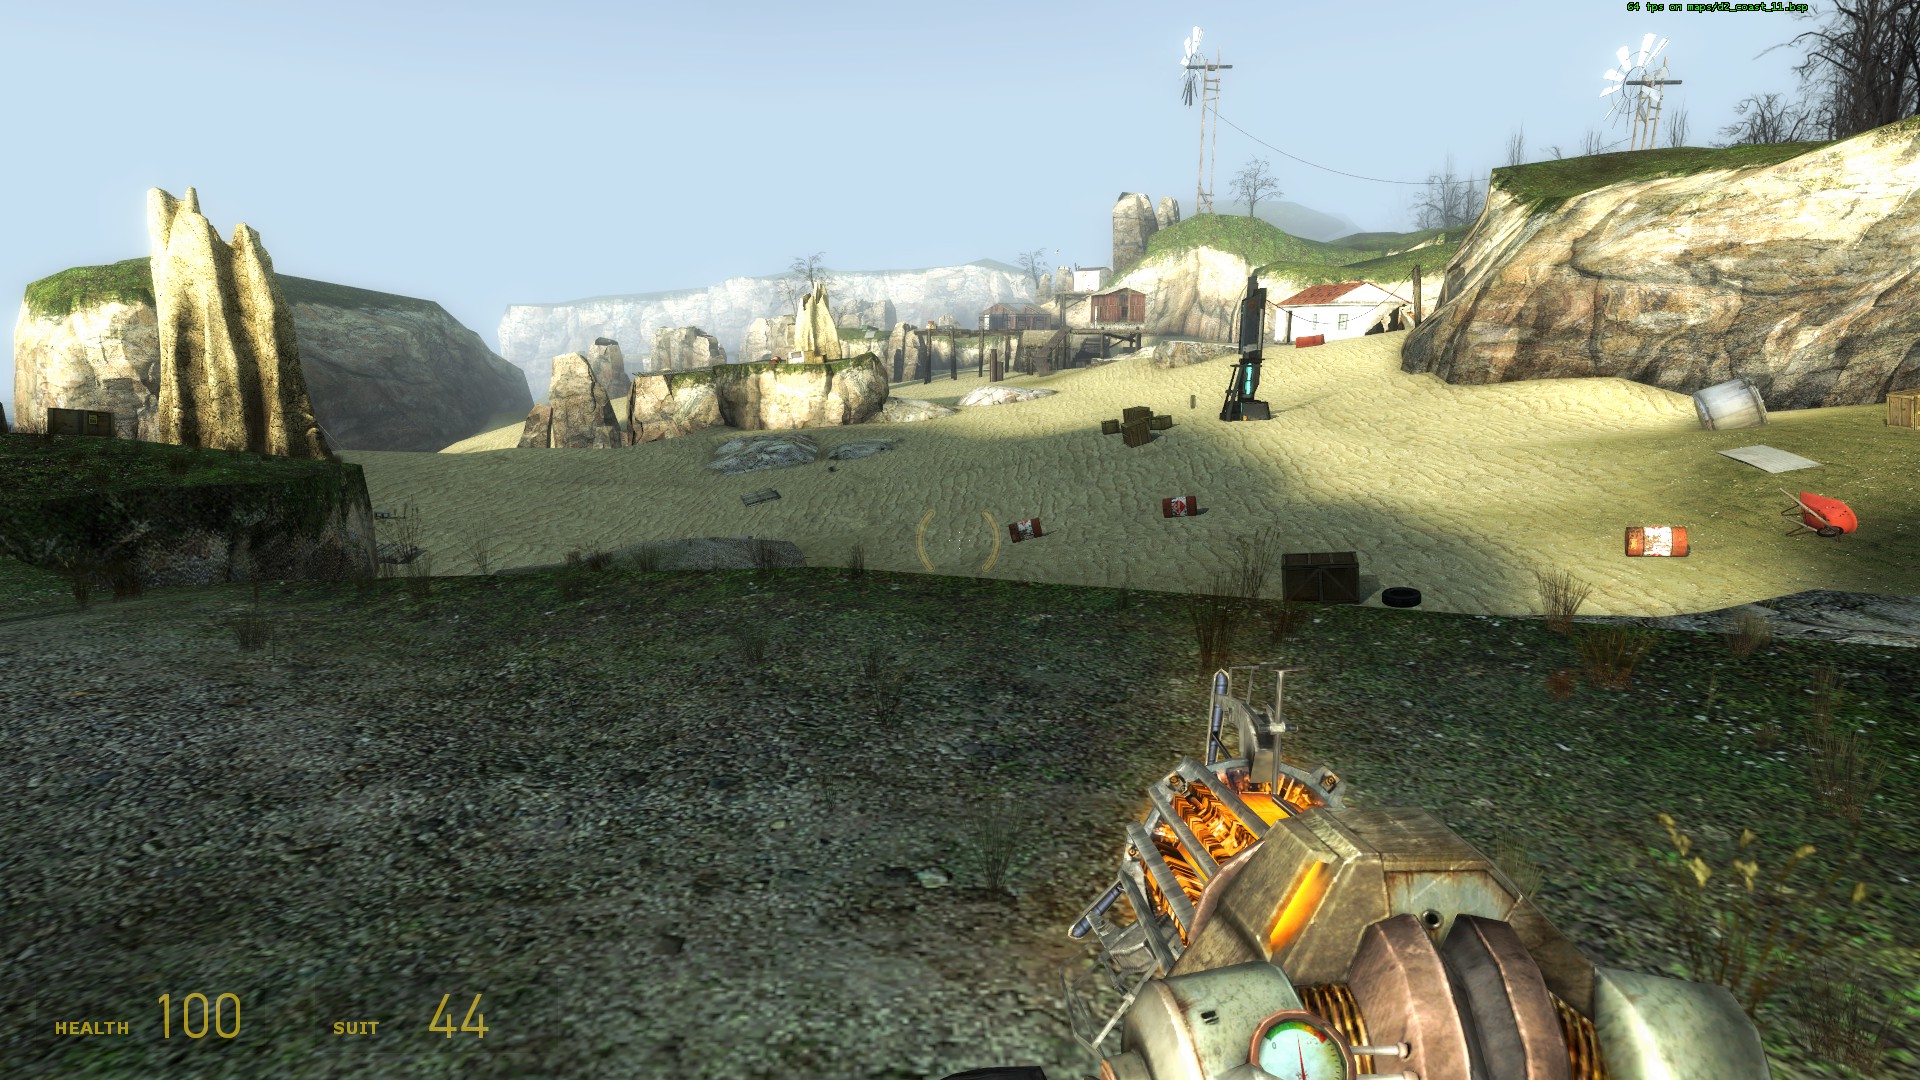
Also, once you get a feel for the 'stay off the sand' achievement it goes pretty quick to try again. Not even trying to speedrun or anything I can do that segment in like 2-3 minutes.
KelpTheGreat 26 Aug, 2022 @ 12:32am 
Man, I made it all the way through the sandtraps area without once triggering an antlion, but I guess I must have brushed the sand at some point because the achievement didn't trigger for me. Oh well, I already have it on the original HL2 and I don't feel like replaying the segment all over again just for essentially a duplicate achievement. =P