Verdun
355 ratings
The Do's and Don'ts of Verdun (In Pictures)
By Bahman
Do you find yourself asking the following:
"Why did i get shot?! I was CLEARLY out of range!"
"I was prone! no way he could have shot me! what?"
"How did he see me? Hacks!"

Never fear, here are some pictures with reasons as to how you may have been shot, as well as ways you can live!

*All screenshots, except the video, are all taken by Bahman ( {Pirates} Bahman ). He is also the creator of this guide and the Verdun player with the same name.*

For a detailed NCO section, check out How to Play NCO (In Pictures)
3
   
Award
Favorite
Favorited
Unfavorite
Don'ts
This British machinegunner is highly visible to the enemy. German sharpshooters will have no problem seeing that huge MG sticking out from no man's land and from their own trenches. The enemy can zoom in, hold shift and shoot at the gun to kill him. So this is a don't.

This French rifleman is extremely open. Standing up like that in front of the trench is a surefire way to get shot - pun intended. - Do not stand in front of the trench, rather stay in cover. Regardless if you are in the attacking mode or the defending mode, one should always use the game's provided cover. There are a plethora of options, such as trench fortifications, barbed wire, dead horses, and foxholes. Even if your opponent has the high ground, and you are attacking high ground, it does not necessarily mean they have the advantage. Mind this, the other side cannot see everything and everyone at the same time.

historical note: The Germans in the western front were typically positioned in high ground when both sides got bogged down starting September 1914. The great armies dug down wherever they were and created the meandering trenches that can be still seen today.
Source and further reading: http://en.wikipedia.org/wiki/Trench_warfare

This British rifleman is completely open, although he is using effective cover to his left, his right and front are completely open. The central power soldier can just aim his rifle at his weapon and take potshots at him. The open logs to the right facing me, which makes a corner, is a better protected position to shoot from and to fire upon the enemy line.


This French rifleman is open like a can of beans. Not surprising he died a few seconds after this screenshot was taken. Please always use cover and do not shoot often from the same place.

Summary
  • Use common sense
  • Use dug in trenches as cover
  • Use sandbags as cover
  • Use hidden paths that doesn't put you at risk
  • Use foxholes as cover
  • Use craters as cover
Do's
This French Machinegunner is using fortifications and the sandbags as cover. He is showing minimal body parts to the enemy and is using cover effectively.

Good job Frenchman

This German rifleman to my left is using good cover, fully utilizing fortification defenses and not showing much of his body, while having clear sight of the incoming enemy.

Good job German


This British rifleman is peeking over at the right and hides his entire body from the left and center. He won't get hit this way!

Good job British man


When you need to reload in the middle of a defense, crouch down (press "C") and reload, just like this Canadian gentleman, utilizing his cover fully and not showing any of his body to the enemy while he's entirely vulnerable.

Good job Canadian


Summary
  • When you are attacking the enemy trench, always use cover. See a ditch? Jump in it! See a dug-in pathway? Use it!
  • Contrary to popular belief, dead horses do not provide adequate cover
  • When you are advancing, advance with the group. I hate to say this, but if desperate times calls for desperate measures: use your comrades as shields. hopefully your NCO's use "Q" to call in their officer abilities to help with the snipers and machinegunners.
  • When advancing, keep moving. Suppress fire and move.
  • Try not to fire in one place for long, the enemy can see flashes indicating your location. So try to move side to side every now and then.
Do's AND Don'ts
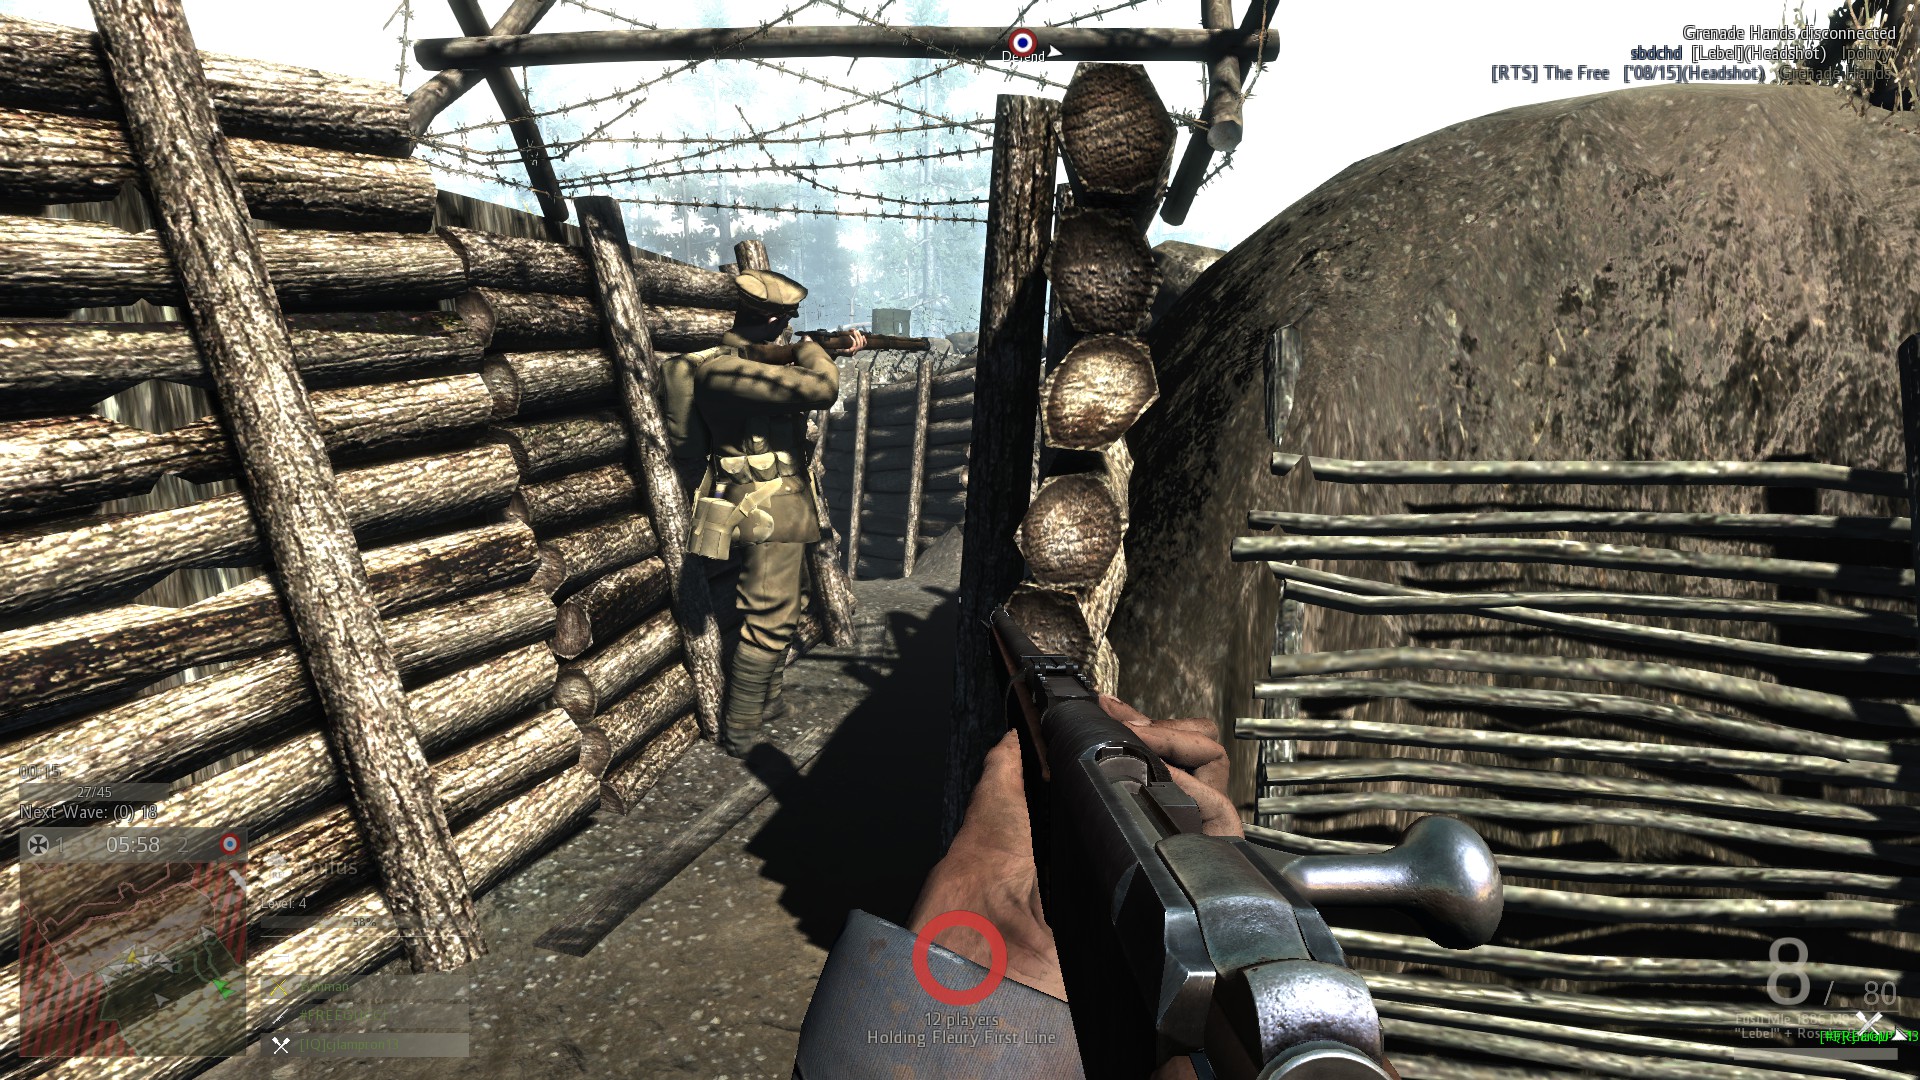
The British rifleman guy on the left is using proper positioning. He is using the sandbags and the little hole in the trench fortifications so he can snipe out the incoming attackers. He is a Do'er!

The British rifleman guy on the right is open, the enemy can see his upper half of the body. In fact, a few seconds after this screenshot was taken, he was shot and killed. He should have stepped down a little bit to reduce his visible body parts. He is a Don'ter.

The British proned rifle guy on the left is in cover. He is proned and shows minimal portions of his body to the enemy. He is alright, though he can be quickly seen on the flanks, he is taking advantage of what little cover is available. To our right however, is a crouching British pistoleer, however, is completely open, so what he's doing isn't recommended.
Wherever I am, the guy with the monstrously big machinegun, is good positioning. I am showing little to no visible body parts to the enemy, but in that particular map, i have open observation to my right.

The two Germans to the right, the officer and the rifleman are using correct tactics. They are using trench fortifications to their favor, and they are able to rain down fire on the advancing enemy showing minimal body parts to the enemy. Unfortunately, the German rifleman to the left, is completely open and can be easily killed for being obvious. Do not do what the guy on the left is doing. Use your cover.
Do's and Don'ts for Attacking Trenches
So great, you've defended your trench against hordes for what seemed like an eternity (more like 3 minutes). The whistle is sounded, and you see in big bold letters "Attack the Enemy Position Now!"

What now?

Go Over the top!

Get to the nearest hole!


Do use cover. The holes created by the relentless barrages of artillery in WW1 are a-plenty, so utilize them as you move up.


Don't stand in the middle of no-man's land Especially if you have atleast two mortar holes you can get inside when the bullets start flying. Like this dum dum (me)
dang it Bahman!

Do's and Don't for Defending trenches
Failed your attack? Don't fret! There's always next time!
Time to take it as it is and let them come to you.

The game offers various trenchworks that can be used for effective defense.
Sandbags, foxholes and barbed wire are just a couple of assets you can use to your advantage.


Yes, Barbed wire.


Look at places in the trenches that jut out so you can stand on them and quickly shoot from those locales and keep moving. It's advisable to keep shooting and constantly keep them on their toes, so keep moving!

Protip: Use A and D keys to strafe, a few inches helps!

  • DO use sandbags, foxholes, and trench fortifications as cover
  • DO keep in mind where barbed wire is at, and where openings of the barbed wire are located, so you know where the enemy (and you) can enter/exit
  • DON'T Run into barbed wire, if you find yourself in that predicament, slowly move yourself towards where you entered into it.
Do's and Don'ts as an NCO
As an NCO (Non-commissioned Officer), your job and your duty is not only to your own safety, but for your own squad and those around you. There are two things you must keep in mind.

You are your squad's spawn point!
and
Stay alive so that you can spawn your teammates!

Your K/D doesn't matter, DON'T go try to rack up kills, as you already earn good experience issuing orders for your squad as well as calling your squad's perks (by pressing and holding "Q")

These planes aren't just for decoration, these were called by flanking/scouting squads, either Alpenjaegers or Chaussers.

As an officer, you can issue orders. Your orders are paramount to your team's success in attacking, suppression and defense of your trenches.

When you issue orders, you have red circles that indicate the location in which you'll cast your ability.
Danger Close means that you've just set mortar coordinates near you. So you need to high tail out of there unless you want to get a suicide 15 point deduction from your score.


Mortars are issued by the NCO's of assault squads, which are; Landsers, Tommies, Poilus. Use them Liberally when defending.


DO NOT use mortars without communicating with your team first when you're attacking! Always communicate with your team (pressing U) so you can coordinate where to place mortars and keep the enemy from setting up their machinegun and sniper positions!


Important
In this screenshot, you see "3 squad reinforcements can spawn near you"
When you see this in faint letters at the bottom of your screen, go to the nearest place you can take cover, crouch/prone and wait
DO wait for the timer to spawn your squadmates so you can move up


Poof! more chair à canon!

Summary
  • DO stay alive
  • DO use cover as an NCO when you move from place to place
  • DO wait for your squadmates to take point, YOU stay behind.
  • DO let your squadmates clear the trench in front of you. Stay absolutely safe.
  • DON'T stay way back and dilly dally, get up near the enemy trench often and always when attacking! when you're defending, it doesn't matter.
The Step-by-Step guide to charging across No-man's land
Screenshots taken from the Entente trench at Picardie during the Build .177 Beta

You have to attack the trench! so what do you do?
Panic?
No!
Go Over the top!

Step 1: Survey the area, kill stragglers from the other side.


Step 2: Advance!

Look for the nearest hole

This looks okay


Move up


Check that out ------>>>>


<<<------ Oooooh cozy! Looks good to jump in!


You got in! Yay! ------>>>>


<<<------ oh man! gotta move!


move now! ------>>>>


<<<------ move up there! its like Gettysburg huh?


If you need to run back because you spot a sniper, rifleman or machinegunner in the trench, make sure you have a backup foxhole. This is an alternative foxhole to move up if you need to. You'd probably die by then, so decide concretely which hole to jump into and stay in it


So great, you're near the trench ------>>>>


^Almost there


As an NCO, you may let your squadmates spawn on you first and let them take point


Last Long Mile!


OMG you're in!!!!
"Shot while proning" and Aiming techniques
One thing to keep in mind is that since it is an FPS, it is easy to miss a couple of shots, so here are some protips

Bullet Drop
The game has bulletdrop so Aim to where you would expect the enemy to be in. This means aiming ahead of him, or to his left if he's running to your left, or if he's running bottom left, aim towards his respective direction

Aiming


Use your iron sights, I am using the SMLE (http://en.wikipedia.org/wiki/Lee-Enfield) in this photo, see that I am aiming down the iron sights. The iron sites are the small round groove flanked by arch-like figures. An additional metal indicator (not shown in this pic) will also help guide the user to his mark, use that particular indicator as your point. Use the rounded groove as your "area of effect".

The following screenshots I am using the German Carbine
For additional clarification, I've added these screenshots from the perspective of another rifle.


For the German carbine, there are 3 metal indicators that will help you aim. These are the iron sights of this specific rifle. In this particular picture, there are 3 mobile enemies, they are running left. What you would do in this case, is aim 1 centimeter (roughly) to the left and up, since in this case, they are running from low ground to high ground.


Using the same carbine, I have two enemies in my sights. If this happens, immediately shift to one and shoot. In an FPS, whoever clicks the fire button first is the one who drops the other. If you want, you can just fire and hope that it hits one of them, because they *May* change their minds, or become erratic, and just start running towards where your reticle is aiming at.


This screenshot is just too up close and personal and in reality, would have resulted in me dead. But this individual wasn't quick enough to use his webley. In this case, fire your rifle as you move the mouse to the right. This ensures you win this engagement. It did for me.

Proning
When you prone, you are stagnant. If you are not utilizing cover, or if you are under fire at the very moment you hit that prone key ("F" or "Ctrl"), then you are still dead
The reason is that from the perspective of the enemy, you still register as standing up, and when they aim down that rounded groove on their rifles, its an "area of effect". So despite what position your in, the enemy will still hit you because of current game mechanics.

Do not prone under direct enemy fire, or if you know the enemy is aiming at you, you will get hit. Especially if your enemy has good aim and doesn't fire a few inches to the side from panicking.
Keep a cool head
In an FPS, it is easy to panic, or
______________________________________________________________________________
However, it is imperative to keep calm

In addition to this, one must also not have a big head.

One must remember that this is a game. You win some matches, you lose some matches. Think of it as a learning experience, learn from your mistakes and your teammates mistakes, and adapt. Your Kill/Death ratio, and your level does not mean anything, but it is the way you compose yourself and how you really have fun in the game that matters.
We in the Verdun community take pride in having an extremely helpful populace. We help each other out, by replying to any questions by pressing Y to type for both factions, or helping our own teammates by pressing U to type, as both Y and U are keys that are preset game function keys for typing communication.

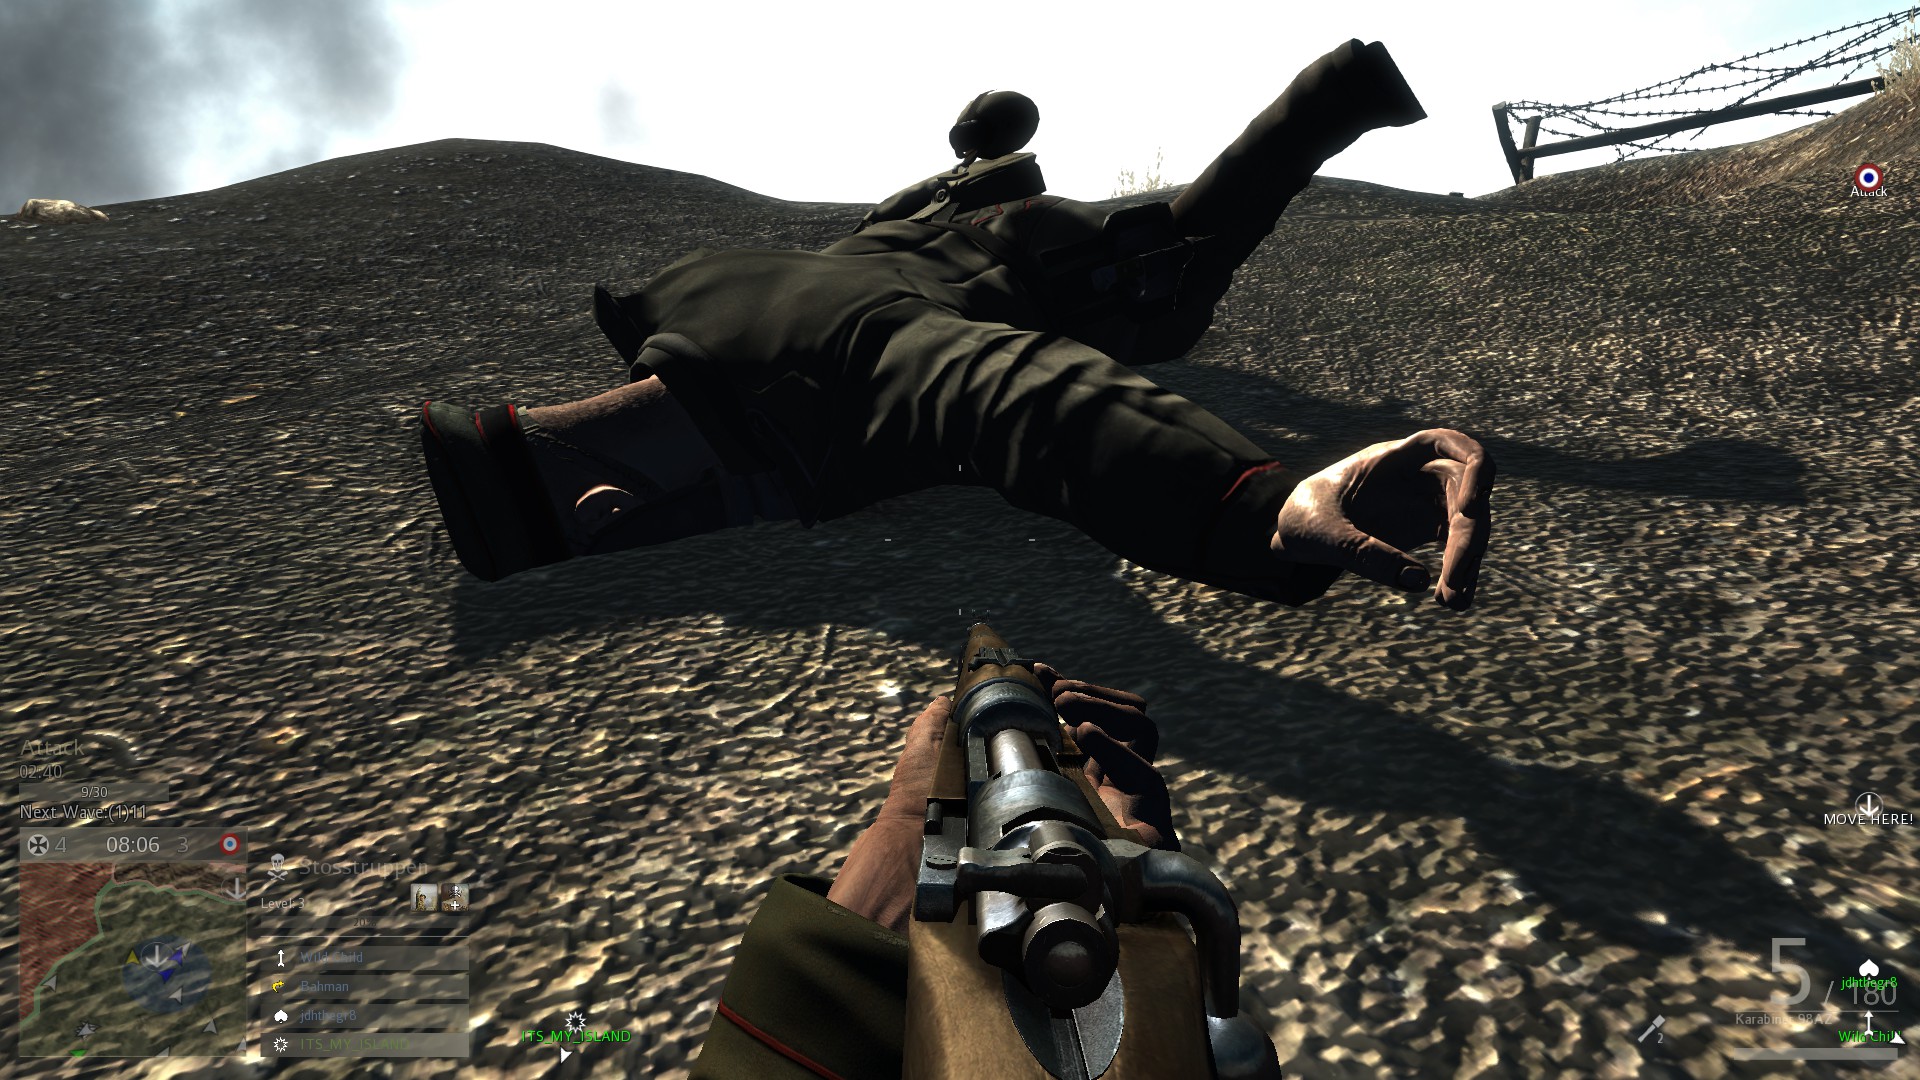
So have fun! Feel free to take up the advice my guide provides, and hopefully you have less of these
93 Comments
TacticalWendigo 19 Aug, 2022 @ 10:14am 
This is a solid guide, but have you considered just running and screaming?
Lilbaby 22 Nov, 2019 @ 1:08pm 
@Kirby just troubleshoot by firing the wex until free
goldengun 27 Jul, 2019 @ 10:46am 
instructions unclear dick got stuck in wex
otherwise great guide
Regius Eques 18 Apr, 2019 @ 10:06pm 
You know what? This guide taught me a lot about how to play this game. I remember reading it awhile ago. What it mostly taught me was how to get across no man's land alive. I've gotten pretty good at it.
Gurei (Gray) 26 Feb, 2018 @ 6:51pm 
I don't know if people still read this, but here are some tips:
1. While defending, try not to get into groups at where the enemies are coming, one grenade and kill all of you guys.
2. Call out where they are coming from, then spread out, while some moving to the place they are coming while some hold down the other sides.
3. Request arty, mortar, don't use gas, it's useless, from the NCO, always use them.
4. Attacking, try not coming from the same point, try spread out a little bit, request for arty to clear the way.
Rusthofen 4 Jan, 2018 @ 7:10am 
still dont know how to effectively spot enemys :/ maby because i play on a 17" screen
okami 3 Dec, 2017 @ 6:29pm 
This guide really helps, however I can't help being killed as nobody in my region plays the game, therefore I either play EU or US servers with other 300 ping
Bahman  [author] 10 Jun, 2017 @ 7:22am 
I play on both EU and NA servers
drronnie 10 Jun, 2017 @ 5:57am 
Sure on which server are you?
Bahman  [author] 8 Jun, 2017 @ 6:57am 
Best of luck, if you have any questions, feel free to friend me and other friendly people from the Verdun Community