
Install Steam
login
|
language
简体中文 (Simplified Chinese)
繁體中文 (Traditional Chinese)
日本語 (Japanese)
한국어 (Korean)
ไทย (Thai)
Български (Bulgarian)
Čeština (Czech)
Dansk (Danish)
Deutsch (German)
Español - España (Spanish - Spain)
Español - Latinoamérica (Spanish - Latin America)
Ελληνικά (Greek)
Français (French)
Italiano (Italian)
Bahasa Indonesia (Indonesian)
Magyar (Hungarian)
Nederlands (Dutch)
Norsk (Norwegian)
Polski (Polish)
Português (Portuguese - Portugal)
Português - Brasil (Portuguese - Brazil)
Română (Romanian)
Русский (Russian)
Suomi (Finnish)
Svenska (Swedish)
Türkçe (Turkish)
Tiếng Việt (Vietnamese)
Українська (Ukrainian)
Report a translation problem


- As you just finish the 5 scenarios, pick Nimdok. In the starting area, interact with the computer. Input password 1945.
- Extend the bridge. Cross over it.
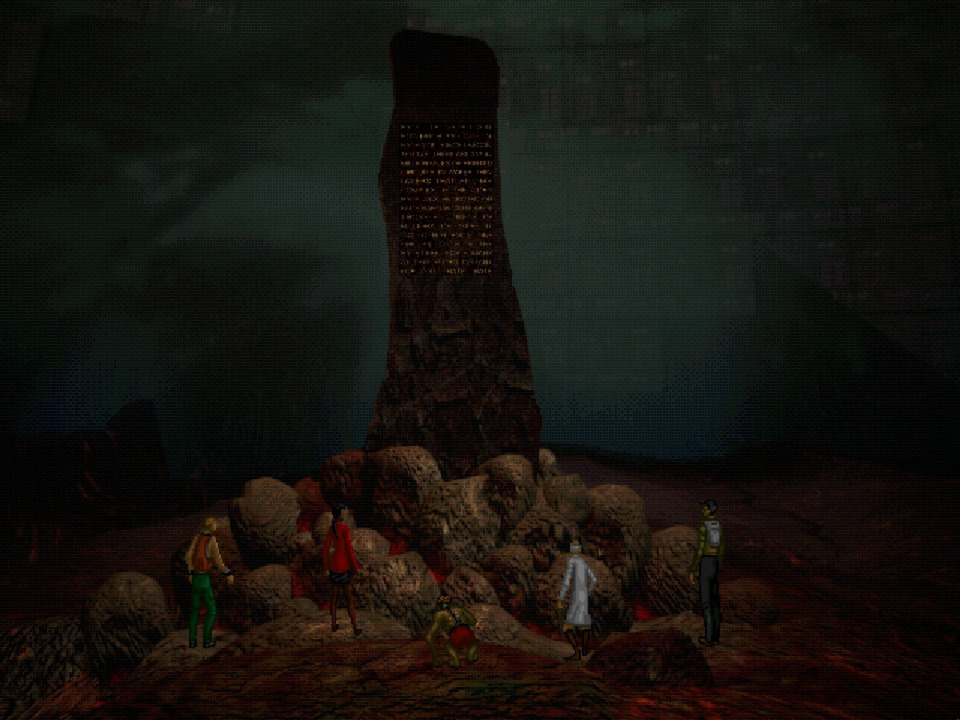
- Invoke the totem of Summoning on the circle. Talk to the grey demon. When he asks for the Totem of Enthropy, refuse. Once he tells you to invoke the totem of Compassion, invoke it.
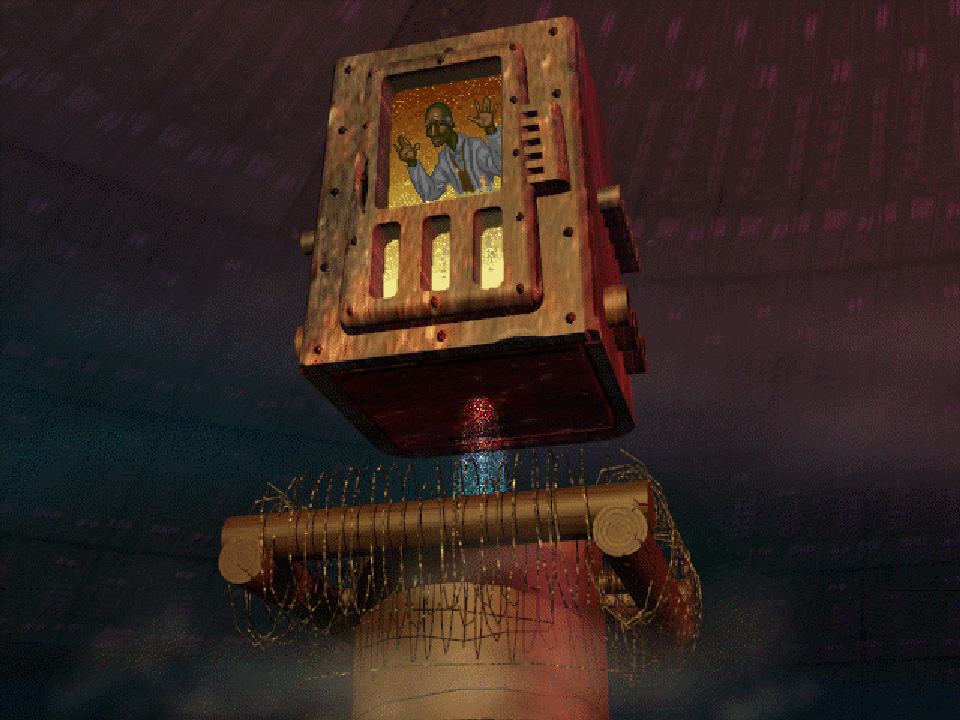
- Leave. Find Superego, awaken it. Talk to it. Once you're done, evoke the totem of Clarity. It inactivates. Leave.
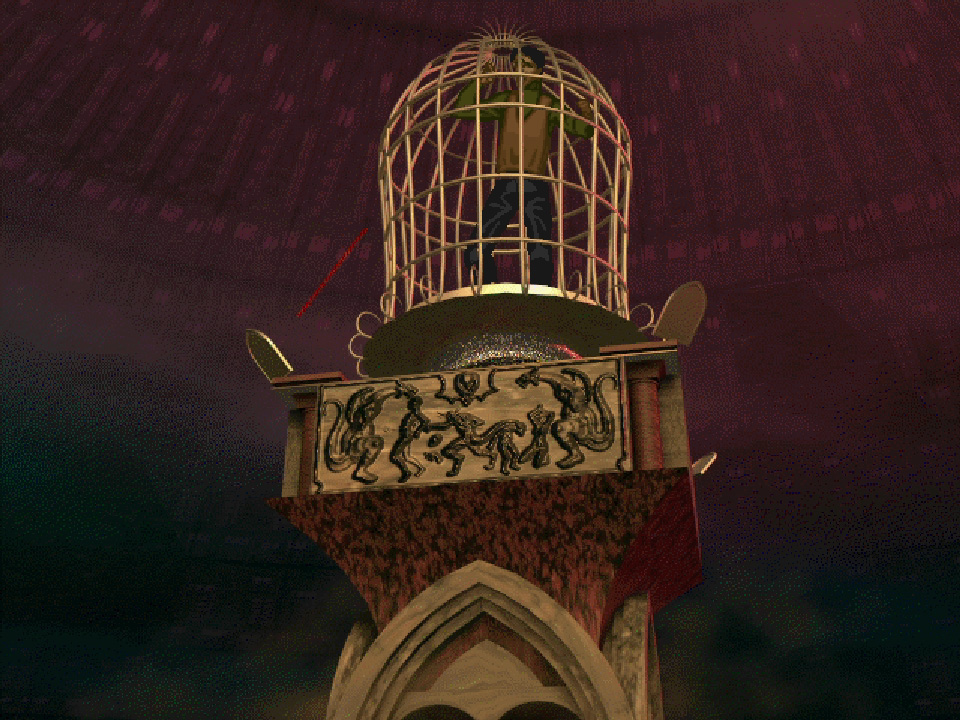
- Find Ego, awaken it. Talk to it. Use totem of Forgiveness. It inactivates. Leave.
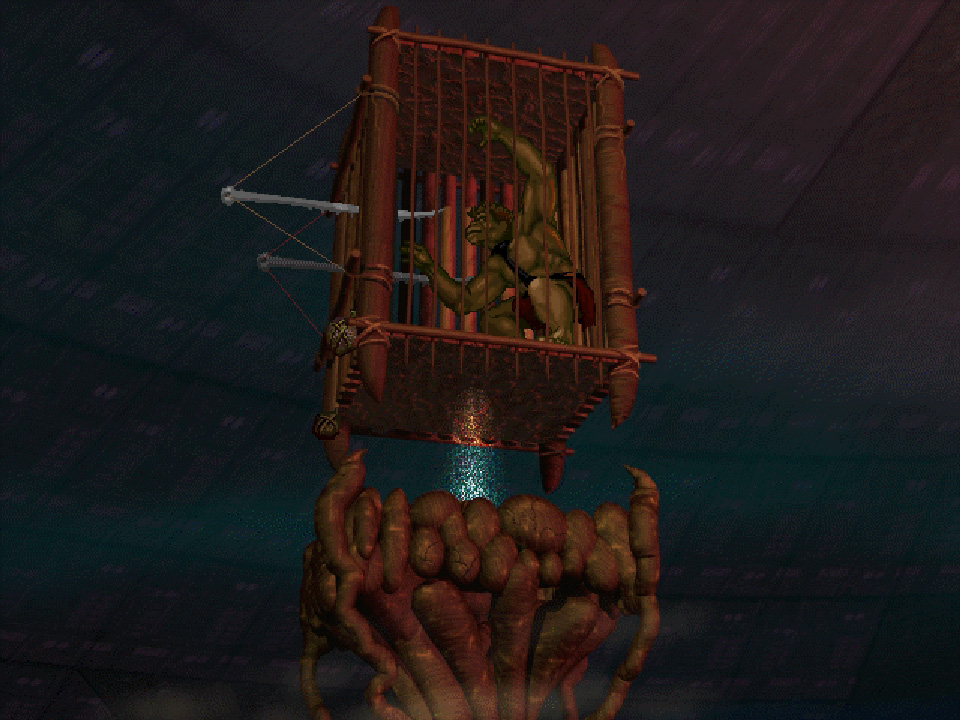
- Find ID, awaken it. Talk to it. Invoke totem of Compassion. It inactivates. Leave.
- Return to the bridge and cross it. Listen to Russian and Chinese talk to Id/Ego/Superego/AM.
- Once AM asks for Totem of Enthropy, refuse it. Do not invoke it, do not give it, just refuse.
- Once they ask for Totem of Enthropy a second time, invoke it.
The entire endgame is missing, beyond just the spoiler parts.
For those who get stuck on Benny's part where you gotta steal the lottery bag - try talking to the boy again. I chatted with the graves, talked to the boy then went back and the elder went out for food, allowing me to steal the bag.
Stealing the bag allows me to bury it with the graves. Talk to Thomas's grave, he will say there is one more person who needs to forgive you, but the grave is behind the vines. Use the vines, it will reveal the grave. Bury the fruit there.
How in the AM Hell do you do the "spoiler tagged" parts of the finale?
[/quote]
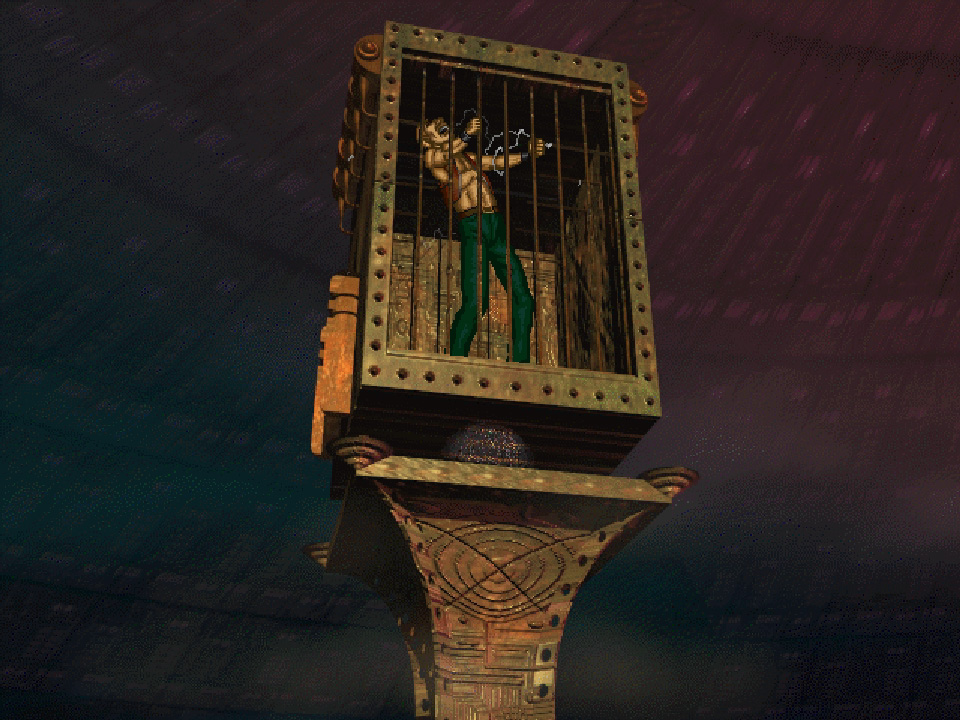
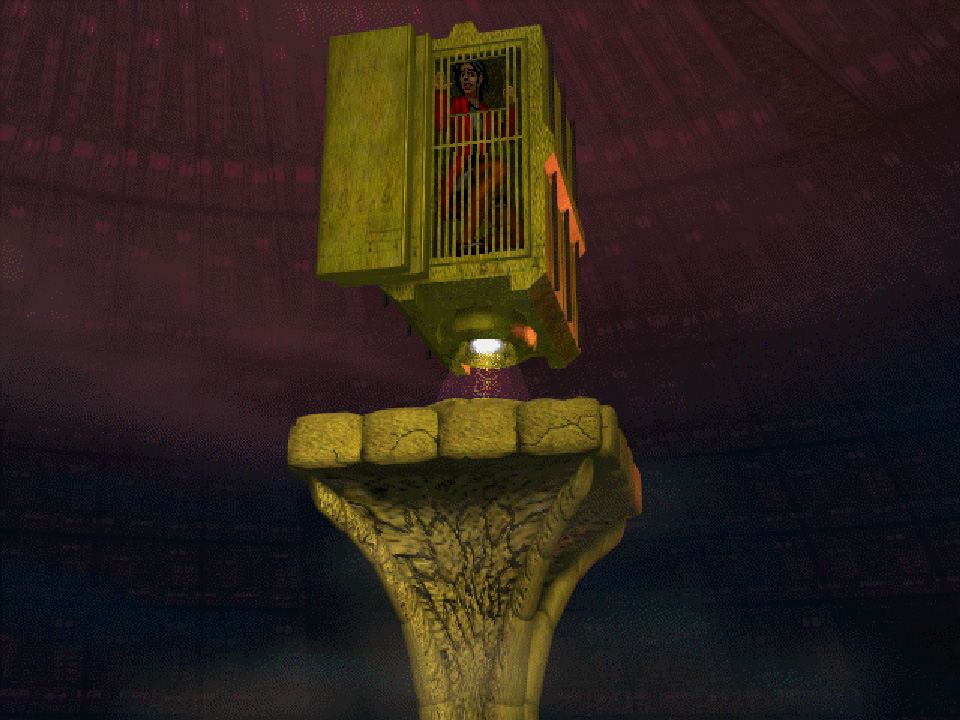
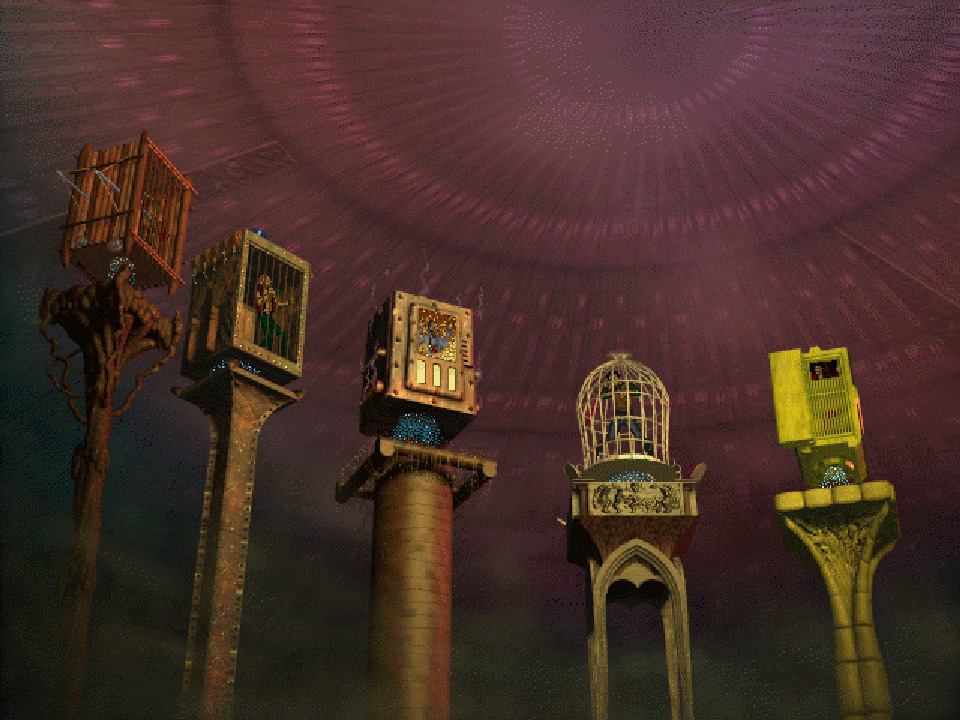
The "green" on the portraits is like health in this part of the game. Things that make it dimmer, like touching things that shock you lower it. If it gets too low, the character dies, and it goes back to the screen where you can select a remaining character to go inside AM.
Ellen:
- For Anubis make sure you talk to, examine, use etc., with Anubis and the sarcophagus. Anubis will talk about facing fears, then Ellen should have a small interaction with the sarcophagus. The option to progress will appear in Anubis' menu after this.
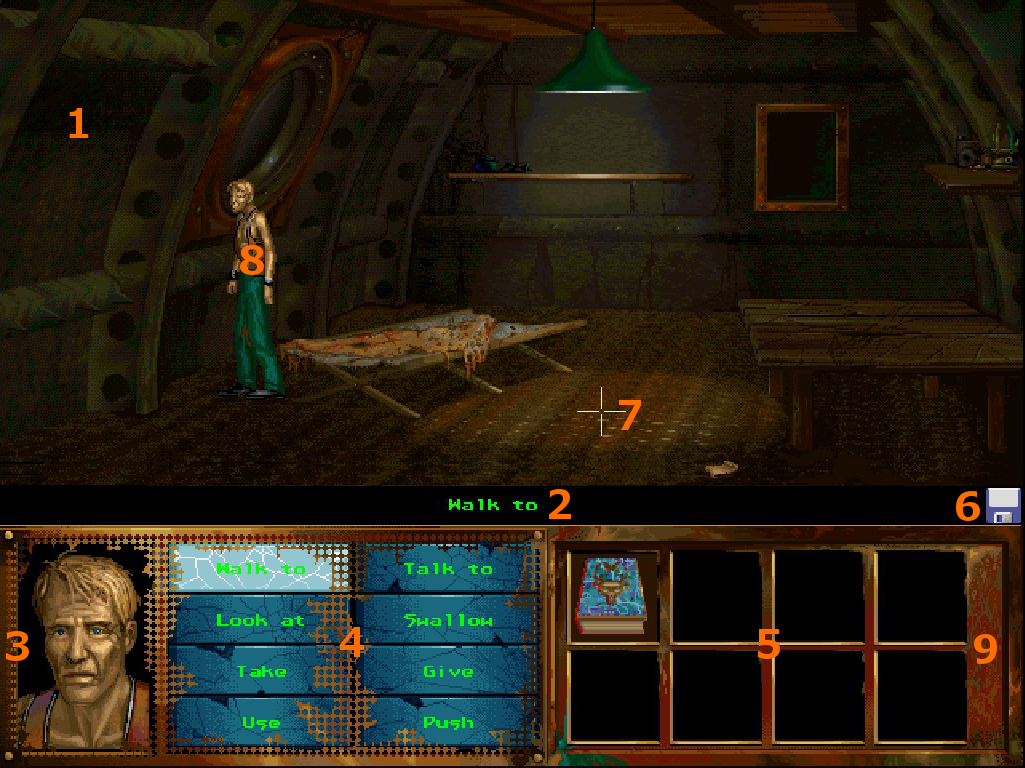
Nimdok:
- Tell the Golem "Time is truth", "Golem wake up", "The truth is, it will always be 1945." and kiss him. He will activate. Do not say any of the other options!
- If you can't transfer the Golem to the Lost Tribe leave him on guard duty, go into the bunker and talk to the Doctor. Use the Mirror a second time so he's stunned again and can't follow you outside. The option to transfer the Golem appears.
Note that these things are in addition to what's already in the guide, you should be able to complete the game without soft locking or experiencing bugs as some have feared. There are just a couple of steps needed with both of the stubborn robot sequences.
after the sacrifice go to the graves, then go to the elder's cave AND THEN the boy's cave. it worked for me so i hope it will work for you as well :)