Lethal Company

Lethal Company

519 ratings
The shovel knight's bible [V73]
By MrJezyk
All aspiring shovel knights, fret no more.
The holy scripture has arrived and you will be a full fledged shovel hero by the end of this guide.

Now with extra tips and clips!
19
10
25
13
3
5
4
4
2
6
3
3
3
2
2
   
Award
Favorite
Favorited
Unfavorite
Introduction to our holy cause
So you want to be a shovel knight huh? It is indeed an honorable undertaking.

Make no mistake, it is not an easy path. There will be many ups, downs and deaths. But without a doubt will not only your chances of survival but also those of your friends rise once you have officially been knighted after reading this guide.

First I will lay down a two key tenets we should all strive to follow as a shovel knight.

1. ALWAYS take a shovel with you to the facility if physically possible.

2. Strive to protect your teammates. watch their front and backs for them. The only excuse to not be protecting them is when you charge the enemy head on to preemptively kill them before they can pose a threat to you and your team.

That being said let's get into the part you have all been waiting for. The combat instructions.
Shovel combat overview
First I will tell you the basic of basics. When you hold left mouse button with the shovel you will prepare a hit and when you release it you will swing. You are not slowed while preparing your hit but charging longer also doesn't deal extra damage. When fighting a monster you should always prepare your hit so you can hit right when it enters your range.

What does affect your speed is the weight you are carrying. I usually carry a shovel and a pro flash plus any loot I've found. When about to fight a monster you should drop your loot so you are faster and consume less stamina. You can pick them back up after you've killed the enemy.

Also important to note is that employees have 100hp and when you are below 20hp you become "critically injured" which can be seen by a popup on screen. While below 20hp you slowly regenerate (1hp/s) back up to 20hp. When you drop below 10hp you will limp which makes you very slow and unable to sprint. You will also leave a trail of blood which is only visual. These effects remain until you’ve regenerated health.

There is also a funny little mechanic where if you are not critically injured and take a damage instance of less than 50 damage which would kill you, you instead drop to 5hp. This means that if you let your health regenerate you can always survive at least 1 hit from enemies that deal less than 50 damage.

Thats about it for the basics. Now I will list each monster, how hard it is to fight them and how many hits it will take. Afterwards will come an in depth explanation on how to kill every killable monster individually.

Name
Difficulty
Hits
Hoarding bug
Very Easy
2
Snare flea
Easy
2-3
Thumper
Easy
4
Masked
Medium
4
Bunker spider
Medium
5
Nutcracker
Medium
5
Baboon Hawk
Medium
6
Butler
Medium
8 (2 in solo)
Eyeless dog
Hard
12
Bracken
Very Hard
3
Forest giant
Very Hard
38
Maneater (adult)
Extremely hard
5
Sapsucker
Cheese only
28

Invincible monsters
Circuit bee
Coil-head
Earth leviathan
Ghost girl
Mask hornet
Spore lizard
Slime
Jester
Hoarding bug
  • HP: 2
  • Damage: 30
  • Noteworthy traits: Can pick up loot and bodies
  • Difficulty: Very Easy

First up are hoarding bugs. These little guys should not be a big problem unless they are in a really big group.

They are not hostile when you first meet them and they only attack after you are too close to them for ~3 seconds, steal something from their stash or attack them first. Since they only have 2 hp I recommend attacking them first because you will have taken half of their hp before they even become hostile. When you do attack them they drop any loot they are carrying so when they walk by with loot you can bonk them and take their stuff.

Also if you want you can drop them an item and follow them to their base and kill them there to get the entire stash. Be careful when there are multiple but with the following tactic you should still be able to kill them if there are a few.

Fight tactics
After they become hostile they will charge at you. their turn rate is not that great and their acceleration and deceleration takes a little time so you can just sidestep their charges and orbit around them to kill them easily

If needed you could even just tank them and hit them, you will literally out-dps them unless there are multiple but I will advise to just use the tactics above to kill them because a true shovel knight shouldn't be taking damage from lousy mobs.
Snare flea
  • HP: 2 (sometimes seems to take 3, I am not sure why)
  • Damage: 5/s
  • Noteworthy traits: Latches onto your head making you drop your items and heavily obscuring vision
  • Difficulty: Easy
The snare flea is an enemy that preys on lone and/or shovelless employees. This should not be a problem at all for you since you should always be carrying a shovel and should try not to be alone.

The snare flea attaches to the ceiling and waits for unsuspecting employees to walk beneath it and then strikes. If it latches on to your head you will drop all items and take damage for as long as it stays on. It takes about 20 seconds before you actually die I believe so there is plenty of time for counterplay.

If you can spot before it jumps it is very easy to kill and if it jumps on someones head you can get it off by hitting them with the shovel. It would almost be wrong to call killing these guys a fight but nonetheless I will tell you how to do it.

Fight tactics
If you spot them before they jump on someones head you can bait them to jump down by coming close and retreating a bit. They are very slow so you should have no problem just hitting them while walking backwards. Try crouching while doing this, it makes it easier to hit them since they are so small. Once you land a hit they will stop chasing and run away so you can safely chase them down.

If you only spot them after they have latched on to someones head you can just hit it with a shovel and it will run away. Chase it down to make sure it dies. If it happens to land on your head ask a nearby teammate to pick up your shovel and hit it off of you.

In the (hopefully rare) case it latches onto your head while you are alone you can crouch down and try to pick up your shovel from the ground and hit it off of yourself. Just crouch and look around with your mouse until you see the E - grab prompt and then grab it and swing. This is easier if you have a stop or yield sign because you can scan them to see them easily while the flea is on your head.

In case you get caught by the snare flea with no allies or weapons your only hope is exiting the building through the door or getting teleported out. Both options kill the flea for some reason.
Thumper
  • HP: 4
  • Damage: 40
  • Noteworthy traits: Has a very high max speed but takes a while to accelerate and turns slowly.
  • Difficulty: Easy


The thumper may be intimidating at first but is quite easy in my opinion once you get the hang of it.

The thumper speeds up the longer it walks in a straight line but it's turn rate is very slow so you can sidestep it and it will probably hit a wall. When it does hit a wall it gets momentarily stunned which resets it's speed. This also happens when you hit it with a shovel and it's speed also resets when it sees a player for the first time while patrolling. We can use all of this in our favor.

Fight tactics
To kill the thumper you basically want to keep staggering it. Do this by standing against a wall and sidestepping the thumper when it runs at you so it hits the wall. When it gets staggered by hitting the wall walk up to it and keep hitting it. While hitting it I recommend orbiting around it because of its lackluster turnrate or slightly backpedaling to avoid it getting a cheeky hit in.

Masked
  • HP: 4
  • Damage: Attack kills regardless of health
  • Noteworthy traits: Converts employees into other masked. The conversion animation is cancelable
  • Difficulty: Medium

Now this one is a bit of a doozy. The masked, also known as mimics to some, as that nickname suggests, mimic players. They look like a player with the normal outfit except with a mask on. I should also mention they can use doors to get in and outside the facility, unlike all other mobs.

Their AI likes to walk around until it finds someone and when it does it will stand still for a second and then aggro onto them. The masked can both walk and sprint at the same speeds as an employee. It will sprint at random intervals which can easily catch you off guard.

When it does catch you it will grab you and will convert you into a masked aswell with an animation that lasts about 3 seconds, killing you regardless of health. This animation can be stopped by hitting it with a shovel though, so this can provide an easy way to kill them.

Fight tactics
The preferred way to kill them is having an ally be targeted by the masked and then just killing it while its chasing or attacking them. You can literally just have them start the animation on your ally and hit them 4 times in a row to kill them. Unlike with the snare flea you won't drop your items if it grabs you so if the only one with a shovel is being targeted I suggest dropping the shovel to let the other kill it risk free.

This is because killing a masked on your own with a shovel can be relatively risky. The strategy is simple: you have more range than them so just keep hitting them while staying out of their range. The problem is that they will randomly have intervals where they sprint so if you don't react fast enough by sprinting yourself they can get you like that. A more safe option might be to go in for a hit just after they have stopped sprinting but I don't know how long the cooldown is before they can start sprinting again, if there even is one. In any case stay alert when fighting masked alone.
Bunker spider
  • HP: 5
  • Damage: 90
  • Noteworthy traits: Spins webs in an area they have designated as their nests. Gets a small speed boost when dropping to 2 HP and another one at 1 HP.
  • Difficulty: Medium

The bunker spider is relatively straightforward. When it spawns in it will start making webs in an area. These webs will severely impair your movement on contact and will alert the spider to come kill you. It will also attack if you get too close to it even without touching a web.

Spiders usually just wait around near their webs and can also cling to walls when waiting. When chasing they usually will not go too far from the nest.

When you get them to 2hp and 1hp (out of 5) they will get a small speed boost.

Fight tactics
The easiest way to kill it is by just walking backwards while hitting it. Their movement speed is almost identical to your walking speed and if it gets too close just tap sprint a little bit and then continue. Be aware of their small speedboost at low hp because you will likely need a little bit of sprinting to avoid getting hit.

Be aware of your surroundings when killing these because their 5 hp means you will take a bit longer to kill them than most mobs, so you should have sufficient amount of room (like a long hallway) behind you so you can kite them without walking into something. The reason that I have put them as medium difficulty instead of easy even though the strategy is relatively straightforward is because they deal a lot of damage. They deal 90 damage out of your 100 hp meaning 2 hits kills you or just 1 if you were already damaged. So making sure you have enough room is vital because a small mistake or misstep can get you killed against these guys even though the fight in and of itself is quite simple.
Nutcracker
  • HP: 5
  • Kick damage: Instant kill
  • Shotgun damage: kills instantly at close range but damage drops off if you go further away.
  • Noteworthy traits: The only enemy to have a ranged attack (in addition to its melee attack). Blind while patrolling. Goes in a frenzy mode at 1 HP (quicker reload and faster shooting). They drop their shotgun with two extra shells on death.
  • Difficulty: Medium

We have finally arrived at the nutcracker, my favorite enemy to kill by a long shot.

The reason for that is that these guys drop their shotgun and two extra shells when killed. The fight seems scary and hard for the unexperienced employee but a battle hardened shovel knight can kill them pretty reliably without too much effort.

Nutcrackers patrol around making loud walking noises as they go, and they are immune to all damage while patrolling. If they happen to walk into you they will instantly kill you with a kick. When they stop walking their head will lift up and reveal an eye underneath it, when this eye is out they will be damageable. Moving (this also includes moving your camera!) while in their line of sight when they are looking around will trigger their combat mode.

When in combat mode they will try to walk so that they have a clear shot of you and when they do they will stand still for a second to aim before firing. After two shots they will have to reload which takes about a second or two. If they have missed two shots they will also start to aim and walk at the same time, not stopping to shoot anymore. They will still be immobile while reloading however. When the nutcracker drops down to 1 hp their aim speed and reload speed will get a significant increase so watch out for that.

Their shotgun has a little blind spot where they cannot hit you if you crouch right in front of him under the shotgun. If you get too close though he will take a step forward and kick you.

Fight tactics
There are 2 main ways to kill them, playing peekaboo and hitting them while reloading or making use of their shotguns blindspot. I prefer the latter so I will explain that one first. I am also working on a very short video to display here so you can see the exact spacing you need to perform these tactics so stay tuned for that.

The first step for both tactics is to get them in combat mode. To achieve this I usually wait until they stand still and then hit them once while they are looking away to get a free hit in. You can also just walk into their vision to have them engage you or even hit them while they are patrolling (this hit will deal no damage) but the last strategy is highly risky because their movement is unpredictable and if they happen to walk into you while patrolling you will be dead instantly.

To kill them using their blindspot sprint up to them and crouch under their shotgun as they are about to fire. Meanwhile keep hitting them. When the shot is fired you need to leave the blindspot so they once again start trying to shoot you instead of walking up to kick you. You can do this by walking backwards a little bit and then forward into the blindspot again or by standing up for a bit and then crouch back down. you should already be able to kill them after they have fired their second shot. I however like to time my hits so that my 4th hit is after their second shot so they start their reload without being in their 1hp buffed state and then letting them finish about half of their reload before finishing them off so they drop a shotgun with full ammo.
In update v50 this strategy got nerfed because the nutcracker can now point his shotgun slightly downwards. It is still possible however, you just need to make sure you stay a little closer to the nutcracker than previously, and achieving this is only possible when you are behind the nutcrackers feet because his kick has more range in front of him. The nutcrackers upper body can turn 180 degrees but as long as you are behind his feet while doing this strategy it is still possible. Just make sure to be behind the feet and not the direction the feet are pointing!

With the peekaboo method you have them target you and then hide behind a wall and peek out to draw their aim and then get back behind the wall before he shoots. Do this twice so he has to reload and then you can hit him while reloading. When using this strategy you should be especially wary of the buff to aim and reload speed when they are at 1hp. To counter this I would advise doing a 2-1-2 or 1-2-2 tactic when hitting them during reloads. By this I mean that the first time they reload you hit them twice during their reload, the second reload you hit them once and then the third time they reload you hit them twice again which will kill them without ever getting use out of their 1hp enraged state.

After they die I like to take the shotgun out of their hands while they fall to the ground because the safety the shotgun is off when they drop it so there is a chance it fires when the body hits the ground. There is also a chance that the nutcrackers upper body clips through the wall when falling over which will make it impossible to get their shotgun if you didn't take it mid fall.

Small video clip demonstrating the blindspot tactic:

Here's some troubleshooting tips that I found through less fortunate experiences:

Make sure the nutcracker aims at you before entering their blind spot. At first I sometimes entered their blindspot too early which caused them to take a step forward instantly killing me with a kick.

Tell your teammates to run and keep distance when attempt you to kill the nutcracker because many times I dodged the shots by going into his blindspot only to later find out the shots that missed me killed my colleagues. A truly tragic fate.
Baboon Hawk
  • HP: 6
  • Damage: 20 but with a fast attack interval
  • Noteworthy traits: Gets intimidated when you look at them unless they are in groups.
  • Difficulty: Medium

Baboon hawks will usually not attack when they are alone as long as you look at them. When in groups they are more prone to attack you especially if you are alone yourself.

Baboon hawks spawn 2 at a time and all gather together so they might accumulate in large groups. If you spot 2 of them while alone you can decide to kill them before more spawn but if the group is any larger than 2 I don't recommend fighting them by yourself as you will get ganged up on.

The best way to deal with them if they are in a large group is to have a friend with you thats carrying a stun gun, or carrying some stun grenades yourself. But even with that it'll get hard when theres 6 or more baboon hawks so avoiding them might be the best option if such a large group has formed.


Fight tactics
When alone they are intimidated if you look at them so you can walk up and chase them into a corner and smack them a few times. If you tussle too long with one they will attack even when alone so make sure to recognise it when he goes from running away to running at you so you can kite them without taking damage. You have longer range than them and they get staggered a little bit when you hit them so you can just bonk them while backpedaling. After about 6-8 seconds they should run away again so you can try to chase them back into a corner or wait for them to chase you again.

When they are in groups they will attack more often and run away less so it is smart to keep backpedaling and using your longer range to kill them one by one.
Butler
  • HP: 8 (2 on singleplayer)
  • Damage: 10 but with a fast attack speed
  • Noteworthy traits: Only attacks employees who are alone. Will spawn Mask Hornets on death.
  • Difficulty: Medium

The butler is a cheeky geezer that acts like nothing is wrong, sweeping here and there as you explore the mansion. But when it finds you alone with no one to witness his crimes he will pull out a knife and give you the london treatment with no remorse. This cowardly style of attack is an insult to us honourable shovel knights.

Fighting these guys is not especially hard but you have to be prepared and get the first blow. Having a butler charge you when you are occupied with something else will surely spell disaster.

After they die they pop, knocking you back and releasing a swarm of hornets which are immortal. This means you will have to plan ahead and know what you want to do with the hornets. Luring the hornets into a far out corner and closing the door behind you as you run away can get them to stop chasing you, but they will still lurk around that area for the rest of the day. Make sure you have a spot where you want to dump them or only kill the butler at the end of the day when you were leaving anyway.


Fight tactics
When fighting the butler the most straightforward way to beat them is just backpedaling and hitting them while keeping just out of their reach. Your shovel can hit further than their knife.
Be sure to drop all your scrap and other unneccesary stuff before attempting this, because they are pretty fast and will catch you if you are slowed down.

There is a more tactical approach however, that makes use of doors. Just get one to chase you and slam a door shut between you two. Butlers struggle a bit opening doors and if you hug the door and keep swinging your shovel you can knock them dead through the door.

There are also a couple of spots on maps where you can hit them without them being able to reach you, but there are too many to list in this guide, so don't be afraid to test a bit for yourself. A good example is that they can't get you when you are standing on most generators.
Eyeless dog
  • HP: 12
  • Damage: instant kill
  • Noteworthy traits: Cannot see and will only go after sounds.
  • Difficulty: Hard

Often times I would advise against fighting these dogs unless you are on the ship and can use the cheese strat described later in this section. Killing them can really help your team though especially if there are giants or earthworms outside because those are especially dangerous in combination with dogs.

It is possible to fight one outright but it is difficult and if there are multiple it becomes practically impossible. There is also always a risk of an ally getting hit by a dog's charge while you are messing with it. because of this I have put the eyeless dogs in the hard category but I considered dropping it down a tier because there is a cheese strat where you can hit them through the ship door to kill multiple without any issues. This strat is very map dependent though and may or may not be patched in the future so I decided to keep them at hard.

As you probably know the dogs cannot see and so only hear sound. This includes talking, dropping items, walking, running, item sounds and more. Contrary to what some seem to think they can not hear allies talking through your walkie-talkie.

When they hear a sound they will first go to investigate instead of outright getting alerted. They will walk to the general direction of the sound and walk around there a bit. If they hear more sound while in this state they will enrage, which can be heard by their loud roar. This roar will also enrage other nearby dogs. Touching a dog while they are not alerted will also instantly enrage them and you will probably die.

When they are enraged the dogs will do a big lunge towards the sound they heard instantly killing anyone along their way. You can sidestep this pretty handily but if there are multiple it becomes very hard and they will not stop lunging until they havent heard anything for a pretty long time.

Fight tactics
There are two ways to fight them outside; having them lunge into a wall and smacking their ass until they die and standing in the open and sidestepping their lunges giving them a love tap while they pass. Both of these become basically impossible when there is more than one dog though.

The first one is probably the easiest of the two because you just have to get them to lunge into a wall by making a sounds next to the wall and then sidestepping the lunge. after that keep hitting them and they will keep lunging into the wall for some reason and be stuck there while you kill them. This is not 100% reliable though since some walls they can just get out of. I don't know the exact specifics but most solid and relatively tall walls should work just fine.

For the second strategy you should stand in the open, look at a dog and say something so they lunge at you. Keep your shovel hit readied and hit them while they lunge past you. repeat this 11 more times and they will die.

There is a third strat which is by far the easiest and most efficient but only on some maps. I have intentionally left this one for last because I don't know if it will be patched and because I will list the maps where it does and doesn't work after this. All you need to do is have the dogs near the door of the ship, close the door and then make loud sounds so they lunge at the door. Now you can just keep hitting the door with your shovel and they should die. Watch out if there is more than 2 because you cannot kill them fast enough before the door opens again so at 15% door strength or something go back behind the closet or something in your ship and wait for the door to recharge. If it fails and dogs enter your ship then try running out, making a sound so they leave and then go back in and close the door. I advise that any allies you might have take cover behind a piece of furniture you placed as cover in a corner of the ship because the dogs will not pass through the furniture as long as no one behind it makes a sound.

Here is the list of how well this third strategy works per map in my experience.
Map name
Effectiveness strategy
Experimentation
Questionable
Assurance
Questionable
Vow
Reasonable
Offense
Questionable
March
Questionable
Rend
Effective
Dine
Effective
Titan
Effective

It is effective on every paid map so thats good since you will want to spend as much time there as possible anyway because you can get more scrap there.
Bracken
  • HP:3
  • Damage: Instant kill
  • Noteworthy traits: Tries to sneak up on you and will try to break line of sight if you look at it but if it has trouble with pathing out of line of sight it might charge at you.
  • Difficulty: Very hard

Last but certainly not least we have the bracken. It will come to no surprise I think that I count this as the hardest mob to fight one on one.

The bracken will try to sneak up on you and snap your neck killing you instantly. They make no sound when sneaking up, the only way to stop them from killing you is if you or an ally spots them sneaking around. When spotted they will try to break line of sight again. If you stare at them too long or if they are cornered they will enrage and try to kill you despite you looking at him, instantly killing you if they reach you. If you run far away enough in this state they will give up and go back to sneaking though.

If you were to hit a bracken however they will keep chasing you until one of you is dead. Which is usually you.

Their speed is faster than your walking speed but a little bit slower than your sprinting speed so you can outrun them as long as stamina lasts. They take only 3 hits to kill but its not easy getting those hits in. A skilled enough shovel knight, however, can somewhat reliably kill them in the right circumstances.

Fight strategy
Your only advantage over the bracken is that your sprint speed is slightly faster and the shovel has slightly more range than their attack. The best way to kill a bracken with a shovel in my experience is to find a room with enough space to strafe and orbit around them and then anger them so they charge at you.

When they charge at you you want to strafe hard, if in a wide room I don't even use my s key to run away from the bracken but only a or d. Keep your shovel at the ready and hit them when they walk past you when you strafe around them.

To bait them to a spot where you want to fight them keep the room's entrance where you expect the bracken to come from at the very edge of your screen and make sure you have the other entrances in sight. Then he will come sneaking to the door in the edge of your screen eventually and you can go and get a hit in.

A small gif demonstration:
Sapsucker
  • HP: 28
  • Damage: 10, attacks very fast and keeps getting faster the longer it goes on
  • Noteworthy traits: Protects its nest, can fall asleep or can be busy attacking trees
  • Difficulty: Cheese only

If there is one thing I want you to know about these birds its that they don't mess about. Take my word for it.

They spawn outside on a nest with a couple of eggs. They aren't too hostile unless you come to close to them or their eggs. The bird will keep an eye on you if you get close and once you take an egg they will chase that egg to the ends of the earth until they get it back, letting nothing get in their way. They can tear open your ship's door in a moments notice if you try to hide their eggs from them in there.

They are incredibly fast, deal a lot of damage, are insanely tough and stuns don't affect them for long. As much as it pains me to say this, please don't fight them head on, I don't want to see more fellow knights fall like that.

There is a way to kill them but you will need to use the map to your advantage. There are a few spots they can't reach and we will lure them there with an egg to take them down.

Fight tactics
There are only 3 moons where the Sapsucker is present: Assurance, Vow and Adamance. You have a pretty high chance of encountering them on Vow, but the odds are a lot smaller on the other two.

What we will be doing is waiting for the Sapsucker to fall asleep, or be otherwise occupied, and then take their egg and run to a safe spot. There are a few safe spots on each of these maps and luring them there with the egg is honestly the only reliable way to take them down. If you are in position but find that the bird is running around a bit out of reach, just move forward a little and instantly retreat back to safety, and the bird will come to you.

The most dangerous part of this operation is actually getting to the spot. Make sure you are confident you can get to the safe spot in time after stealing the egg, because if the Sapsucker catches up to you before you reach it, you're in a world of pain. Make sure to crouch towards the eggs while the mama bird is sleeping and crouch away until you have enough distance and then sprint as soon as you hear mama bird waking up.

I will now show a couple of these spots per map, not all of them but the most easy and useful ones. I wish to commend the youtuber, and honorary shovel knight, Bread, as I have learned most of these locations from his video. Be sure to give it a watch if you feel like you need more information than this guide provides.

The spots for Assurance:

Spot 1: On top of a rock on the opposite side of the moon from the ship. Jump on top of the rock from the left side and drop the egg on it. You can sit on the edge of the rock and hit the Sapsucker without it being able to hit you.

Spot 2: on the scaffolding around the ladder. Jump on the rock next to it and then jump on the metal bar. Drop the egg down in the inner corner of the scaffolding and hit the Sapsucker when it gets in range.


The spots for Vow:

Spot 1: The parts that stick out from the concrete bridge. There are multiple, it doesn't really matter which one you pick, just go for the one thats easiest to access at that moment. What is important is that you go as close to the edge as possible and stay crouched so the Sapsucker can't hit you.

Spot 2: For this one you'll need to destroy the rickety bridge first. Then you can stand on a metal beam in the rubble of the destroyed bridge. Be sure to drop the egg toward the inside of the beams and not away from you otherwise the bird may be able to take it. It will look like the bird should be able to peck you but it won't.


The spots for Adamance:

Spot 1: Jump behind some stones next to the main entrance. This is one of the easiest ones in the list.

Spot 2: Next to the fire entrance if you go downhill a little bit there's a ledge you can stand on. Drop the egg a little in front of that and you'll be able to hit the bird without them reaching you.

Spot 3: On the breakable bridge on the side of the ship. You an just stand on the bridge and hit the bird when it comes for the egg. If you came from the other side of the bridge stand on top of the hill for a bit and let the bird approach until it's clear it will path up the hill. Then you can drop down on the bridge and wait to start hitting it.

Spot 4: Our final spot will be down in the pocket under the breakable bridge. You jump onto the rock on the mountain, drop the egg there and start spanking the bird to your heart's content.
Conclusion
Those were all the killable enemies to date.

If you have read this and practice a bit I am sure you will make a wonderful shovel knight.

Remember, protect your teammates even if they say you don't haul enough loot because you carry a shovel. They will be thankful when the time comes.

If you liked this guide and think you learned something please leave a like, favorite and maybe even a nice little comment. It will motivate me to update the guide with more videos, eventually making a video for every monster and also updating it when the game has new versions.

Also if you think something is wrong or changed or have some other kind of question about the guide feel free to leave a comment and I will probably react.


Special thanks to

My friends for playing the game with me and not getting angry if I just run around and murder things.

Wurps for his Lethal company videos which inspired me to make a guide. His videos have a lot of useful information so take a look if you want more tips about different subjects than only shovels.

You for reading the guide and maybe even leaving likes, favorites and comments :)


Update 14-2-2024: I want to thank everyone for their support! Every award, like, favorite and comment really means a lot to me. I have been cooking up some ms paint stuff to bring you guys a new visual demonstration, so check out the nutcracker section for that!


Update 10-10-2025: It's been a while since my last real update of this guide, but I still kept getting nice comments, so thanks for that everyone! My apologies to everyone who I didn't get to answer personally but I've decided to finally answer the call of my shovel brothers and sisters and update the guide. I've already added the sapsucker and the butler, the giant and maneater will be coming in the following days. May this guide help all my honourable shovel knights!

Yours truly,
MrJezyk
54 Comments
TarrWasTaken 11 Oct @ 12:29pm 
Thank you thine brave shovel knight for updating this article for the new beasts
MrJezyk  [author] 9 Oct @ 5:33pm 
Thanks for your patience my fellow shovel knights! I have updated the guide today with the sapsucker and the butler and will add the giant and maneater soon
BathBombViking 4 Oct @ 5:38pm 
An update be needed for thine new beasts added as of newer times...
TarrWasTaken 12 Aug @ 2:52pm 
add the sapsucker
camdenroy 16 Jan @ 5:34pm 
Mweheheh
Keksbutter 17 Nov, 2024 @ 10:27am 
We shall be feared all across the moons,
We shall not fall back, because we must fight.
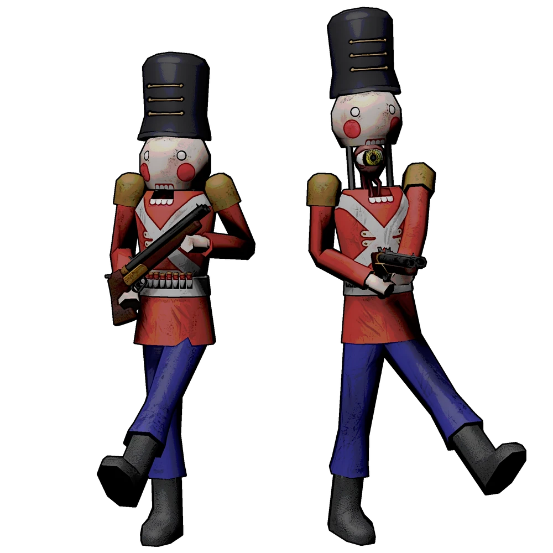
Let us not be fooled through the speed of the british knifes,
and the fire power of the american double-barrel shotguns,
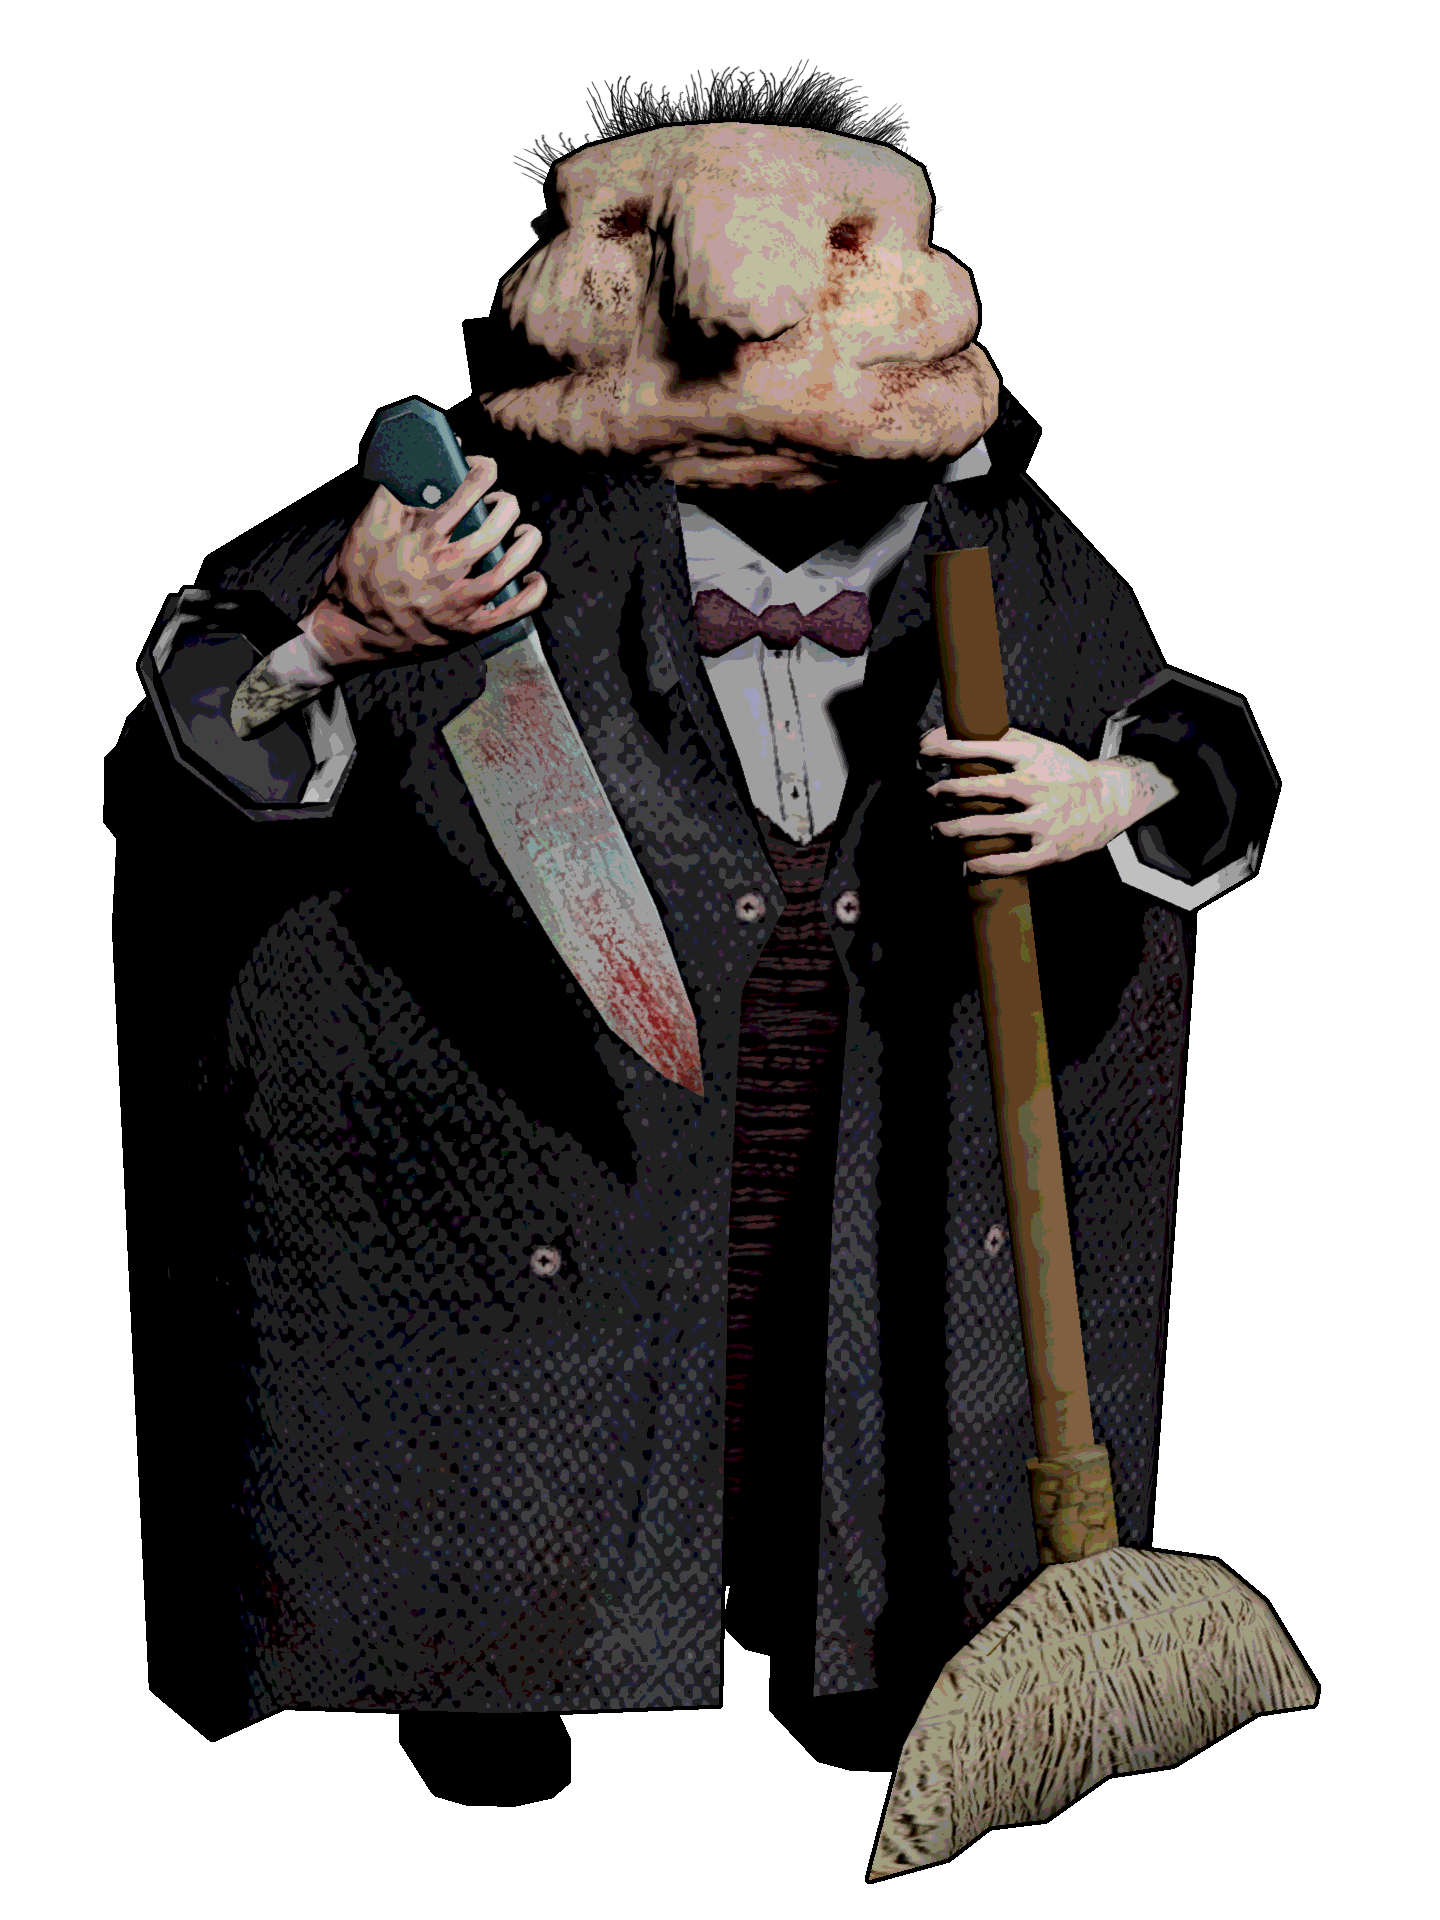
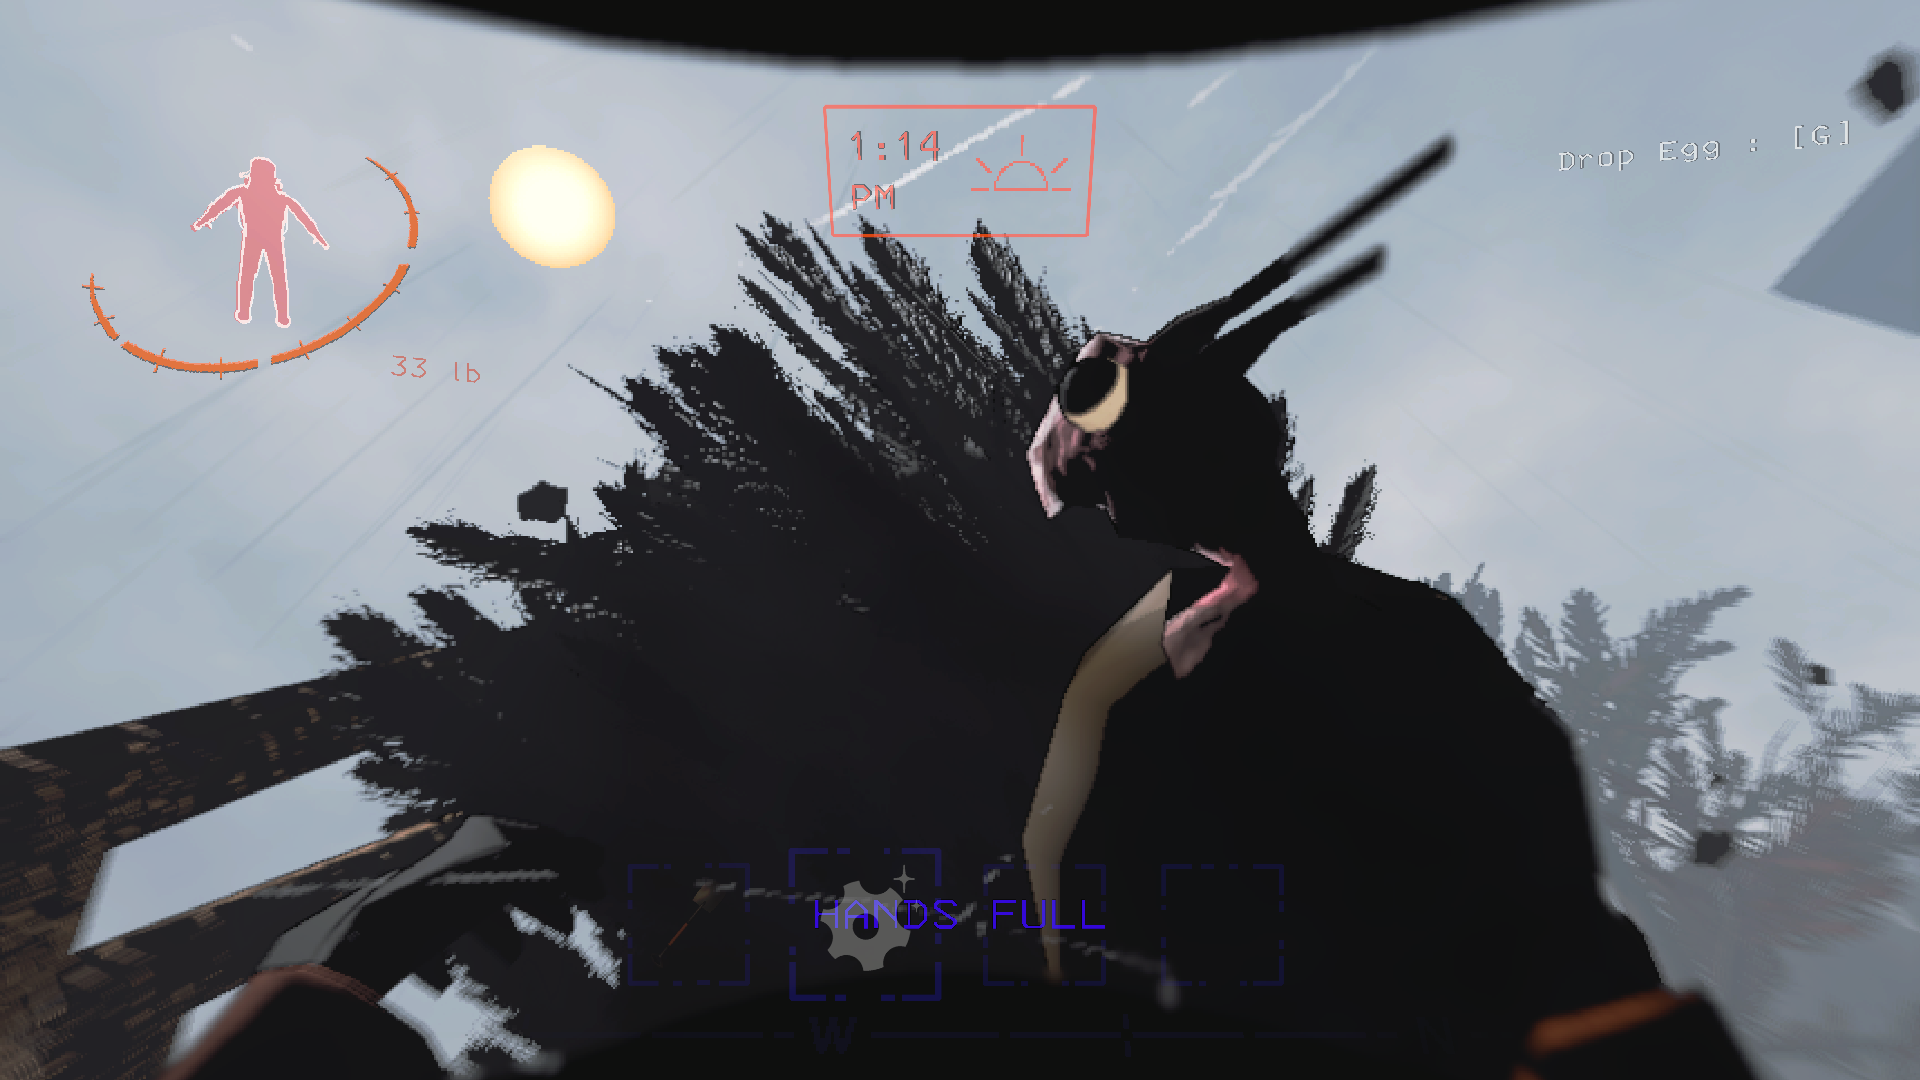
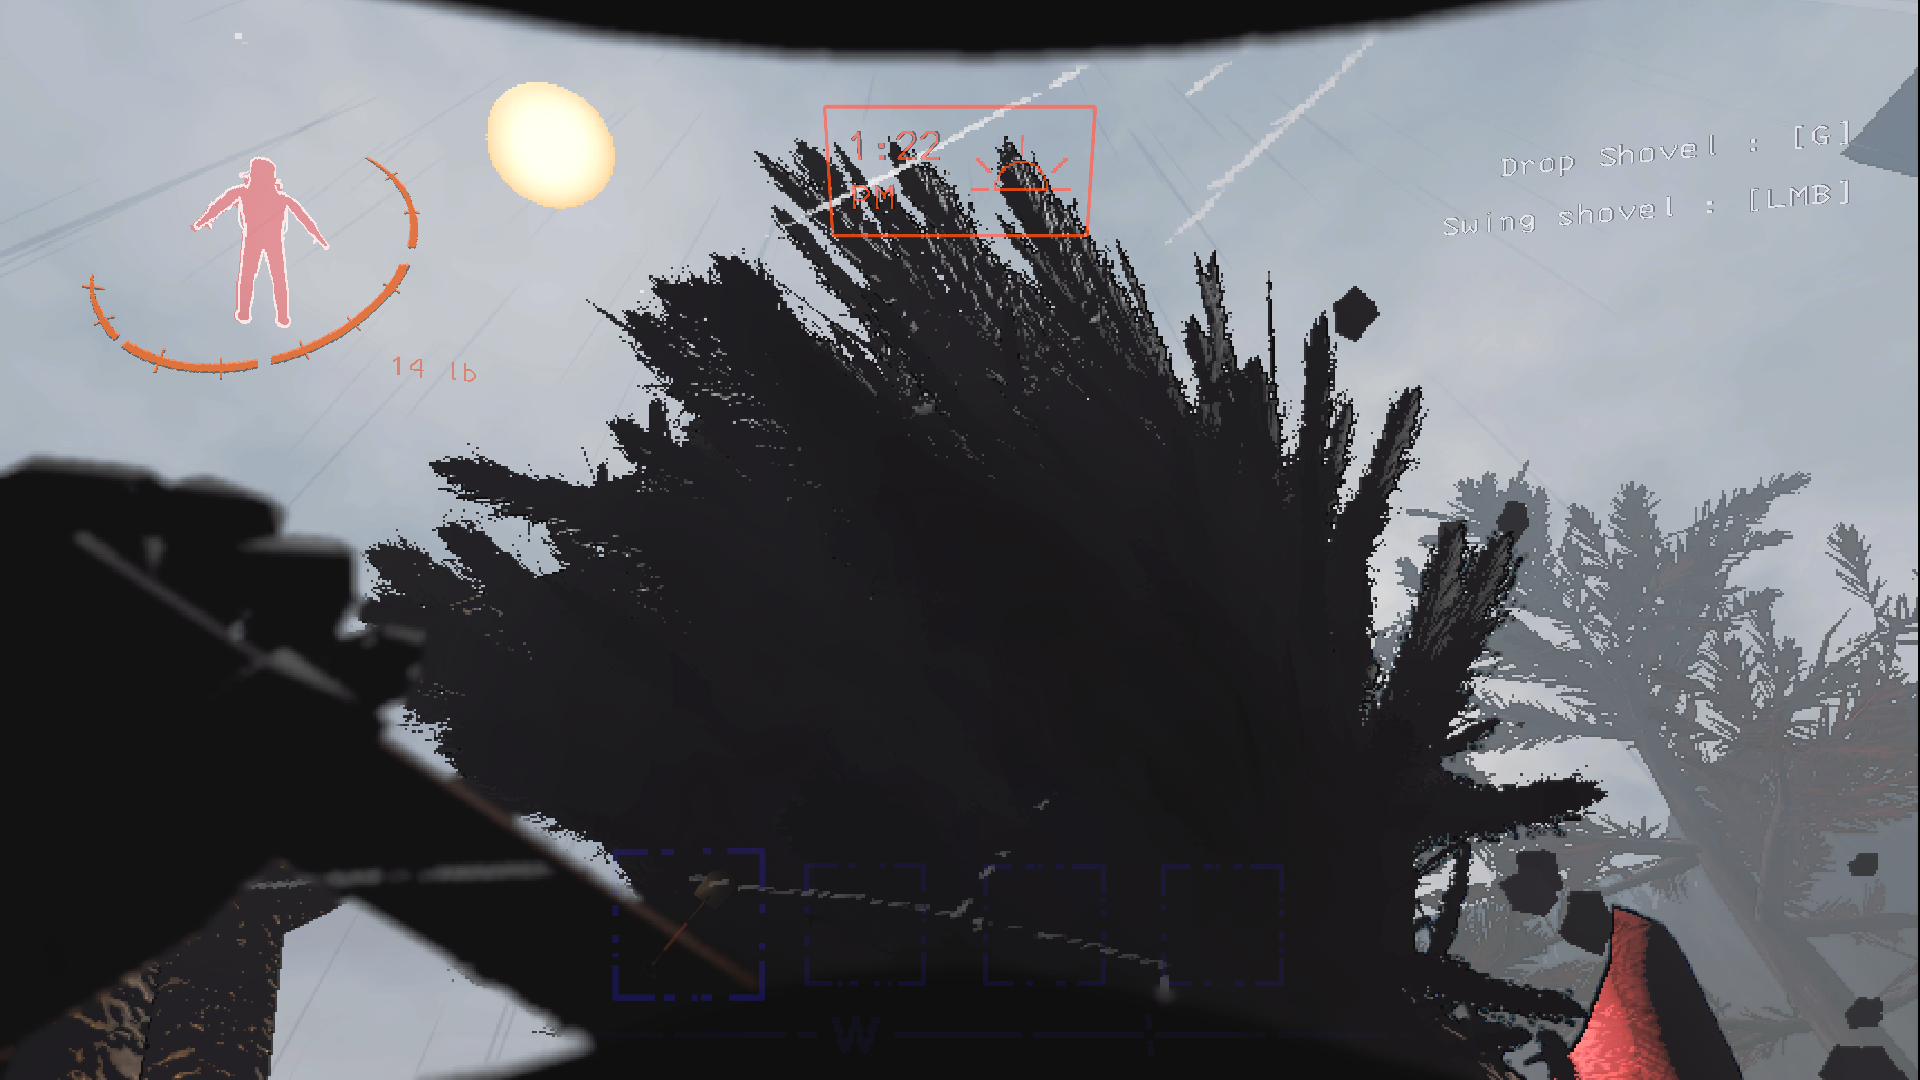
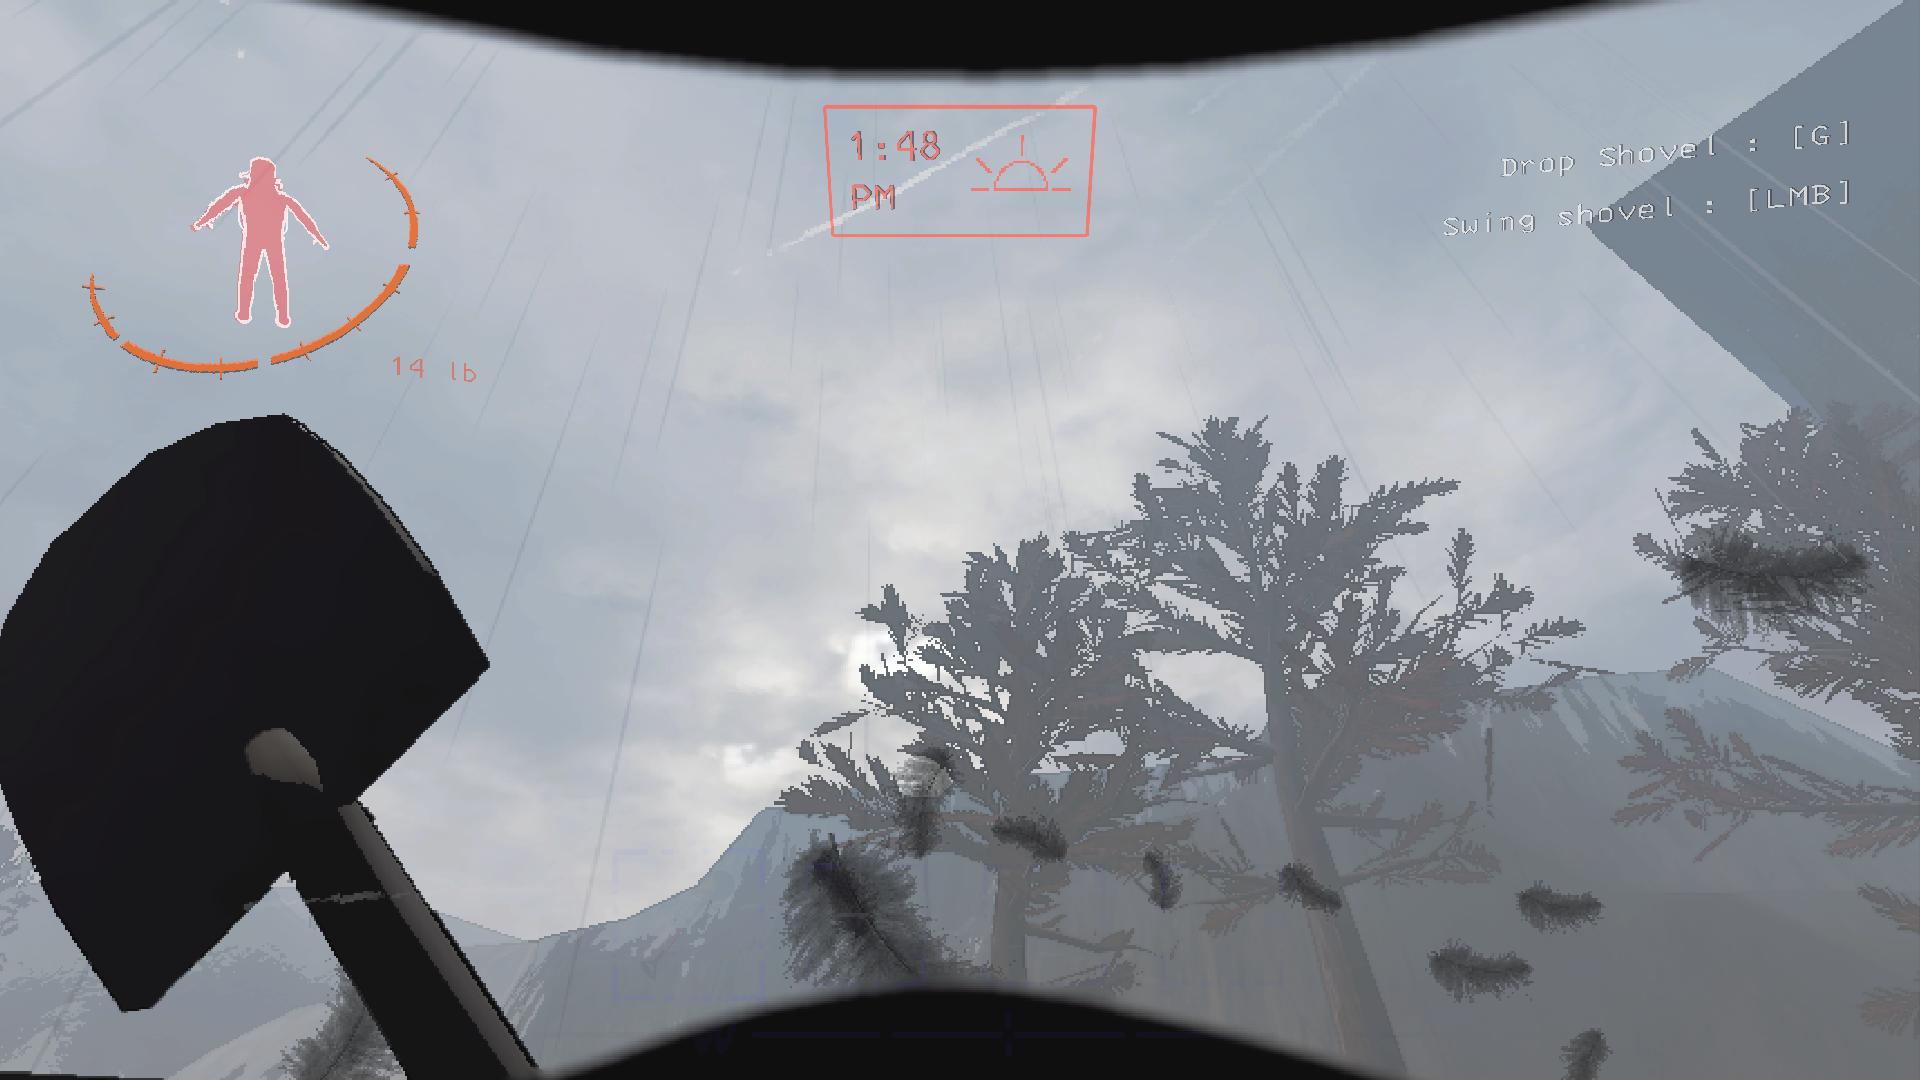
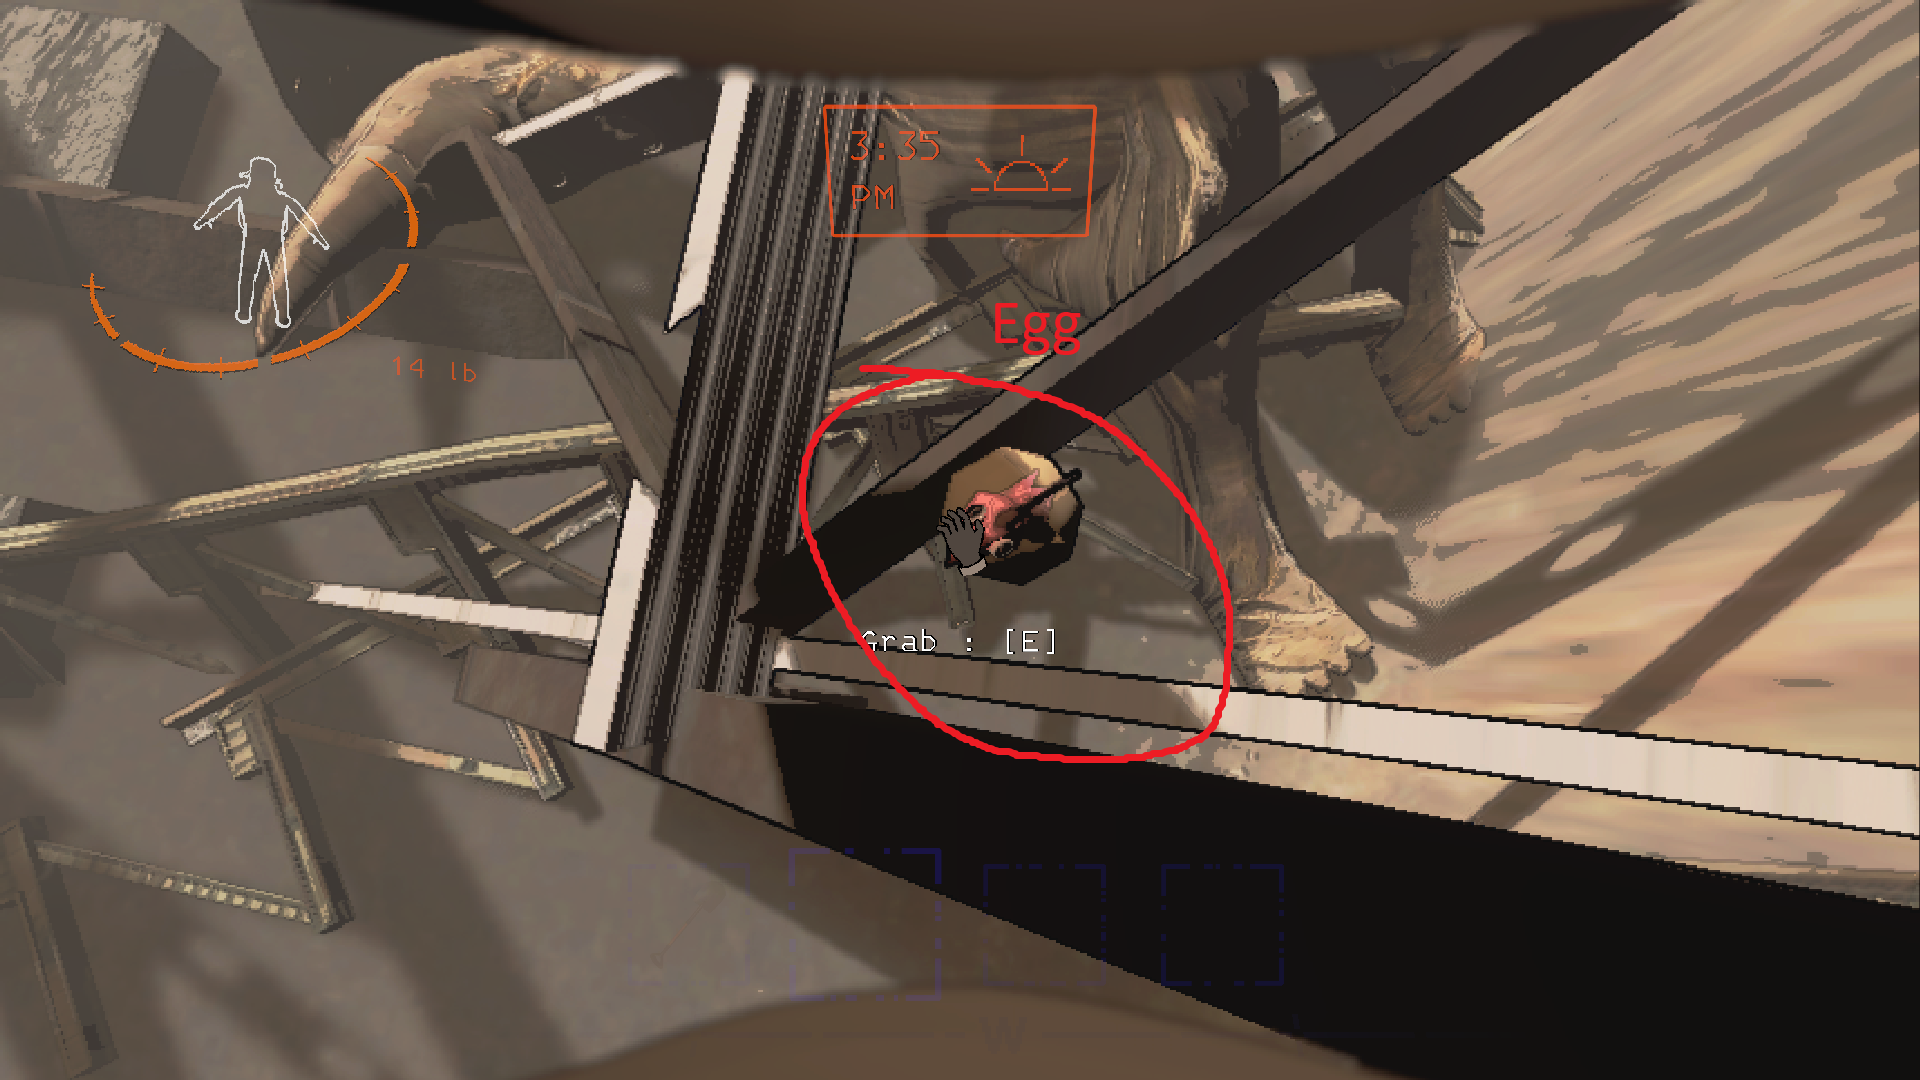
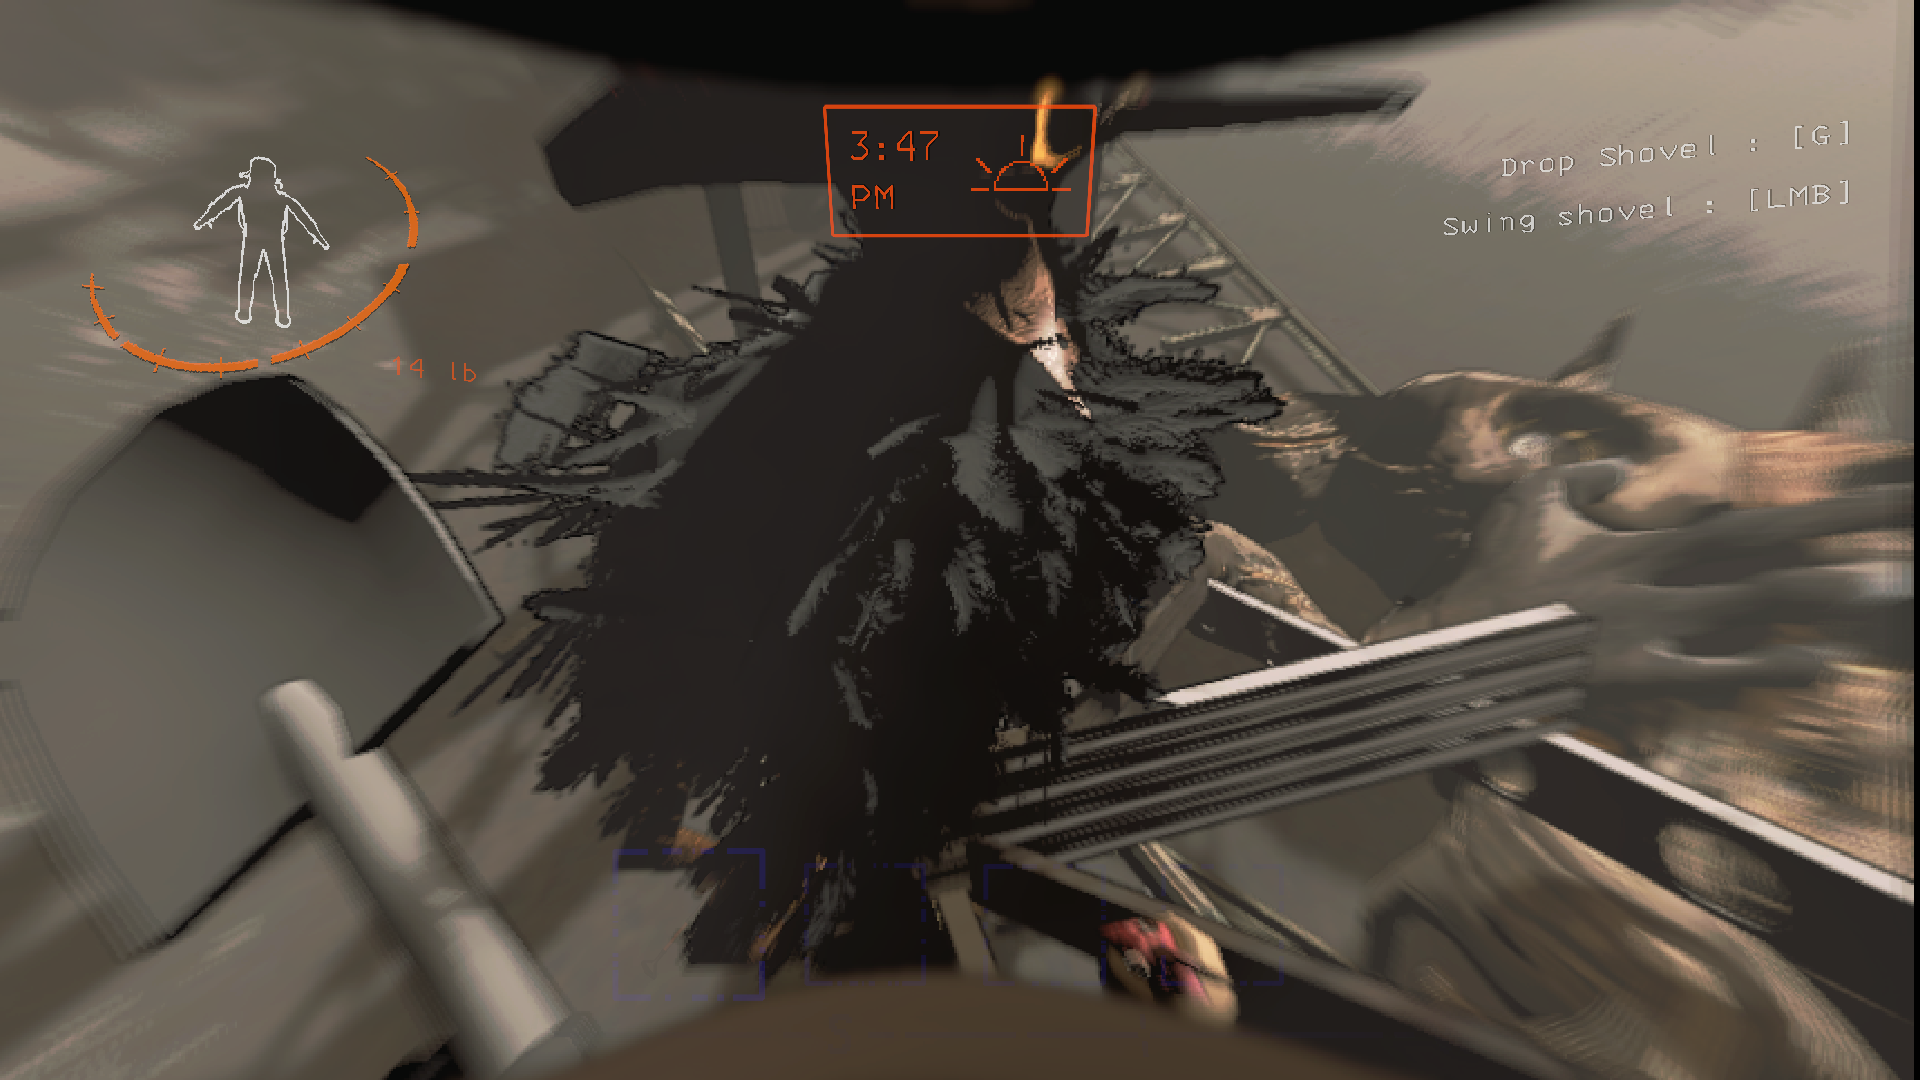
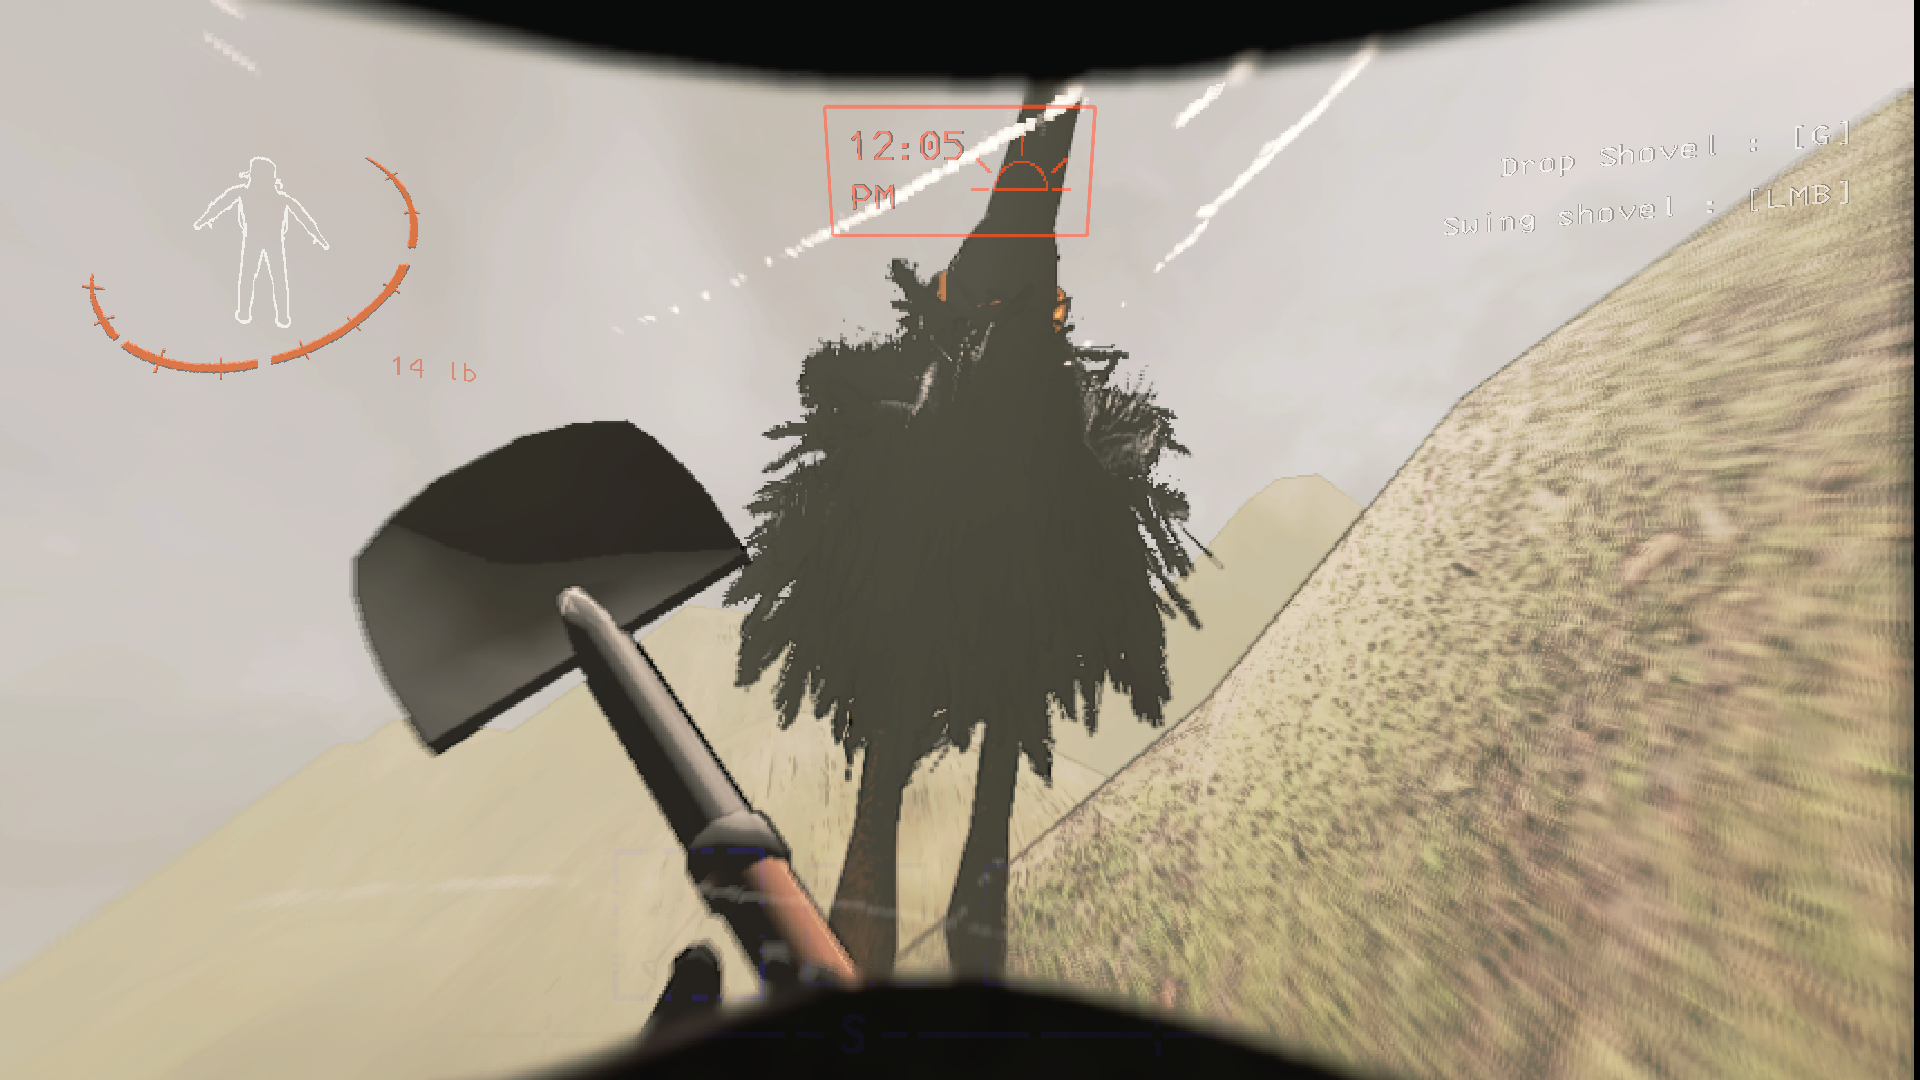
All we will need will be the holy shovel.
BattleRover 5 Nov, 2024 @ 1:51pm 
For the invincible monsters.
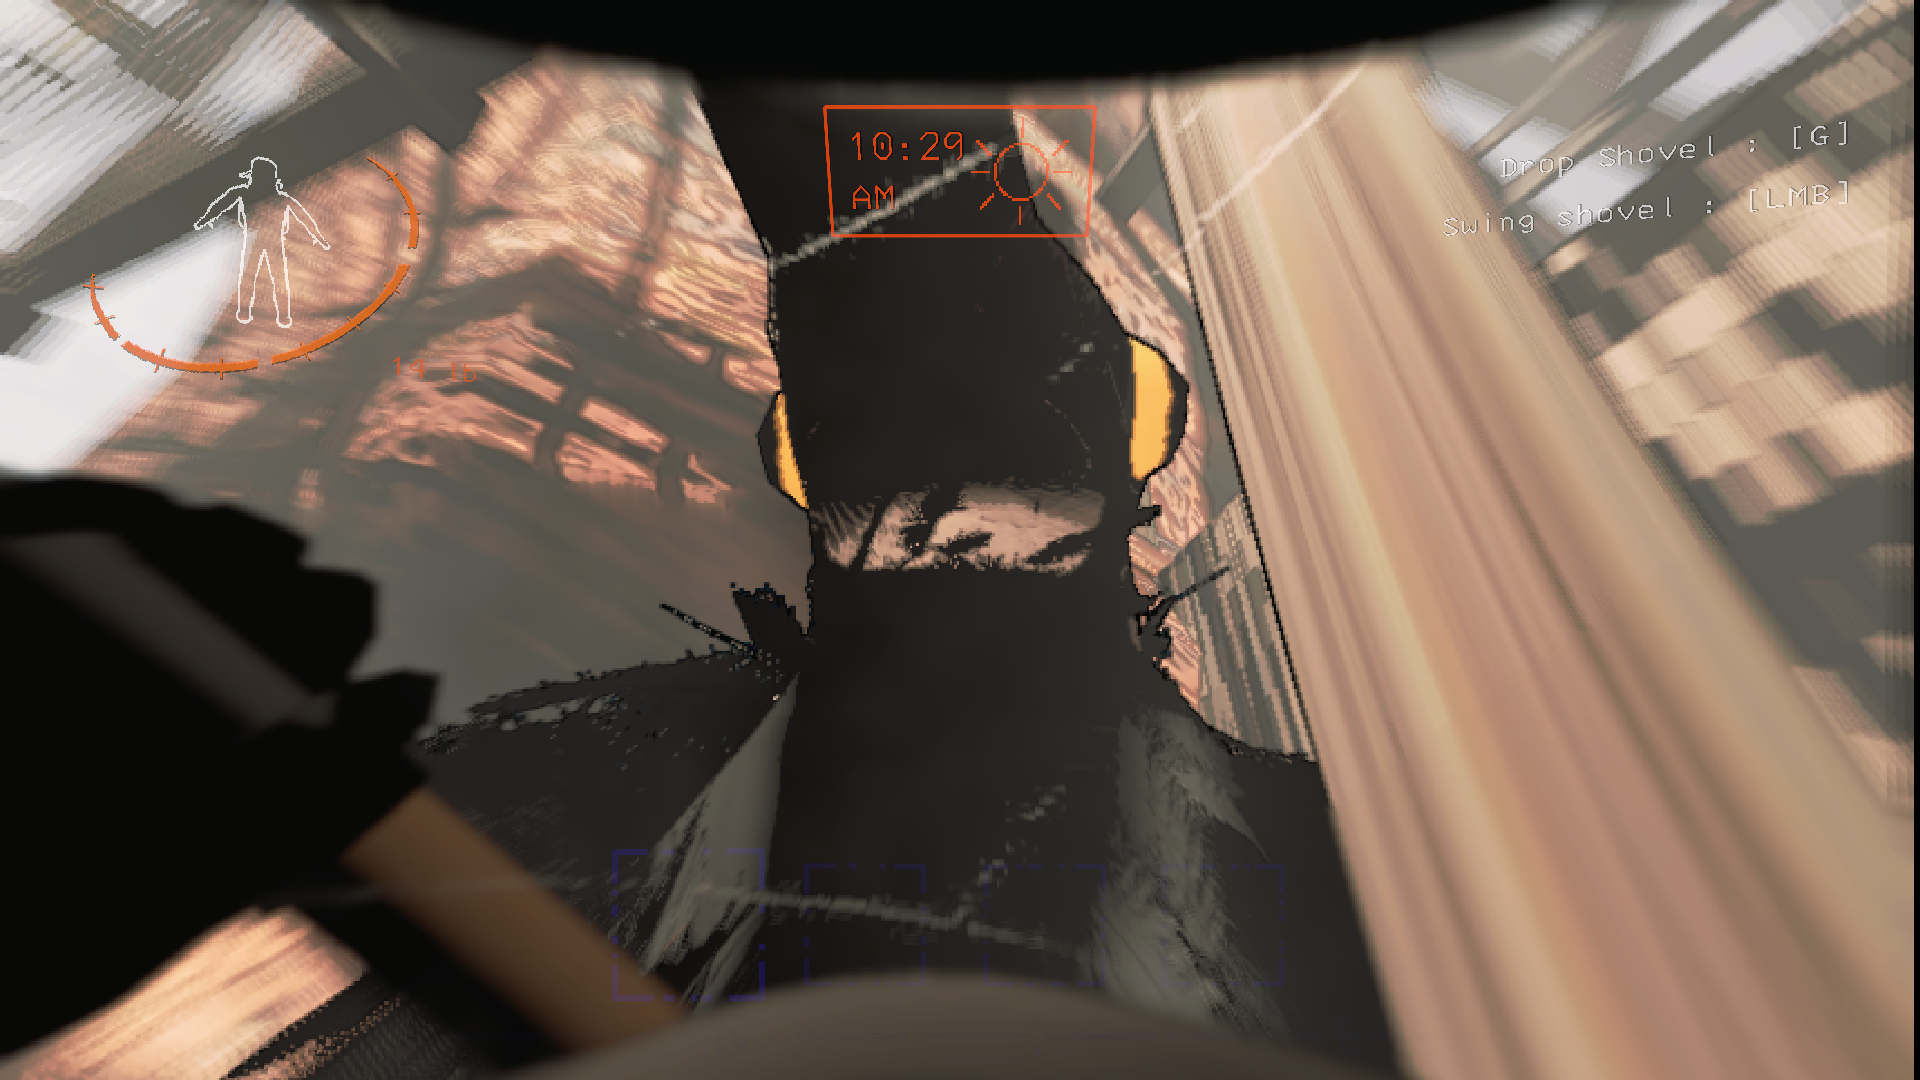
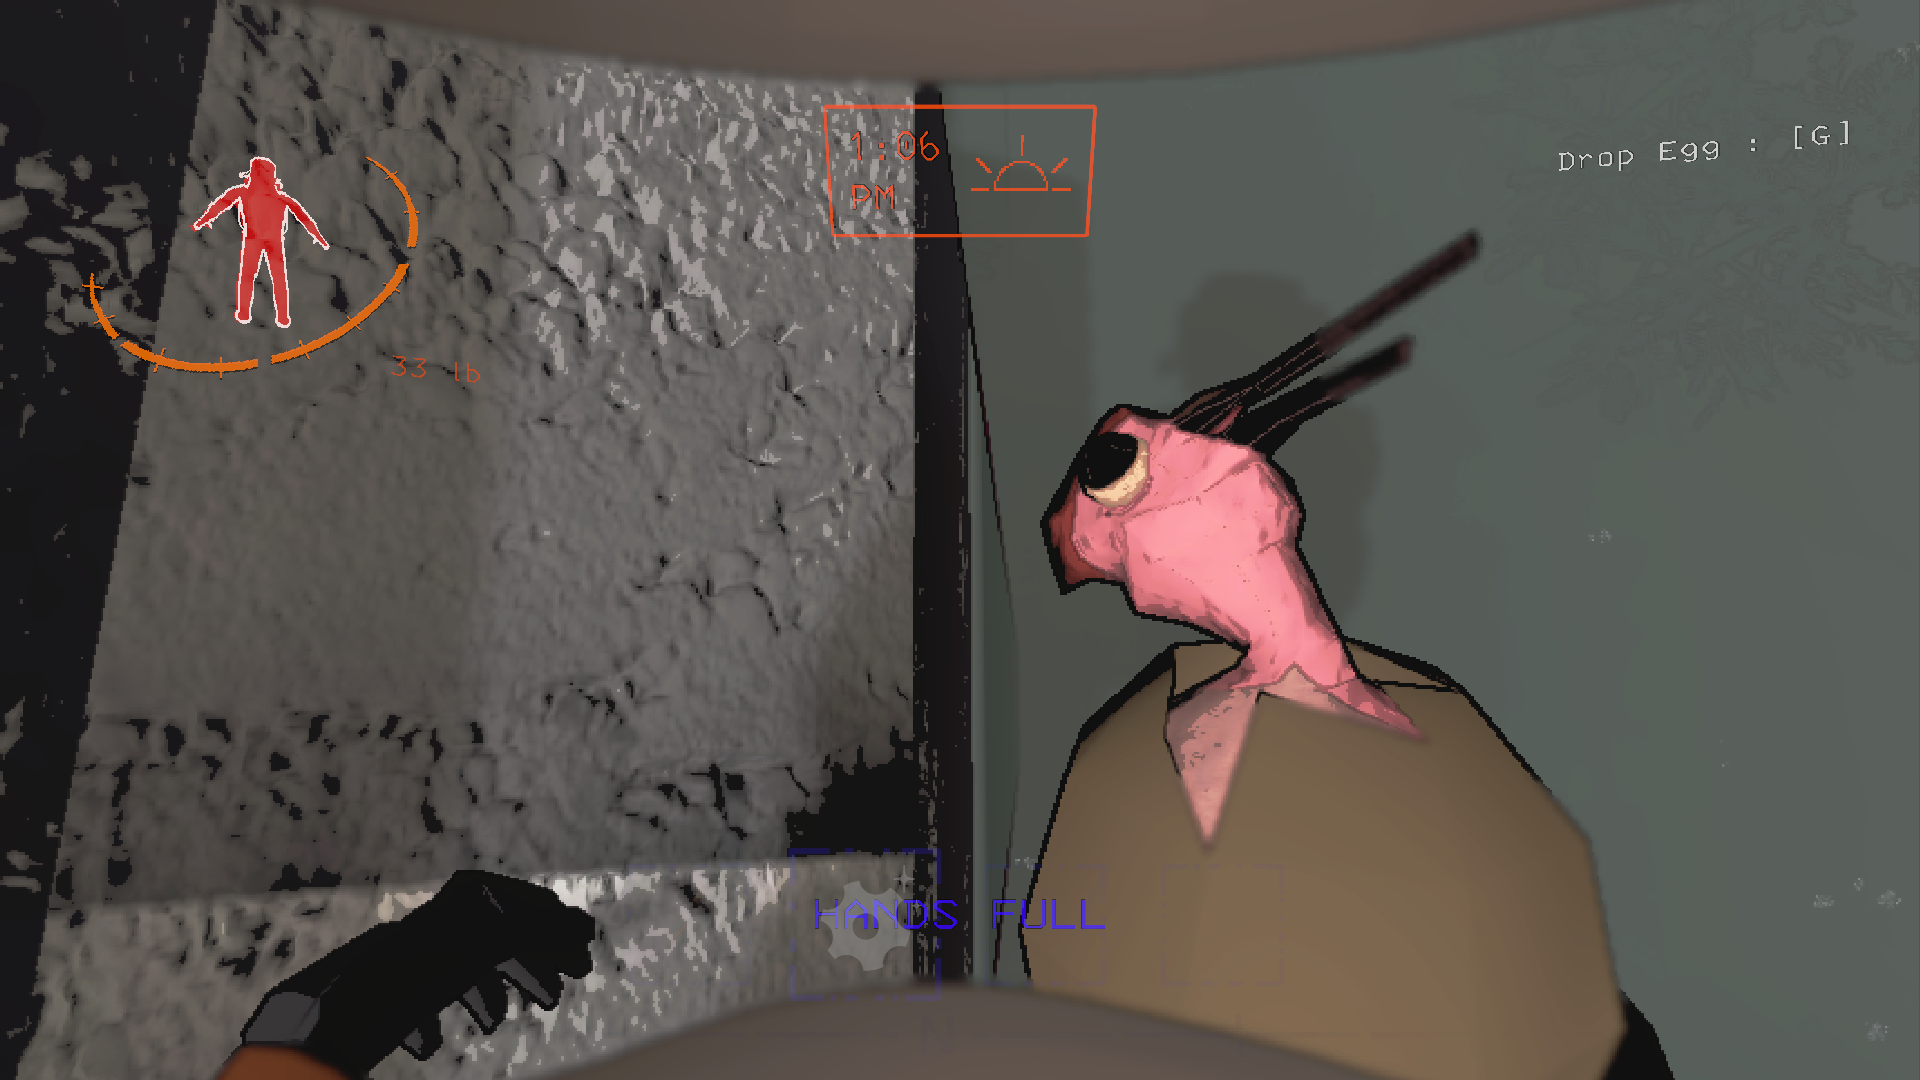
Even though they're invincible is there anything a shovel warrior should do about them?
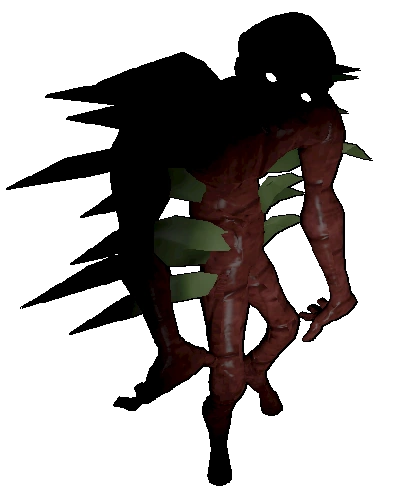
should we distract them from the rest of the crew, and for the coil heads should we be the ones who watch it
Fluffy Lil Satanist 27 Oct, 2024 @ 3:38am 
btw you forgot to tell us how to kill giant
早川秋 23 Oct, 2024 @ 12:07pm 
nb
Grand Admiral Eli 11 Sep, 2024 @ 3:46pm 
I'm a shovel knight and would never dare to bring in a pro flash light for the extra five ponds in combat (it really dose make a difference.)