Hammerwatch

Hammerwatch

121 ratings
Temple of the Sun Achievement Guide
By Disco and 1 collaborators
A guide to getting the Temple of the Sun campaign easter egg achievements, complete with screenshots, map locations and as few spoilers as possible. This guide contains instructions on how to get the following achievements: Do it like Jones, Serious Pickup, Daniel the Traveler, Desert Zone... and Pyramid of Fear.
   
Award
Favorite
Favorited
Unfavorite
Introduction
Hello and welcome to The Temple of the Sun achievement guide! First, I'd like to thank you for giving this a read. Whether you are going to use this guide or not, I'm just happy that you chose to open it.

For more information about this guide, you are very welcome to read the closing notes. Good luck and happy adventuring!
Desert Zone...
Location: Temple Floor 1
This easter egg achievement should be the first one that you'll be able to get as you progress through the campaign. After killing the Dune Sharks (first boss), head to Temple Floor 1. There, you will have to activate the first Solar Node on that floor. Right after doing so (I would strongly suggest saving your game first), head right from the checkpoint past the two deadly press stones and the equally deadly fireball spitter. Be sure to clear out all of the enemies and then go to the bottom left corner of the room.

Your goal is to get to the end of mana draining corridor (purple plates) and make it to the safe zone on your right. My advice to you would be to buy as many health upgrades as you can and to have a rejuvenating potion just in case. It is very much possible to go through this and not get hit by fireballs at all. To do so I recommend getting a couple of move speed upgrades as well. You can do it with any class, just pay close attention to the upgrades you get and you should be able to do it. Paladin's dash isn't likely to save you because of the mana draining plates on the floor.

Now that you're here, hit the switch on the wall and it will reveal a smaller room in the middle of the corridor. Lucky for you, it also opens a passage on the left with a health restoring, mouth watering pork chop. Carefully make your way to the left, refill your health if you need it, and then go to the newly revealed room on the right of the corridor. The exit will lead you to the easter egg room on Cave level 3 and you'll get the achievement as soon as you land inside.
Daniel The Traveler
Location: Cave Level 3
In order to get this achievement you must have already returned the water pump lever to Cave Level 2 and placed it where it belongs. I suggest looking for the achievement room before killing Krilith, as the room contains an upgrade and some gold which are more helpful for winning the fight than you might think! From Outside or Cave Level 2 (whichever you think is the most convenient) get to Cave Level 3. I should remind you that it is the level right after the library in the beginning of the campaign and you will clear Cave levels in the following order 3->2->1->Arena and Dune Sharks boss. To not get lost check with your map the current floor you are on in the upper right corner of your screen.

Once you reach Cave Level 3, head left and look for this location. You will notice now that the water pump is working (thanks to you!) and you can proceed further to the upper left.

Follow the narrow path to the left and up and you will find the secret room. You will get the achievement as soon as you are inside the room.
Serious Pickup
Location: Outside
This achievement requires killing Krilith (the second boss) before returning to Temple Floor 2. For this particular achievement you must return to town with a pickaxe that was previously trapped in a block of ice on Temple Floor 2. Don't worry, if you are thorough and you are following the quest tasks carefully this is one achievement you won't miss. So kill Krilith (Cave level 2 after reactivating the water pump), return safely to the Temple Floor 2, and look for the pickaxe that should now be free from the ice. Get back to the Outside and return the pickaxe to Lyron the miner near the upgrade shops on the left.

After doing so, go to the entrance of the Pyramid of Fear and head a little to the bottom right from there.

You will find a (not really) empty desert landscape. Outline the edges of the desert as you might find a few pickups that are unrelated to the achievement but are still helpful to you. Go to the upper right corner of this area to find the required achievement pickup. Don't worry if you can't find it right away since it's quite hard to miss. You will be rewarded with an achievement right after picking up the red item.

Do it like Jones
Location: Temple Floor 2
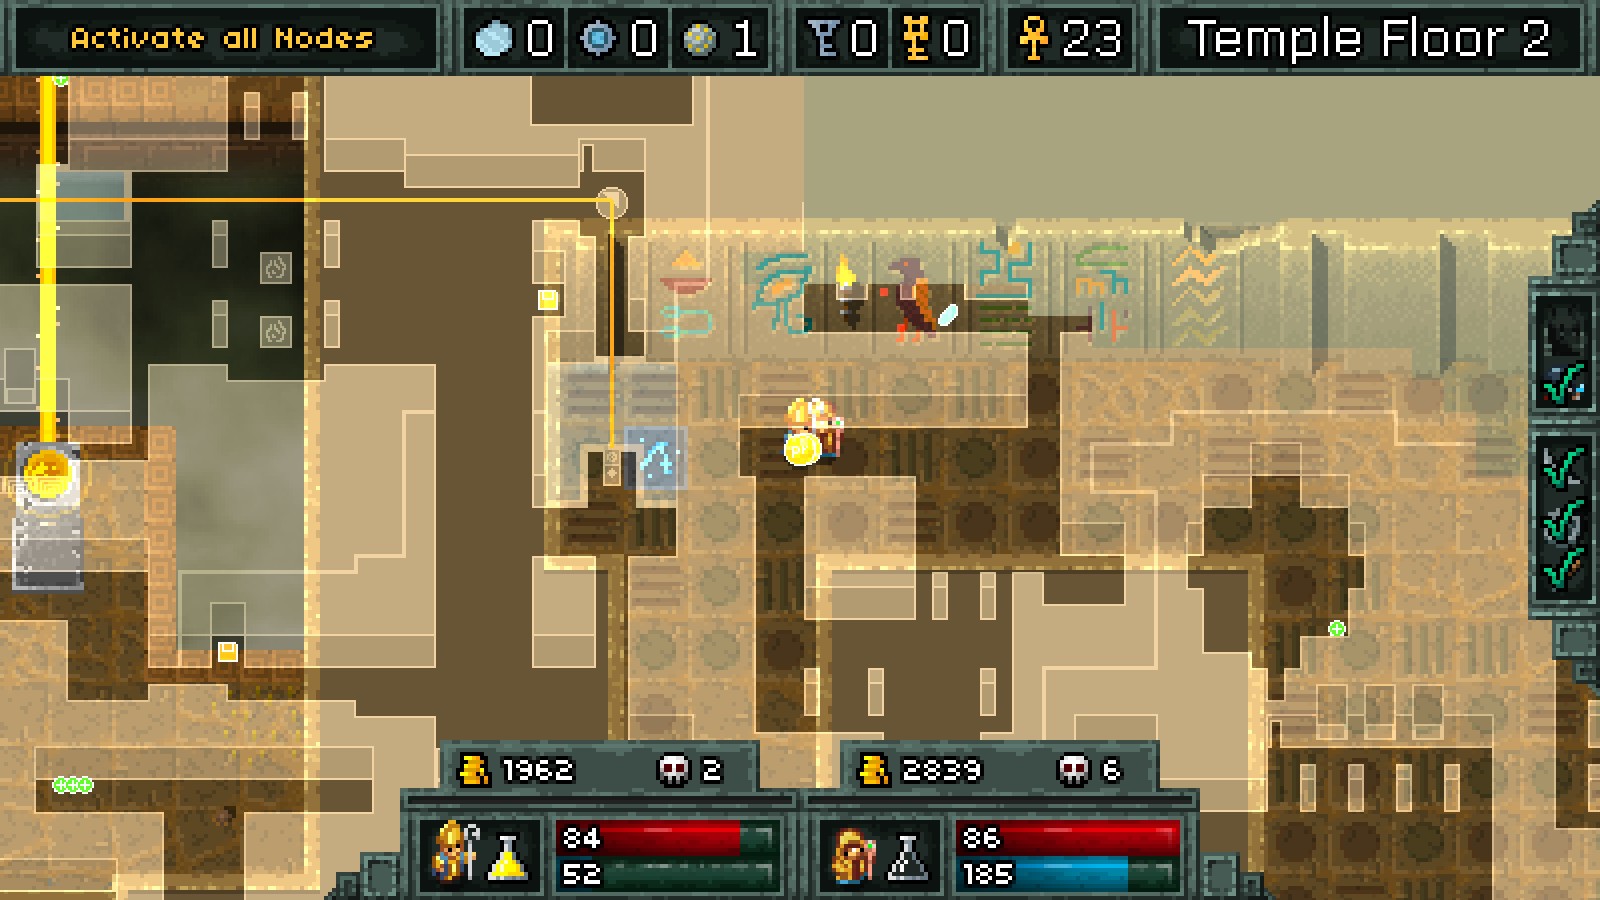
Look for a switch shown here and, if you want to avoid an almost certain death, I recommend not rushing through the newly revealed corridor right this minute.

Instead, look for the second switch that is located nearby and hit it. Be careful since it's being guarded by several killer boulders!

You will see a passage revealed to your left. Follow the path to the end where you will find the third and final switch for this achievement. Hit it and proceed right (do not pay attention to the fireballs and mana drain plates for now) at which point you will see the following:

All you have to do now is snatch the pickup from the plate and make a run for it! The achievement pop-up should appear shortly after you successfully (or not) escape the rolling boulder.
Pyramid of Fear
This one is not as easy as the rest. To minimize backtracking that you will unavoidably have to do, I'm going to list the pyramids in the order they can be found and activated while also providing any quest conditions required.

First Pyramid
Location: Cave Level 1
You will discover it on your way to the Arena and it is impossible to miss. It's "hiding" in the middle of the crossroads shown below.


Second Pyramid
Location: Temple Floor 1
After retrieving the pump lever, you should be able to locate and activate this pyramid. It is found in a small room next to the Solar Node.


Third Pyramid
Location: Cave Level 2
You successfully returned the pump lever and draining the water has revealed a few "secrets"; the third pyramid being one of them. The easiest way to find it is by heading to the exits to Cave levels 1 and 3 right after returning the lever to it's proper place.


Fourth Pyramid
Location: Temple Floor 2
This pyramid can be found and activated after killing Krilith and returning back to Temple Floor 2. After exploring this floor further and searching areas that were blocked earlier with walls of ice, you will find a floor switch that disables blue spikes. Now you can easily enter the pyramid puzzle area from the right where blue spikes used to be.


Fifth Pyramid
Location: Outside
If you visit the location outside the temple often (shopping!), you might activate this one earlier (before the fourth pyramid). You've killed Krilith, returned to Temple Floor 2 and retrieved the pickaxe. All you have to do now is return to the Outside and give the pickaxe back to Lyron, making him the happiest miner on Earth! He will break a stone that's blocking your path which will give you access to the fifth pyramid puzzle.


Sixth Pyramid
Location: Temple Floor 2
In order for the path to this pyramid to appear you will have to hit 4 floor switches on this level.


After activating all four, head to the portal on a previously isolated platform located at the bottom left of the map. There is also a switch behind it, so you might want to press it first to get a small reward.

Go though the portal and you will find the last pyramid puzzle.

Pyramid of Fear
Location: Outside
After activating all six pyramids you may enter the Pyramid of Fear located outside of the temple. I won't reveal what's inside, but trust me, entering and exiting the pyramid is not as hard or horrifying as it sounds. Upon exiting the pyramid you will be rewarded with the achievement. Don't forget to talk to the man guarding the entrance for a little something to help you on your journey.
Closing Notes
I would like to thank the developers as well as everyone who already published their mods or are in the middle of making them! You make me and hundreds of people come back to this game to play through the new content and have hours of fun, either alone or with friends.

A special thank you goes to JX241, who spent hours fixing and editing this guide and is even editing this sentence too. I don't think this guide would exist without him. From helping me to finish the original campaign to understanding my tired caveman talk (see [pic.1]) the night this guide was written.


[pic.1]

If you've found any mistakes in my guide, have questions, suggestions or are looking for help, I'll be very happy to reply to everyone in the comments section. I will do my best to keep the guide up to date and make improvements based on your feedback.

Thank you for reading and happy adventuring!
11 Comments
soundtoxin 14 Aug, 2023 @ 6:09am 
Thanks for the guide. It seems the achievement "Daniel The Traveler" was removed from the achievements list, and when going to that spot you no longer get an achievement.
Milouze 15 Jul, 2017 @ 8:08am 
Thank you for this guide.
...most of my secret areas got randomized elsewhere :ChipStern:
Chezus 19 Nov, 2016 @ 2:40pm 
Awesome guide to an awesome game! :8bitheart:
Thank you very much! :3
JX241  [author] 26 Jun, 2016 @ 6:01pm 
Thank you everyone for taking the time to read through our guide and to provide comments and feedback. We really appreciate it and are really glad that our guide has been able to help people. I've updated the guide and made corrections as needed so things should be accurate. As always though, please feel free to comment and let us know what you think or if we messed up somewhere.

Thanks again :D
[SG|TYS] Niko [Medic] 20 May, 2016 @ 8:50pm 
Yeah, I got Do It Like Jones before killing Krilith (Did not know what to do so i went as far as i could down and explored XD)
Ender of Games 4 Apr, 2016 @ 8:23am 
Do it like Jones does not require killing Krillith. You can just walk right onto Temple Floor 2, and then you can do the pumps later.
Doom 17 Nov, 2014 @ 9:20pm 
Gotta love the Serious Sam reference for the "Serious Pickup" Achievement!
Thanks for the guide!
Disco  [author] 6 Oct, 2014 @ 10:16am 
Thanks Yiasmat! I was afraid we must've missed something, will have to check on that and edit in a few things ASAP.

As for the hyperlink, I don't see any reason to be against it and I appreciate that you took the time to notify me. I will be more than glad to reference your guide in the next edit, with your permission of course.
Yiasmat 1 Oct, 2014 @ 2:09pm 
hey there, double checking with my guide: don´t you need 5 switches for the sixth pyramid? i´ve also greated a hyperlink in my guide linking to yours in case anyone wants further information regarding these achievements. if you don´t want that, tell me and i´ll remove it.
3х^3+const 27 Sep, 2014 @ 1:36am 
very helpfull guide! thank you man! you are awesome:mana: