

Install Steam
login
|
language
简体中文 (Simplified Chinese)
繁體中文 (Traditional Chinese)
日本語 (Japanese)
한국어 (Korean)
ไทย (Thai)
Български (Bulgarian)
Čeština (Czech)
Dansk (Danish)
Deutsch (German)
Español - España (Spanish - Spain)
Español - Latinoamérica (Spanish - Latin America)
Ελληνικά (Greek)
Français (French)
Italiano (Italian)
Bahasa Indonesia (Indonesian)
Magyar (Hungarian)
Nederlands (Dutch)
Norsk (Norwegian)
Polski (Polish)
Português (Portuguese - Portugal)
Português - Brasil (Portuguese - Brazil)
Română (Romanian)
Русский (Russian)
Suomi (Finnish)
Svenska (Swedish)
Türkçe (Turkish)
Tiếng Việt (Vietnamese)
Українська (Ukrainian)
Report a translation problem


![Enlisted.jpg]](https://images.steamusercontent.com/ugc/2059881334677386959/E1C35BCC5CC058BA9DB93C83BF279CBC559F13E8/ "Enlisted.jpg]")
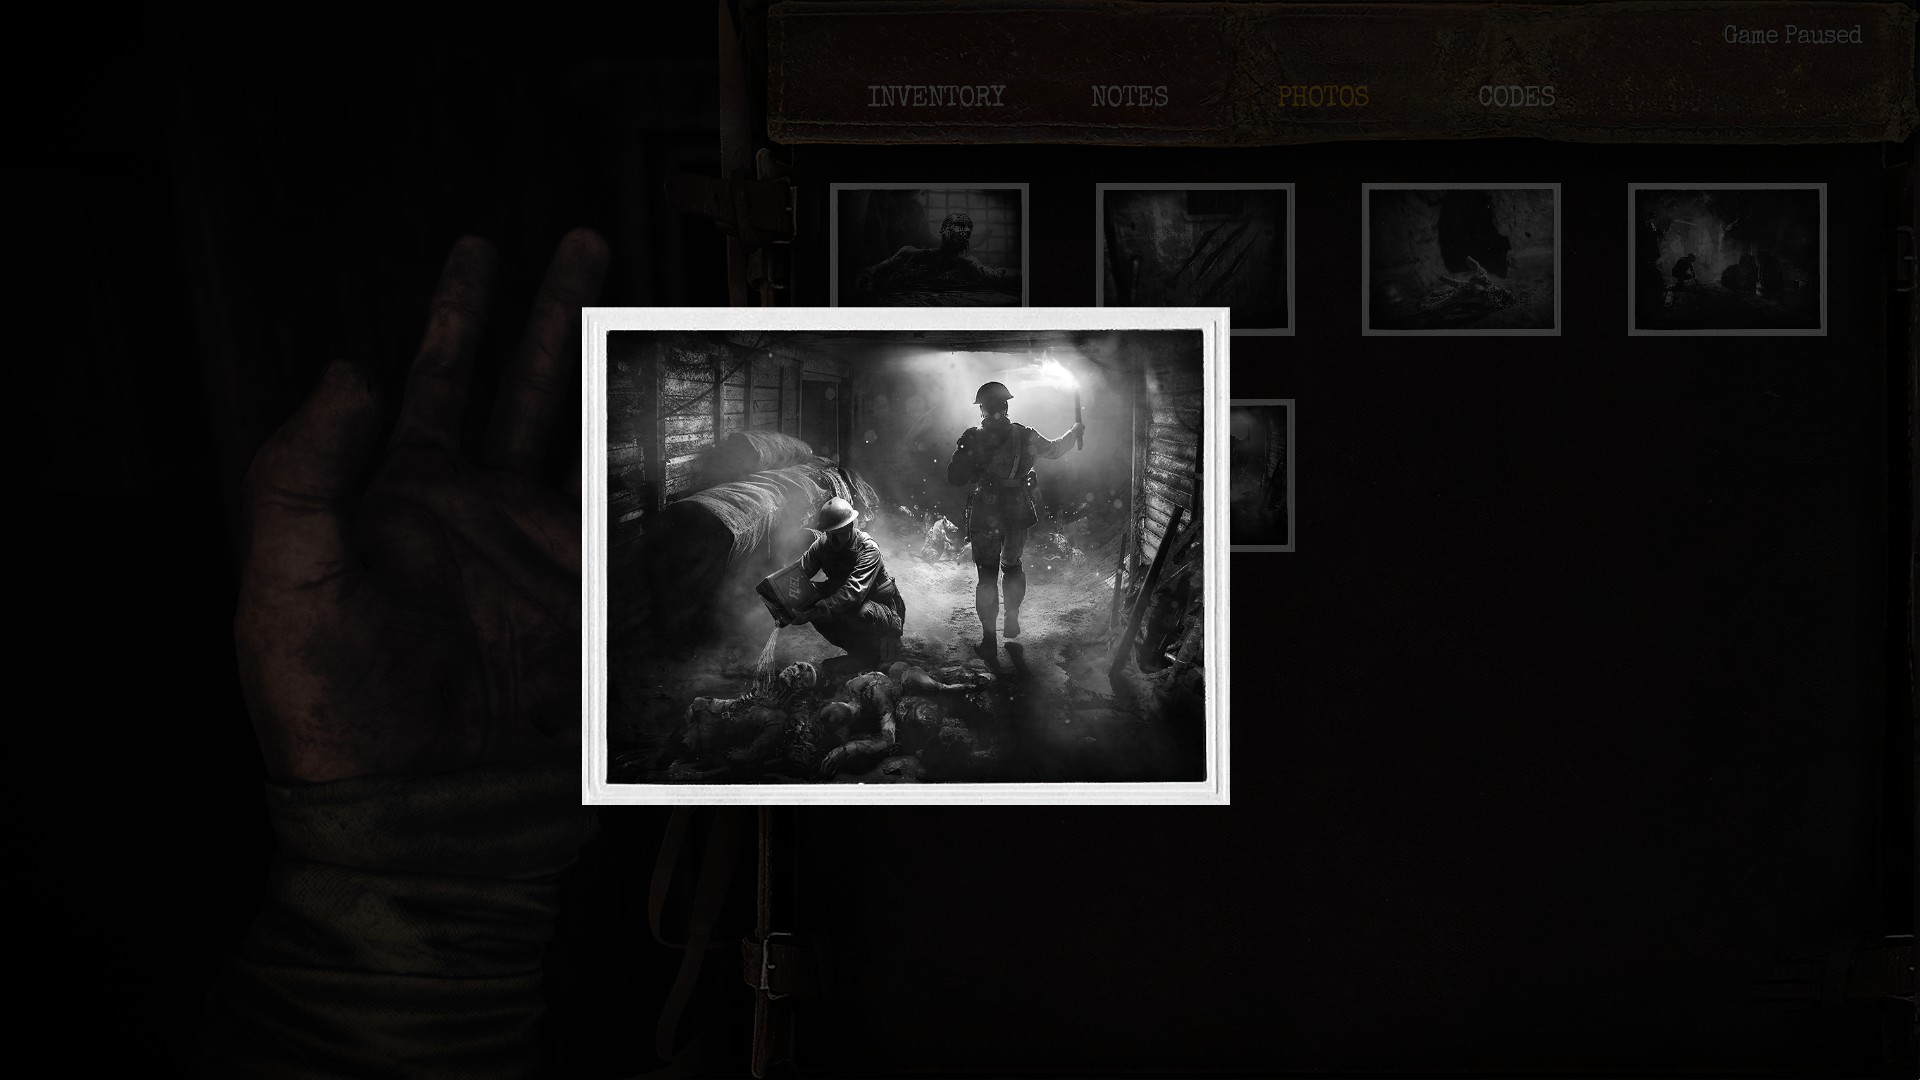
![Gave the All Clear.jpg]](https://images.steamusercontent.com/ugc/2059881334677386989/45FEEE22A63D46870F2712CE4590C80882915A62/ "Gave the All Clear.jpg]")
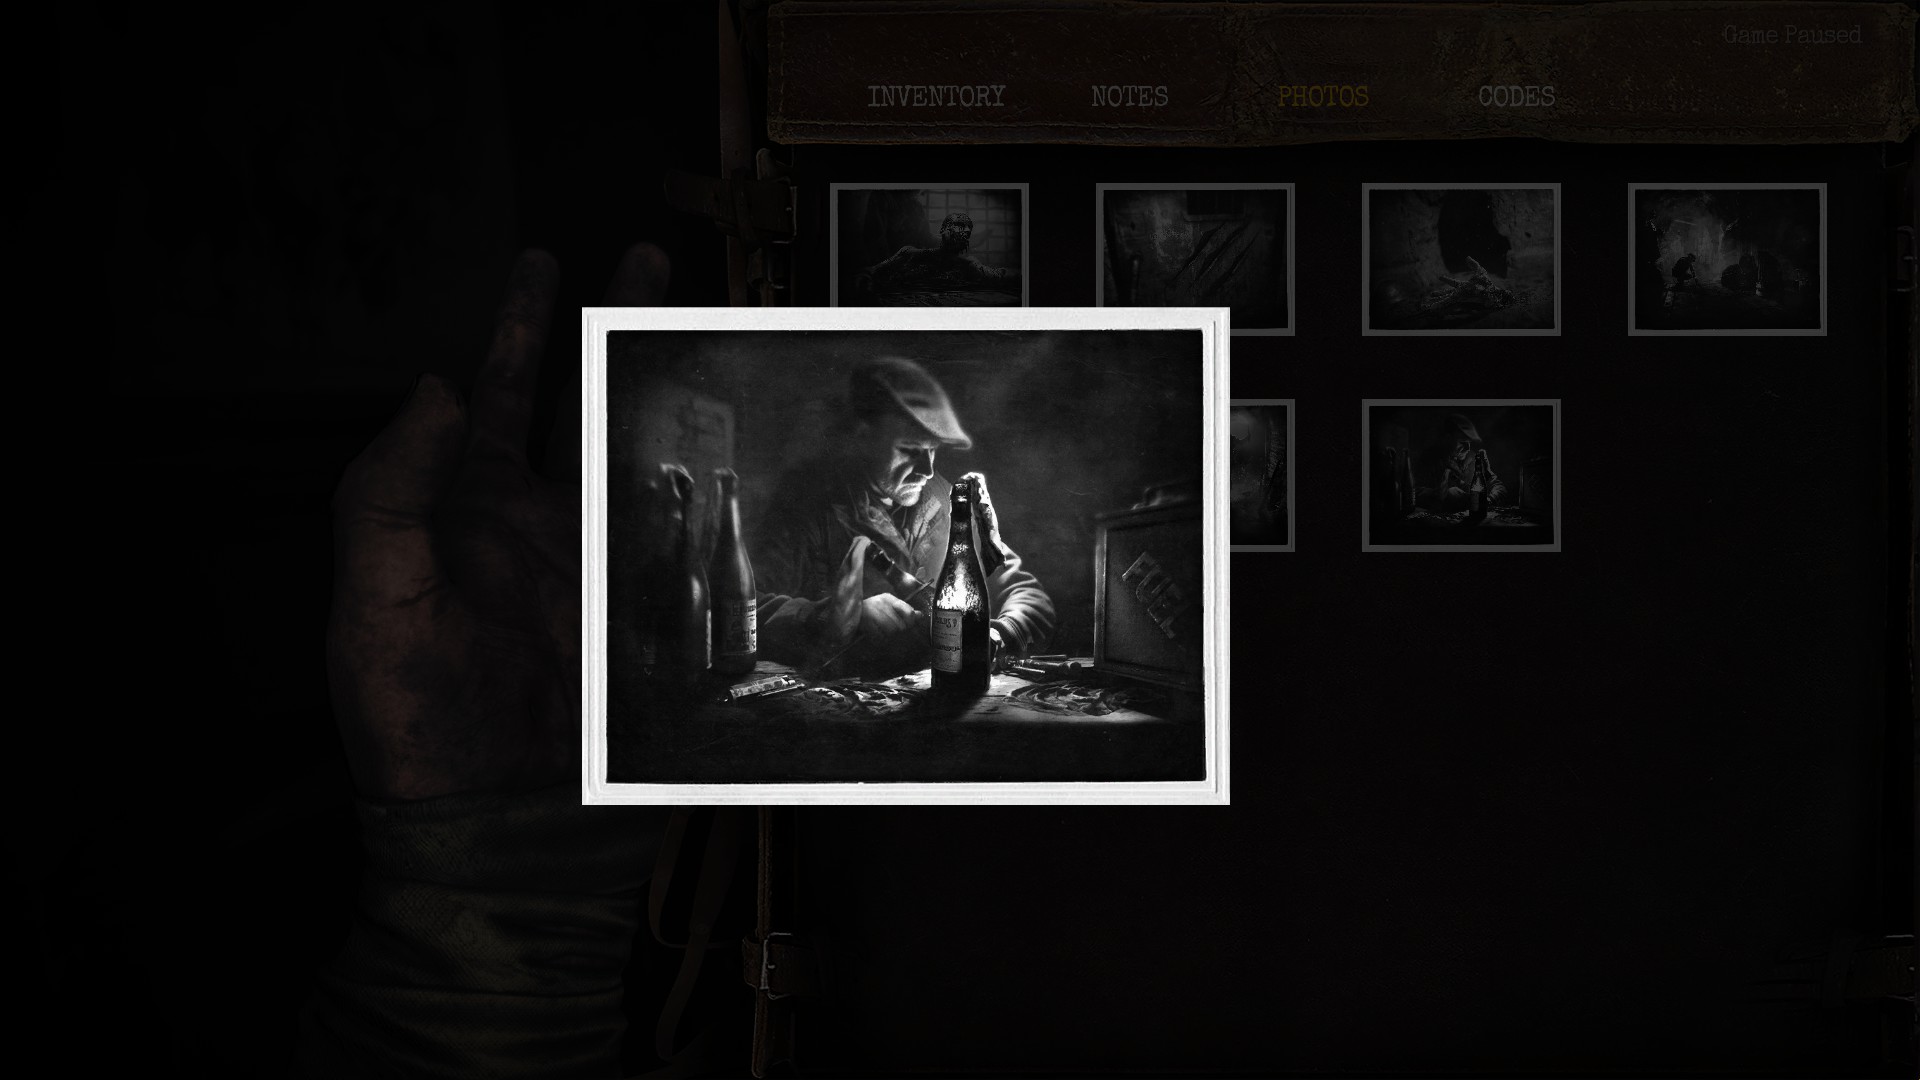
![Chaplain.jpg]](https://images.steamusercontent.com/ugc/2059881334677386895/11A5DB7EF0170CBFF17FD94F05EDB9B447009305/ "Chaplain.jpg]")
![Signalman.jpg]](https://images.steamusercontent.com/ugc/2059881334681620050/95788364EA1AE763D11DFA6DBC114626D983E37D/ "Signalman.jpg]")
![Scarper.jpg]](https://images.steamusercontent.com/ugc/2059881334677386820/757D732A34347EDD045FD476C71131C16F4FC7FA/ "Scarper.jpg]")
![Napoo.jpg]](https://images.steamusercontent.com/ugc/2059881334677386786/8497367801FD693E7446FD05917DC934C08F16FC/ "Napoo.jpg]")
![Flint & Steel.jpg]](https://images.steamusercontent.com/ugc/2059881334677386981/05D15A9D580B864B985905701D1422E28C78CB41/ "Flint & Steel.jpg]")
![Memorialist.jpg]](https://images.steamusercontent.com/ugc/2059881334677386777/C57ECFD8E3826FFB9D5D64CB0F3AFF6565EF24C0/ "Memorialist.jpg]")
![Toolist.jpg]](https://images.steamusercontent.com/ugc/2059881334677386839/2A69EFC918938A8E37FAE01F198534A2FD1ACF4F/ "Toolist.jpg]")
![Easy Breather.jpg]](https://images.steamusercontent.com/ugc/2059881334677386942/72705AF54724031B2B09E73F53220E965978A451/ "Easy Breather.jpg]")
![Munitions Expert.jpg]](https://images.steamusercontent.com/ugc/2059881334677386782/9CA2A82D22F2498FEE96280BAAD0EF704F9D2250/ "Munitions Expert.jpg]")
![Canonnier.jpg]](https://images.steamusercontent.com/ugc/2059881334677386879/23E4B71E3E0521436C8B16C773A5EDA0FA9B305E/ "Canonnier.jpg]")
![Toy Collector.jpg]](https://images.steamusercontent.com/ugc/2059881334677386850/089387A525F9F79984F0BDAEFB441ABE776130F1/ "Toy Collector.jpg]")
![Explosives Technician.jpg]](https://images.steamusercontent.com/ugc/2059881334677386965/9D67D9FC7B364607D628B67815F660B09070815A/ "Explosives Technician.jpg]")
![Arsonist.jpg]](https://images.steamusercontent.com/ugc/2059881334677386868/EE41C48B65430532190999B57C7AF5D62D747081/ "Arsonist.jpg]")
![Extreme Ratter.jpg]](https://images.steamusercontent.com/ugc/2059881334677386968/0063919C98F83EE9A63EDD4831C2F6BBAEF90AE0/ "Extreme Ratter.jpg]")
![Cut It Off.jpg]](https://images.steamusercontent.com/ugc/2059881334677386935/6E8CA946775CAE8EB1ECEA610D835BE5CFE247EE/ "Cut It Off.jpg]")
![Tinkerer.jpg]](https://images.steamusercontent.com/ugc/2059881334677386832/6A2CA1734E3319FCA68AFCBEA06D78F0123A2B76/ "Tinkerer.jpg]")
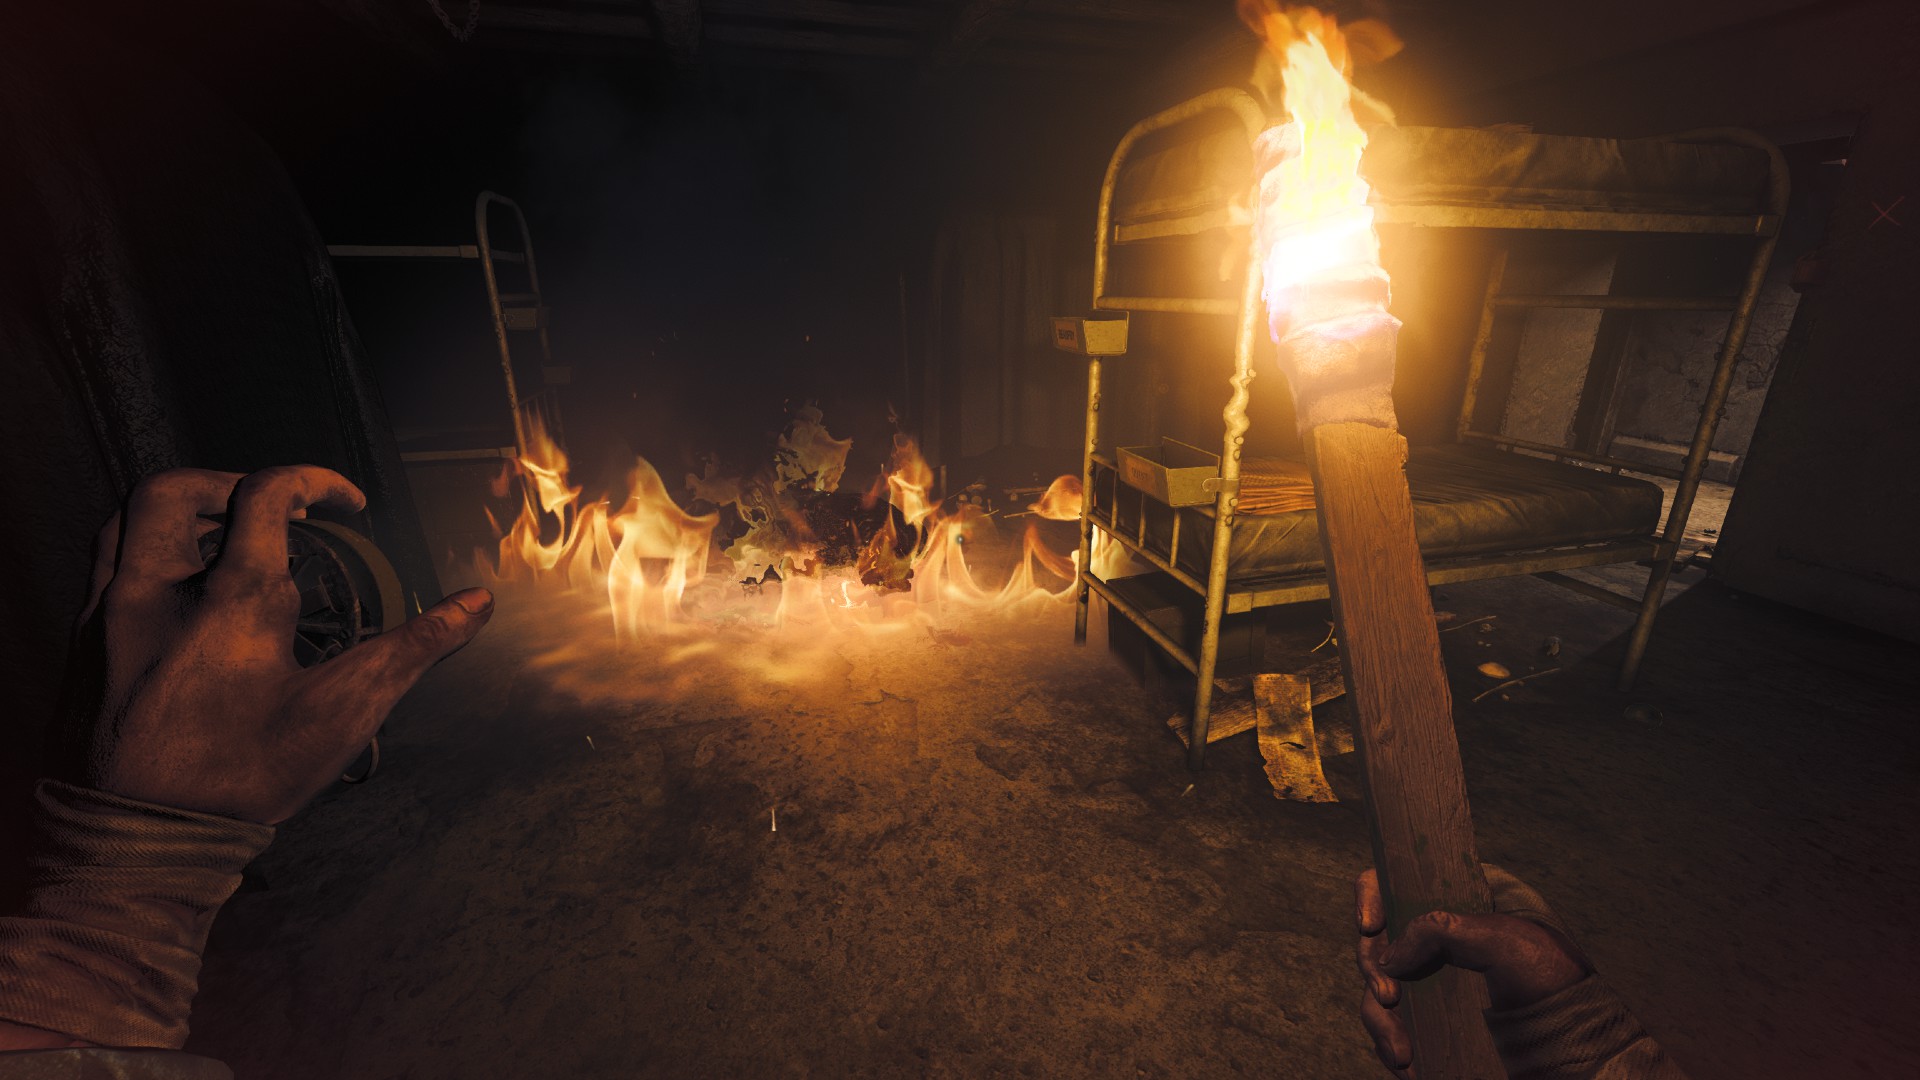
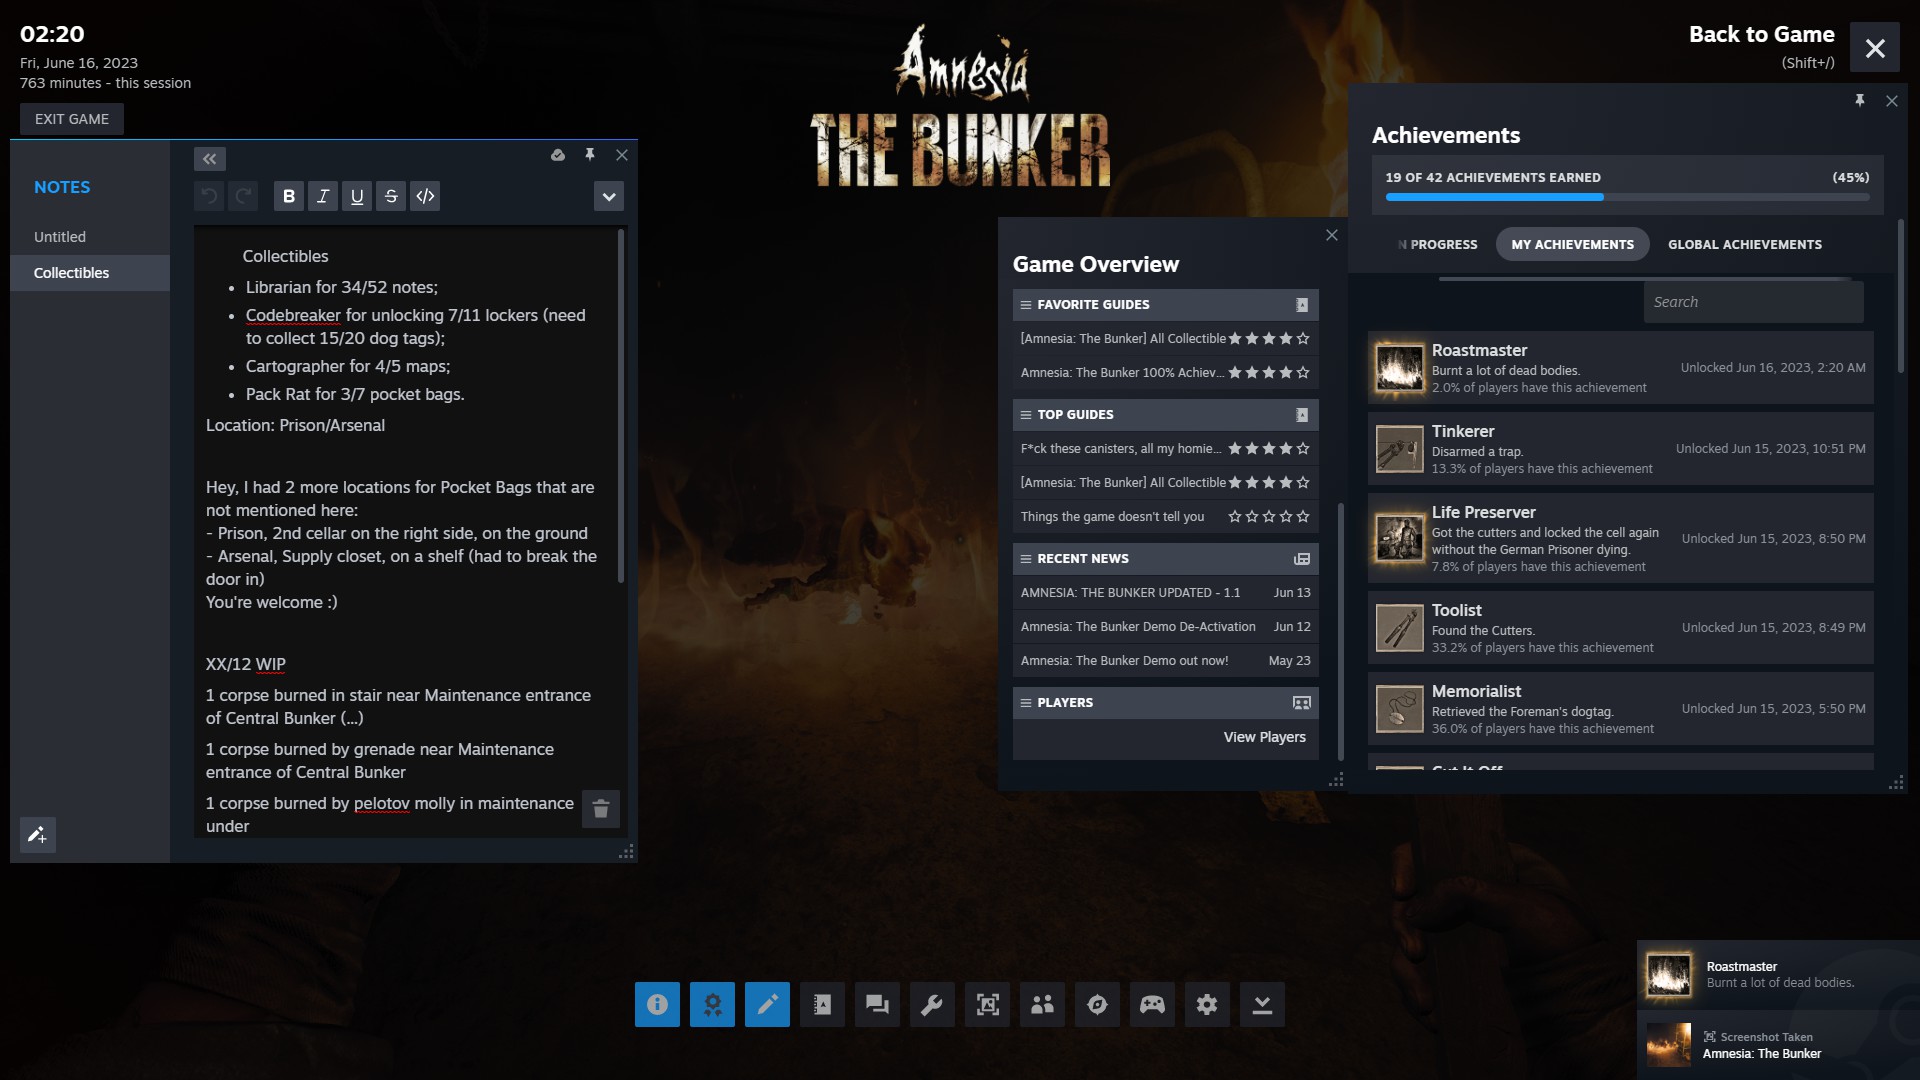
![Roastmaster.jpg]](https://images.steamusercontent.com/ugc/2059881334677386809/AE659F673FABC4340104CE8171EAC699A8A01930/ "Roastmaster.jpg]")
![Sentimentalist.jpg]](https://images.steamusercontent.com/ugc/2059881334677386823/DE4817260A091CE5F2807818484F30A5218C4196/ "Sentimentalist.jpg]")
![Toy Fanatic.jpg]](https://images.steamusercontent.com/ugc/2059881334677386857/B44C9C35476592BCA43B6929FAE77B559290DE0A/ "Toy Fanatic.jpg]")
![Improviser.jpg]](https://images.steamusercontent.com/ugc/2059881334677387012/120275EE75631CD6E5F8EB19F6B6556FCECA3739/ "Improviser.jpg]")
![Ratter.jpg]](https://images.steamusercontent.com/ugc/2059881334677386806/5D9A3E1B36DA9010D8F0C3A6D652F643D7E53D27/ "Ratter.jpg]")
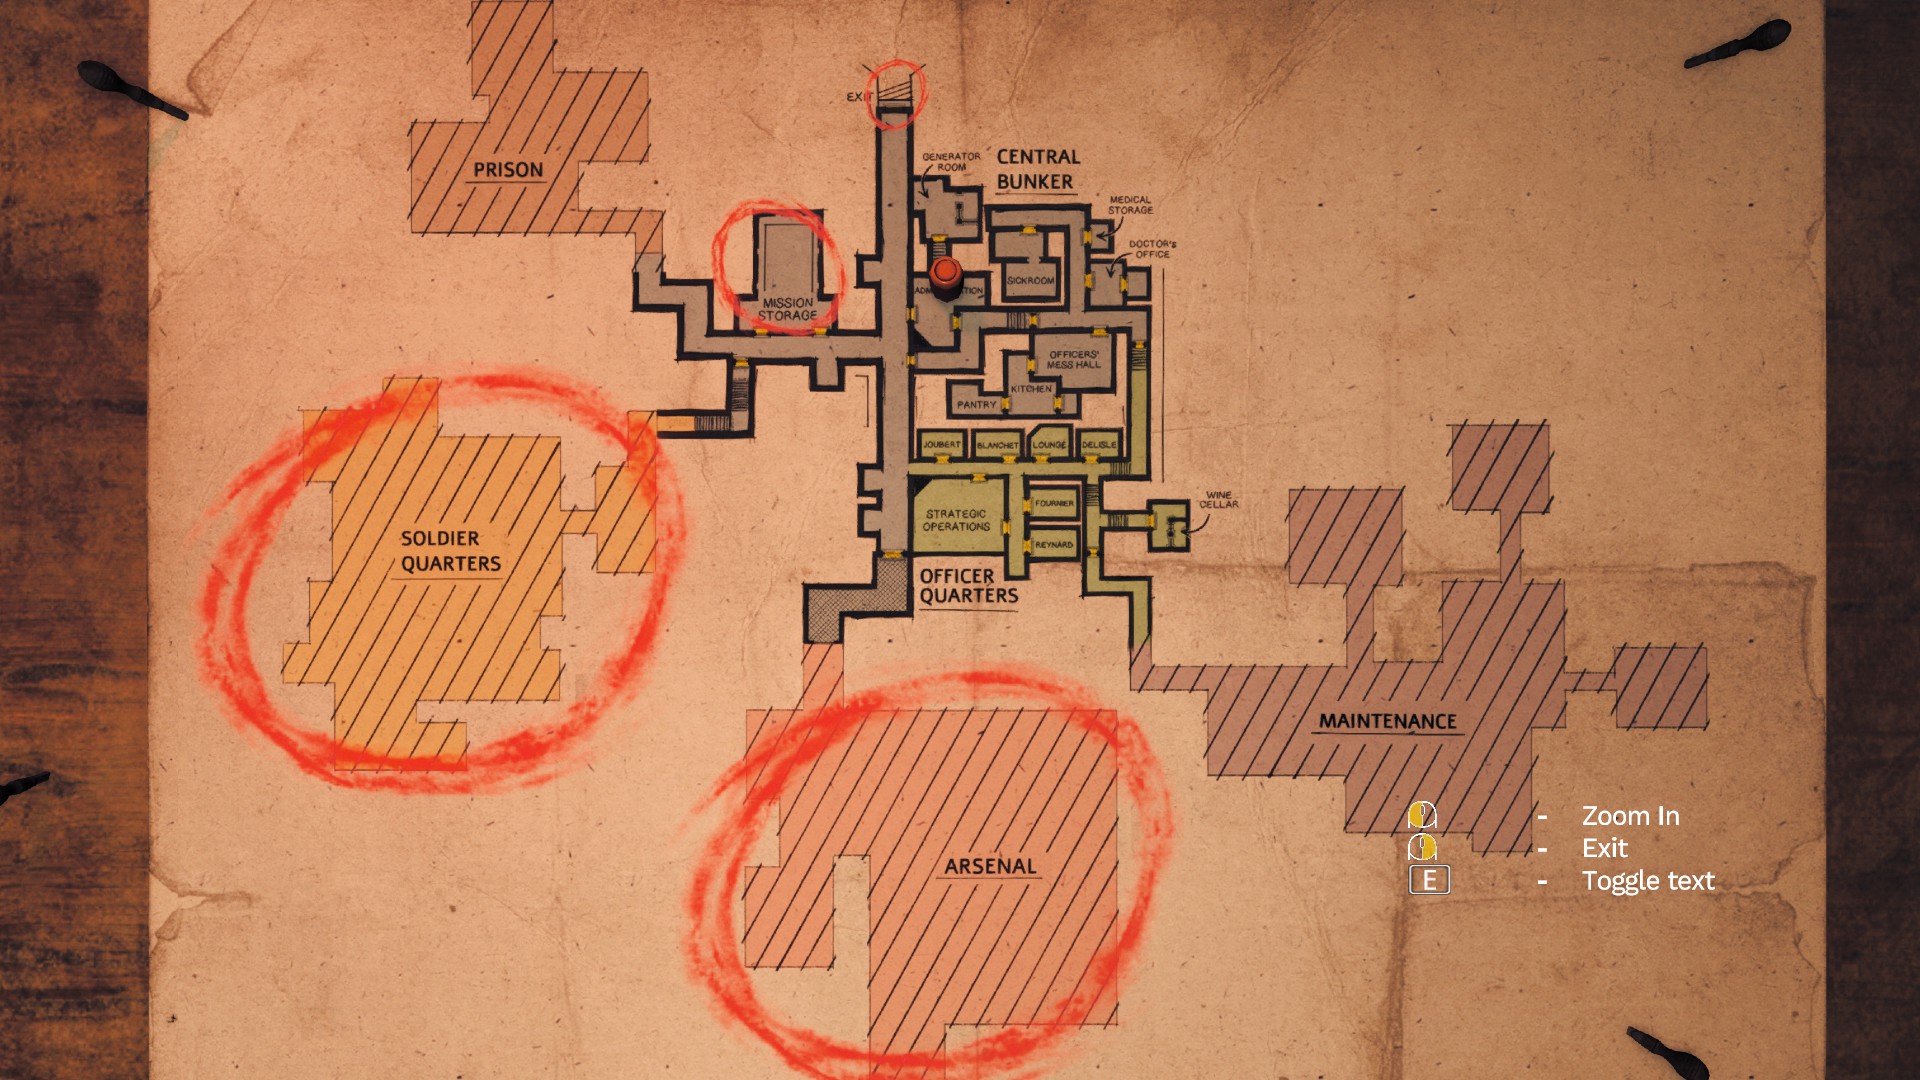
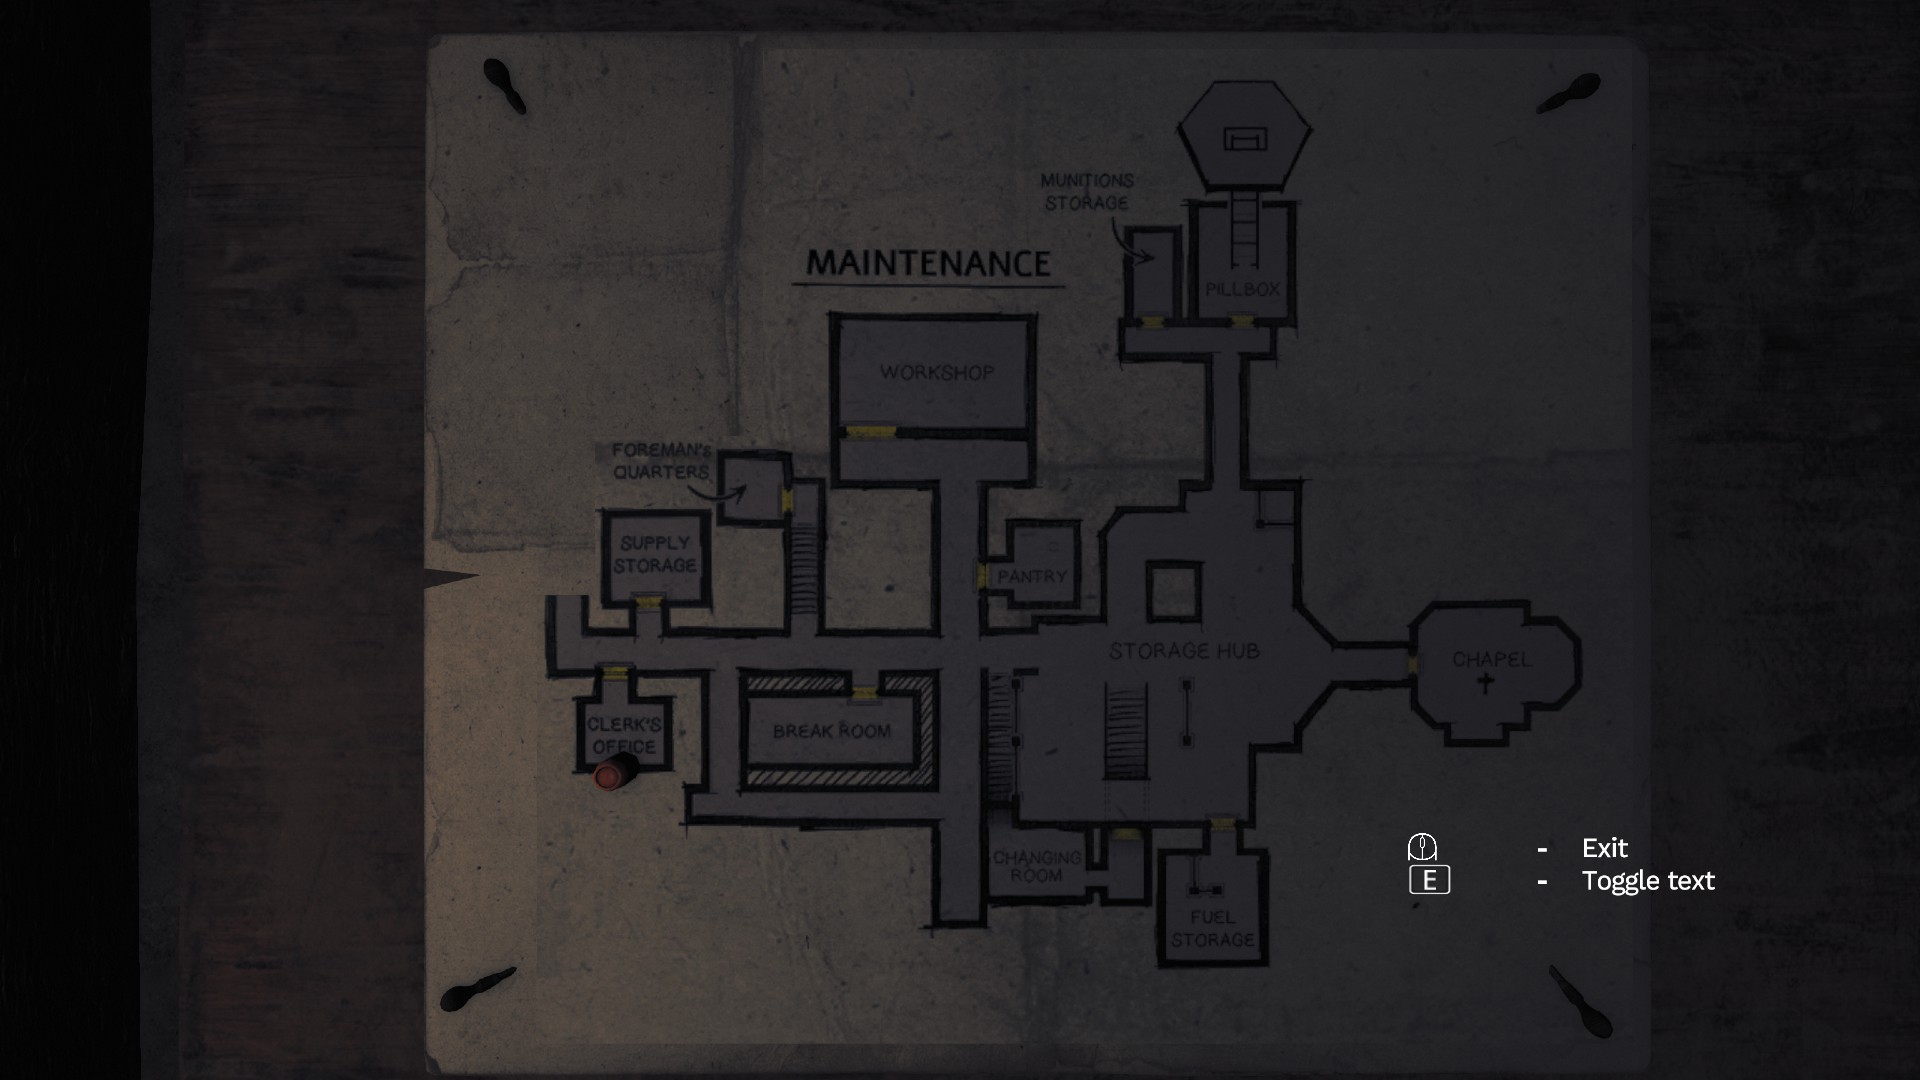
![Cartographer.jpg]](https://images.steamusercontent.com/ugc/2059881334677386884/961A0A44B9C7C5DEDA6263220971152C49BEE34D/ "Cartographer.jpg]")
![Cleithrophobist.jpg]](https://images.steamusercontent.com/ugc/2059881334677386920/5233B8B76895392A6E4FB019BD9D733362A2B9D3/ "Cleithrophobist.jpg]")
![Pack Rat.jpg]](https://images.steamusercontent.com/ugc/2059881334677386796/321F960B3172D067FAA2D7F665FF749C4CBFF00A/ "Pack Rat.jpg]")
![Codebreaker.jpg]](https://images.steamusercontent.com/ugc/2059881334677386925/5F8984A30B4194653C9285D6C4426EB44C3DCEA0/ "Codebreaker.jpg]")
![Librarian.jpg]](https://images.steamusercontent.com/ugc/2059881334677386769/3239155A3E3720D4CE1D9E8E5E4AA8EDCEC383F8/ "Librarian.jpg]")
![Nope. c'est trop!.jpg]](https://images.steamusercontent.com/ugc/2059881334677386793/8D15959E363633D88945AE3585083DBA450153D1/ "Nope. c'est trop!.jpg]")
![Saboteur.jpg]](https://images.steamusercontent.com/ugc/2059881334677386814/90CA98E9189261AB6C2F42EE4ECBC6E7DB72EFF1/ "Saboteur.jpg]")
![Got Introduced.jpg]](https://images.steamusercontent.com/ugc/2059881334677386996/4F2EAA0B049F28CAB2397F886916964975A62DAA/ "Got Introduced.jpg]")
![Chemical Weapon Expert.jpg]](https://images.steamusercontent.com/ugc/2059881334677386915/F908EA7D41DC7F2450D8DEFE74CCFD734D16FF49/ "Chemical Weapon Expert.jpg]")
![Pit Master.jpg]](https://images.steamusercontent.com/ugc/2059881334677386800/9BE91E06D2E33E1652853D619DB9CAC0E5A15B5C/ "Pit Master.jpg]")
![Chemical Culinary Specialist.jpg]](https://images.steamusercontent.com/ugc/2059881334677386904/D436F3FAF63704D9E023FA909CD445EF7C30FCE1/ "Chemical Culinary Specialist.jpg]")
![Trickster.jpg]](https://images.steamusercontent.com/ugc/2059881334677386862/A6120D153687AF88F0FD8D86C163B57ABEDEFD1C/ "Trickster.jpg]")
![Life Preserver.jpg]](https://images.steamusercontent.com/ugc/2059881334677386772/0BD4EC8D10FFF79A1B8F546D680B4372A410901A/ "Life Preserver.jpg]")
![Shell Shocked.jpg]](https://images.steamusercontent.com/ugc/2059881334677386826/1C03C211B9D33B330ED735FB14BBBF108550FFC4/ "Shell Shocked.jpg]")
![Beast Master.jpg]](https://images.steamusercontent.com/ugc/2059881334677386874/F921DBCAB2BB608C6604F72B0E69D8CFAD54C85F/ "Beast Master.jpg]")
![Efficiency Expert.jpg]](https://images.steamusercontent.com/ugc/2059881334677386945/D5C1D971568C50FD5074F068E43FBFF6CC6510C0/ "Efficiency Expert.jpg]")
![Got It In One.jpg]](https://images.steamusercontent.com/ugc/2059881334677387007/3FF50D41D304D387D3134F9692941393B4373FF4/ "Got It In One.jpg]")
![Toot Sweet.jpg]](https://images.steamusercontent.com/ugc/2059881334677386844/2D5F11122B4578BB5949CD6A654BC5BC93C4B79A/ "Toot Sweet.jpg]")
![Croix de Guerre.jpg]](https://images.steamusercontent.com/ugc/2059881334681624032/64D97FE67392C8FEAC93085BEBB89D8916511D9D/ "Croix de Guerre.jpg]")
![Revisionist.jpg]](https://images.steamusercontent.com/ugc/2206261006286840366/3B1140B9E4575FA1C679E55B75BA737149D60617/ "Revisionist.jpg]")
![In Recovery.jpg]](https://images.steamusercontent.com/ugc/2206261006286840357/25C68DD2625CE22BE52B7D764FBD740A8DE3696A/ "In Recovery.jpg]")
![Image (1).jpg]](https://images.steamusercontent.com/ugc/2059881334677390123/6C5323B64FD7D63914990F032C4030C1FEFAE567/ "Image (1).jpg]")
![Gif (1).gif]](https://images.steamusercontent.com/ugc/2059881334678431690/056CF7842639B4FC4845B7FBF55178D0EA678F48/ "Gif (1).gif]")
![Gif (2).gif]](https://images.steamusercontent.com/ugc/2059881334681304475/92DDA0AEE0E3060B405A816A73DBB8A60009FC8F/ "Gif (2).gif]")
![Gif (3).gif]](https://images.steamusercontent.com/ugc/2059881334681580438/BCB703ACFE4382884E3C2F654E214AA6A4361FB7/ "Gif (3).gif]")
![Shell Shock.jpg]](https://images.steamusercontent.com/ugc/2206261006299812645/A86C0603A8970A75F5215BAC9D801BAF95CC73AD/ "Shell Shock.jpg]")
![Custom.jpg]](https://images.steamusercontent.com/ugc/2206261006299813050/1676ED665C97D6FC28F097C74BB49E908F22CCCC/ "Custom.jpg]")
![Locker - H Clement (1).jpg]](https://images.steamusercontent.com/ugc/2059881334683602630/405046817A1377B33C63DEEE78D480FBEB1B6BA5/ "Locker - H Clement (1).jpg]")
![Locker - G Travers (1).jpg]](https://images.steamusercontent.com/ugc/2059881334678815358/EB82C7C7447004CEE37D2AFAE5958777D8790374/ "Locker - G Travers (1).jpg]")
![Locker - F Auclair (1).jpg]](https://images.steamusercontent.com/ugc/2059881334682055204/EA6C4C36689E3E3D8E39088D8F08AD74678ACDBD/ "Locker - F Auclair (1).jpg]")
![Locker - N Laval (1).jpg]](https://images.steamusercontent.com/ugc/2059881334683626410/2115722579AC0539AC7917B0D0C276706A122469/ "Locker - N Laval (1).jpg]")
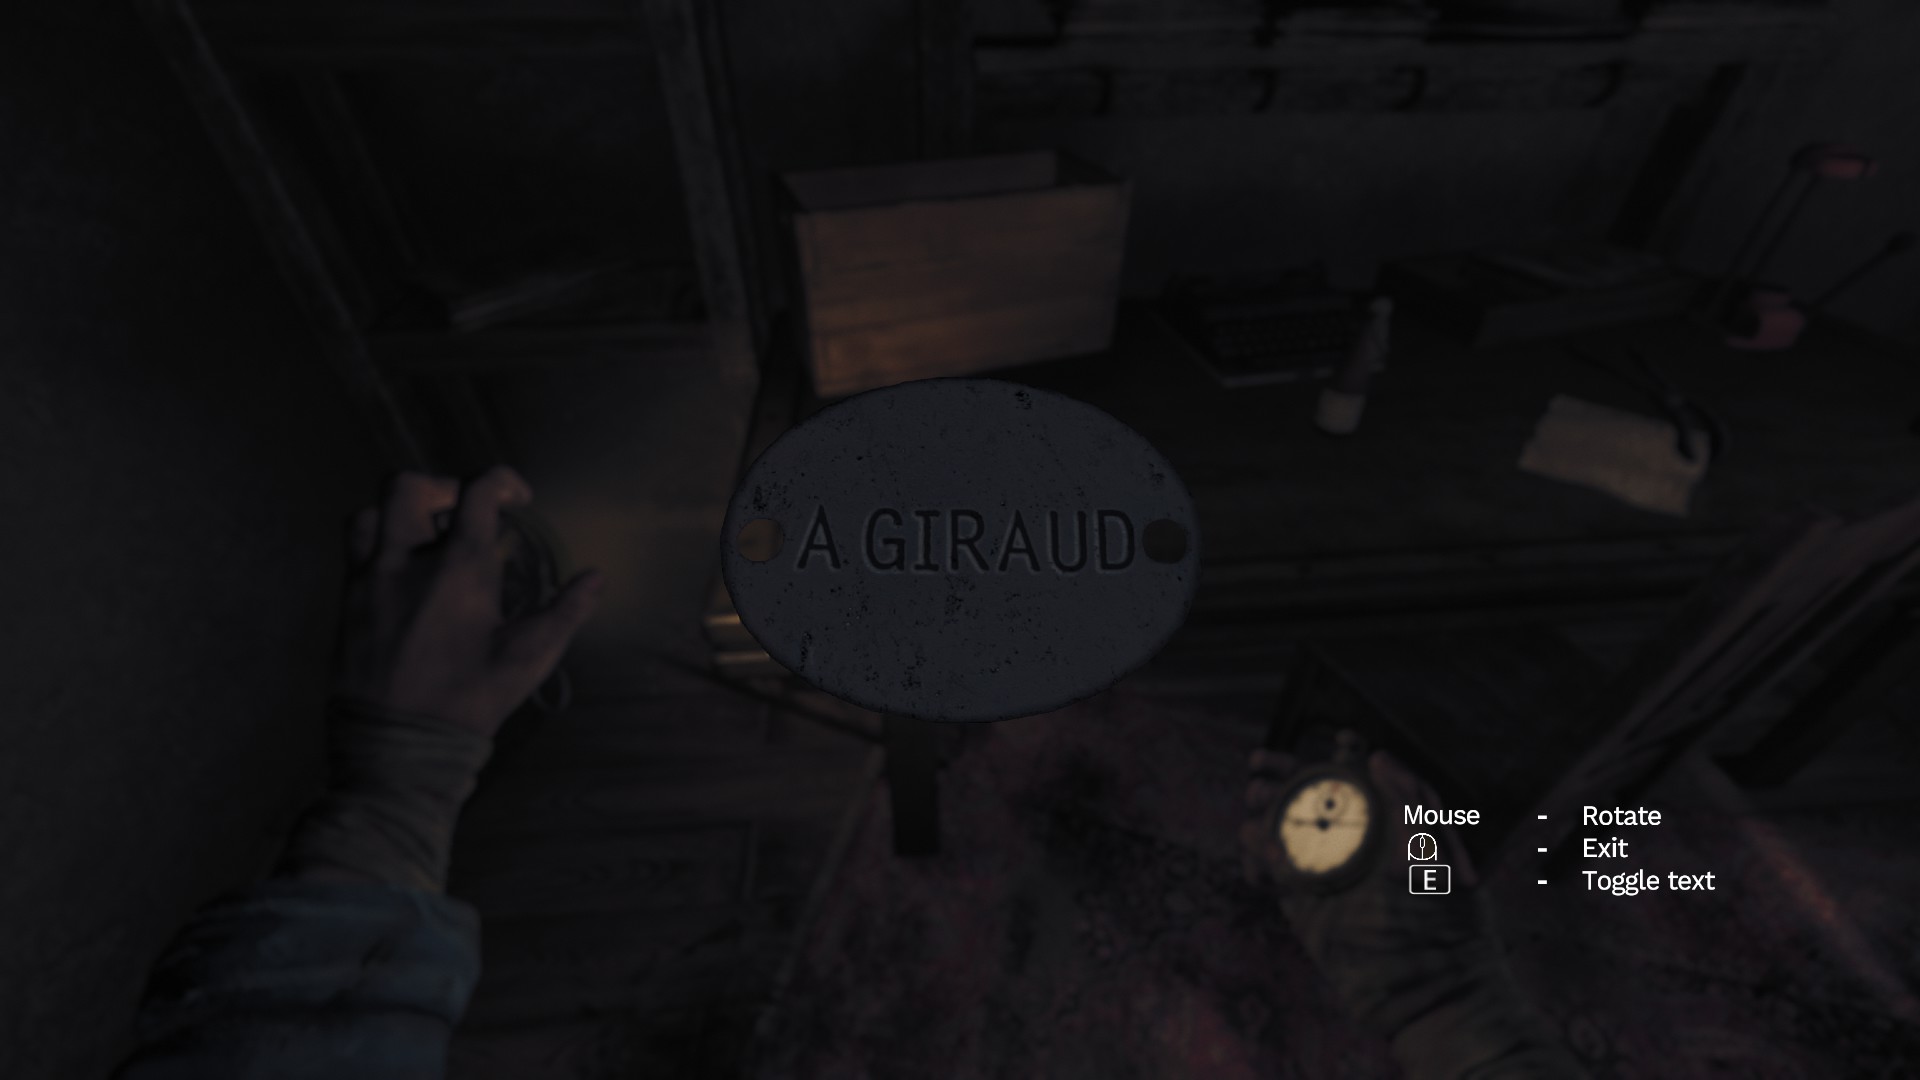
![Locker - A Giraud (1).jpg]](https://images.steamusercontent.com/ugc/2059881334681173224/D2CAFBA6C1AAA68BFCA91382D024AC61600A5972/ "Locker - A Giraud (1).jpg]")
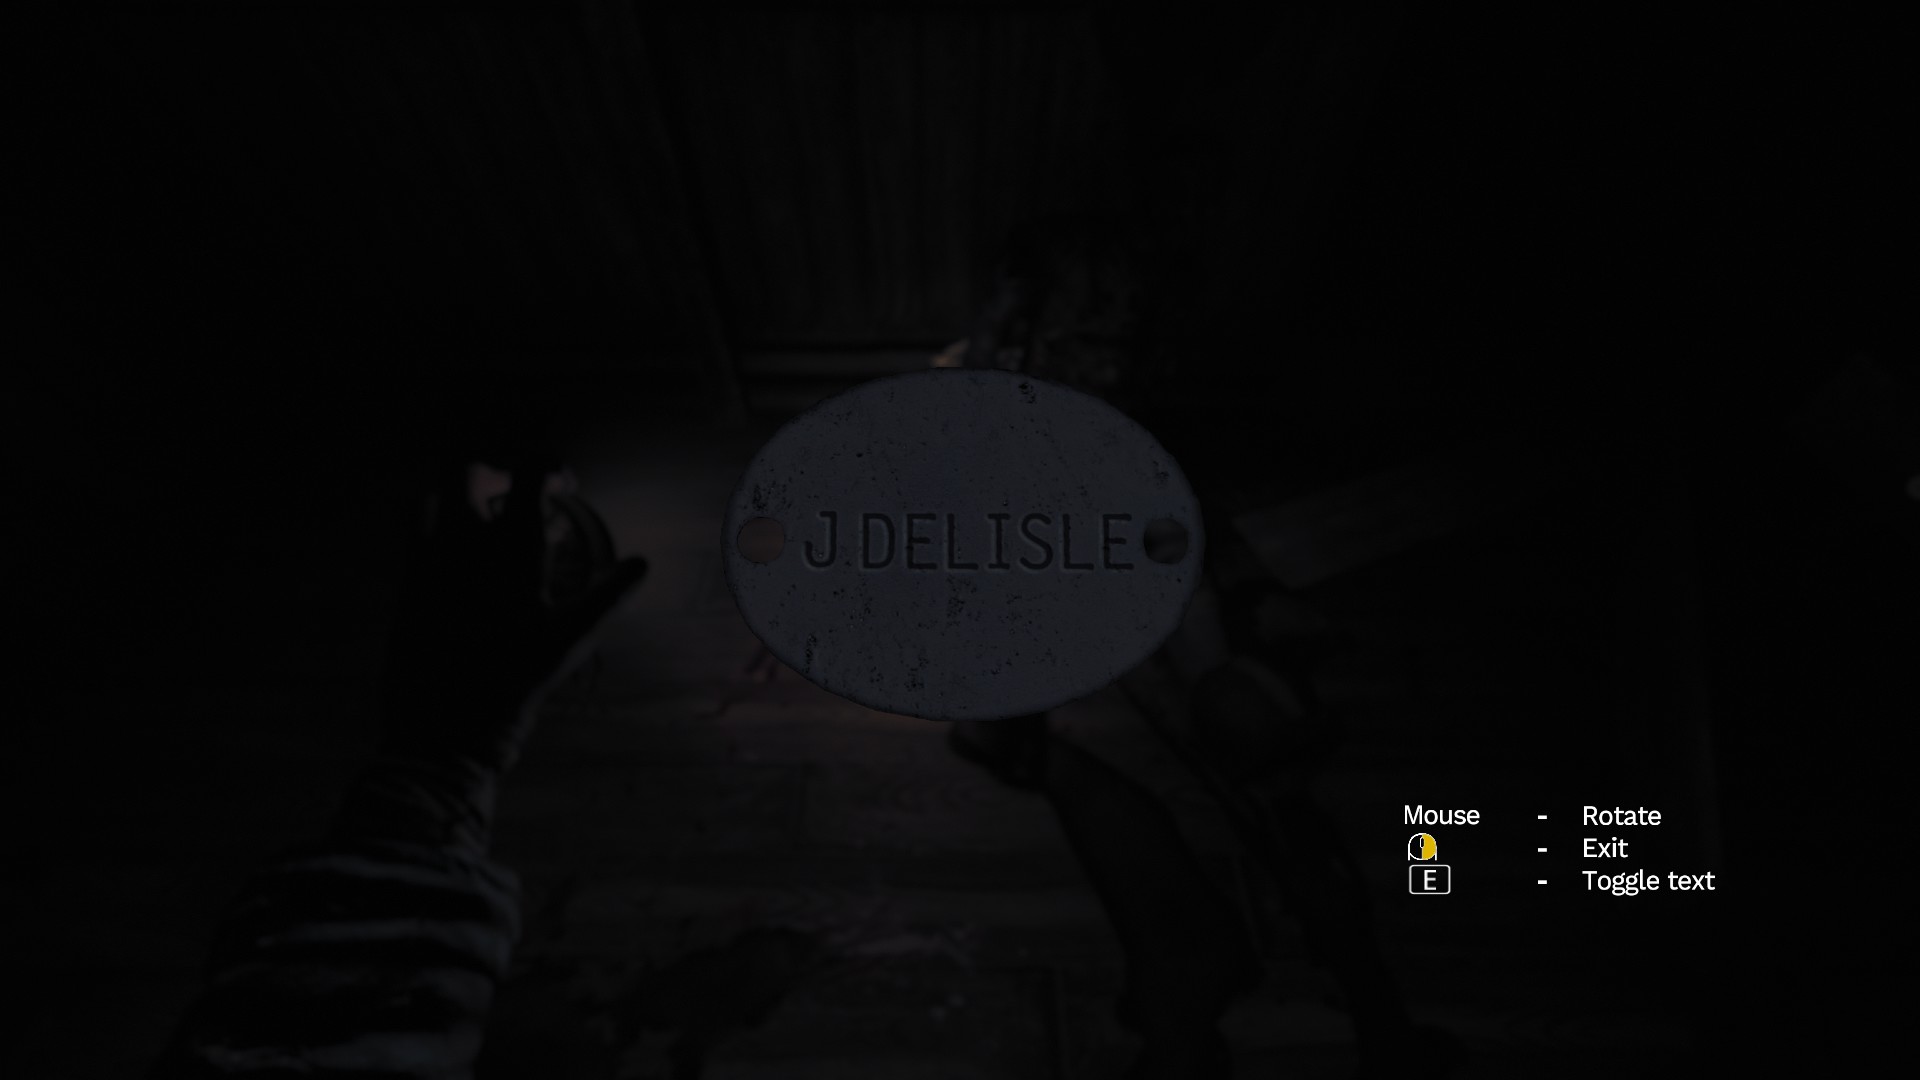
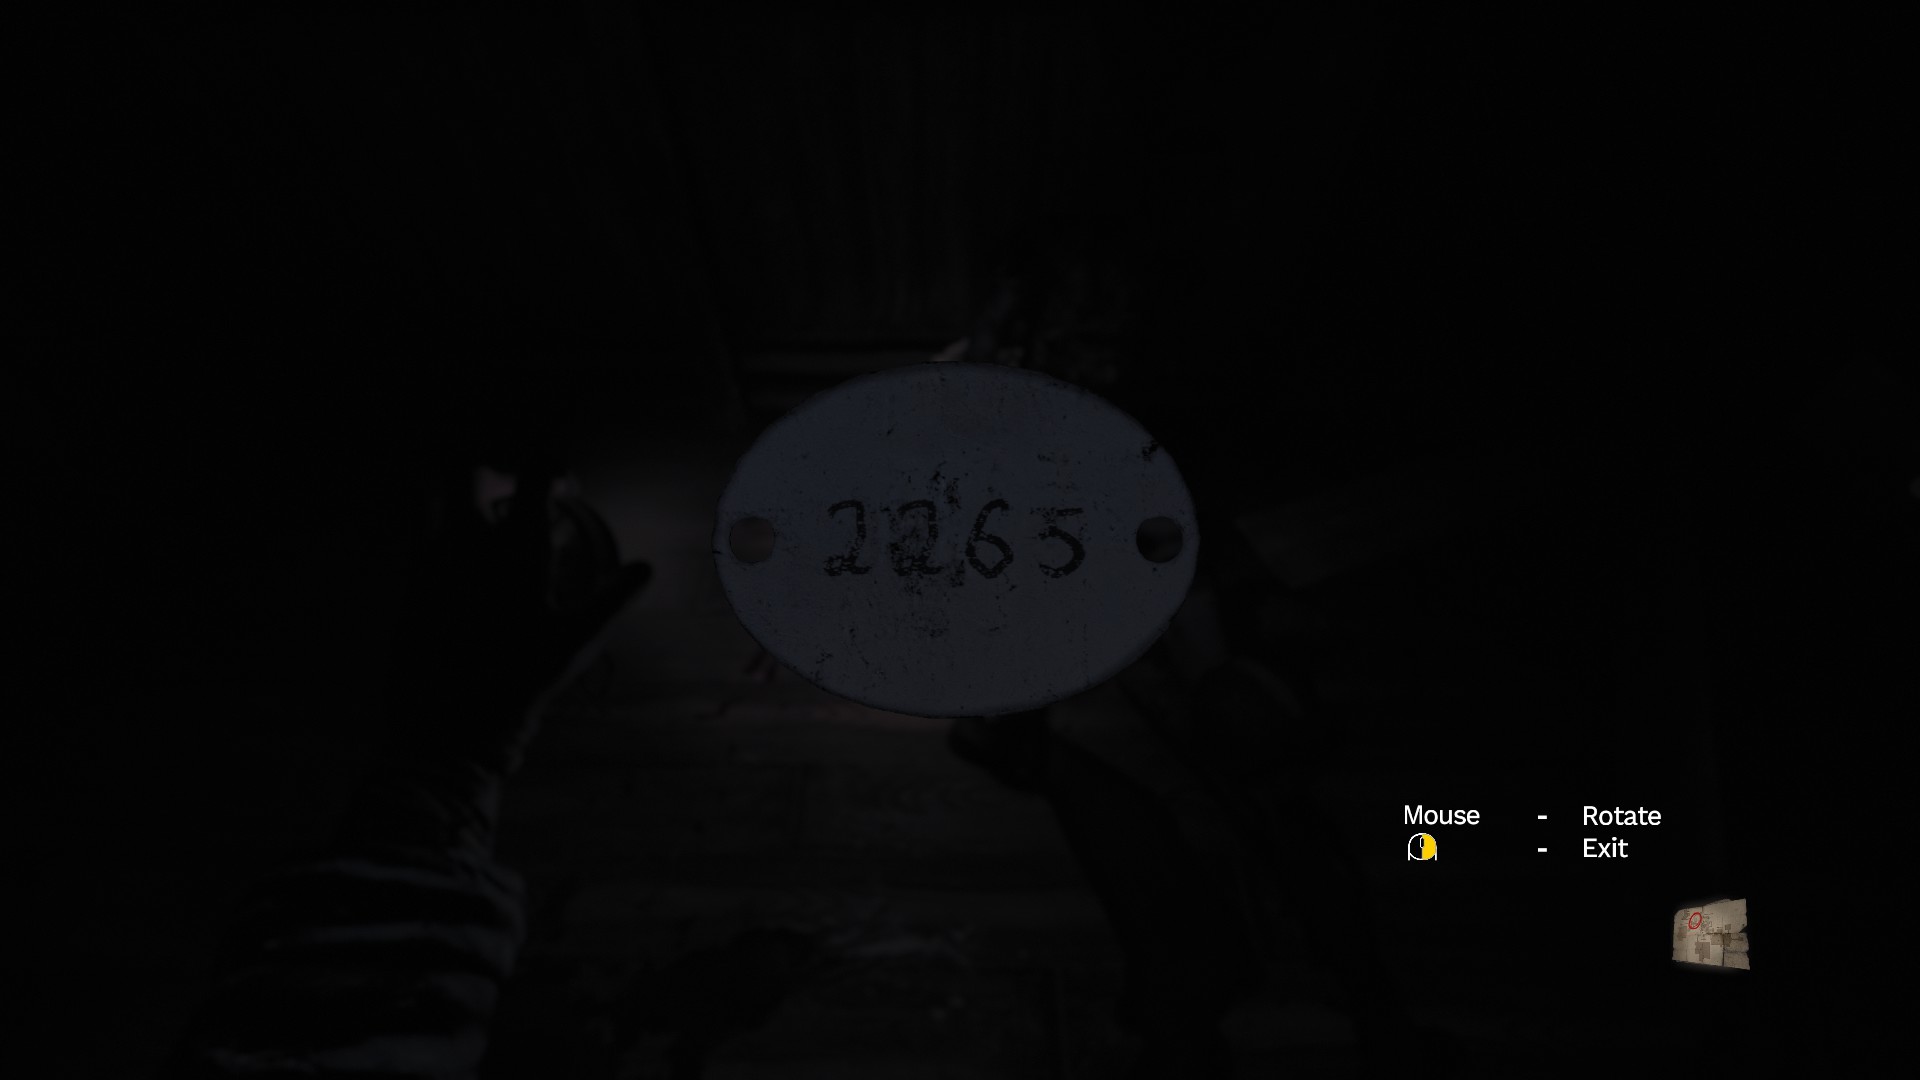
![Locker - J Delisle (1).jpg]](https://images.steamusercontent.com/ugc/2059881334702286874/0C82AAFC7F8F19B949E11EBEC217B269A81D7DA2/ "Locker - J Delisle (1).jpg]")
![Locker - Foreman Stafford (1).jpg]](https://images.steamusercontent.com/ugc/2059881334682055506/DD682D6EE2E59AE2D255127DC17295B82AD5E675/ "Locker - Foreman Stafford (1).jpg]")
![Locker - A Lambert (1).jpg]](https://images.steamusercontent.com/ugc/2059881334684272198/BCD555D7B260A72E58C31D7A911D4C2272D7564A/ "Locker - A Lambert (1).jpg]")

![Locker - H Boucher (1).jpg]](https://images.steamusercontent.com/ugc/2059881334678815509/0114058B0A00EA2D2E559EBCB2E44B68CFADFA96/ "Locker - H Boucher (1).jpg]")
![Locker - A Fortin (1).jpg]](https://images.steamusercontent.com/ugc/2059881334682194106/E37C39F934C697C5E81E78838B0424DE334C9894/ "Locker - A Fortin (1).jpg]")
![Locker - D Bardin (1).jpg]](https://images.steamusercontent.com/ugc/2059881334683879457/6BE370FDB505466D8061694AE0DEF1A1BA5D2BFE/ "Locker - D Bardin (1).jpg]")


![Hero (1).png]](https://images.steamusercontent.com/ugc/2206261006281913568/F185B263CBA8301BE1CBD3E1765548516A136E22/ "Hero (1).png]")


First off all thankyou for the detailed explanation + guides + acihvments !!
Well done!!
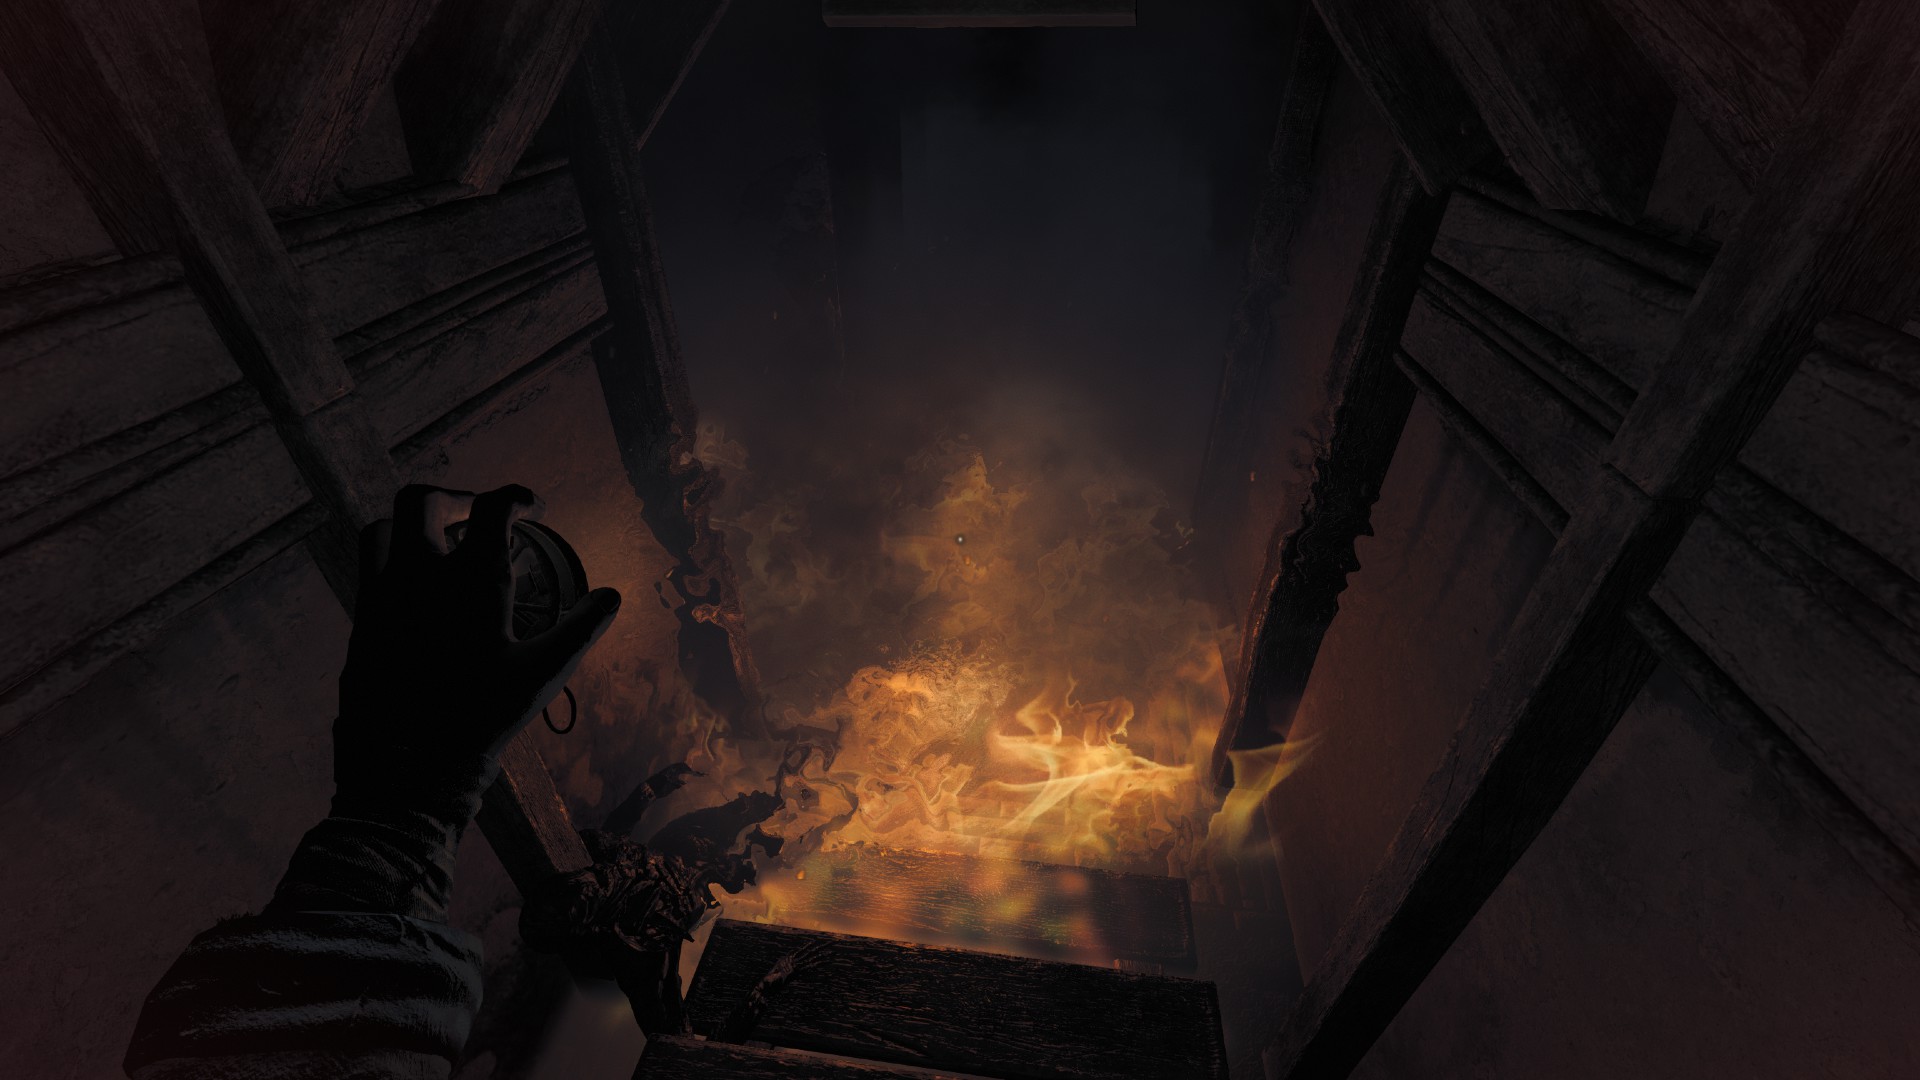
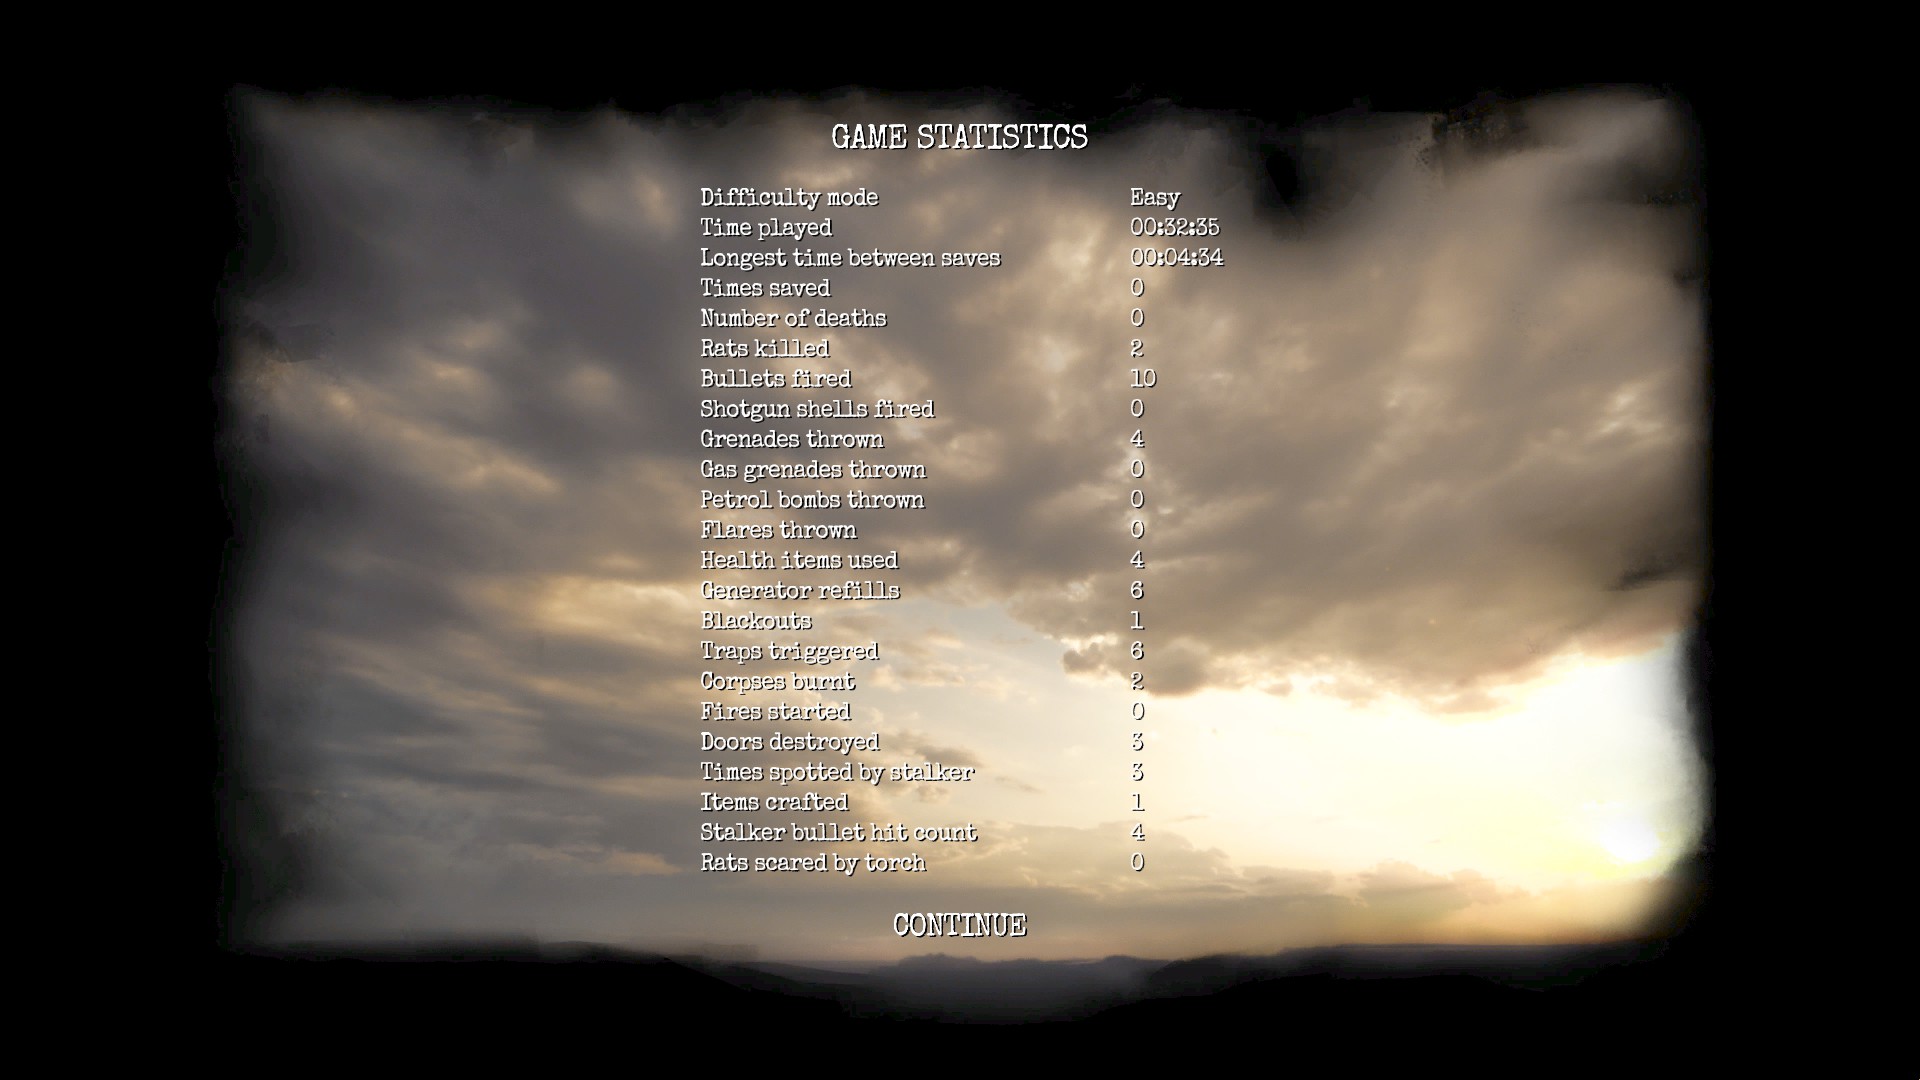
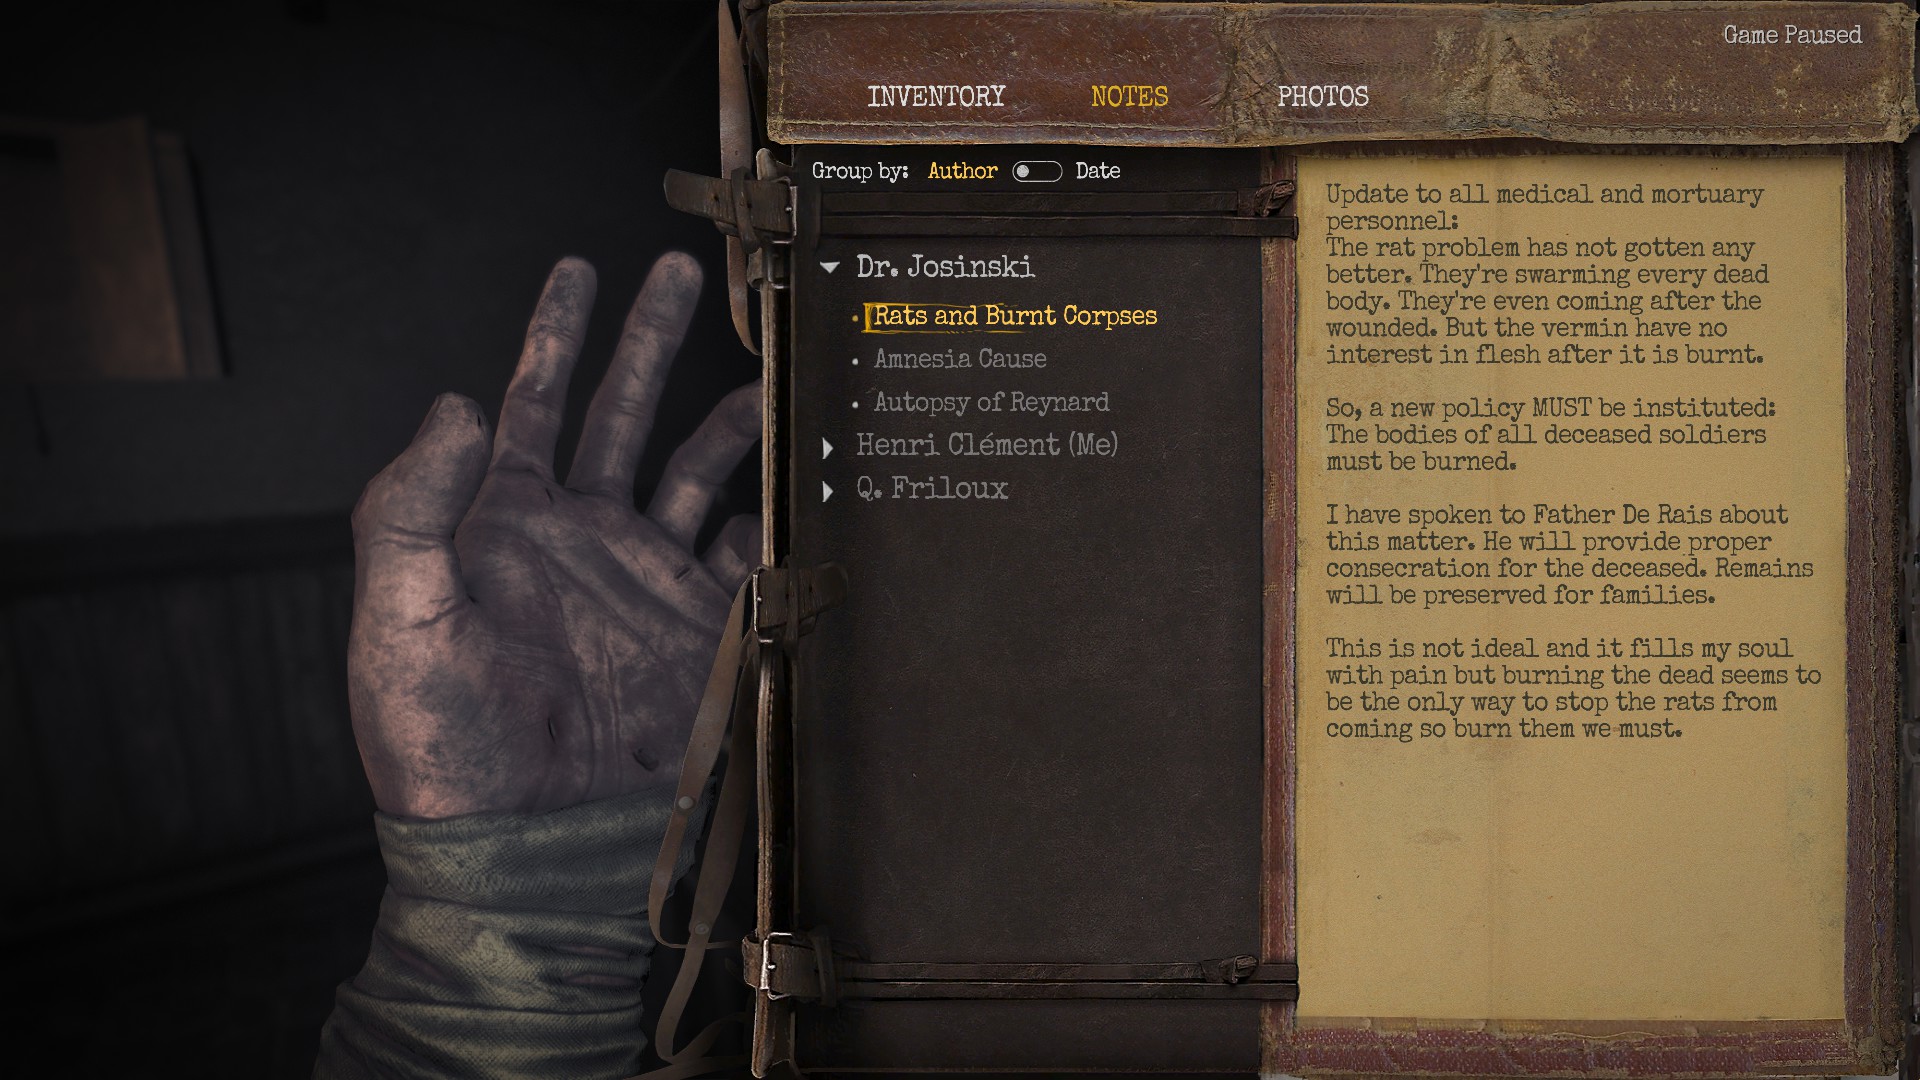
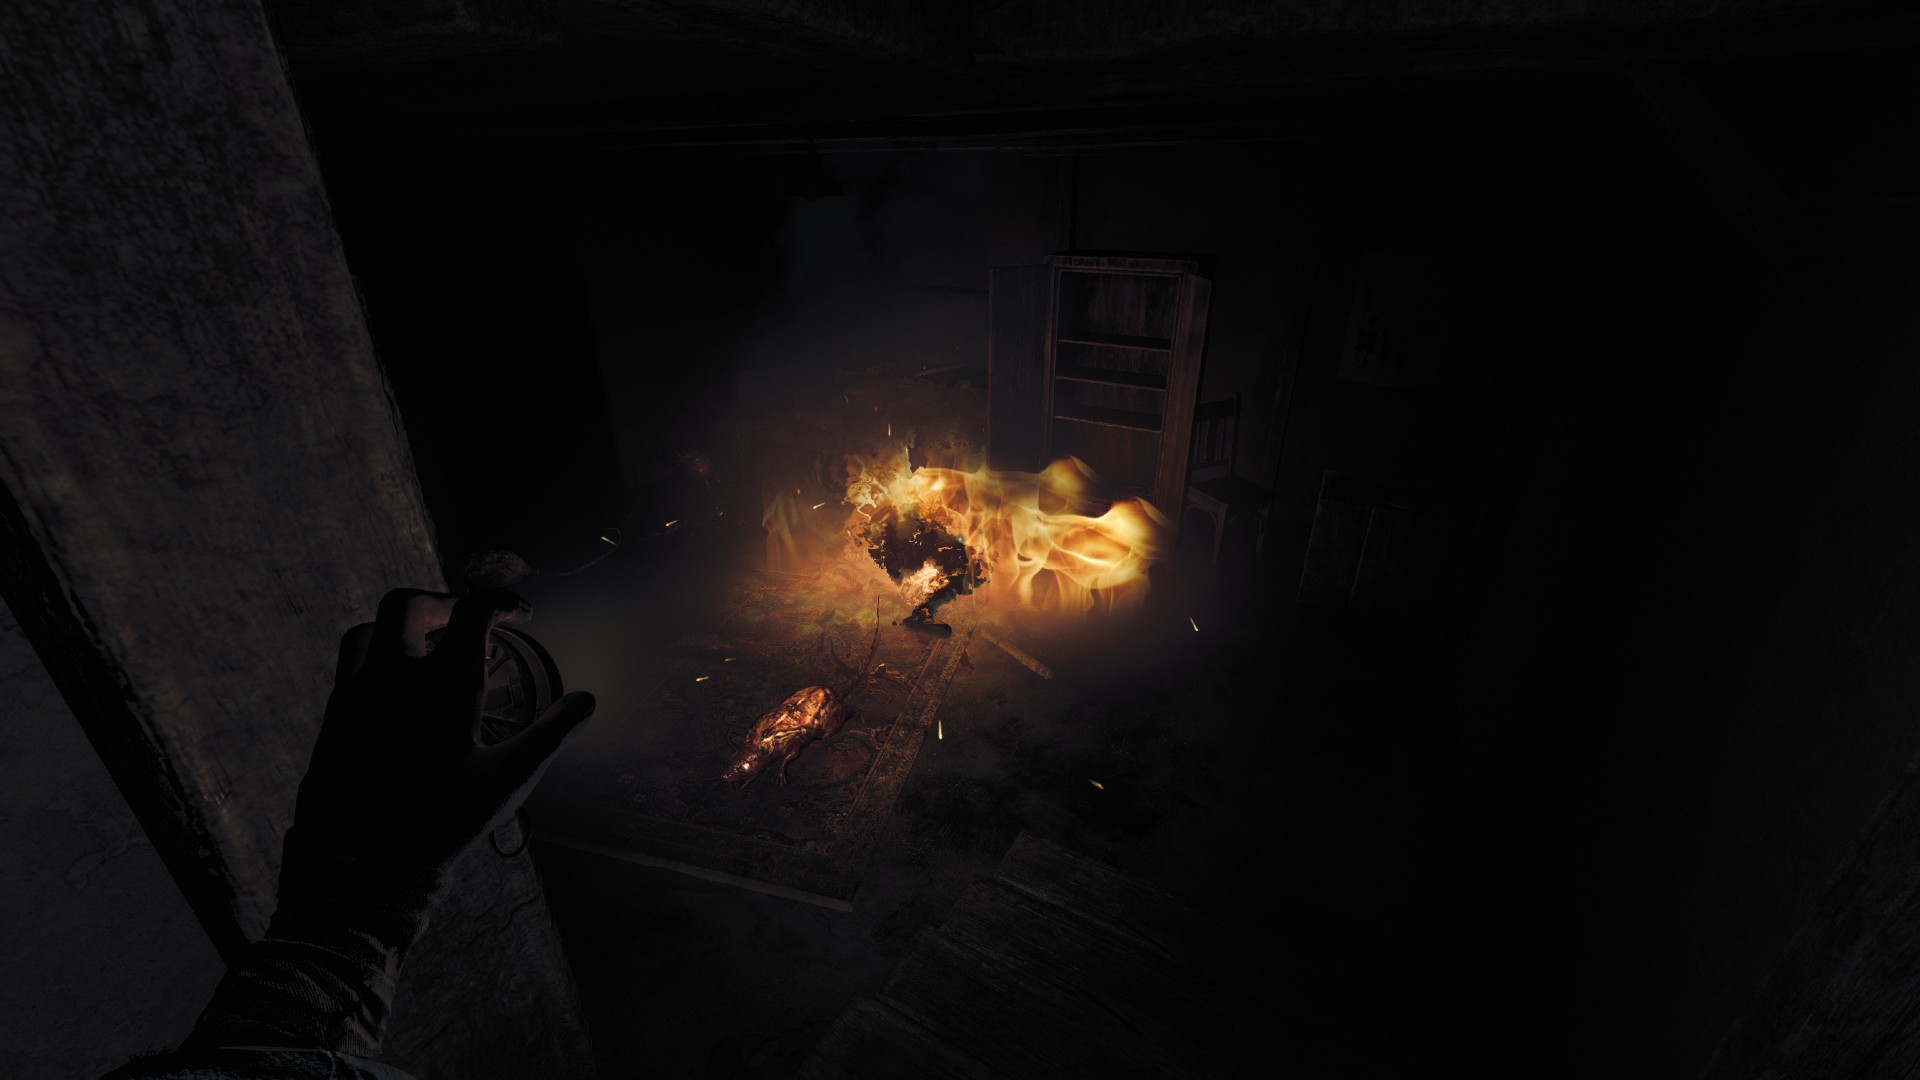
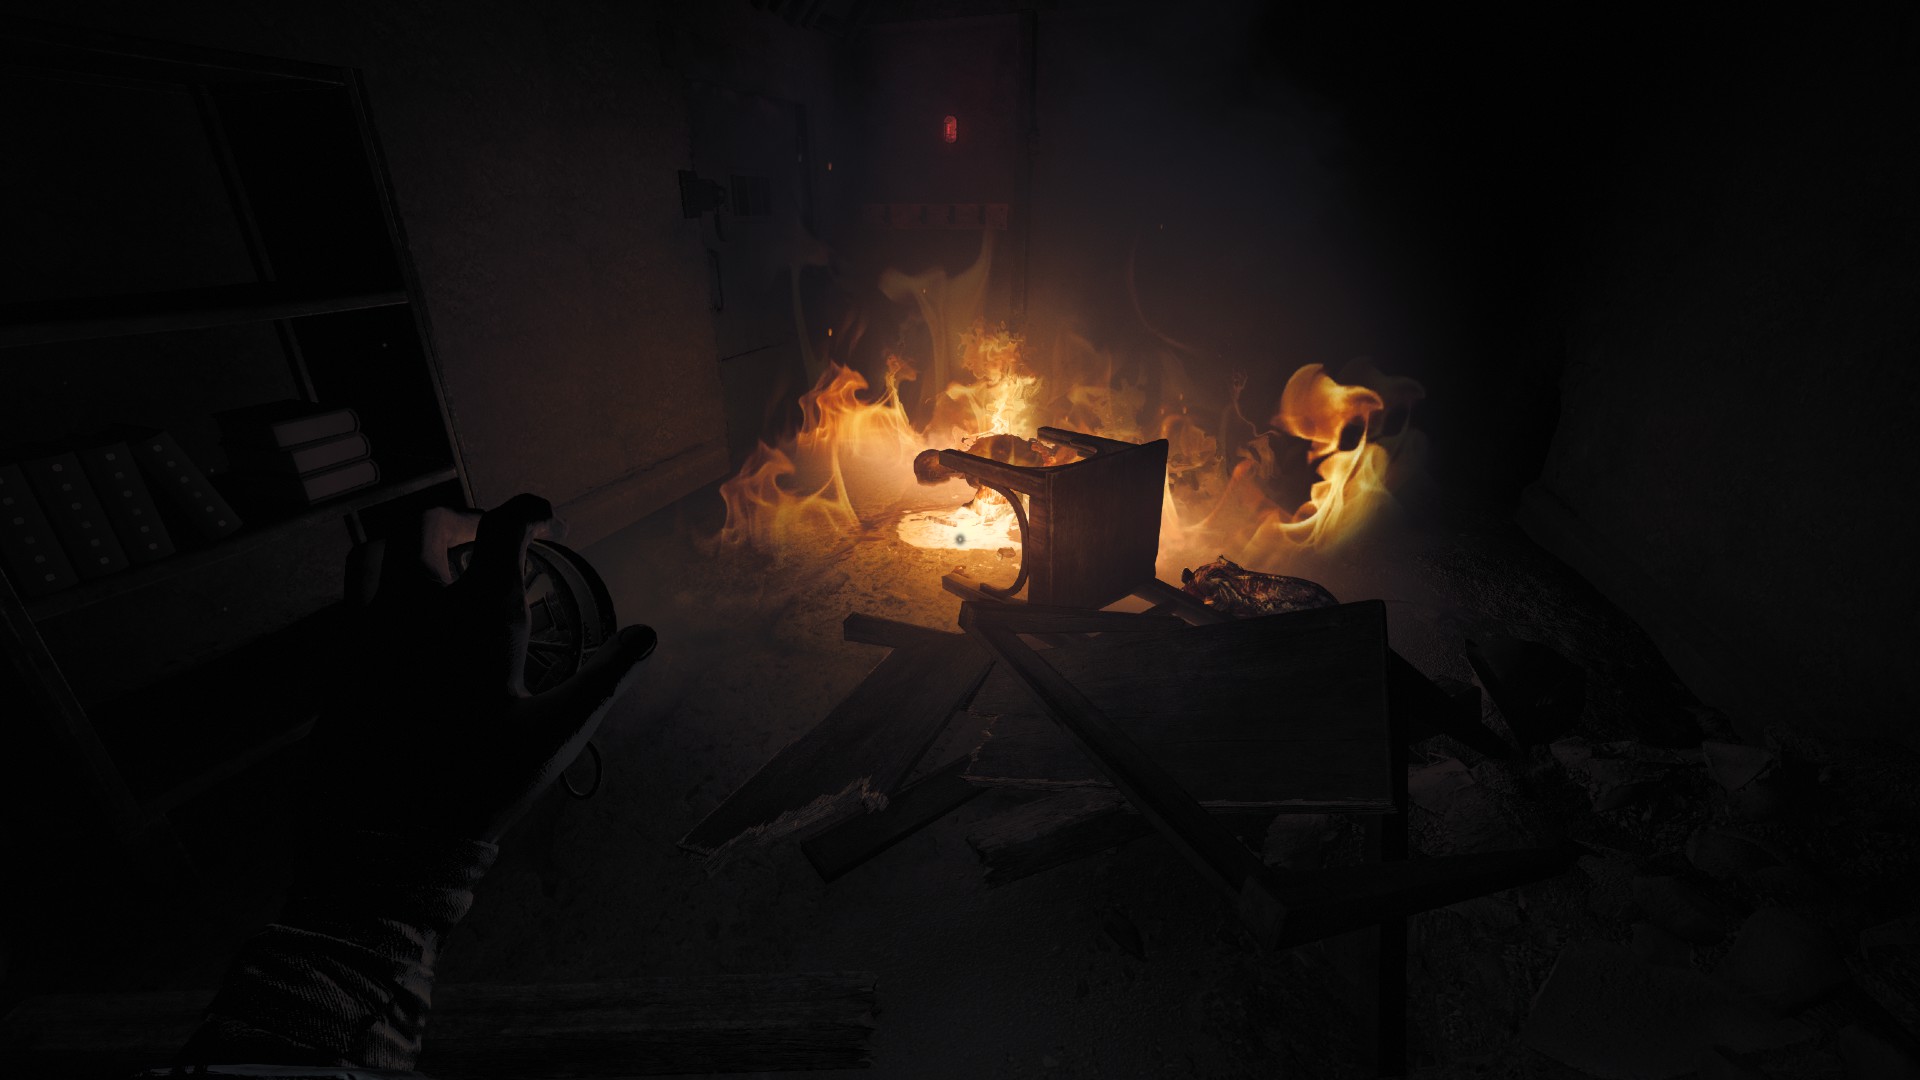
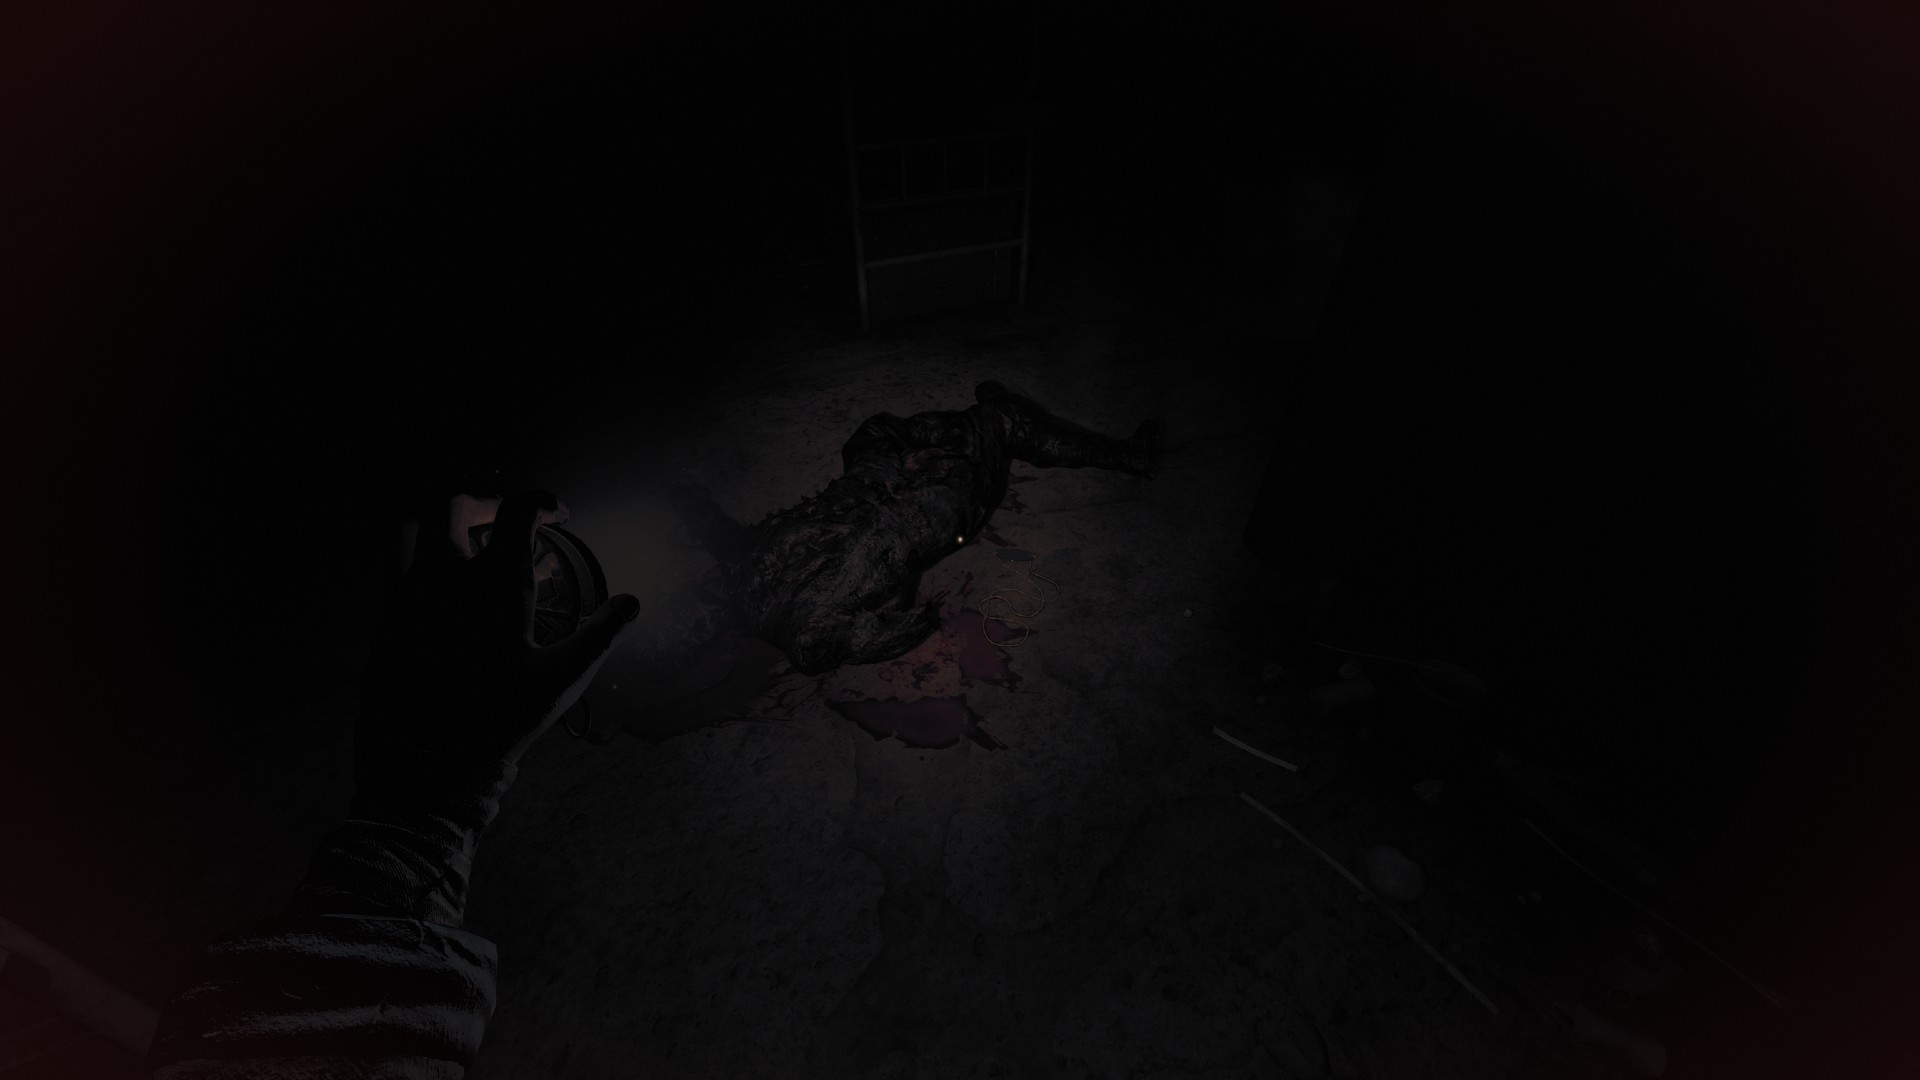
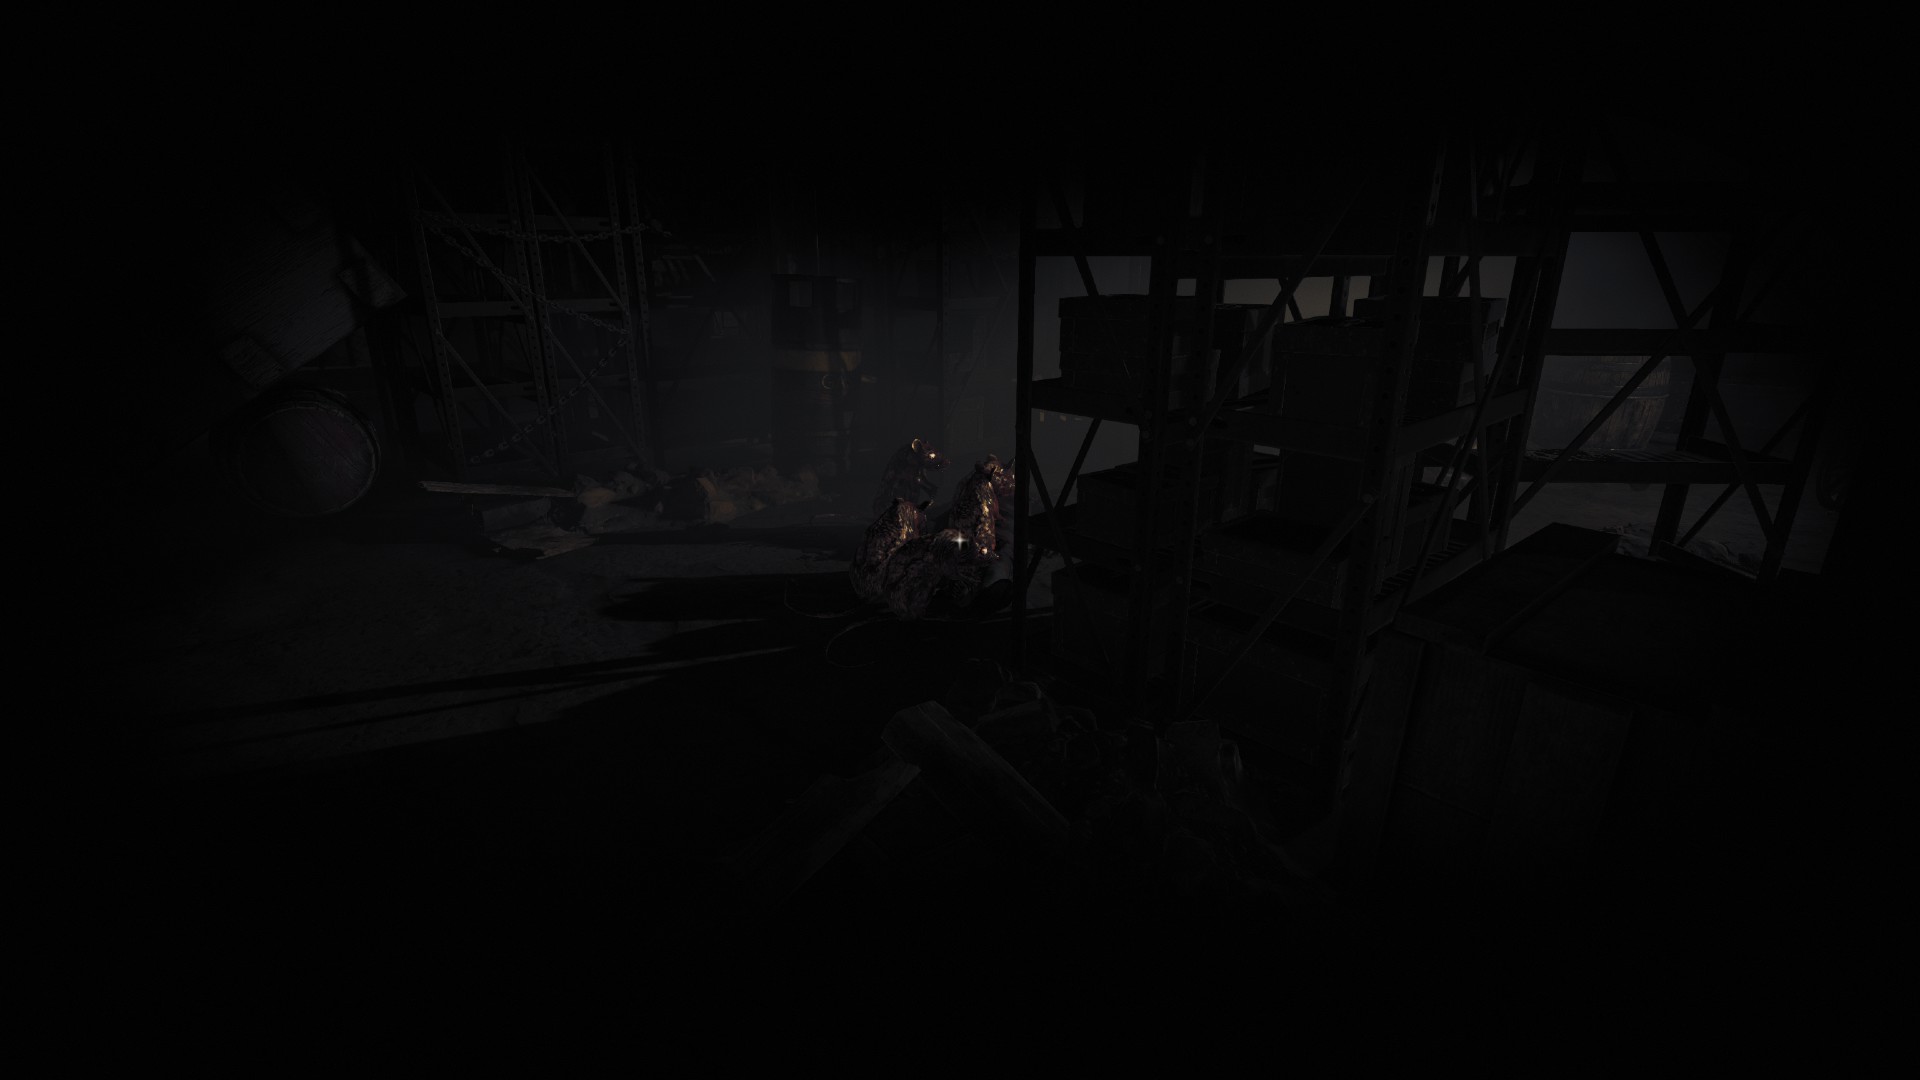
About the roastmaster acihvment, you don't need to write notes just burn 12 bodies and it's done !!
At least for me it worked...