

Install Steam
login
|
language
简体中文 (Simplified Chinese)
繁體中文 (Traditional Chinese)
日本語 (Japanese)
한국어 (Korean)
ไทย (Thai)
Български (Bulgarian)
Čeština (Czech)
Dansk (Danish)
Deutsch (German)
Español - España (Spanish - Spain)
Español - Latinoamérica (Spanish - Latin America)
Ελληνικά (Greek)
Français (French)
Italiano (Italian)
Bahasa Indonesia (Indonesian)
Magyar (Hungarian)
Nederlands (Dutch)
Norsk (Norwegian)
Polski (Polish)
Português (Portuguese - Portugal)
Português - Brasil (Portuguese - Brazil)
Română (Romanian)
Русский (Russian)
Suomi (Finnish)
Svenska (Swedish)
Türkçe (Turkish)
Tiếng Việt (Vietnamese)
Українська (Ukrainian)
Report a translation problem


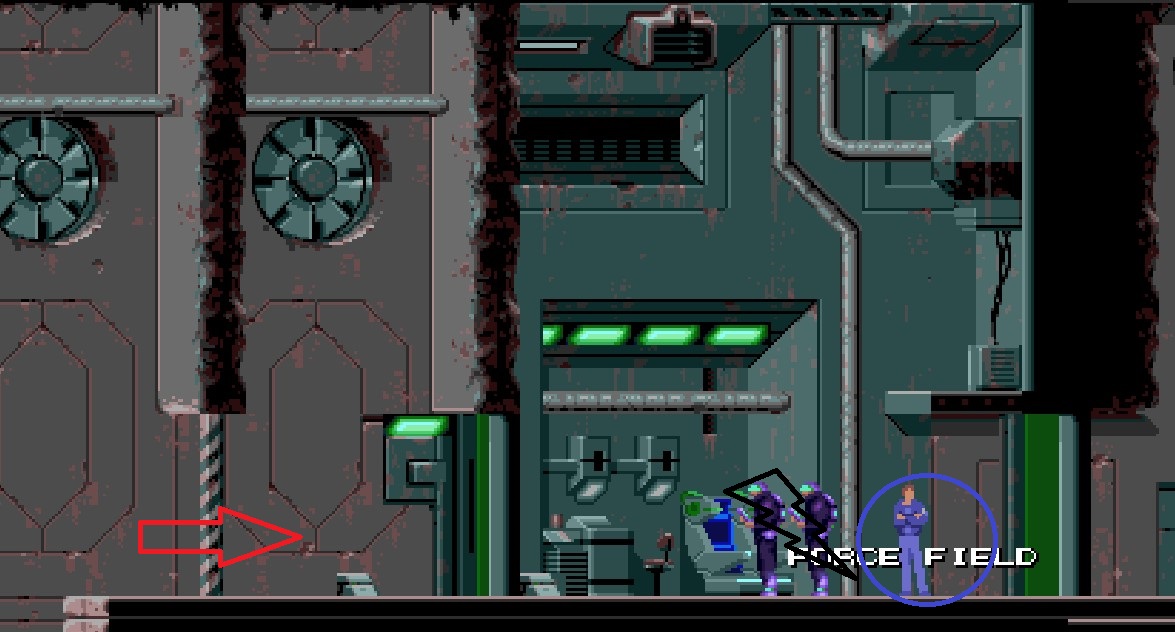


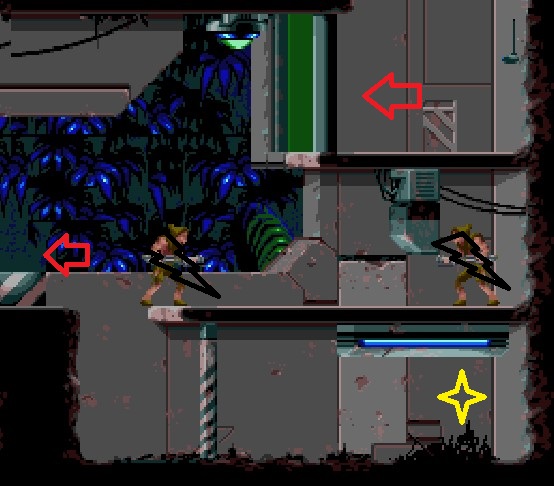


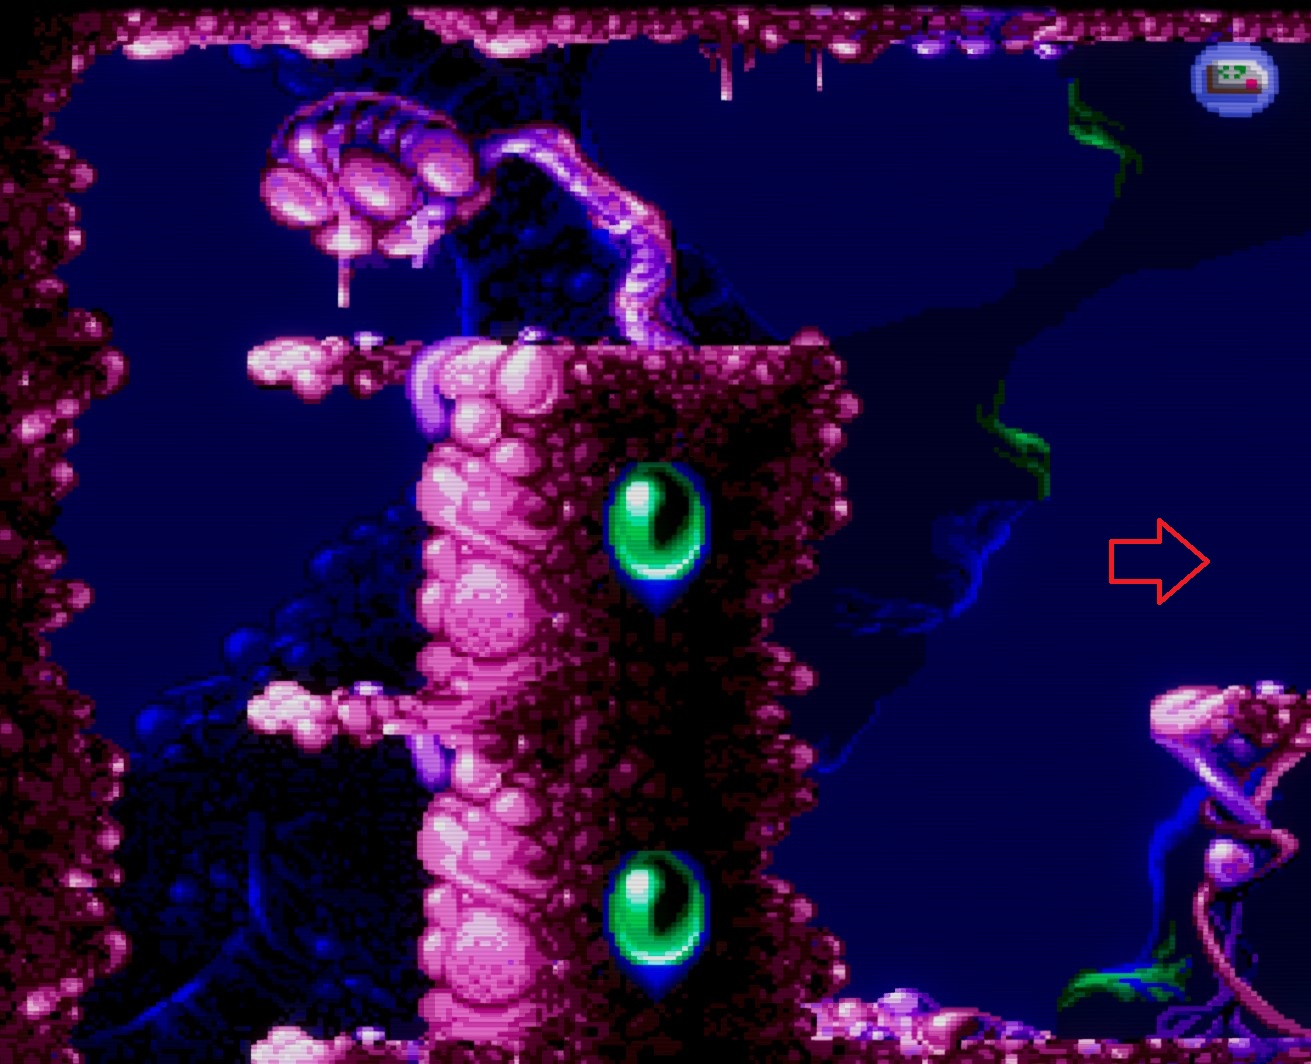
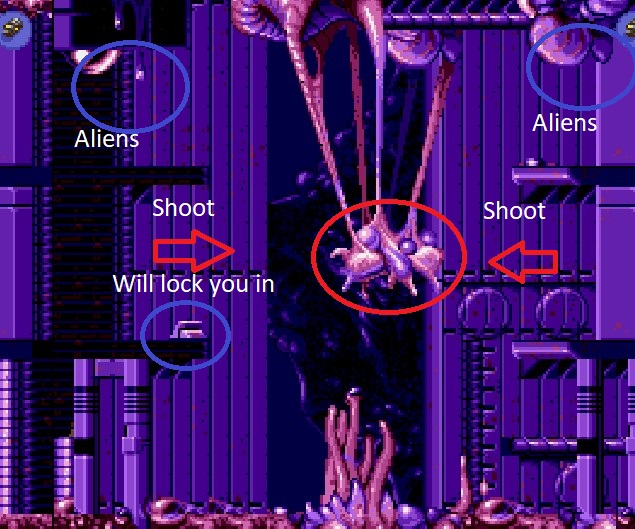


... Which is another awesome feature of 'Hard' mode because every Morph takes like 8 shots to kill or more, like just about every other enemy. Oof.
The last level gets extremely difficult too because, it seems to me like different Morphs have either different difficulties of AI or different strategies because some will do almost nothing but try to get on top of you to hit you by forming into a Humanoid shape on top of you. This does 1 damage like everything else and it's almost impossible to avoid, especially since certain ones completely avoid even TRYING to shoot you, they just literally spam this attack of 'blobbing' over to you, and reforming on top of you.
My strategy differed for one big thing I want to mention, for anyone else trying expert no rewind.
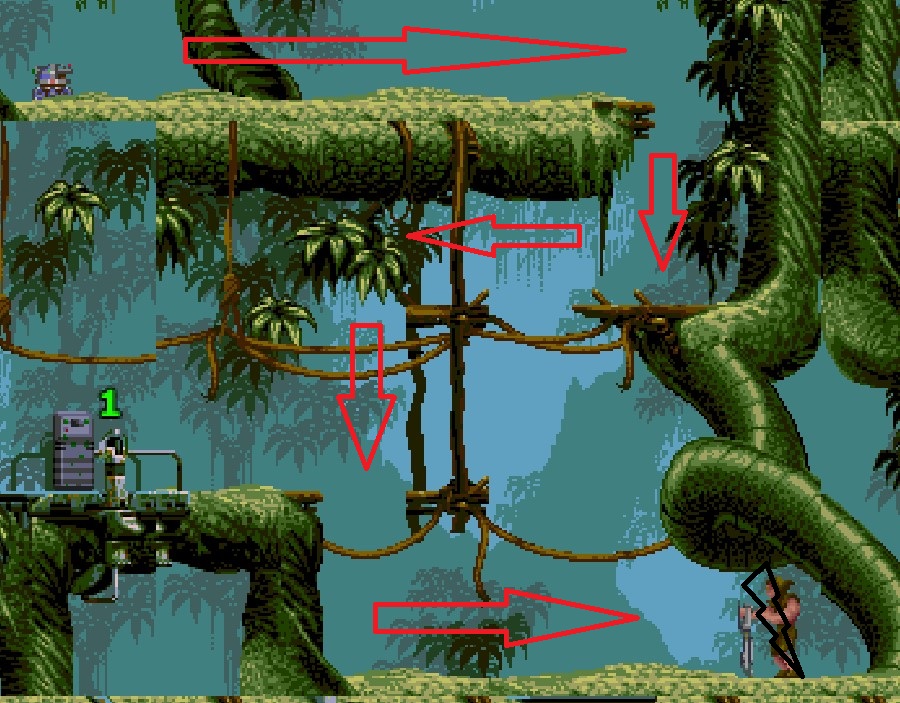
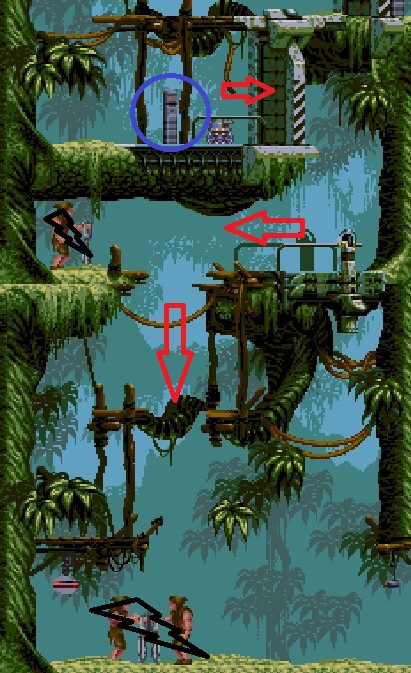
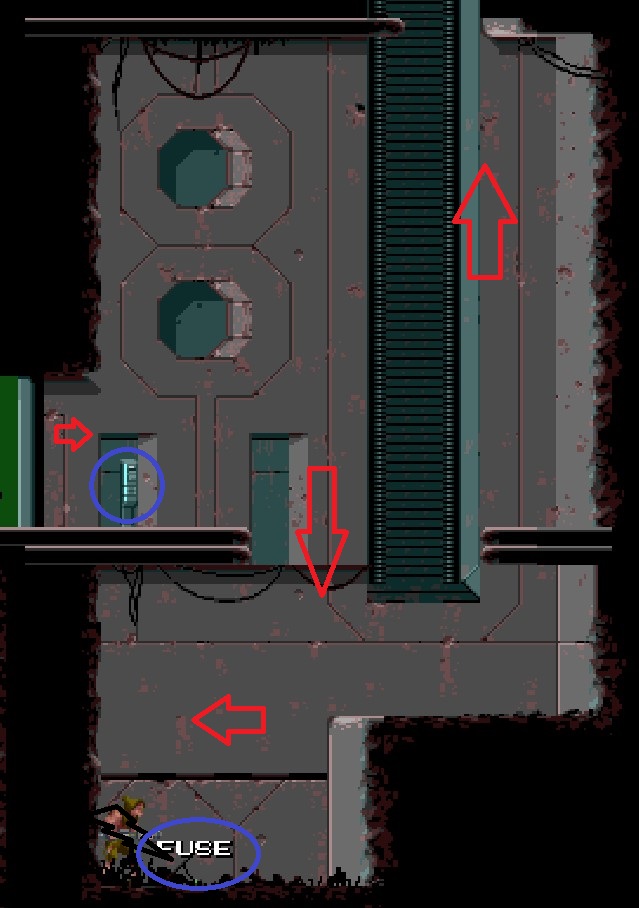
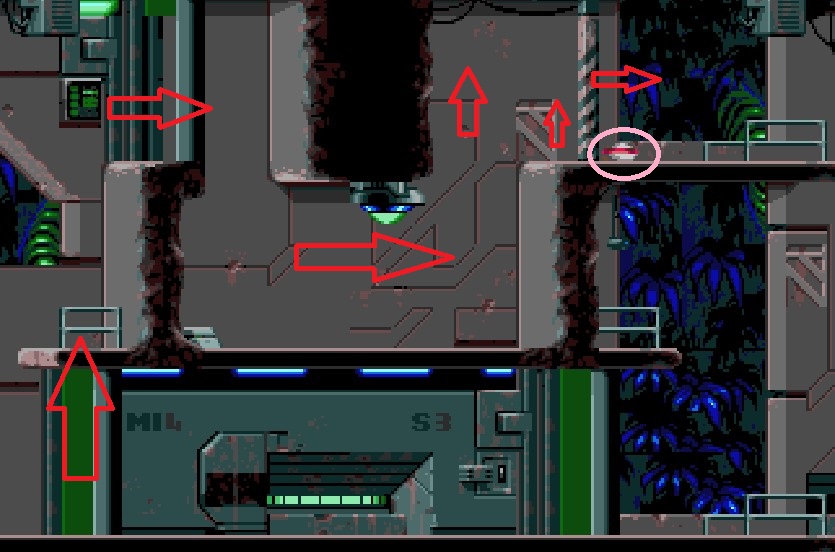
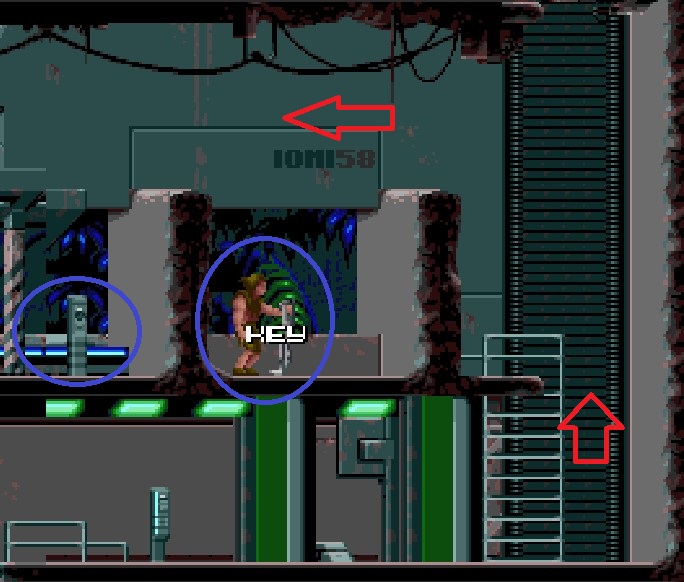
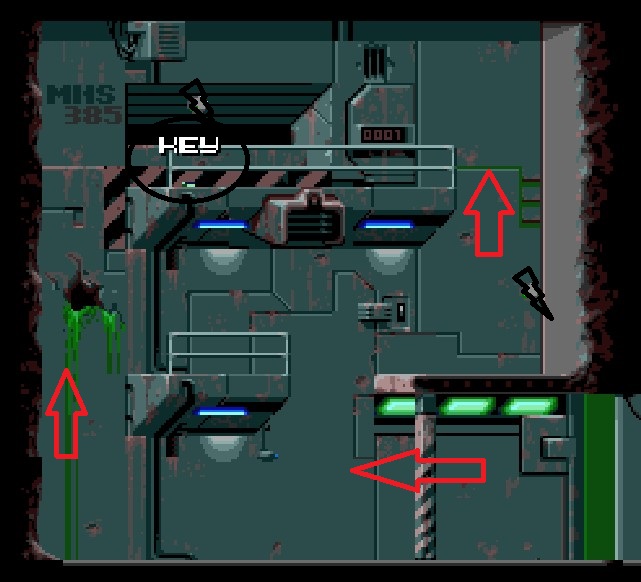
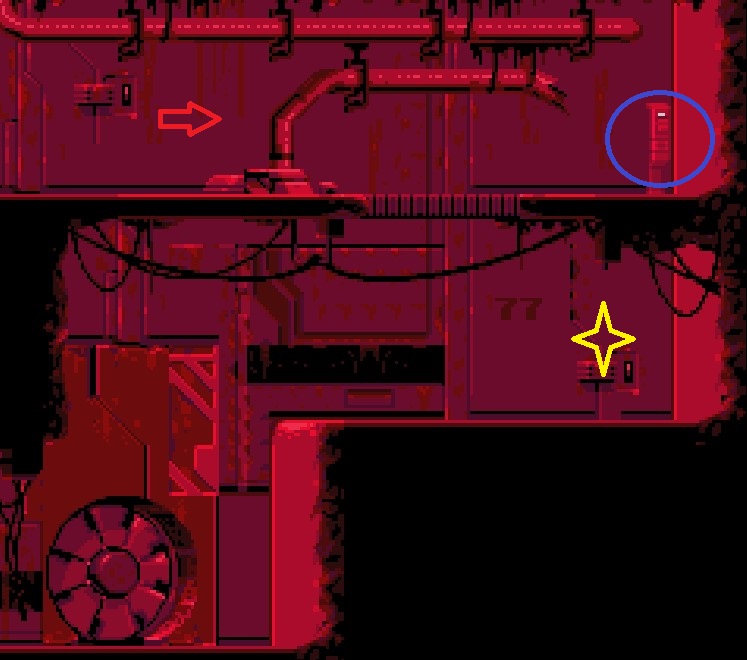
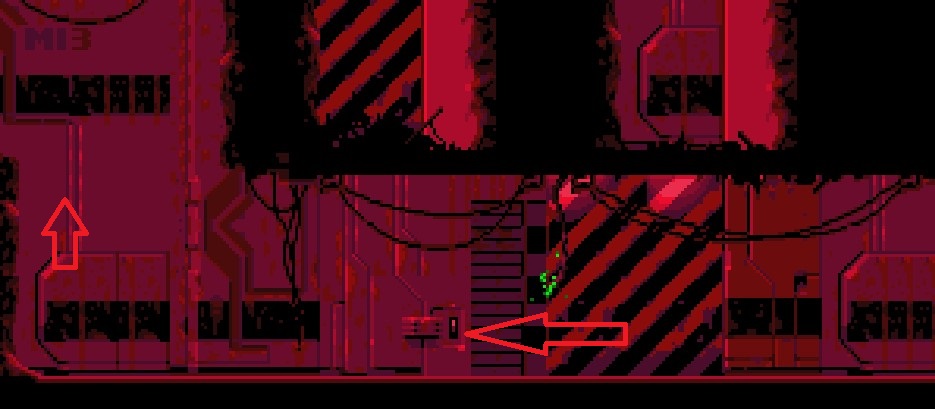
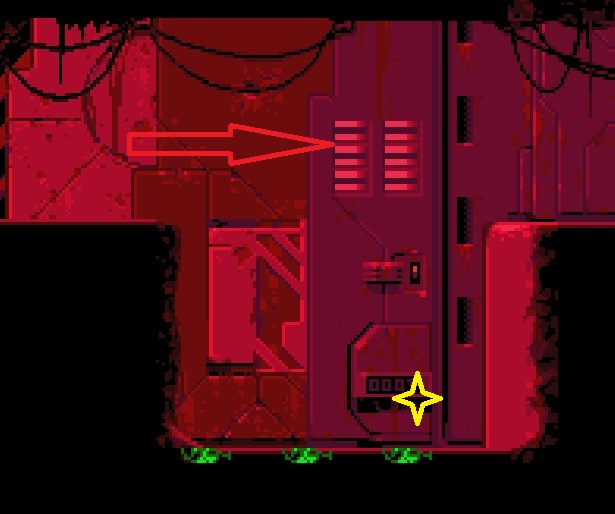
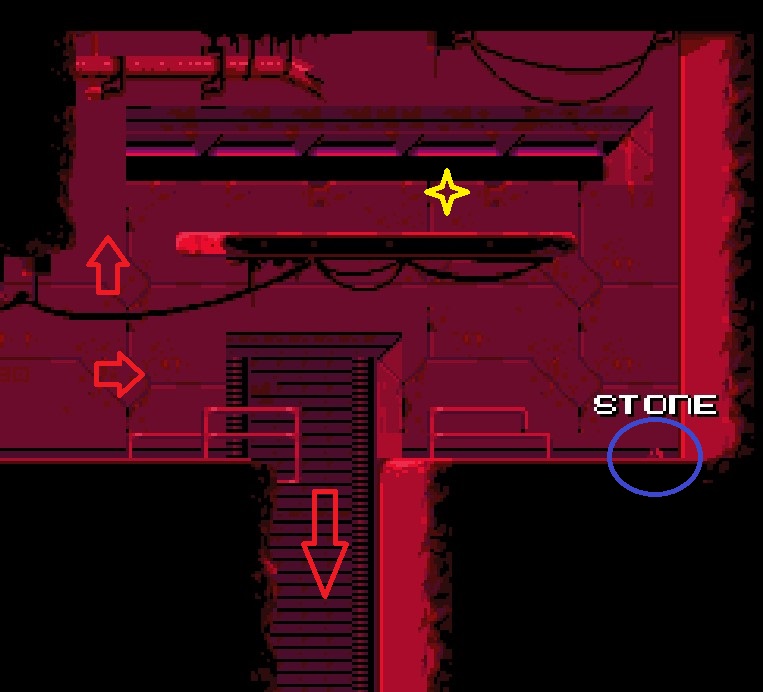
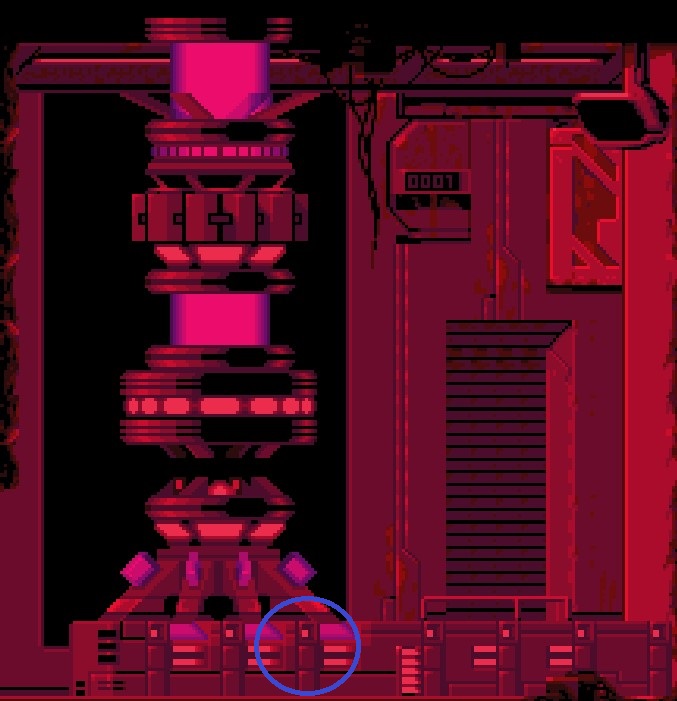
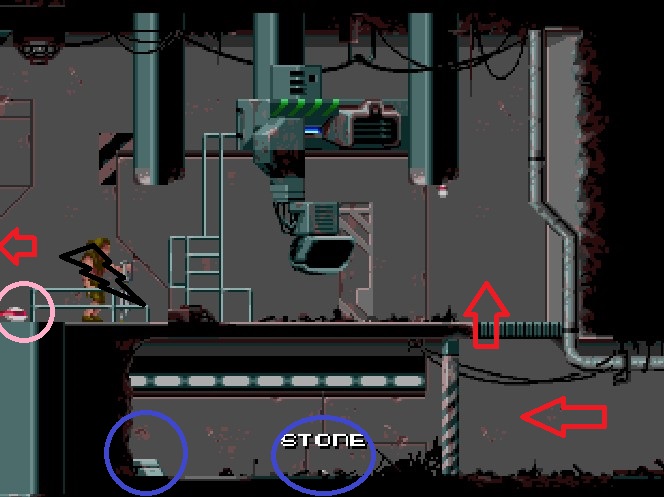
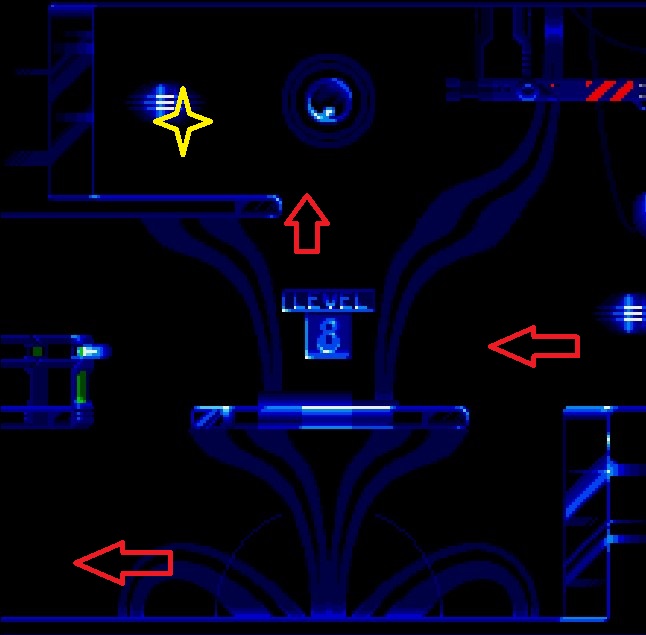
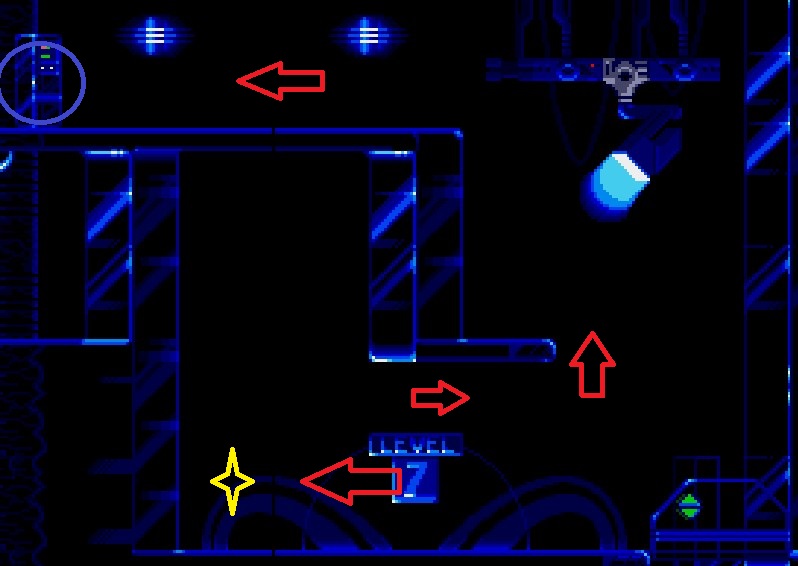
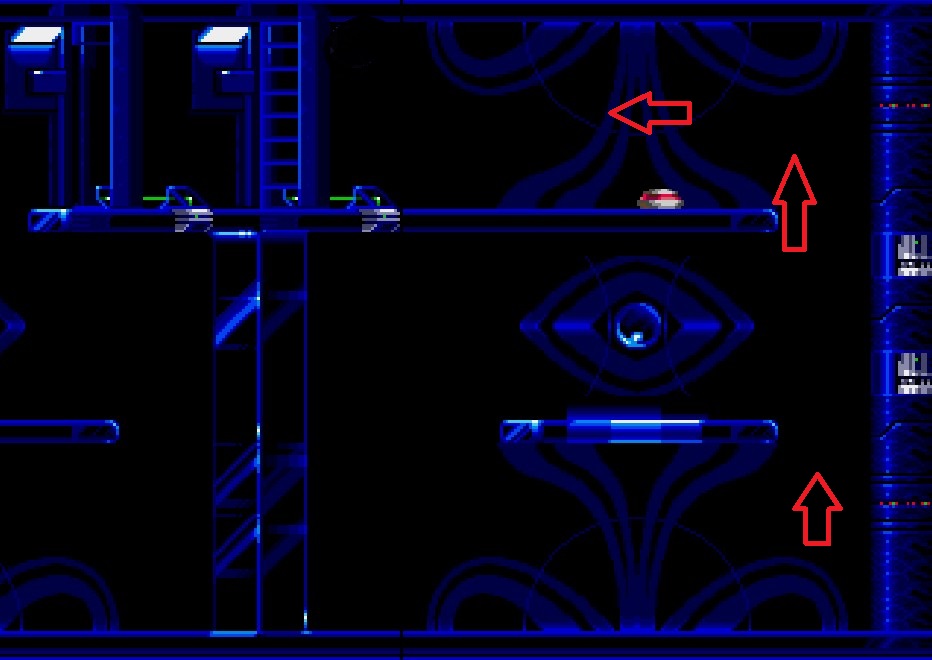
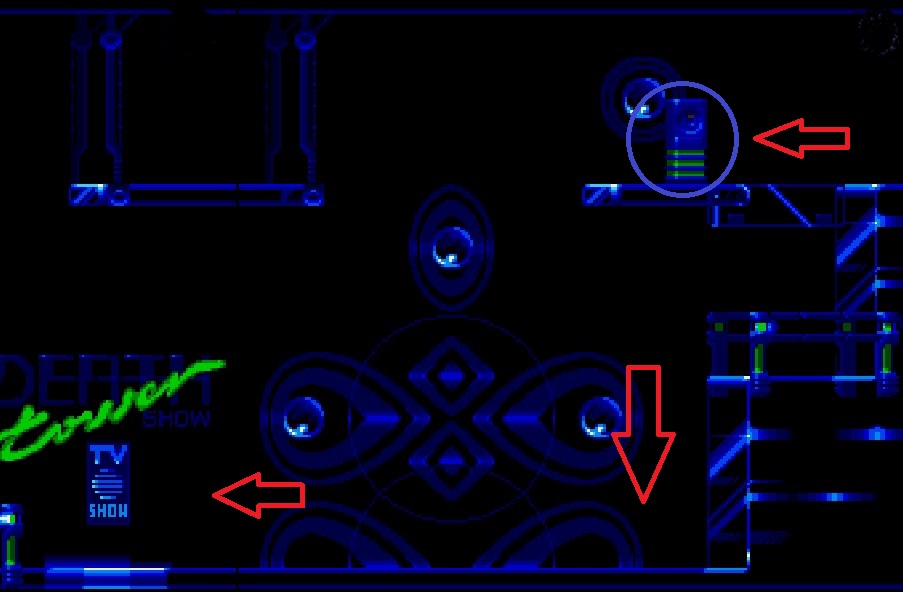
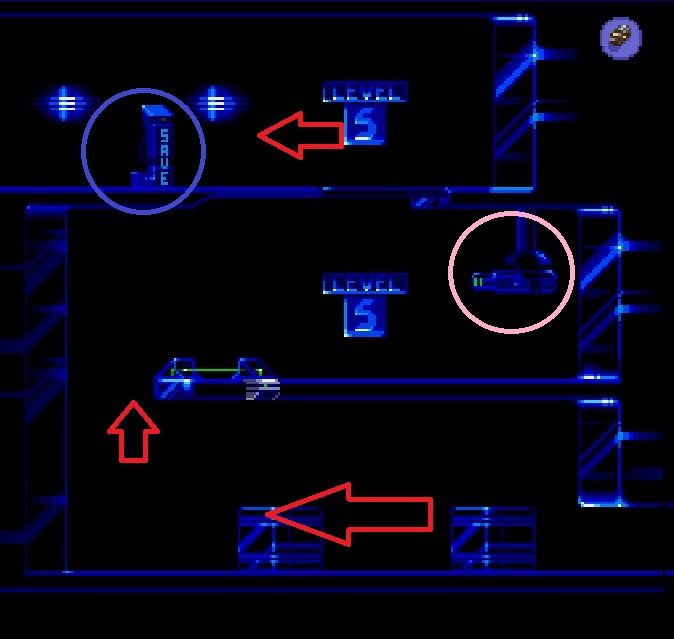
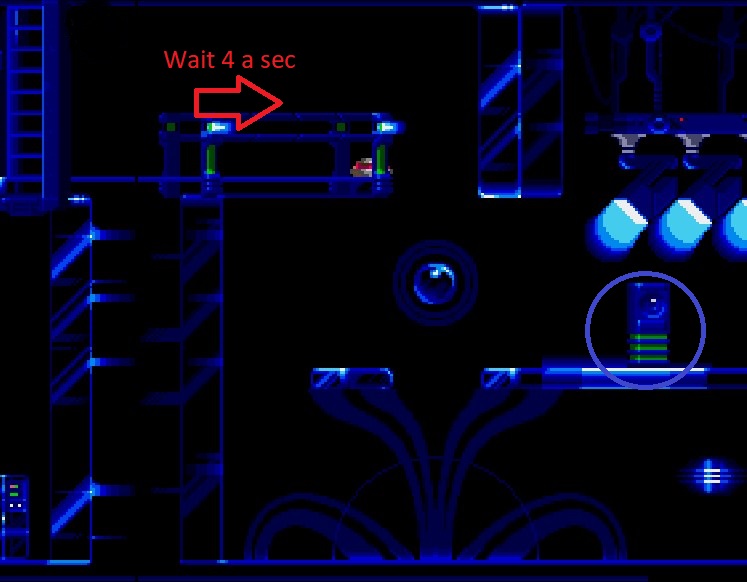
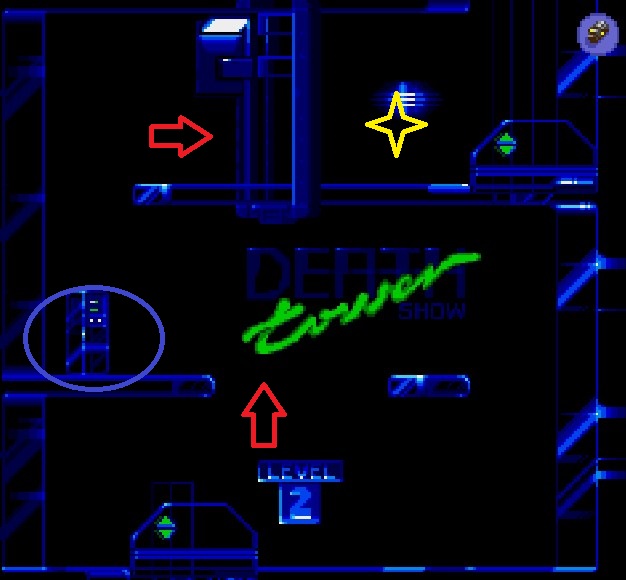
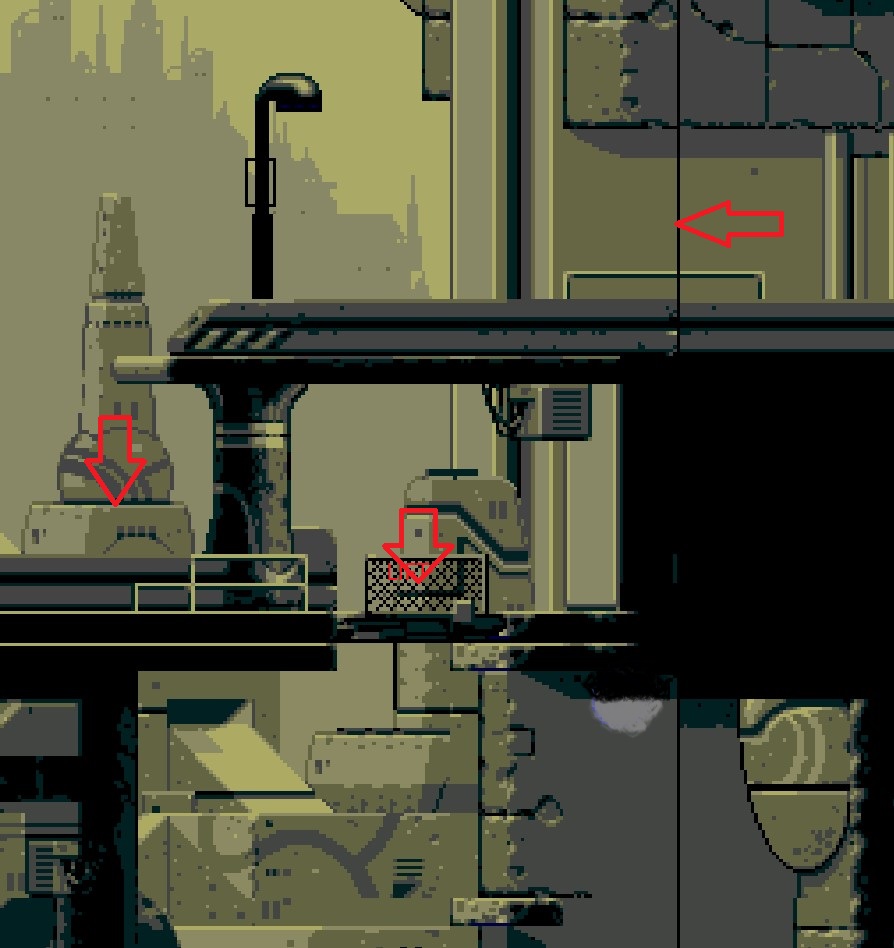
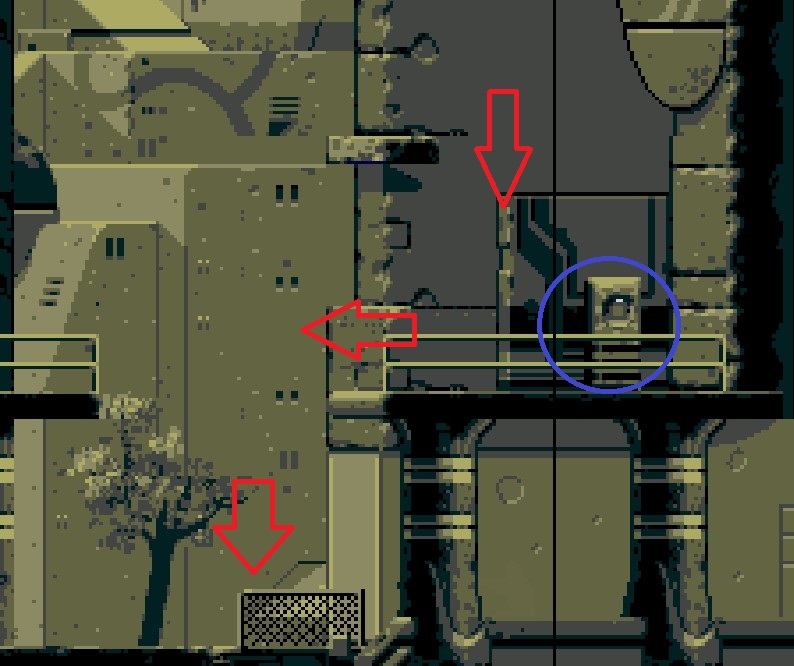
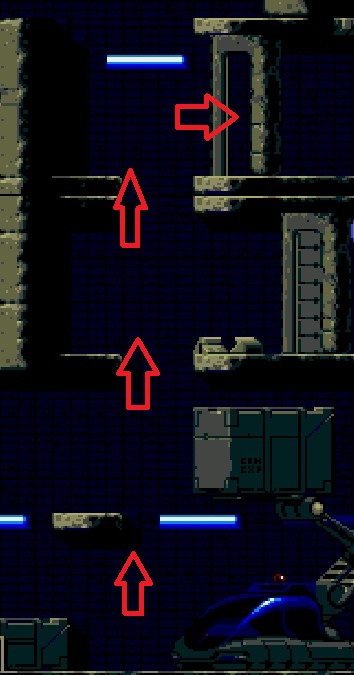
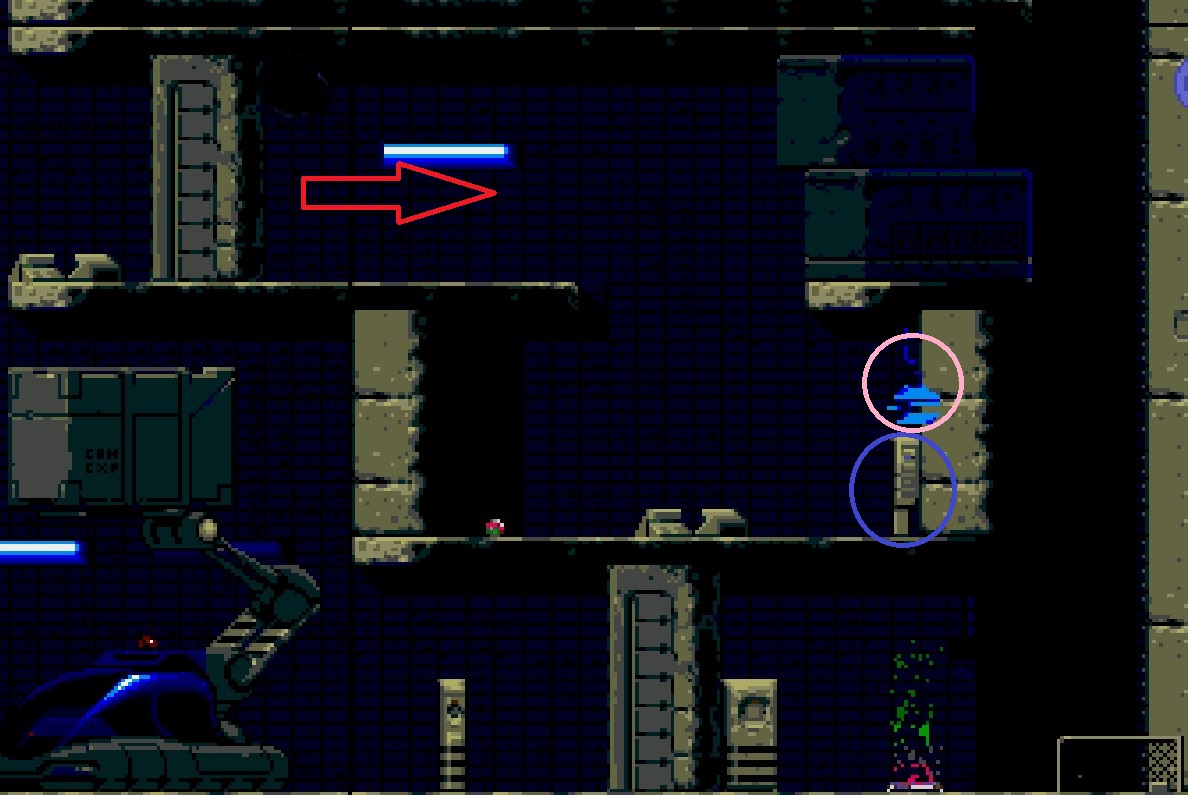
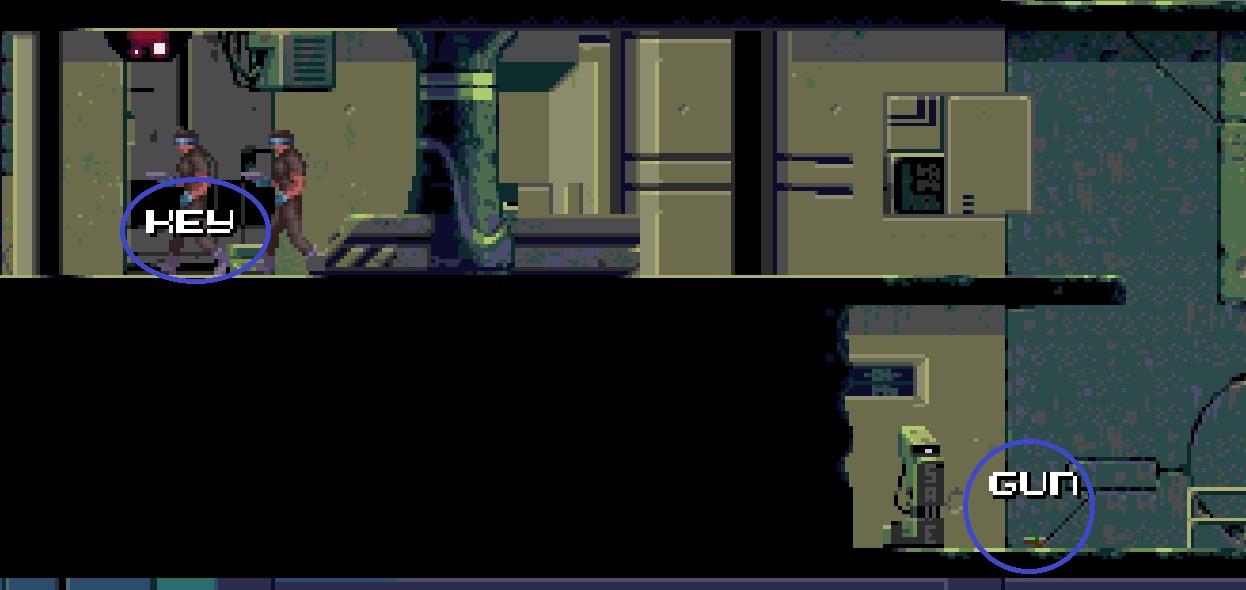
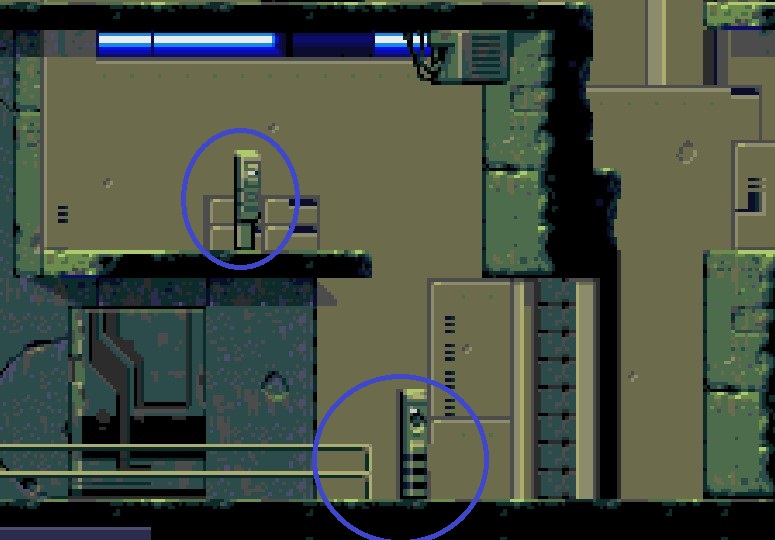
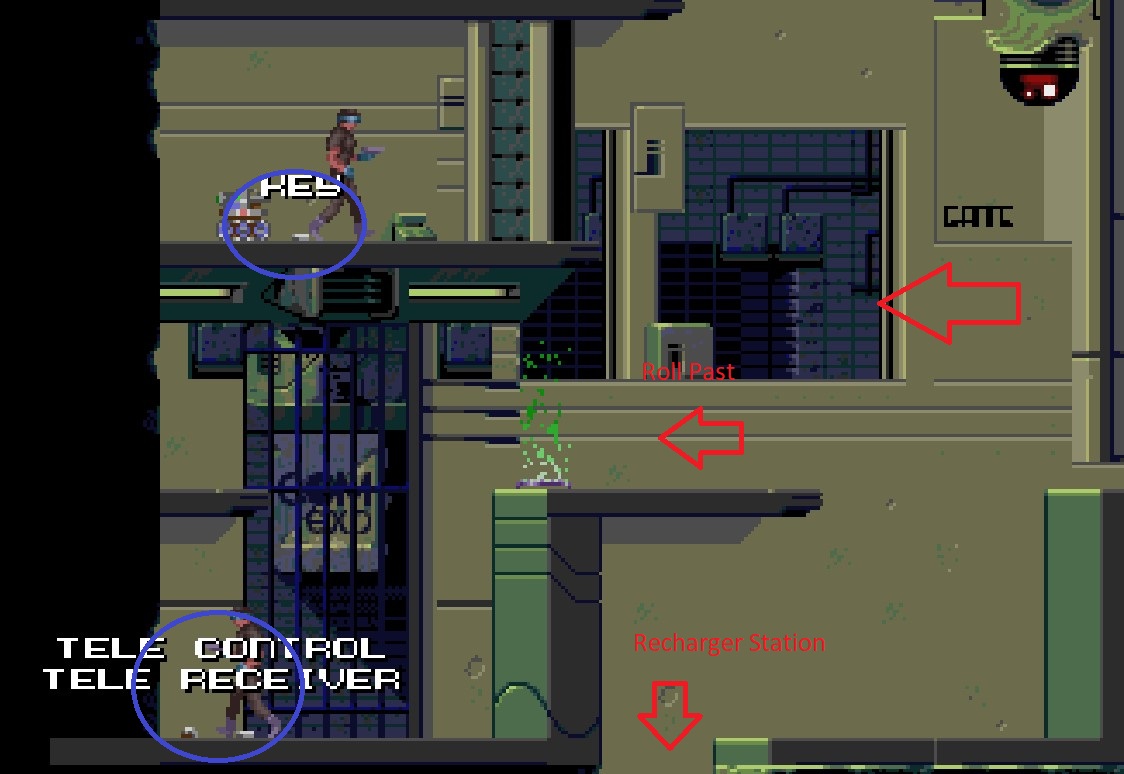
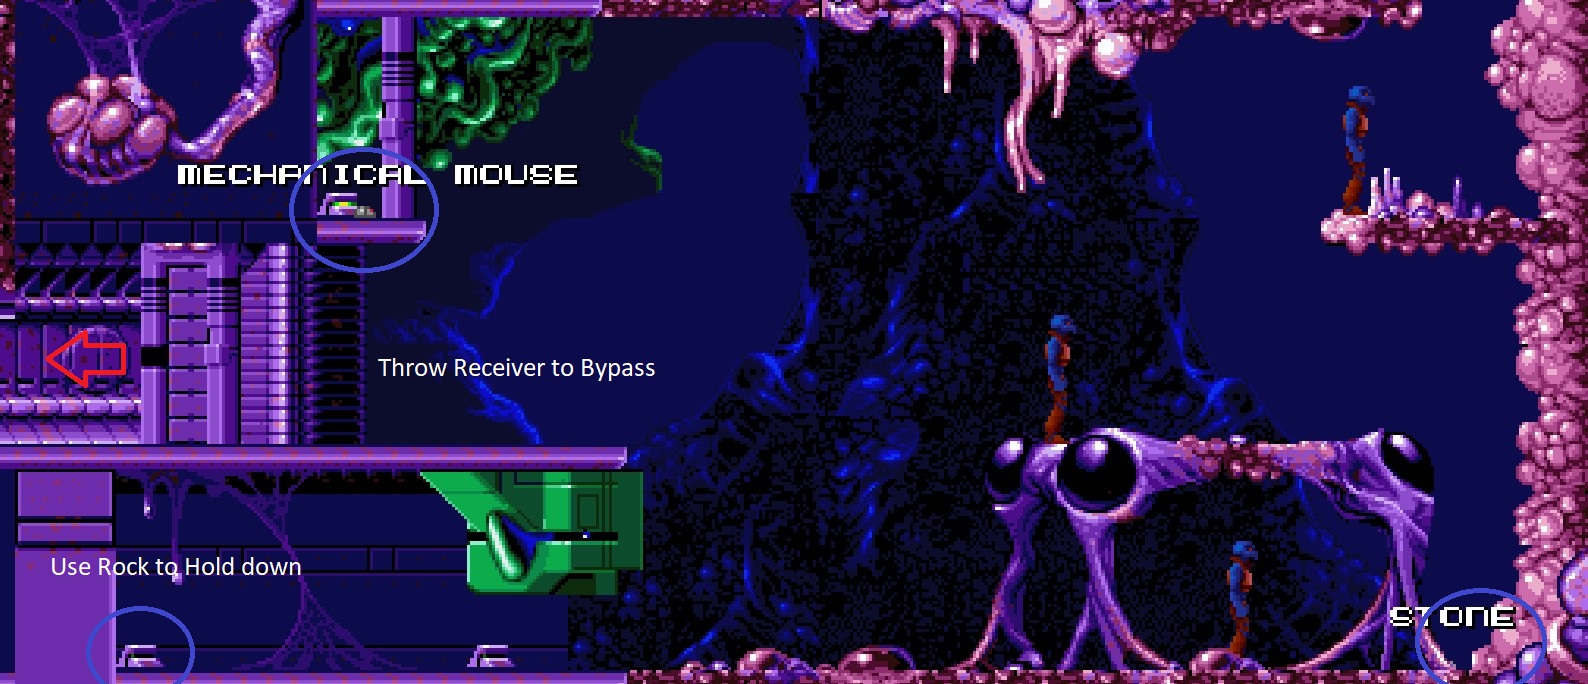
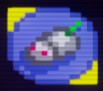
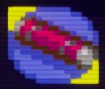
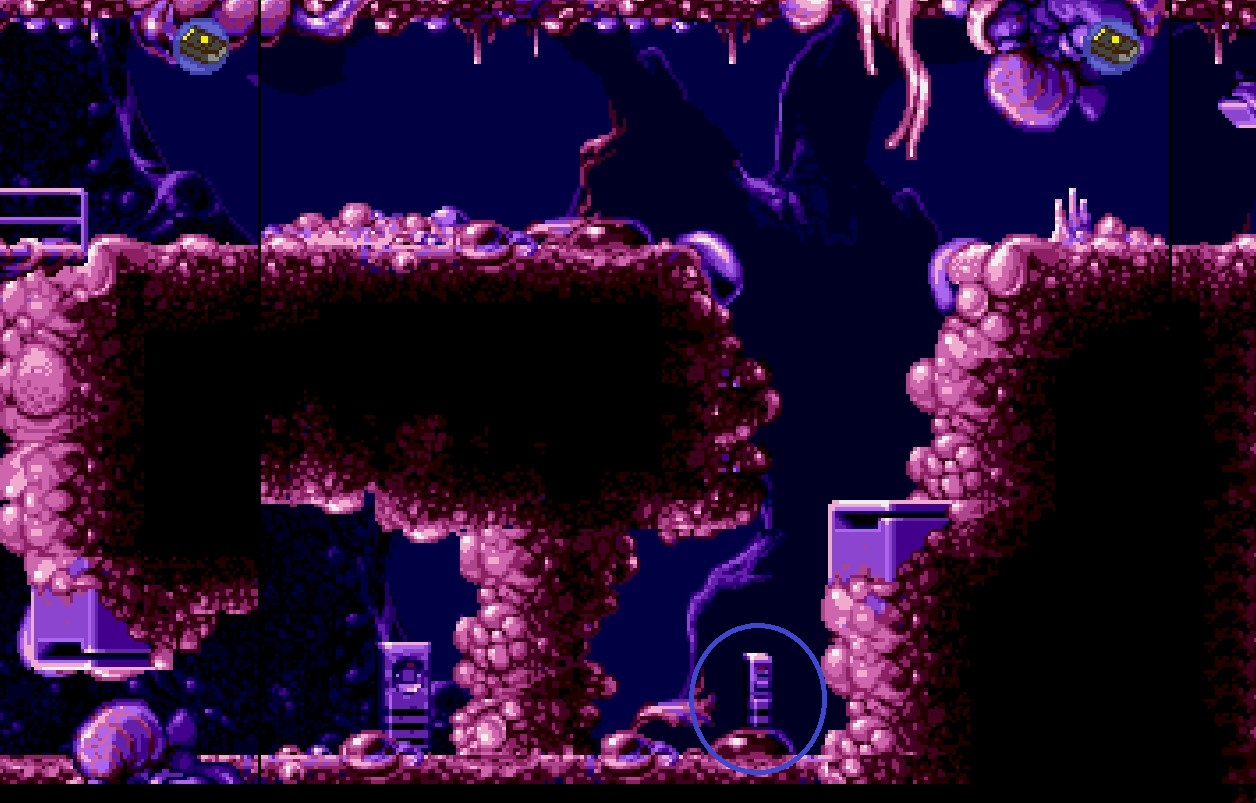
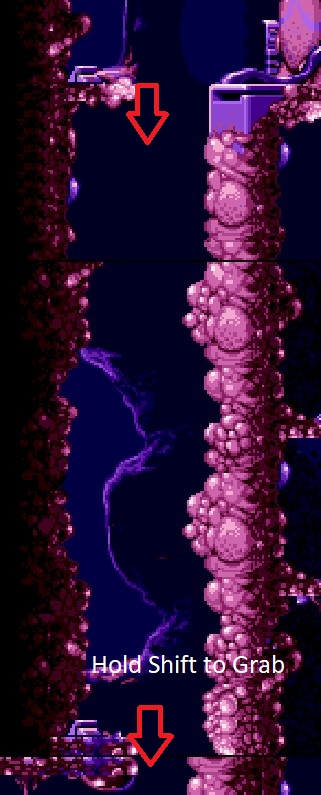
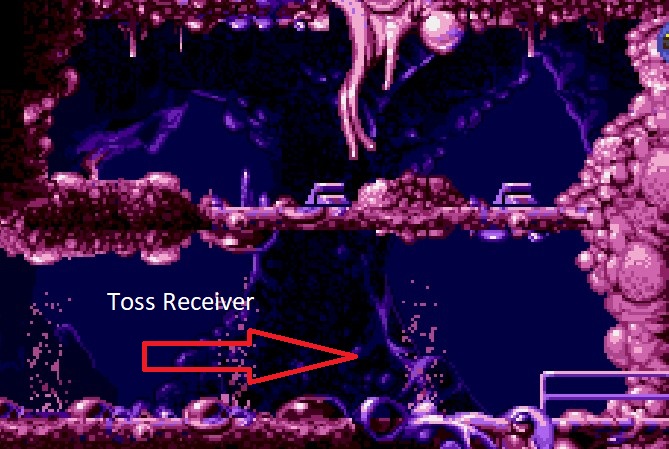
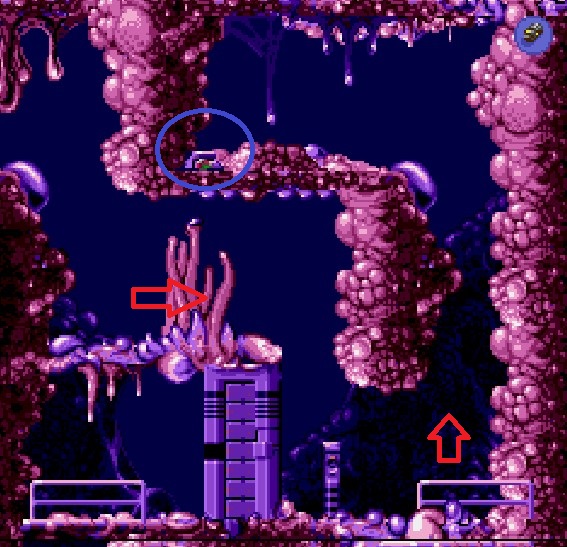
When you get to the room with the Mechanical Mouse and the Rock, you can actually use the Rock at the top to hold down the 'death fountain' thing and prevent it appearing, and then use the mechanical mouse at the bottom. This means you don't need to use the Receiver to get through the 'death fountain' you can keep it back where the recharging station is so you can keep teleporting back to safety.
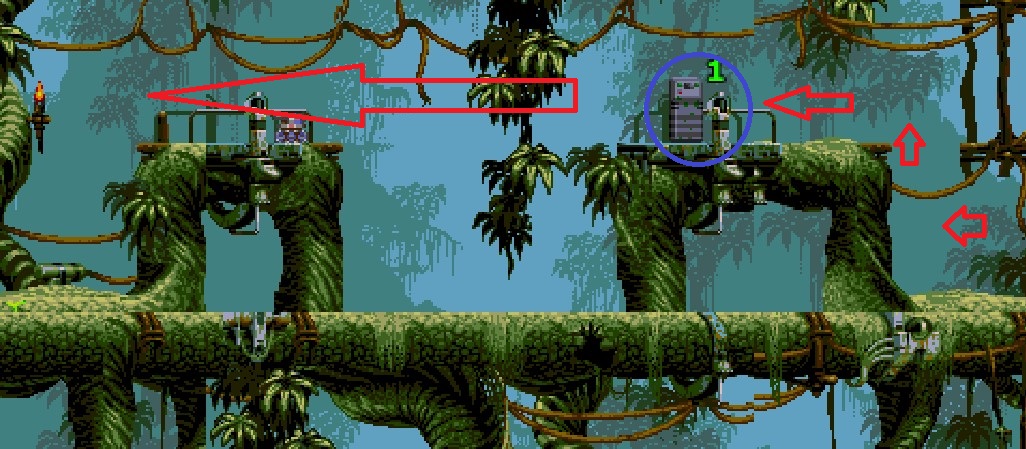
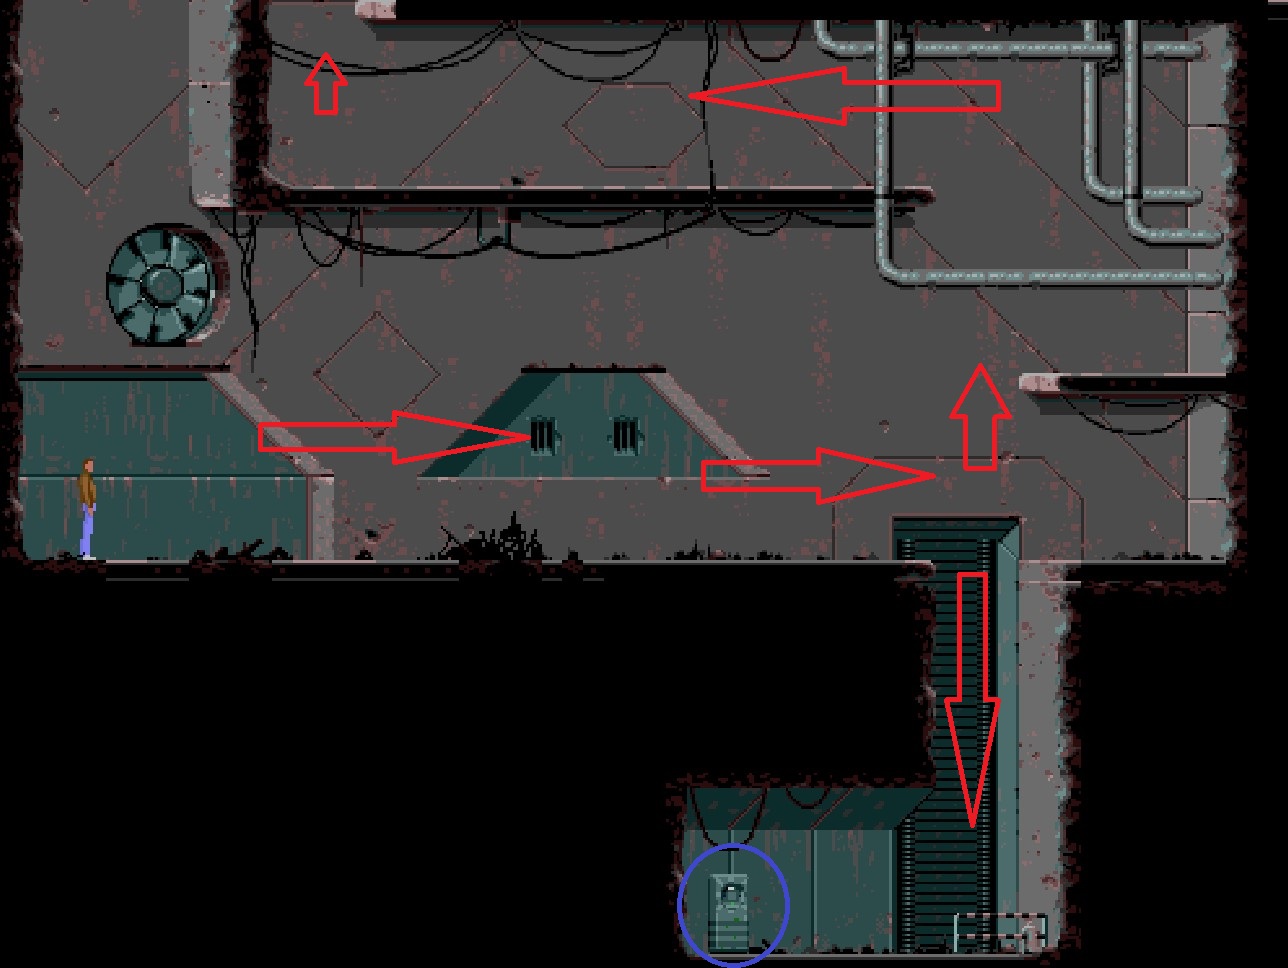
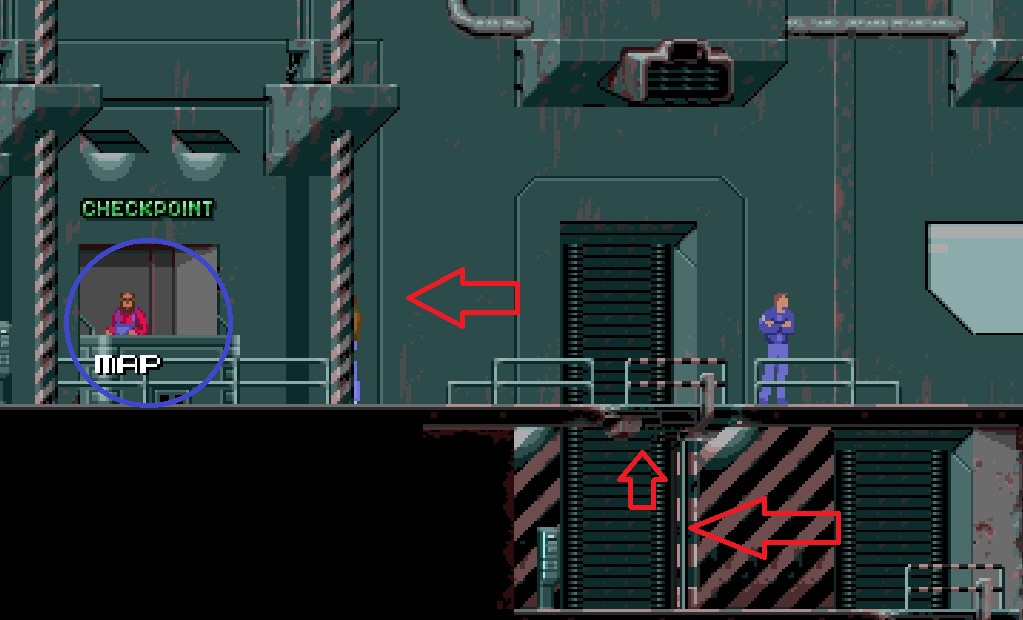
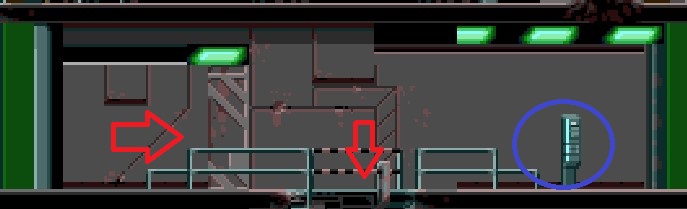
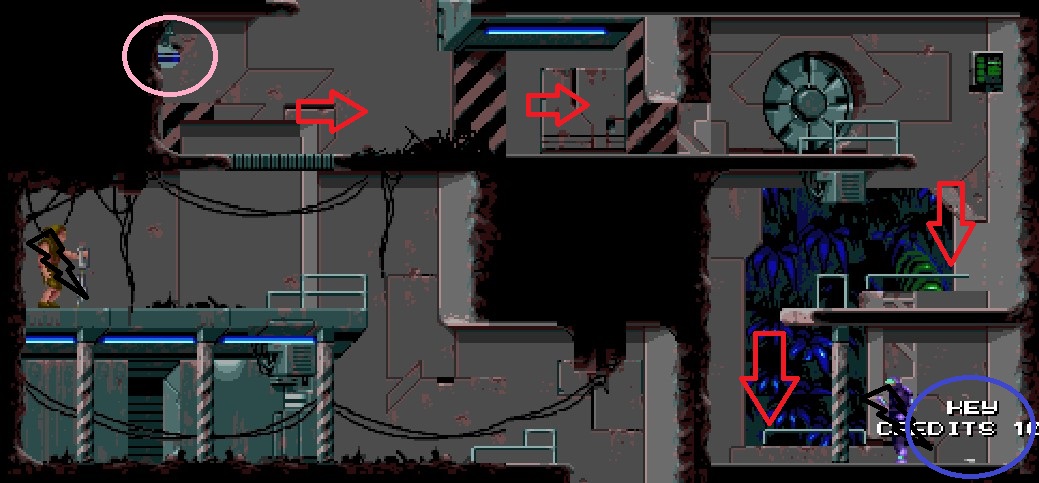
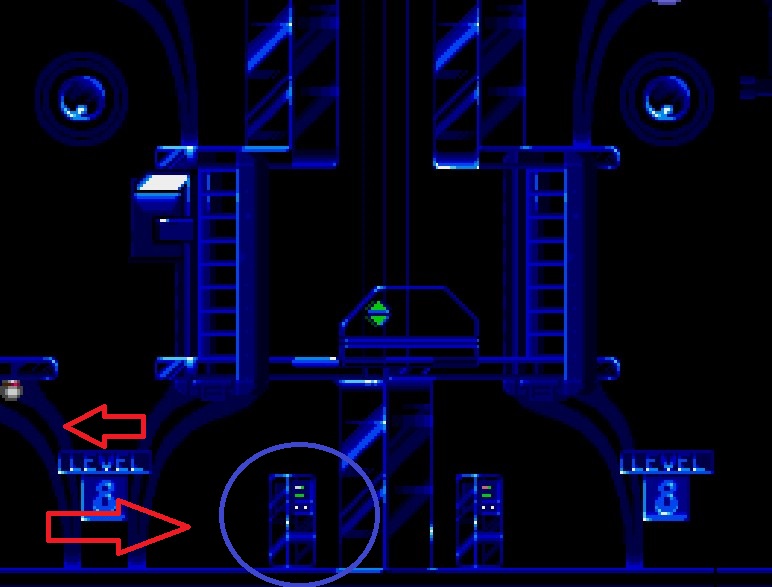
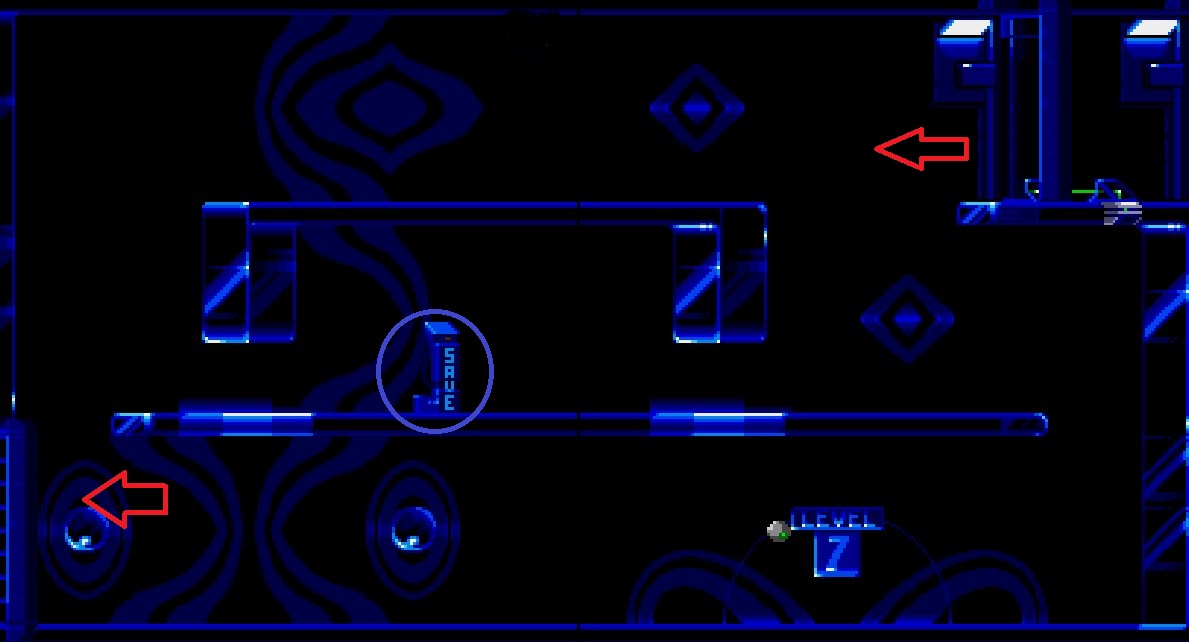
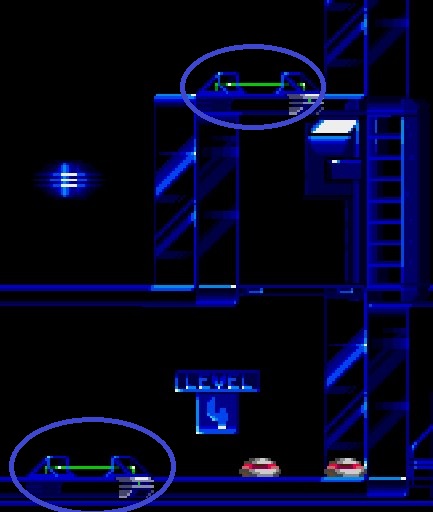
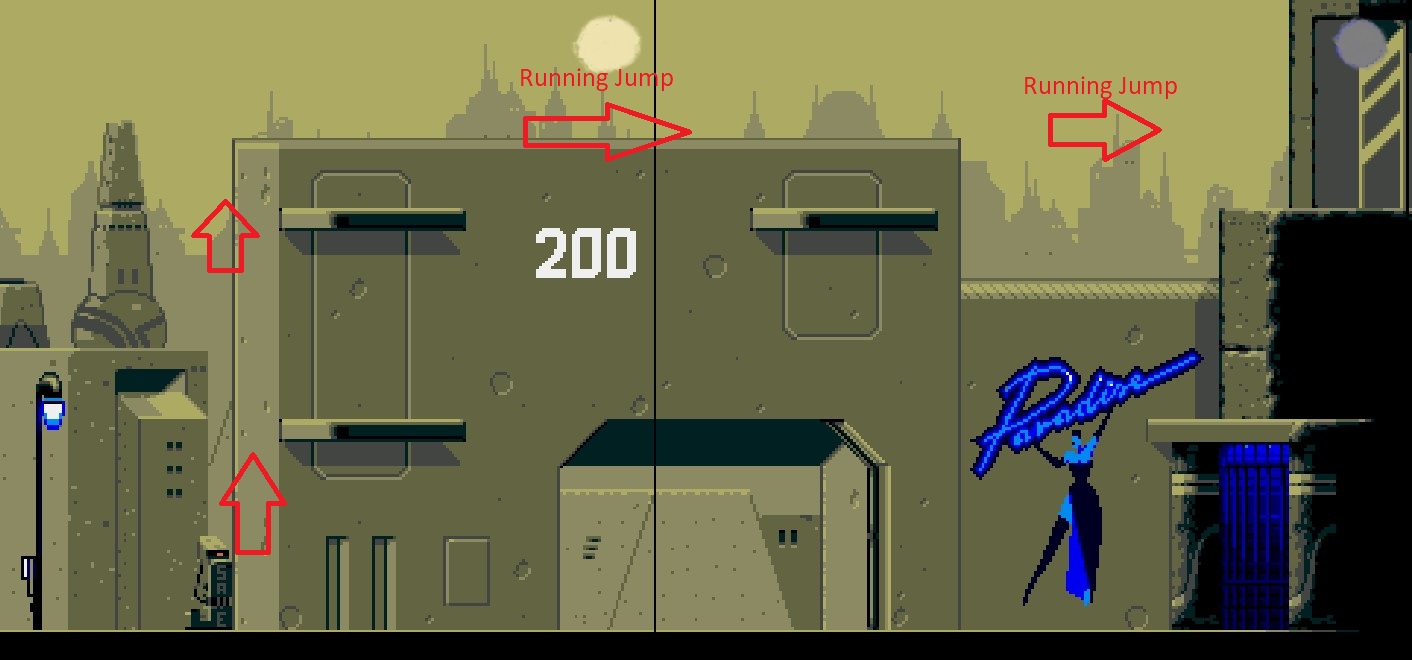
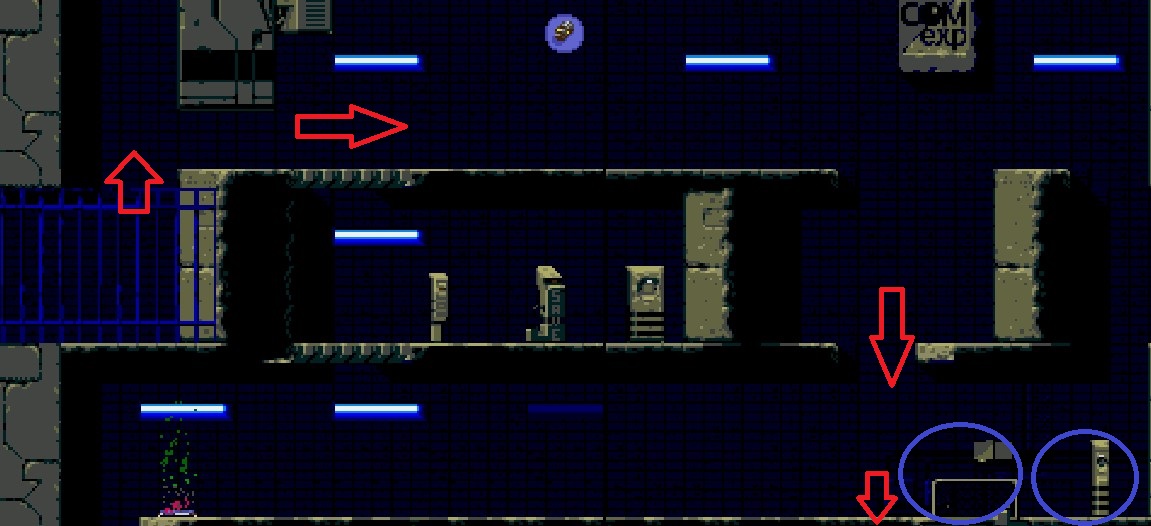
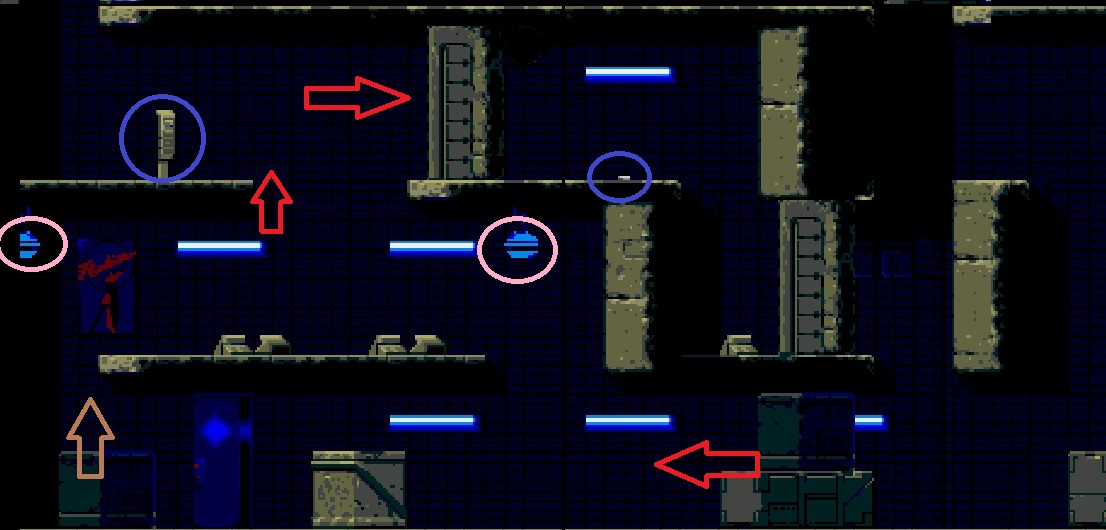
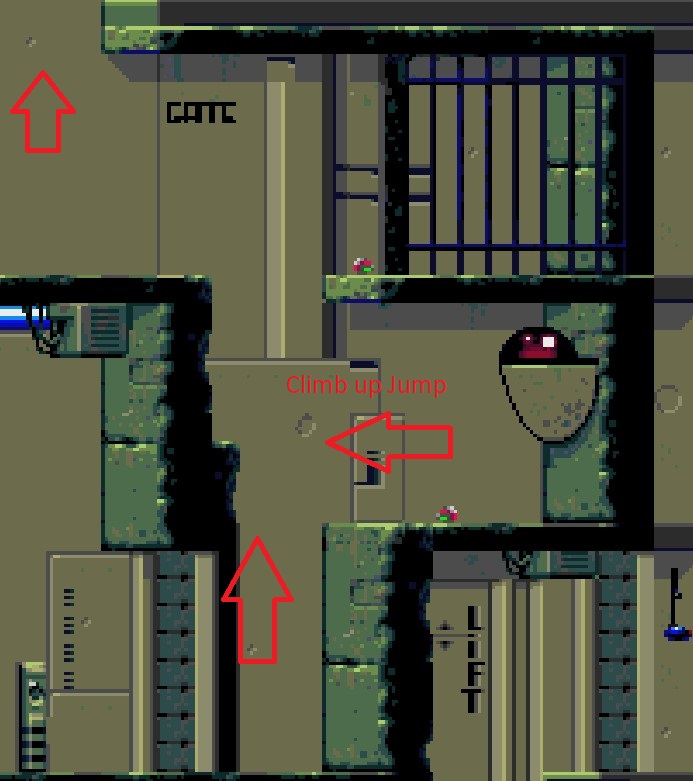
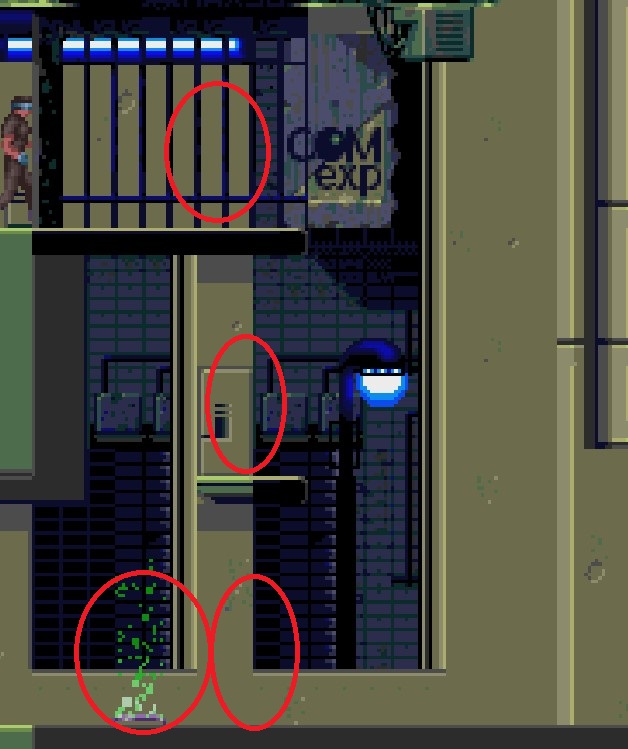
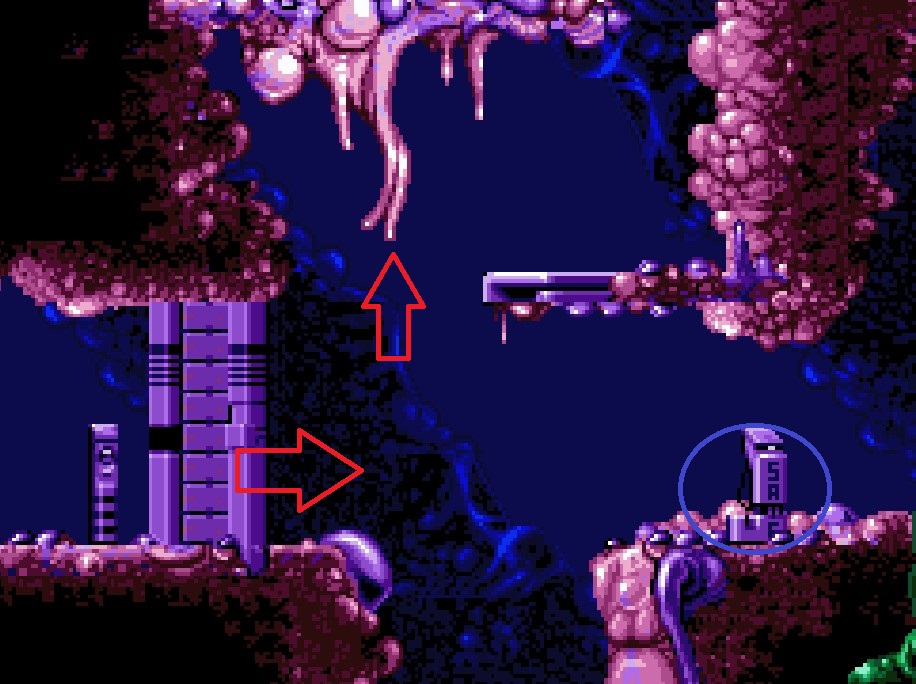
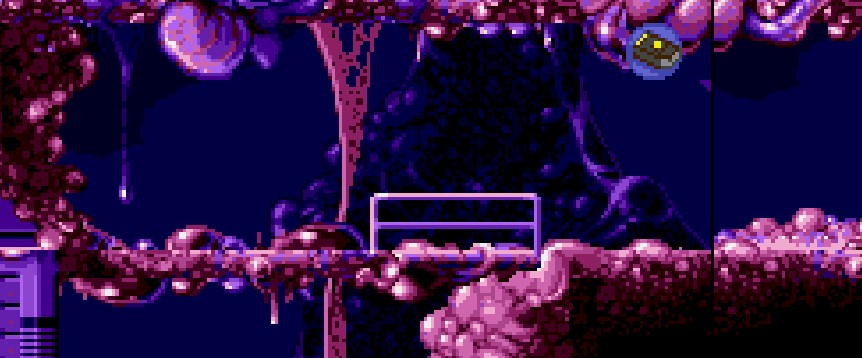
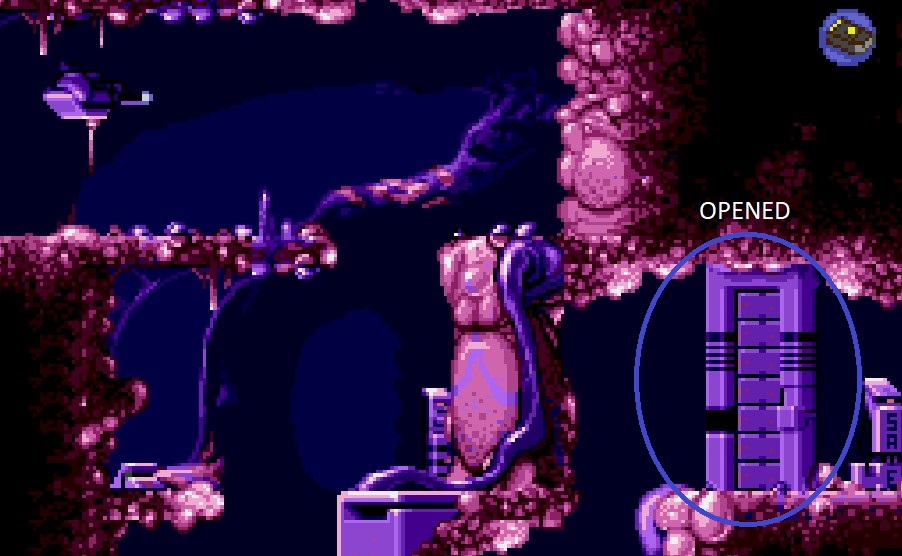
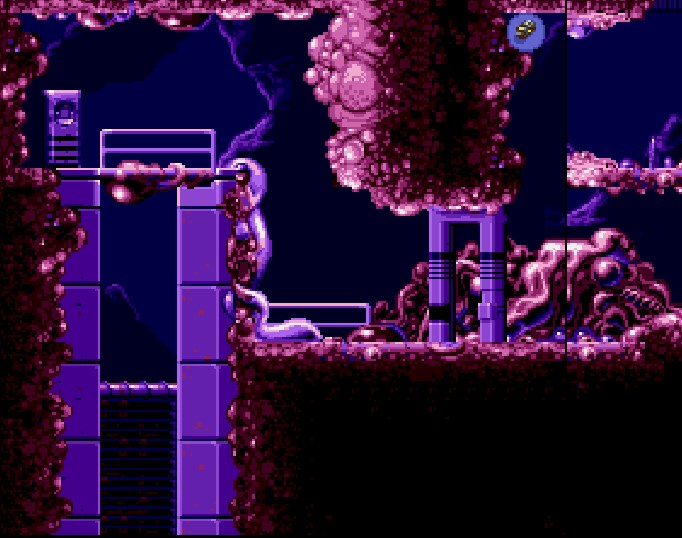
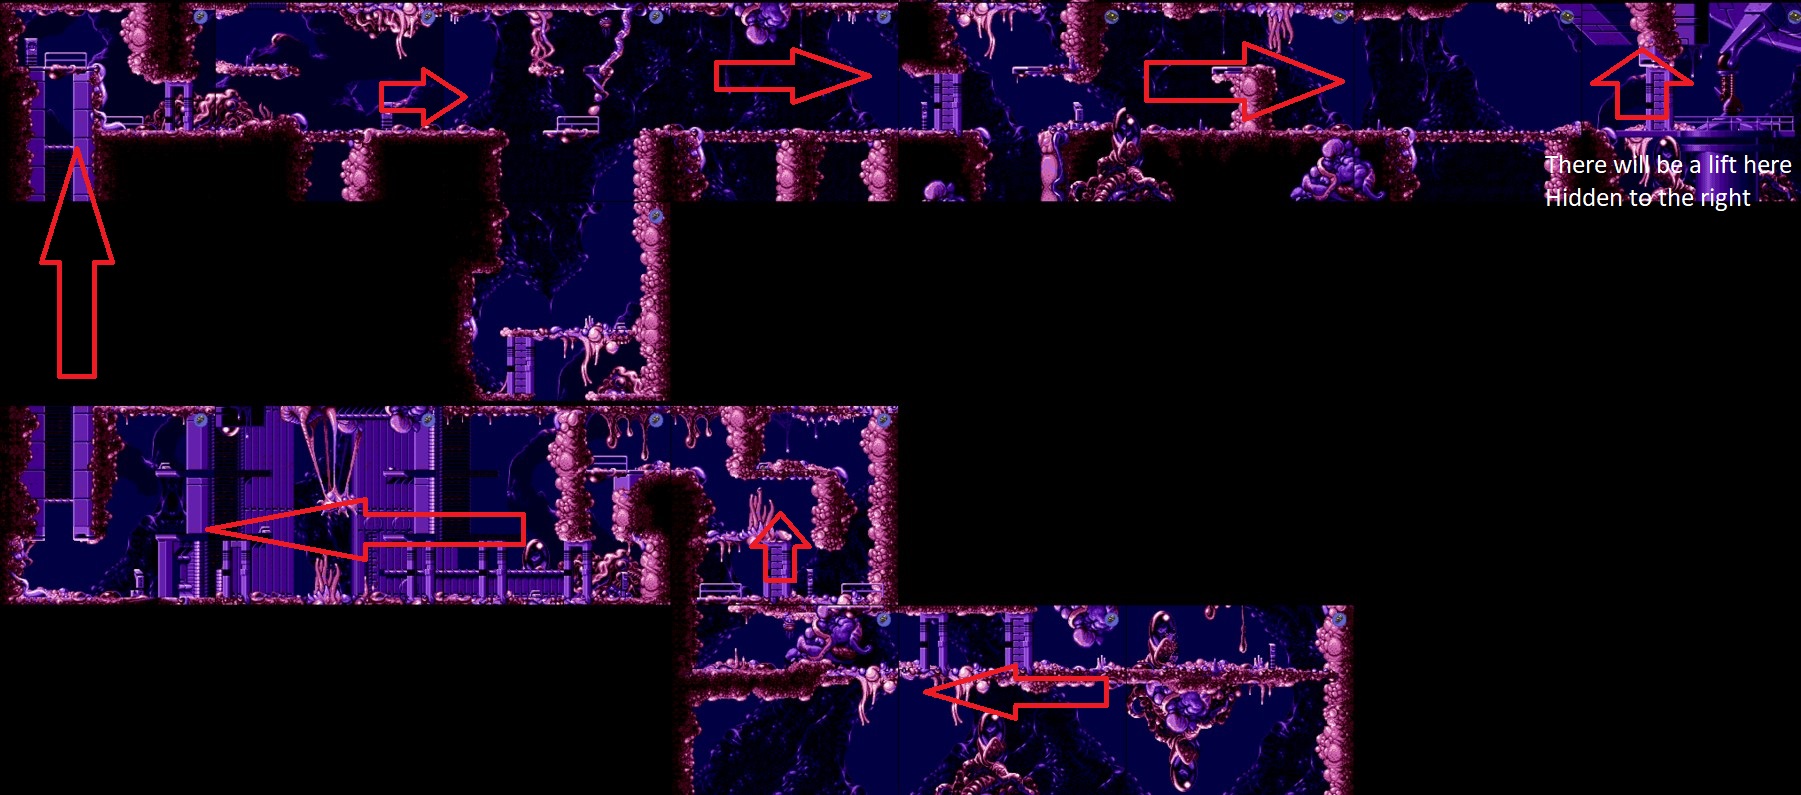
Also, there are a couple of important elevators in the last level that DO NOT have return buttons, so be sure to remember to reset them safely before teleporting.