Dice Kingdoms

Dice Kingdoms

Otillräckligt med betyg
Optimized farming
Av SkillFlow
Some possible farm layouts and grain returns and building strategies.
3
2
   
Utmärkelse
Favorit
Favoritmarkerad
Avfavoritmarkerad
Disclaimer

I do not in any way promise that my calculations are correct. I tried to verify everything but of course I can make some errors as well. If you find any errors please point them out to me so I can fix them.
Basics about farms and mills
Farm
Requirements: None
Cost: 1x Wood 1x Tool
Space: 4x2
Return: 1 Grain

So Farms can be represented as this in the grid


Mill
Requirements: University
Cost: 5x Wood 2x Stone 1x Tool
Space: 2x2
Return: 1x Grain * Farms + 1x Grain * touchingFarms


So Mills can be represented as this in the grid


How touching works
Touches are only counted horizontal and vertical, so no diagonal touching is possible.
Therefor the following placements exist for touching farms with mills.


And this placement will not count as connected.

Possible farm layouts
Methodology
The goal with creating farm layouts is find a way that maximizes the amount of fields touching a mill, while using the least amount of fields possible. We start by theorizing the best setup for keeping the amount of touching constant and then try to merge the patterns into the optimal strategy.

1 adjacent farm
This one is kinda trivial, but I include it none the less. Optimal strategy is to have on farm and them place as many mills as possible around it.

As we can see 1 farm is enough to suppy 8 mills with one bonus.

2 adjacent farms
For two farms it becomes a bit more tricky to find a good solution, but we can still work with surrounding everything with mills.

2 farms can supply the touching bonus to 3 mills, and additionally each farm can be "re-used" by 5 mills which then need only one additional farm to reach a bonus of 2.

3 adjacent farms
3 farm bonus is again rather simple to achieve.

We now reach the breaking point where we always need additional farms to get the same bonus on more mills. For a bonus of three one filed can be "re-used" for 5 additional mills (left) or 3 (right).

4 adjacent farms
With 4 farms we really need to start sacrificing farm space that will not be used.

The can leverage our design from three farms for 4 as well, there we can "re-use" one field for 3 additional mills. The cross design only "re-uses" a field for 2 mills in the diagonal and is therefore not so efficient, but locks very sick.

5 adjacent farms
For 5 we can use a very similar layout then for 6 farms so I will not go in-depth here.


6 adjacent farms
With six fields we approach the maximum bonus we can do with one mill. The design also looks like a true farmland.

Here one field can still be "re-used" by 2 and sometimes 3 mills, so we don't loose that much compared to earlier designs.

Summary
Only the 1 and 2 farm designs can be extended with mills to provide the same bonus, for better bonuses we need to also place more farms, but the return of investment doesn't seem so bad as even the 6 field layout has substantial overlap. Next we need to start calculating what mill and farm ratio we should use, so we can pick our layout accordingly.
Calculations for best farm to mill ratio
Introduction to grain per resource
To evaluate which is the best layout for grain production, I will use grain per resource investment. That means a standalone farm costs 2 resources (1x wood + 1x tool) and produces 1 grain per turn, therefore is equal to 0.5 g/r. A mill costs 8 resources and generates no grain on its one, so it's starting with 0g/r without any farms placed.

Introduction to methodology
Let's start easy, when is the best point for the first mill?
As we established, one standalone farm has 0.5g/r, so we need to beat that value when placing a mill to be more resource efficient. Also let's assume the best case and the mill will always have the full adjacency bonus, therefor providing 2 grain per farm placed.
Farms
Mills
Grain per resource
0
1
0g / 8r = 0.0g/r
1
1
3g / 10r = 0.3g/r
2
1
6g / 12r = 0.5g/r
3
1
9g / 14r = 0.64g/r
Interesting results? If we can always get the full adjacency bonus, then 1 mill will already be worth the investment with 2 farms (and adjacency to two farms is rather easy to achieve).
But for the sake of the argument let's do the table without adjacency bonus.
Farms
Mills
Grain per resource
0
1
0g / 8r = 0.0g/r
1
1
2g / 10r = 0.2g/r
2
1
4g / 12r = 0.33g/r
3
1
6g / 14r = 0.42g/r
4
1
8g / 16r = 0.5g/r
With no bonus the mill will break even after the fourth farm. Does that mean we should only build mills now? Sadly its not that easy, but we should be able to build a formula to help us with that problem.

Calculation without adjacency bonuses [easy, lol]
Again let's start simple with no adjacency bonus. So we know each farm produces 1 grain and each mill produces 1 grain per farm therefore we can assume that
(1 * f + 1 * f * m) / (2 * f + 8 * m) = x
where f represents the amounts of farms and m the amount of mills. x represents the g/r we need to compare. To make it easy, let's write a program to calculate and plot the results for us.


What do we see? The x axis shows the invested resources need to build the "infrastructure", while the y axis show how much grain is produced. To calculate the r/g we need to simply divide the produced grain by the total resource investment.
produced grain / total cost
Easily said, that means the highest line in y has the best g/r.
The lines are based on the amount of mills build in relation to the amount of fields. To calculate the amount of fields used we need to subtract the mill cost from the total costs and then divide by the field cost.
(total cost - mill cost) / field cost = fields
The break even point between 0 mills and 1 mill is at 16 total invested resources, therefore we can calculate:
(16r - 8r) / 2r = 4
which means after 4 fields it is better to build a mill, instead of farms. Interestingly all other break-even points are also spaced by 4 fields, so to be "resource-efficient", we need to build a 4:1 ratio of farms to mills.

But sadly we're not done here, because there is the adjacency bonus, which will heavily influence the g/r of placed mills.

Calculation with adjacency bonuses
Creating a formula for adjacency bonus is not easy, but one approach could be to introduce a new factor a, which describes the average amount of farms touching a mill.
(1 * f + 1 * f * m + a * m) / (2 * f + 8 * m) = x
This way we could use our leanings from our farm layout chapter to apply some limitations on how many farms are need for which average amount of touching farms. With this limitations we get the following (very convoluted) plot.


Here we see a lot of lines, so lets dive deep and look what is the meaning. We already established that the "highest" line has the best g/r, therefore we need to follow only the highest lines to get the most efficient g/r for this point. Because of the limitations we established in the farm layout chapter some lines only start at a very high resource count, that's because we need a lot of farms to support the average bonus per mill.
Understood? Then let's drill!
First break-point is at 12r, at this point 6 fields have the same g/r as 1 mill + 2 adjacent fields.
Second break-point is at 28r, at this point 1 mill + 10 fields have the same g/r as 2 mills + 6 fields.
Third break-point is at 44r, at this point 2 mills + 14 fields have a little bit less in g/r as 3 mills + 10 fields.
Fourth break-point is at 60r, at this point 3 mills + 18 fields have the same g/r as 4 mills + 14 fields.
Always with the highest touch bonus of course.

Now we have all data we need to get the best strategy so let's make it a reality in the last chapter.


What's the "best" strategy?
We have established the break-points in the previous chapter now we can start with a build-order.

First break-point is at 12r, at this point 6 fields have the same g/r as 1 mill + 2 adjacent fields.
Second break-point is at 28r, at this point 1 mill + 10 fields have the same g/r as 2 mills + 6 fields.
Third break-point is at 46r, at this point 2 mills + 15 fields have a little bit less in g/r as 3 mills + 10 fields.
Fourth break-point is at 60r, at this point 3 mills + 18 fields have the same g/r as 4 mills + 14 fields.

Best build order
At 12r we need to have a mill for best scaling so we start with,
1x Farm
1x Farm
1x Mill


Then we need to reach 28r with 2 mills so we continue with,
1x Farm
1x Farm
1x Farm
1x Farm
1x Mill


Next is 44r at which point we need to go with 3 mills so,
1x Farm
1x Farm
1x Farm
1x Farm
1x Mill


Lastly we need to reach 60r with 4 mills,
1x Farm
1x Farm
1x Farm
1x Farm
1x Mill


The pattern seems to be established, build 4 farms, then a mill and continue. This is how it looks in game.


Summary
In short if you have no adjacency bonuses build a 4:1 ratio of farms to mills, if you can get adjacency bonuses then we can start with only 2 farms and 1 mill and then continue with a 4:1 ratio if we can constantly keep the optimized adjacency bonus . The ratio seems to stay the same as the scaling of mills is constant and not exponential (if I didn't make any mistakes along the way).
If one is not able to keep the adjacency bonus then it can be better to continue build farms instead of mills.
9 kommentarer
Valerich 2 mar @ 11:40 
You have defended your research dissertation, congratulations!
SkillFlow  [skapare] 23 nov, 2024 @ 23:31 
Oh yeah grain/space is an interesting take. Not sure if I find time for it, but it would be a fun problem to analyze.
mov al, 11 23 nov, 2024 @ 6:17 
Perfect for beginners!

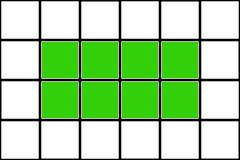
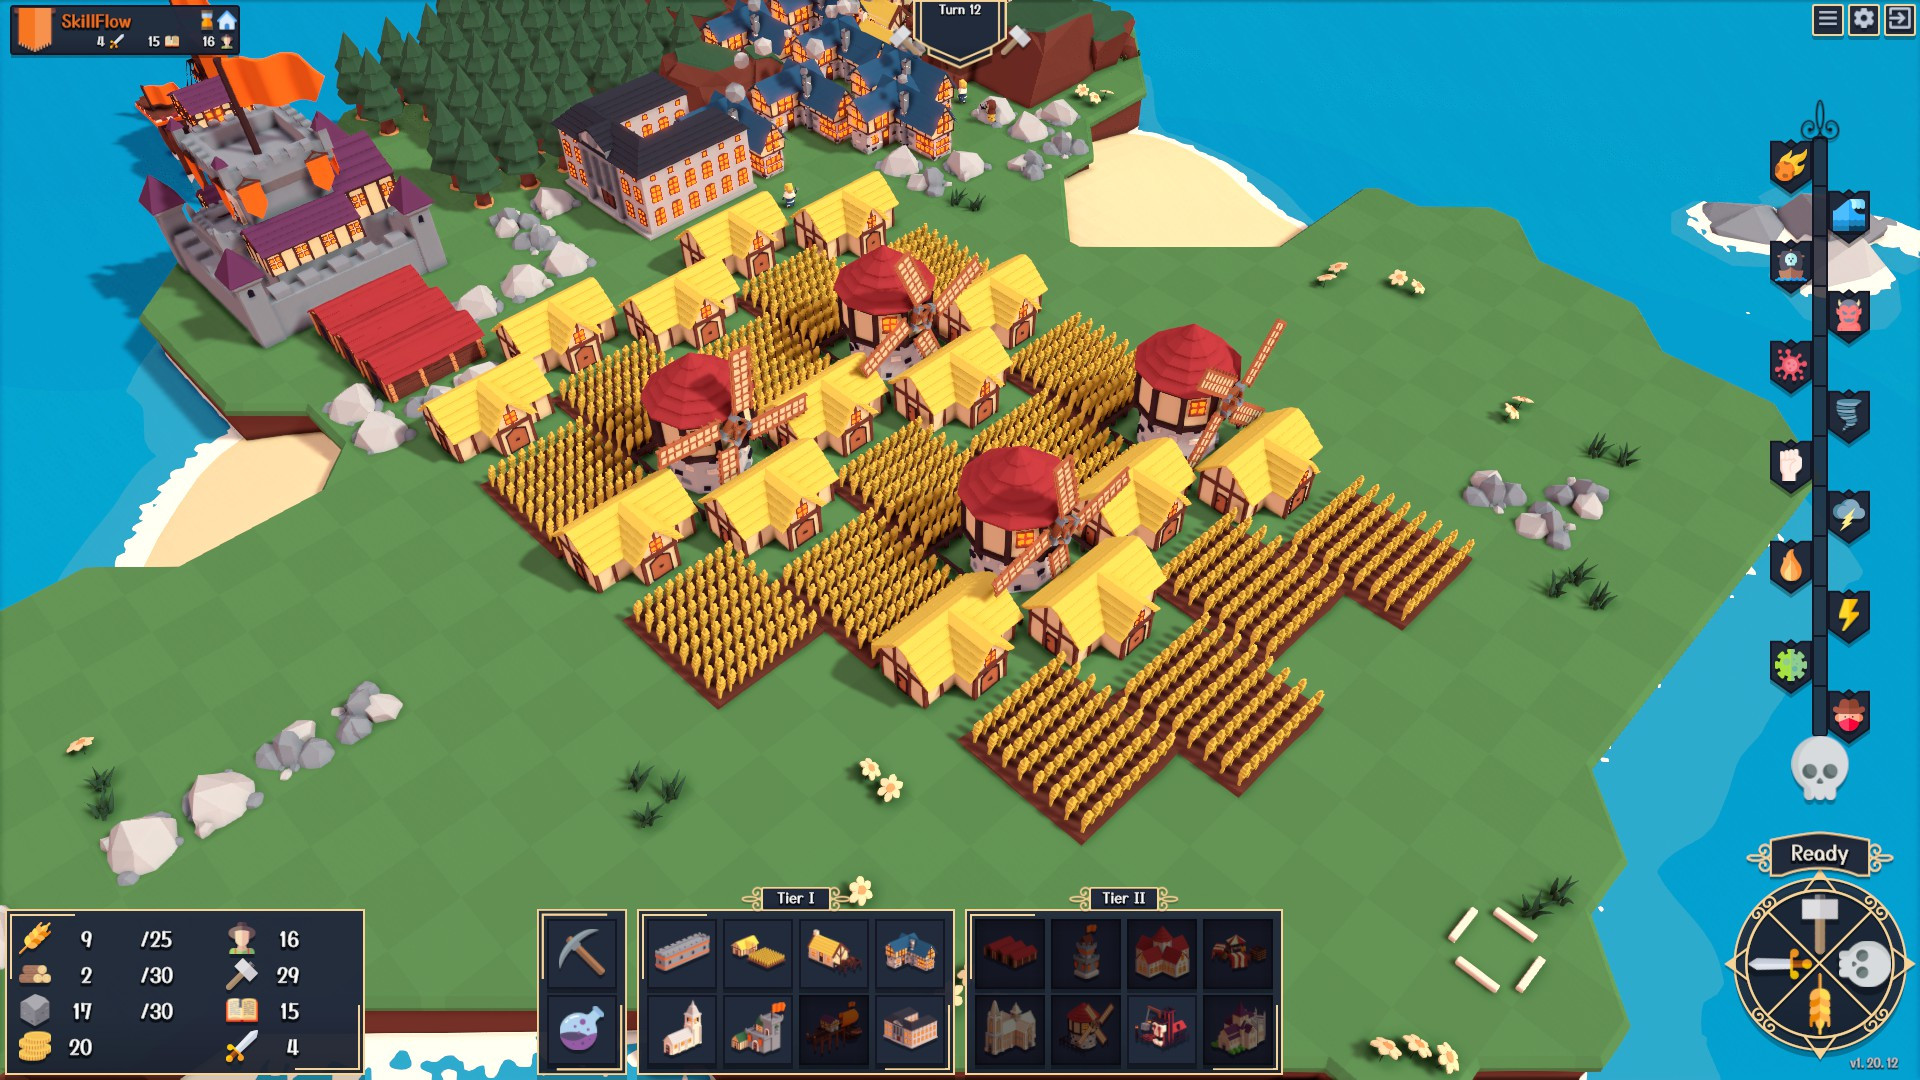
Have you considered `grain/space` ratio for an update?
Calculating the ROI (`grain/ressource`) is economy-oriented, but at some point, isn't used/free space important too?
Alfred Troll 5 okt, 2024 @ 3:28 
+rep This is awesome! Well done!

Just one question, though: Who needs this much food?
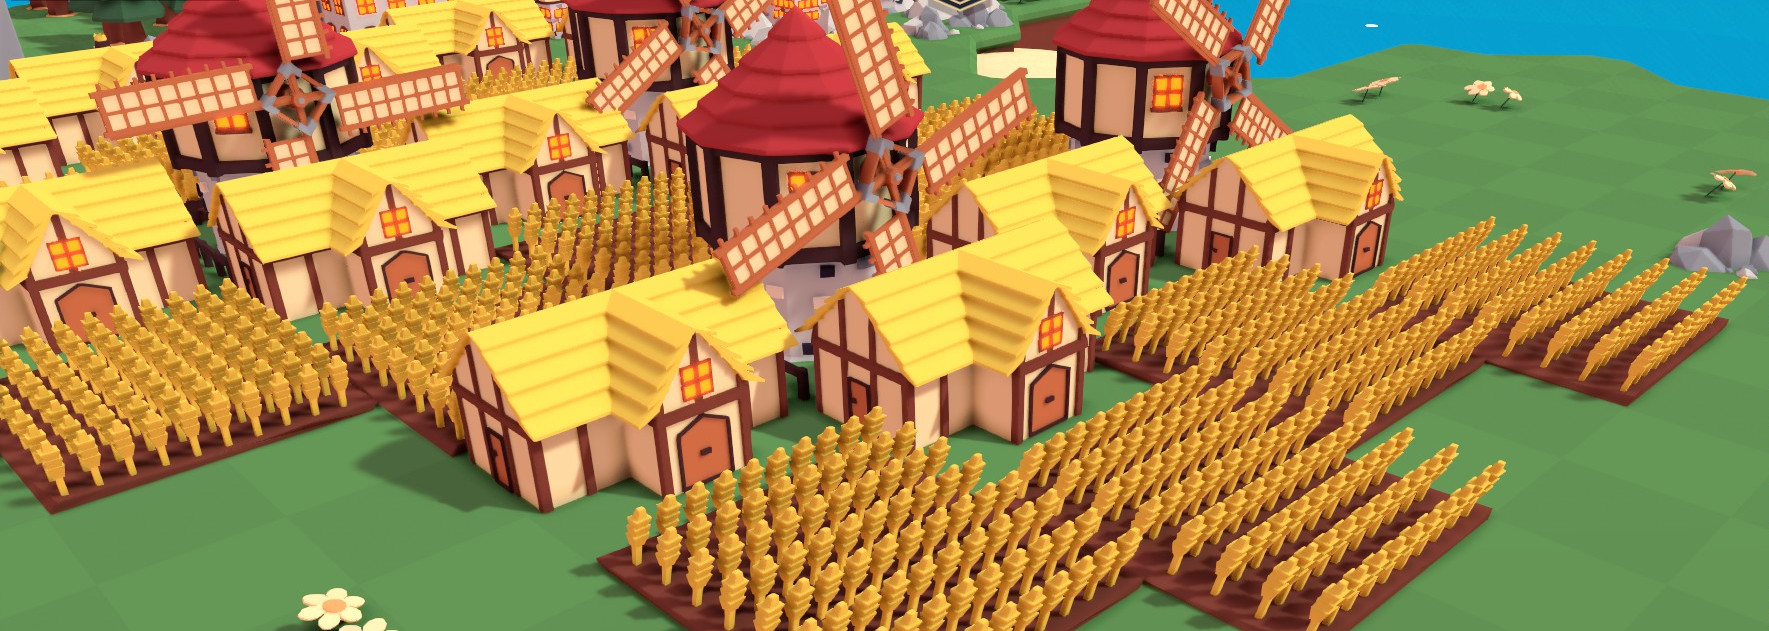
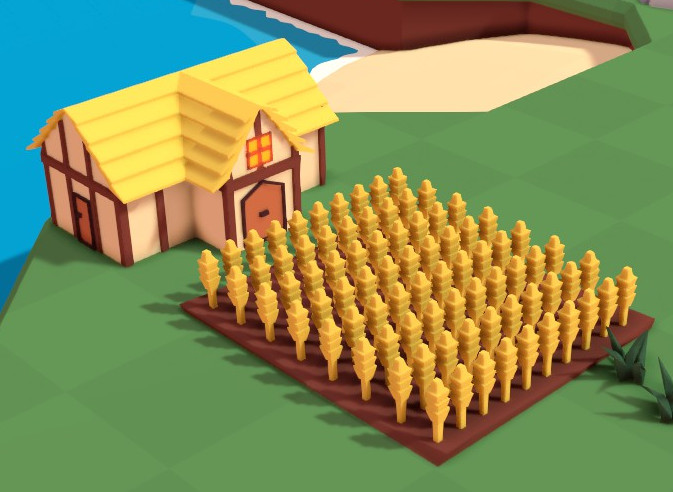
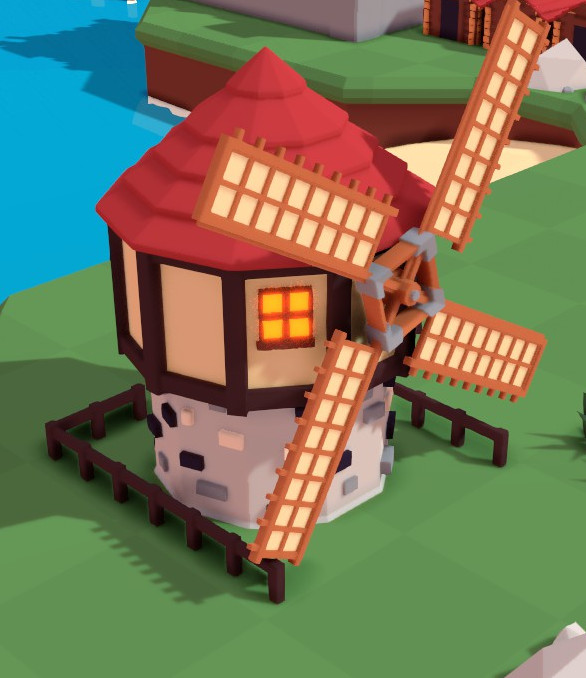
I never build more than 1 mill and 5 farms around it (maybe a 6th if the match lasts long or one farm gets destroyed) and I never ever had food problems.
And no, I didn't subsitute with huts. I usually build at the most only 5 farms (including the starter), 1 mill, and the 3 huts we get at the start - nothing else, and I rarely have too little food or wood. 1-2 lumber mills and blue houses everywhere give me all the wood and tools I need.
Also, space is limited on the island, especially after the tsunamis start to hit, and I'd rather have buildings that give me priests and warriors instead of more than 5 farms and so much food I can't even store it after everyone has been fed.

Nice work, nonetheless.
Velder 23 aug, 2024 @ 6:58 
+rep. Но всё это зря. Ты вряд ли будешь делать более 50 жителей, ведь иначе метеорит тебе в эти фермы и прилетит.)
[MDA]MAD_Diablo1000 20 jul, 2024 @ 8:13 
+rep такого старательно сделанного гайда я ещё не видел
i_593 29 apr, 2024 @ 12:35 
+ rep - good guide man)
не люблю пиву 29 apr, 2024 @ 11:51 
♥♥♥♥♥ этот чел реально считал + диаграммы делал
Rin 18 okt, 2023 @ 6:15 
ahuet