Pizza Tower

Pizza Tower

574 ratings
Ranks - Tips and tricks for getting the perfect run [P Rank]
By CrayFray and 1 collaborators
This guide is aimed at giving you info on how ranks work, in addition in giving you a few tips and tricks for the more difficult ranks. Full video demonstrations included.

SPOILER WARNING FOR THE ENTIRE GAME
21
9
42
5
3
5
2
6
3
2
3
2
2
   
Award
Favorite
Favorited
Unfavorite
Important notice
As of the halloween update from the 24th October 2023, a few stages have been made easier to P Rank. Here are the changes:

- Peppibot Factory:
Lap 2 room is less janky, the last dashpad conveyor spawns more slowly
- Gnome Forest:
There are now rat fairies in longer rooms that gives you points, the last secret with Peppino has been made easier to keep the combo in
- Pizzascare:
Gustavo drops on the ramp on destroys it when you get near it.
- Oh ♥♥♥♥!:
The john room section now has rats to roll into to extend the combo
- Ancient Cheese:
Timer for the escape has been extended a bit.
Other Recommended Guides
Are you rather someone that can learn better via reading? Check out this guide! Covers possible chokepoints and more with images and text instead of videos:
https://steamproxy.net/sharedfiles/filedetails/?id=2970047687

Looking for achievements instead? Here you go!
https://steamproxy.net/sharedfiles/filedetails/?id=2925090271
This guide compiles all of the achievements together and even gives you a few additional tips for Boss hitless achievements! Great read!
Ranks in general - What is this?


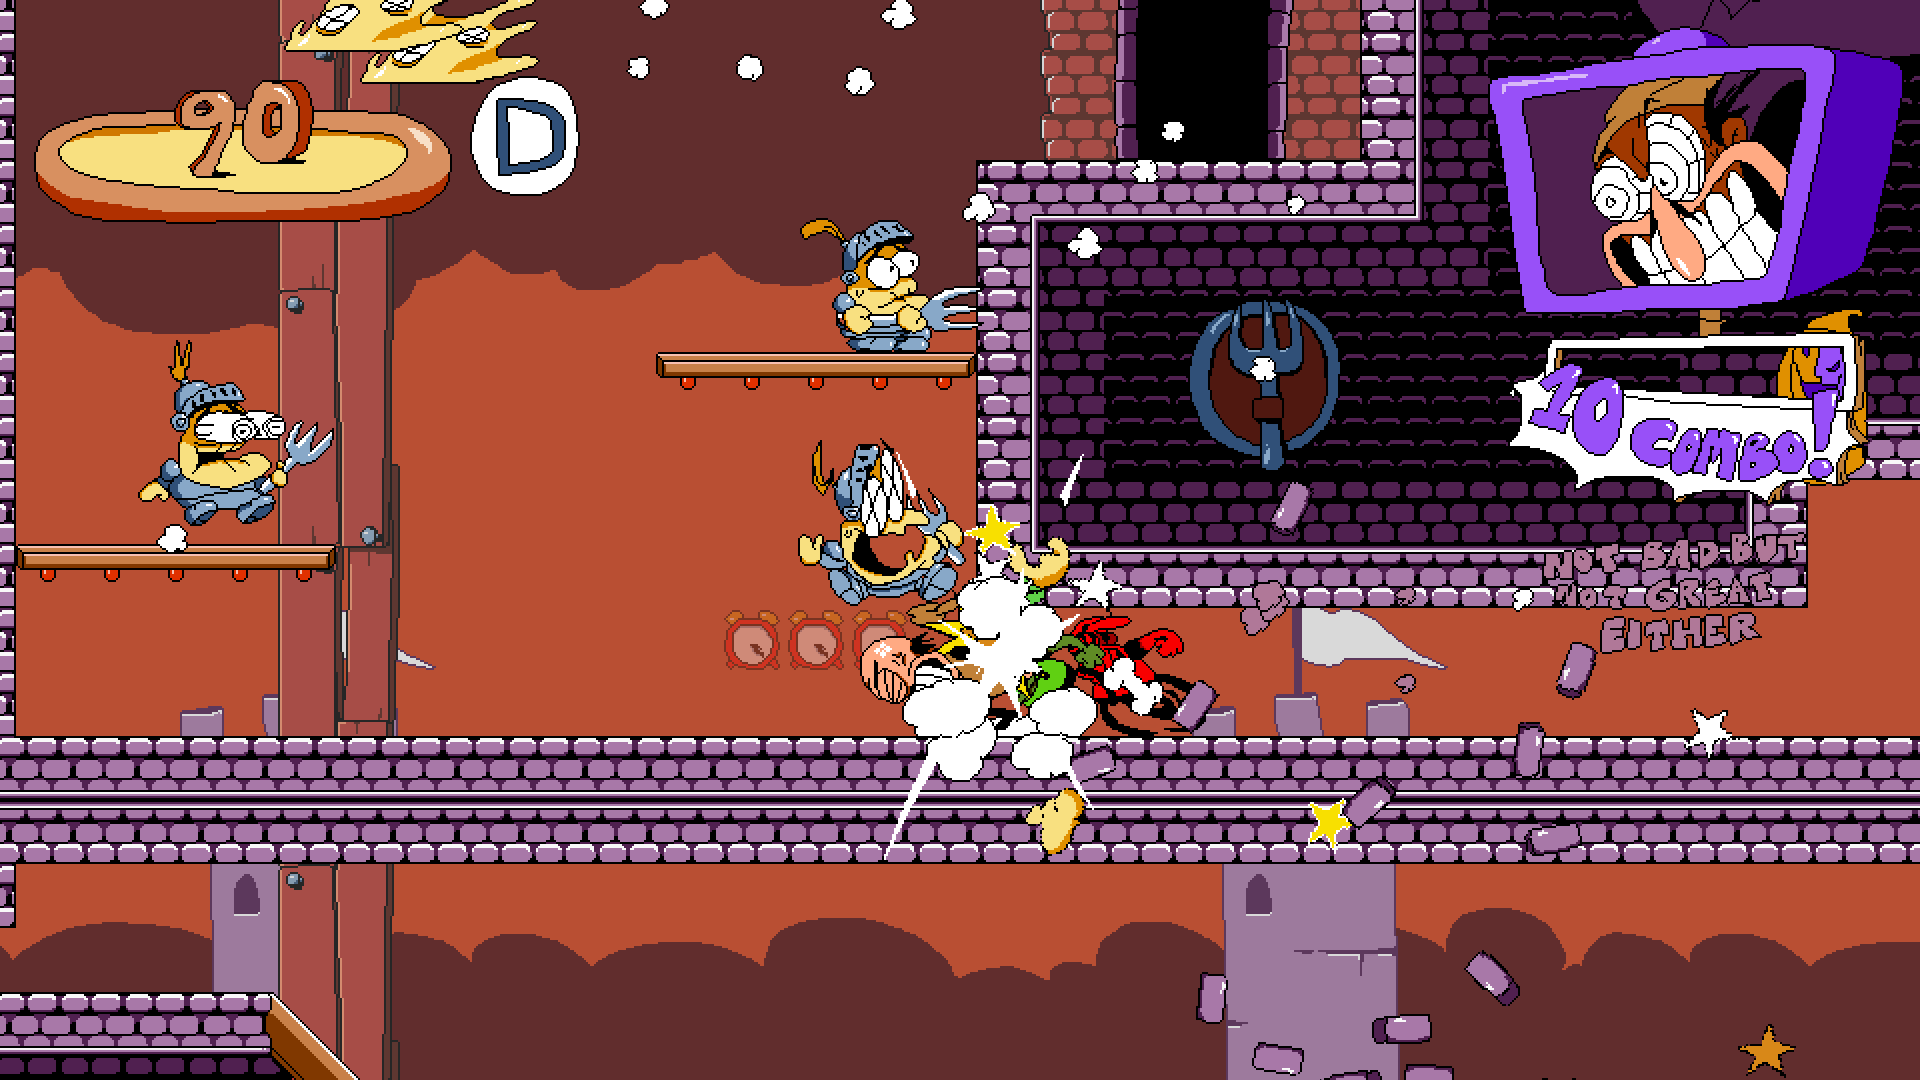
Getting any rank is acquired by getting enough points in the level. You can get either a D, C, B, A, or S Rank based on your performance at the end. Getting to B isn't too difficult if you're aiming for most of the collectibles in a level, but if you want to hit S rank you will have to pull up some leg work.

To get an S Rank in a level, it is generally expected that you do the following things within one run of any level:

  • Collect all toppins
  • Reach all secrets
  • Get the secret treasure
  • Go through Lap 2 portal

Getting a few good combos is very important, as the better you're performing and the longer you hold the combo up, the more points each subsequent defeated enemy will give you. It's the only way to really bump up your score, as the other collectibles don't scale with your combo counter. How big your combos need to be depends on the level, though be prepared to uphold a combo for 50+ or more.

Note: If you want to go for 100% in a save file, you'll have to get all S Ranks in every level.

Okay, but what about bosses?

Boss ranks are based on how many times you get hit and nothing else. For each 2 hit points you get hit with, the rank goes down by one grade.
Wait, a Lap 2 portal?

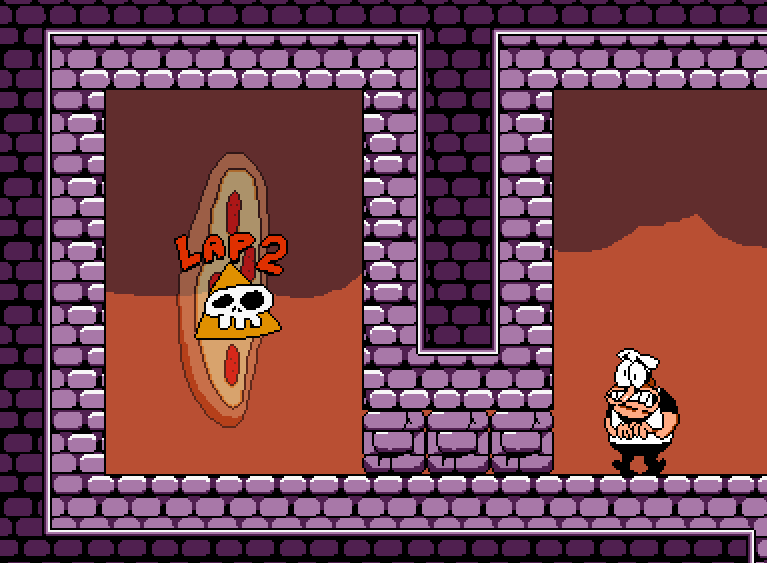
A lap 2 portal in Pizzascape.

In case you are unaware, once you beat a level a Lap 2 portal unlocks for that level. Going through this portal gives you a huge chunk of 3000 points, but also forces you to redo the escape.

You won't get a time extension when going through this portal, so make sure you actually have enough time before going for another lap.
S Rank Scores
Here are all scores required for an S Rank:

Tower Lobby
Level Name
Required Score
John Gutter
16000
Pizzascape
20000
Ancient Cheese
17000
Bloodsauce Dungeon
18500

Western District
Level Name
Required Score
Oregano Desert
19500
Wasteyard
20500
Fun Farm
19000
Fastfood Saloon
20000

Vacation Resort
Level Name
Required Score
Crust Cove
23000
Gnome Forest
19000
GOLF
23000
Deep-Dish 9
20000

Slum
Level Name
Required Score
The Pig City
20000
Oh Sh*t!
20000
Peppibot Factory
20000
R-R-Freezerator
18200

Staff Only
Level Name
Required Score
Pizzascare
18200
Don't Make a Sound
22000
WAR
21500
The Crumbling Tower of Pizza
5500
P Ranks
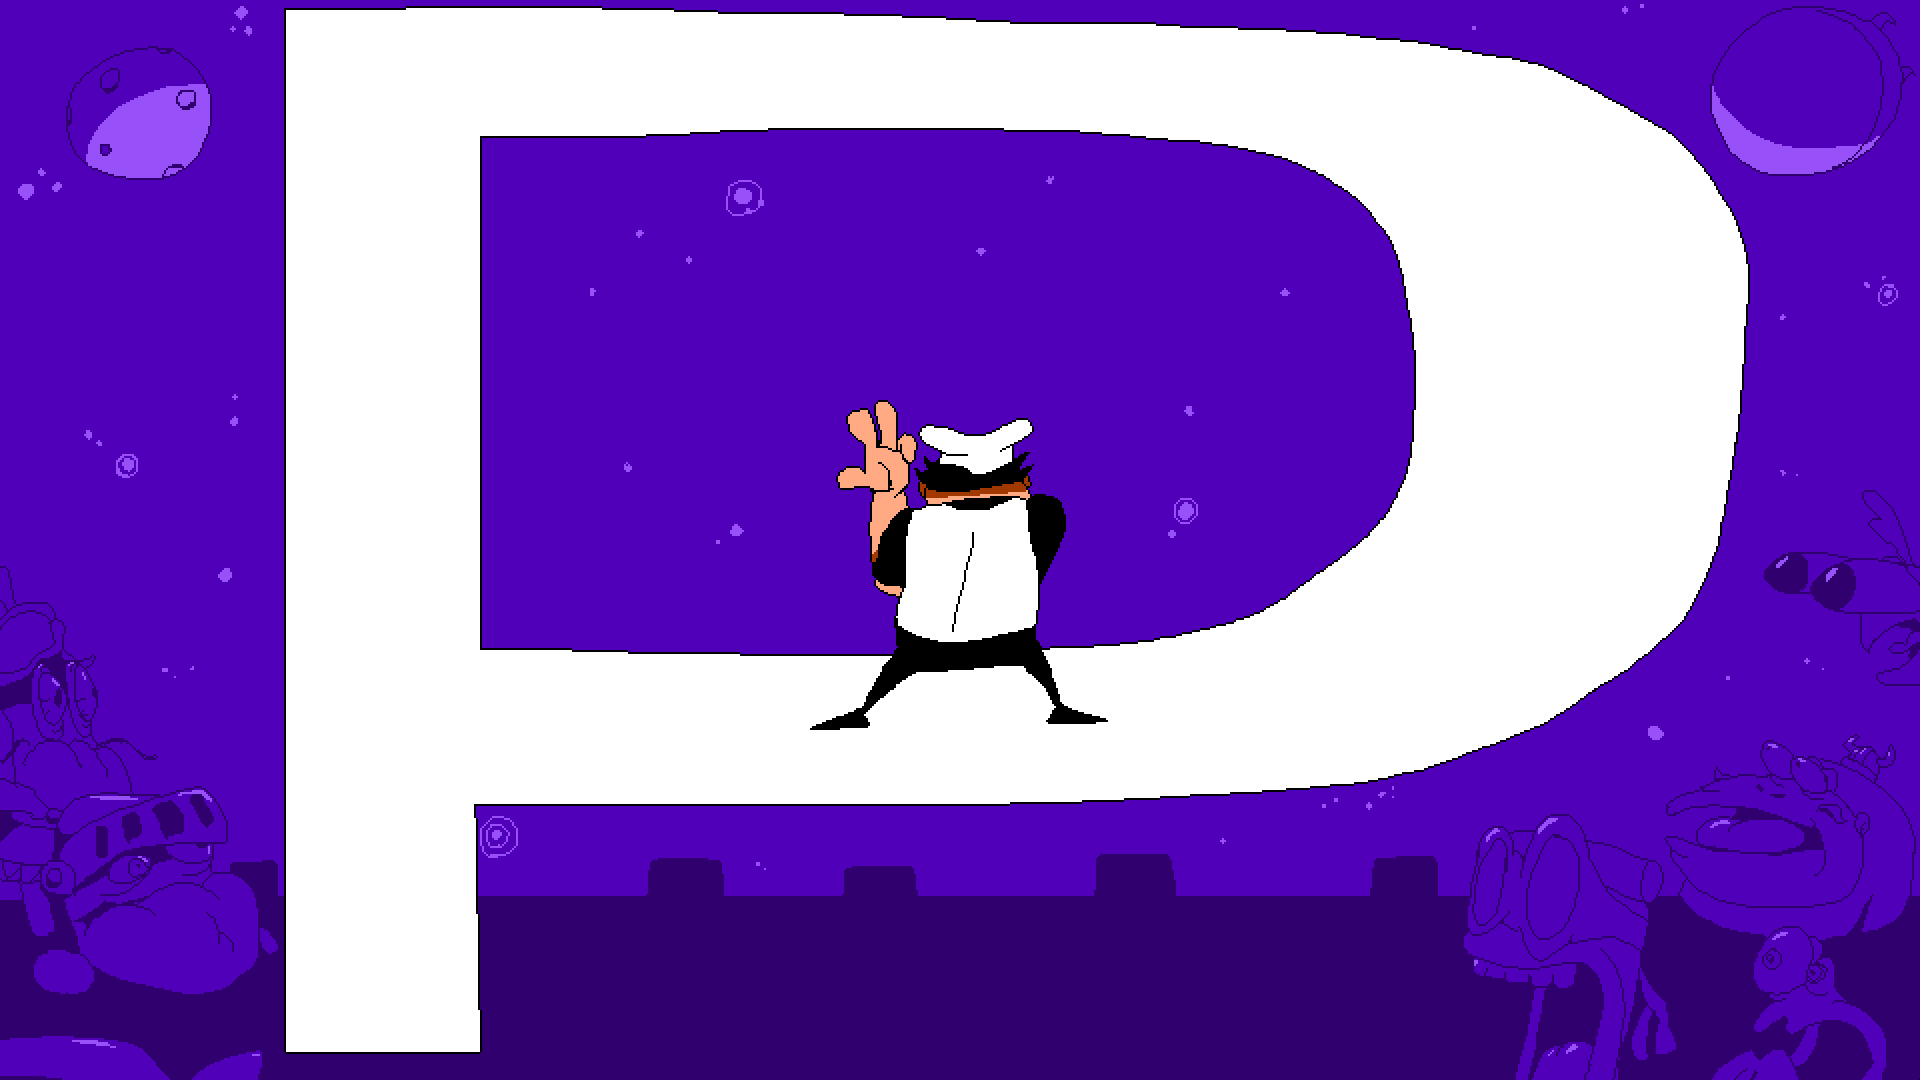
There's one rank even higher than S rank: The P Rank.


To get this rank, you have to hit all following requirements within one run:

  • Kill an enemy before leaving the first room
  • Get enough points for an S Rank
  • Find all secrets
  • Get the secret treasure
  • Go through the Lap 2 portal
  • Never drop your combo once

That last is the big one, which is why I will state this right now:
While S Rank requires proficiency, P Rank requires mastery.

When you decide to tackle this challenge, prepare to be tested. You will need to make use of the full arsenal that Peppino offers and you'll need to know each level inside out.

And bosses?
A Boss P Rank is simply finishing the boss without taking any damage yourself. Note that while the final boss does not have a rank, you will still get an achievement for beating it without being hit, so you may want to ace this fight regardless.
Keeping combo up
Generally, only killed foes count towards your counter. A few exceptions may exist, but it is hardly worth mentioning.
All other collectibles, like toppins, treasures, or general pickups in the level will instead refresh the combo timer. Small pickups only refresh the timer by a little, while all other pickups fully replenish it.

The timer trickles down over time, and getting hurt will take away ~50% of your timer at once. It's possible to recover from taking damage with a quick reaction, but getting hit will immediately put you at great risk of dropping your combo, so be wary.


A small example.

Instead of giving tips for each level, I will list a few tints and hips for what to do if you want to tackle a P Rank.

Scan out the level and plan a route.
Pizza Tower's levels are pretty straight forward, but it is important to know what the right route is. Take some time to note where everything in the level is and the best path to take. Stay on special lookout for chokepoints and places that might give you trouble.

Take regular breaks.
You will struggle and have issues doing certain levels. Lay down for a bit and try again later. There isn't any reason you should keep trying a level for hours on end. Stay rested.

Try to go for S Rank more comfortably.
Grasping the controls is very daunting at first. Peppino's moveset is incredibly versatile, and you will not immediately figure out what move to use for what situation. Simply play and practice for S Ranks, until you can hit them comfortably.

And the last and best tip I can give you:
Learn to learn.
Every person learns differently. Some will take marathons head on and never stop. Others like to just throw themselves into a level to see how fast they can go without dropping their only combo. Part of getting P Ranks is to understand how you yourself are able to learn the most comfortable way. Watch videos, ask other people, talk, write your thoughts down etc.
Advanced Movement Mechanics
Before I get into these, I have to quickly explain Mach States. For this, I'll be quoting a previous document from the SAGE 2019 speedrunning guide which was made originally by Harmonikinesis, Mr L and XBC30EP450.

Originally posted by Harmonikinesis, Mr. L and XBC30EP450:
Dashing is essential, even in a casual playthrough, as it’s required to clear many of the obstacles in your path. When you begin holding the dash button, Peppino will slowly start building up speed, entering a series of states in the process. These states are labeled Mach 1 through Mach 4.

Mach 1 doesn’t actually do much and really just serves as lead-up to the other states.


Mach 2 is where your dash really starts- it allows you to climb walls, as well as destroying marble blocks and stunning enemies in your path.


Mach 3 allows you to scare enemies in your path, destroy metal blocks and superjump.
This is not the fastest you can go, however: If you hold the direction you’re currently moving in you can continue to build speed until you reach Mach 4.


This means you can actually stay at Mach 3 if you so choose by NOT holding forward, but you will likely hit it often as running down slopes lets you build up speed a lot faster. Other than being faster, Mach 4 behaves no different from Mach 3.

These are taught by Granny Pizza throughout the game, but I will compile these moves here too, with a few additional tricks!
  • Use your grab move, and use it often.
This is Peppino's argubly strongest move to abuse. It is incredibly versatile. It allows you to immediately move from one place to the other, as it is incredibly fast to execute, and possible from almost any state. Doesn't matter if you are on the ground, or in the air. Take some time to experiment with this move. Using the grab right, and often, will be your bread and butter! Here are just a couple of things you can do with it:
  • Kickstarting right into Mach 2, and then holding the dash button lets you reach Mach 3 faster and save a lot of time.
    You can do an additional jump to shorten the boost you get.


  • You can also press grab, press down and immediately let go of it, and hold dash. Peppino will slide for the amount of time it will take to reach Mach 3, and this is argubly a more easier way to gain speed. You need enough horizontal ground though!


  • You can cancel out of the grab by tapping the opposite direction.


    Not only on ground, but in the air, too!


  • Grab into a wall and hold dash. You will instantly climb it.


  • Going into any mach state, using grab and then tapping the opposite direction let's you instantly stop.


    Some other moves:

  • Use your dive move often. Getting back to the ground is incredibly important, as a lot of the levels are tightly designed spaces where you otherwise will end up bumping into walls a lot. As well, the sooner you are on the ground, the sooner you can react to obstacles coming ahead.


  • While superjumping, press the Grab button and hold either left or right to dash into that direction.


  • To do a bomb drop, a slightly faster ground pound, hold dash to go into any Mach state, then press down to go into the diving state (the diving state only works in the air, not on the ground), then press the Jump button.


  • To do a supertaunt, get a combo of 10 or better, and press up and the Taunt button. It's a screen clearer!
    This move is an incredible clutch tool, as the screen clearer refills your combo in cases where you can't reach any picksups or enemies in time!

    You can note when you have a supertaunt ready by having some form of electrical current around Peppino!


  • When you hold Up and then press the Grab button, you will do an uppercut! You can execute this move in the air as well, acting like a pseudo double jump.


    And some devilish tricks which are nice to know:

  • Take some time to get good with a taunt parry! By pressing the taunt button just as you're about to be hit, you can parry and block almost any attack that comes your way. The window for getting this right is a bit tight, but not frame perfect. This move can save you in a clutch.


  • Whenever you need a transformation item or enemy, you can press the Taunt button in front of the enemy to make them react faster or to force them out of their stun state!


  • One of the easiest ways to stop your momentum completely is running against a wall, and before you're about to hit it, jump and let go of the Dash button. You need to be in the air when making contact with the wall.


  • You can immediately enter any door by simply holding up as soon as you get near it.
P Rank Video Demonstration - F1, Tower Lobby
Note that these videos will show every secret, show every treasure and spoil every boss. If you'd rather discover these for yourself, here is your SPOILER WARNING.

John Gutter

John Gutter is a fairly straightforward level and there isn't much I can say about this level other than it being very good practice for P Ranks, or even S Ranks. Try to complete this level with an S or P Rank first before moving on to the other levels in this floor.

Pizzascape

Pizzascape will demand a bit more attention from your side, but other than that, also very straightforward.

Ancient Cheese

The escape sequence in this level can be really mean. If you fall off once, you usually don't have any recovery options. It was certainly a chokepoint for me, and I had to practice the sequence a little bit.

Bloodsauce Dungeon

In my opinion, Bloodsauce Dungeon can be potentially your first true test of patience and dealing with chokes. It is the longest level in World 1 to P Rank, and has several different mean spots that every player will have to deal with differently. I messed up in the video even a couple of times from the route, but was able to recover.

Pepperman

Pepperman is the easiest boss in the game and relatively easy to learn. He will always follow the same 2 attack patterns, with Phase 2 just throwing a few more additional obstacles in the way. For what is about to still come, Pepperman is the tamest.
P Rank Video Demonstration - F2, Western District
Oregano Desert

This level terrifies me. Out of all levels, Oregano Desert may be potentially the hardest to P Rank in this floor. There is a lot of stuff that can hurt you, and you may be asked to pause in a couple of sections before moving on.

  • Watch out for the thunderclouds and the pogger cheeses, as getting hit at any point later in the transformation platforming passage will be a P Rank run killer guaranteed.
  • Be careful in the UFO too. It can be harder to recover from mistakes thanks to the cows being in the way and there being less pickups than usual.
  • During the escape sequence, avoid munching on those chicken wings when you collect the sausage toppin (4th). There is no way to lose the transformation in that room except the beginning.

Wasteyard

Fun level to P Rank. The level is quite short compared to the others. Learning how to parry can be very useful here, as the little John puncher guys can appear quite often in this level.

Fun Farm

While mostly straightforward, the only real big choke I can see here is Secret 2, behind the Pizzapope. While crashing down the pit won't immediately ruin your combo, another crash will ruin your P Rank run. This secret honestly radiates insane energy that even I have struggled to handle.

Fast Food Saloon

Quite straightforward as well. You can quickly hop onto the sausage horses by pressing grab while still in Mach 3 and keep the speed going if you feel ballsy enough, otherwise take it slow. Jump off first, then correct your course to the next sausage horse. Another reminder that the grab is very, very versatile and in my opinion, this level shows it off best how much work this move does.

Vigilante

This 1 vs 1 duel is going to be a challenge to say the least. Vigi's attacks can range wildly from cows dropping from above, to flamethrowers, to dynamite throws, to his old grandpa wanting to poke you in the butt with his fork. To make matters worse, your grab move is replaced with a revolver.

You want to give Vigilante the least time possible to call his attacks, and the faster you're through with him, the better. In the video, you will see me charge up shots by holding the Grab button inbetween his invincible states. You should hit him with the charged shot when he is about to become vulnerable again, and then follow up with a few potshots. If you time this JUST right, you can vastly reduce his chances at hitting you. There's a bit of RNG to this fight, but with this tactic, you will be less susceptible to it. A few other noteworthy points:
  • The dynamite he throws cannot hurt you in air, only the explosion when it hits the ground.
  • Cows have 3 hit points. Get rid of them as soon as you can to clear the arena.
  • Tip from Apostrophe': Parrying Vigilante's bullets while charging a bullet will NOT reset the charge. Meaning you don't need to jump over each and every bullet and lose a window of damage.
P Rank Video Demonstration - F3, Vacational Resort
Crust Cove

Crust Cove is a pretty comfortable level for me at this point, though the explosions may prove to be difficult to deal with. The best advice I can give here is during the escape sequence, take the barrel transformation for Lap 2. The route will be the same and you will be less likely to choke.

Secret 2 is also a nasty piece of work. It's roughly at the middle of the level, and you have to sprint over a water spot with Mach 3. If you stop on the water at any point, you will miss the secret on the right and mess up your P Rank. It's helpful here if you don't go into Mach 4 on purpose, just go slow and steady at Mach 3.

Gnome Forest

New playable character! The best way I can describe Gustavo & Brick is a "stop & go" character. The combo timer is slow enough to allow you to stand still for a second, so you can wait for Brick (the rat) to return to you.
  • Gustavo is very dependent on Brick to perform a majority of his moves. You really can only go Mach 3 without Brick. Take the second to let Brick return to you.
  • Abuse Gustavo kicking Brick as a projectile, as it lets you dispatch any enemy from a safe distance if they're on the ground. Try to not rush too much.
As for the level? It's one of the longest in the game! While there isn't much room to screw up, it can be especially frustrating to choke in the later parts of the level for how punishing a few level segments can get. Save this level for later if you end up getting too frustrated.

GOLF

Golf. What a hellscape of a level, which is oddly fitting. When I practiced for this level, I got messed up more times than I'd like to admit thanks to not remembering the Big Cheeses that toss you into a ball, to getting hit with a raging bulldog which you can only kill with a parry when they get enraged, to the electrical outlets in the escape sequence.

The ball in this level will instantly refill your combo meter to the full if you grab it and will not go down if you don't let go of the ball. Don't worry about scoring under Par in every course (Primo Burg'), abuse the fact that you have essentially the easiest combo refill in the game.

Deep Dish 9

Funky level with a funky aesthetic. This level is downright my most favourite one in the game, and as such, I replayed it a lot to completion over and over. I can't give any tips for this one as this level is quite straightforward and it's not hard to follow the intended route.

The Noise

Avoise the Noise is the motto, and to do that you will have to get used to his attacks. Every attack he does is chosen at random, but how he escalates it will always remain the same. For the Noise fight, you will need to take a mental note of how many times the Noise has chosen this attack already beforehand, and then act accordingly. To give you a few examples of what I mean:

  • The first time he uses his jetpack attack, he will bump into the wall once and then becomes vulnerable when he hits the ground.
  • The second time he uses his jetpack attack, he will bump into the wall TWICE and then becomes vulnerable when he hits the ground.
To list every attack here would be too time consuming, so I'd recommend getting a feel for this yourself.

When the Noise hits Phase 2, his "escalation" resets so to speak, and he starts from a new base. Every attack has now an additional quirk at the end, with the most dangerous one being the balloon attack.
You absolutely have to watch your positioning for the bombs. After his first groundpound, his vulnerable indicator will be a jape. He will instead explode himself, and immediately appear above you to do a 2nd groundpound. If you get backed into a corner, it is very easy to get hit. You can also make this attack MUCH easier to dodge by parrying the bombs out of air. Abuse it as much as you can.
P Rank Video Demonstration - F4, Slum
The Pig City

Peppino and Gustavo get roughly the same amount of playtime here. This level is a fun time and not too taxing, and the Gustavo sections are much easier here than they are in Gnome Forest. There isn't anything else I can say except to simply enjoy the nice level.

Peppibot Factory

Peppibot Factory has multiple sections that can absolutely screw you over big time. During escape, when the dashpads falls from above, there is a good chance you will run into one of them and get forced launched back. Be mindful and take it at a steady pace during escape, as touching one can trigger a chain reaction and drastically reduce your chances of recovery.

For Secret 3, while it looks daunting, all you have to do for that is simply approach the stupid rats and hold the Grab button. Don't flap here, one punch for each rat will keep you elevated.

Oh Sht!

If there is any evidence where the devs officially gave up, this level's name is that. There is not much, again, that I can say about this level. During escape, do be careful as you're approaching Secret 3 as the spitting cheese can catch you offguard, but otherwise, it's easy going.

Refrigerator-Refrigerador-Freezerator

This is a mountain of a level where a lot can go wrong. Hardest level to P Rank in this floor by far, due to the amount of damage sources that can just absolutely screw you over. In this demonstration, I even almost screwed up during Lap 2 and had to pull an extreme clutch move to keep my meter up.
  • Get rid of the Fake Santas ASAP. They're too unpredictable to be ignored. Use a supertaunt, or toss them a friendly reminder with an enemy to make them sod off.
  • The Satan's Choice Powerup turns you invincible. Take advantage of it, as Lap 2 will require you to clear the escape sequence again WITHOUT using this powerup.

Fake Peppino

Jesus christ. Fake Peppino will not let you rest. All of his clones are invulnerable, and you have to play a careful dance of dodging and attacking throughout this fight. Don't get cocky, play the dodge game a bit longer if you can and get those 2 hits in before you get overwhelmed. It's also the longest boss apart from Pizzaface.

During the transition from Phase 1 to Phase 2, the first attack he will do instantaneously is a grab. This grab is not parryable. Stay on the move and stay cool.

His end chase sequence is not too bad, it's been made easier in a recent patch.
P Rank Video Demonstration - F5, Staff only
The last floor, the last frontier. These next levels will test you on the previous levels you have tackled. Let's dive right in. You got this.

Pizzascare

For me, Pizzascare is the hardest level to P Rank, straight up. This level absolutely terrifies me (pun intended). A lot of the pathways in this level can make you choke incredibly quick, with recovery options being barely existant.
  • The first secret I went for in this level can also be tackled during the escape. I recommend personally that you do that instead, as doing it pre-escape, there is a good chance you won't have enough enemies or pickups to keep the combo meter up.
  • 2nd secret is just mean. I can't really understand how you're supposed to consistently get the vampire goblin to kick you. If he kicks, and the kick doesn't connect, there is a good ~3-4 second downtime before he kicks again. Should that happen, immediately kill him and let him respawn. Run up the wall to bait, and wait for the kick.
  • As soon as you come out of the secret treasure room, take the dashpad and prepare to make a FULL jump by holding the Jump button as long as you can. You NEED to jump over the ramp in the room ahead. If you don't, it is incredibly hard to recover.

Don't Make A Sound

A straightforward level funnily enough. Make use of the taunt react mechanic in this level, as otherwise you won't be able to keep your meter up. Watch out also for the Sausage animatronic section, as it is very easy to dash into the electrical outlets and lose combo there.

You also get a shotgun in this level! It is not just any shotgun, we are talking a Metal Slug tier shotgun. This gun is ridiculous. Abuse it as much as you can.
Do keep in mind your grab move is now no more, so your muscle memory might be screwed a little. You'll have to get used to a different control scheme.

The Elton John Pineapple animatronic also can trigger the chase sequence for the other animatronics!

WAR

WAR is not too bad, but the timer will be even more tighter than usual. Before giving P Rank a try for this level, make sure you can comfortably clear this level with more than ~1 minute remaining.

For your first playthrough, also make sure you kill every static enemy on your way to the Lap 2 portal, especially in the later half of the stage with the Peppino clones. You will otherwise get caught in the countless of explosions and bullets that WAR throws at you.
Much like in Freezer, you will lose the shotgun for Lap 2, so clear out everything beforehand.

Pizzaface

Note: The Pizzaface boss does not officially have a P Rank. You can safely skip to the last level if this boss is too much for you. All you will get by "P Ranking" this is the hitless achievement. If you still want to tackle this, read on further:
A marathon of a boss. With 4 phases, you will be tested on several different aspects of the boss fights that led you here. Keep your cool. You can do this.

  • Phase 1 is one of the harder ones and the ones where most of my retries went to. A thing to note is that Pizzaface's groundpound will target your spot at the frame he is indicating his groundpound. Keep your cool and do some house cleaning if need be. Grabbing one enemy, standing on any side and punching them across the arena will instantly kill all of them.

  • Phase 2, and look who it is! Pizzaboy! Position yourself roughly to the opposite to where Pizzaboy is standing here. Dodging most of his attacks is a lot easier if you already got some distance between him and you.
    While you can use charged shots, it is overall way, way slower instead of spamming shots. Use the charge shots whenever you can't target him, otherwise don't bother with using it. When you knock down 3 HP, a weakened PIzzaface drops cogs. He will stop first and then drop said cog. Always jump over that ASAP.

    Pizzaboys attacks aren't too difficult to dodge. His rat toss may prove difficult, but you can either be a gamer to parry the projectile, or easily dodge it by moving towards Pizzaboy just when he is about to throw the rat.

  • Phase 3 is where you will be going through a small boss rush. You can make this inherently simpler by abusing the Gustavo toss whenever Vigilante comes up. Otherwise, recall your lessons you have learned from the previous bosses.

  • Phase 4. Once you clear all the 4 other bosses, Pizzaboy will show himself for the last phase. Stay cool.
    Pizzaboy will awkwardly jump around your position. Let him do so, he can't hurt you if you don't deliberately grap/dash into him. His only direct attacks that you need to dodge are his boxing glove attack, the flying swat one, and the sumo stomp. He will become vulnerable briefly after doing any of them, and will do more in succession the lower his HP is. His vulnerable window is small, and will also get smaller the lower his HP is. Do not get cocky and let him attack again if need be, as dodging his attacks is easy.

The Crumbling Tower of Pizza

Concratulations! This level is not too taxing luckily enough. Enjoy the ride and the kicking sweet music.
P Rank Video Demonstration - Extras
This section contains levels newly added to the game post launch. If any new levels get added, they will show up here.

Secrets of the World

A short trial where all secrets are combined into one, you can find this level in the soundtest room! The catch with this level is that the next secret you enter is always random, so watch out so you don't accidentally press Grab while entering a Gustavo Secret! This level does not count towards any of the P Rank achievements, so feel free to ignore this level.
That's it!
Thanks for taking time for checking out this little guide! Have fun trying those P Ranks! Feel free to ask any additional questions you may have in the comments.

87 Comments
Godifier 25 Apr @ 10:05am 
Below*
Godifier 25 Apr @ 10:05am 
After doing every P rank, The blow statement is TECHNICALLY TRUE* While it is of course smart to do this, once you feel like you actually have a hang of the level its a lot smarter to go for actual attempts. It really depends on how well you feel you can play the game, my go-to approach was always:
Playing the level once to get a feel for it
Looking up a video on the P rank to study where the secrets and such are (I reccomend OP's youtube channel)
Going for a NON p rank run to get comfortable with all the secrets and collectibles
Then start trying for P rank attempts (Usually took me around 5)

This may just come down to personal skill as each level only took around an hour to P rank (except gnome forest that one took like 3) Anyways Thought I would add this to clear things up for players trying their best!
Remember to take breaks every now and then, happy grinding :D
Aeriz 2 Jan @ 12:23am 
Advice to those going for P-Ranks: *don't reset if you drop your combo*. Let me explain. If you play the level multiple times, finishing it each time, you're going to be much better prepared for your P-Rank run. I was doing The Ancient Cheese for an hour, getting pretty S-Ranks until I managed to maintain my combo all the way through. The last few attempts, I felt comfortable resetting to speed up the process. Don't let the lack of a P-Rank deter you from learning the level. Over time, you'll optimize your own efficient route.
Also, if you're one of those perfectionists (like I am), don't try and force multiple P-Ranks in one play session. Like Cray says near the beginning of the guide, take breaks. Going for P-Ranks is supposed to be fun, right? Try not to get so frustrated that you finish each play session feeling like you've failed. There's nothing wrong with pacing yourself. Ending your play session on a high note helps to maintain momentum and motivation.
You got this!
erm, 26 Sep, 2023 @ 6:14pm 
Woag
the man of cheese 8 Jul, 2023 @ 6:30am 
so you mean i failed that p rank because of a misplaced superjump
IT'S FUTILE 3 Jul, 2023 @ 3:24pm 
you monster, you killed snotty
่่่่PineappleGuy 16 Jun, 2023 @ 4:55am 
Oh no another toby follower
Xx_LAS4GNA_xX 30 May, 2023 @ 4:41pm 
i have been watching your vids for P-Ranks for a while, and i'm glad to see this awesome guide, gonna help a lot in Pizzascare and against Bruno
CrayFray  [author] 19 May, 2023 @ 12:10am 
Grab and then Duck is the quickest way, Grab and jump is just an alternative in tight spots.
scrungusmungus 18 May, 2023 @ 8:20pm 
Just wondering, what the fastest way to get to Match 3? I usually press Grab and then Duck to do the belly dash. But is it faster to grab and jump?