
Install Steam
login
|
language
简体中文 (Simplified Chinese)
繁體中文 (Traditional Chinese)
日本語 (Japanese)
한국어 (Korean)
ไทย (Thai)
Български (Bulgarian)
Čeština (Czech)
Dansk (Danish)
Deutsch (German)
Español - España (Spanish - Spain)
Español - Latinoamérica (Spanish - Latin America)
Ελληνικά (Greek)
Français (French)
Italiano (Italian)
Bahasa Indonesia (Indonesian)
Magyar (Hungarian)
Nederlands (Dutch)
Norsk (Norwegian)
Polski (Polish)
Português (Portuguese - Portugal)
Português - Brasil (Portuguese - Brazil)
Română (Romanian)
Русский (Russian)
Suomi (Finnish)
Svenska (Swedish)
Türkçe (Turkish)
Tiếng Việt (Vietnamese)
Українська (Ukrainian)
Report a translation problem


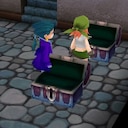


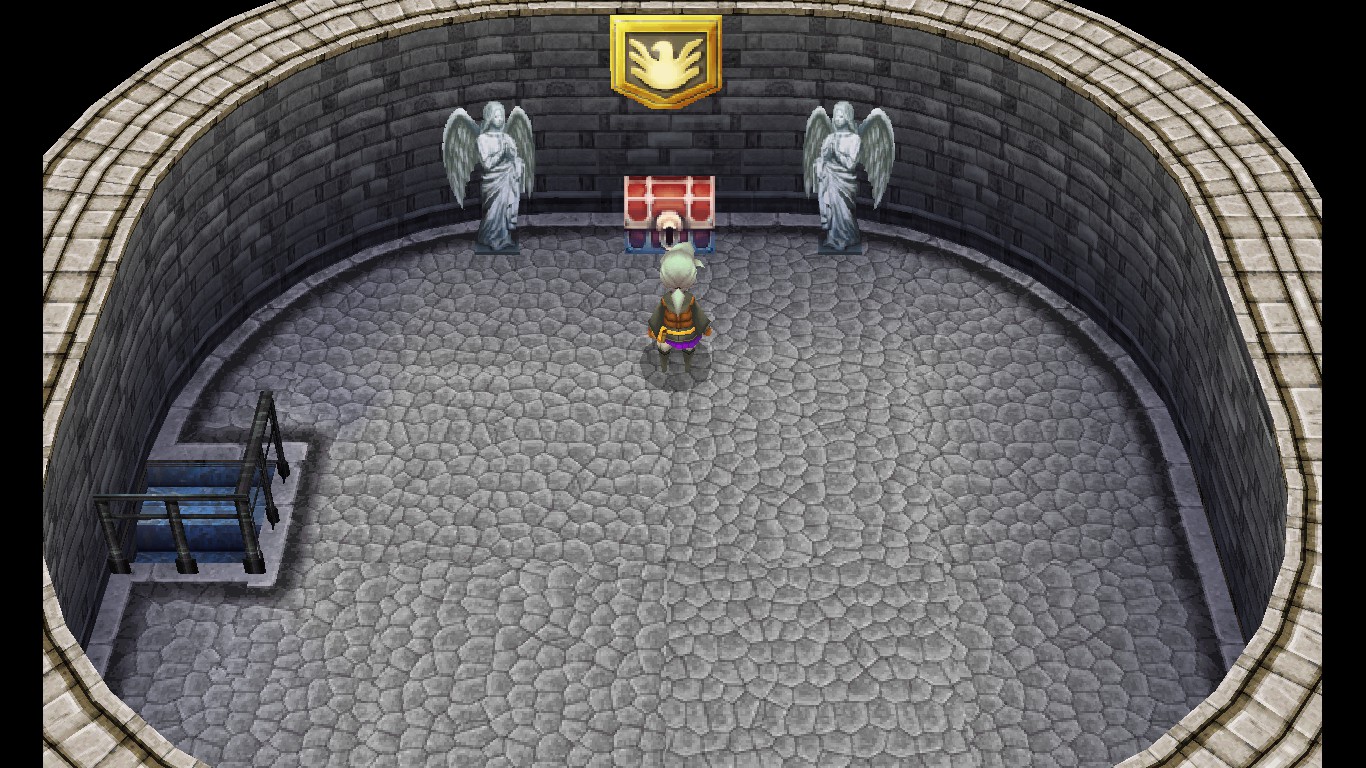


@no - there are 16 chests in the Dwarven Treasure Room in the DS version, and only 15 in others, progress check 2 will be 40% on DS and 39% on any other version. So this guide is exactly right for Steam's version, and any version that is not the original on DS.
@no - Yes, there's a difference between this and the 3DS version. This guide is a result of combing through the older guides that existed (Seferaga + others) for previous releases of the game. I feel confident about the chest tracker I've done, but if you want to follow a walkthrough as a supplement to get all the chests, I suggest following more than 1. Best of luck.
It's just tedious running through the Ancient's Maze again if you want to check your percentage after this point, and it isn't as ambiguous as the 87% AFTER the Ancient's Maze, because you can be missing two chests and still hit 87%.
8... years...
Thanks for the guide though! :D