

Install Steam
login
|
language
简体中文 (Simplified Chinese)
繁體中文 (Traditional Chinese)
日本語 (Japanese)
한국어 (Korean)
ไทย (Thai)
Български (Bulgarian)
Čeština (Czech)
Dansk (Danish)
Deutsch (German)
Español - España (Spanish - Spain)
Español - Latinoamérica (Spanish - Latin America)
Ελληνικά (Greek)
Français (French)
Italiano (Italian)
Bahasa Indonesia (Indonesian)
Magyar (Hungarian)
Nederlands (Dutch)
Norsk (Norwegian)
Polski (Polish)
Português (Portuguese - Portugal)
Português - Brasil (Portuguese - Brazil)
Română (Romanian)
Русский (Russian)
Suomi (Finnish)
Svenska (Swedish)
Türkçe (Turkish)
Tiếng Việt (Vietnamese)
Українська (Ukrainian)
Report a translation problem


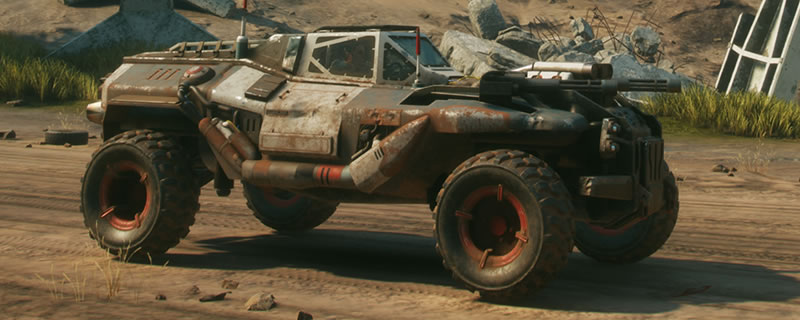


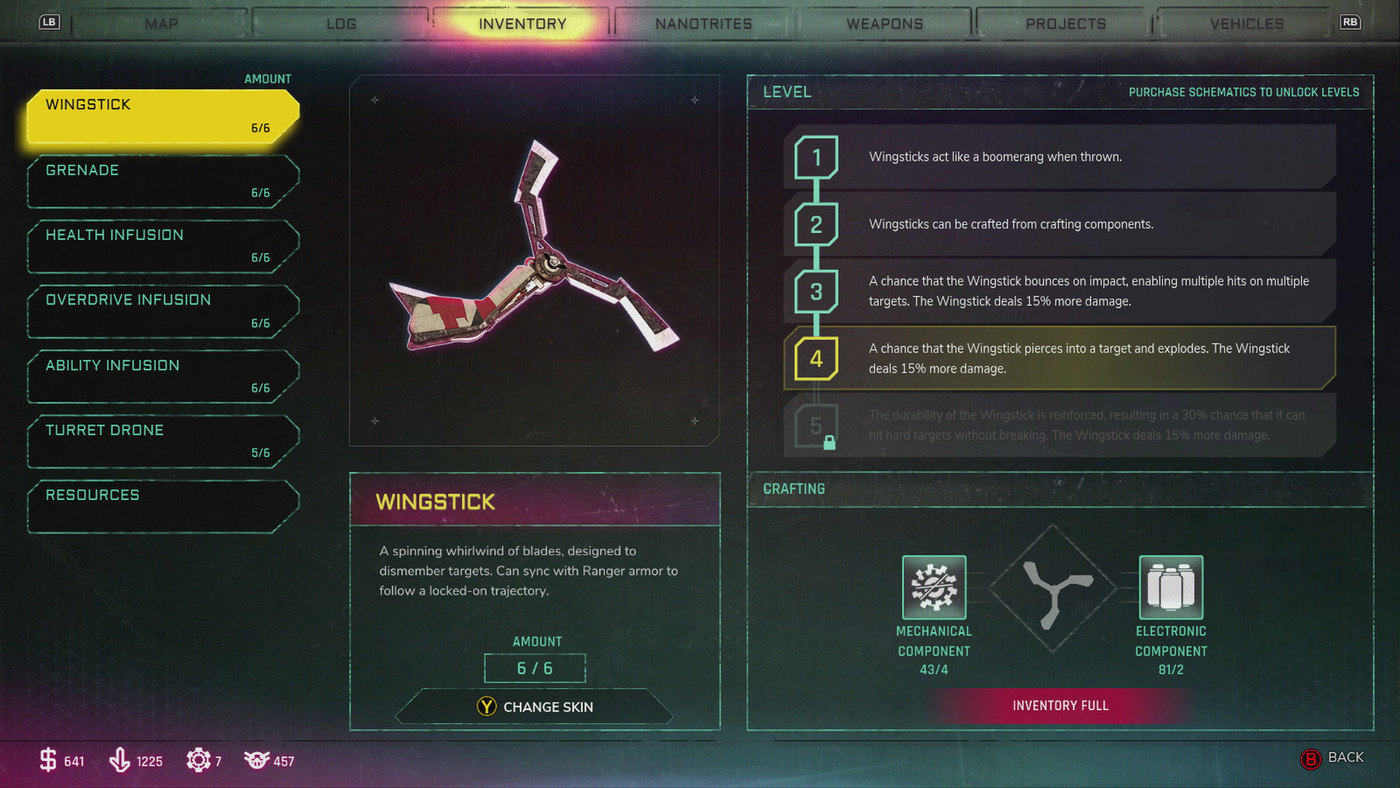


From my experience : at least with keyboard and mouse (I didn't try with gamepad but that should be the same), you exit the vehicle depending on which side of the vehicle side the camera is.
Example : assuming that currently the camera is stationed exactly behind the vehicle (on screen I’m seeing the back of the vehicle) : if I want to exit on the left side, then I move the mouse just a bit to the left, the camera is turning left (on screen I’m now seeing the back/right side of the vehicle), I press the exit button, and I exit by the left side.
That’s assuming there ‘no obstacle blocking your exit on the side you want to exit.