Team Fortress 2

Team Fortress 2

33 ratings
Advanced MvM Soldier Guide
By M1
This is not for the average MvM player. This is for those who are already competent at the game and would like to pursue mastery. All information in this guide is specially tailored to a lowman setting.
   
Award
Favorite
Favorited
Unfavorite
Understanding the Soldier's Role
On a bad team, the soldier is just a way to provide occasional buffs to the heavy. But the name of the game with soldier at the top level is potential. There is nothing a soldier can't do, and to an aspiring master, this is incredibly overwhelming at first. Your role will vary with the team you're on, and getting a feel for what the team is weakest against is important to a good soldier's repertoire.

Why is Soldier so good?
There's the obvious. Soldier has consistent splash damage and fairly high single target damage. But this does not explain his secondary of choice, the concheror. Why wouldn't you just want more damage? Why isn't the buff banner stronger than the conch?

When you think about MvM as a game of taking and denying space, the reasoning becomes apparent. Soldier has an incredibly low health pool, and with every robot doing damage to you and rocket jumps taking even more out of your health, you begin to understand the weakness of the soldier: he eats a lot of damage.

In a PvP setting, this is alleviated by medics, dispensers, and generally playing more passively. But in MvM, the medic can't outheal the immense damage that the bots dish out, and constantly having to play passive in order to take heals from the dispenser makes your beggar's bazooka's inaccurate rockets bite you in the ass. But the concheror keeps you in the fight and allows you to have the adaptability to control the environment and win games.

When pocketed by a medic, soldier is sometimes outclassed by other classes. On low cash, heavy reigns supreme. On medium cash, pyro reigns supreme. And soldier can only be the best pocket on high cash. But pyro and heavy cannot compete with soldier's adaptability on all cash levels.
The Beggar's Bazooka
Your best friend. This weapon is deceptively complex, and its damage output is incredible.

Rocket Jumping
To begin learning this weapon, go ahead and boot up a rocket jump map. These maps are tiered from 1 to 6, and the skills learned from these courses will apply heavily to MvM. A good stopping point is once you can consistently beat tier 3 maps, as skill beyond that point is a mere luxury and will keep your soldier more consistent.

Note. This does NOT apply to PvP soldier. You will need to perfect tier 6 jumping in order to become the best soldier.

Tap Fire or Burst Fire?
The age-old question that nobody seems to ask is whether you should tap fire or burst fire. If you ask the average mvm player, their response will likely be "just tap fire—it does higher dps". But a good soldier should always understand that the question of whether to tap fire or burst fire is a constant dance that can take your soldier from mediocre to high level. Hell, if you can take anything from this guide, is it understanding where you should burst fire and tap fire.

Tap Firing
Tap firing is best likened to "rocket vomit". It serves its purpose only when you need raw dps and nothing more, such as when fighting a giant. Giants will eat damage, and in order to effectively kill them, the only thing you need are numbers.

When paired with a single tick of rocket specialist and max reload speed, tap firing can keep a giant in a permanent stunlock, which allows you to swiftly take care of giant scouts and more easily hold space that you have taken against other giants.

Burst Firing
Let's preface this by stating a simple fact: burst firing is about twice as accurate as tap firing.

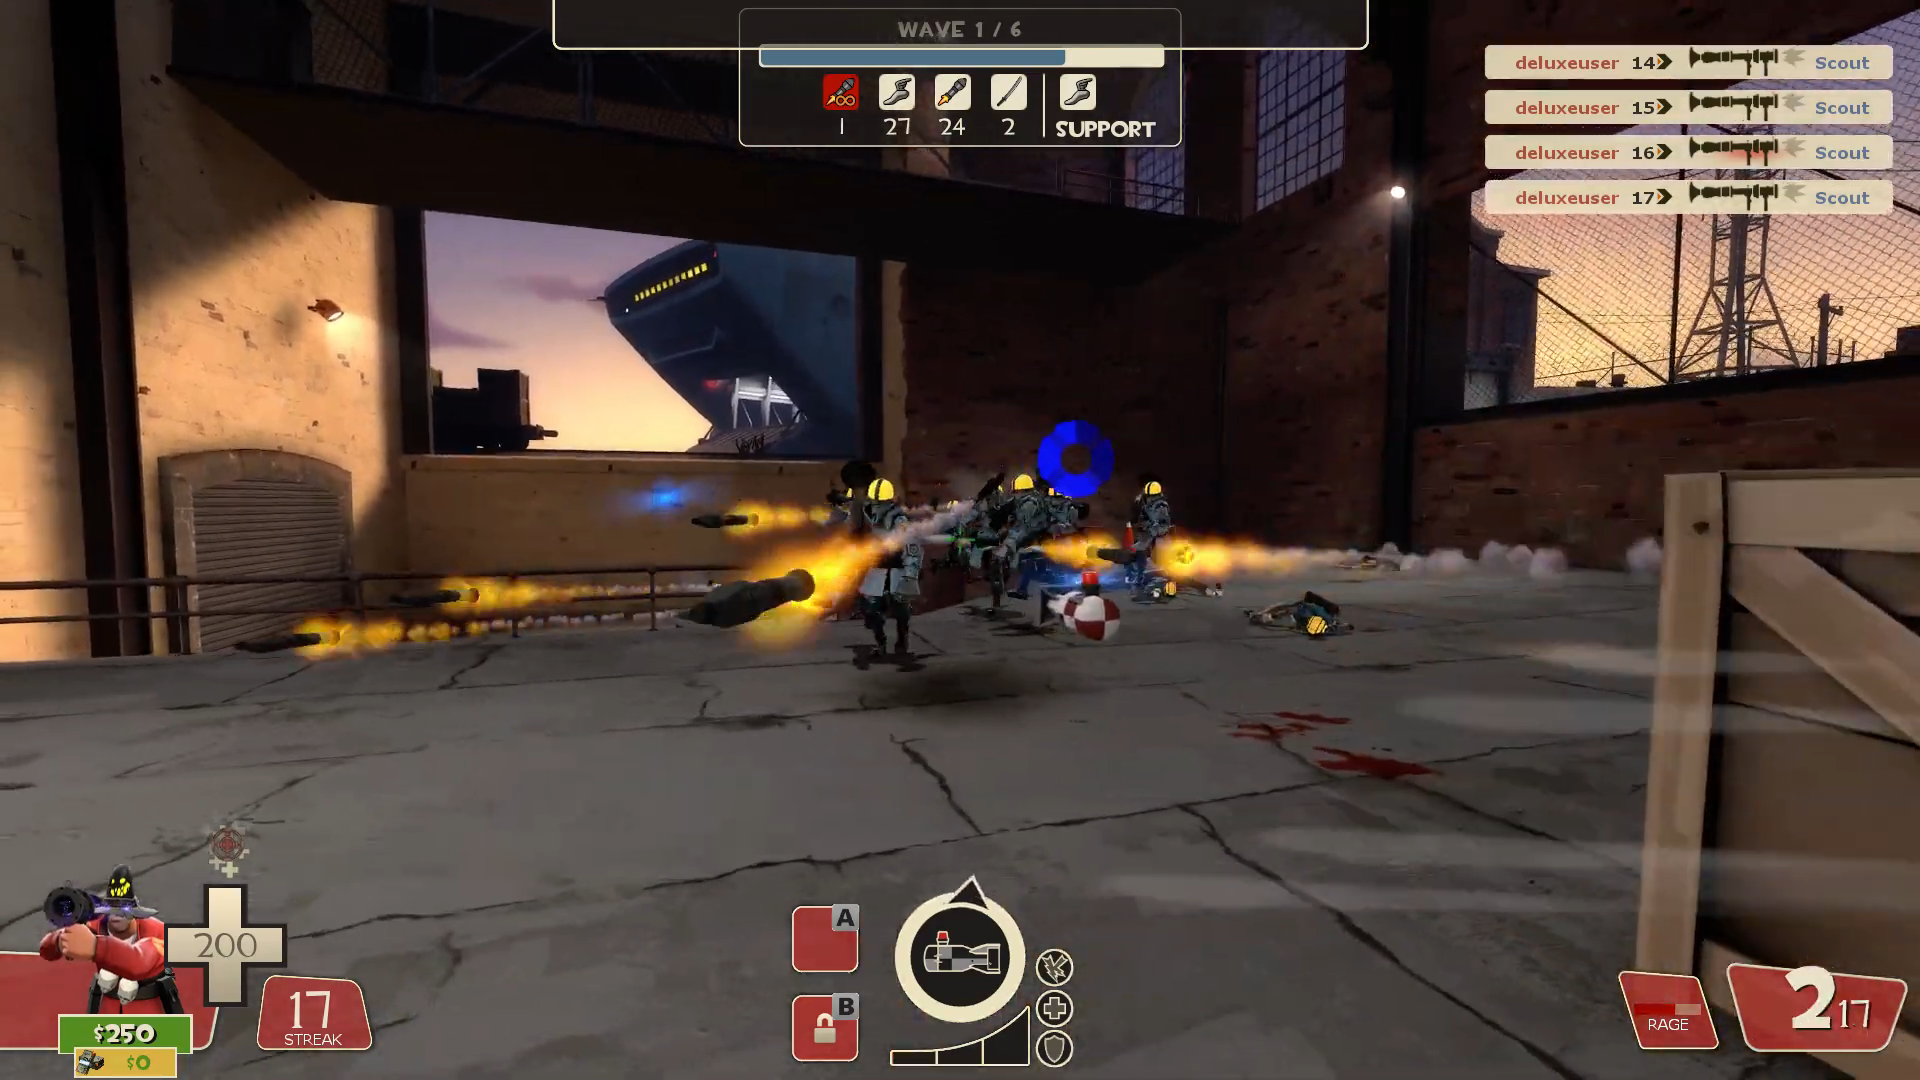
So what does this mean? Well, sometimes, when you're playing soldier, you'll come across wavespawns that look like this.

If you try to just shoot the ground around them with a tap fire, they will fly above you. Bad news: soldiers deny the space below them. This clump of easy to kill soldiers will turn into deadly terrors raining from the sky that are nearly impossible to hit.
So what is the plan? Burst fire. You have to make sure they don't fly upward, so hit them around their torso region. Deluxeuser does this in his run, and he is easily able to handle the crowd of soldiers.

When you have high enough damage, this technique becomes less necessary, as a splash rocket can do lethal damage to the robots. But you still can sometimes benefit from the increased potential range afforded by burst firing.
Space
TF2 is a game that involves the taking and denying of space. While this is most applicable to a competitive setting, the concepts translate to MvM well. When you are the highest mobility class in the game, you have to have constant awareness of what space is free to take and what space is actively denied by robots. Let's go through every way in which a robot can deny space.

Melee Bots
Melee bots are notoriously easy to avoid. The space they deny is a small radius around them. This radius is expanded heavily if the melee bot in question is the persian demoknight, however. Their damage is not able to be resisted and the charge+swing makes their area denial an incredibly large radius on the ground around them.

But generally speaking, melee bots do not deny any space.


Hitscan Bots
We will separate hitscan bots into multiple varieties.
Low Damage, Low Accuracy Hitscan
Low damage, low accuracy hitscan denies no space. They're only really useful to cause snipers to flinch, or to be cannon fodder.
Some examples include easy AI scattergun scouts and force-a-nature scouts.

Low Damage, High Accuracy Hitscan
These guys will deny airspace. You cannot bomb a crowd of these bots, but they will not pose a threat in any other circumstance. Just don't be airborne.
Normal or above AI scattergun scouts are an example of these bots.

Note that these guys can be devastating in crowds, and especially on low cash levels. Do not mess with a group of normal AI scattergun scouts on wave 1, such as in hamlet hostility.

High Damage, Low Accuracy Hitscan
These guys will deny a large ring around them, with a safe interior. Their tracking is slow, but if they manage to catch you in their line of fire for a short amount of time, you will die. Be sure to corner peek or wait for teammates to draw aggro to prevent these guys from taking you out.
The best example is the common heavy bot.

Again, these bots tend to be stronger in crowds, but less so than low damage, high accuracy hitscan bots.

High Damage, High Accuracy Hitscan
These guys deny all space around them. If you see any of these guys, you will be forced to corner peek and take cover. Don't mess around with these guys.
The best example is the giant heavy bot.

Snipers
These guys will prevent you from doing anything. There is nothing more unfun as a soldier than encountering multiple snipers that your team refuses to take out. Don't even try to rocket jump when these guys are around. There is a quirk in how they shoot, however; they will wait until they have a clear shot on you. This is calculated by your angular velocity relative to them, which roughly translates to how quickly you are moving across their field of view.
In total, this means that snipers force you to respect their presence. If you attempt to ignore a sniper, it will hit you: counterplay for sniper bots involves actively moving in its field of view, a task not doable while ignoring them.


Projectiles
Again, with projectiles, we will distinguish the different kinds of projectiles.
Rockets
Rockets will deny any area near and below them. To avoid their terror, take high ground over them.
They will also deny the space you were a few moments ago. If you take high ground, you need to constantly move in a single direction, because if you reverse direction or stand still, the soldiers will likely hit a direct rocket on you. Be careful!

Grenades
Grenades only deny space you were previously, and as a result are simply weaker rockets when they are flying through the air. However, once they have landed, a group of rollers can act as a field of landmines. Watch where they roll and make sure you dont sit on a large pile of them because rollers do between 30 and 60 damage and will wipe you out in a moment.


Pyros
There are two kinds of pyros.
Regular Pyros
While they are the terrors of scout players, regular pyros are a breeze for soldier. They act like extended reach melee bots, and you can simply keep your distance with your incredible mobility.

However, the biggest menace to any aspiring soldier player, we have...
Airblast Pyros
Where to begin. Airblast pyros are absolutely insane. But the counterplay for these guys is best understood in the scope of area denial.
To the soldier, the pyro has a fairly small area denial zone. When the pyro gets close to you, you are entirely defenseless against his flames, as he is almost guaranteed to reflect any incoming projectiles back at you. As a result, you must respect their space. Anywhere that they are not is space you can take.
While it is true that counterplay for airblast pyros is "just don't shoot lol", to prevent yourself from dying, you have to keep your distance and respect their space.
Taking Space
So you understand the space that is being denied. Now it's time to take the space that isn't.

Your Options
You have extremely limited range when tap firing. As a result, you want to be as close to robots as possible without being within actively denied space at all times.

Taking Passive Space. Well, the bots will come to you eventually, right?
If you are holding the front lines, then playing passively and letting bots come into you will allow you to have large amounts of downtime. This is the simplest way to perform effectively as soldier. Knowing when passive space is no longer passive and knowing how to jump out of a bad situation into a better one will carry you to extremely high levels without the need to understand complex maneuvers involving taking odd spaces that have niche uses.

Taking Airspace. Otherwise known as a tactical rocket jump, you can propel yourself off of the ground into airspace when the bots you are fighting specifically deny space below them. While you are in the air and shooting at the bots, you should look for a safe place to land: if there is no possible free space to land on, then you should immediately rocket jump again before you are turned into mincemeat.

Taking High Ground. Any spot above bots is going to be similar to taking airspace, but with fewer caveats. If possible to take, you should always be above the robots, as you are not denied by rockets and you cannot be denied by high accuracy hitscan robots as easily. Just make sure you don't stand in one spot, as a soldier can still hit you with a direct rocket, and try to limit the amount of times you change your strafe direction, as soldiers can sometimes hit a lucky rocket on you if you do.

Taking Free Space. Some areas of the map are (almost) never taken by robots. These places can be treated as "safe havens" to perform actions like blowing your concheror or landing from a rocket jump. However, on a good map, you will be unable to actually get anything done from this location, as it will be too far from the robots to be at all useful. An example of free space is the house on mannworks.

Taking Bot Space. Otherwise known as bombing, this technique is where you abuse the small amount of downtime some bots have in order to get in, deal a lot of damage, and then get out. This space would be denied if you were to stick around, but the purpose is to accomplish a goal such as killing medics or supporting robots before handling a lone threat. This is practical against bots such as soldiers and demomen, where they will having trouble hitting you in the air. But against bots like giant heavies and high level AI scattergun scouts, you can be shot out of the air and die before accomplishing your goal.

Denying Space
As important as taking space, you must also deny space as a soldier.

Choke Points
Choke points are the most important map feature in all of TF2. Spot out a map before playing it and look for good choke points to hold.


A choke point is a point that funnels bots into a single small area that can be splashed by rockets easily. These points are naturally defensible and will likely be the basis for a majority of your holds in a lowman setting. Once the bots have pushed past a choke point, there is often little hope of reclaiming it—you are better off trying to fall back to a nearby choke point or attempting to hold off an onslaught in an open field.

Holding a choke point is a simple resource management game, but understanding the game that you are playing is absolutely key to beating it. Your goal is to always have rockets to spam and health to stay alive, and if you run out of either of these, you will be unable to hold the choke and must fall back to another choke further behind the front.

Corner Peek!
The absolute strongest maneuver a soldier can do. Look for corners at any choke point you are holding; loading three rockets and slamming them into bots pushing through a choke is an easy way to wipe them with very little risk on the soldier's part. You will notice that good soldiers keep themselves out of harm's way for a majority of their play, and you can only begin to play extremely aggressively once you have a very good grasp of the field and how bots will interact with your movements.

When to Blow the Concheror
A rookie mistake I see far more often than I should is soldiers blowing conch when there are bots actively pushing through a choke point. The only reason why bots are unable to push through these positions is because the soldier is not actively shooting at everything that comes through, and you are temporarily rendered defenseless while blowing conch. You should blow conch if given the opportunity, but most people try to find opportunity when they can just as easily continue spamming rockets through a choke point and stay healthy.

Communicate with your teammates with this. If you really need health, you can ask for your scout to throw mad milk or for your sniper to hold the choke point for you for a moment. Your top priority should be to avoid death, but your next highest priority should be to keep a foothold in these choke points to prevent bots from taking space.

Rocket Specialist
The rocket specialist upgrade is extremely interesting. In a setting with six good players, it's actually nearly useless. The $300 is better spent going towards damage and firing speed to kill tanks and clear crowds of commons. But sometimes, you're the only one that is able to prevent the bots from pushing forward.

Rocket specialist gives you two major abilities: range and stunlock.

Range
The beggar's bazooka is notoriously only good at an extremely close range, and you're not always able to be aggressive.

The solution? With rocket specialist, your rockets will always do at least base damage on a direct hit. Your only goal at a medium to long range is to land a direct hit, and as a result, you will want to burst fire.

When you're holding a choke point, this range can help you stay alive without the use of the concheror. As a result, rocket specialist is as important as a single tick of ammo capacity when upgrading the beggar's bazooka: you should do it after getting max reload speed and before damage.

Stunlock
The stronger of the two advantages, the 0.5 second stun combined with the beggar's bazooka's rocket vomit ability allows you to keep giants in place. Giants are normally thrown into a waveschedule to push through chokes, but with good positioning, it is possible to continue holding a choke despite a giant.

Blowing conch to allow yourself to be more aggressive against a giant and working with your teammates is essential to holding a choke point against a strong giant. However, it can sometimes be advantageous to let the giant take space in order to establish a stronger hold at a different choke point or to whittle the giant's health in an open area with more maneuverability. However, these maneuvers are only enabled by rocket specialist; without the upgrade, these maneuvers would result in the giant continuing forward and taking space for the bots to push the team.

NOTE: You CAN stunlock an ubered target.
Soldier Tech
This is just a miscellaneous list of small quirks with soldier to enhance your gameplay.

Rockets shoot from the right side
On right-handed viewmodels (like almost everyone uses), the rockets will shoot out of your right. This means that you can do a sort of "enhanced corner peek" that involves you staying permanently behind cover.

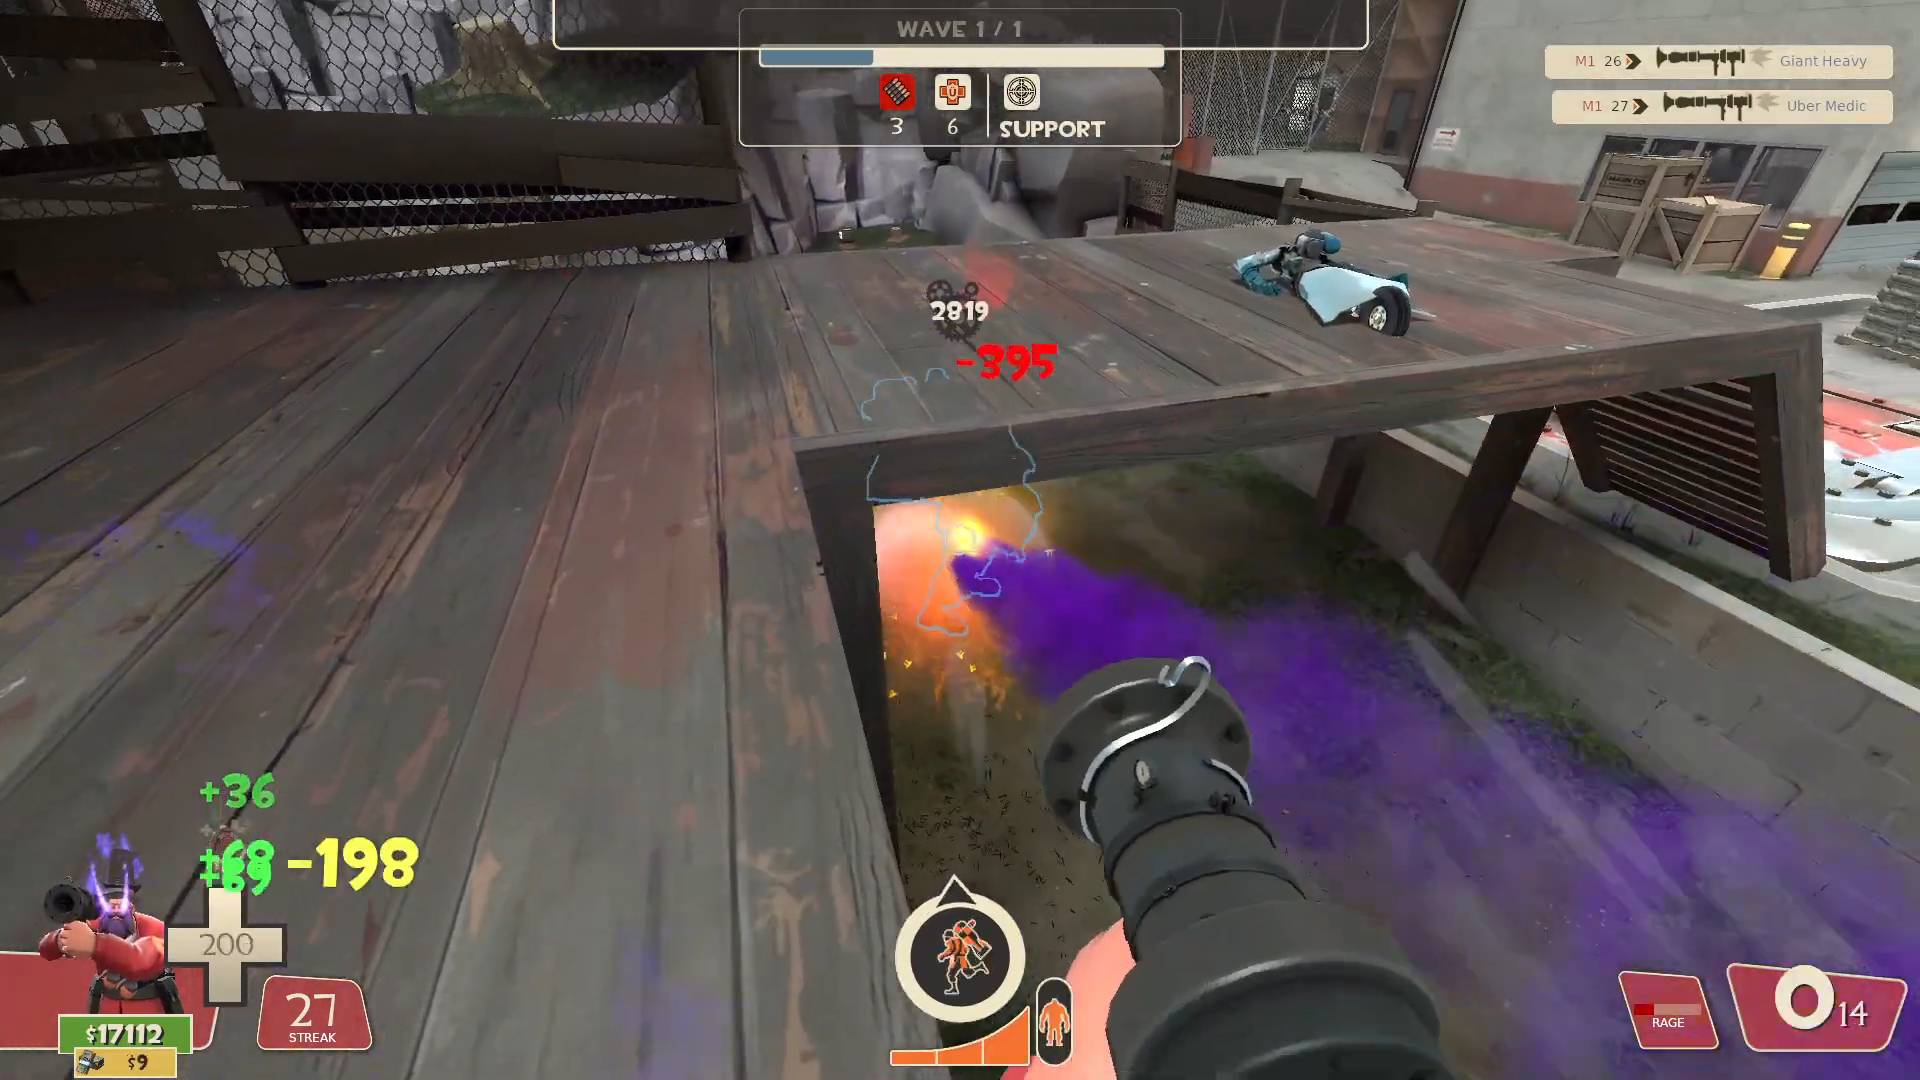
A challenge I made for myself involving soldier, I was pitted against two giant heavies at a time in an endurance test, with snipers coming to support them and make my day harder. During this, I used this "enhanced corner peek" technique multiple times to make the task of corner peeking risk free.


Robots shoot out of their eyes
Kind of. Some giant robots will shoot from around their shoulder region, but the point remains that robots do not shoot out of their guns. It's an example of what you see not correlating to what you get, and in the task of mitigating any possible damage you can take, knowing this fact can mean the difference between life or death.


Navmesh Weirdness
Robots will only attempt to shoot a player that they think they have line of sight with. TF2 does this heuristically by checking first which parts of the navmesh they can see, then checking which entities within each visible nav they can see. Some parts of the map are not covered with navs, and to prevent the robots from freaking out in these situations, the bots will assume you are still inside of the last nav you were standing on. This can be exploited.

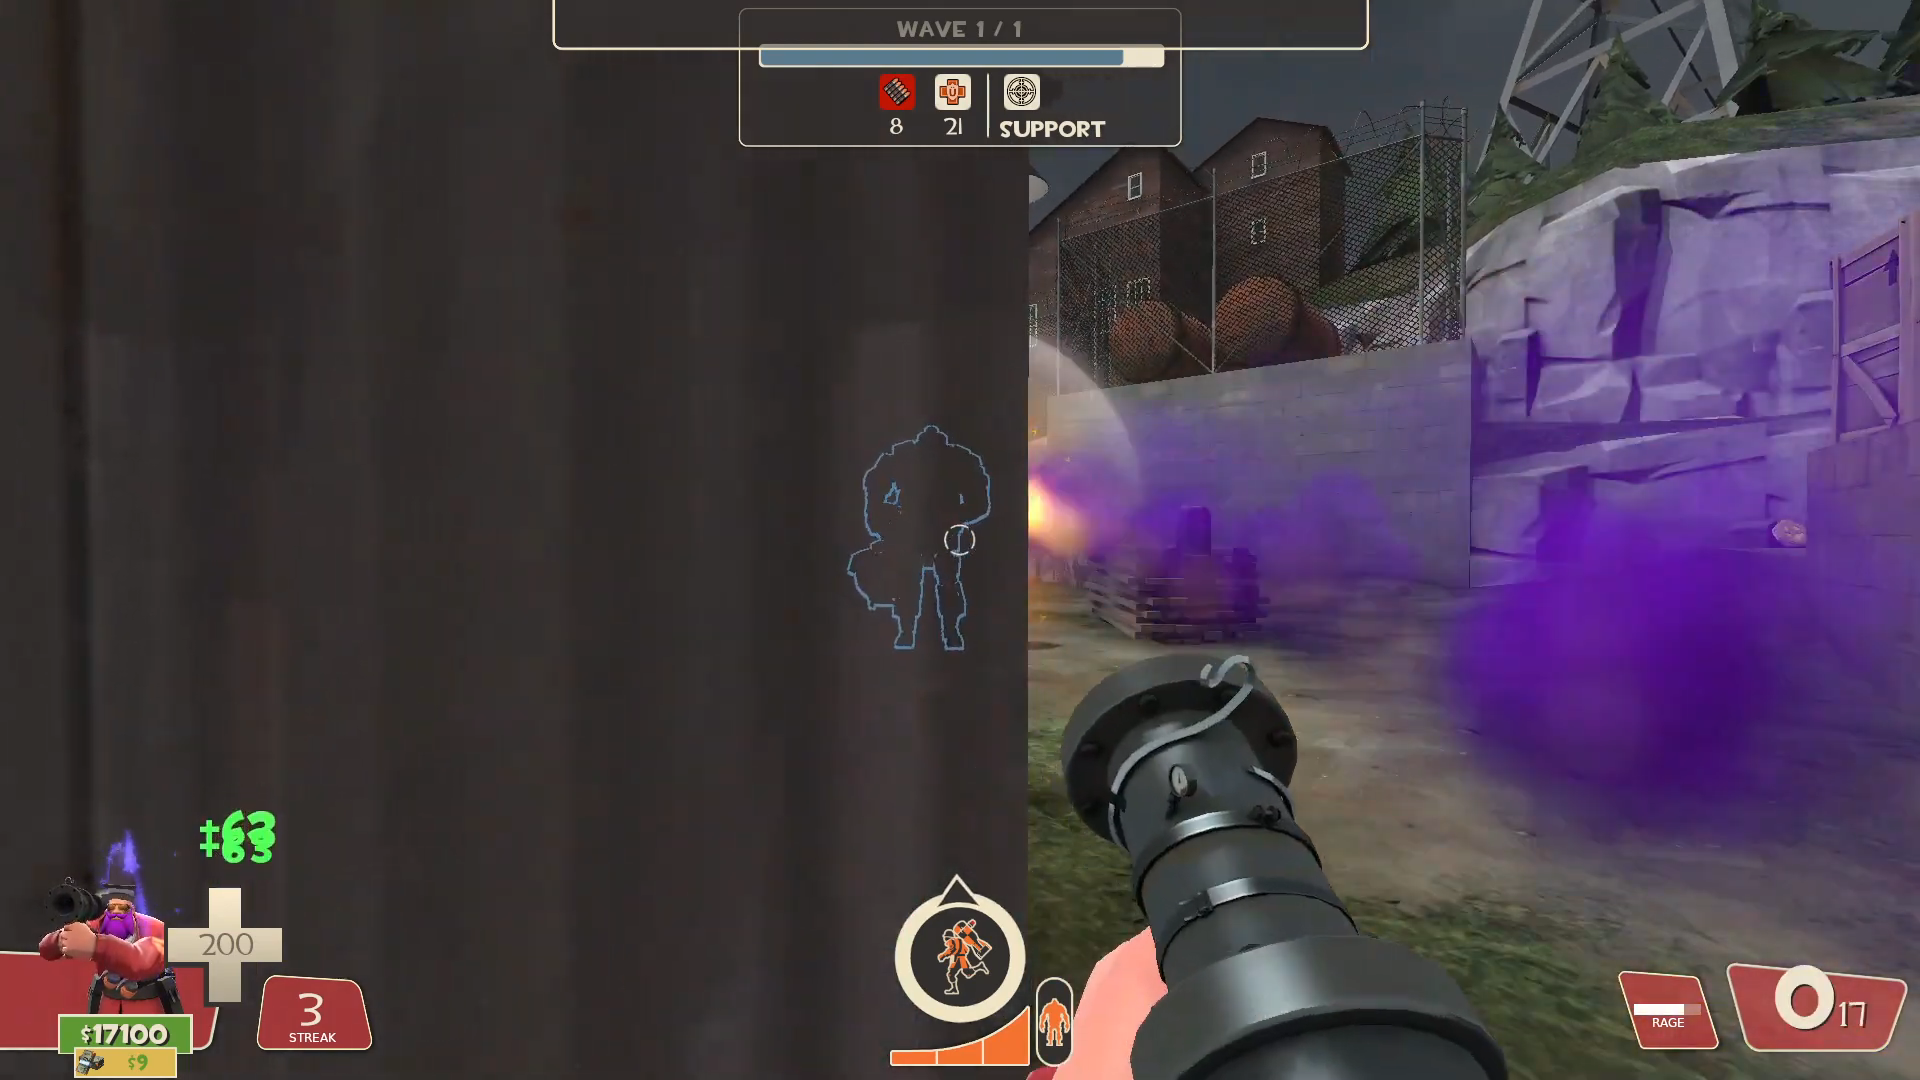
The stored "previous nav" is only recalculated upon landing on the ground. This means that with stellar rocket jumping, you can jump from a spot with nav that is far away to a spot without nav close to the bots, and they will think that you are behind cover and unable to be seen. This allows you to shoot the bots without worry about retaliation.

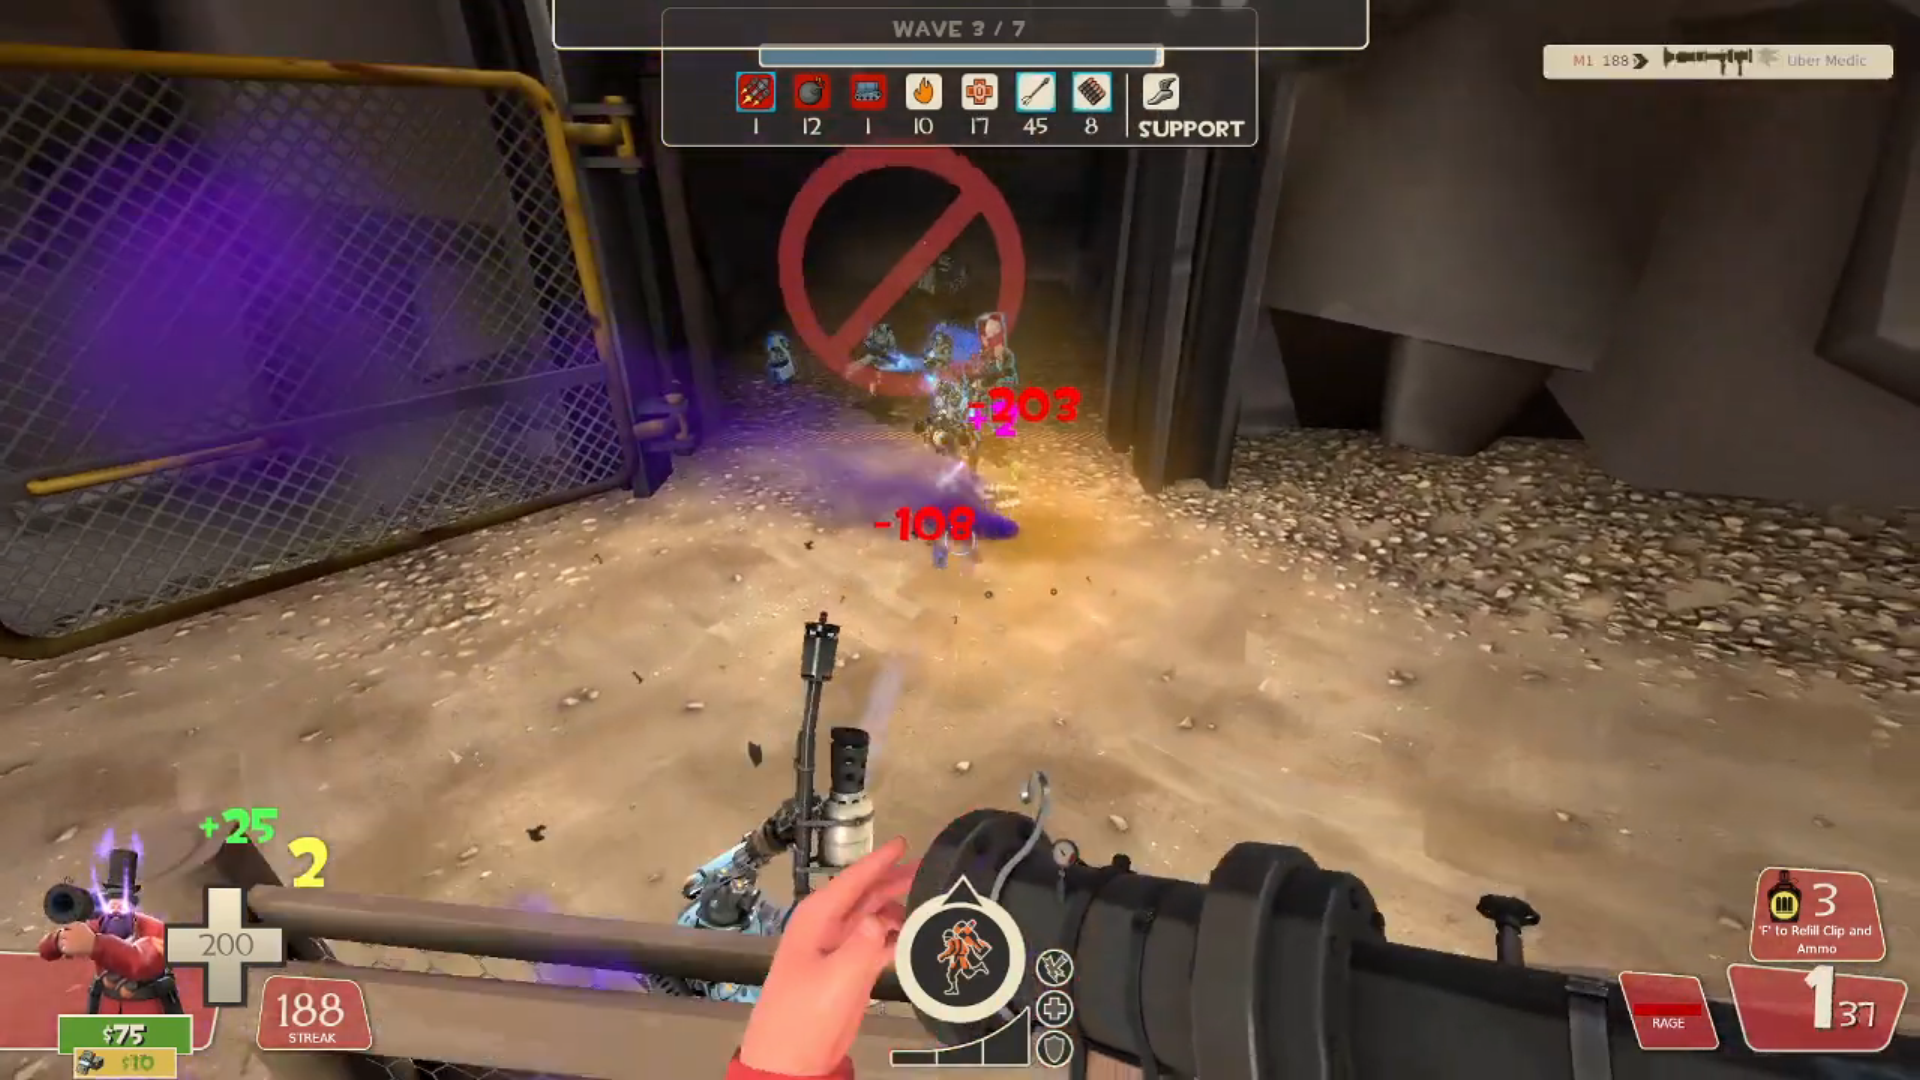
I used this technique very often in my broken parts run. Pictured below is me shooting at reflect pyros that are unable to see me.
Watch Other Players
A good soldier can perform well almost by instinct. To build that instinct yourself, it is a good idea to watch a good soldier perform well.


Wave 2 is an extremely brutal wave where a single point of damage taken can lead to a loss, and it took over 100 attempts across multiple sessions for me to beat this wave. Wave 3 is a relatively standard but high-level demonstration of soldier ability.


On this run, deluxeuser beats Big Apple Barricade by himself, playing soldier on waves 1, 3, 5, and 6. While wave 1 is simply a test of rocket placement, wave 3 and wave 5 require incredible multitasking and excellent movement. On wave 6, you have enough cash to simply crit canteen and buyback spam.
Conclusion
Soldier has the highest potential of any class, and it is up to you to realize it. You have boundless options, incredible mobility, and obscene damage potential, all packaged into a single class. Your rocket launcher is an extension of you, and all you need to do is learn.
14 Comments
Weaboo 7 Jun, 2023 @ 10:33pm 
awesome guide
Hurky 26 Jul, 2021 @ 9:59pm 
Read this, it changed my life forever
M1  [author] 13 Apr, 2021 @ 7:22pm 
It's only viable because the stock rocket launcher is an awful tank buster, even being outclassed by heavy. The beggar's bazooka, on the other hand, is one of the best tank shredders, only matched by soda popper scout and phlogistinator pyro without crits, and the undisputed best tank shredder with crits.
Landon 13 Apr, 2021 @ 9:16am 
in tank levels i would use the equalizer since you can hurt yourself with rockets and do lots of damage to the tank (also sorry for my bad grammar)
cacenoat 9 Apr, 2021 @ 8:10am 
I haven't played soldier in expert much, but I usually shoot reflect pyros from the air.
M1  [author] 8 Apr, 2021 @ 10:16am 
From what I've gathered, pyros will only reflect if they are focused on you. Mannslaughter soldier is a different beast from any other mission, but there are a few scraps I can give to help.
-Use godspots. At around 13:16 in my broken parts video, the entire subwave is pyros with uber medics. The spots I use specifically use a break in the navmesh to make them unable to target me for that duration.
-Wait for them to stop looking at you. Shooting them in the back will almost always lead to them dying.
-Try not to overextend, as pyros will slaughter you if you overextend.
Gubernator, M.D. 8 Apr, 2021 @ 7:14am 
Excellent guide.
How do you deal with airblasting pyrobots? Is there a way to safely play soldier on mannslaughter, without fear of killing your own team?
yesod 7 Apr, 2021 @ 4:54am 
mfw someone enjoys playing soldier... they have to care too much and bad obviously :sans:
kat 7 Apr, 2021 @ 2:06am 
you care too much about soldier
kerpkek 6 Apr, 2021 @ 11:30pm 
I recommend gas passer for easy kick*