

Install Steam
login
|
language
简体中文 (Simplified Chinese)
繁體中文 (Traditional Chinese)
日本語 (Japanese)
한국어 (Korean)
ไทย (Thai)
Български (Bulgarian)
Čeština (Czech)
Dansk (Danish)
Deutsch (German)
Español - España (Spanish - Spain)
Español - Latinoamérica (Spanish - Latin America)
Ελληνικά (Greek)
Français (French)
Italiano (Italian)
Bahasa Indonesia (Indonesian)
Magyar (Hungarian)
Nederlands (Dutch)
Norsk (Norwegian)
Polski (Polish)
Português (Portuguese - Portugal)
Português - Brasil (Portuguese - Brazil)
Română (Romanian)
Русский (Russian)
Suomi (Finnish)
Svenska (Swedish)
Türkçe (Turkish)
Tiếng Việt (Vietnamese)
Українська (Ukrainian)
Report a translation problem


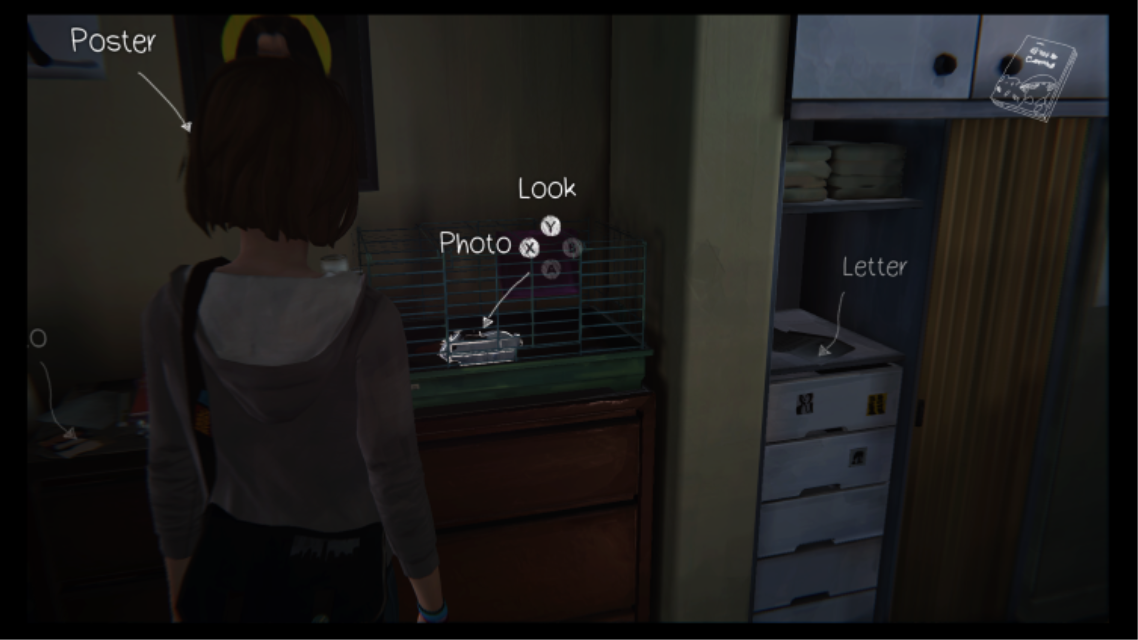


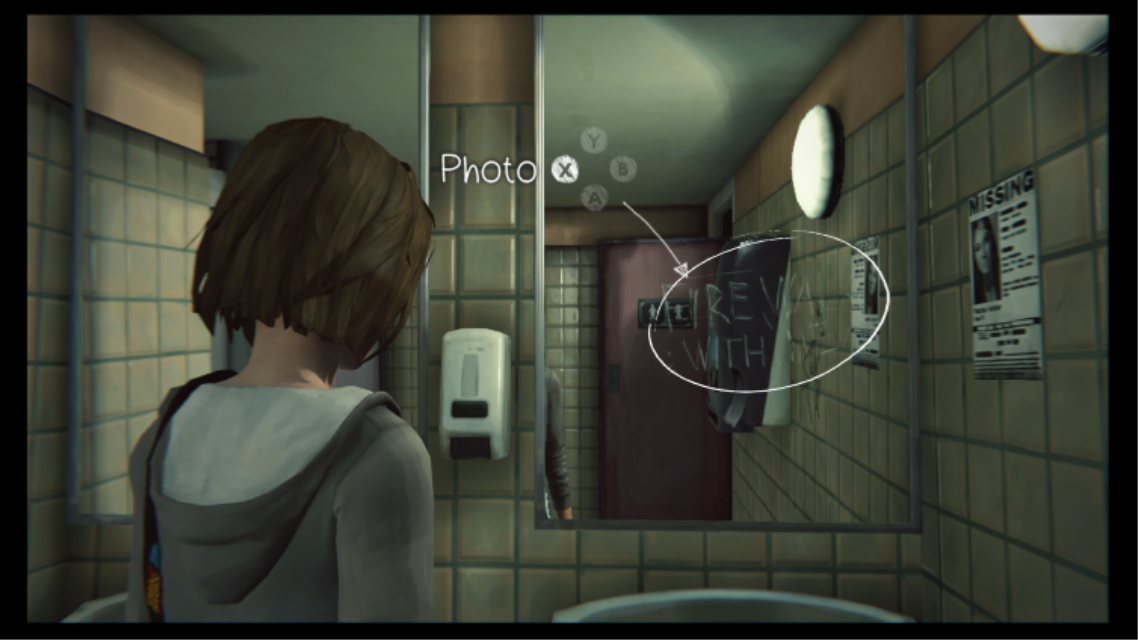


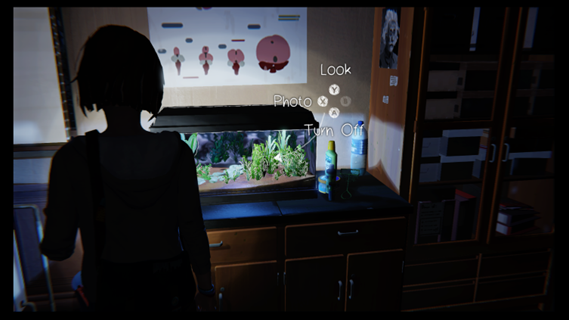


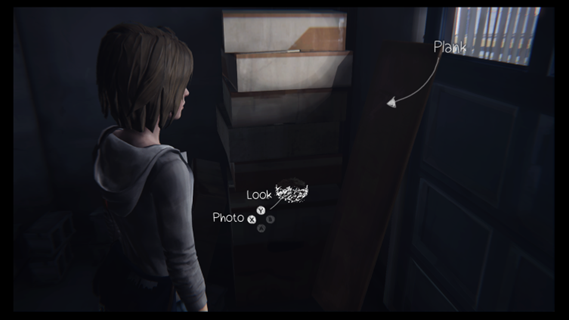


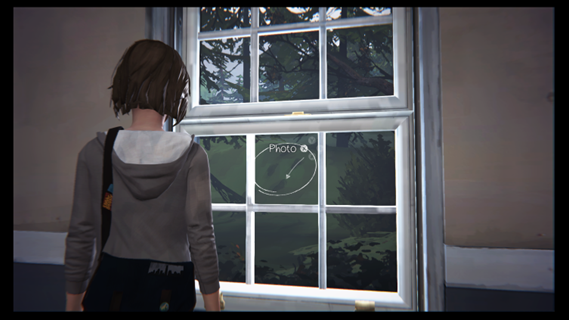


All of the other descriptions were great, but that one was very confusing and got me looking in wrong places.
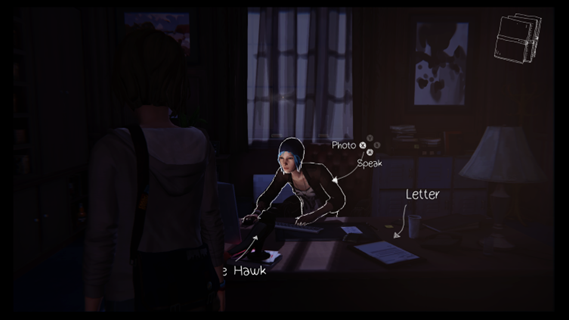
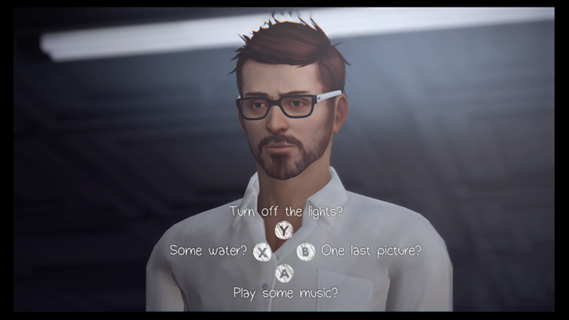
I have a small error correction in this topic, the Night Vision achiviement has the name of the Incandescent achiviement
https://steamproxy.net/sharedfiles/filedetails/?id=2711528871
Like
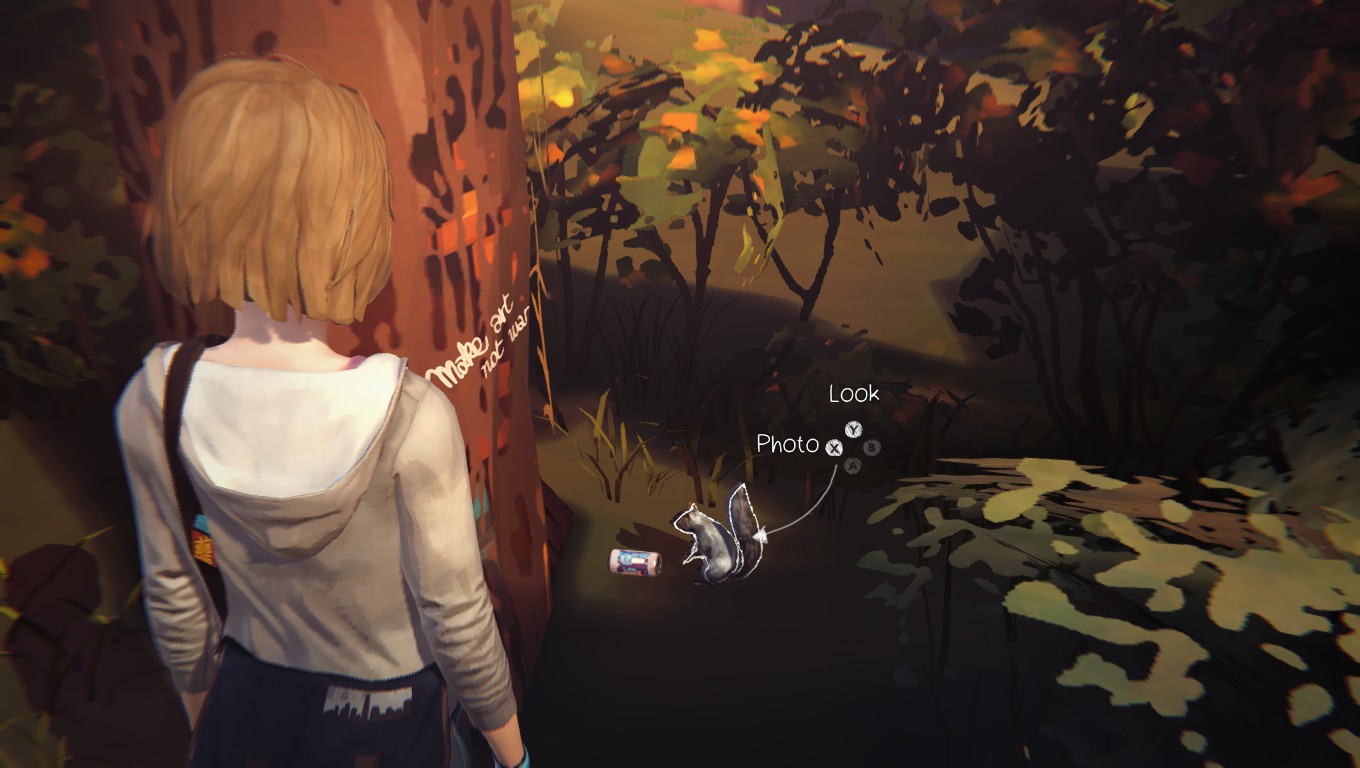
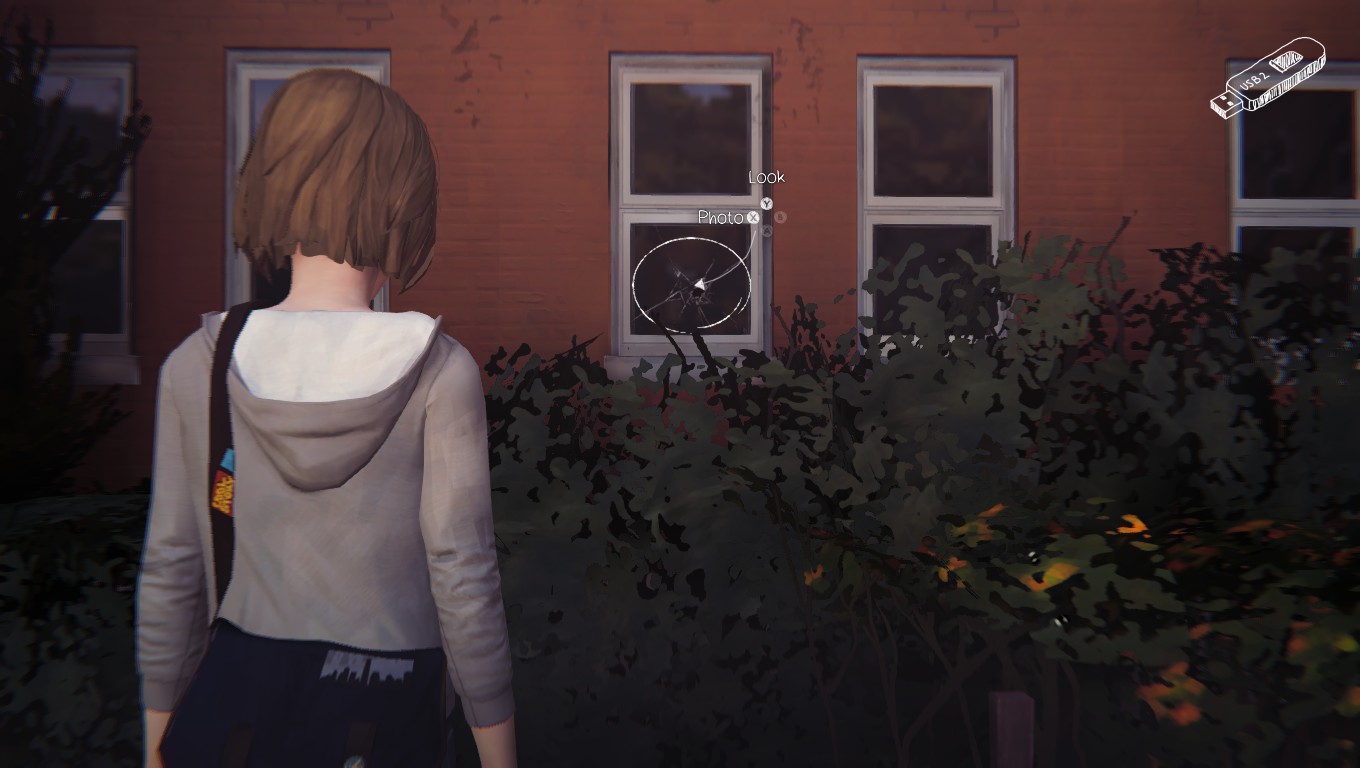
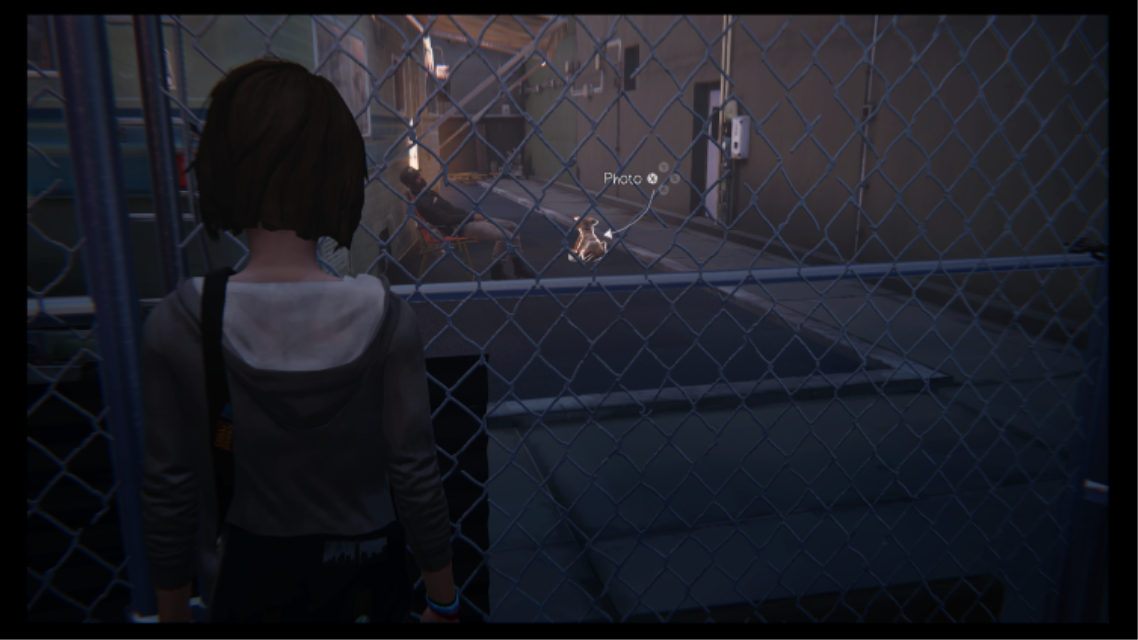
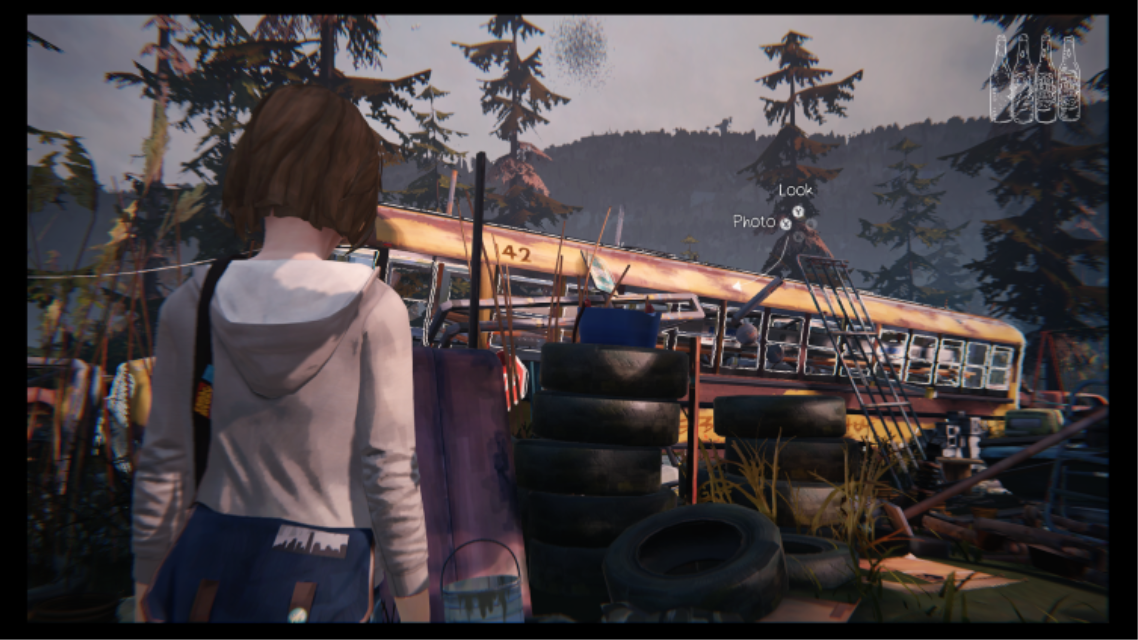
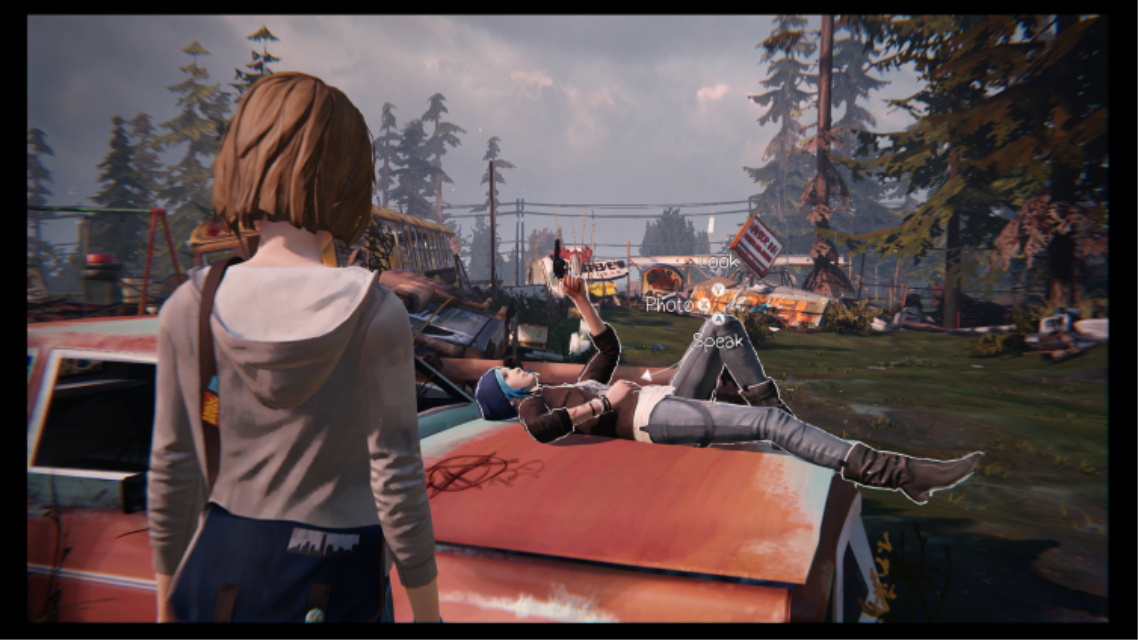
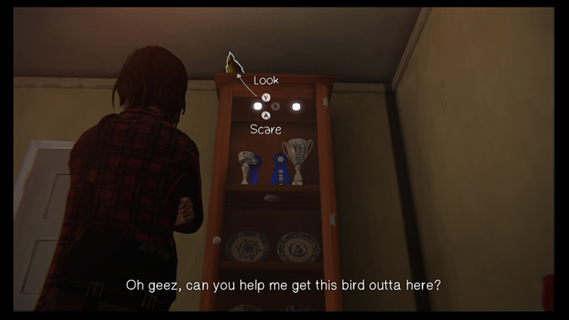
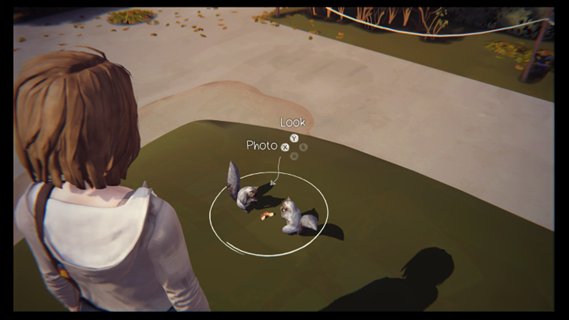
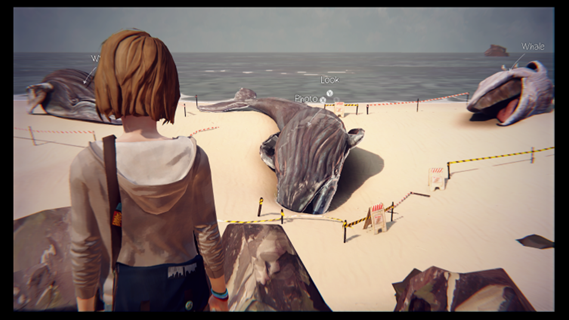
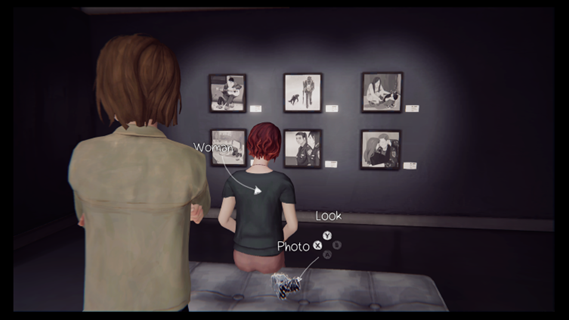
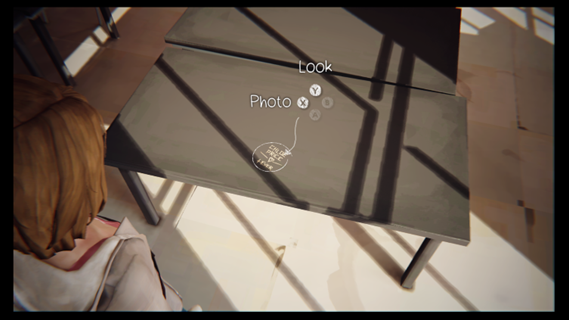
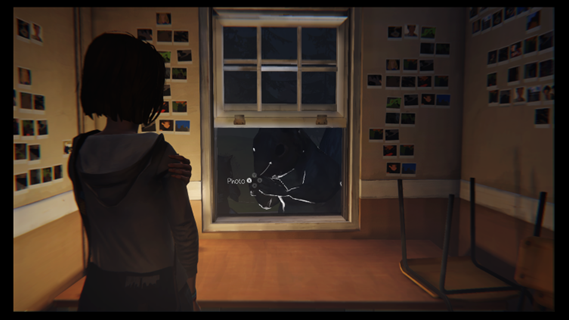
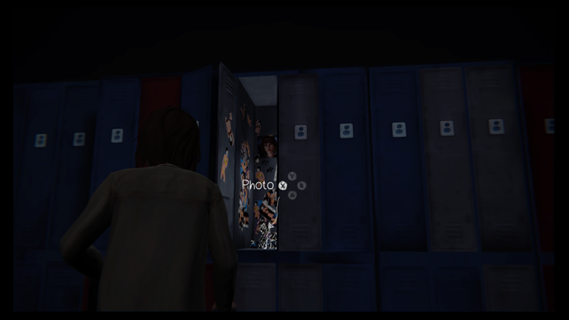
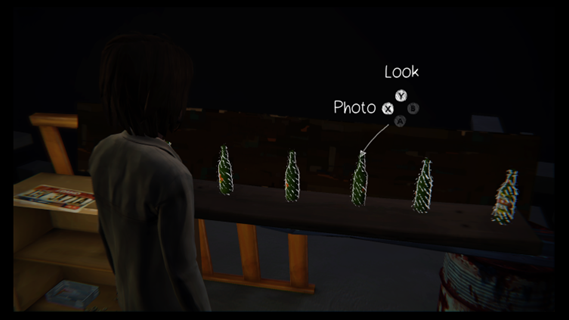
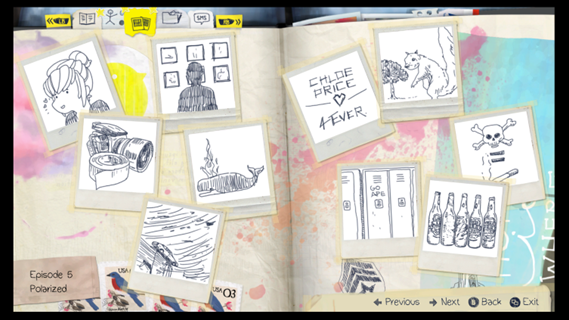
In ep 5, those last 5 achievements, did not pop for me. I don't know why it did it, but I had to do some research online and was told to try using the keyboard not the controller when doing "Nightmare" scene. So far I've managed to get the 4 achievements, but when it came to the bottle collecting in the junk yard, then taking a photo of them afterwards. It didn't appear to show the bottles unbroken (if you didn't take a photo of them in the previous play through you did.
So I am suck wondering how I can redo the WHOLE of EPS 5 again (I dont want to