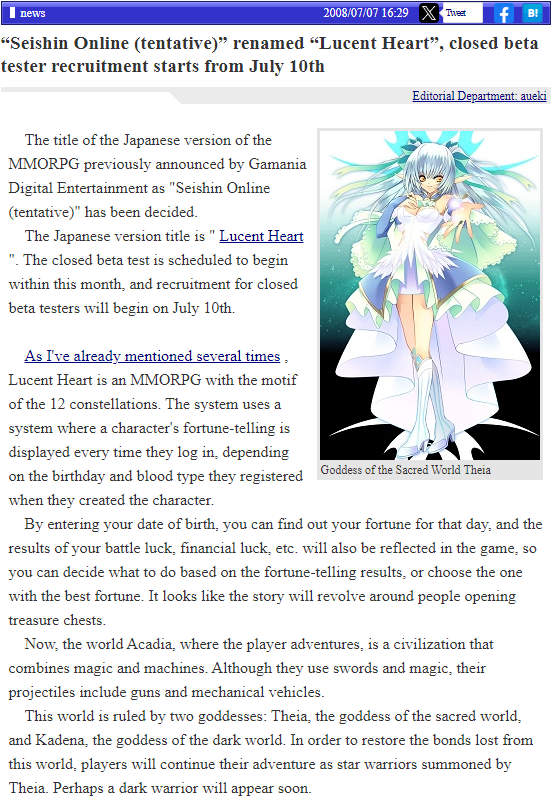
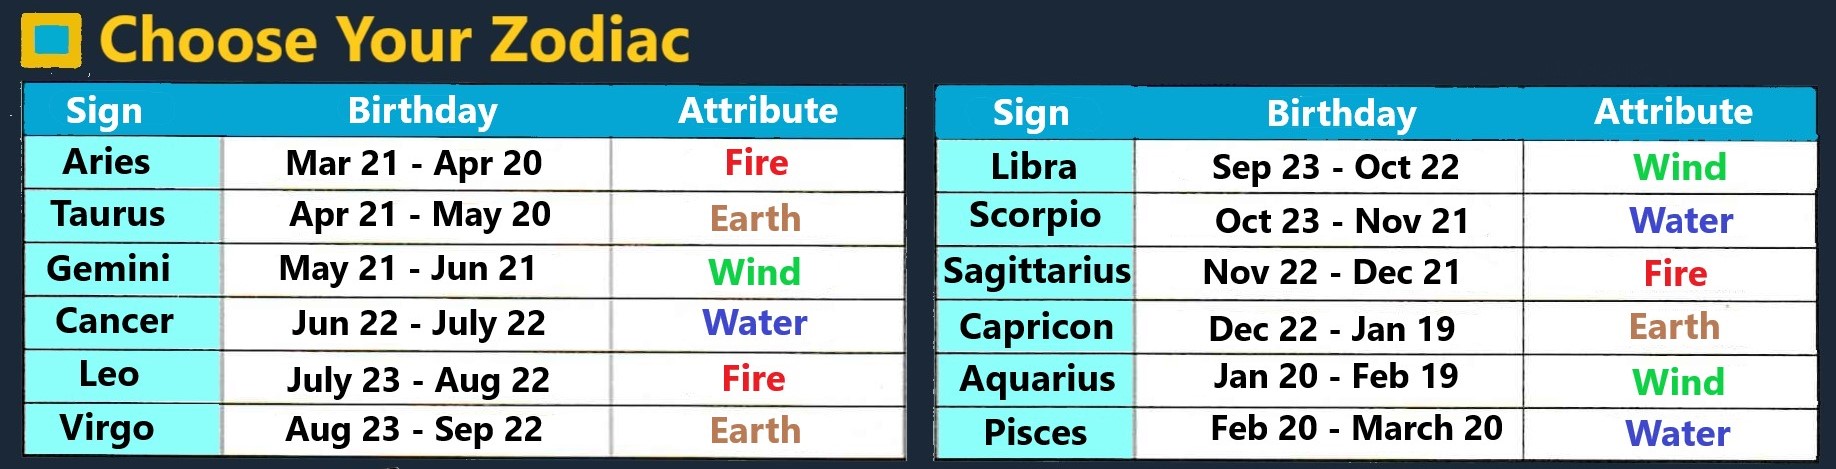
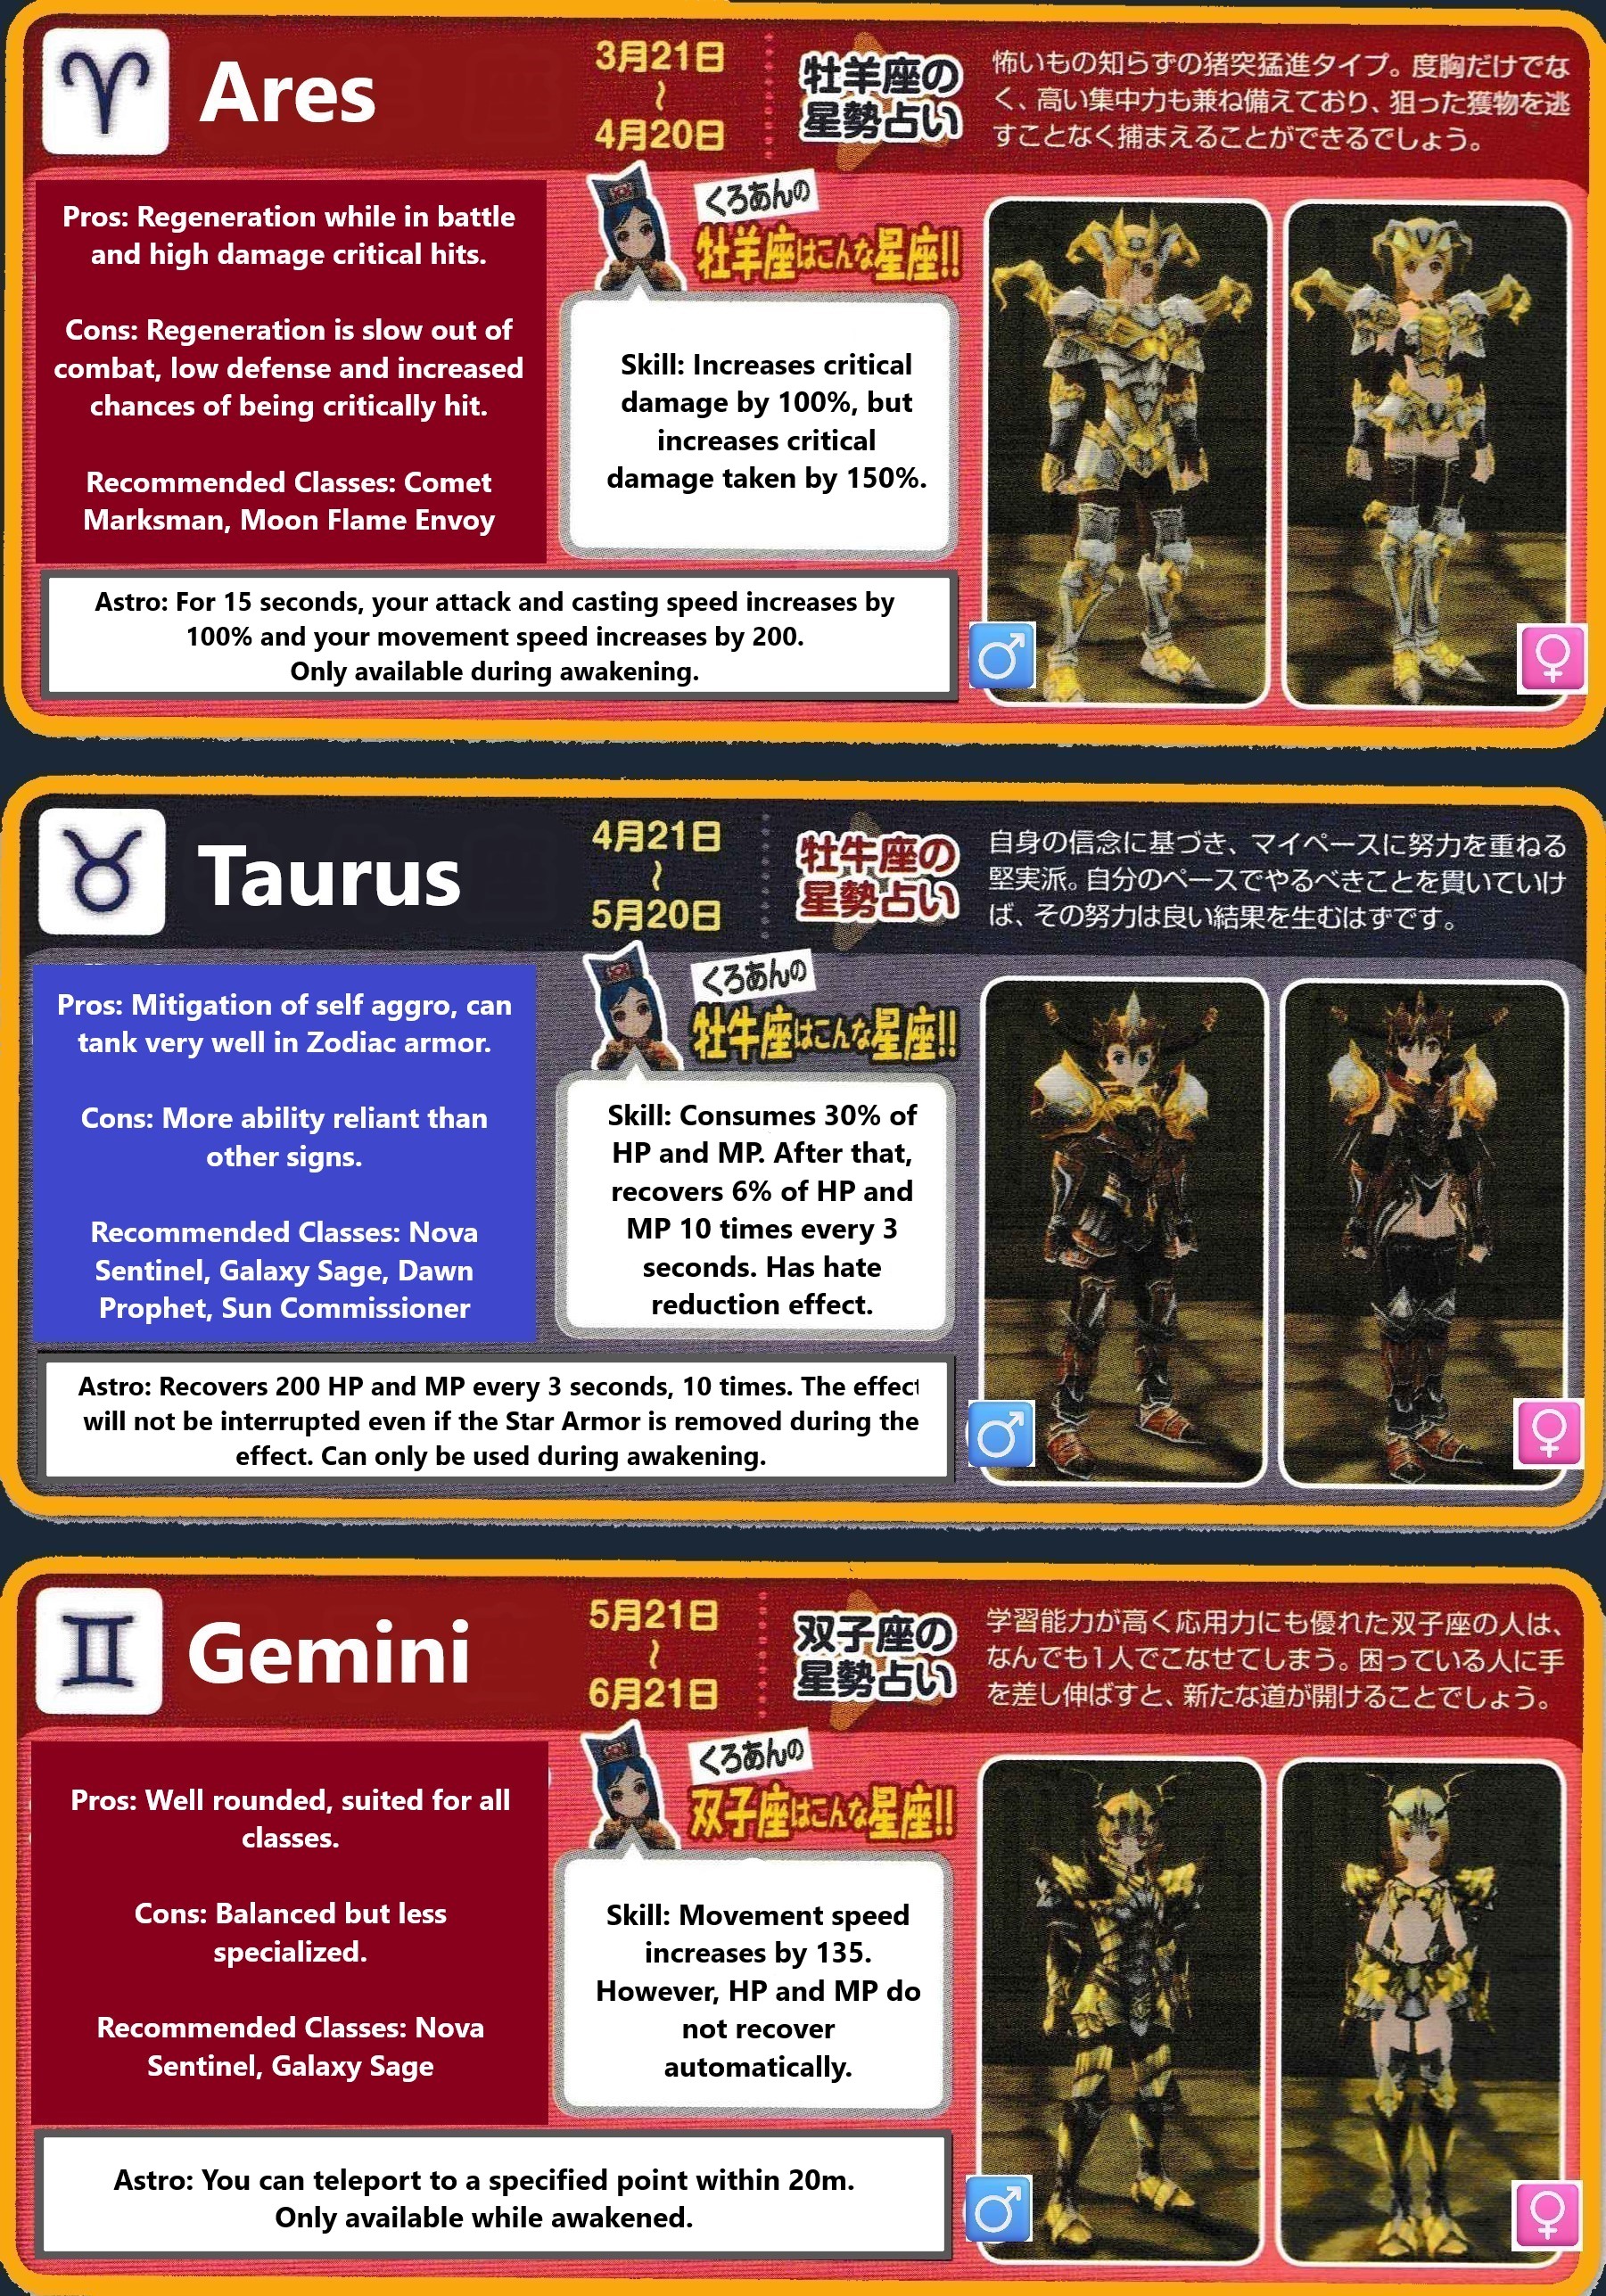
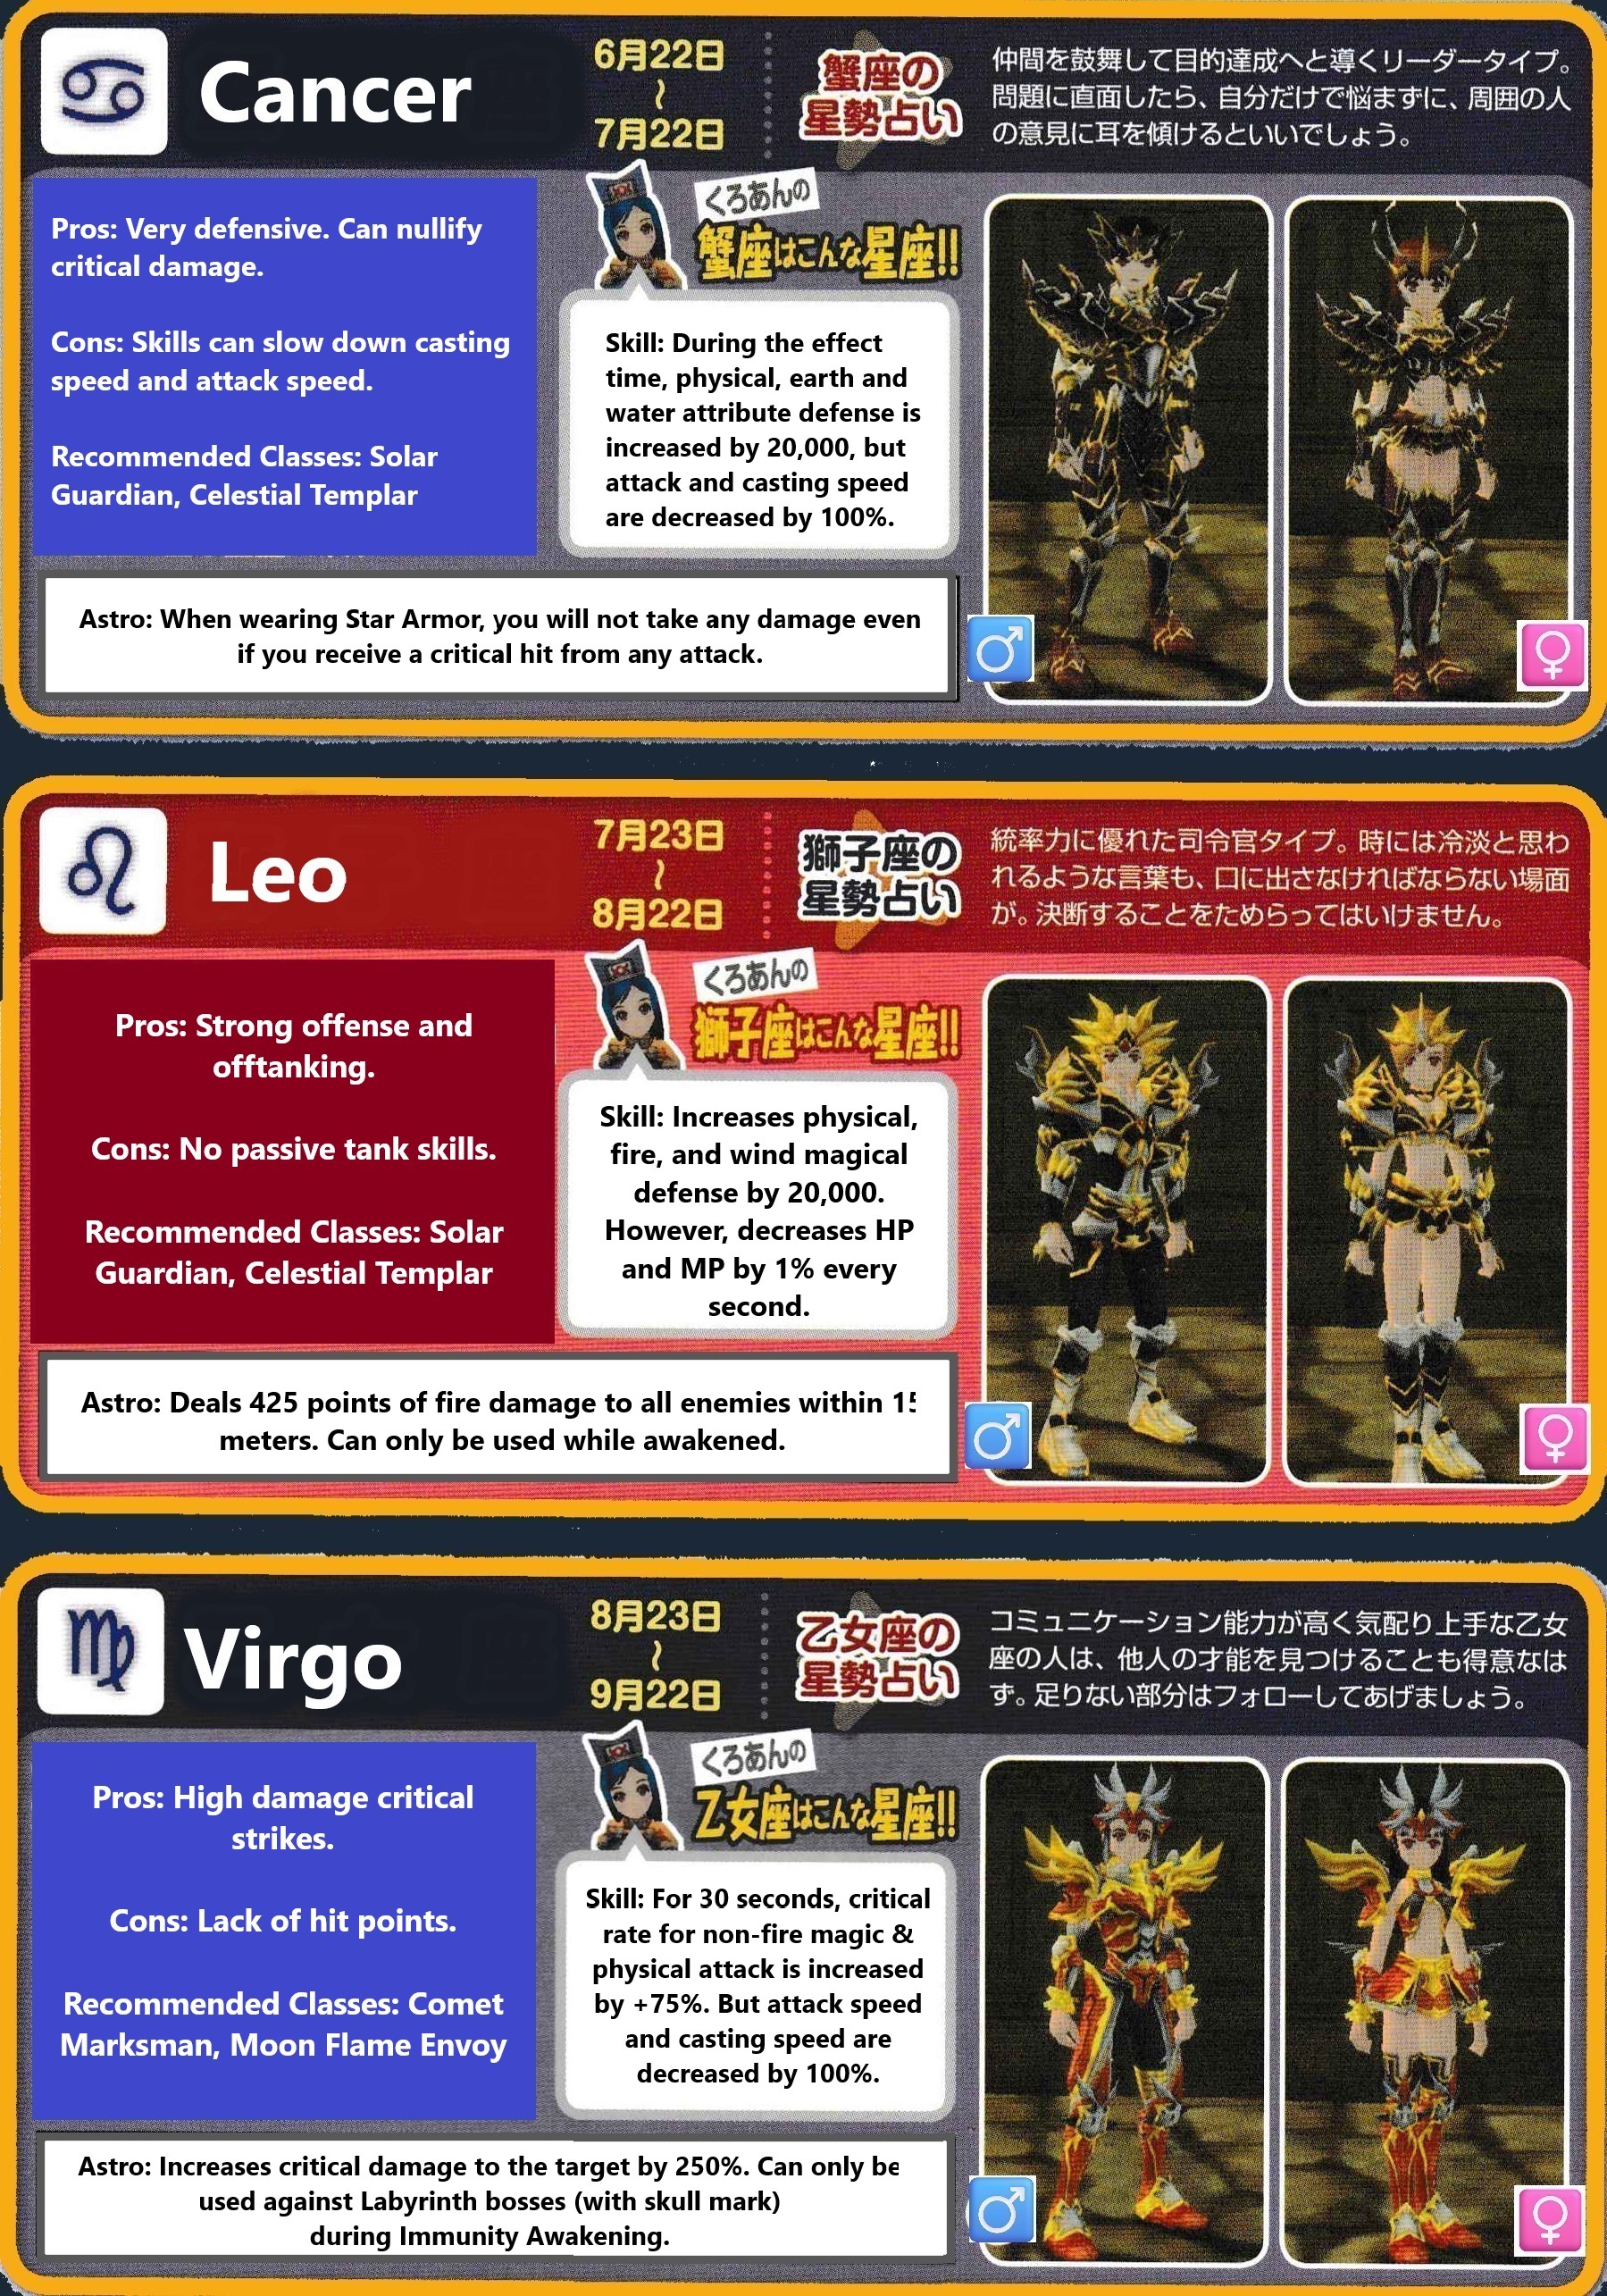
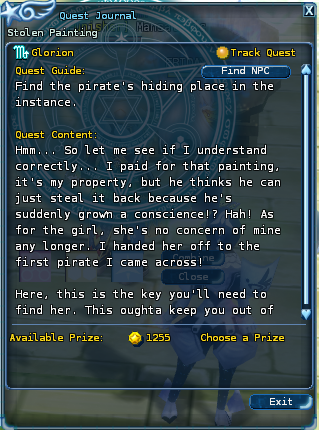
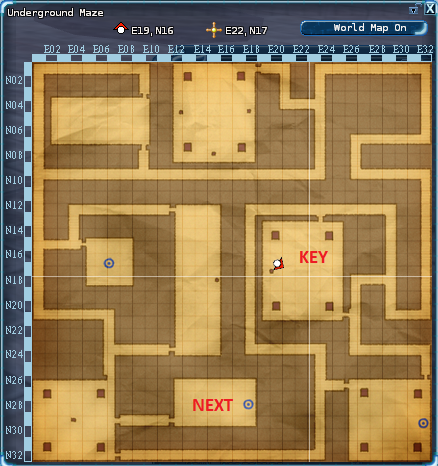
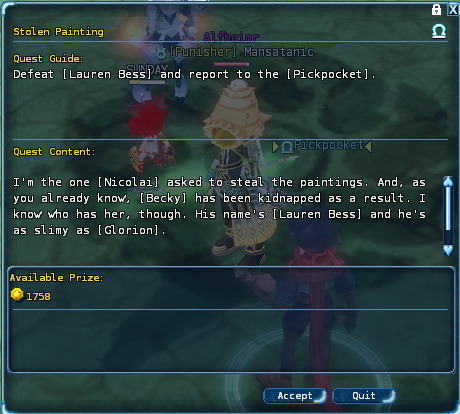
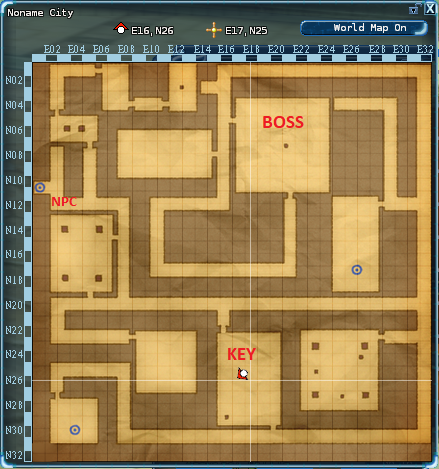
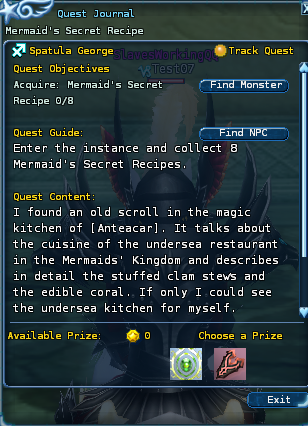
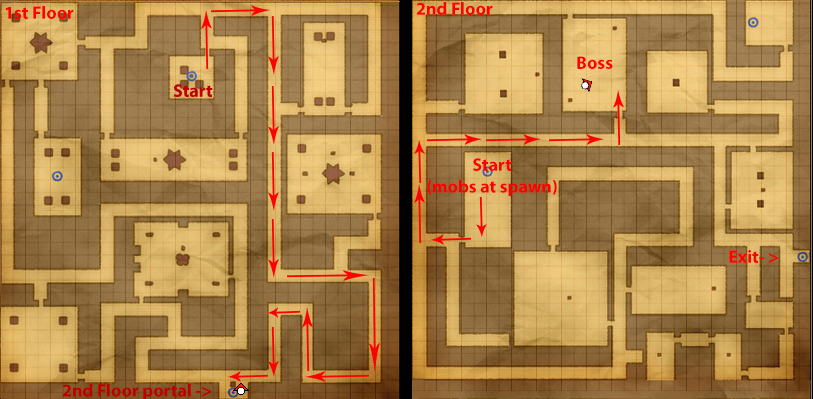
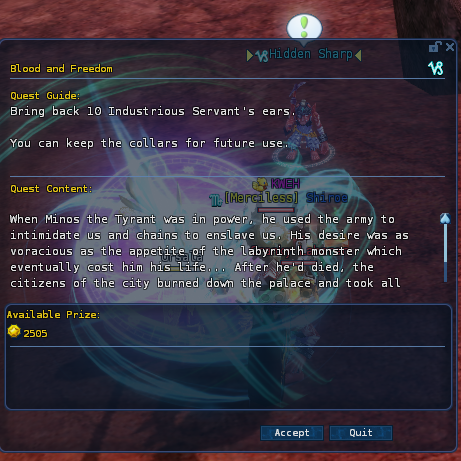
Install Steam
login
|
language
简体中文 (Simplified Chinese)
繁體中文 (Traditional Chinese)
日本語 (Japanese)
한국어 (Korean)
ไทย (Thai)
Български (Bulgarian)
Čeština (Czech)
Dansk (Danish)
Deutsch (German)
Español - España (Spanish - Spain)
Español - Latinoamérica (Spanish - Latin America)
Ελληνικά (Greek)
Français (French)
Italiano (Italian)
Bahasa Indonesia (Indonesian)
Magyar (Hungarian)
Nederlands (Dutch)
Norsk (Norwegian)
Polski (Polish)
Português (Portuguese - Portugal)
Português - Brasil (Portuguese - Brazil)
Română (Romanian)
Русский (Russian)
Suomi (Finnish)
Svenska (Swedish)
Türkçe (Turkish)
Tiếng Việt (Vietnamese)
Українська (Ukrainian)
Report a translation problem


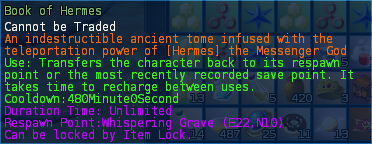
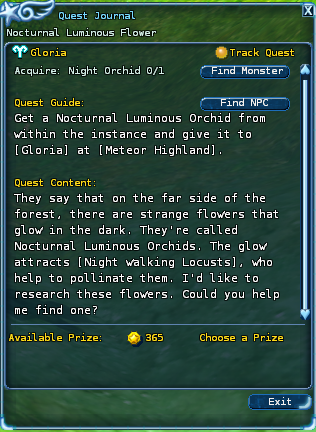
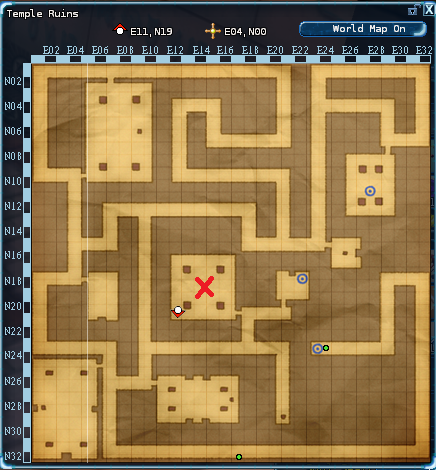


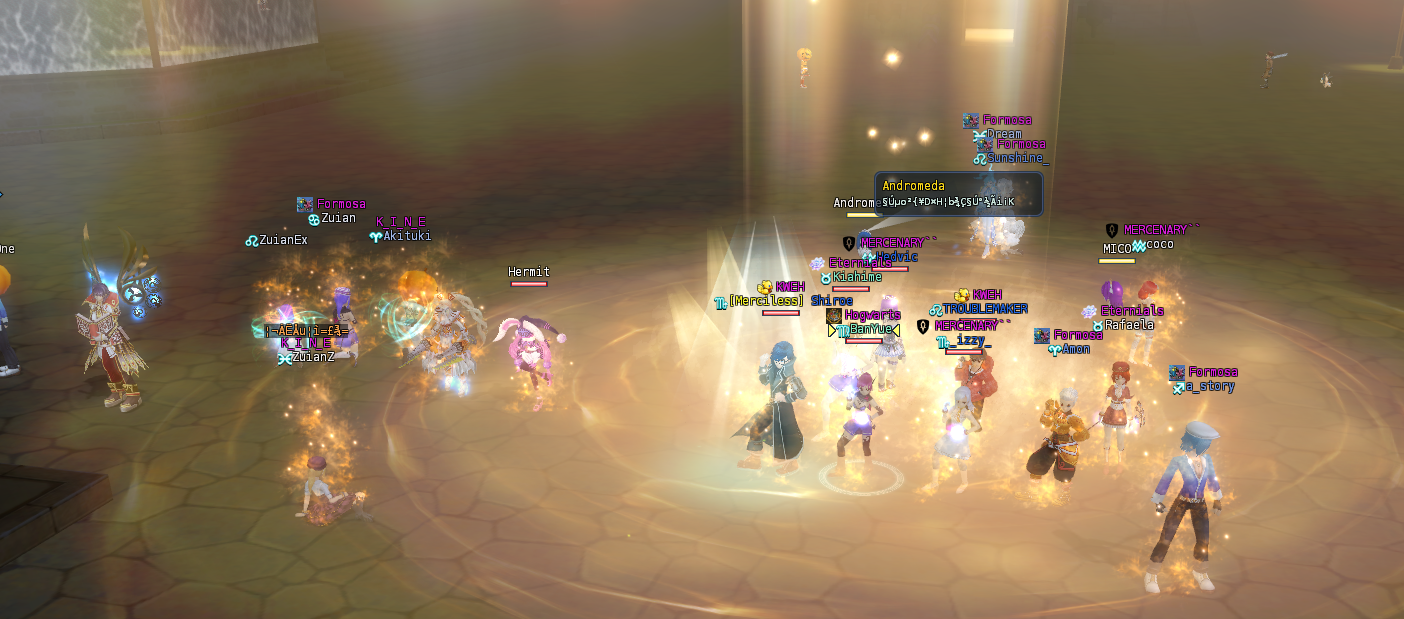


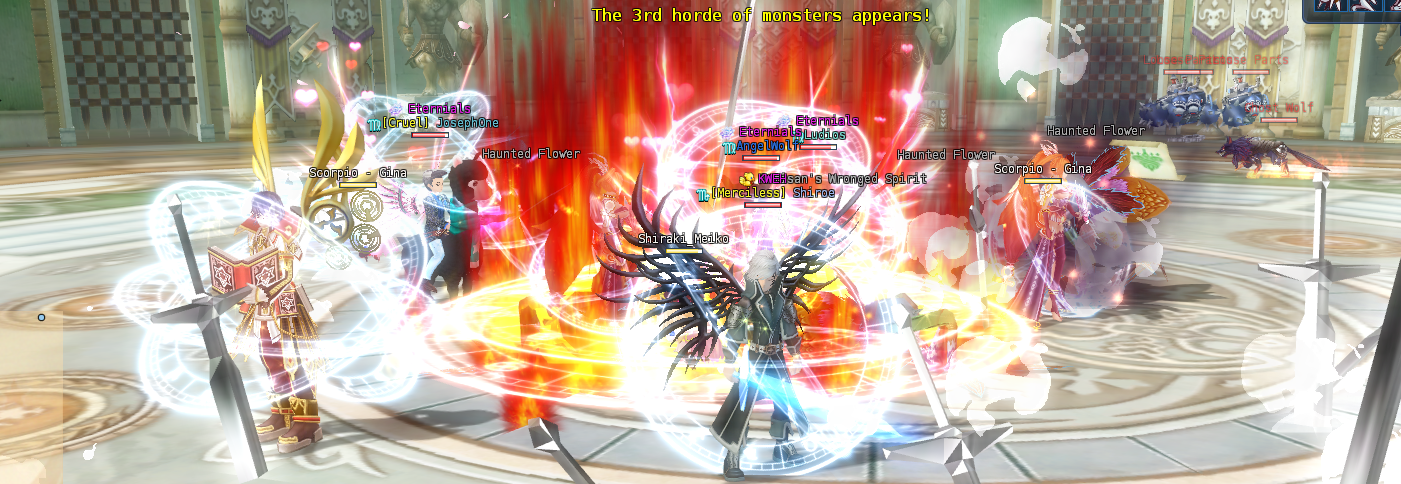

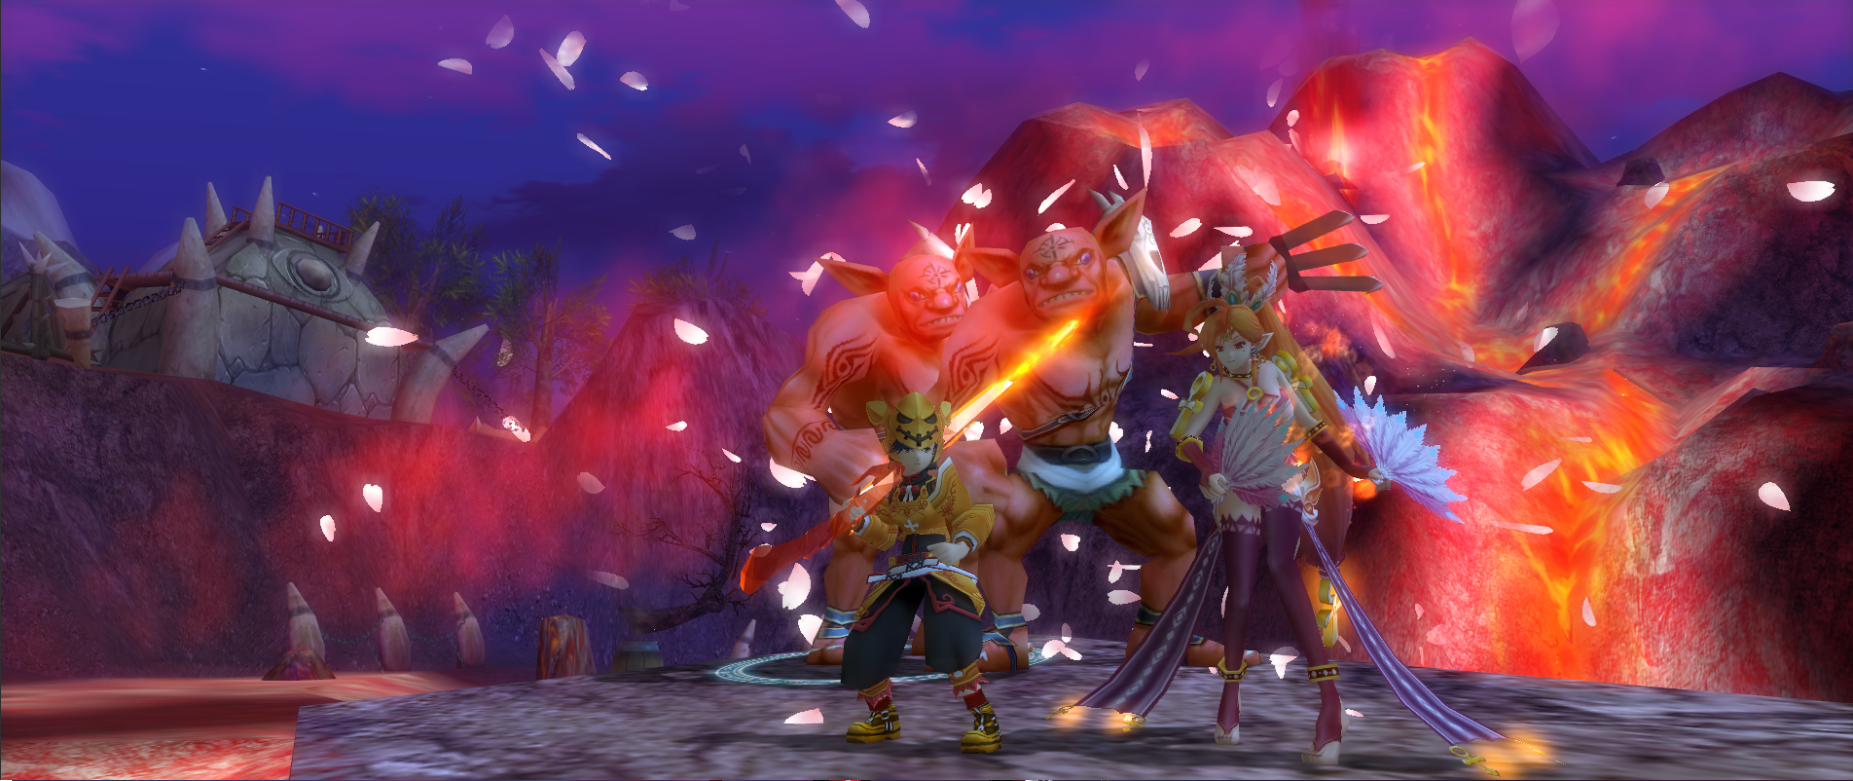


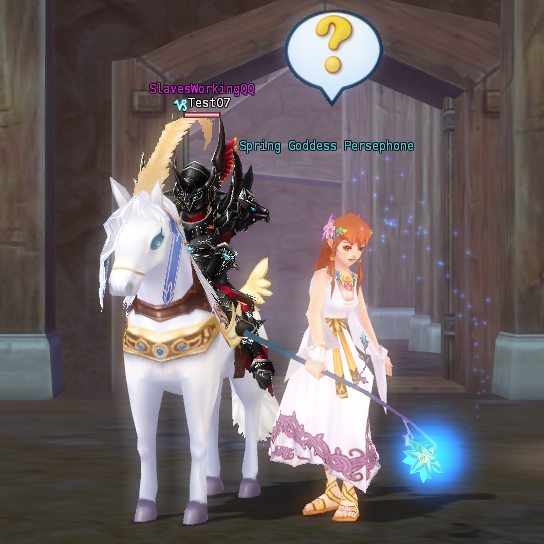
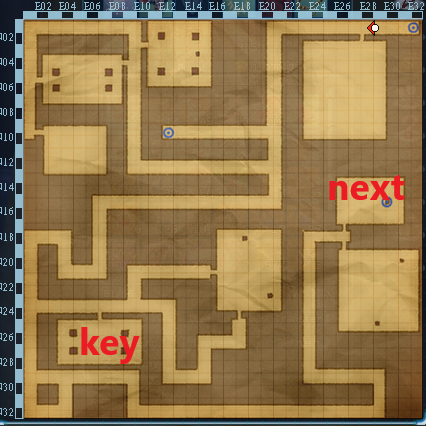


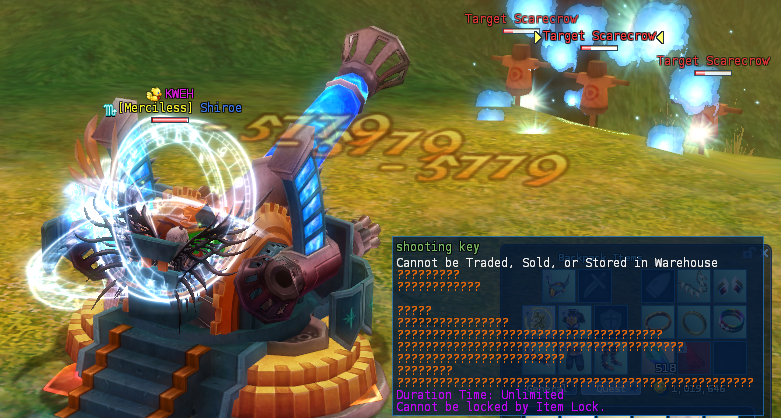

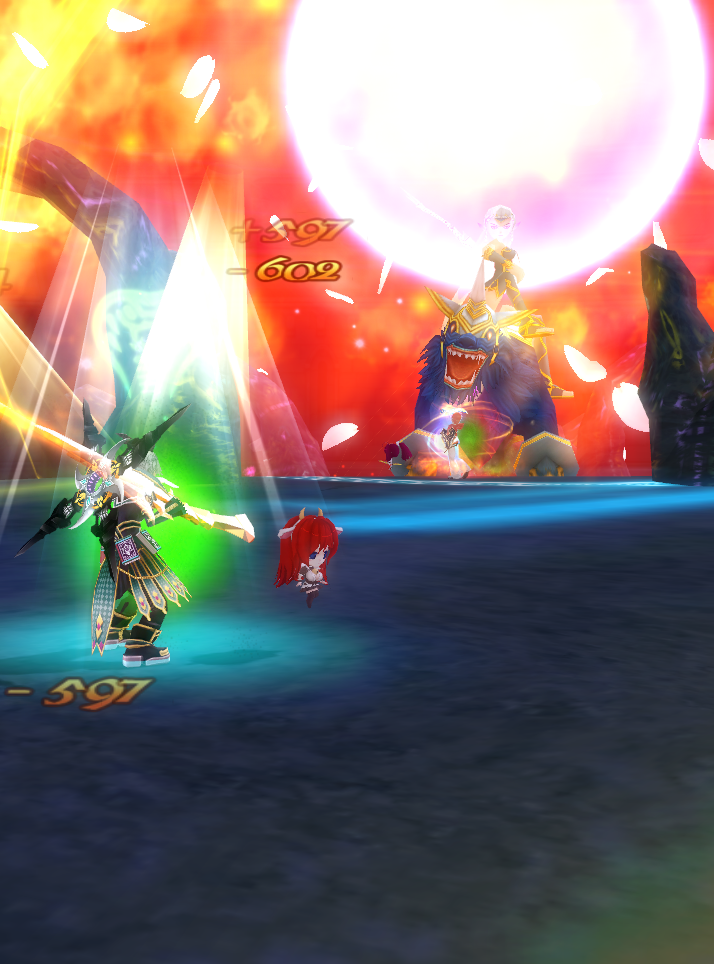


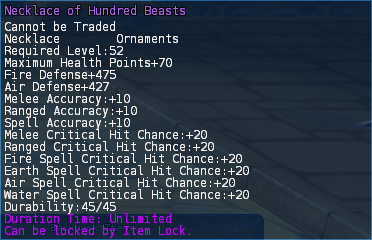


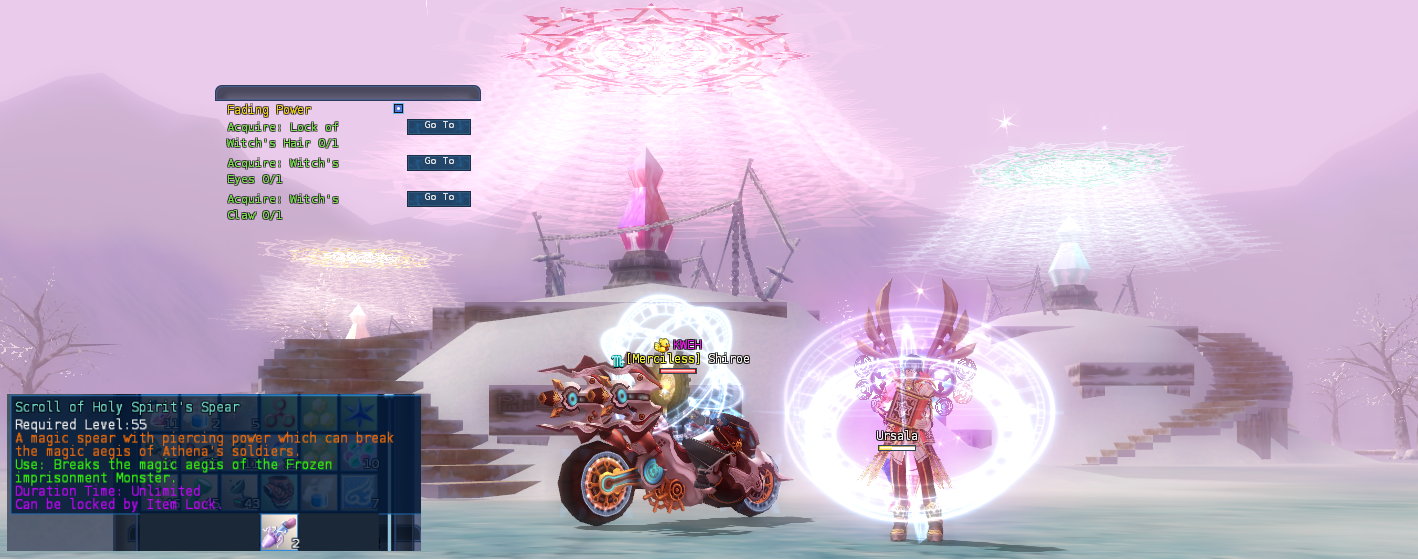
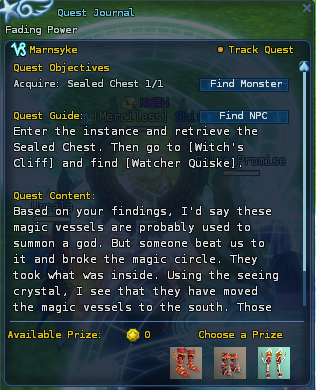
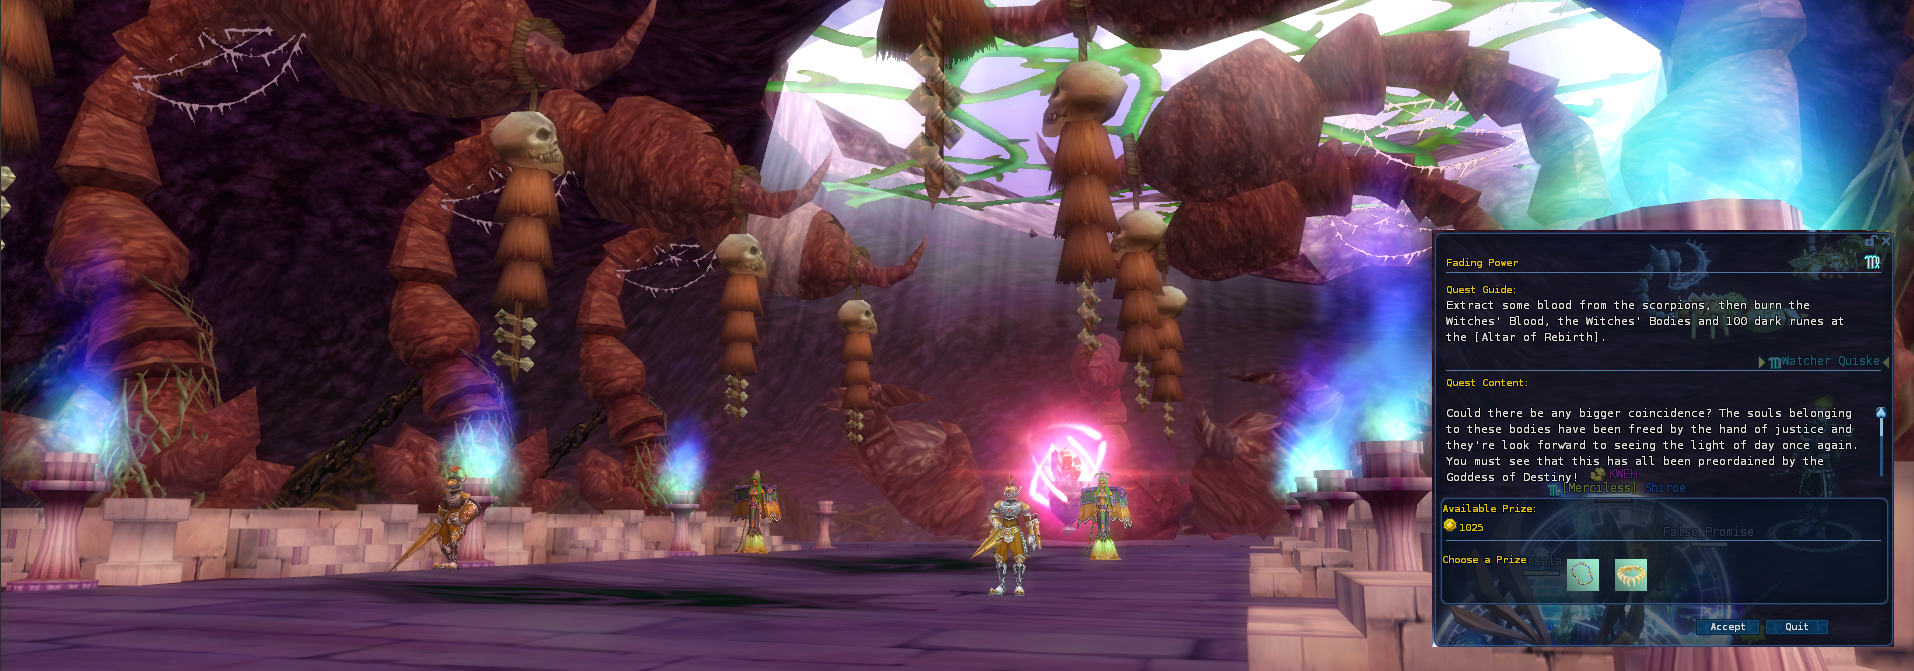


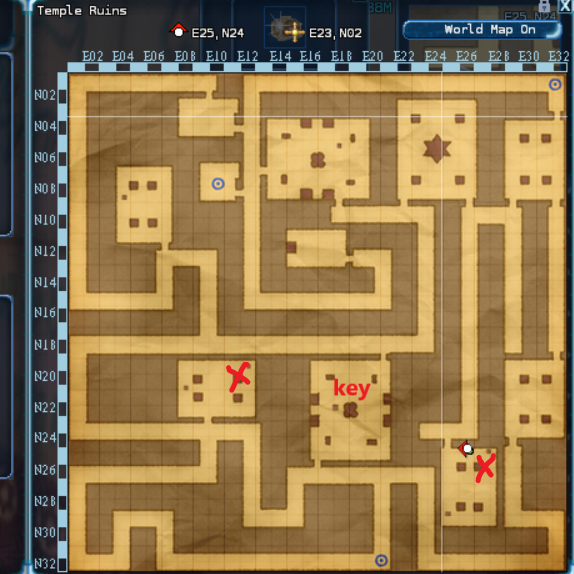

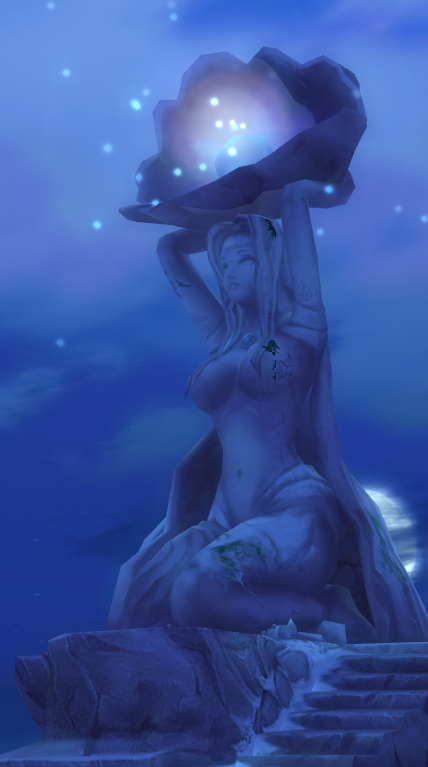


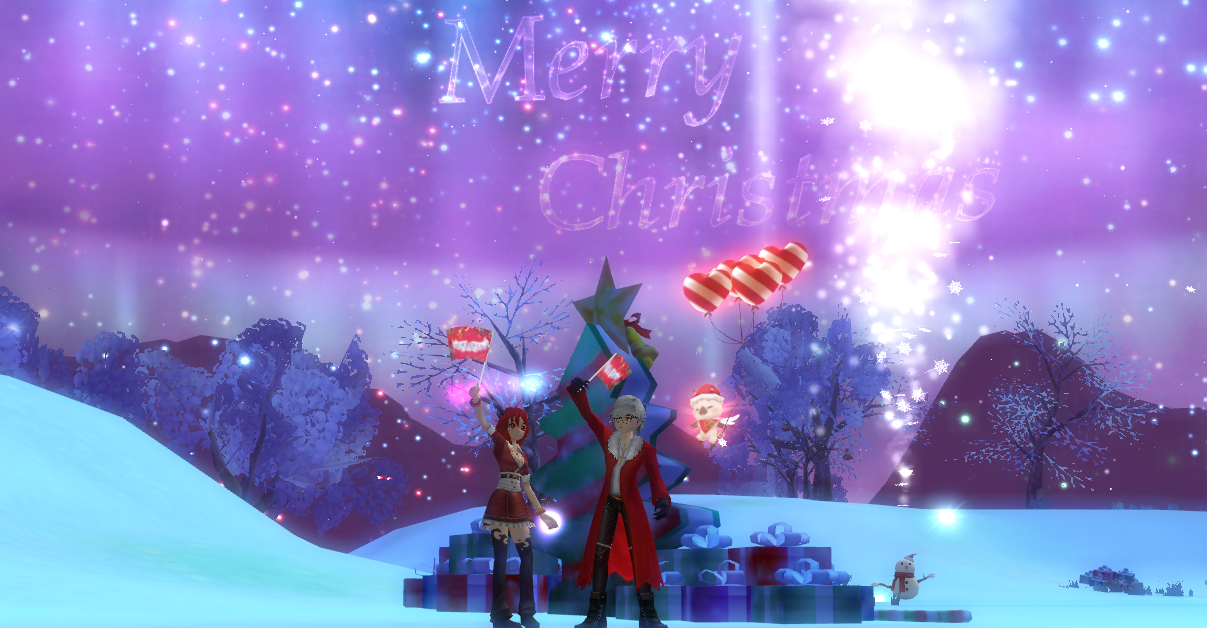
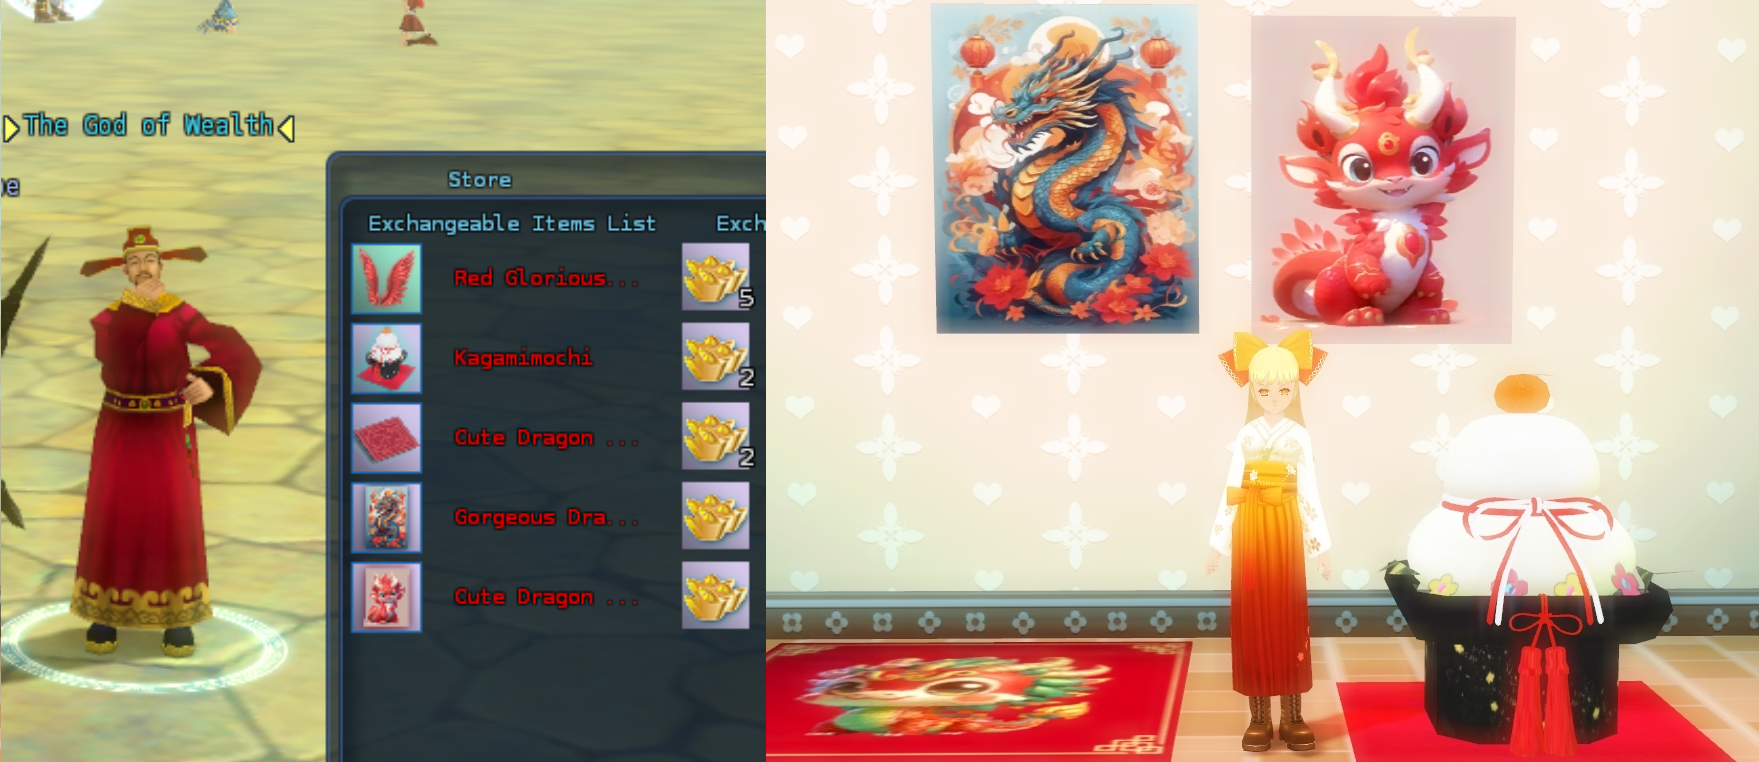
![Screenshot_contest_winners549u50376084738607443497684067307787556.png]](https://images.steamusercontent.com/ugc/2310974553294520262/A9739FF9143E4008F62731250E912224CD809ACC/ "Screenshot_contest_winners549u50376084738607443497684067307787556.png]")
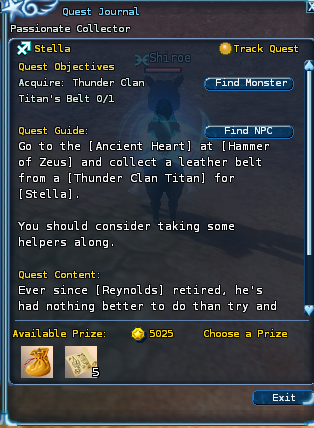
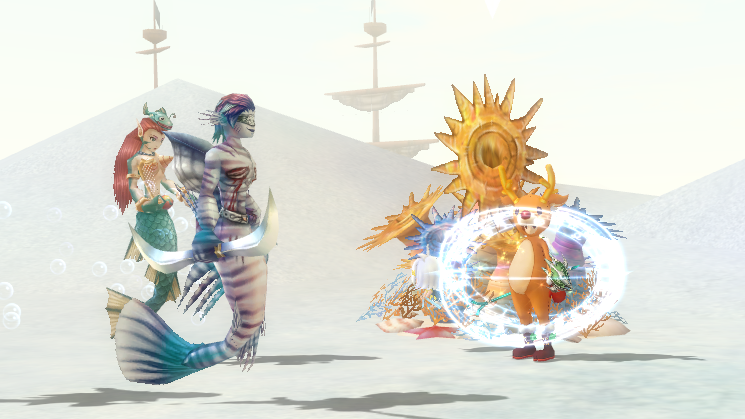
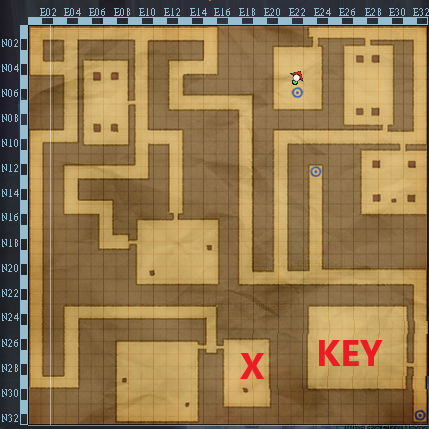
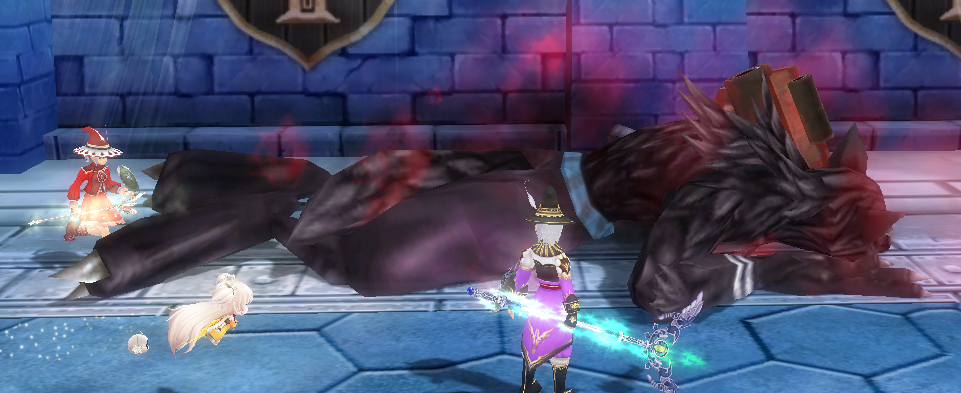
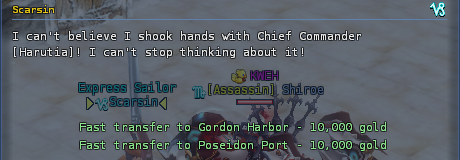
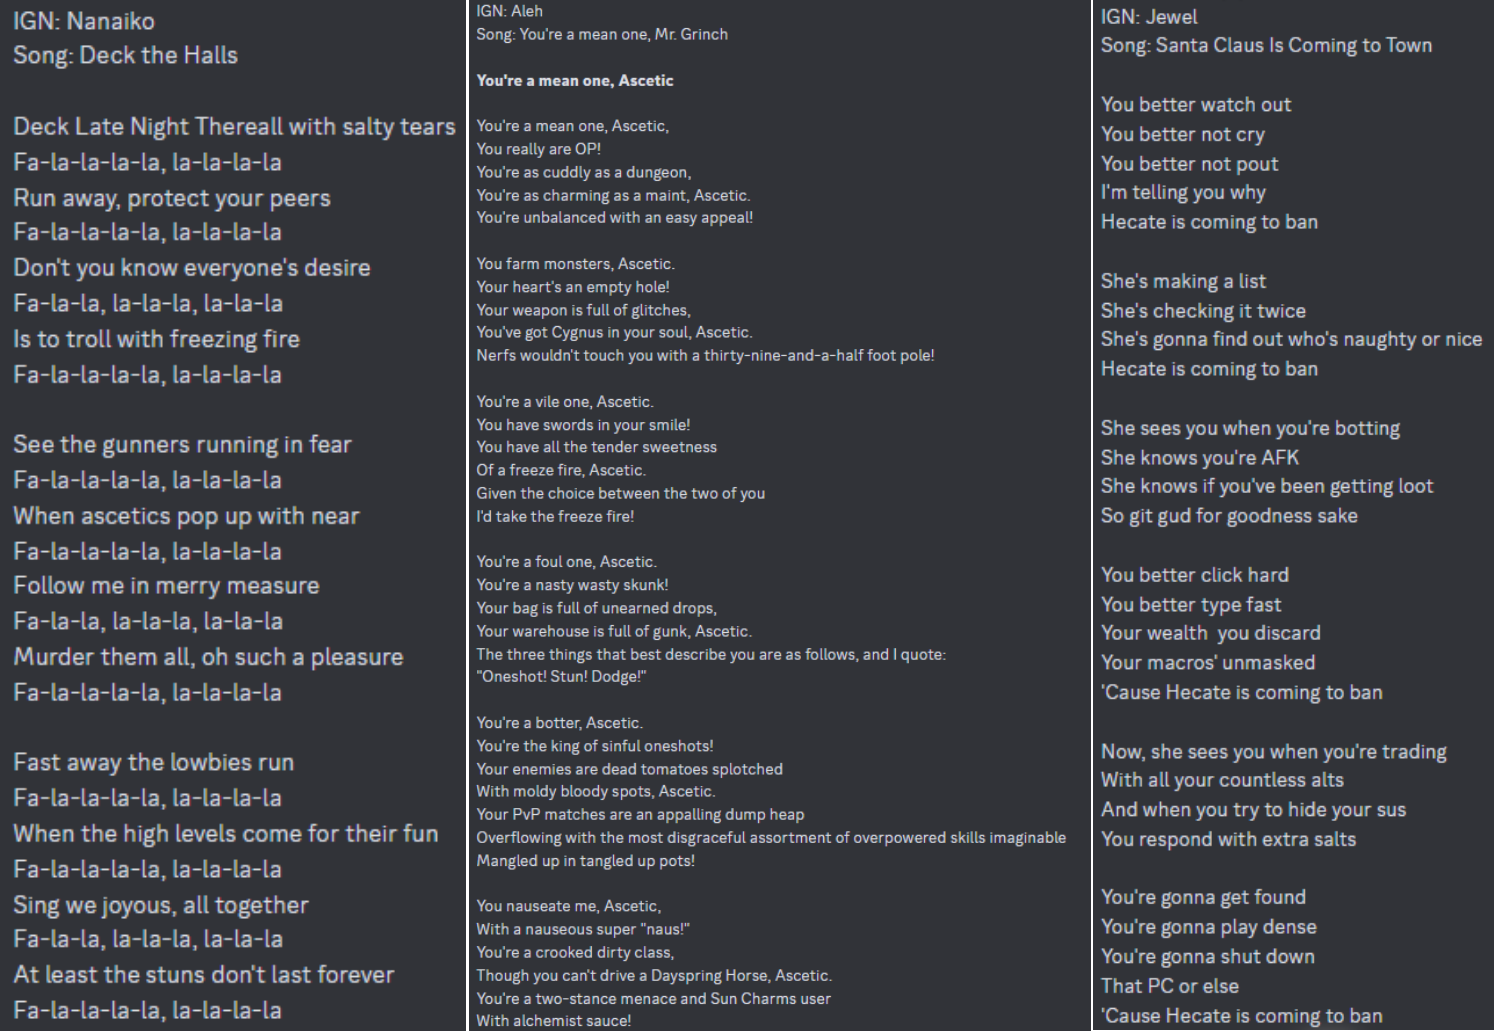
![Screenshot_contest_winners549u50376084738607443497684067307787556.png]](https://images.steamusercontent.com/ugc/2310974553294506679/3FC8F27A27957BD6B15A04AFB8DCE7D3C616B629/ "Screenshot_contest_winners549u50376084738607443497684067307787556.png]")
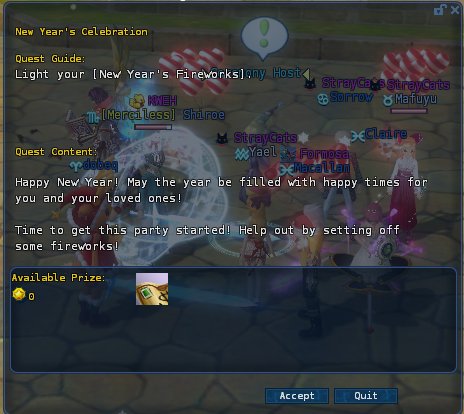
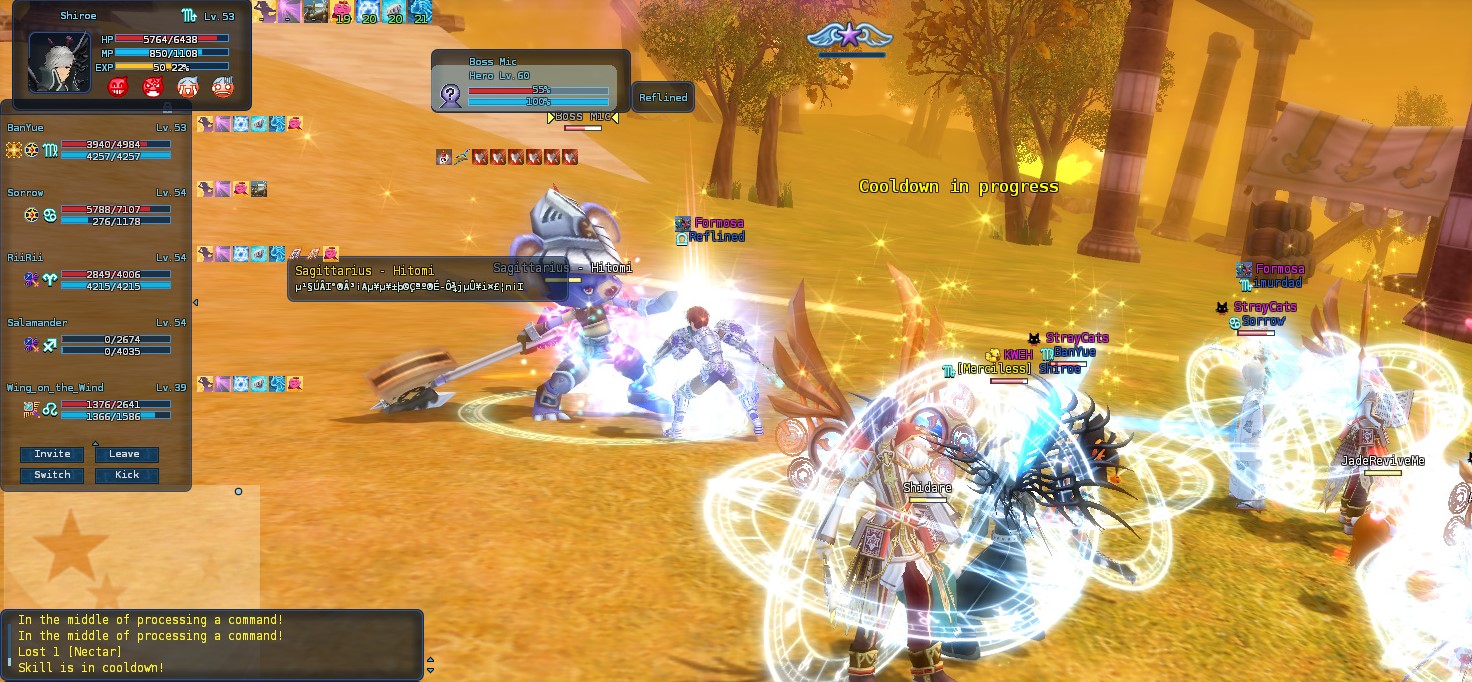
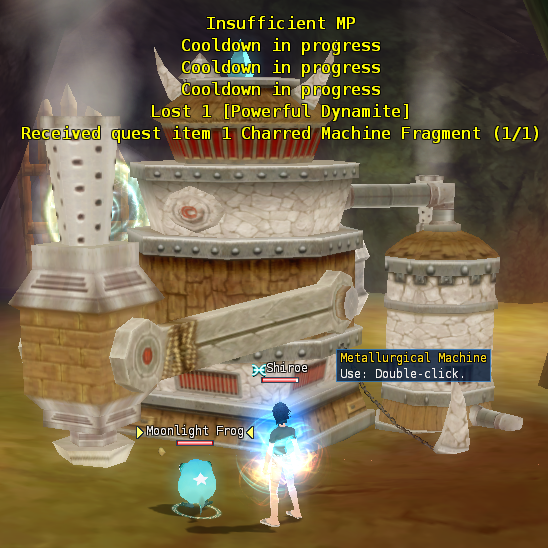
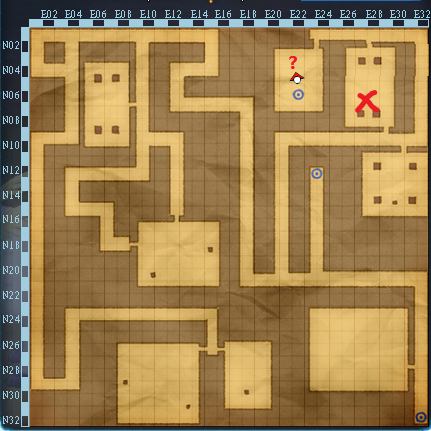
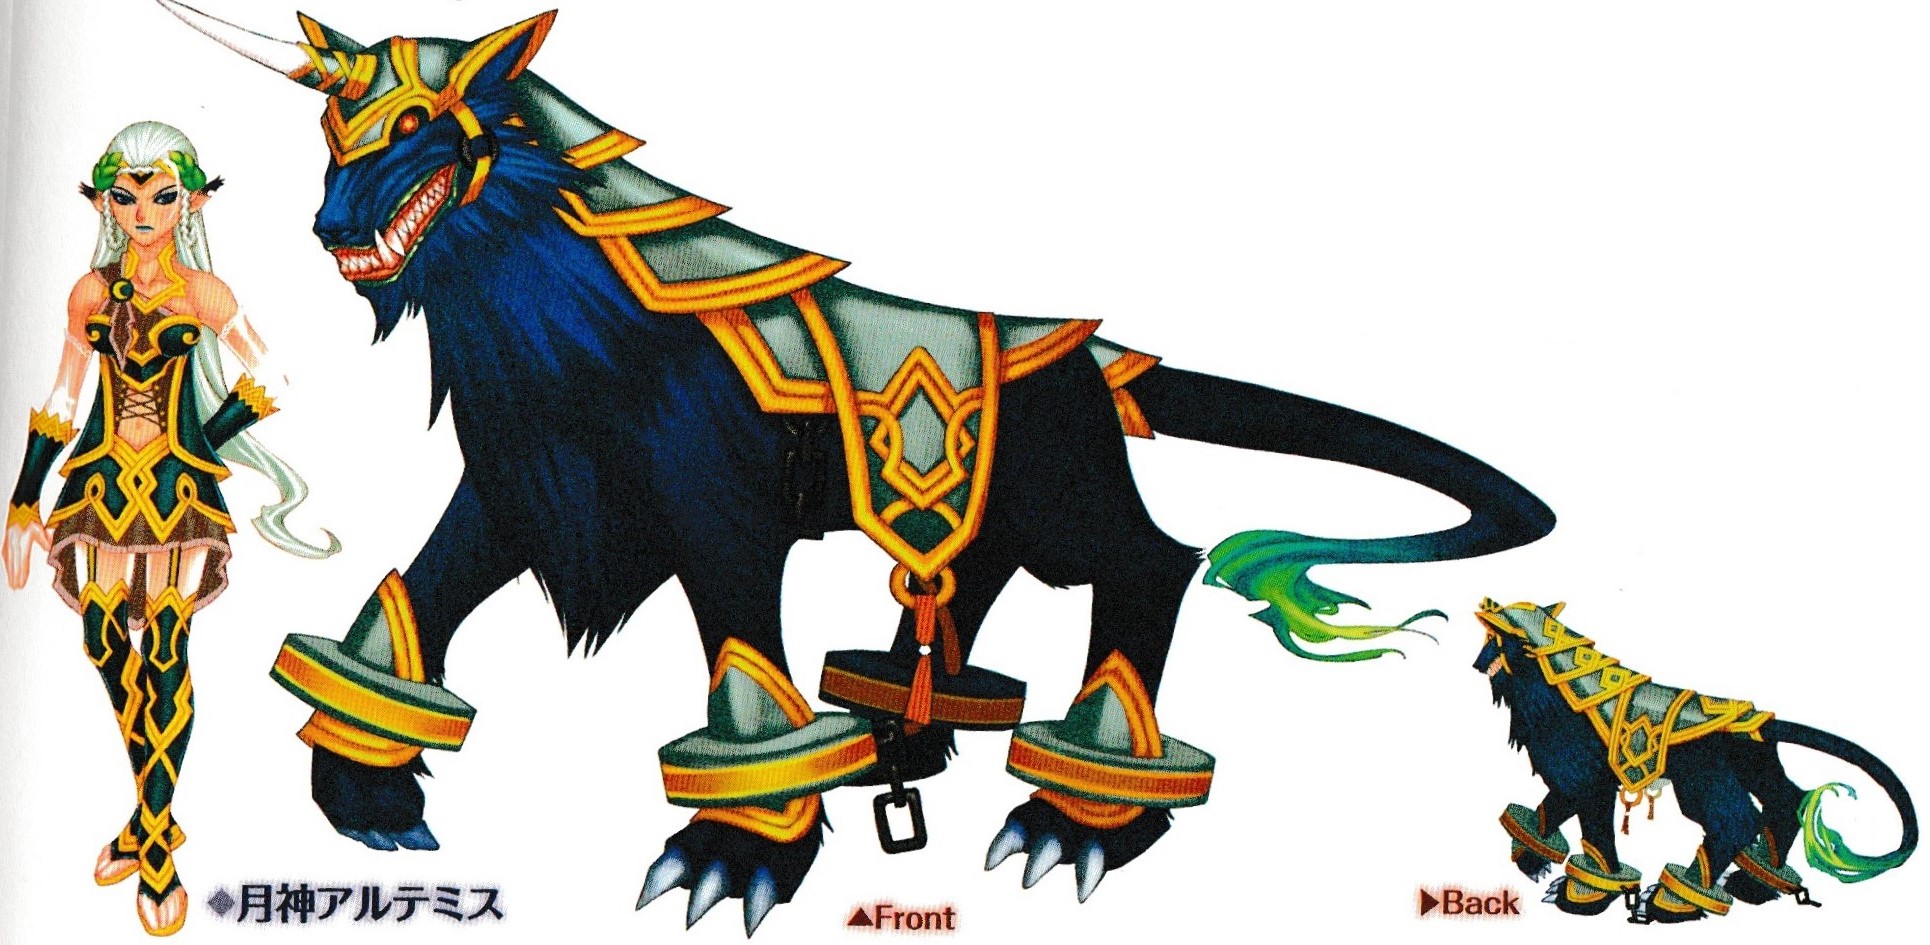
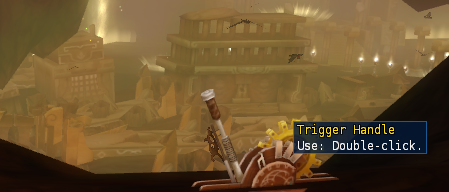
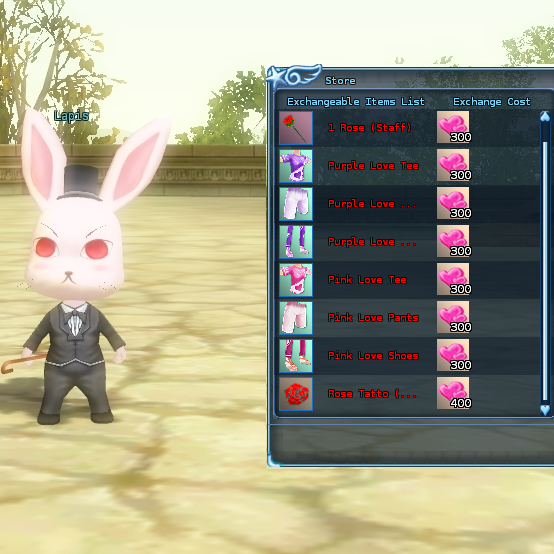
![Screenshot_contest_winners549u50376084738607443497684067307787556newyear.png]](https://images.steamusercontent.com/ugc/2312102577759544089/71CC01B7DD102C7E6046ADDB26038F1F420CE284/ "Screenshot_contest_winners549u50376084738607443497684067307787556newyear.png]")
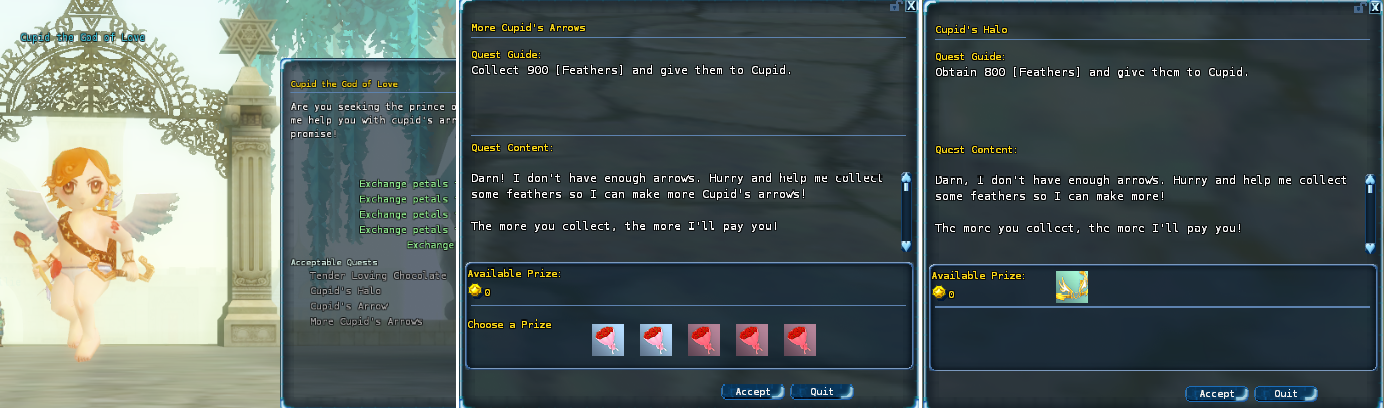
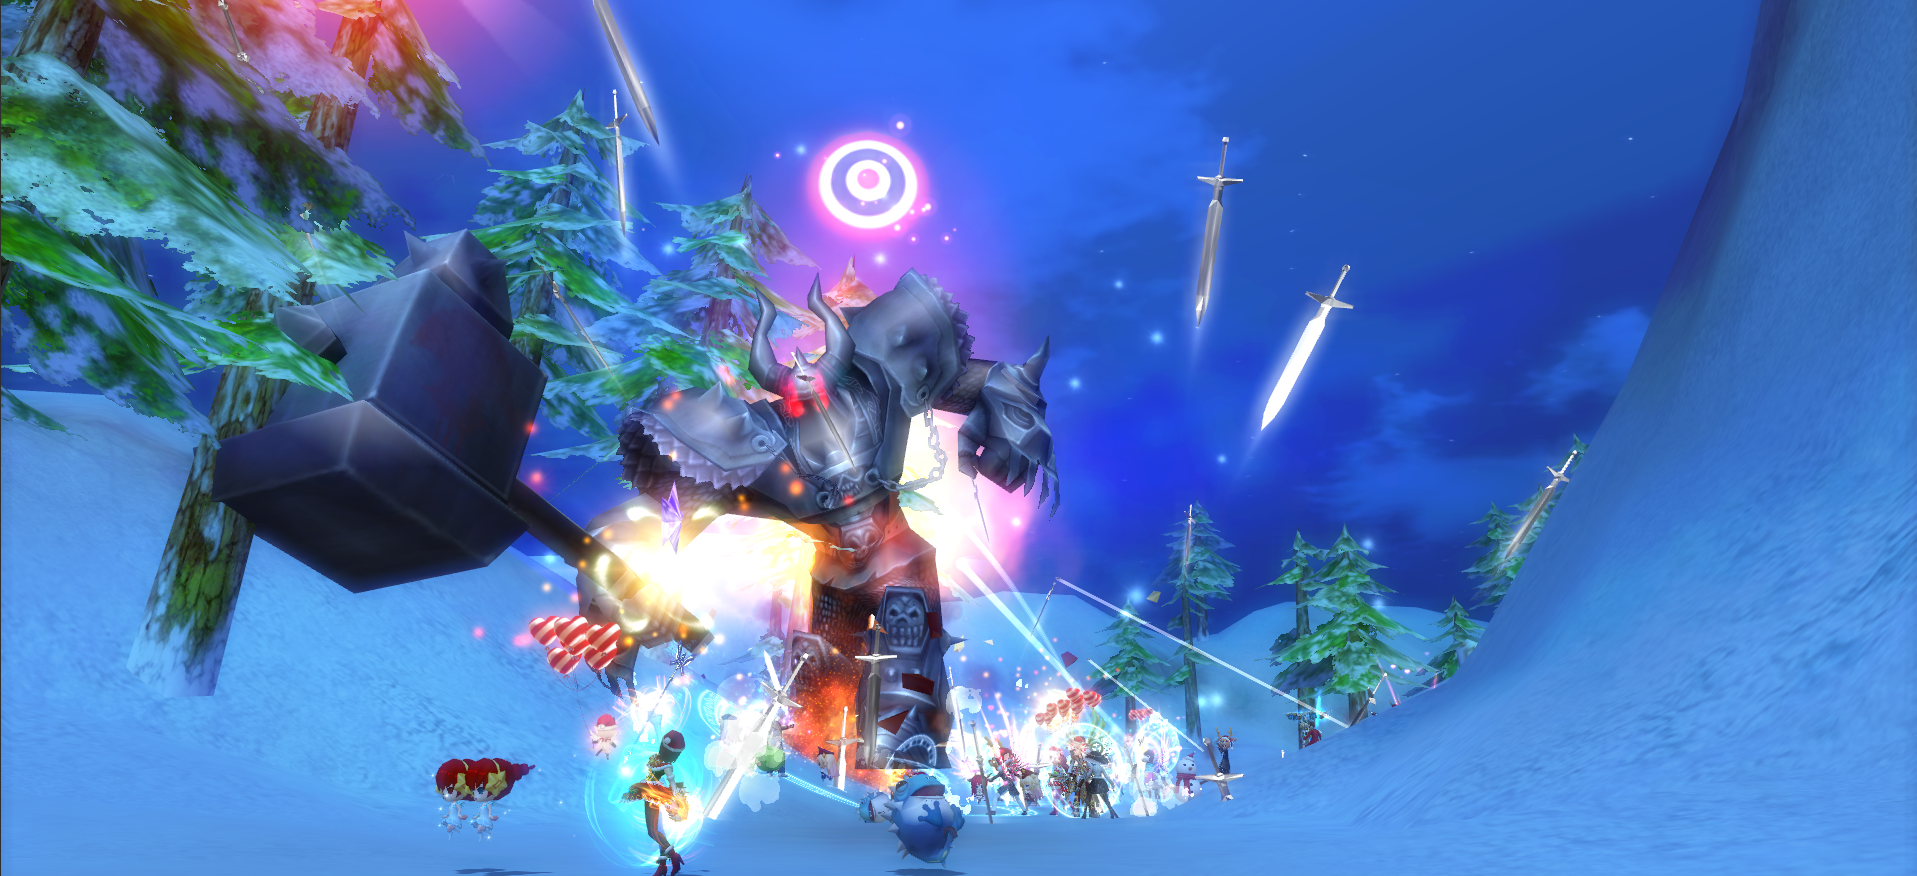
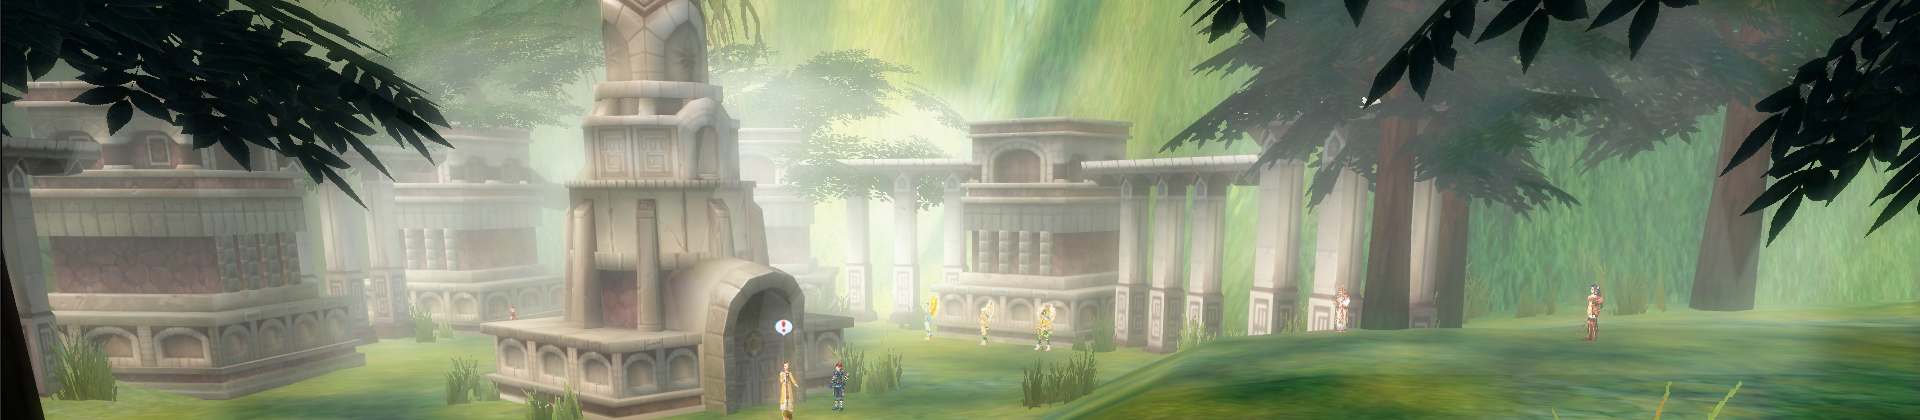
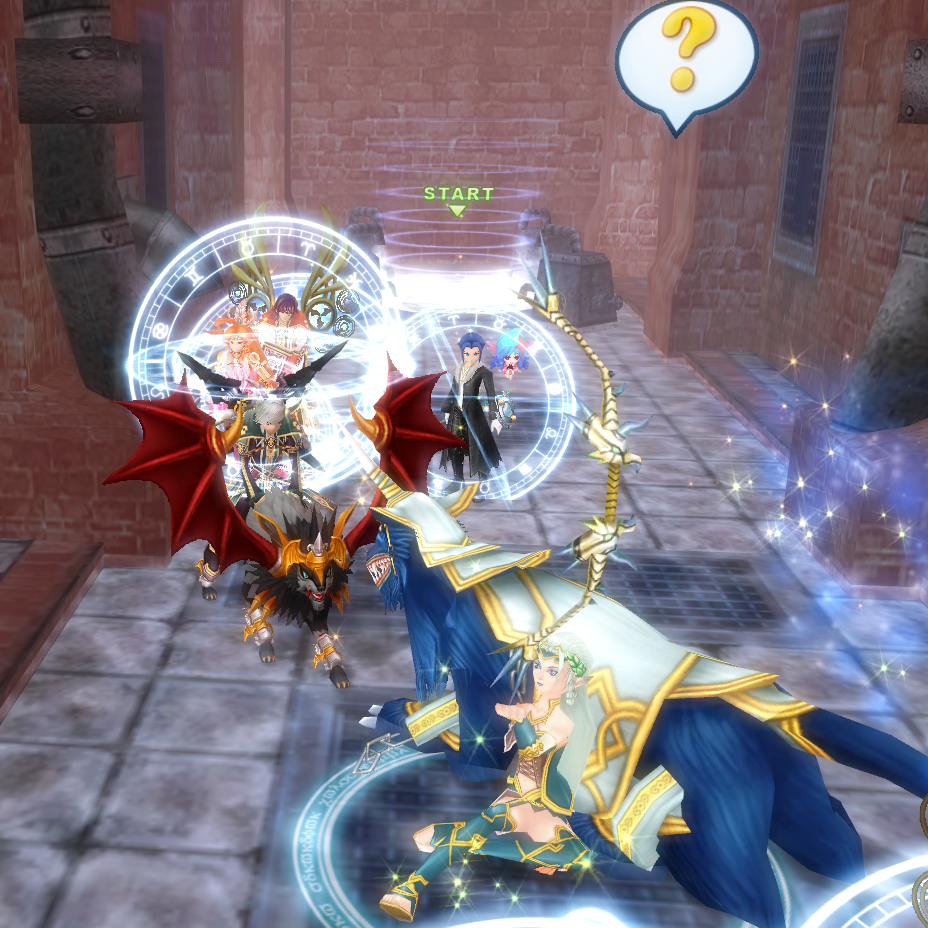
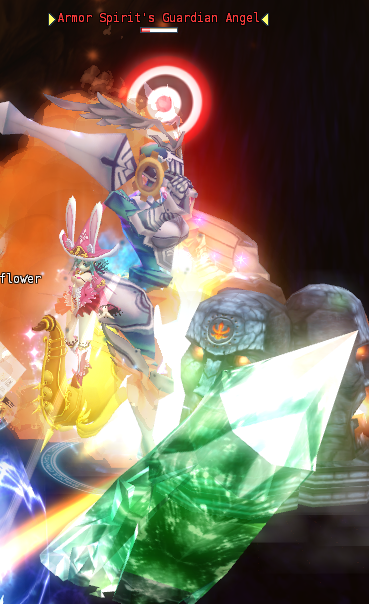
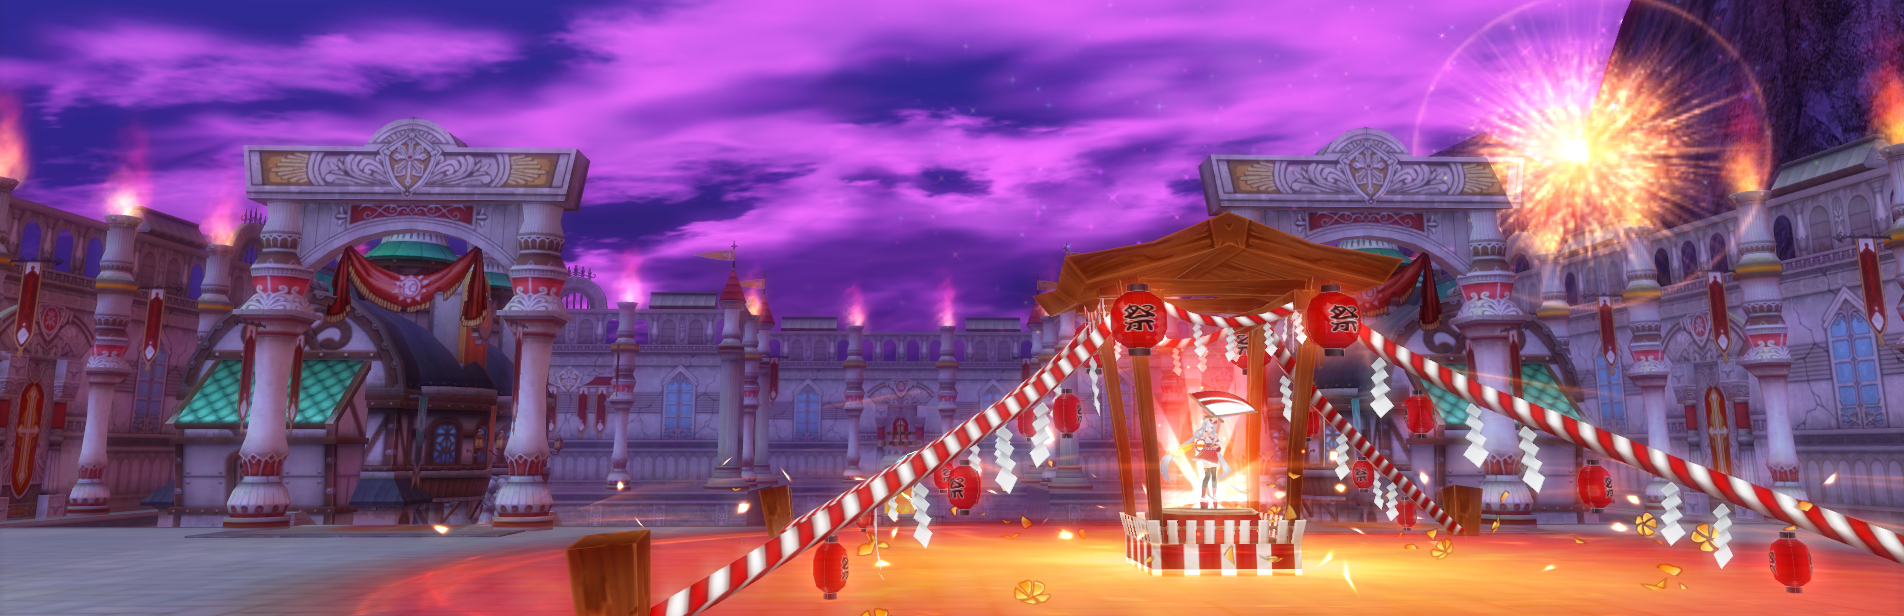
![Screenshot_contest_winners549u50376084738607443497684067307787556newyearforest - Copy.png]](https://images.steamusercontent.com/ugc/2420193407363688853/3954F4838D8A08EBACE490ED6F972524A997C4A9/ "Screenshot_contest_winners549u50376084738607443497684067307787556newyearforest - Copy.png]")
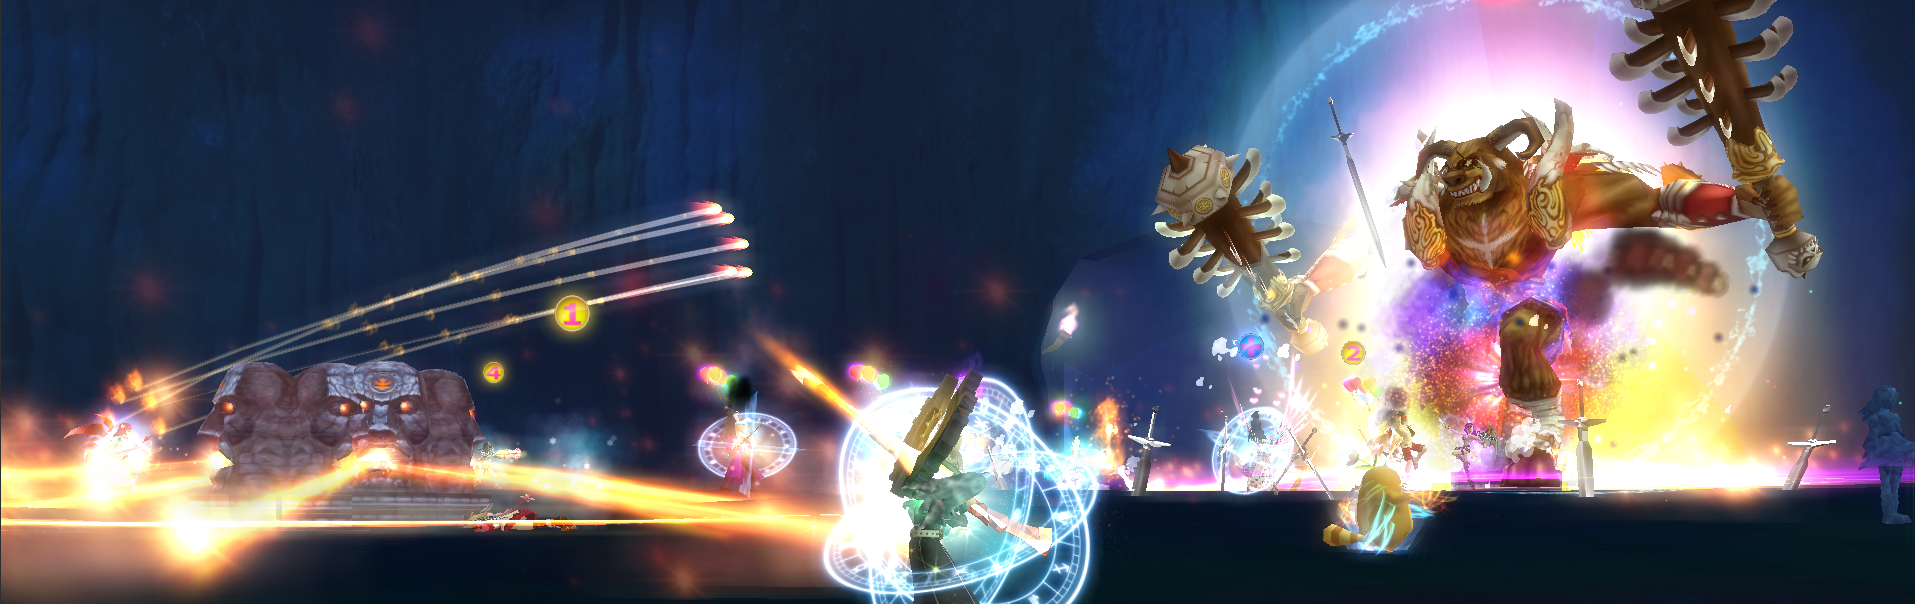
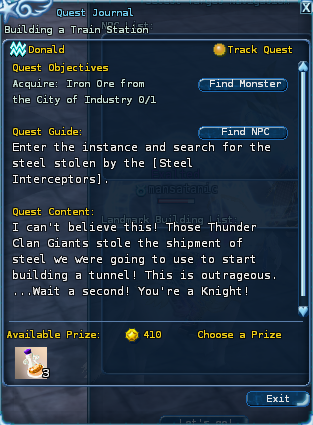
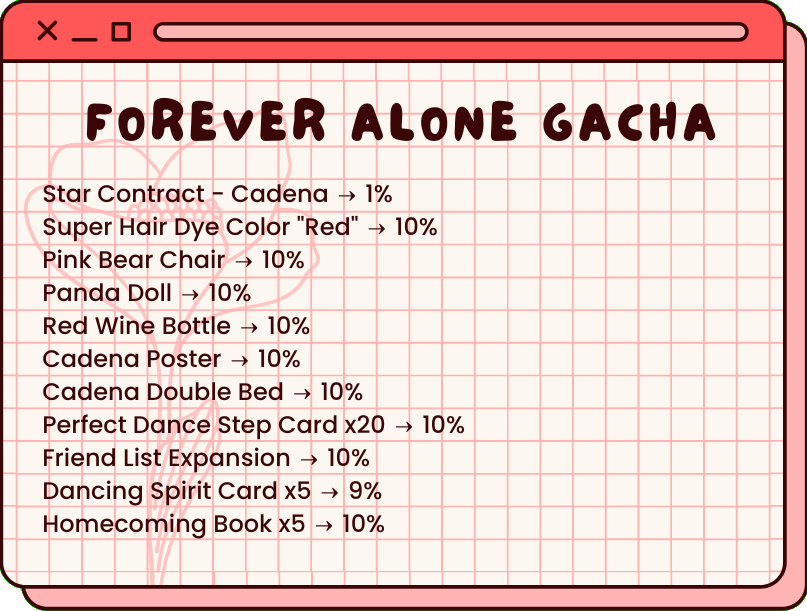
![Screenshot_contest_winners549u50376084738607443497684067307787556newyearforest121278787.png]](https://images.steamusercontent.com/ugc/2420193407363691383/9A2A0B7C6F3301594B75B67D392B6FB4BB75C4BE/ "Screenshot_contest_winners549u50376084738607443497684067307787556newyearforest121278787.png]")