Frostpunk

Frostpunk

205 ratings
Mantoko's Glow Worm Guide
By Mantoko
This is a guide about the 'Glow Worm' lamp from Frostpunk i build last year. In this guide i'll show you all the parts and how they were made.
6
3
6
3
7
7
6
5
5
   
Award
Favorite
Favorited
Unfavorite
The basic parts


The lamp consist of 2 main parts (aside of the sling).


The top part (on the left) houses the light bulb itself and is conected to the bottom part (on the right) via only 2 screws on either side.

The bottom part, (on the right) houses the battery, microcontroler and pressure gauge.


The whole lamp is 38,5 cm / 15,16 inch high and weighs around 5 kg / 11 lb.


The outer parts are made out of copper (Cu-DHP) and brass (CuZn39Pb3).


(The design of the 'Glow Worm' lamp belongs to 11 Bit studio's Frostpunk. The real steel prop belongs to me)
Top part 'The Horseshoe'


The 'horseshoe' part took some time and tries to finish. Here are the steps (left to right) from the first try, made out of steel, to the last one made out of copper. All of them are made with an CNC machine i had access to.


(I often marked changes on the desin or future places for holes ect. on the sample itself)

The first one is made out of steel and neither had the the right size or shape.

Why steel? Its cheap.


The second sample i made, was out of aluminum and had the right size and shape. Only missing minor things like some of the holes.

Why aluminum? Its softer and easier to work with than steel, but also cheaper than copper.


The third 'horseshoe' is the final version, with the outer and inner rim soldered onto it, all the holes in place and the additional brass ornamentations attached to it. Those ornamentations are basically thin brass rods, bend by hand and then glued on with an industrial body glue.

Front


Back

The soldering was a NIGHTMARE. Copper is very heat conductive and so it takes a long time for the part you want to solder to reach the right temperature and the heat spreads over the whole piece. The outer rim was easy, the inner one not. Once the outer one was solderd on and you would start with the inner one, the outer one would come of again. I only managed to get both in place with a friend of mine and a lot of clamps.


On the lower half of the 'horseshoe' is the base plate, wich holds the light switch and some additional ornamentations.

The plate itself is made out of 3 layers of copper discs while the lowest one has an rim by itself.
(I bought the discs online and fitted them with the holes and groves)

Front


Back


Underneath it is the base of the light bulb wich is screwed on from the top (see 'The light itself').

'Horseshoe', base plate and light bulb together


Now with the main parts in place, lets start decorating! Yay...

The additions consist of an array of small brass rivets, a larger round cover, the rectangular light switch and the light bulb socket in the back.


With the rivets on the top part in place, the light bulb recives its 2 'protection rods' wich are screwed in from the bottom.

Upper half with rivets and 'protection rods'


On the lower part, the remaining rivets, large cover, light switch and a grooved brass cover complete the top part.

Base plate with all ornamentations


Bottom part 'The Peanut'


The bottom part 'peanut' is the bigest part of the whole lamp.
In the lower part of it has enough space for the circuit board with micro controler, the bottom part of light switch and the 11,1 V LiPo battery.
In the upper part of it is the pressure gauge (see 'pressure gauge') and the 2 points to screw the two main parts together.

(The two black stripes on the bottom half are zippers to secure the circut board)

Like the 'horseshoe' the main part of the 'peanut' is made out of a CNC machined copper plate, with a rim soldered onto it.

Back


On the back you can see the 3 loops were the slings are fixt to the lamp.


Yeah thats it. Not much to it.
The light itself
The actual light itself is made out of the lower base part, a connection tube in the middle, the light bulb socket fixt to it and the light bulb itself.

Light bulb with socket


Beneath the white light bulb is an 6W / 6-12V DC LED light for ceiling lamps. It is quite bright and works fine with the 11,1V LiPo battery even when the battery starts to run out.

Without the glas bulb


With the glas bulb

(I dont know why the camera made this picture so redish. If thats a word)


The wires running from the LED, through the connection tube and out of the lower base part, gets connected to the circuit board 12V exit.

From there the light can be switched On, OFF, flicker or be dimmed by using the light switch.
(The switch hast 6 positions)
The pressure gauge


The pressure gauge, wich is mounted on the left side of the 'peanut', shows the battery charge from 0-100% in 0-100 lb/in.


The pressure gauge partially dismanteld


Front from left to right:
  • Copper ring to to fit on the main casing and prevent parts to fall out
  • A small window to protect the indicator and the scale
  • The step motor used for the indicator from an speedometer

In the back is the main copper casing, wich is hollow to have room for the step motor an its wiring.

On the left side of it is a weirdly formed brass rod that conects to the rim of the 'peanut'.

On the right is a simple brass tube were the wires run through into the 'peanut'

Shown here


'The Plan'
Some of you might wonder how all the measurements were made without an 3D model to make measurements of with a program like the Valve Hammer Editor?

Well, look no further!


First you take a suitable picture that shows the lamp in a good front view and something you can compare to it besides it.

Like this

(Picture belongs to 11 Bit Studio, Frostpunk)


And then you start measuring the hight of the lamp compared to, for example, the head of this worker.

And yes i measured it of my screen with a ruler.

With the measurements made, you now have a rough idea how big the lamp actually is.


But what about the small parts?

For that you look up a bunch of pictures with the lamp in good view, arrange them in a collage to make comparing easier and print it.

Like this

(again Picture's belong to 11 Bit Studio, Frostpunk)


And then the fun part begins...

You have to measure every detail of the print and write it down.

Like this

(this is one of my pictures)


Well now that you have all measurements made you can get to work!


If im missing informations of this project your interested, please tell me so i can add it.
Upgrade
Here the "requested" heating element upgrade.

Thanks to Phat Pidjin for the great idea!


Since it makes sense that the lamp could funktion as an source of heat, i added a 15W heating foil in the lower part of the lamp.

Its powered by its own 11,1V LiPo battery and heats the backside of the lamp (the peanut).

It takes some time for the wohle lamp to heat up, about 3 min for a noticeably change in temperature, but the heating foil 'could' reach up to 95°C / 203° F (368,15 K).

But i think the battery will run out off power long before it comes even remotely close to that.


Still, i like it and it adds to the whole 'authenticity' of the projekt.


Thanks again to Phat Pidjin for the great idea!


I gotta get myself a better camera. The quality of those pictures is awful.


Today i stumbled upon an 3D artist named 'Ram Dedomo' who made a 3D model of the glow worm based upon this projekt. It looks amazing and im so happy he used my model as reference.

Take a look at his work!


instagram.com/ramdedomo
artstation.com/ramdedomo
25 Comments
Wheatley aperture core 24 Nov, 2024 @ 1:29am 
it looks nice,shame it isnt in stores...
Mantoko  [author] 26 Apr, 2022 @ 7:22am 
Haven't checked on this project for quite a while.
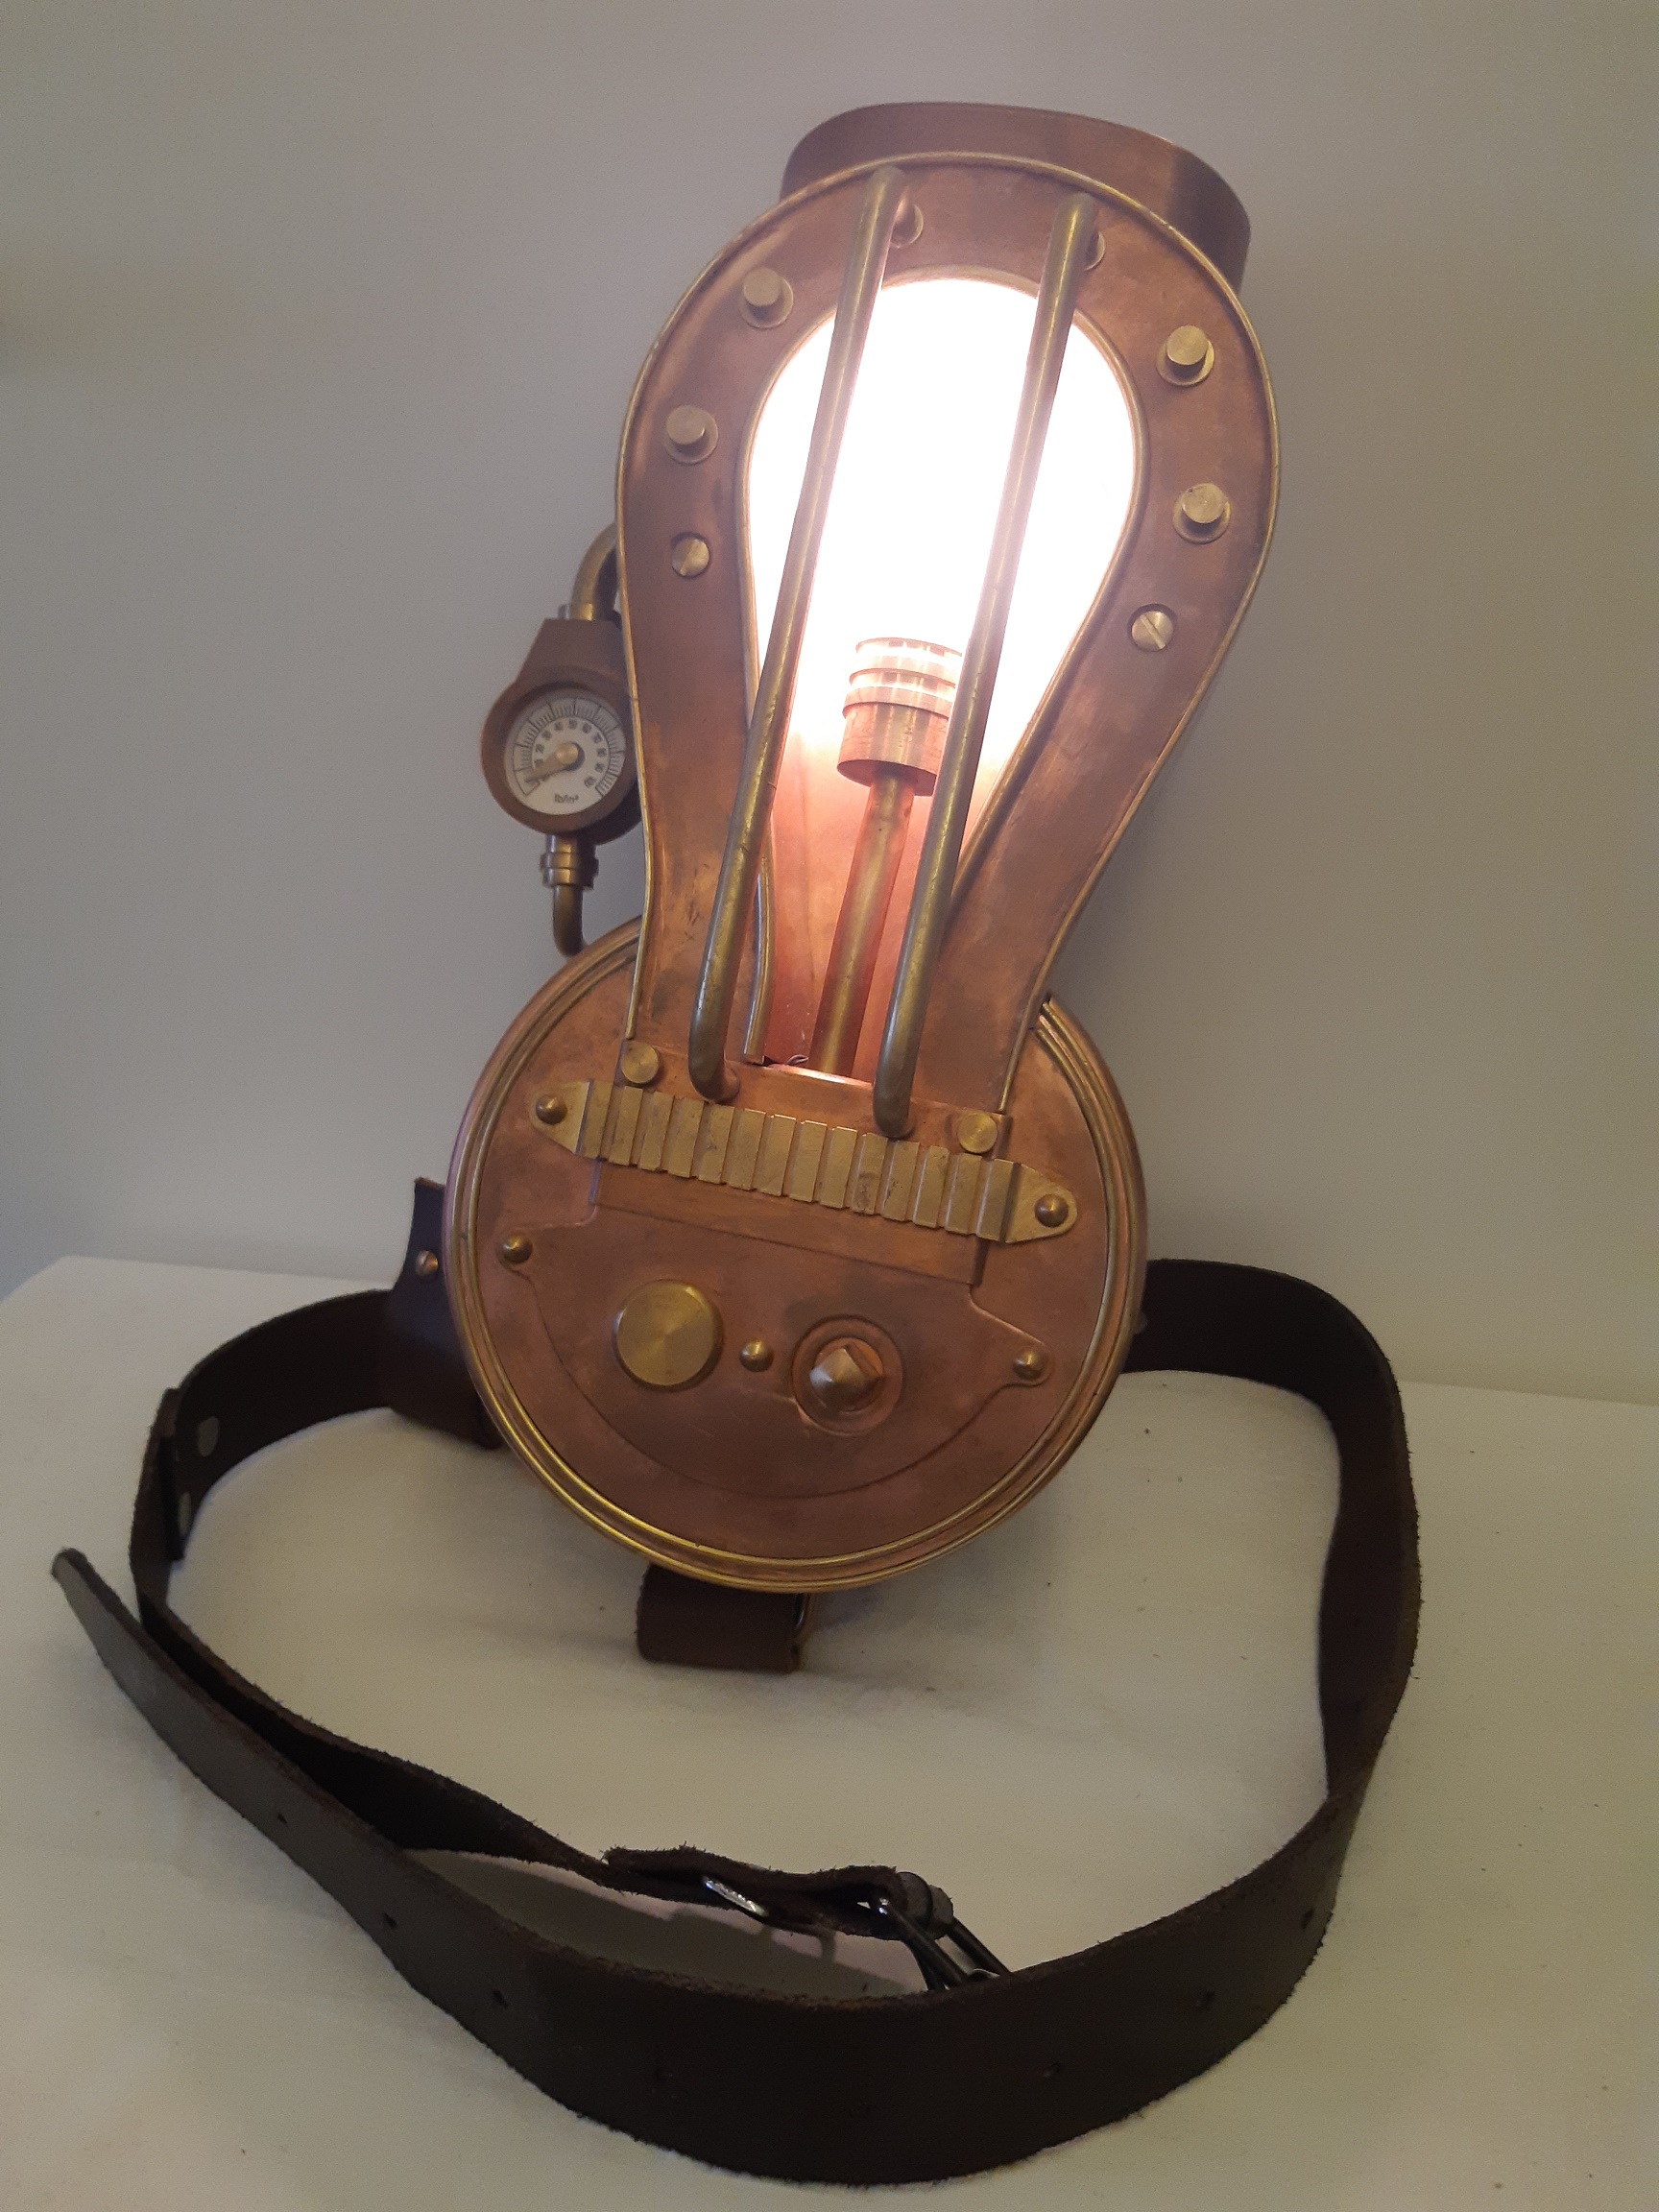
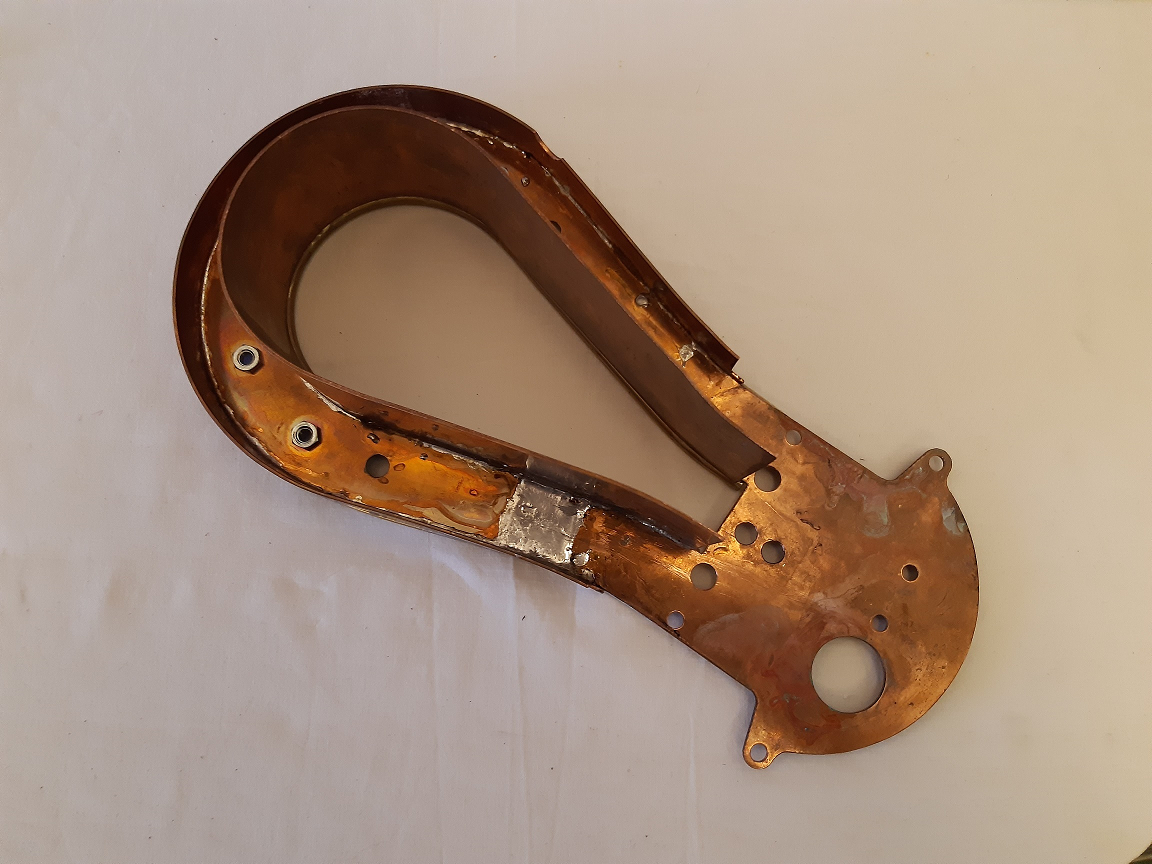
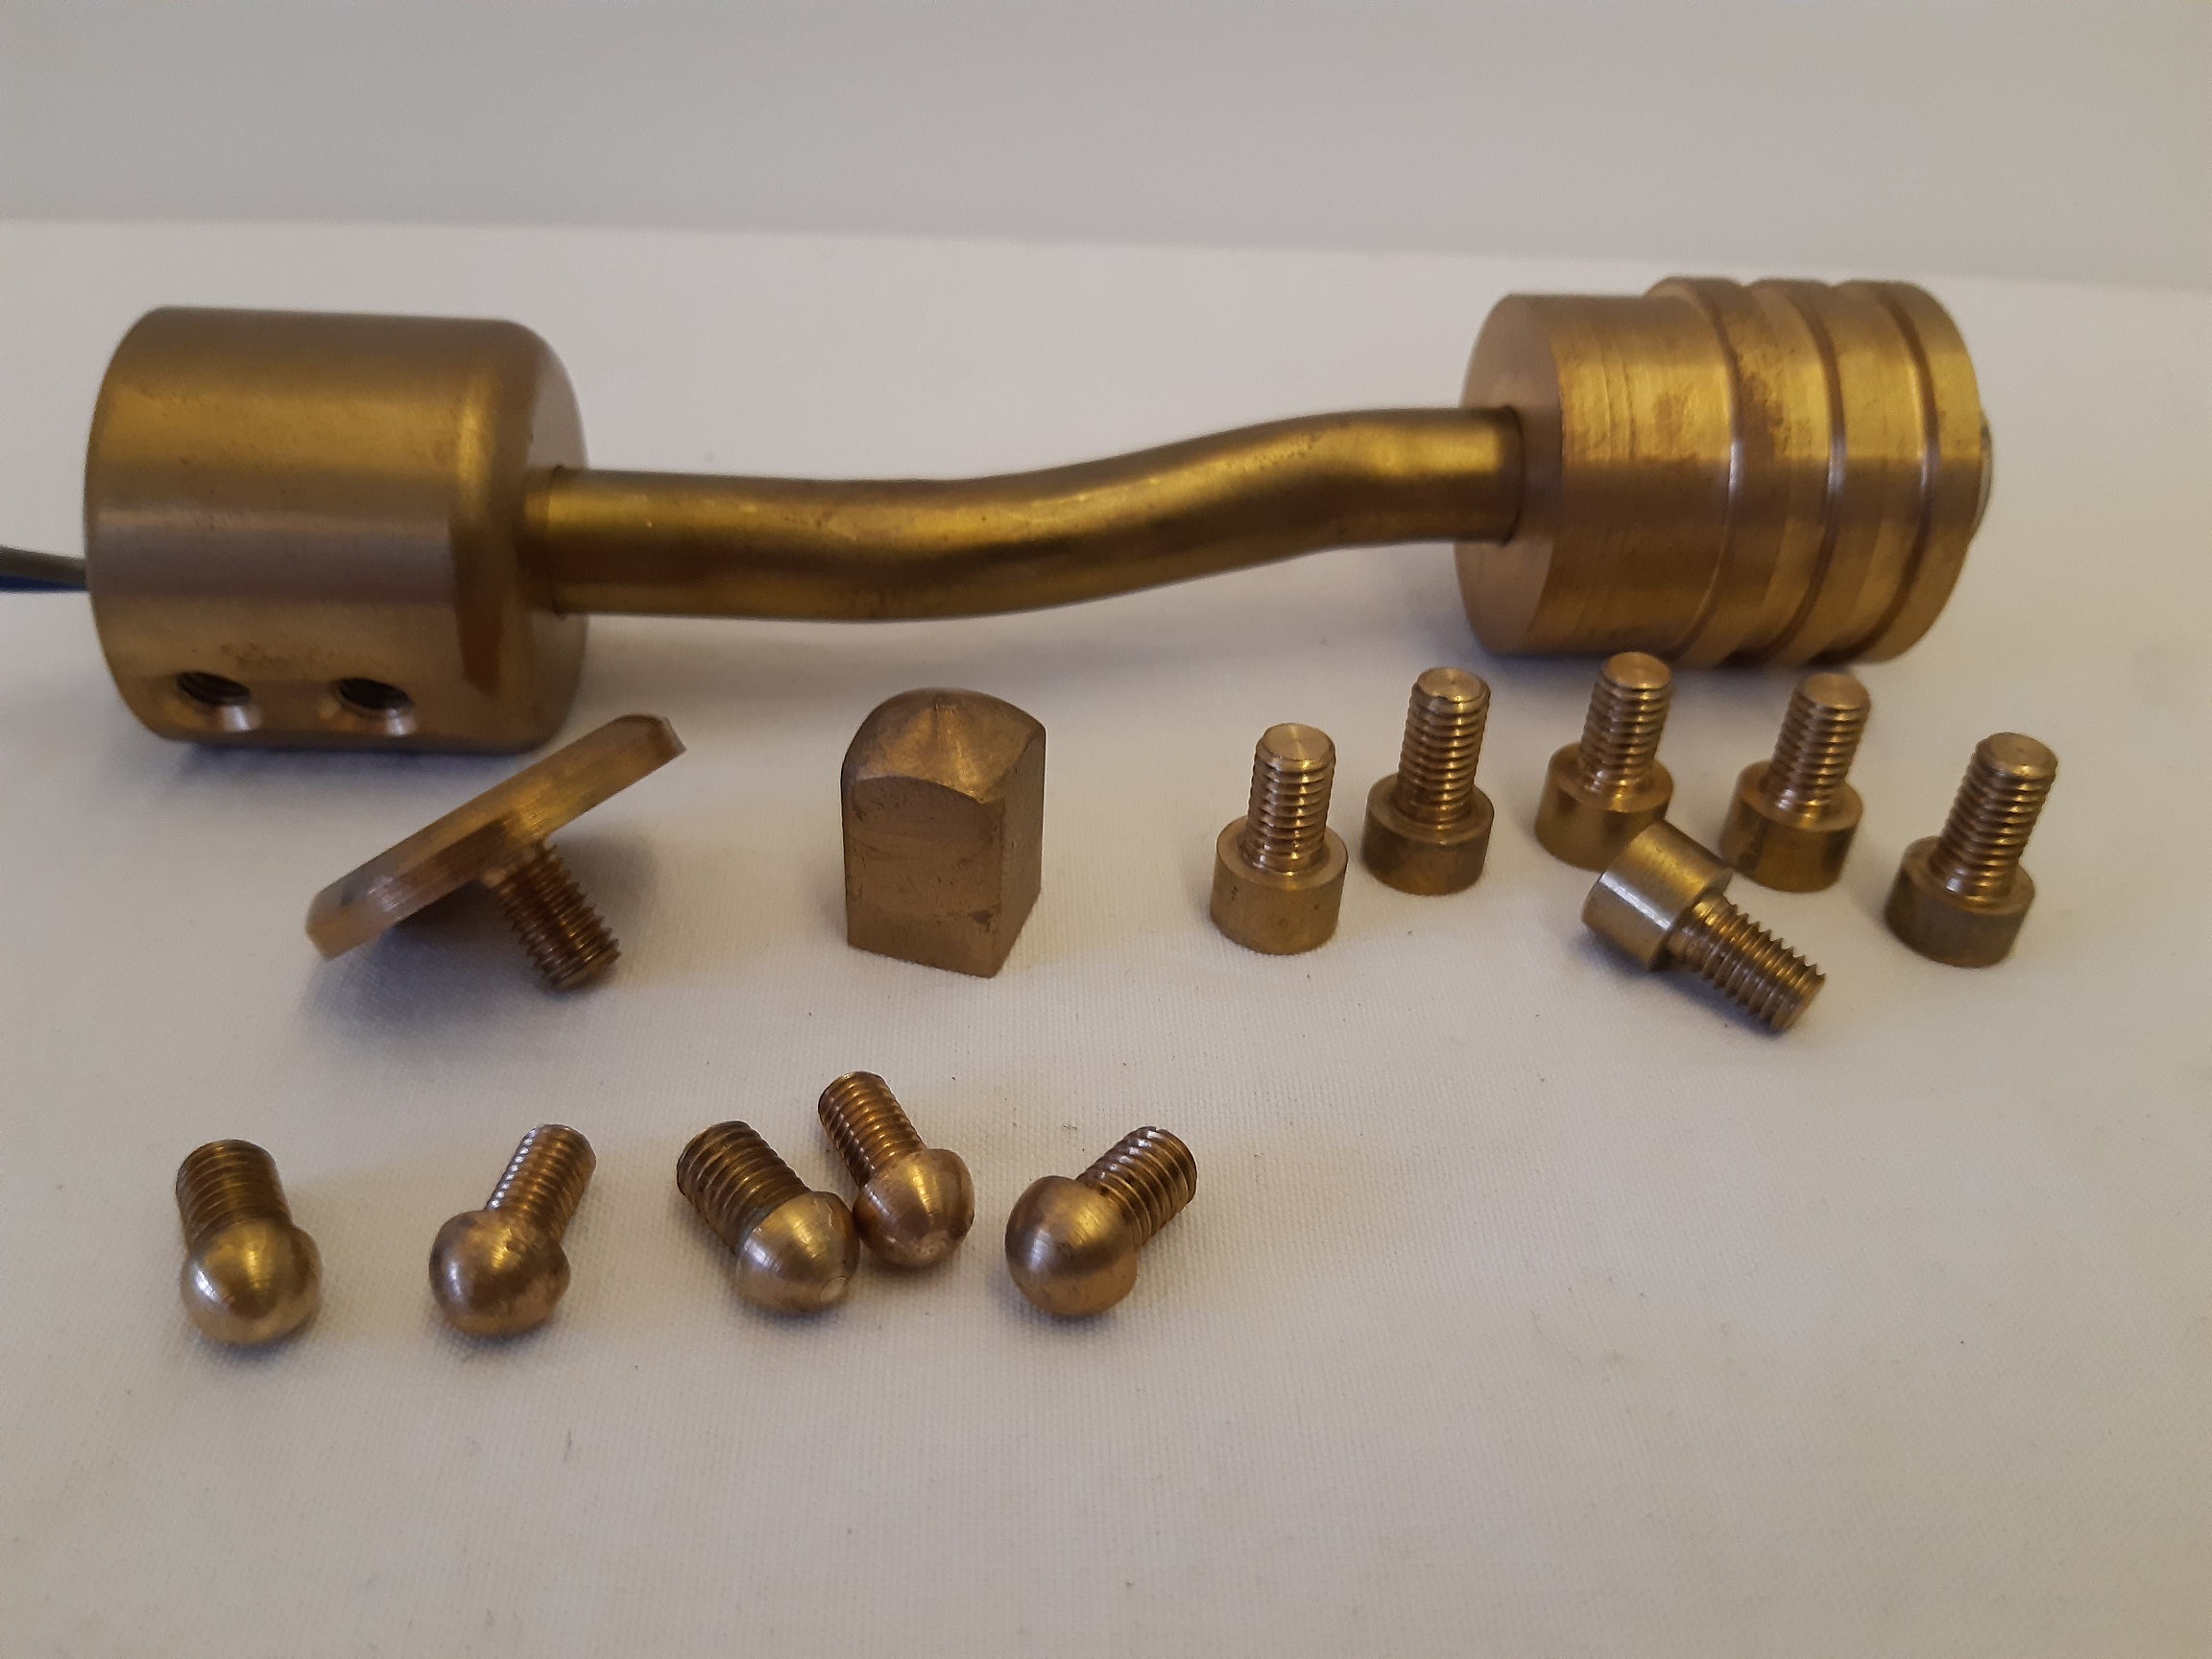
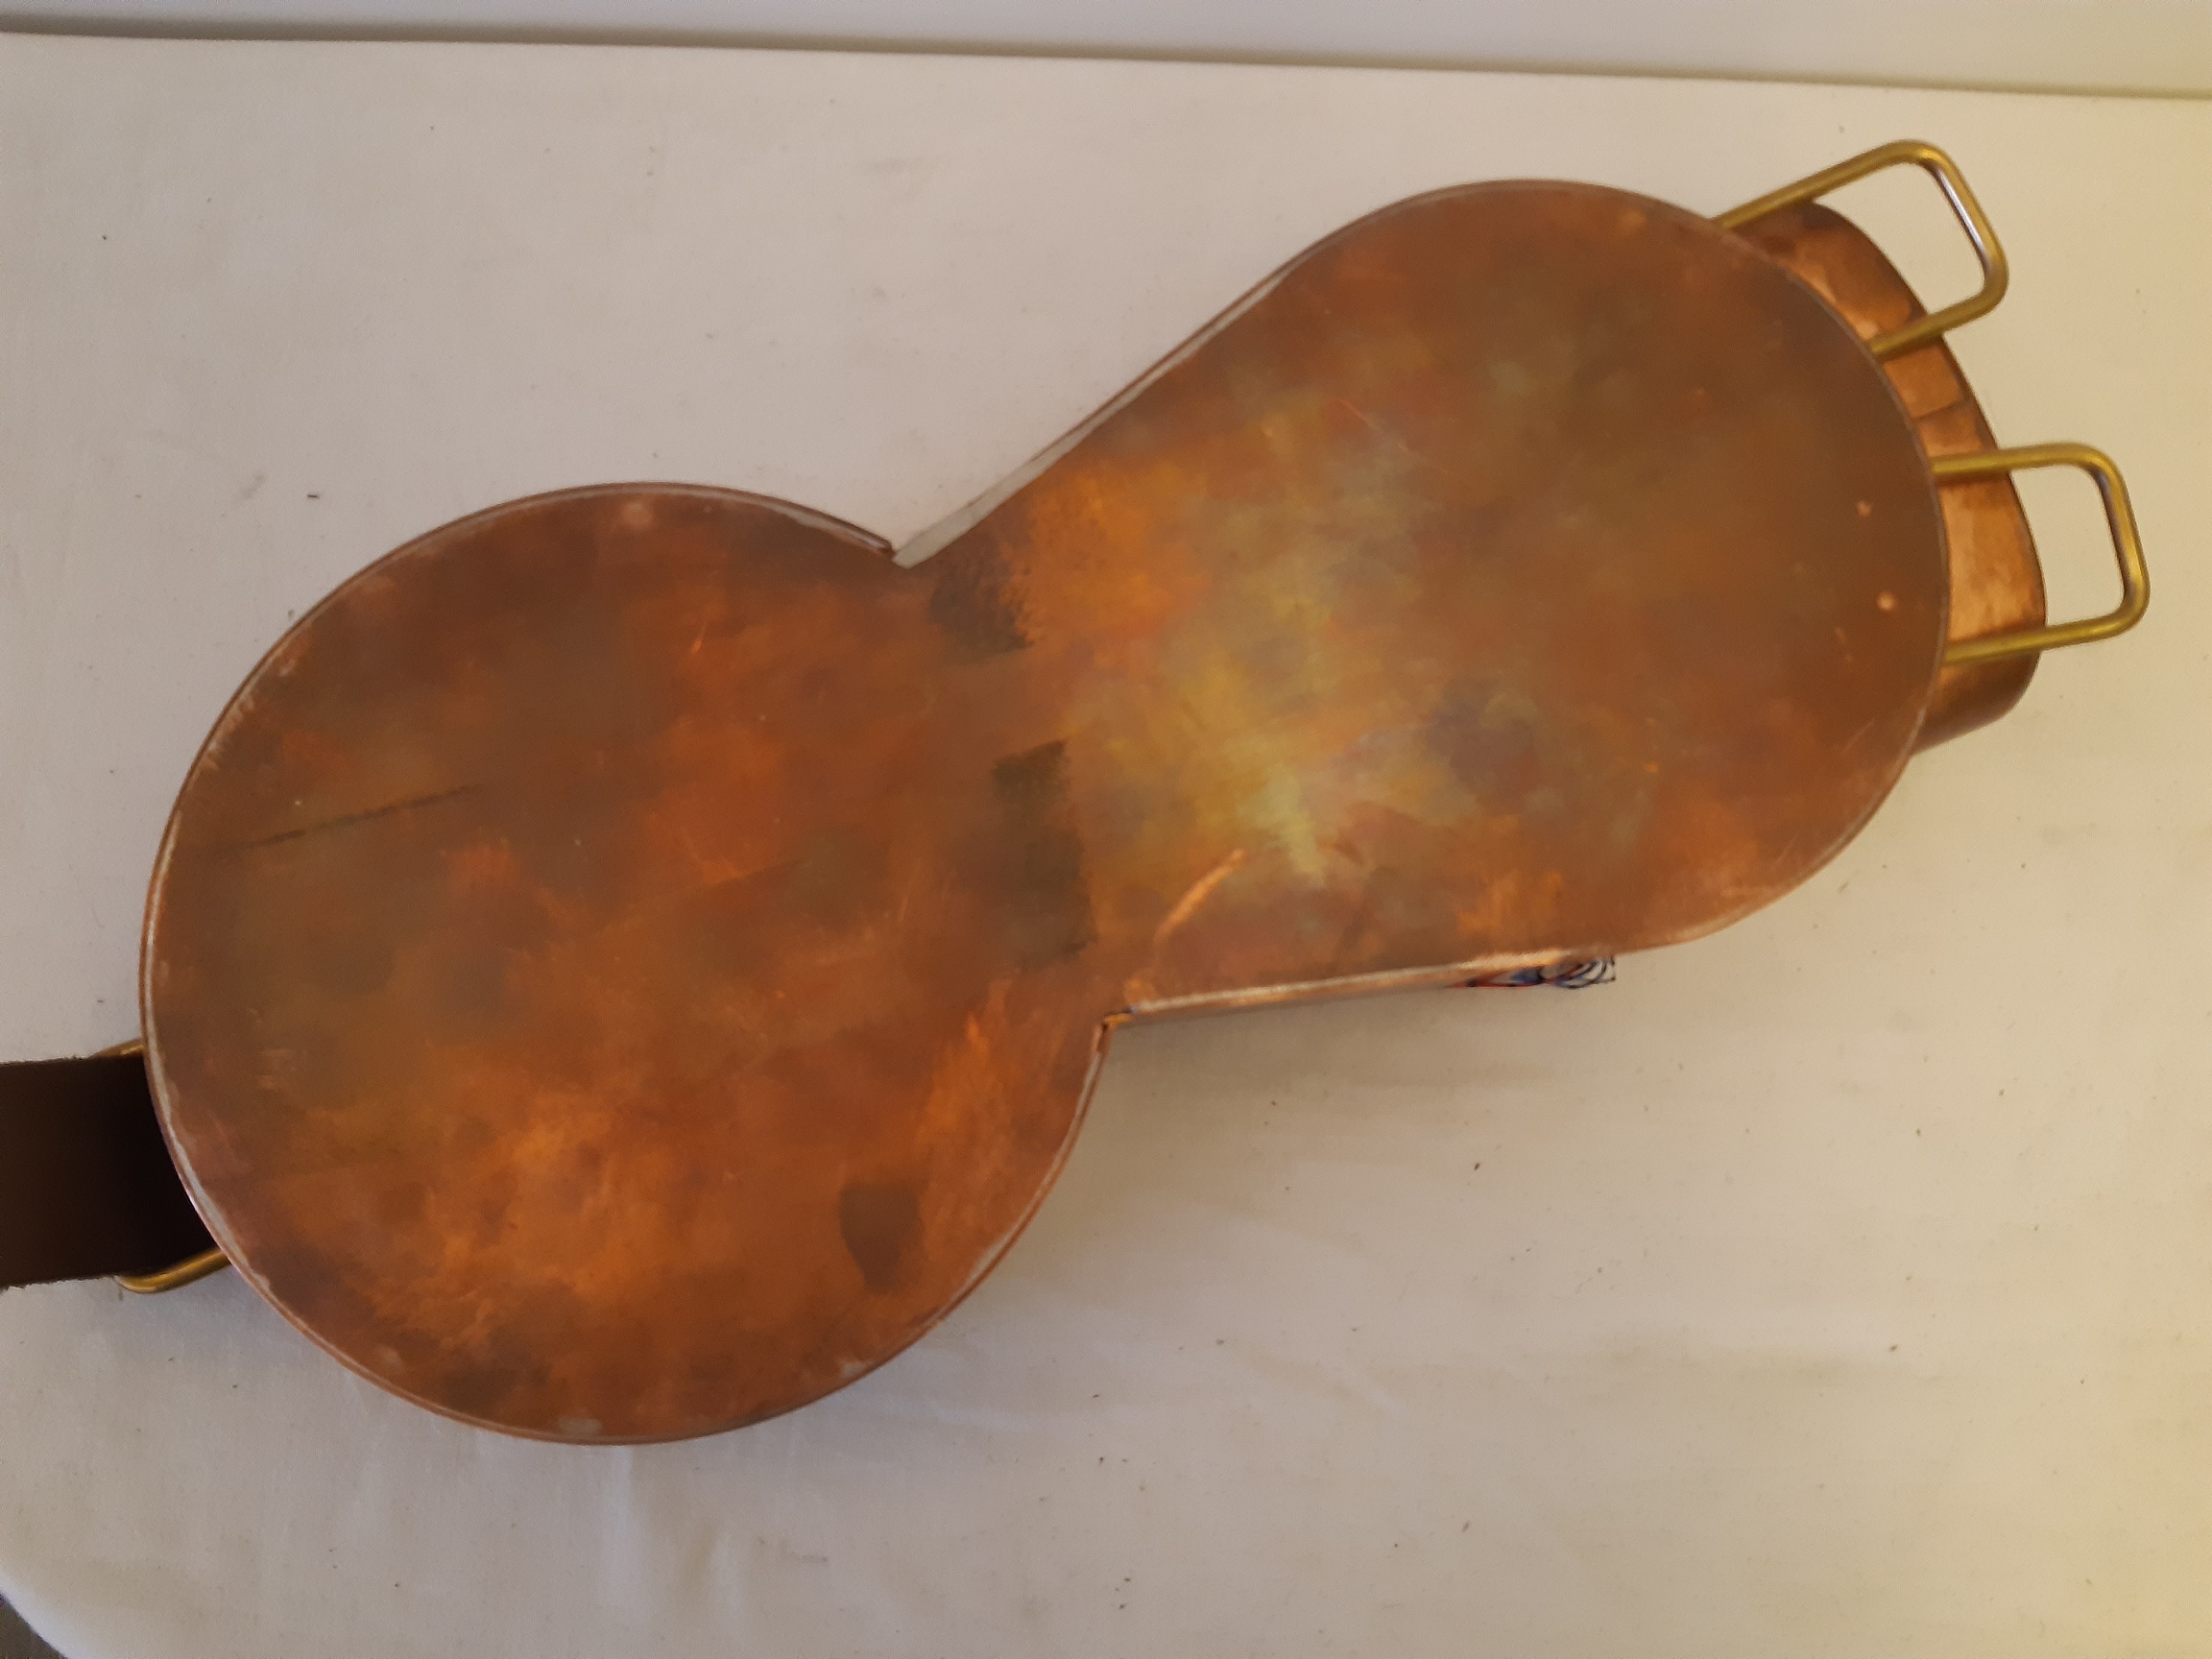
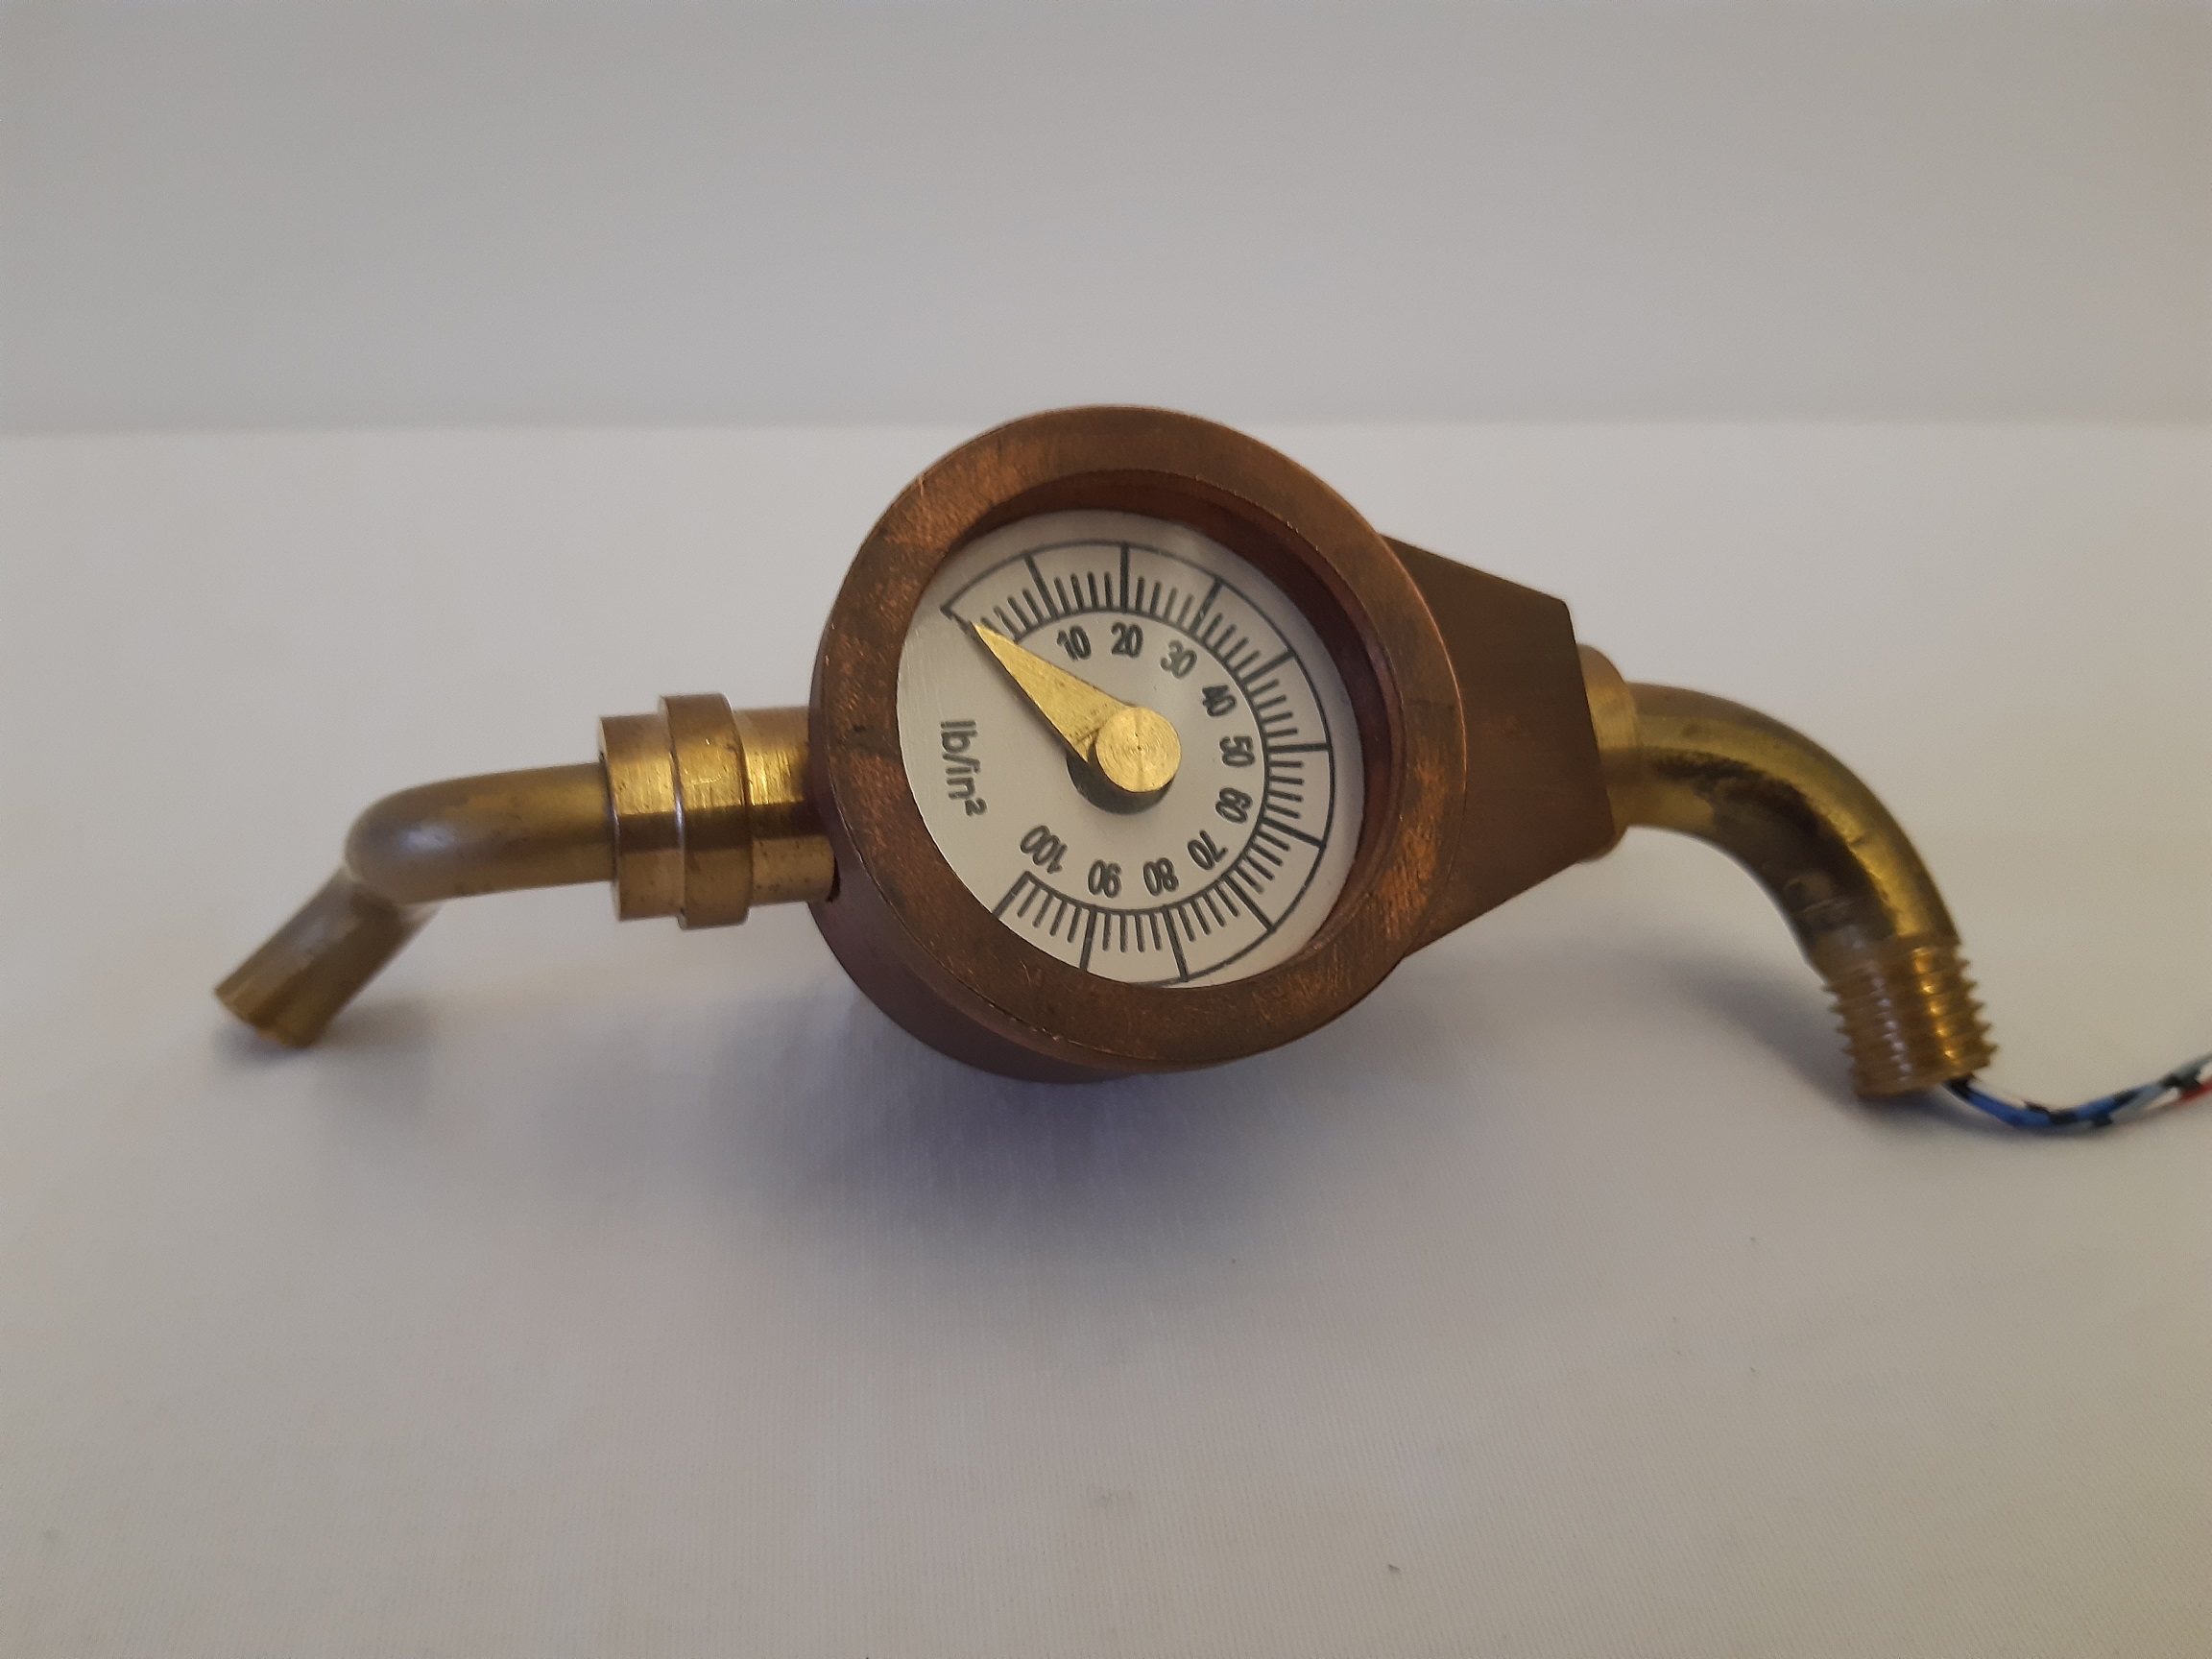
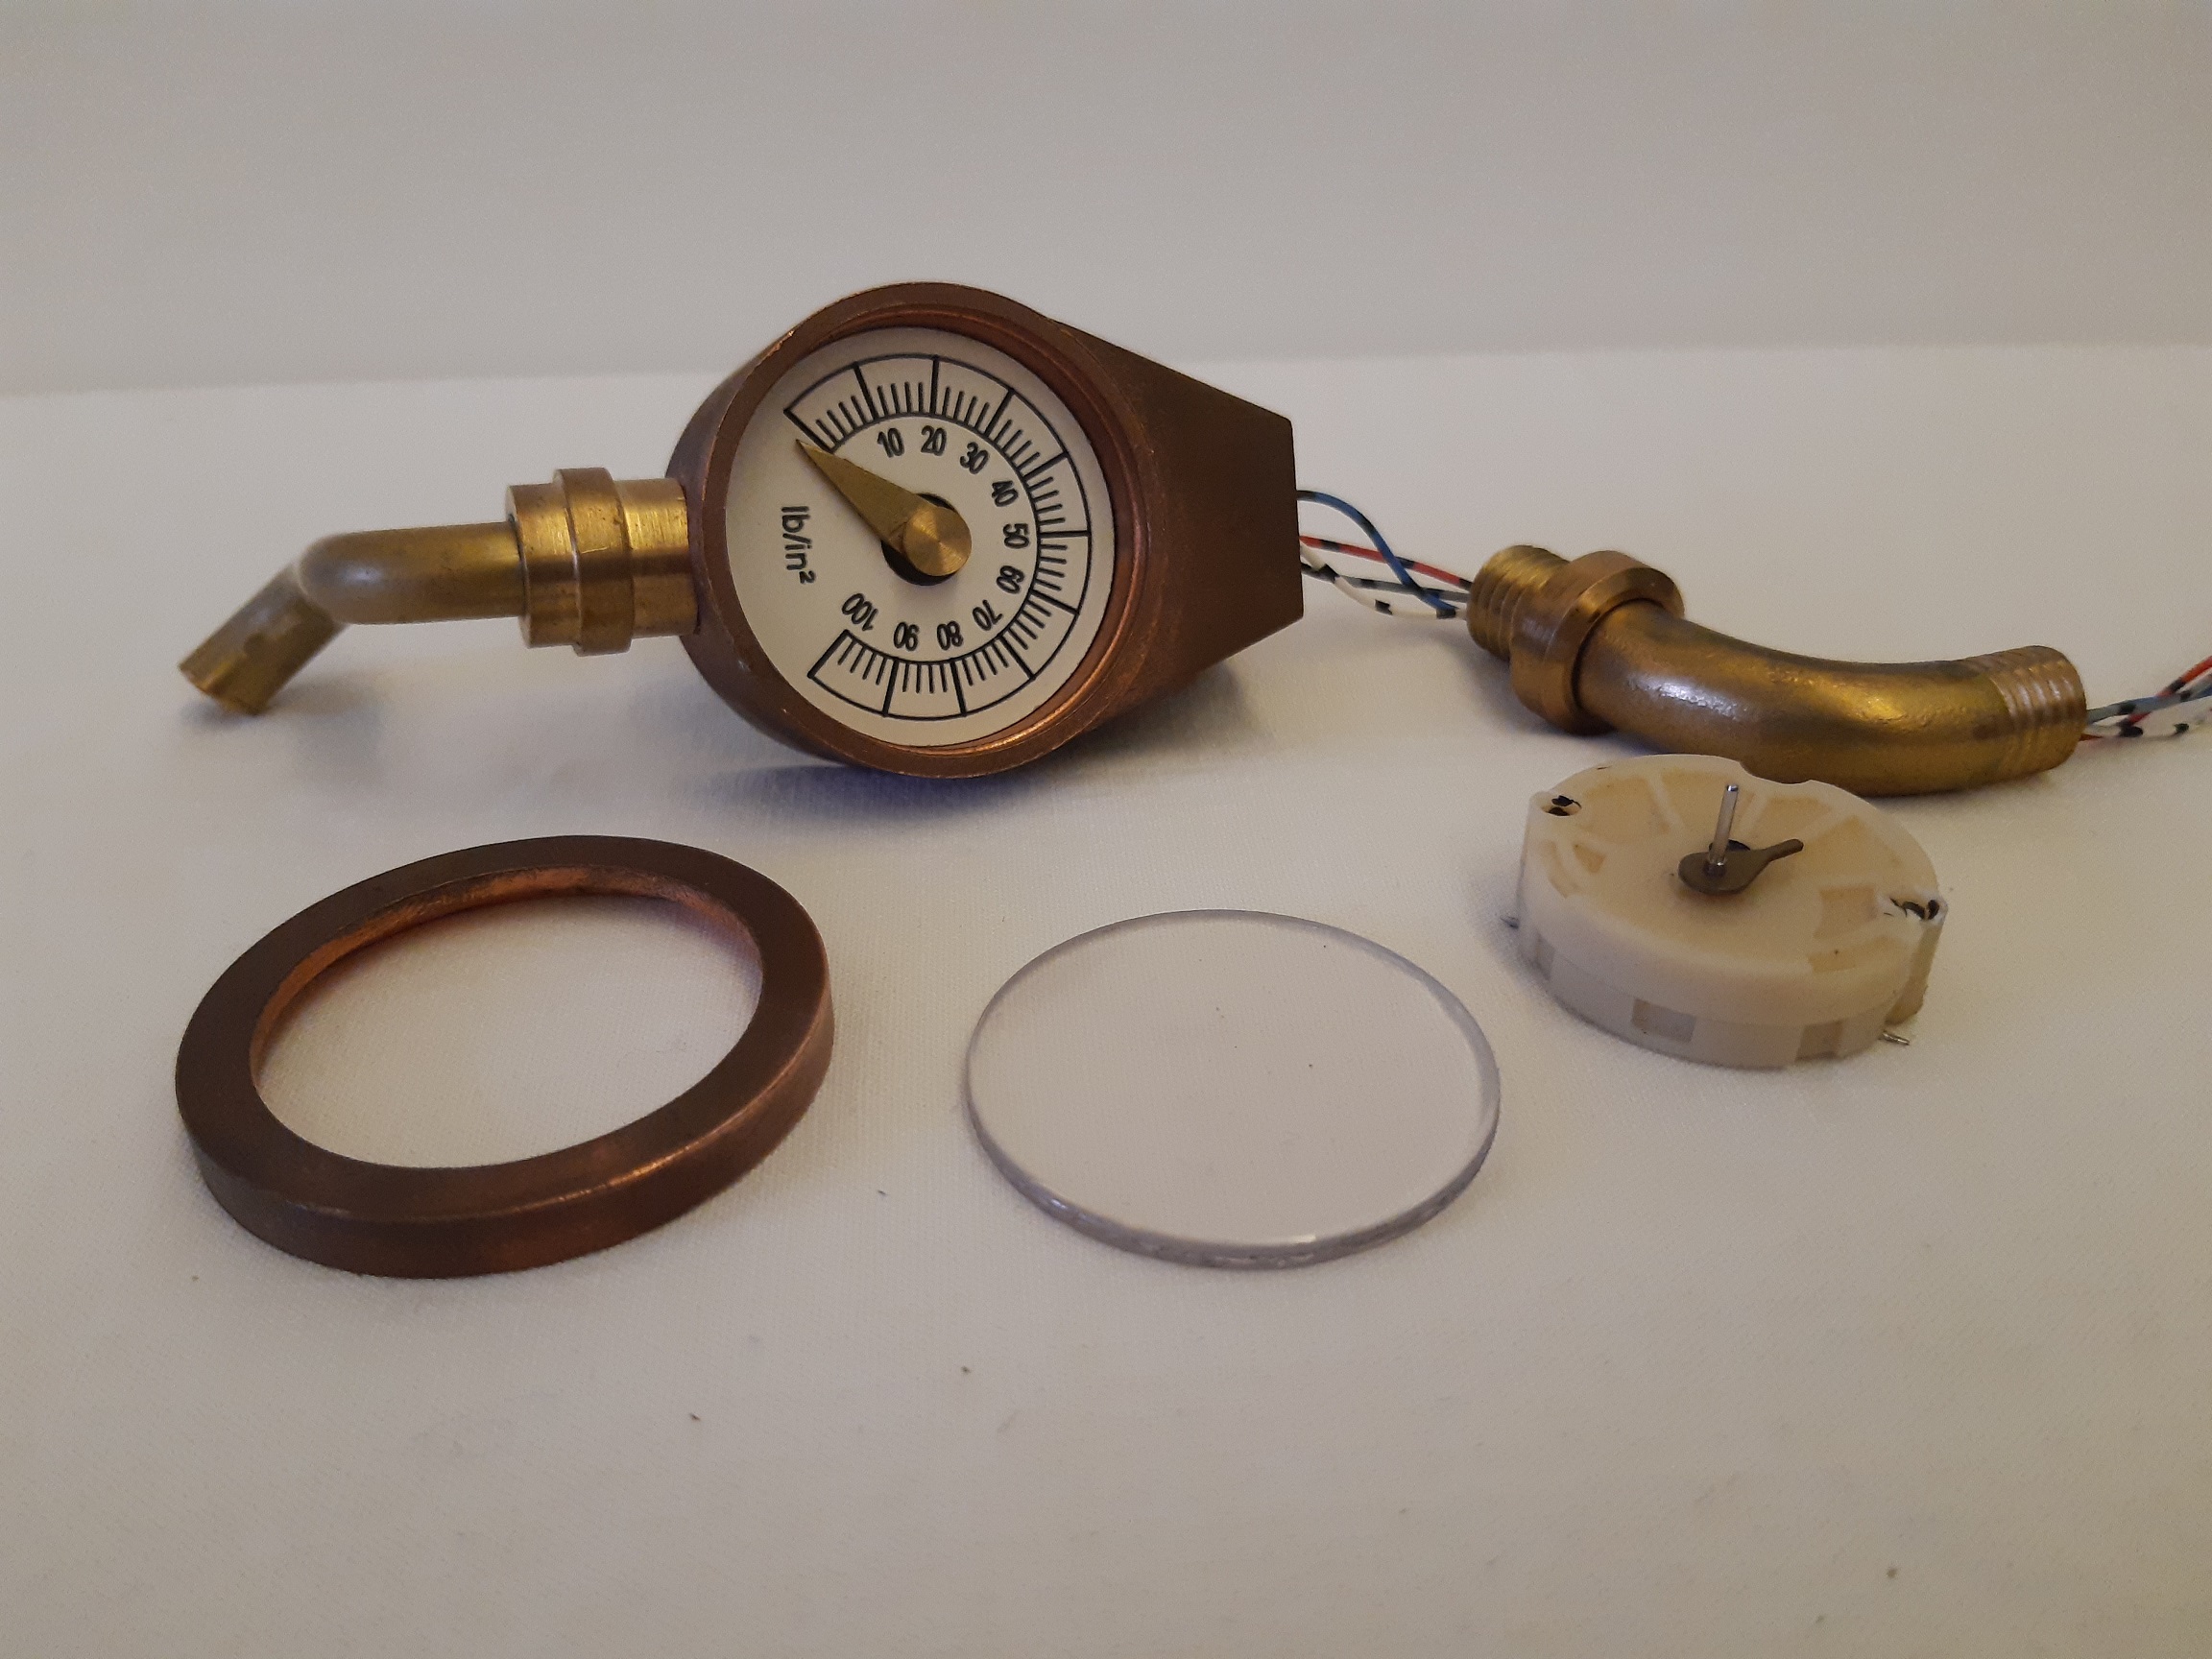
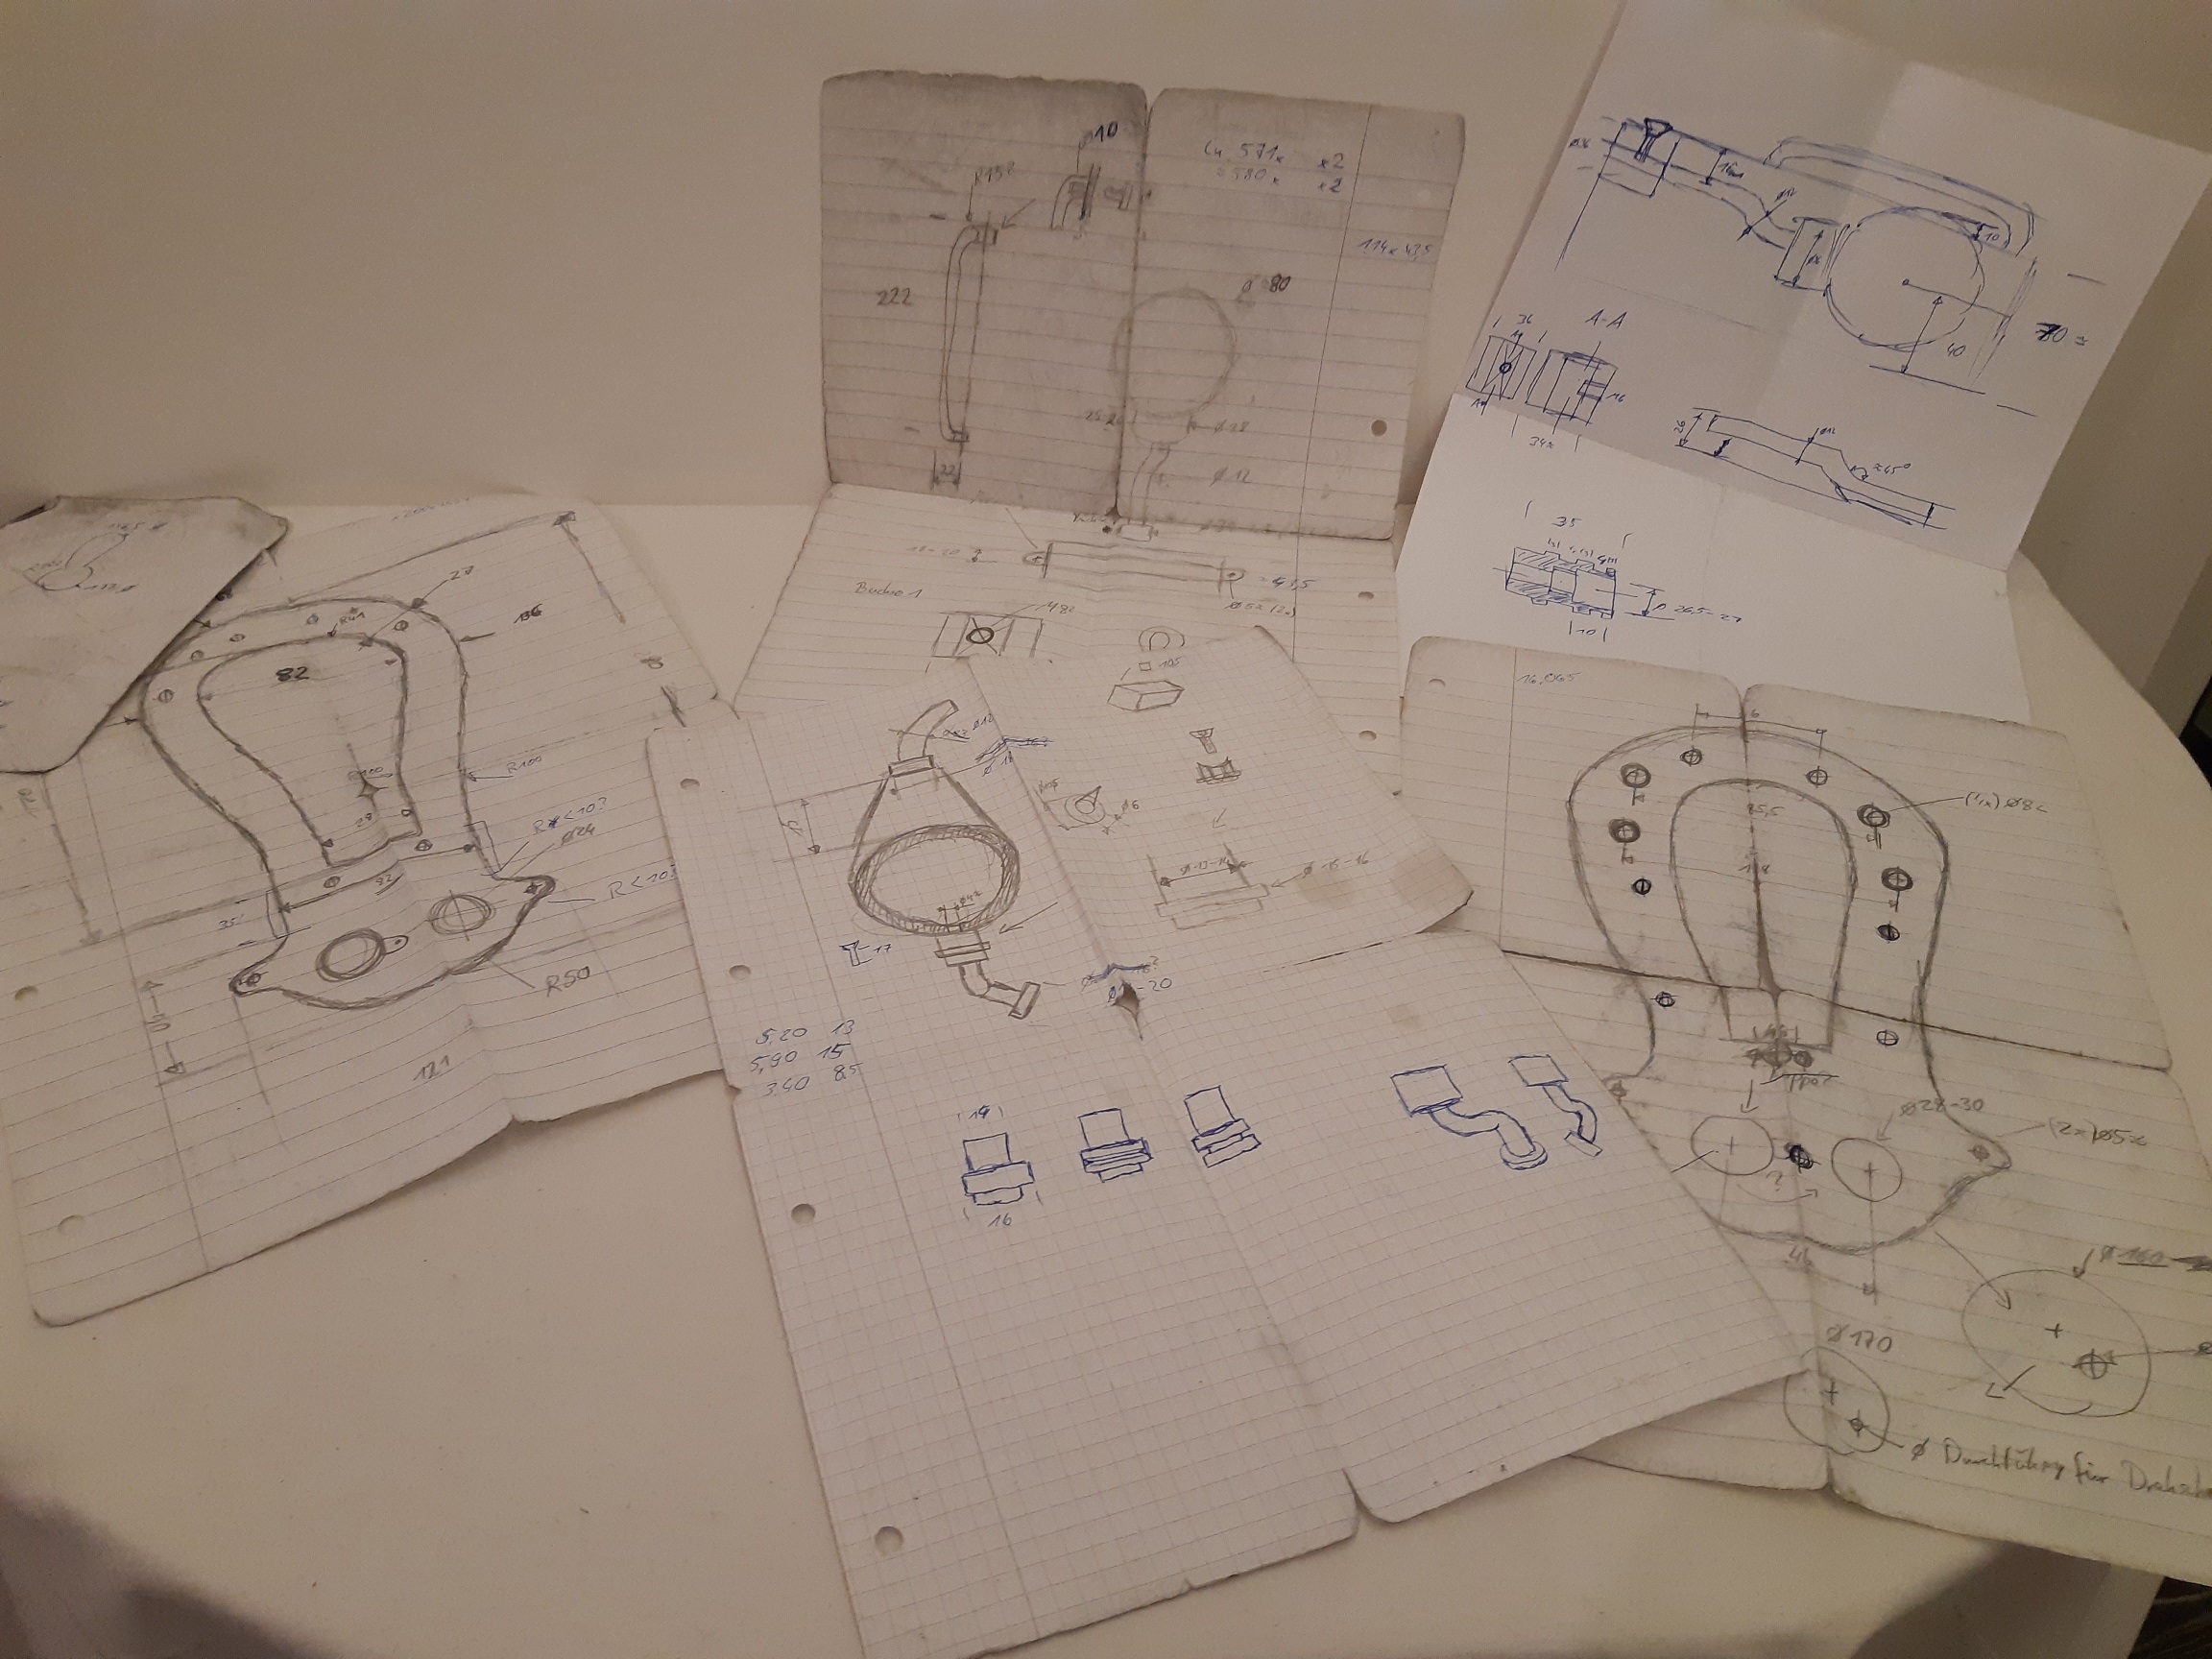
Thanks for pointing out the size error HaskIII. Of course its not 385 cm, its 38,5 cm (i changed the size specification for inch aswell)

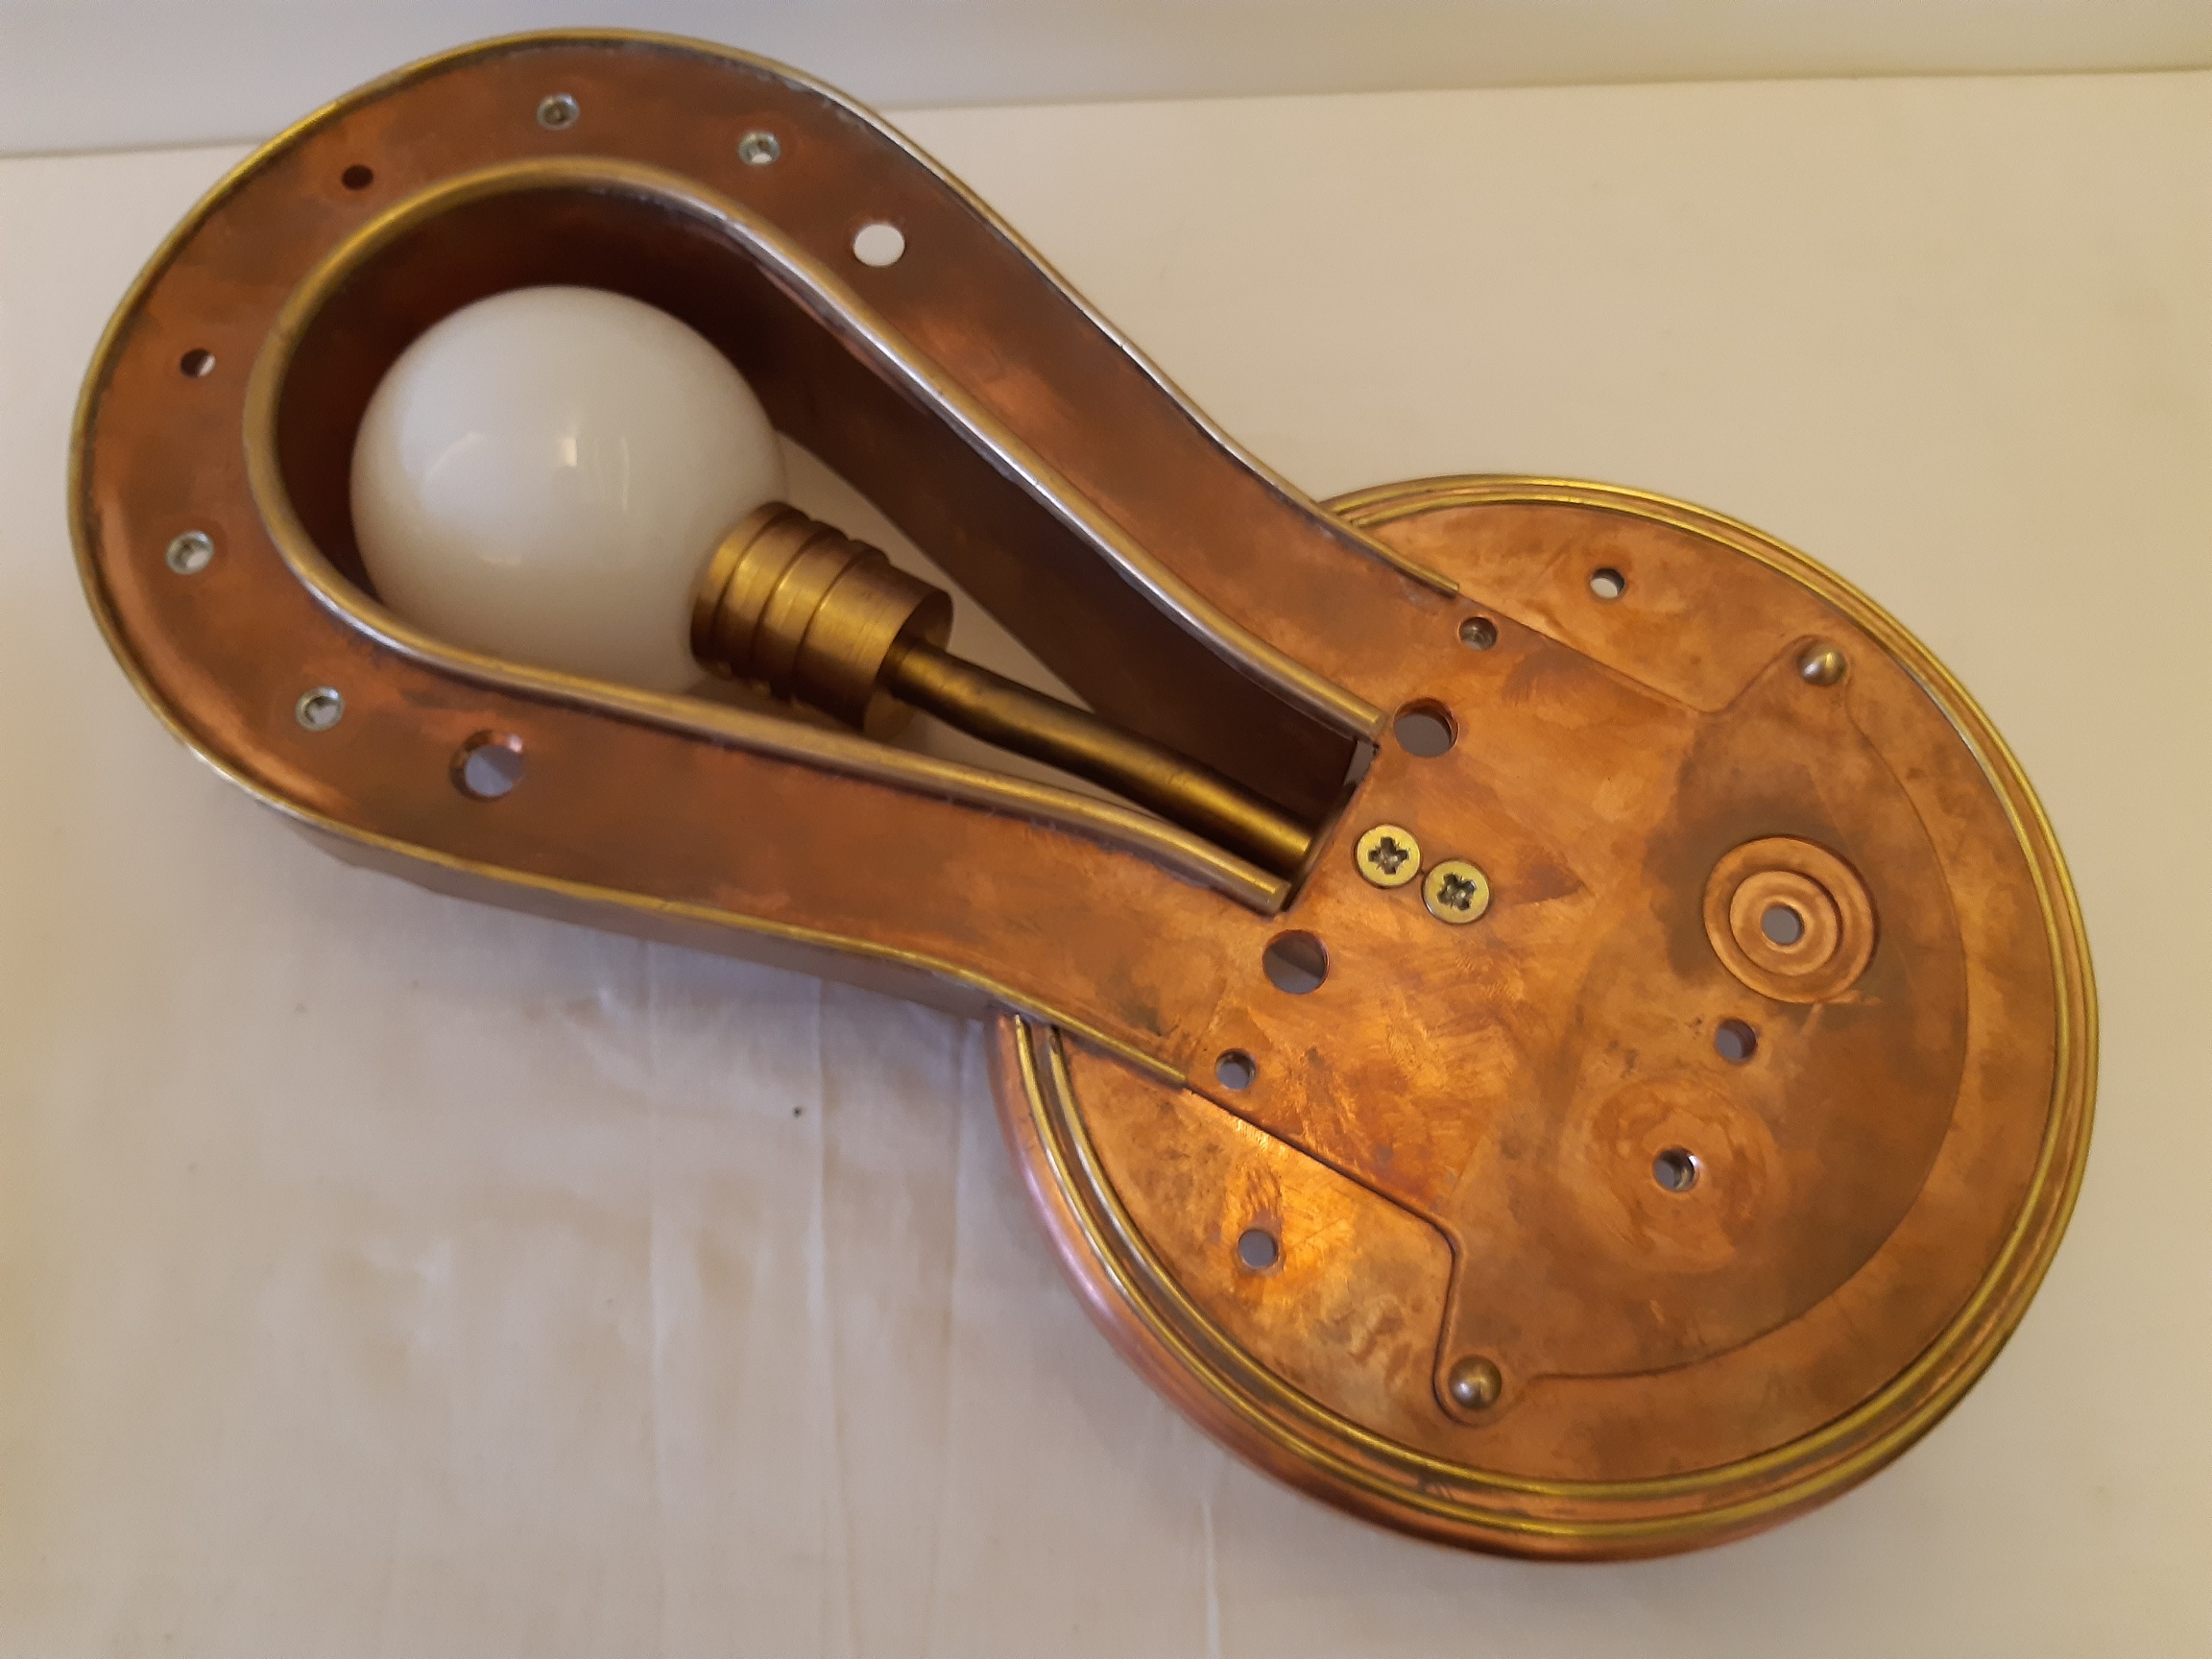
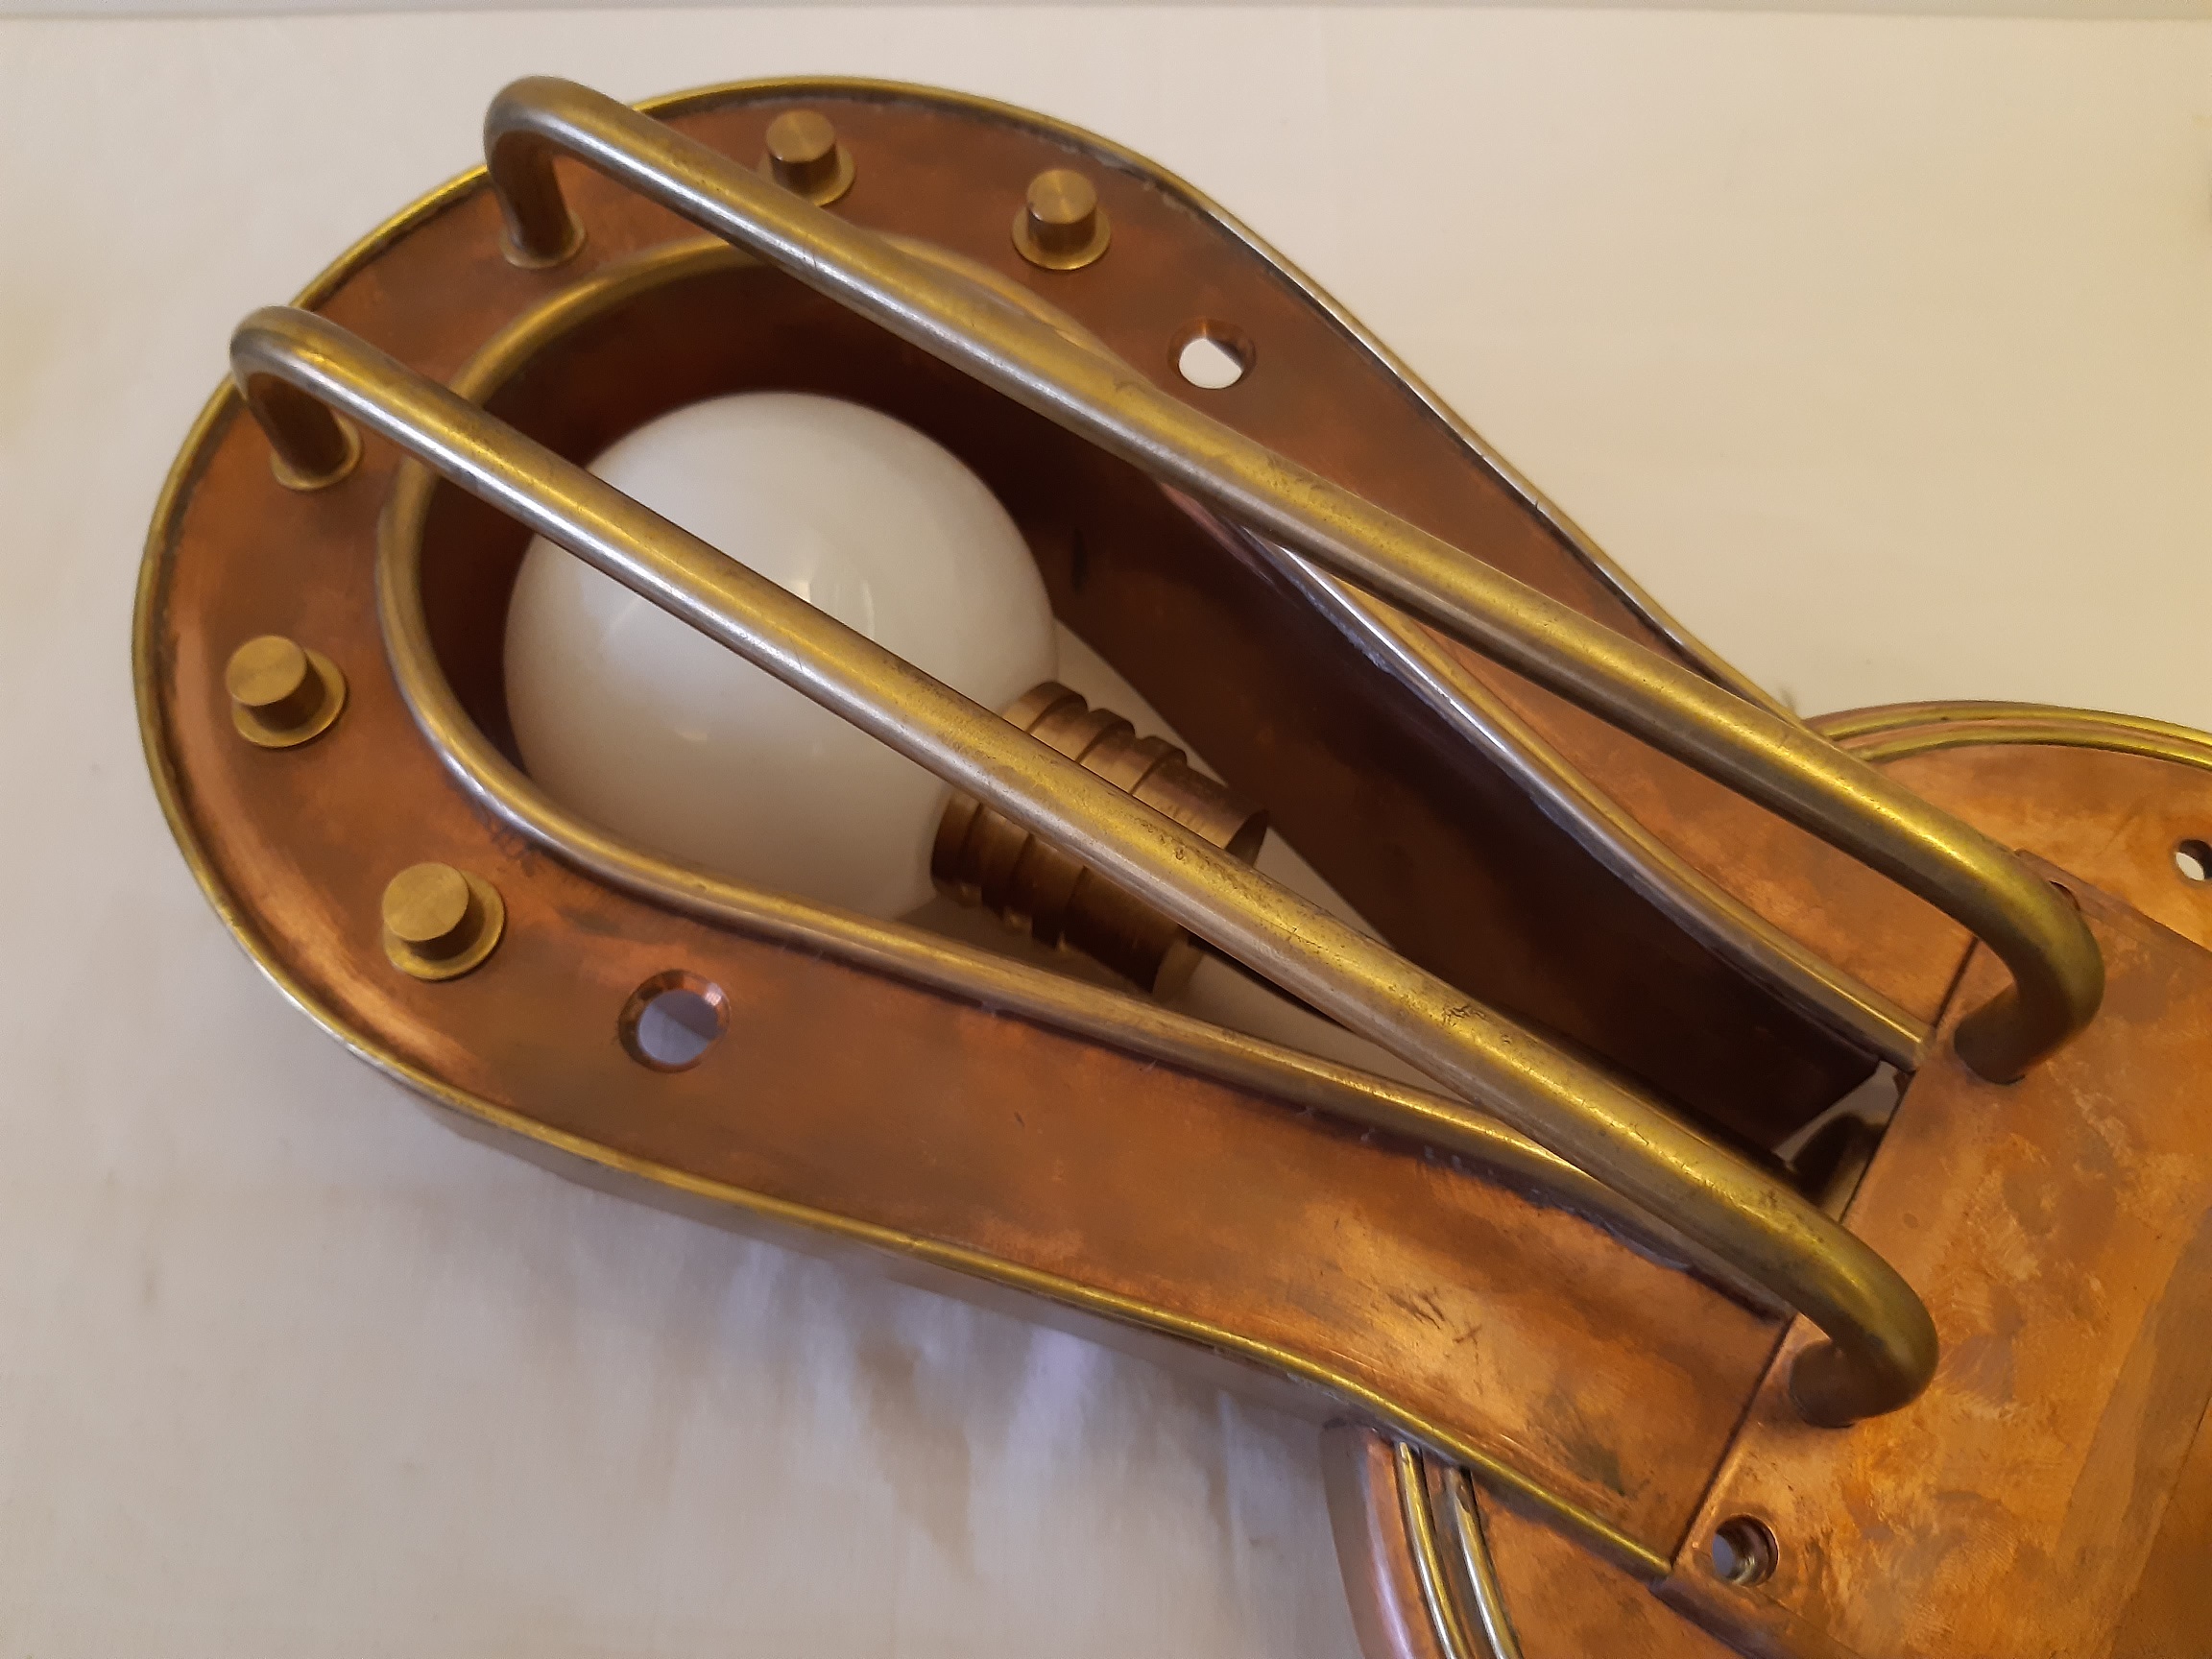
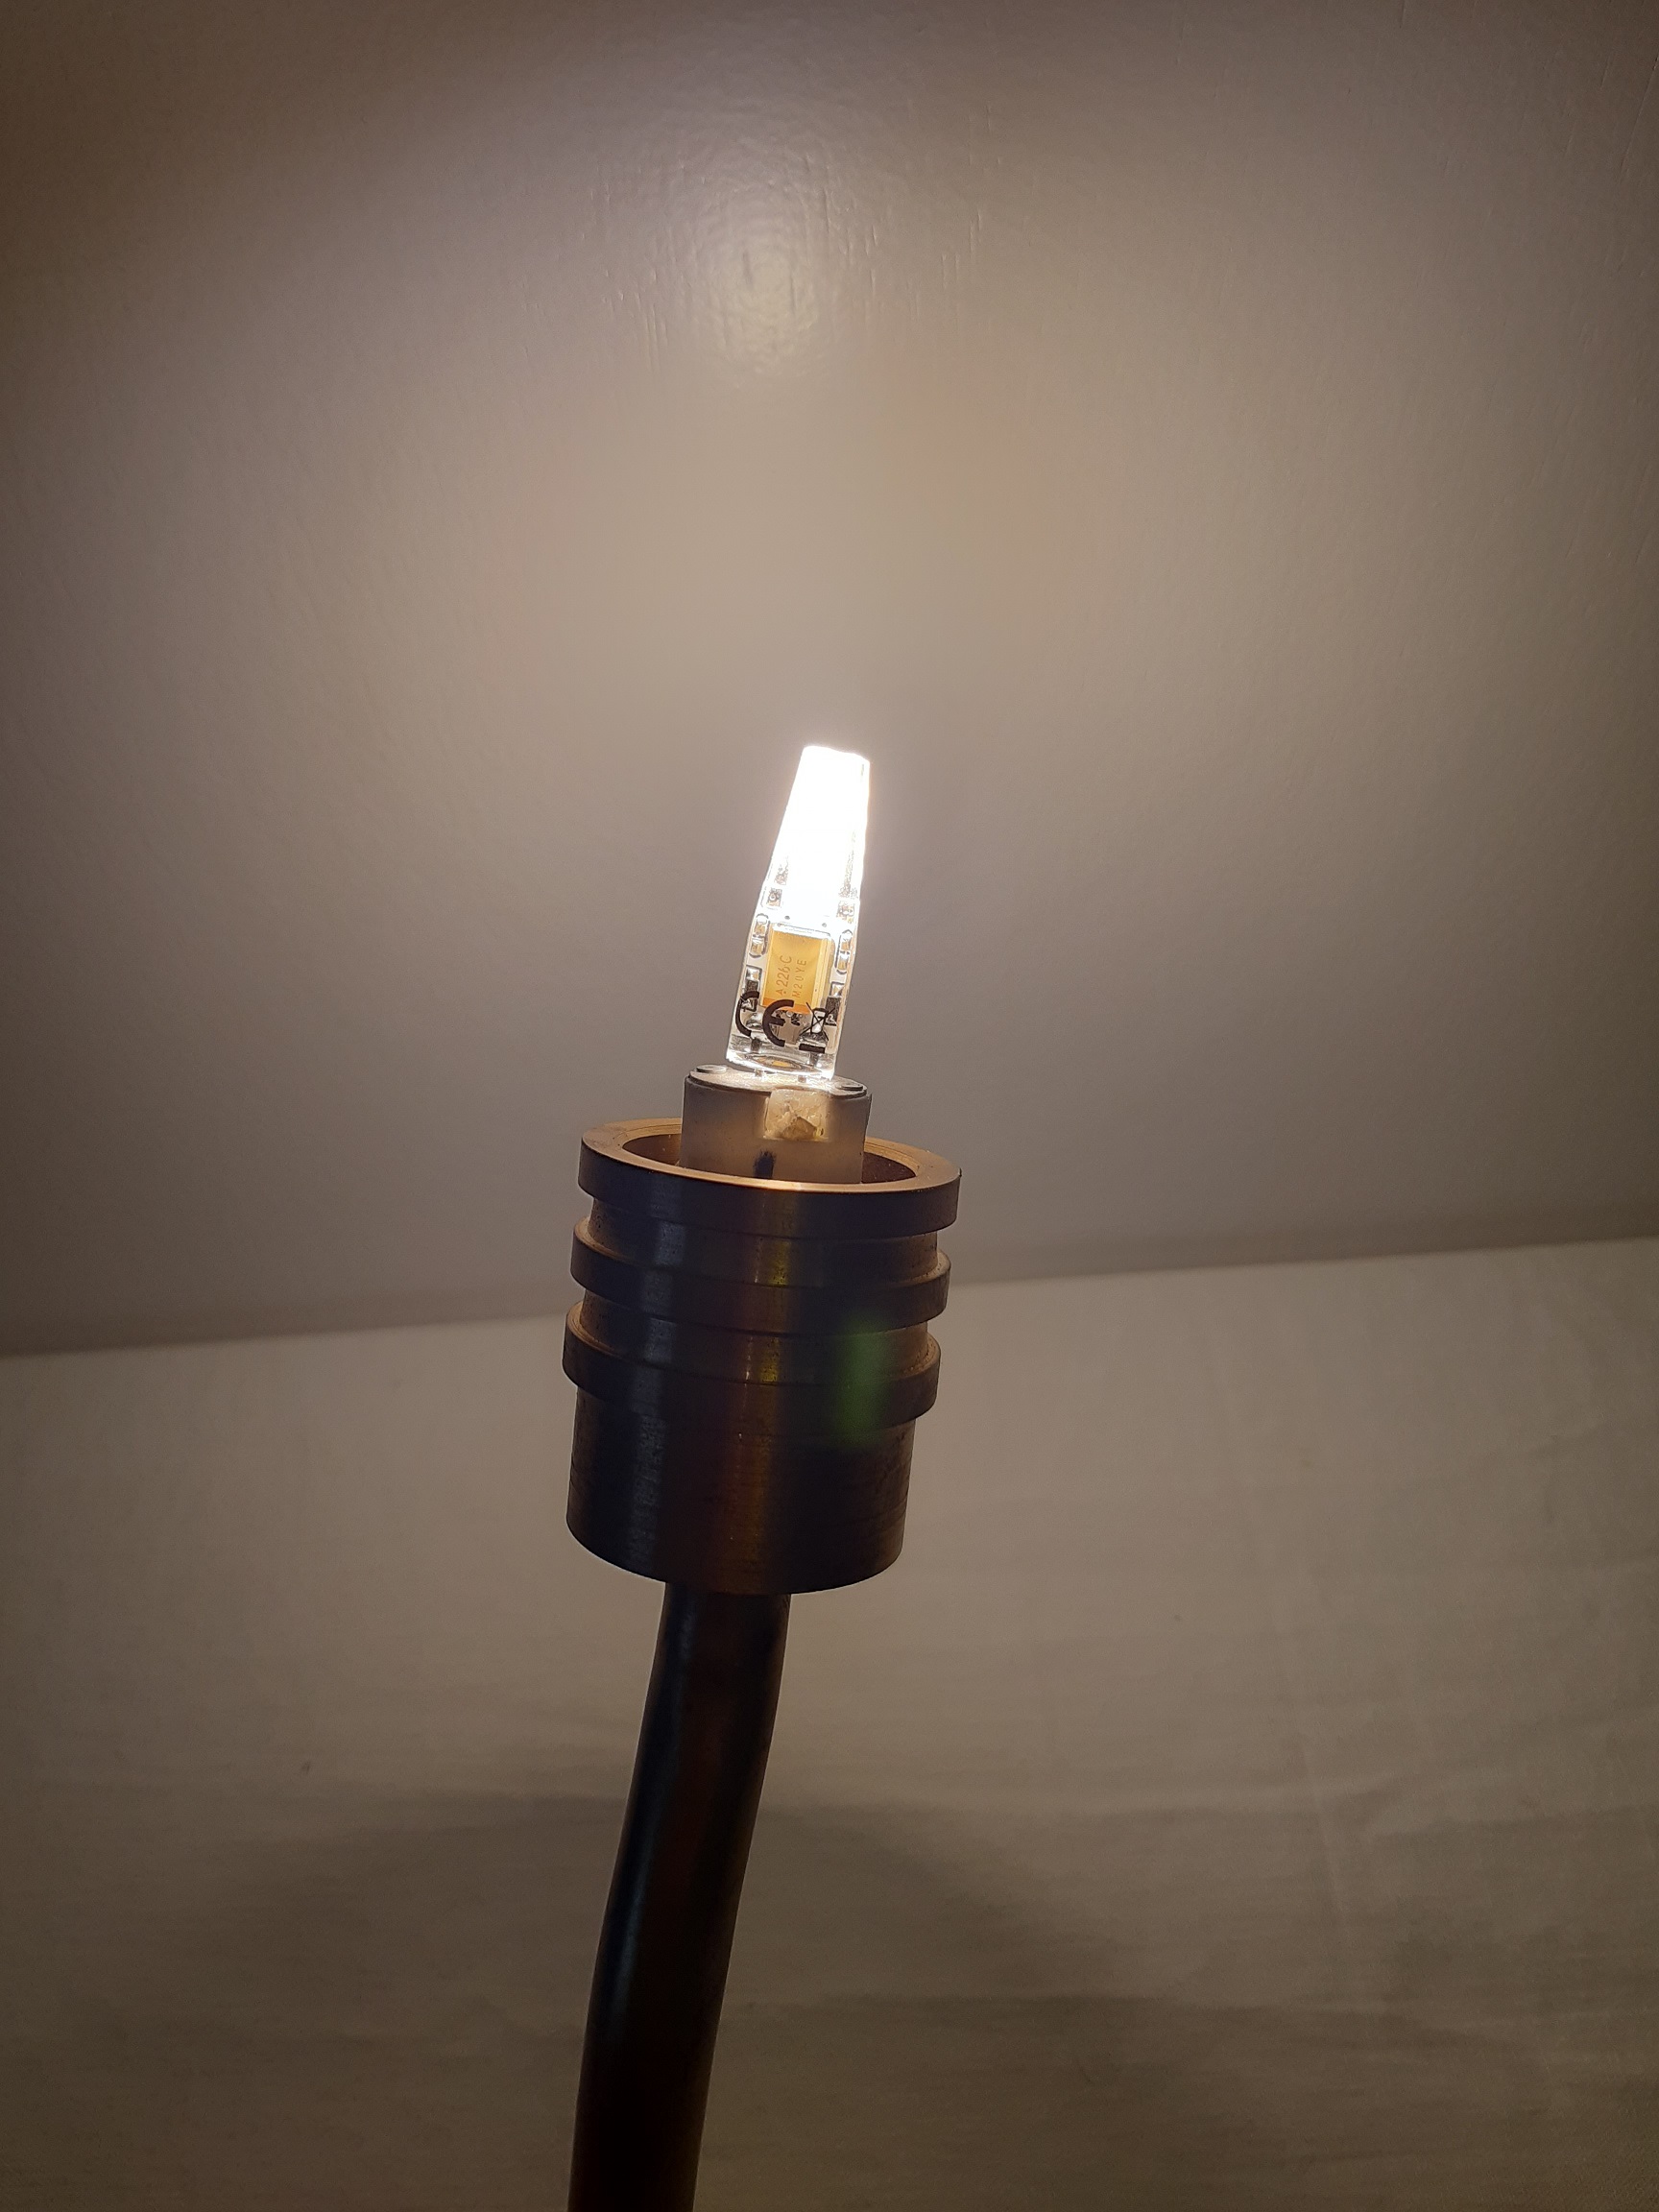
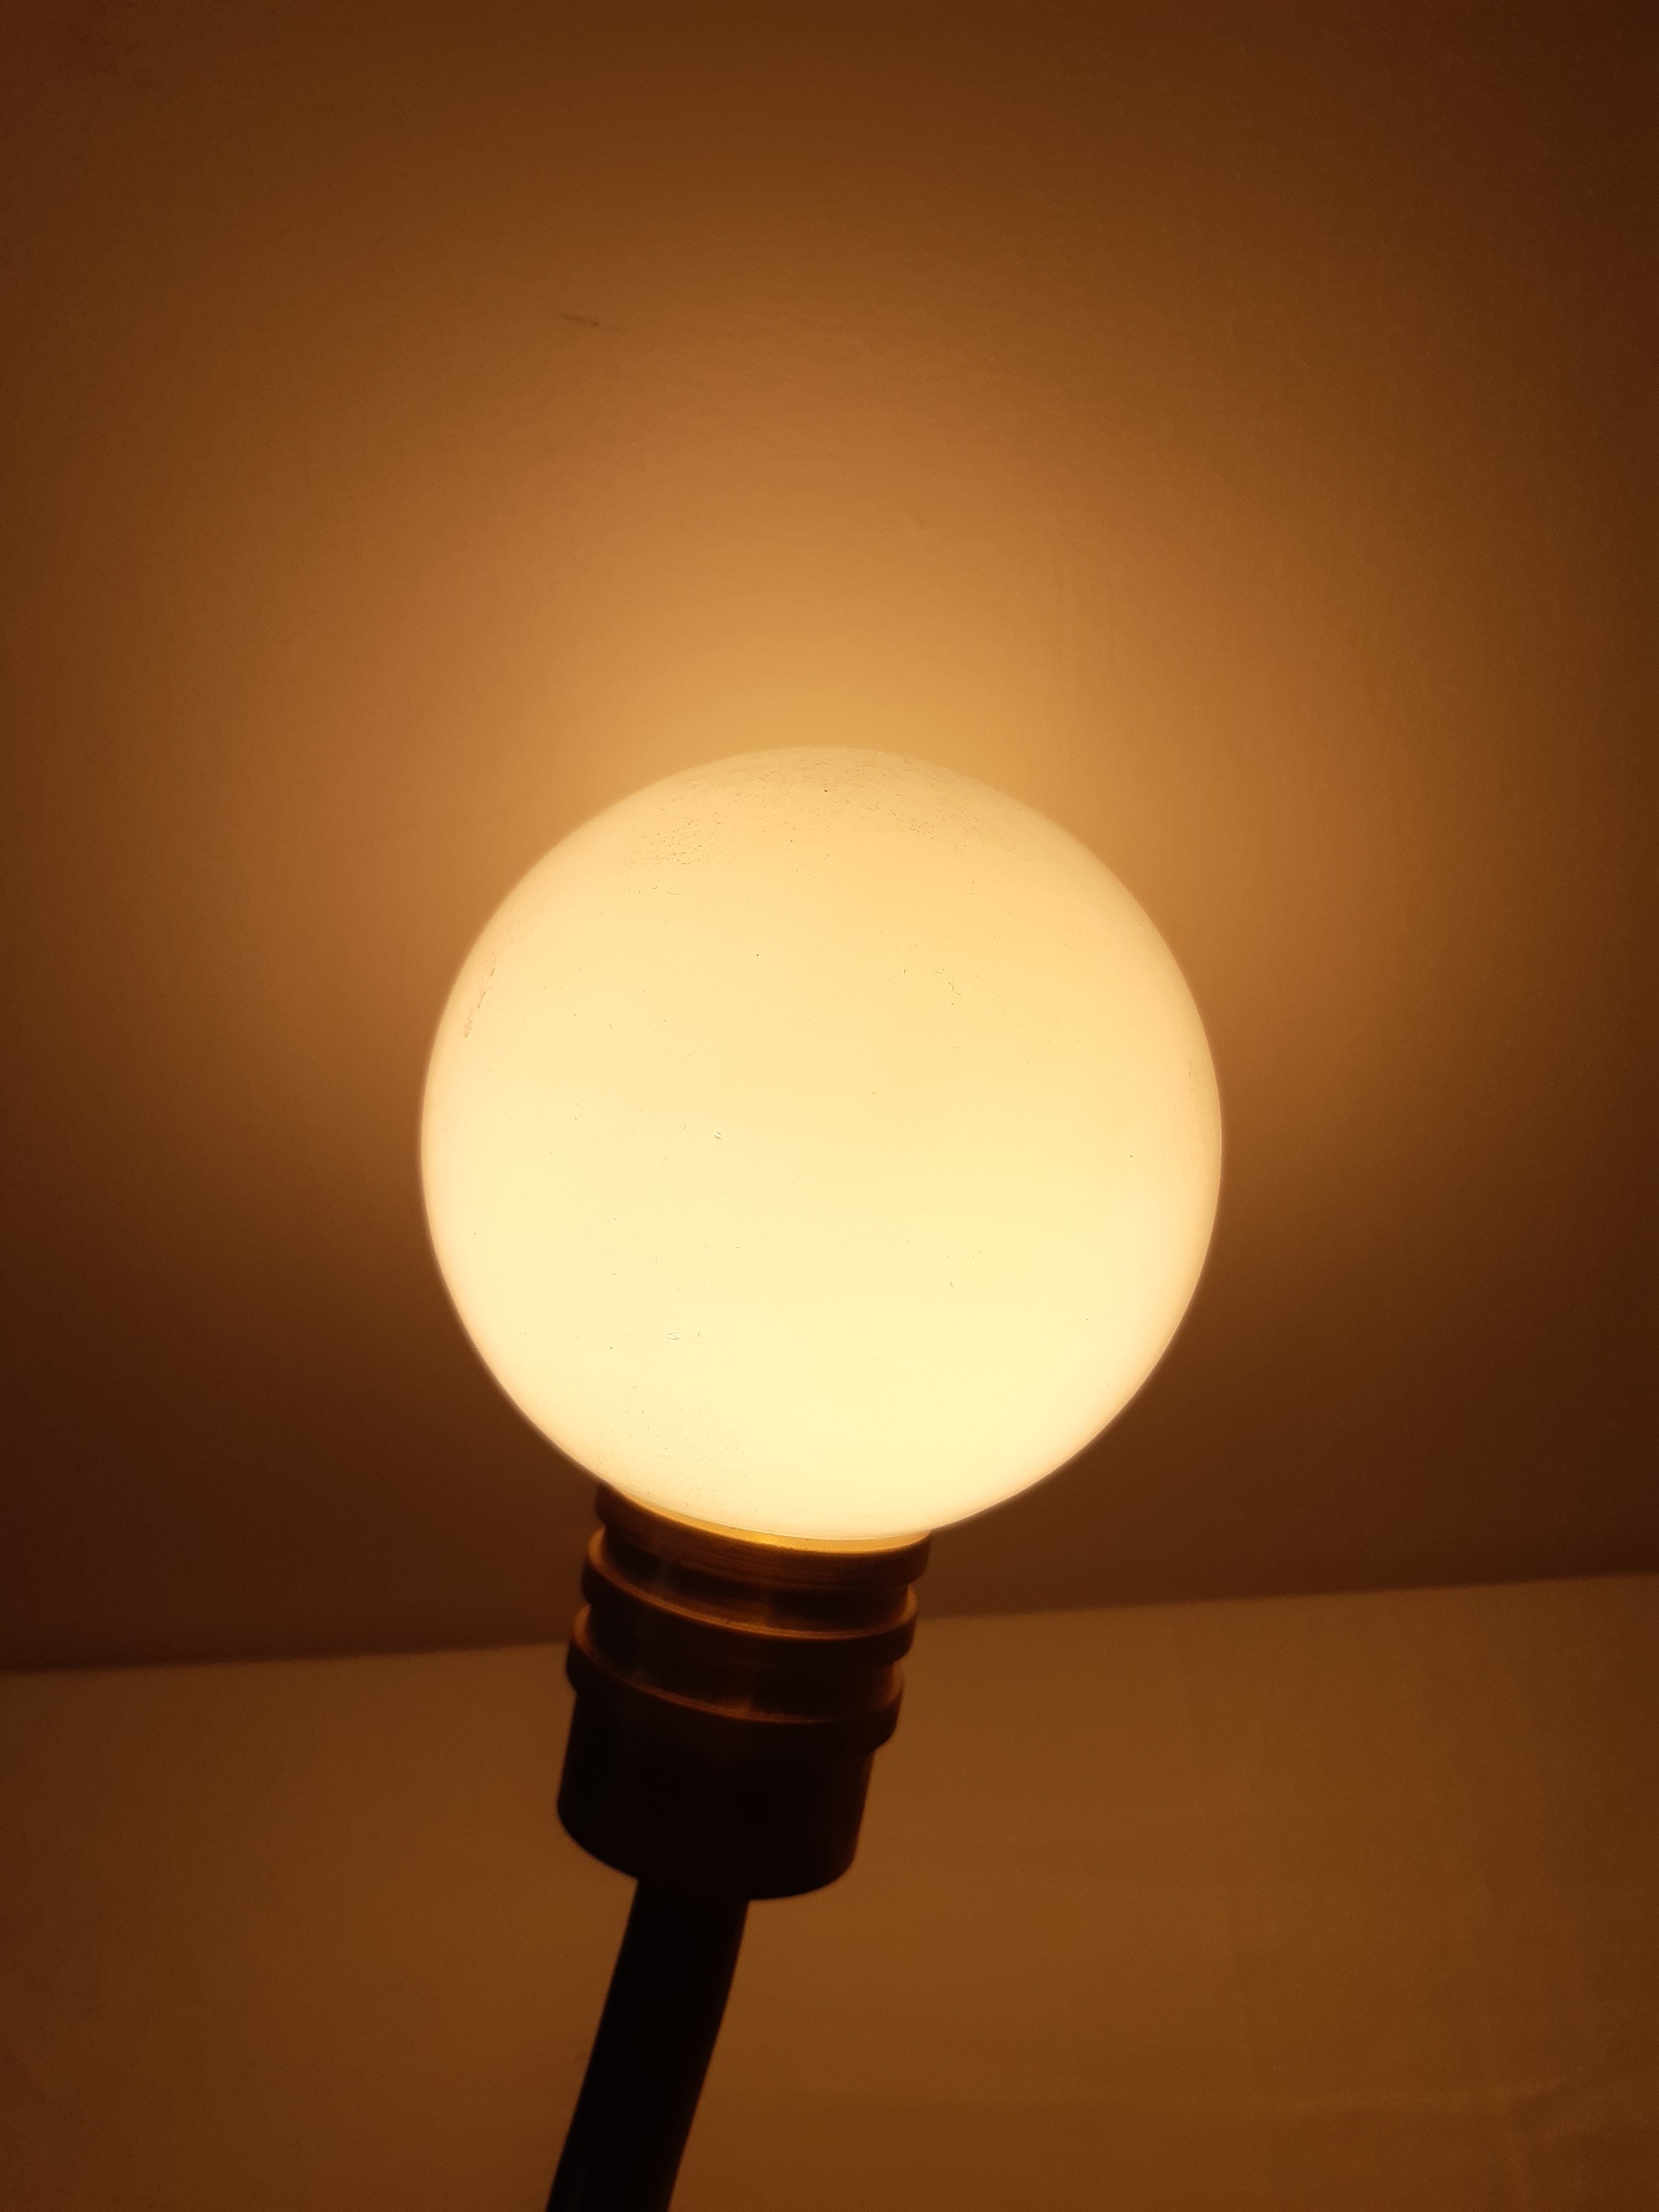
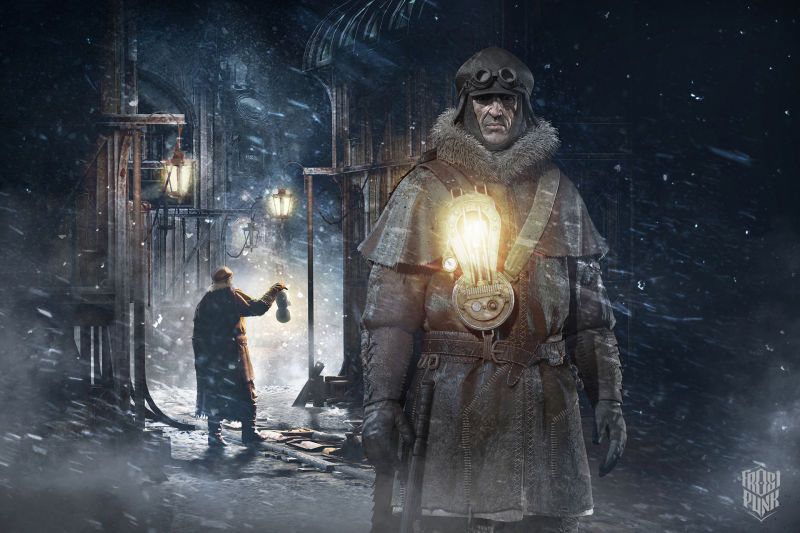
The Tilley lamp is a great idea for the lamp lore wise! I never heard about it before but the way it looks and operates, it would totaly make sense.
TheCoffeeBaron 25 Feb, 2022 @ 8:42pm 
... and all the comments go straight to nuclear when nobody has even considered the humble Tilly lamp.
PHYSCO KILLA 25 Oct, 2021 @ 2:03am 
why is it 385 cm high?
Golan Trevise 23 Aug, 2021 @ 3:59am 
This is amazing work. Personally though, I'd forget about the RTG. Polonium is (comparatively weakly) radioactive. Even if you managed to get it installed successfully, your wonderful device could then be very harmful if you accidentally broke it. RTGs for use in space generally use Plutonium. Perhaps you could get some from some terrorists and then give them a phony bomb filled with used pinball machine parts (sorry Back to the Future reference there), but seriously, you are not getting your hands on plutonium! The reason plutonium is generally preferred for RTGs in space is that polonium, whist having great power density, has a half-life of 138 days. Nice idea. But not practical.
Ghost 5 Apr, 2021 @ 9:37am 
where do i Buy this?

\TAKE MY MONEY!/
c2 16 Jan, 2021 @ 3:07pm 
Amazing <3
Getsum07 15 Dec, 2020 @ 5:00pm 
Impressive work
Mantoko  [author] 7 Sep, 2020 @ 1:19am 
Sofar it wasn't necessary to isolate the battery or any part of the lamp from the heat, generated by the heating foil. Since the battery died down befor reaching a critical heat. A copper body of this size takes forever to heat up but cools rapidly.
Archimedes 6 Sep, 2020 @ 7:26am 
How do you keep battery and lamp safe from heat?