Shadow Warrior Classic Redux

Shadow Warrior Classic Redux

125 ratings
Twin Dragon - Secrets (Part 2)
By Lucas
A guide to all secrets in the Twin Dragon expansion pack. Levels 8 - 13
Credits:
http://www.youtube.com/user/galleyuk
http://www.youtube.com/user/pekingduck
   
Award
Favorite
Favorited
Unfavorite
Silver Bullet
Extra 1
Soon after the level begins, enter the small grocery store nearby. If you use the register, it will open a nearby wooden panel with a Missile Launcher.


Secret #1
Notice the "Zilla Cola" billboard in front of the Blue key door. Follow the wall until you see a small wodden section:

This section is actually an elevator. Bring it down and go up, and the secret will be credited near the billboard.


Secret #2
Almost in front of the billboard are some windows (to the right of the Blue key door). Notice one that is different from the others:

To get to that window, you'll have to walk around the edge of the building. It's possible to do so with the nearby red car, but it's a difficult jump. If you prefer, wait until you're near the Red key door to do so.


Secret #3
As you enter the Blue key door, move to the left where there's a blue phone and a map. Use the phone to make the map lower and reveal the secret.


Secret #4
In the train, at the intersection between carts right before the Yellow key door (and after the bar/restaurant area) is a crack in the wall. Blow it up to reveal the secret.


Secret #5
Near the end of the level, after you blow up the way in front of the train, before going down, look to your right to spot a small hole. Go in for the secret.


Extra 2
Right after the last secret, be sure to drop down to the left of the bridge and climb the waterfall to get a Full Kevlar Armor! Also, there'll be another hole in front of the armor with a Rail Gun Rods in it (for some reason it's invisible)!
Fishing Village
Secret #1
Be sure to take the boat up the river. As soon as you make the first turn, look to the wall to your left to spot a small waterfall and a hole. Use the boat to jump into the hole. Once inside, follow the small path and walk into the small waterfall to finally reach the secret.


Secret #2
From the last secret, go to the other bank of the river and look to your right. Behind a tree and between the woods is a small opening covered in green. Walk through it to get the secret.


Secret #3
Continue going up the river and stop when you reach the "Fresh Scallops" sign:

Here, dive down and look for a crack somewhat hidden by some plants. Blow it up and navigate through the hole to emerge at the secret area.
Secret Garden
Secret #1
After you go through the first door, when you exit the tunnel you'll be at an intersection. Take the right path and, near the Red key door, look for a faint crack in the wall. Blow it up to reveal the secret.


Secret #2
From the last secret, backtrack and take the left path this time. Be on the lookout for a room to your left, with a pond at the bottom. Dive into the pond and look for a hole in oone of the island's walls, which is the secret.


Secret #3
After you blow up a wall (and jump into the hole) to make progress, take the left path (opposite to the door). Before entering the room with a Full Kevlar Armor, look for a faint crack in the wall to your left (towards the river). Blow it up and jump into it for the secret.


Secret #4
After entering the Red key door, notice the lava-tiled room to your right. Here, look for a brighter section of the wall to your left. Open it to reveal the secret.


Secret #5
In the corridor that leads to the Gold key door, near the beggining, there is a section of the wall that is brighter. Open it to reveal the secret.
Hung Lo's Fortress
Secret #1
Near the place where you obtain the Bronze key, near the stairs (you should notice the Level Inifnity Logo), look at one of the corners: there'll be a space you can jump to. Do so to get the secret.


Secret #2 & #3
When you're underground, in the water, when you reach the room with a pillar in the middle, move towards the right. You'll eventually drop, indicating that you can dive in this spot. Do so, and when you emerge on the other side, you'll be credited a secret. After, when you jump to the armor, another secret will count.


Secret #4
After unlocking the Bronze key door, after you jump the hole, look back and to the left: you should notice a small ledge you can jump to. Jump and follow the ledges and you'll eventually reach an elevator: this place will count as a secret.


Secret Exit
From the last secret, ride down the elevator, and when you reach the bottom you'll see the Secret Level Exit.
Prison Camp (Secret Level)
Secret #1
Right at the beggining of the level, after you exit the cell, look to the left to spot a crack in the wall. Blow it up to reveal the secret.


Secret #2
After climbing the stair, proceed past the Silver key door, take the right path at the intersection, and when you reach some windows, move to the right window and look for a crack in one of the walls (if you look from the outside the window will frame it perfectly). Blow it up to reveal the secret.


Secret #3
From the last secret, walk along the outside path, looking for a crack in one of the big trees. Blow it up and jump inside for the secret.


Secret #4
After opening the Gold key door, when you reach the pond area, climb the left building (the one with a Riot Gun) and look for a crack in the wall. Once again, blow it up to reveal the secret.


Secret #5
After destroying the fixed machine gun, investigate each of the lighter-colored tree sections: one of them will hide a very small path behind it. Going here will count as a secret.
Hung Lo's Palace
Secret #1
As you make your way around the level, make sure to go through the corridor/room series that have the flags and rooms that point to the outside. In one of the flag rooms, there'll be a statue and a Kevlar Armor on the altar:

Here, look behind the altar to spot a switch. Trigger it to make a small compartment open (the one without a candle) with the secret inside.


Secret #2
While traversing the corridors mentioned above, stop when you see a mirror:

Look carefully at the walls just before reaching this part of the corridor: one of them will have a faint crack on the wall. Blow it up to reveal the secret.


Secret #3
While going around finding the switches that summon the last boss, when you activate switch #3 (it's in a bedroom), go to the opposite bedroom. Here, open the cabinets to make them lower and reveal the secret.


Secret #4
When you activate switch #1, look around to spot an air vent. Break the vent and enter to obtain the last secret of the expansion pack!
Credits
I must give credits where it's due!

This guide wouldn't be possible without the help of GalleyUK's incredible videos, found in his YouTube channel:
http://www.youtube.com/user/galleyuk

Also, GalleyUK himself wouldn't have been able to do his videos without the help of an experienced Build engine tinkerer - PekingDuck - you can find him in his YouTube channel:
http://www.youtube.com/user/pekingduck
6 Comments
TAW|REA 17 Aug, 2014 @ 3:42pm 
Thanks! :footprint:
Atlaimond 25 Mar, 2014 @ 12:19am 
You are a really good sticky bomb friend. :) :sticky:
casual_deathstreak 9 Dec, 2013 @ 9:52pm 
Another awesome guide! I have been using all of your guides for the secrets, Lucas. Thank you very much for going through the effort of making all of them!

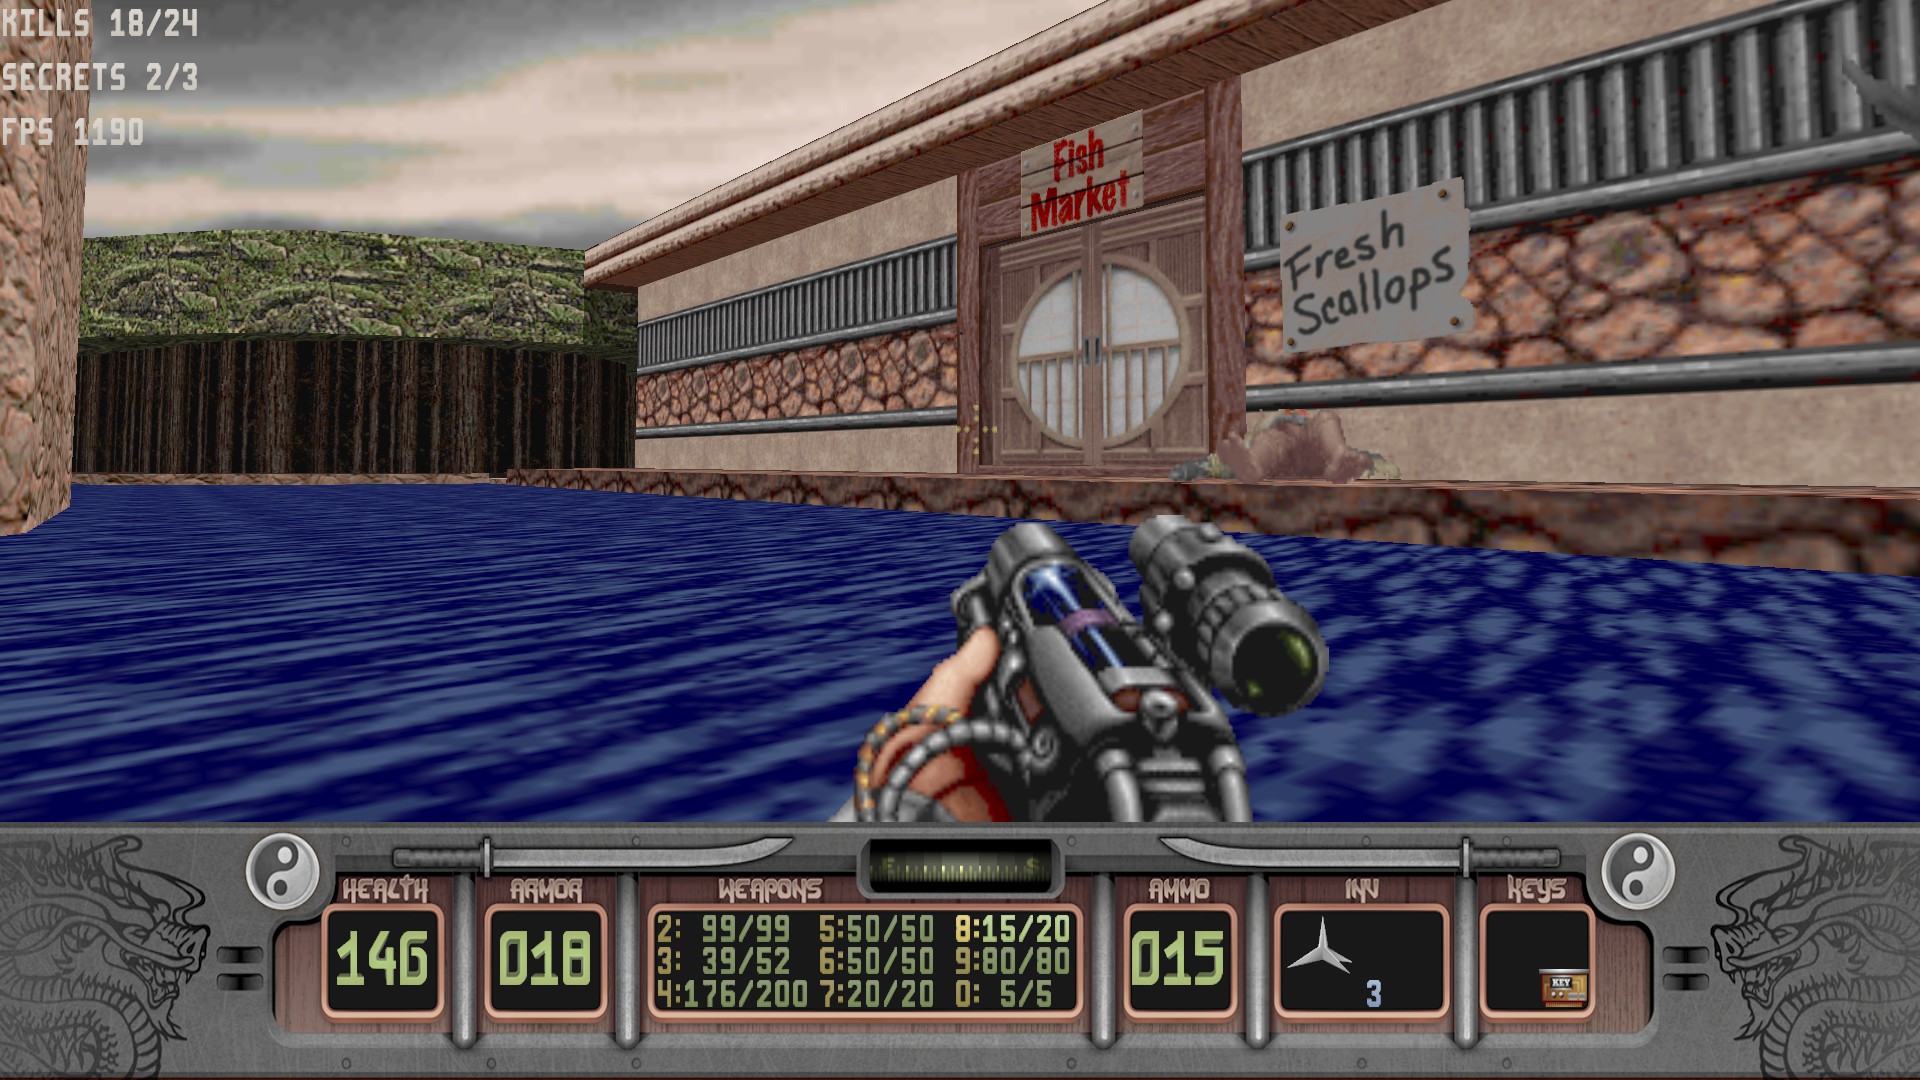
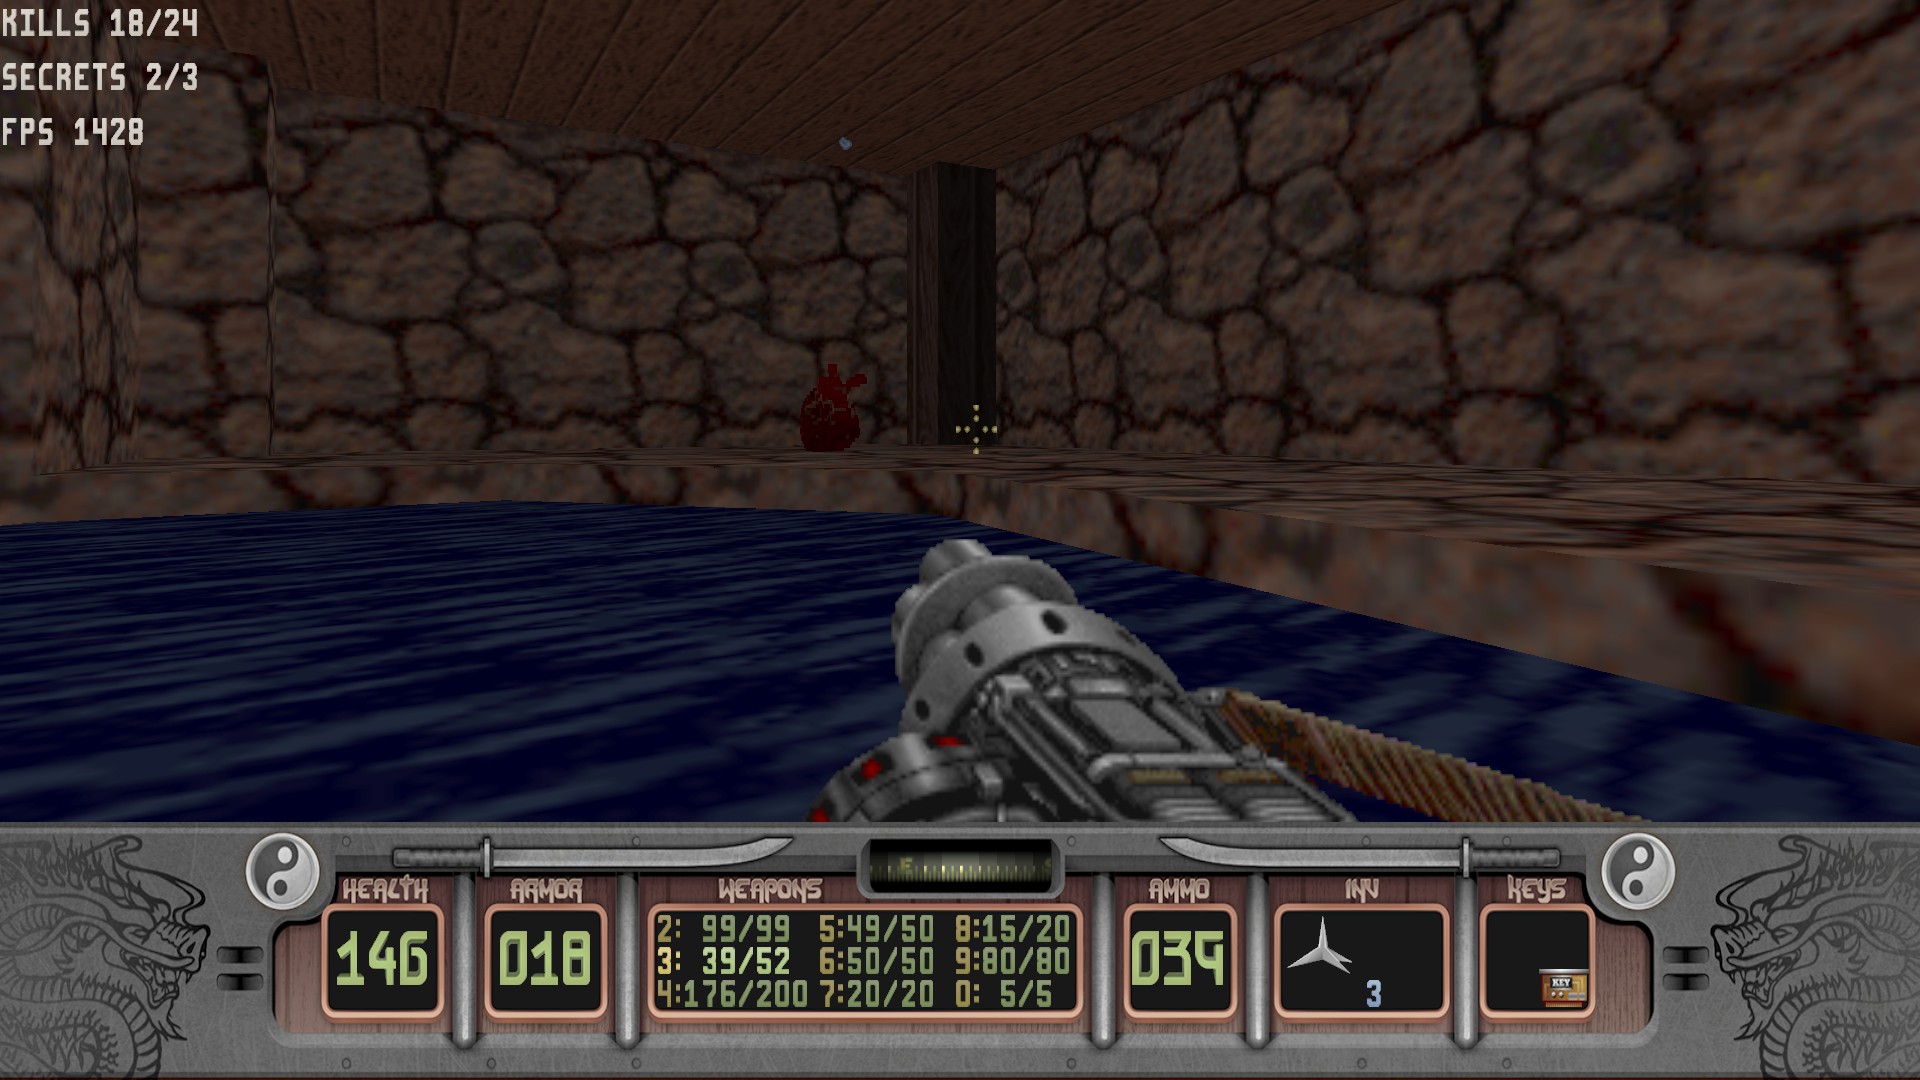
On another note, on Hung Lo's Fortress I was not able to find a way into the room with Sailor Moon in it, but I did find a Ripper Heart behind the tiger painting where the silver key is located. :)
AEon 15 Aug, 2013 @ 12:55am 
Stupid the way Steam does not properly advertise those really useful guides :(. I downloaded the videos, IIRC, that you used as base material and went by them step by step yesterday to get all the secrets in Wanton Destruction .

On the plus side, your posts will at least give other players a hint that the guides exist. You might like to add nice links (e.g. Wanton Destruction Secrets Level 01 to 06 ) to all your guides at the top of every guide you made, to thus make it clear to folks that they exis.
Lucas  [author] 14 Aug, 2013 @ 3:44pm 
Sure thing, @AEon, here are the links to parts 1&2 of my Wanton Destruction guides:
http://steamproxy.net/sharedfiles/filedetails/?id=160571620
http://steamproxy.net/sharedfiles/filedetails/?id=161753747
AEon 13 Aug, 2013 @ 11:30pm 
Great... did you also get around to do the "Wanton Destrcution" add-on secrets?