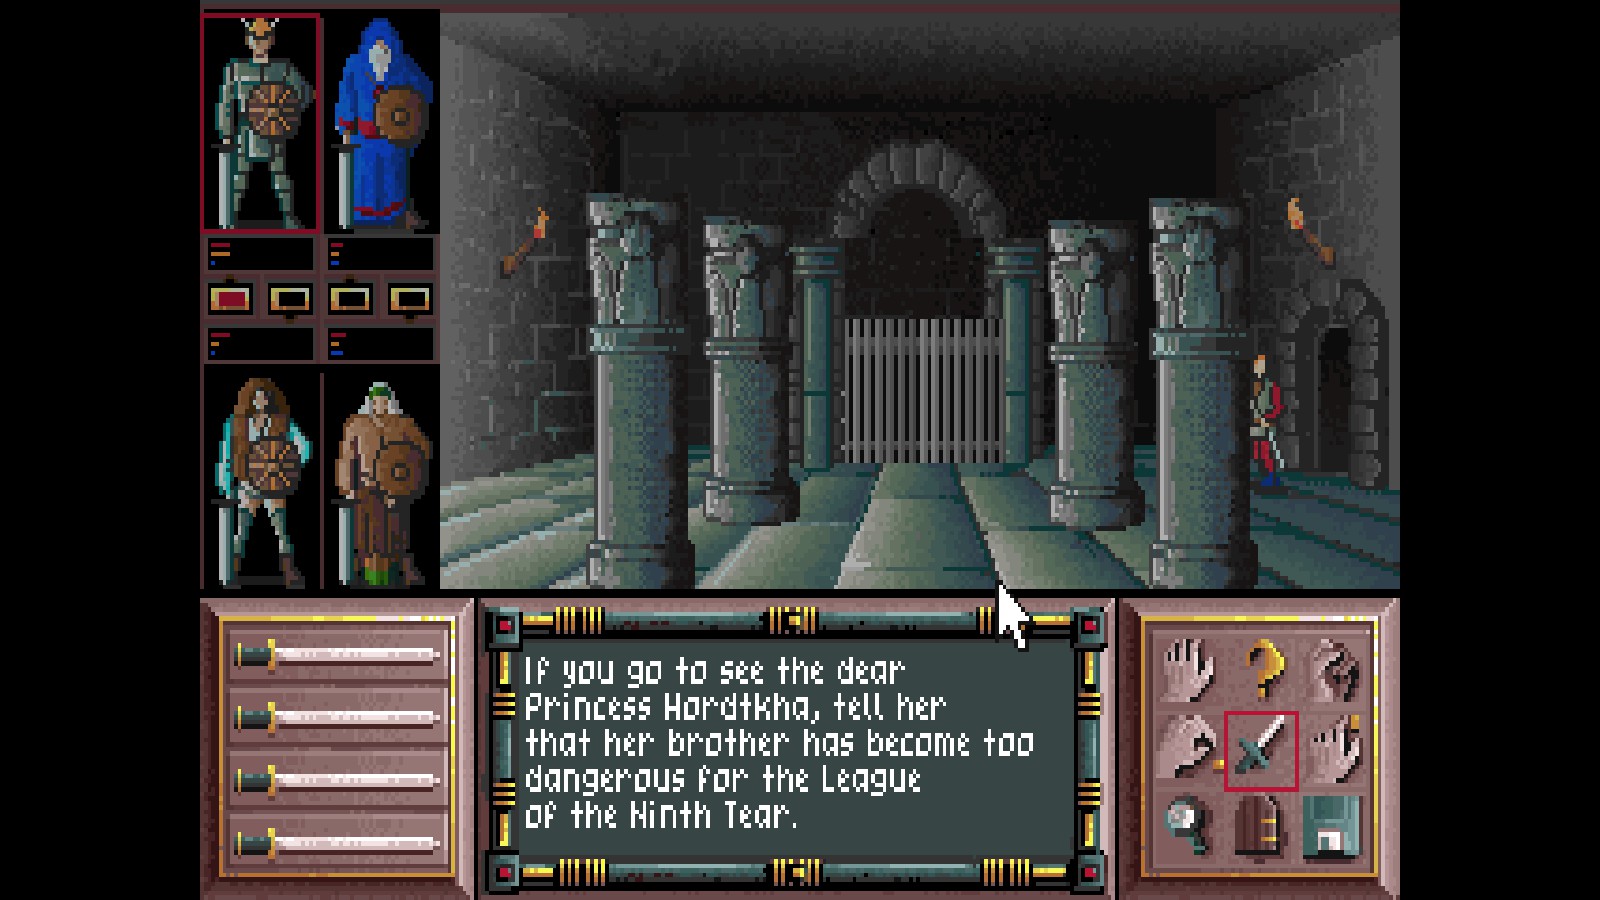
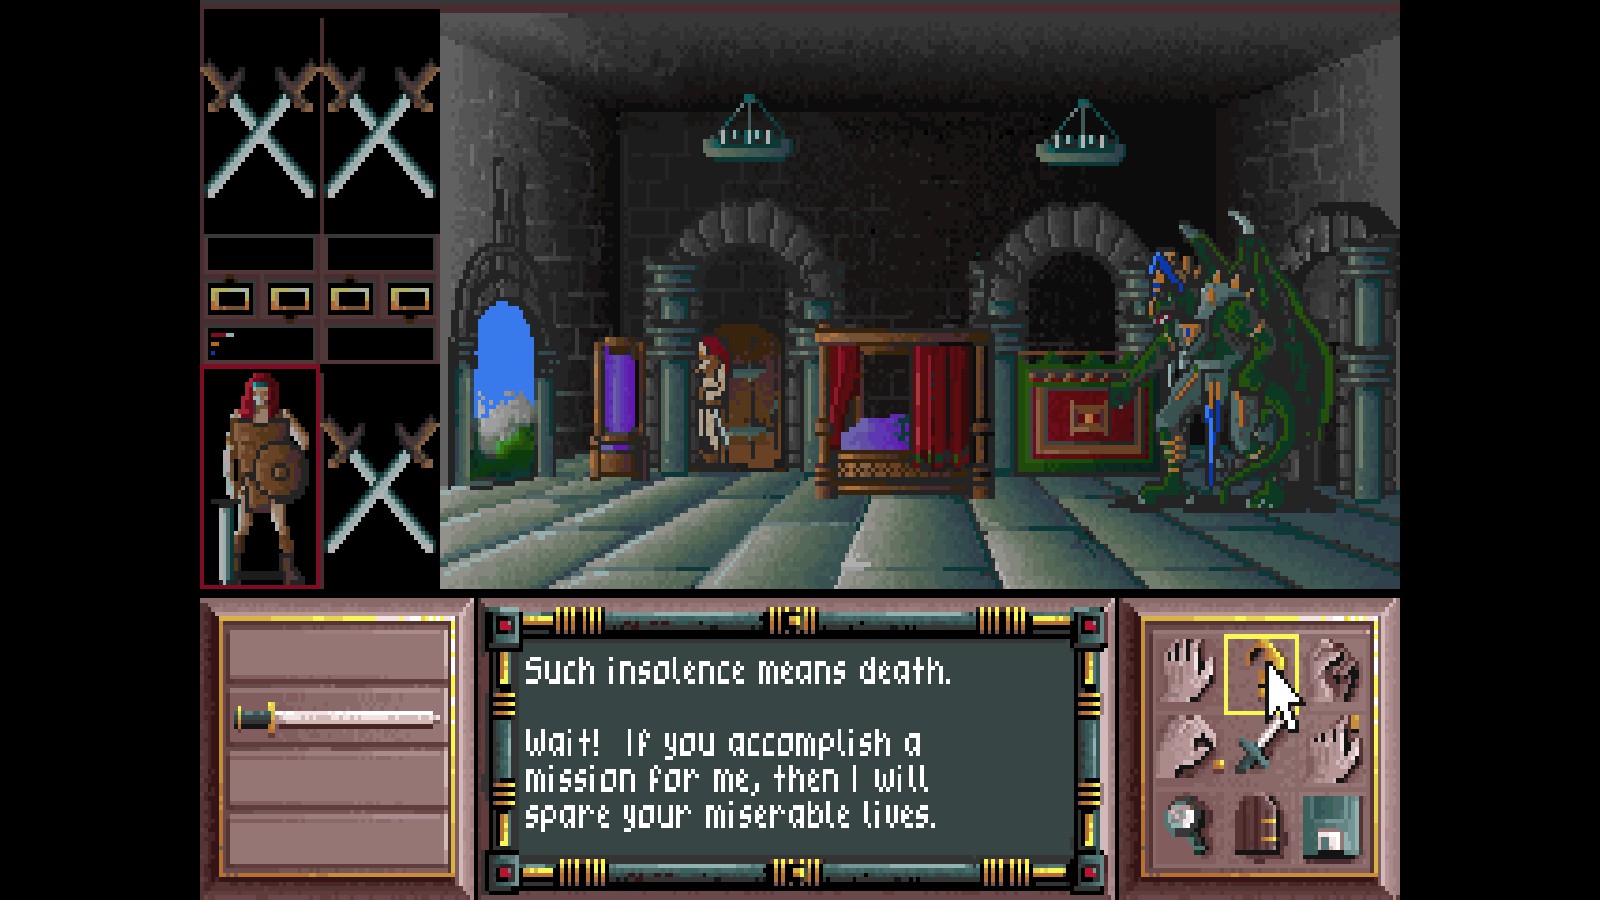
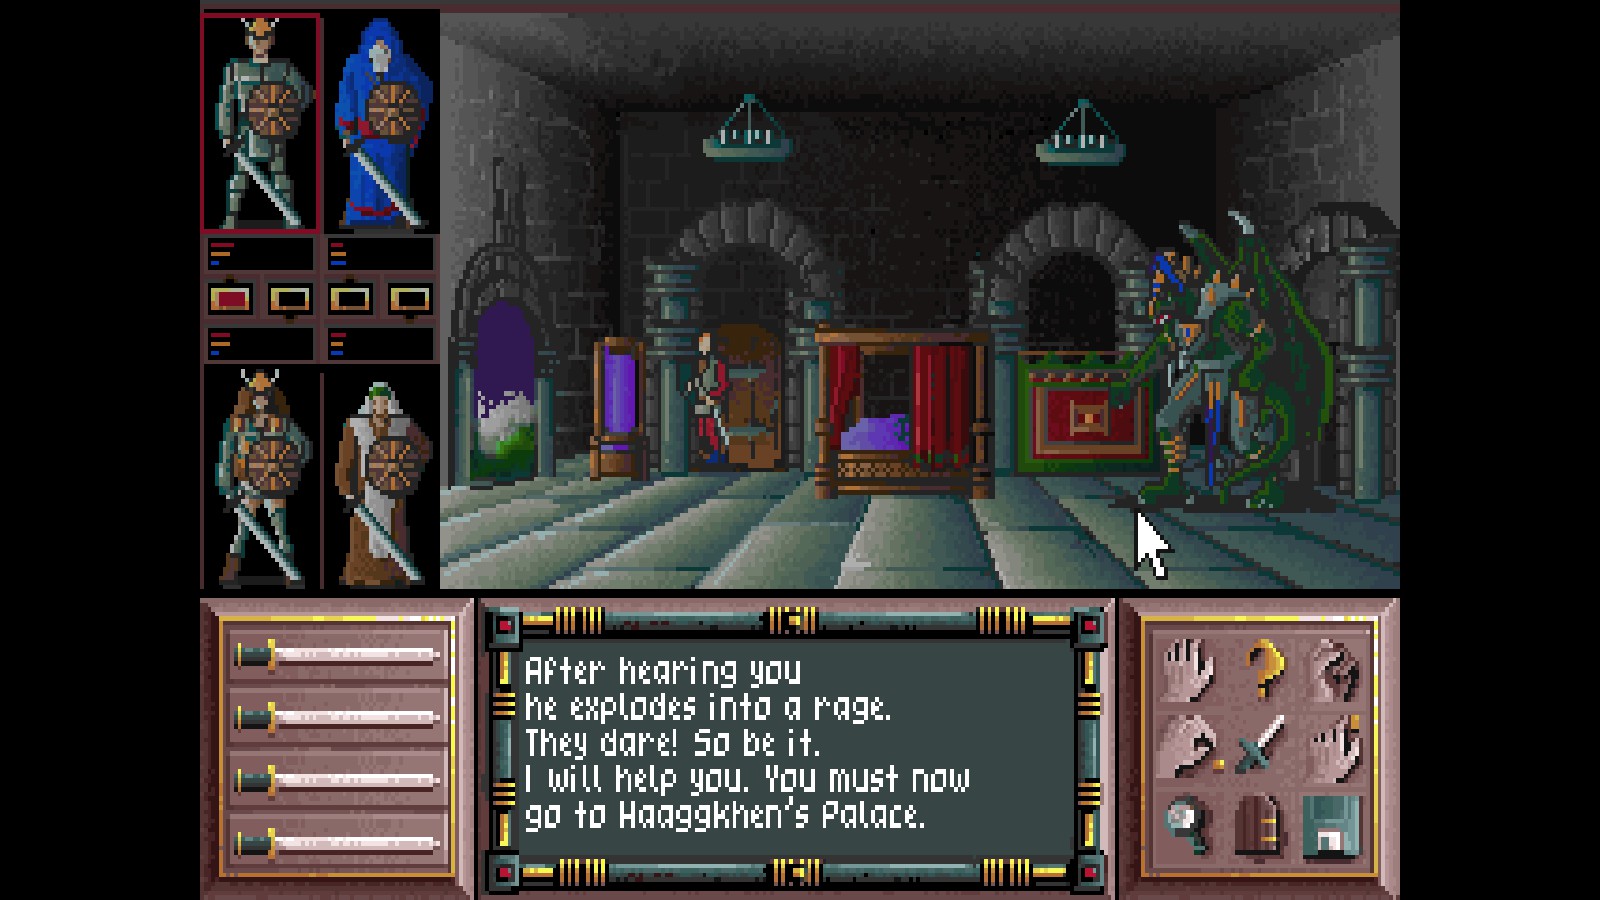
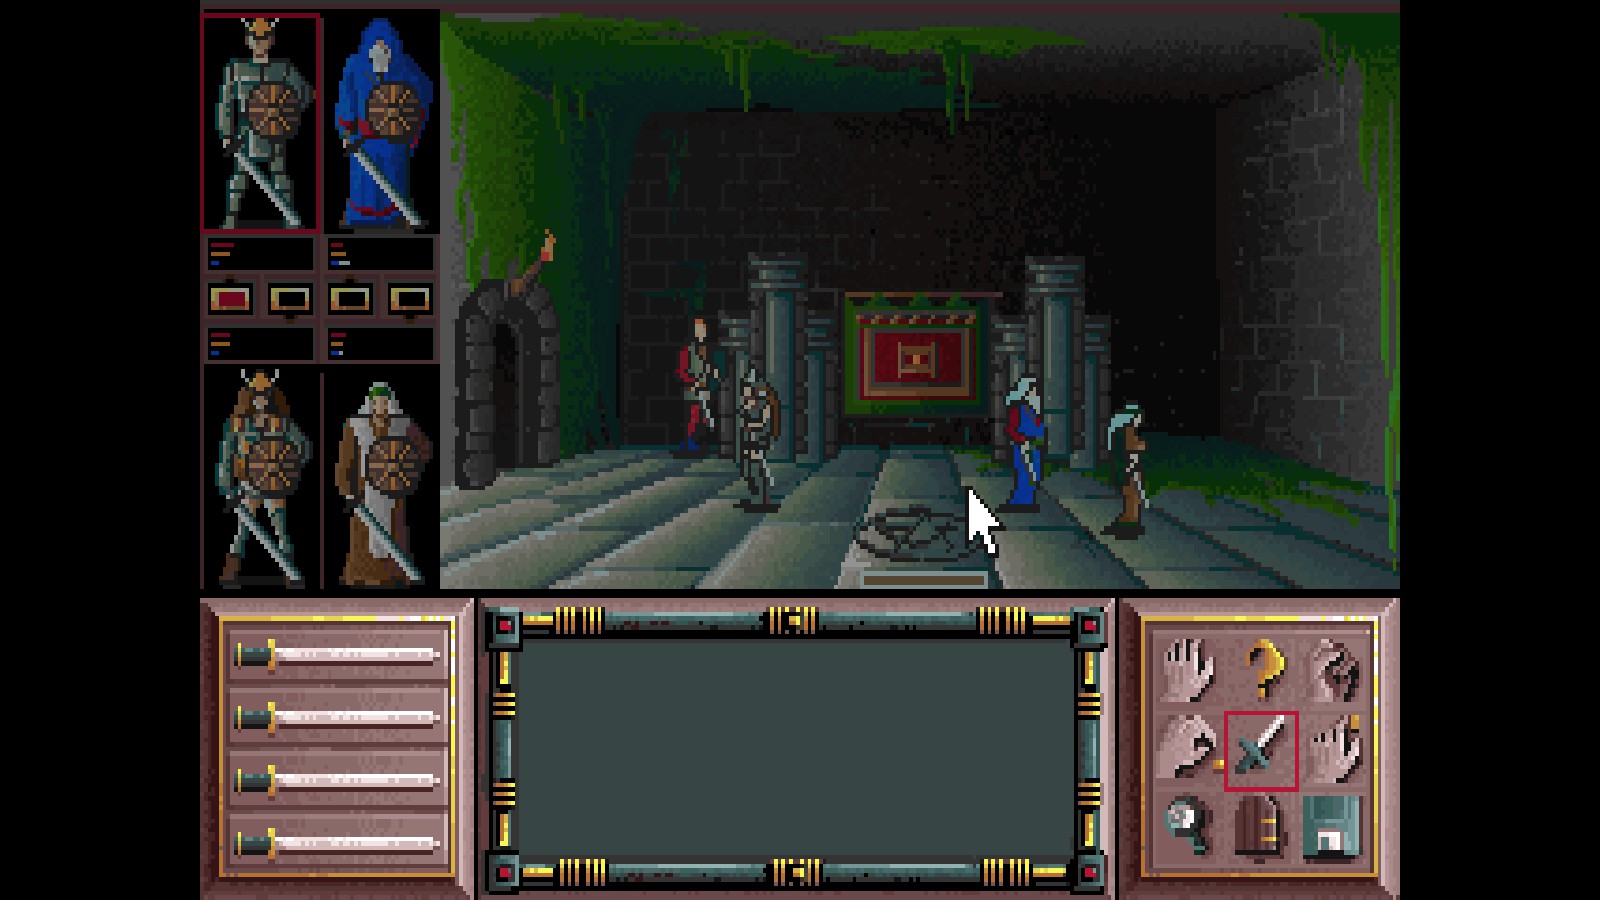
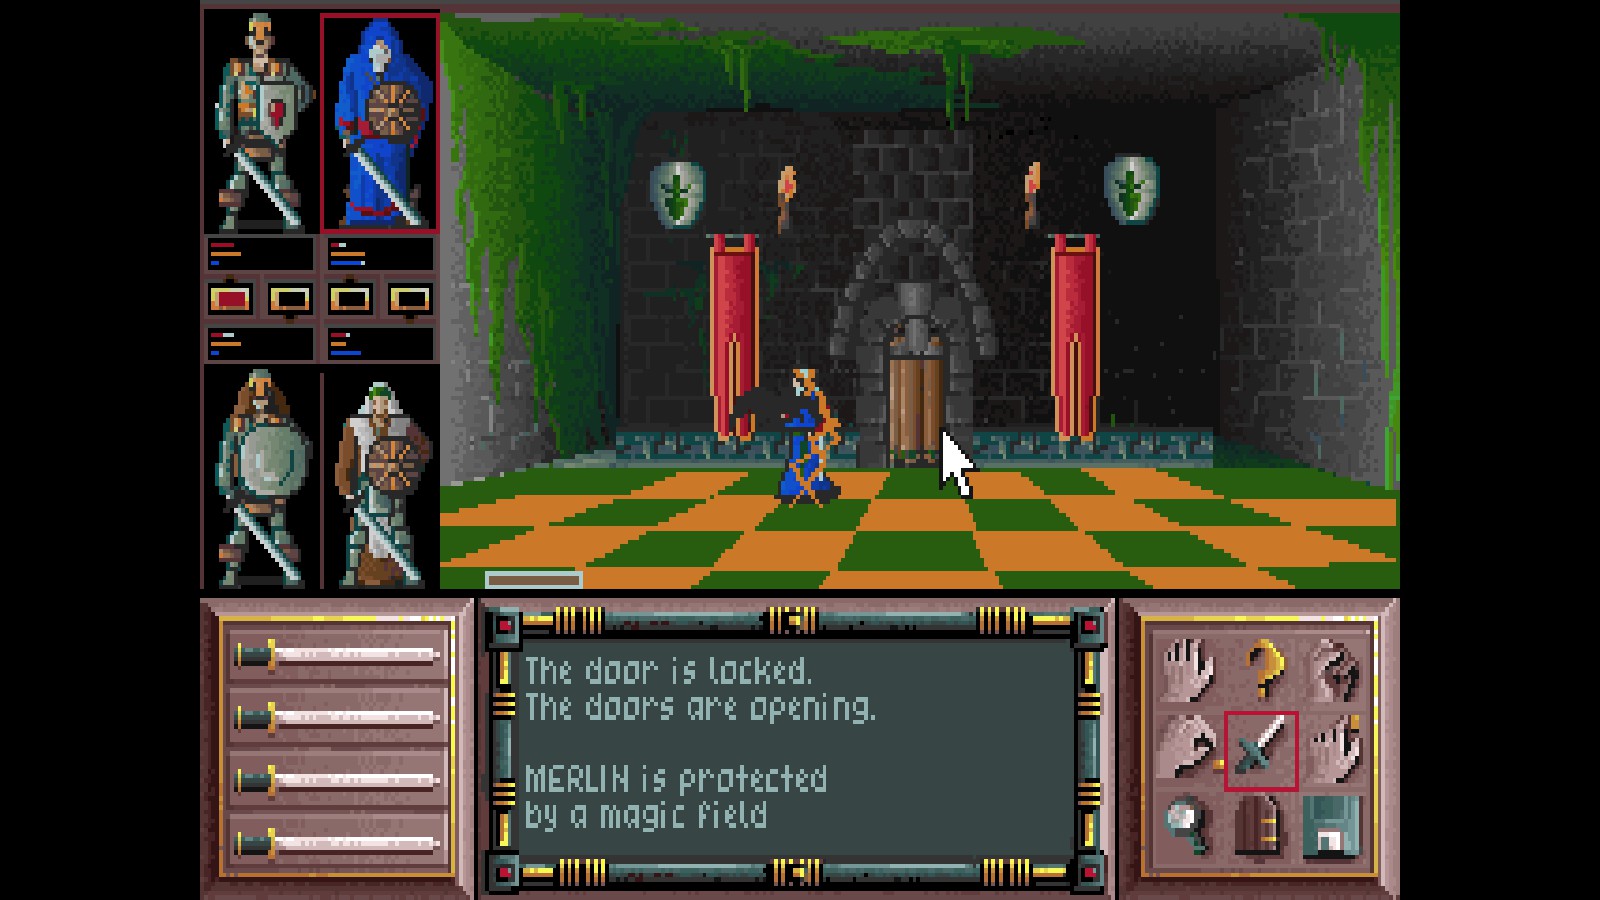
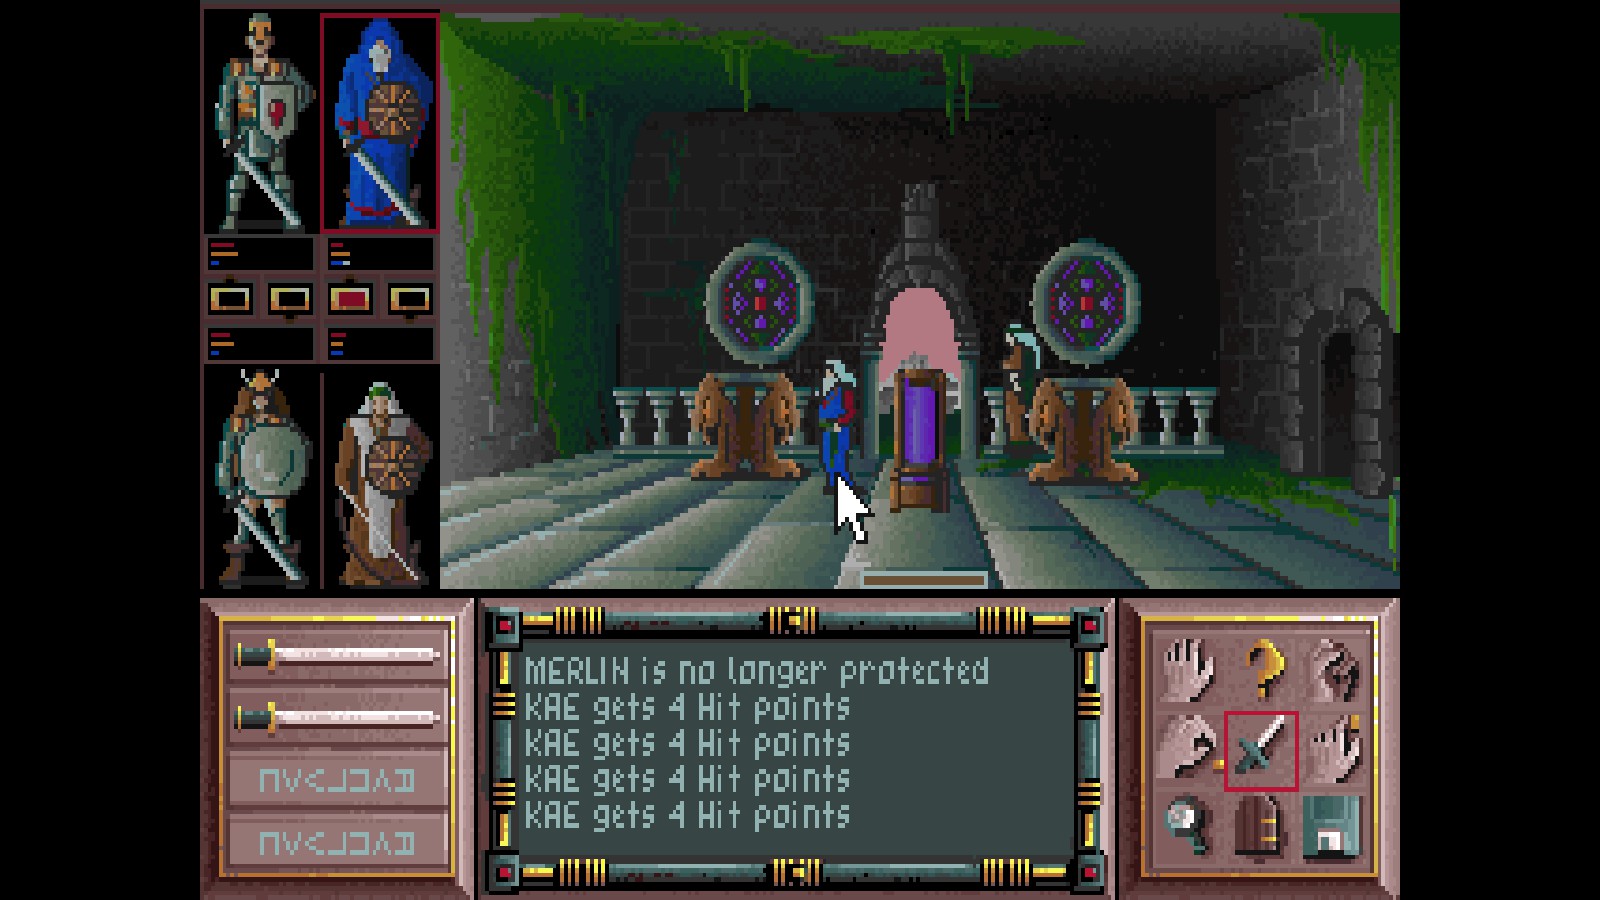
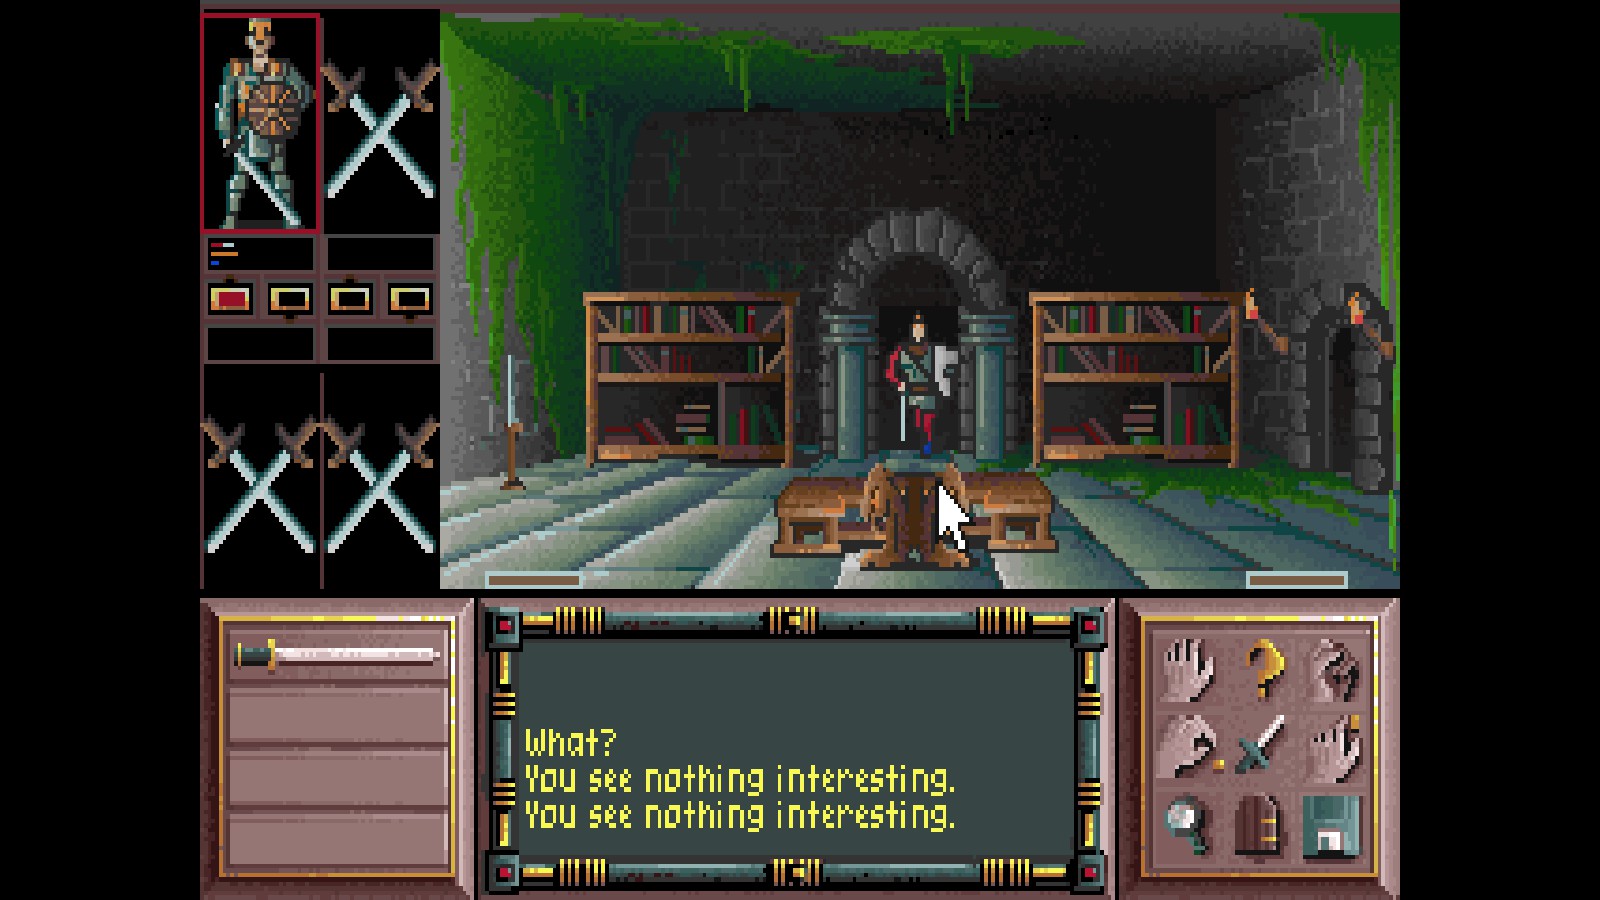
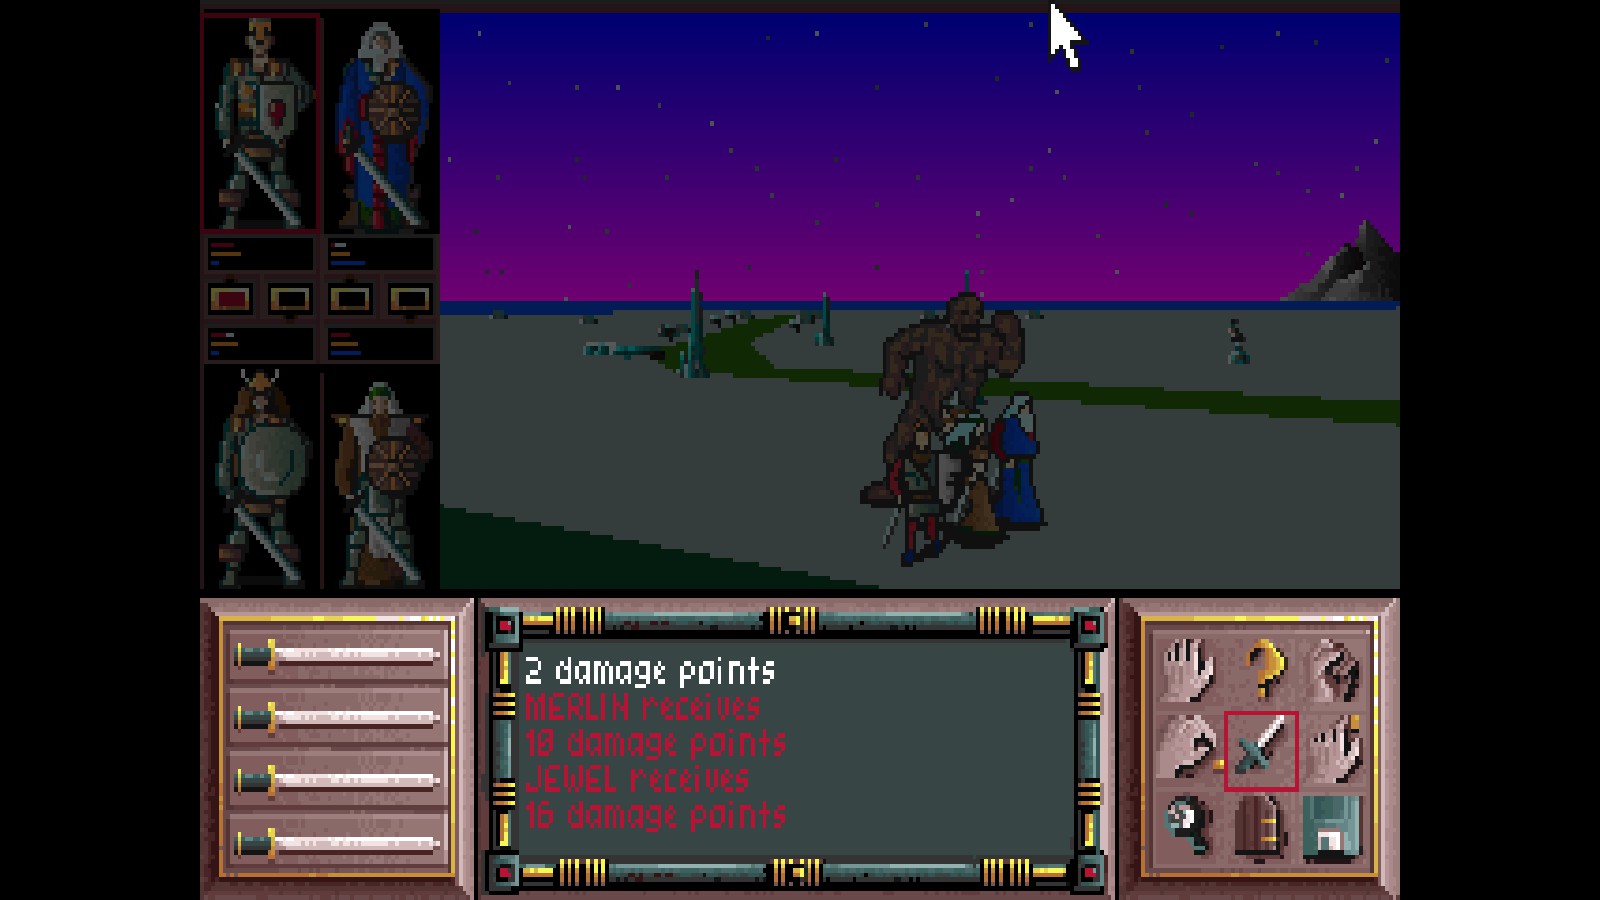
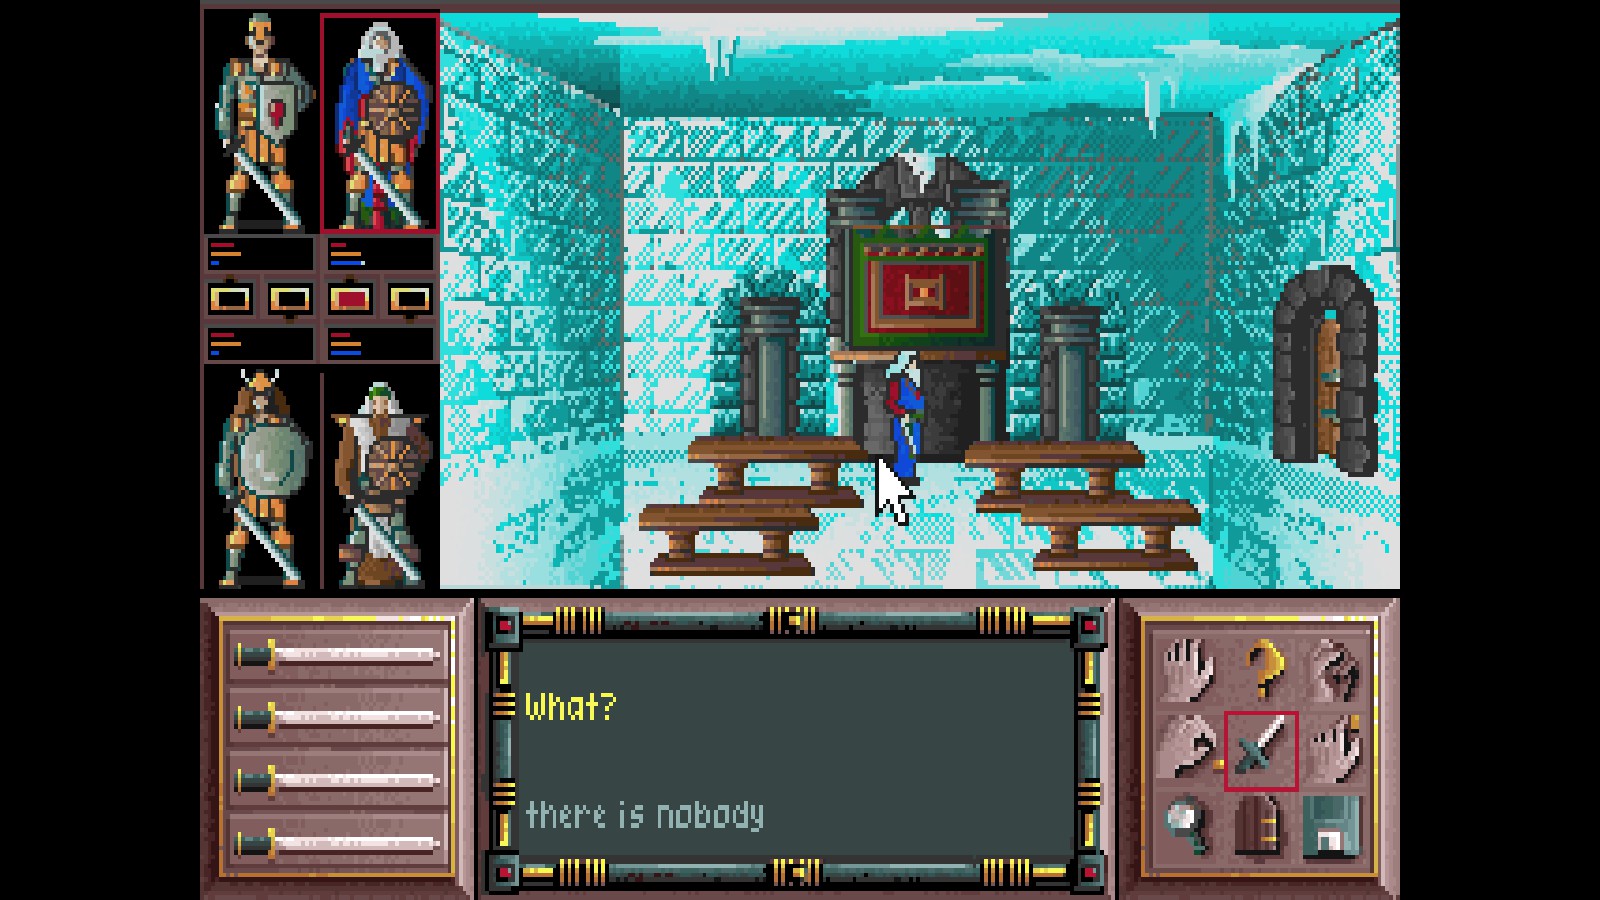
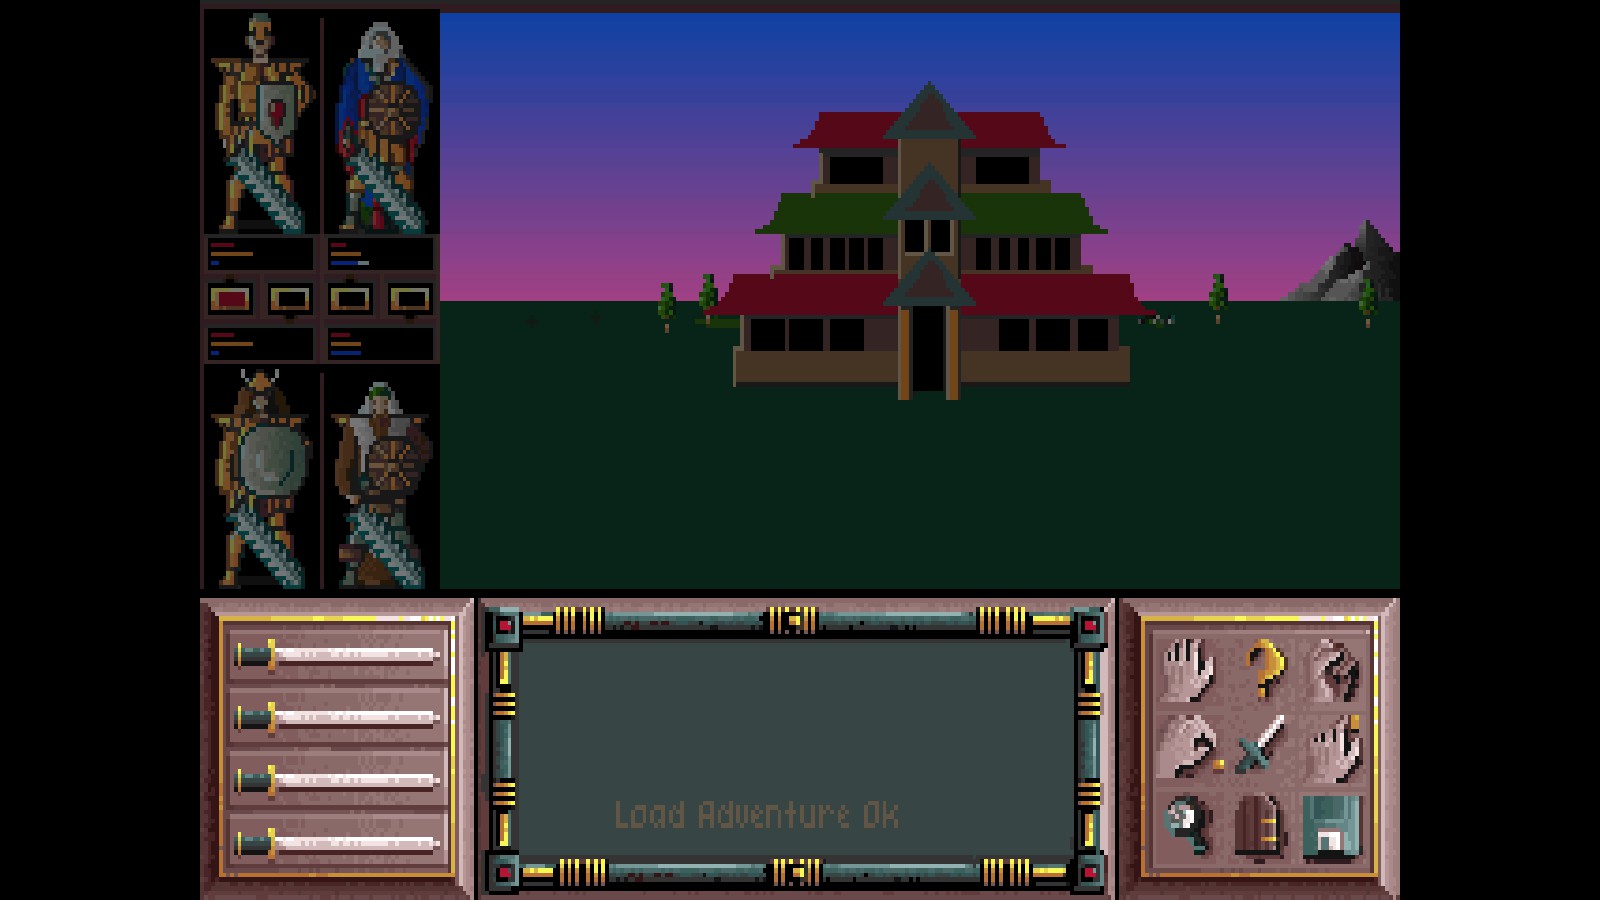
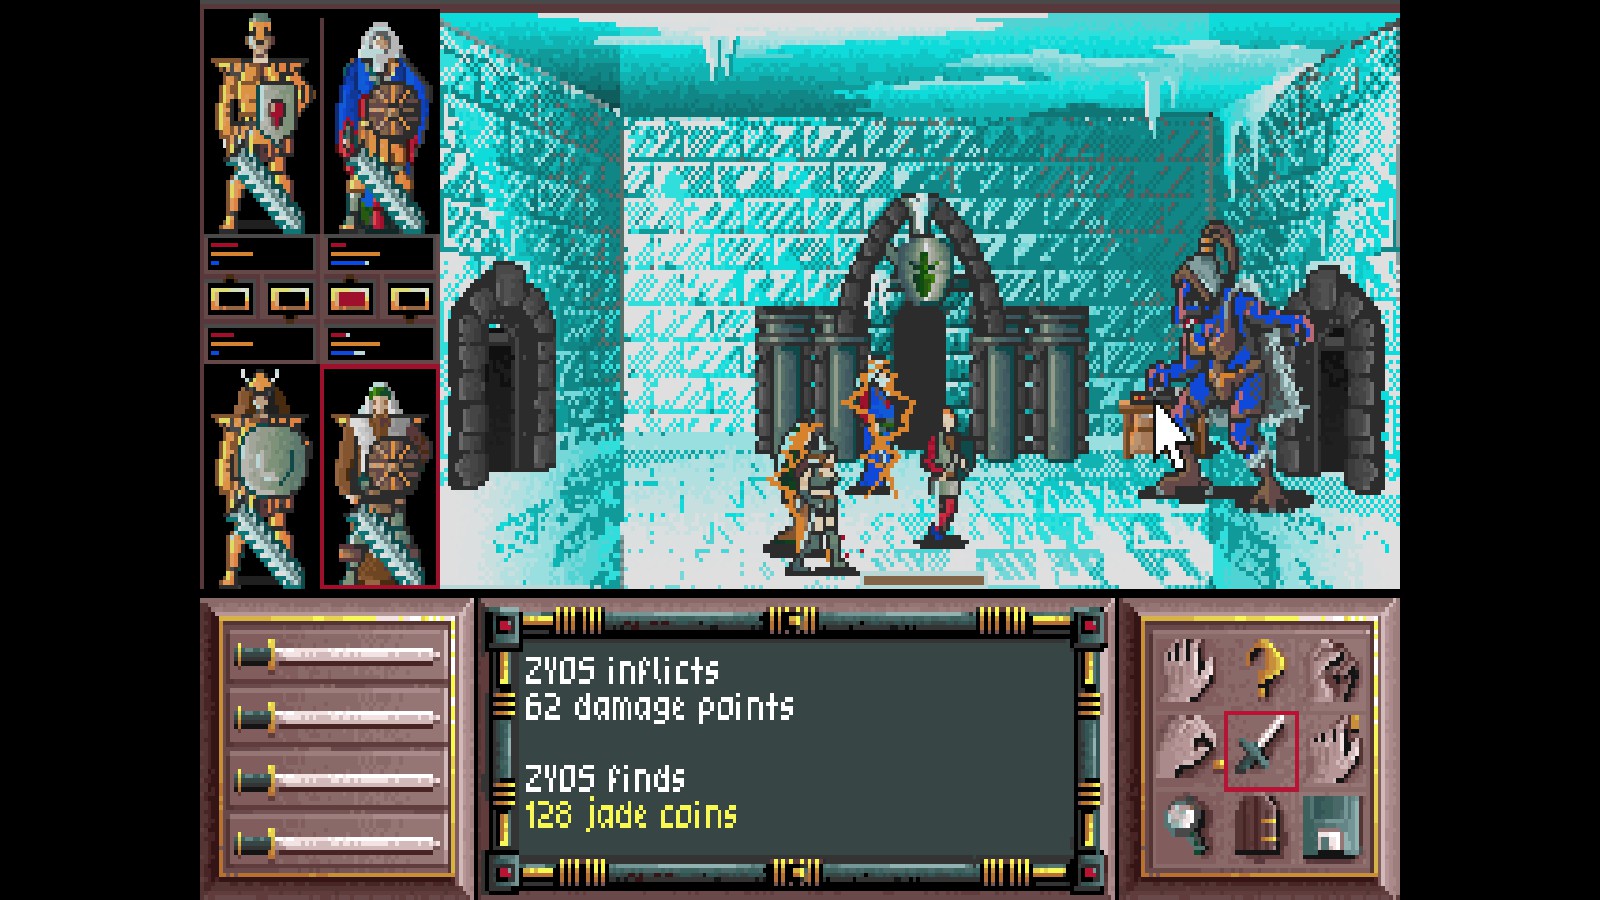
Drakkhen

Drakkhen

Not enough ratings
Drakkhen - A Complete Walk Through
By Zyos
This guide can help get you to the end of the game!
4
   
Award
Favorite
Favorited
Unfavorite
Introduction
Drakkhen is one of the most unique action RPGs ever created. That said it is an extremely difficult game and I can easily see newer players getting frustrated and quitting early and unfortunately missing out on an action RPG experience that will be very difficult to replicate anywhere else.

The walk-through section contains most of the valuable information in this guide and I've divided it into multiple sections. I also recommend players take time to look through the general tips section as I go through a lot of problems inexperienced players will run into when playing the game for the first time. I also have other sections explaining different game mechanics so its worth looking at those as well if you find yourself struggling on how to perform basic commands.

Story
The story differs depending on which version of the game you play. Since this is the PC version of the game I will focus on the story presented on that version (story below is taken from alternate instruction manual, linked in references section):

"The universe, as we the Draconian people know it, is threatened by the dragons who control the forces of nature: earth, water, air, and fire. These dragons have stolen the Drakkhen's eight tears, stone gems which represent all the forces of magic in the universe. The tears have been evenly distributed to the princes and princesses of the dragons of nature; each of these dragons have one son and one daughter giving a total of eight. It is your mission to gather the eight gems which represent the blessing of that particular prince or princess. Upon receiving the eighth gem and having read the four incantations of the dragons you may present to the dragons each of the gems, or blessings, of the princes and princesses. At this point the dragons much concede their evil control of the magic of the universe as they have no heirs to succeed them. Thus, control of the universe can be restored to the benevolent and magical Drakkhen.

However, obtaining these gems is complicated by the two distinctly different political parties of the princes and princesses. One party is friendly and helpful to the Draconian causes; the other party would like to see the reign of the evil dragons continue. Therefore, you may have to kill some of the princes or princesses while others will help you in your cause. They might give you their gem in return for tasks preformed for the benefit of the League of the Ninth Tear. This is the coalition of those princes and princesses who sympathize with your cause. The Alliance of Fire would like to be the successors of the evil dragons."

The story has loopholes in it so don't feel bad if you don't completely understand what is going on.

The SNES version of the game has a different story so you may find it worth reading up on the story in that version of the game as well (I have linked in the instruction manual for the SNES in the references section)
Character Creation


You will have 4 classes to choose from: Fighter/Amazon, Scout, Magician, & Priest/Priestess. You can choose either Male or Female for any of the classes and it makes no difference to the stats what gender you choose.

At the character creation screen you'll see a random table of numbers towards the bottom. You can reroll the stats up to three times before you are forced to assign stats based on the numbers you are given. If you are satisfied with the numbers select 'yes' in bottom right corner of the screen to begin creating your characters. All you have to do is drag what number you want into the relevant stats on the bottom left corner of your screen and it will assign the number to that statistic.

From the manual, below in detail is what each stat is used for (and due to the manual not fully describing them in enough detail, I am going to include in parenthesis what I think the stats seem to do):

Strength: This is a measure of the character's physical strength. Fighters are supposed to have more than Magicians (appears to determine the amount of damage physical weapons can do)

Dexterity: This indicates the character's manual dexterity. Scouts should have plenty (appears to determine the % chance for physical hits to connect with the target and could possibly determine the amount of damage done with physical ranged damage. Also seems to govern your % chance to dodge attacks)

Intelligence: Brainpower. Priests use this more than Fighters. (appears to determine the total effectiveness of defensive/support based spells including the amount they heal for and how often they succeed)

Education: This is a measure of the character's general cultural level. Magicians are usually well-educated people. Not like Scouts. (appears to determine the total amount of damage offensive based spells do including how often they connect with the target. Also appears to be the governing stat that determines the characters total amount of magic gained upon leveling up)

Constitution: This is the character's level of health and robustness (determines total amount of HP on leveling up)

Luck: Some actions have a better chance of succeeding when Luck takes a hand (like dexterity, intelligence, and education this might also affect the % chance of those actions succeeding or failing.)

Protection: This depends on the armor and weapons the character has (the higher this number the less damage you will take from attacks)
Shrines


There is one shrine located in each zone of the map. The priests that are located inside the shrines can heal your characters but most importantly they can also resurrect any dead character and bring them back to life. Until your priest/priestess learns the resurrect spell this will be the only way to bring any dead characters in your party back to life.

It will cost money to bring your characters back to life as and the higher the level of the character the more money it costs. In fact, bringing back higher level characters costs so much money that its advisable you simply reload a past save if one of them happens to die (annoying to be sure, but much less annoying to pushing forward in the game without one of your characters if you don't already have enough money to bring them back to life).


Once inside the shrine, to heal a character or resurrect just left click the character portrait on the left side of your screen.
The Shop


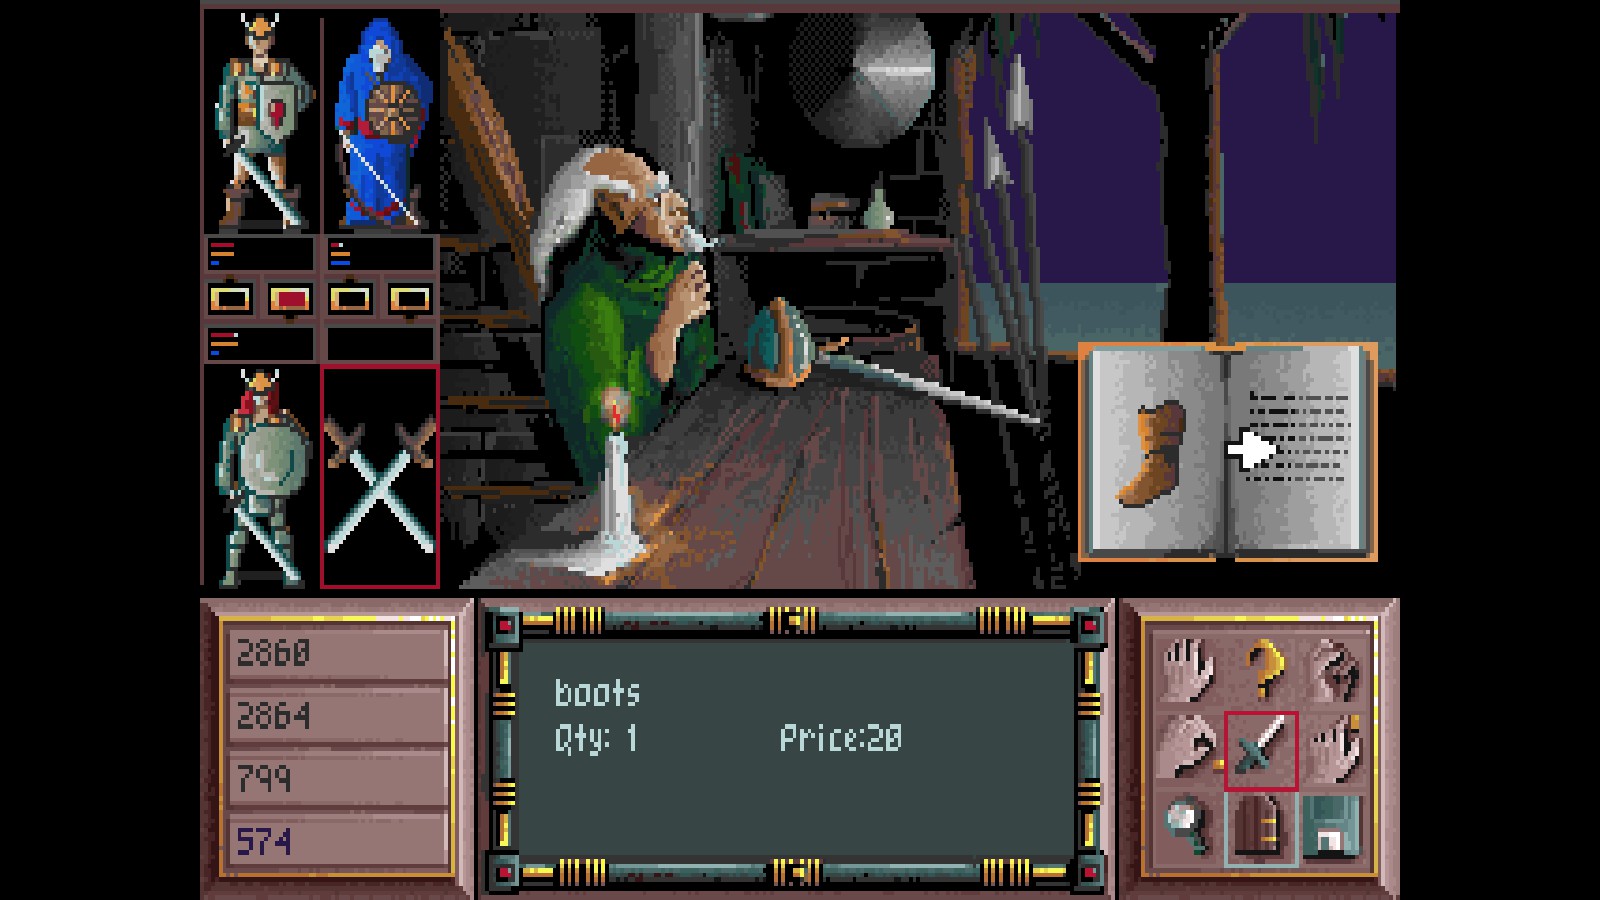
There is a shop located in the north part of the map in the Ice section. It may be worth going out of your way in the beginning of the game to purchase some of the items once you have enough money.

To purchase items in the store: hover your mouse cursor over and left click the relevant piece of item in the store to bring up a list of related items. For example, left clicking the helmet or shield will bring up a list of armor to purchase, left clicking the phial or ring will bring up potions and rings, and clicking the sword or spear will bring up weapons to purchase.

To sell items in the store: right click on your inventory, then drag whichever item you want to sell over the shopkeeper's face icon which will be in the spot where the tears you have collected were displayed.

For the most part, visiting the shop is only useful in the beginning of the game. None of the items you purchase will restock although a few new weapons and armor will appear in the shop at various points in the game (for example, a dragon sword will appear later in the game for purchase).
Weapons, Armor & Items
Each character can carry up to 7 weapons/armor & up to 7 items, for a total storage of up to 14. As you defeat enemies random weapons, armor, and items will appear in your inventory as loot. I recommend you constantly check your inventory after you win a battle and discard anything that you don't need (if you kill a higher level mob and your character's inventory is full you will miss out on any potential loot that mob may have). Whichever character gets the killing blow is the one who is awarded the loot.

Weapons and Armor in order of increasing power (taken from SNES Instruction manual linked in references section with adjustments made as needed for this version of the game):

Armor/Cuirass:

Light Cuirass (grey)
Medium Cuirass (different variation of grey - offers same amount of protection as light cuirass)
Heavy Cuirass (gold and grey)
Power Cuirass (solid gold)
Hyper Cuirass (gold with horns on top of shoulders)
Dragon Cuirass (blue with horns on top of shoulders)

Leggings:

Shoes
Boots
Light greaves(grey)
Heavy greaves (grey and gold)
Power greaves (solid gold)
Hyper greaves (gold with buckler attached - NOTE: I was only able to acquire this one as loot from defeating high level enemies. Both magician and priest/priestess are able to equip this)
Dragon greaves (grey and blue/purple)

Weapons:

Dagger
Bludgeon
Bow & Arrow
Rod
Short Sword
Long Sword
Saber
Dragon Sword

Helmet:

Light Helmet - (grey)
Medium Helmet - (gold with small horns)
Heavy Helmet - (gold and grey)
Dragon Helmet - (gold with large horns NOTE: I was only able to acquire this by slaying the dragons that attack you within the arrows)

Protective Clothing:

Shirt
Jacket

Other Clothing:

Light Robe
Medium Robe
Heavy Robe??? (NOTE: I honestly can't remember if I came across a third upgrade for the robe for the magician during my play through nor can I recall seeing any screenshots indicating this exists in this version of the game. If anyone can confirm if this exists and where they located it I would be greatly appreciative and I will of course credit you for sharing the information)
Light Coat
Mail Coat
Heavy Coat??? (NOTE: I was unable to locate this during my play through but I recall seeing screenshots from other players playing through the PC indicating to me this exists somewhere. This is likely a drop from a high-level enemy)

Shield:

Light Buckler (brown)
Medium Buckler (brown with lines)
Heavy Buckler (grey - only one copy exists in the game and its located in the shop)
Light (grey with red dot - only one exists in the game that I could find and this one was also located in the shop)


Rings/Scepters:

Both items have varying uses and you can only use one at a time. The text descriptions are identical for all of them, so you'll have to equip each one you obtain to discover what they do. They can do any of the following:

Increase one of your passive stats by 2
Grant you Invisibility (makes the character invisible for as long as the item is equipped)
Grant you Protection (appears to reduce damage dealt but I am unable to confirm is this mechanic correctly works in this version of the game)
Grant you Power (appears to grant you additional damage dealt - again I am unable to confirm this mechanic works correctly)
Grant you Understanding (allows you to read spell books)
Grant you Recuperation (increase passive regeneration)
Grant you Impalpability (allows you to walk through locked doors but please note other party members won't be able to follow as they will need their own way to get past the locked door)

Despite doing the exact same thing, rings sell for more than scepters at the shop so if you are forced to choose between a ring and scepter that perform an identical function, I recommend you keep the ring version over the scepter.

Items:

Torch (equip one to help light up dark areas of dungeons)
Key (used to open locked doors)
Empty Phial (can be refilled at a pool of water)

Phials:


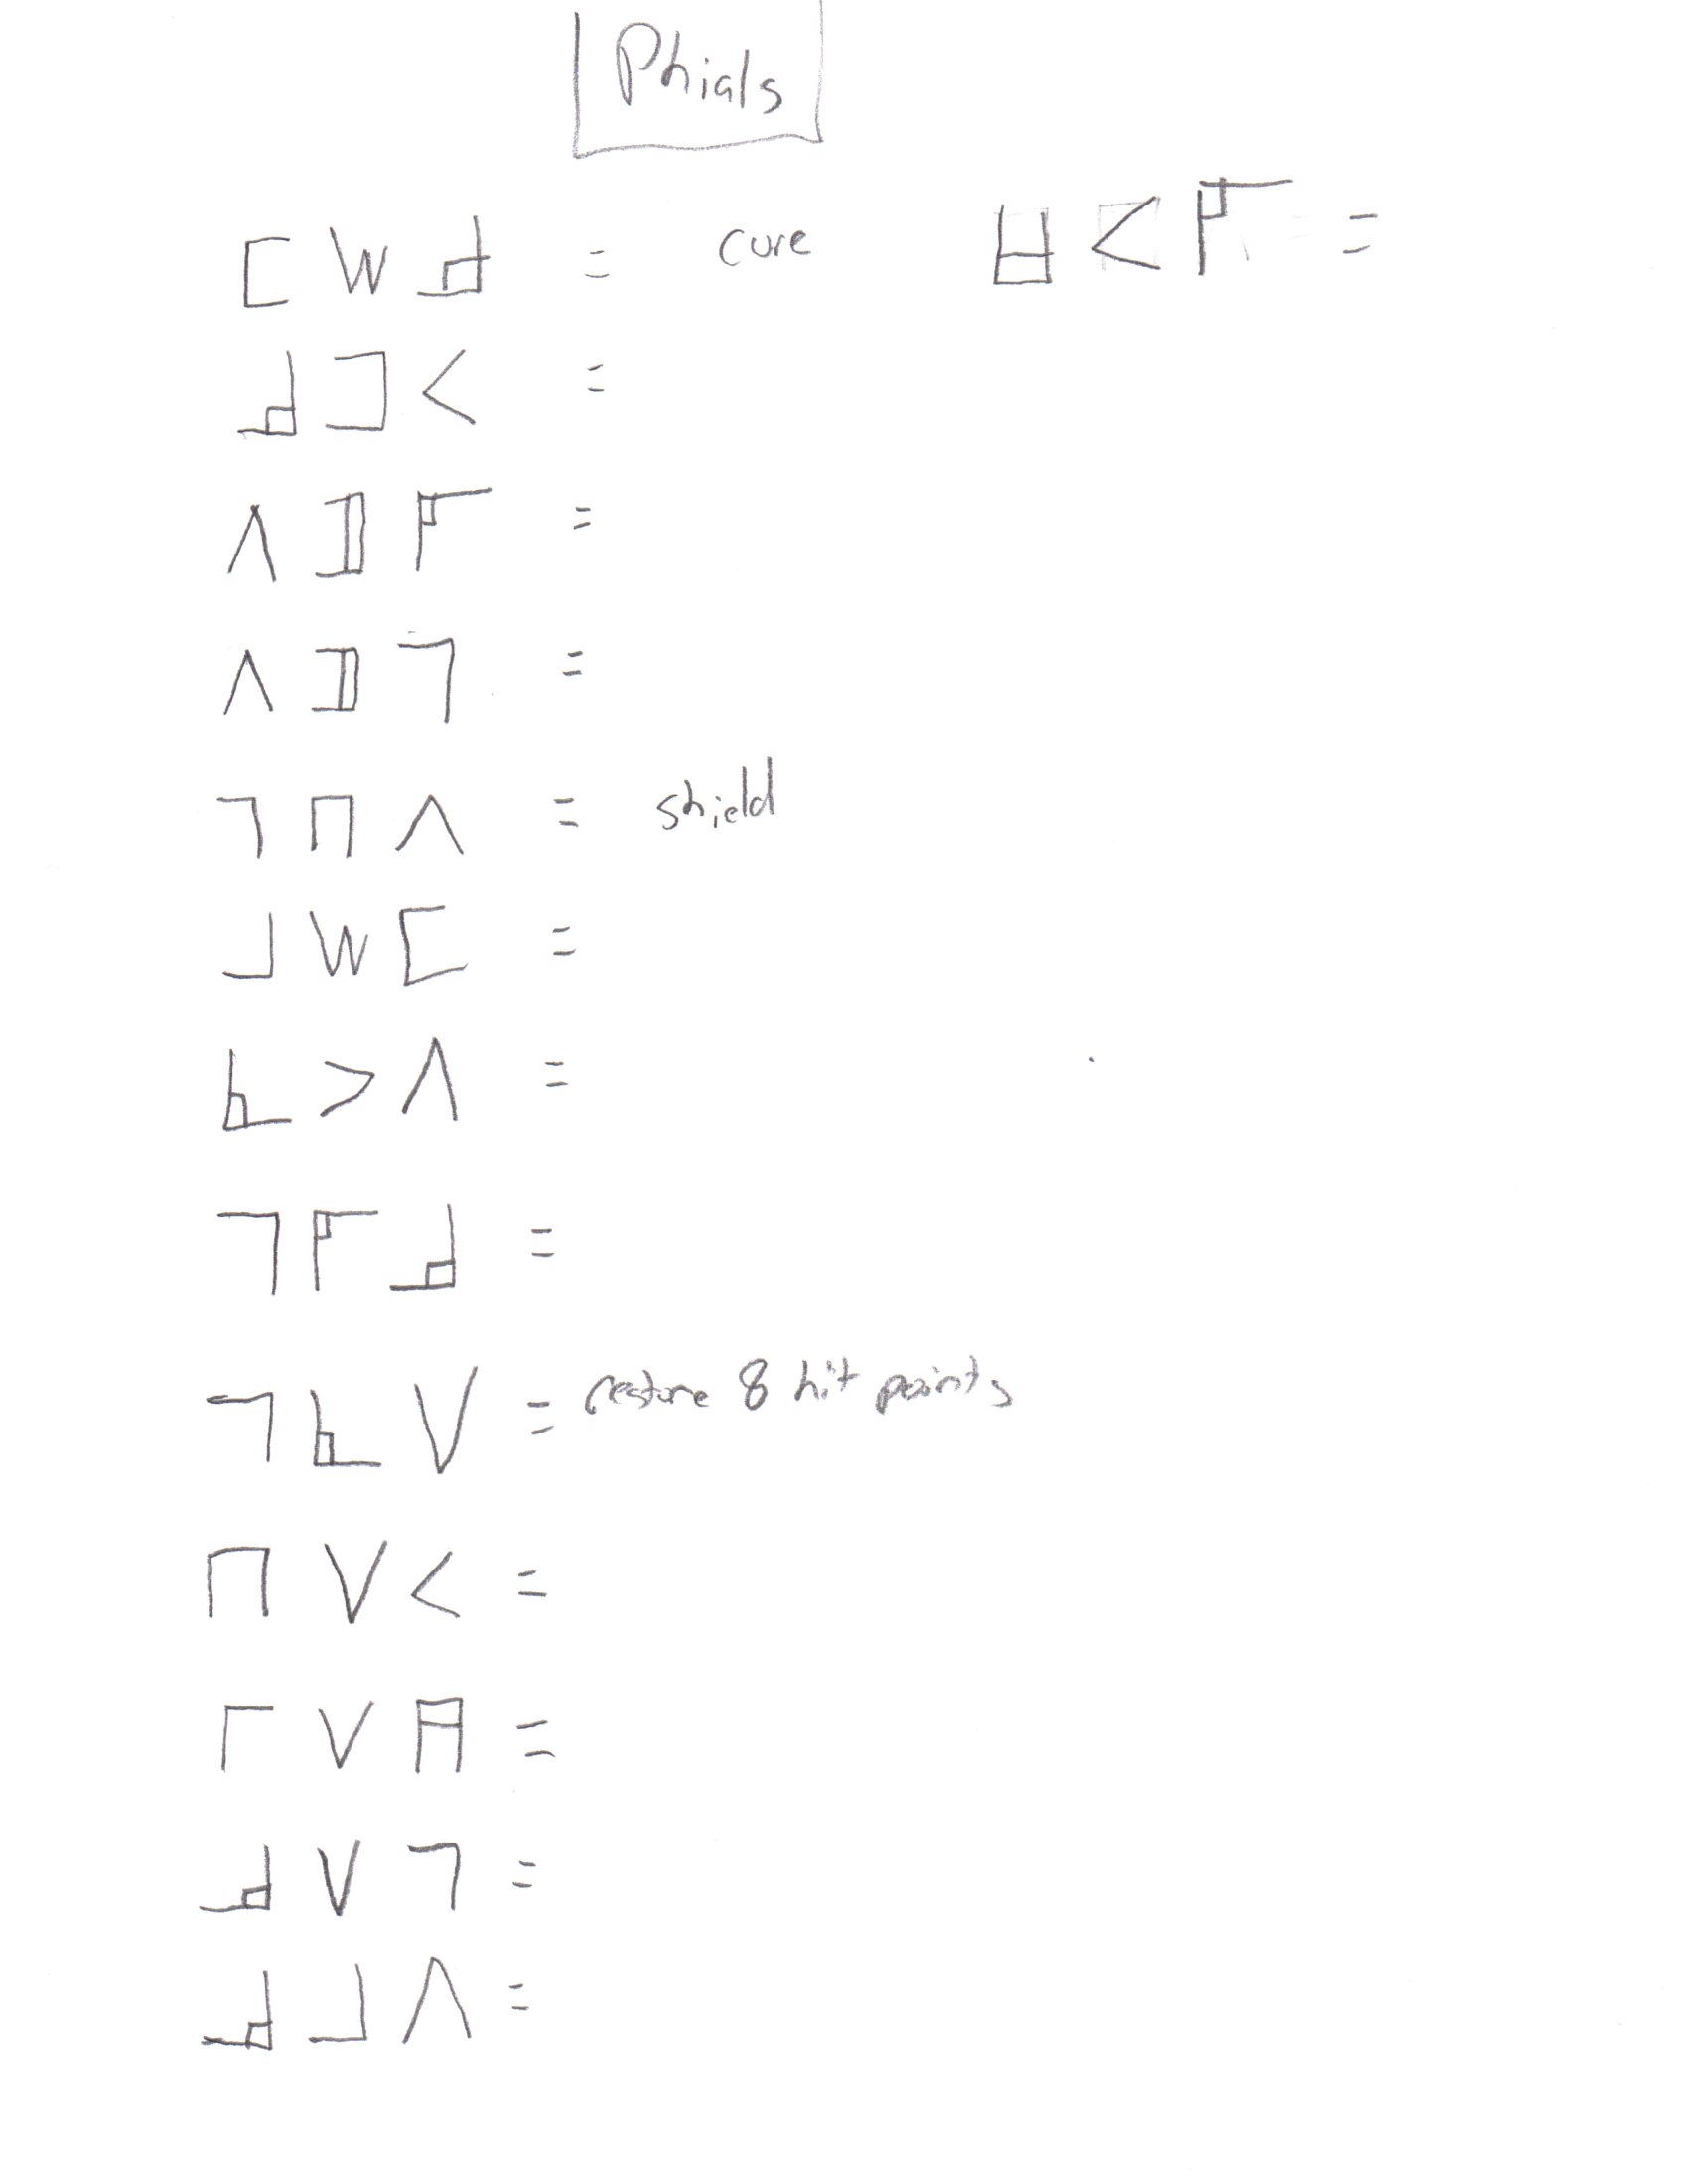
Despite the presence of many phials in the game I was only able to identify what 3 of them were able to do. I also am not sure that I was able to locate them all. This is the part of the guide where I could use the most help so if anyone knows of any I missed and/or what the functions are of the phials I have listed as blank I would be greatly appreciative (I will also of course credit you for this information as well)
Spells
As your characters level up, they will gain access to new spells. One of the major downsides of this game is that the spells don't have names or descriptions as to what they are supposed to do - you can see only random symbols which indicate each spells name. Below is a list of each spell and the keyboard shortcut you can use to access it (picture below is taken directly from the alternate instruction manual, linked in references section):

Combat & Leveling Up


In combat you can actively control only one character. To attack with that character right click. Please note that they will attack with whatever weapon/spell that is selected in the bottom left corner of your screen. The remaining members of your party will automatically engage the enemy provided you have the sword icon clicked on the bottom right corner of the screen. You also have the option of not controlling your active character at all and completely letting the AI take over (sword icon needs to be checked as well for this to happen).

You can also retreat from battles in the over world by pressing the enter key but please be aware that you may need to spam enter to run from stronger enemies as it doesn't always work right away against more powerful foes.

IMPORTANT NOTE: Not all characters or creatures you encounter in the dungeons are hostile to your party. You might want to strongly consider not clicking the sword icon until you are certain the creature/character you are encountering is an enemy. If you walk around with the sword icon permanently clicked your party will attack everything in sight, regardless of whether it's a friend or foe. A good way to tell if someone/something is an enemy right away is to click the ? icon in the bottom right corner of the screen and attempt to initiate a conversation with it right away (friendly mobs will almost always speak with you).

Leveling up: Your characters will gain experience by performing successful actions and each character in your party will earn exp individually instead of as a group. In my opinion this is one of the major flaws in the game as you will notice early on that the fighter/amazon and scout will quickly out level the mage and priest/priestess. For my party I found that I ultimately had to leave the fighter and scout behind inside the first dungeon and take the mage and priest/priestess by themselves to do a bit of farming in order to get them to level up at the beginning of the game otherwise they remained useless for too much of the play through.
Movement
On the top left side of the screen you will see all four of your character portraits and in between the characters you will see four boxes. You can directly control one of your characters at a time and the box that is checked indicates which character you will control. If you see a box that is highlighted orange that character is the designated leader of the party and all other characters will follow that character into new rooms within a dungeon (provided they are already in the same room). If you want to move only one party member into a room make sure you select the party member that is not designated the leader to move him/her into the new room alone (there are times where there are traps in dungeons that will likely trigger if you bring your entire party into the room at once as the AI may pat towards it so it's advisable at times to move your party forward one character at a time).

To select which character is your active character left click the portrait of the character you want to control.

To change the group leader left click the box in the center of the characters you wish to become the new leader.

You also can deploy your characters in the over world by pressing enter.

For example, the screenshot below shows the fighter as being selected as the active character while the mage is currently the designated leader:

General Tips
1) Immediately equip your items and armor in the beginning of the game. You can do this by right clicking on a character on the top left corner of the screen and by right clicking to equip the weapons and armor.

2) Be careful of traveling at night. The constellations in the sky can attack you and at lower levels they will be too difficult for your party to kill (in the SNES version you would see a visual animation of the constellation, but this is missing in this version).

3) Avoid bumping into any cross you see. It will spawn a powerful cat like head that does immense amounts of damage. While at later levels your party will be strong enough to defeat it, it appears to award no experience or loot and I strongly recommend avoiding running into it at all costs. It's almost guaranteed you'll run into one of these by accident as they are planted everywhere by the developers.

4) It's a good idea to save before you attempt to enter a dungeon as some of them have traps that can instantly kill your character. Also. you should be saving constantly in the over world while travelling as you never know when you may encounter an enemy that is too powerful for your party to handle.

5) Make use of the shield spell for both the magician and the priest/priestess - they turn both characters into tanks in the beginning of the game. It will allow both to safely engage in melee combat with most enemies.

6) Both the magician and the priest/priestess can heal your characters - press H to access their Heal Minor spell. If you run out of magic, you'll have to wait passively for your HP and MP to recharge. There are also phials you can loot, some of which can also restore health.

7) The original game was released alongside an instruction manual and a clue book was created for it - it may be worth reading either of those two items if you get stuck. I have links to both in the reference section. In fact, in this version of the game you will be unable to complete the final steps of the game without accessing the clue book (lucky for you I've saved you the trouble so all you must do is read this guide).

8) Note that mobs will attack you in any area of the map even if your characters are deployed - the only time you are truly safe is when you are positioned right in front of a dungeon, town, or shop. Even in the dungeon rooms patrolling mobs can still attack. Since combat takes place automatically you can use this fact to your advantage to level up while you are completely AFK (I would only recommend this strategy in lower level areas where the mobs don't pose a legitimate threat to your characters).

9) In order to exit a dungeon all of your characters that are still alive will need to be at an exit and you will need to press the door icon on the bottom right screen in order to exit (this differs from the SNES version in which that icon basically functioned as an emergency exit and allowed you to leave a dungeon at any time).

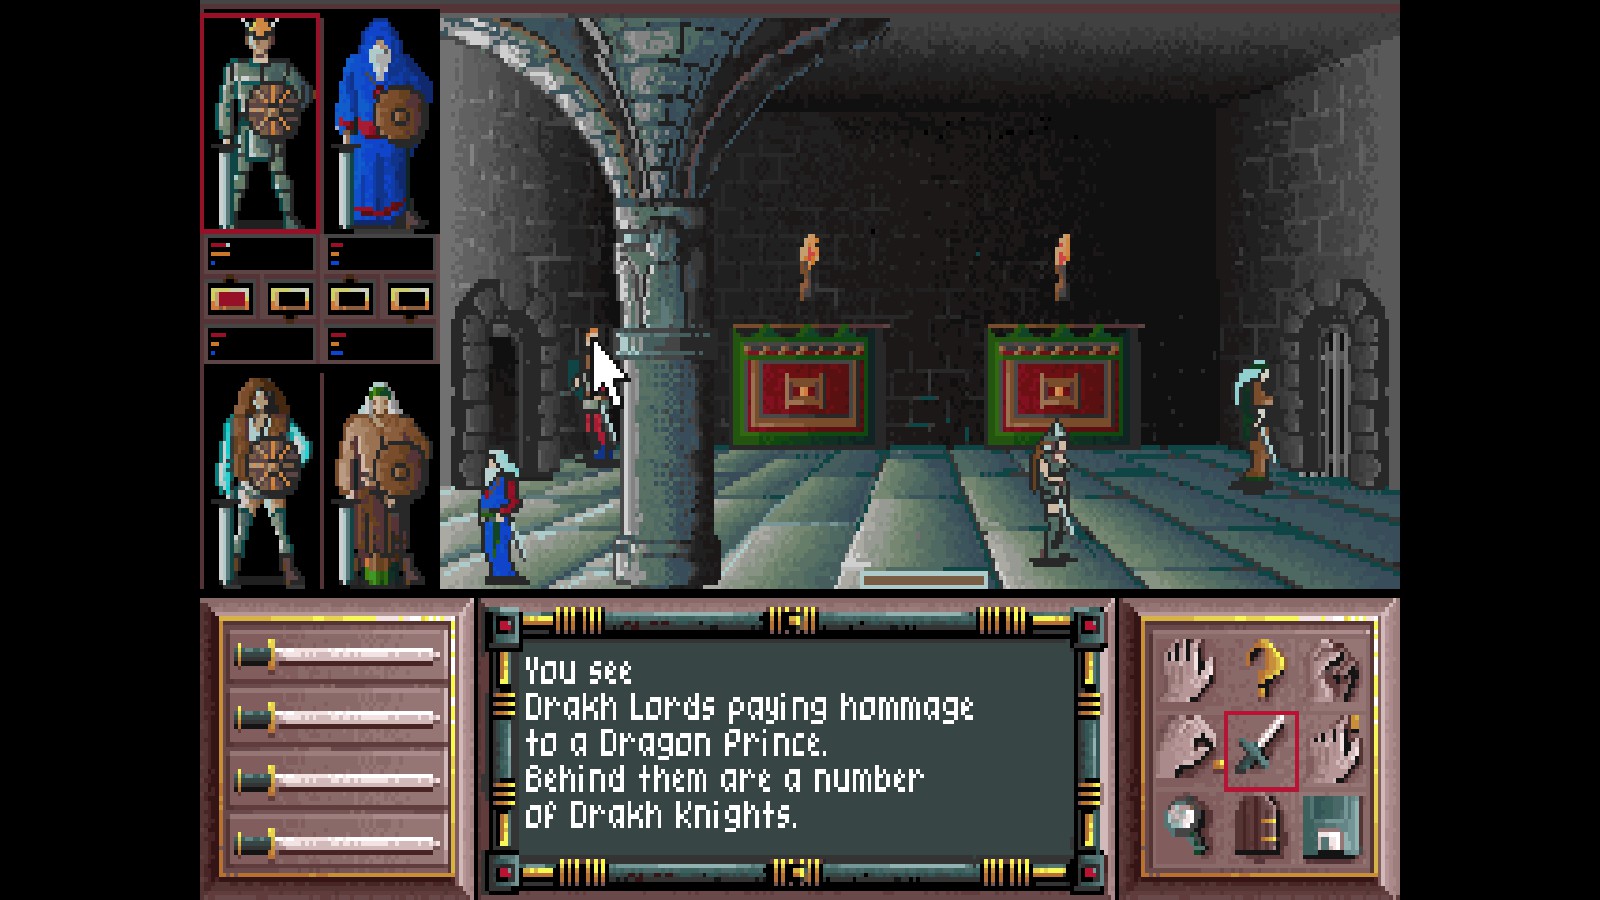
10) Make sure to make frequent use of the magnifying glass icon when you walk in front of unfamiliar objects - you can discover a lot of game lore and items this way:


For example, in the screenshot above if you use the magnifying glass on both paintings on the wall you will get a text description elaborating on each individual painting.

11) Red dots inside dungeons generally indicate items that your party can loot - keep an eye out for them as you travel through the various dungeons.

12) Avoid walking over water on the over world - your party will automatically be deployed and will begin drowning. If this happens to you immediately press enter to recall your party and stop them from drowning. Also, if you want to push the envelope a little bit, it's possible to travel over water by repeatedly recalling your party after they are deployed - it's a bit tedious but is an option you might want to consider (especially in the Marsh part of the map).

13) In the over world you can also walk through fixtures by walking backwards - this will give you the option of running through an obstacle instead of being forced to go around it.
Walk-Through - Overview
Here is the order of locations you will need to visit in order to finish the game:

1) Prince Hordtkhen's castle
2) Princess Hordtkha's Castle
3) Return to Prince Hordtkhen's castle
4) Prince Haaggkhen's Castle
5) Prince Naakhtkhen's Castle
6) Princess Nakhatka's Castle
7) Princess Haaggkha's Castle
8) Kill Prince Hordtkhen
9) Return to Princess Haaggkha's Castle
10) Princess Hazhulkha's Castle
11) Kill Princess Nakhtkha
12) Kill Prince Haaggkhen
13) Kill Prince Hazhulkhen
14) Get the message from the sepulchers
15) Turn in the 8 tears to the dragons

I've broken each step into a separate section below with specific details on what to do once you arrive at each location. I prefer the guide separated this way so that if someone were to find this guide after they start playing, they can quickly jump to the area of the game that they need help with.
Walk-Through Part 1 - Prince Hordtkhen's Castle
NOTE: If you have not yet equipped your weapons and armor please do so now.

Your first objective is to break into Prince Hordtkhen's Castle which very conveniently is located right in front of where you start:


You'll need to avoid the shark (shown in the screenshot above) as he will eat your characters as you cross the bridge. You can evade the shark by either waiting for it to cross the right side of the bridge and quickly walking across or by using the invisibility spell.

Once inside your ultimate objective in order to advance the story line is to reach Prince Hordtkhen and talk with him. There are a few areas of interest to explore before reaching Prince Hordtkhen:

1) Two rooms to the left of the entrance you will encounter an old man who will have some dialogue related to the story (see screenshot below for the correct room):


2) There is a knight guarding a sacred room that drops fantastic loot given your low character levels. I strongly recommend you kill him repeatedly until you are satisfied with all the drops (you'll need to exit the dungeon and reenter to respawn him). He has a chance to drop scepters and rings but most importantly at this stage of the game he can drop a helmet, cuirass, and sword lg that you can equip on your characters that provides much better stats than your starting equipment. All your characters can equip the sword lg, all but the priest/priestess can equip the upgraded cuirass (the magician is unable to use the normal one), and only the figther/amazon & scout can equip the helmet. This room is located two rooms behind a locked door immediately after you enter the second floor of the castle. Screenshot of the room is below:


Also, worth mentioning is that the room behind this one contains two scorpions who give a lot of exp (but poor loot). I recommend killing them as well as they will help level up your characters. Please be aware that the scorpions can poison your characters so you'll want to make sure your priest/priestess is alive to cast the cure spell to remove the poison should they get inflicted by it.

You also have the option of reentering the dungeon and pressing the wrong switch to summon an infinite number of mobs for exp, but I find the knight + scorpion farming to be a much more efficient use of time.

There is another use to the knight room as well - you'll notice two circles on the ground on each side of the altar. Step on both and text will appear, and you will notice by using the magnifying glass that there is a switch on the altar. Pressing the switch twice will open a secret part of the castle in the room behind Prince Hordtkhen that is otherwise can't be accessed. For now, I recommend you don't try to access this area of the castle as there no reason to do so at this point in the game (but you will need to come back to this part later to finish the game, more on that on part 14 of the walk through).

When ready, proceed towards Prince Hordtkhen's room and initiate conversation with him by pressing the ? icon on the bottom right corner of the screen. He'll assign you the task of summoning his sister to speak with him.


Prince Hordtkhen is concealing a cuirass and greaves that are on the wall and you can get him to move away from them by moving your entire party into the room behind him then moving back in (he will move to a different location in the room when you reenter). Worth noting is that I do not recommend you return to this room again until after you have completed the task Hordtkhen has assigned as he will attack you if you return too soon.

Once you talk to Hordtkhen and receive the assignment you are done with this area (although I still recommend you farm the knight for a bit and gear up).

Next stop: Princess Hordtkha's castle.

Walk Through Part 2 - Princess Hordtkha's Castle
There are two ways in which you can reach Princess Hordtkha's castle:

1) You can take the teleport on the west side of the map in the forest - when you arrive on the other side it will put you right next to her castle. It looks like this:


2) Conversely you could also just walk by heading around the arrows and towards the east side of the forest. I usually prefer this over taking the teleport.

Princess Hordtkha's castle from the outside looks identical to her brothers so it will be hard to mistake it once you come across it:


Once you arrive enter the castle (no traps to worry about this time) and you will be greeted at the door by a survivor of a recent attack who will explain that the Princess has been kidnapped:


He asks that you deliver this news back to the Prince, which will be detailed in the next part of the walk through.

Walk-Through Part 3 - Return to Prince Hordtkhen's Castle
This part is very straight forward - all you must do is meet Prince Hordtkhen back in his castle and deliver the news of the attack. The castle is more of the less the same as you remember save for one difference; the room that used to have the old man will now be replaced by two spiders that will continue to respawn:


When you are ready return to Prince Hordtkhen's room to deliver news of the attack:


Hordtkhen is furious upon hearing the news and tasks you with tracking down Prince Haaggkhen. his castle is located in the marsh section of the map, so we finally get to move on to a new area of the map :)
Walk-Through Part 4 - Prince Haaggkhen's Castle
Prince Haagghken's castle is located on the west side of the the marsh and it is to the northwest of Prince Hordtkhen's castle. If you reach an inn soon after you arrive in the Marsh you are headed in the right direction. Haagghen's castle looks like this:


Be warned this castle has a trap - the drawbridge will immediately kill any character who tries to cross it:


You can disarm the trap by casting the unlock spell.

You've been tasked with finding Prince Haagghken but you will later realize he is currently not in his castle. In order to progress in the story, you'll need to instead find a prisoner and free him.

The first room in this castle has the same 4 switch trap that the first dungeon has. You can farm enemies for additional experience by intentionally pressing the wrong switch if you like but be warned that the enemies appear to get stronger each time you spawn them.

I'll forewarn you now - this dungeon is difficult, and your party will likely wipe multiple times while trying to complete it, especially for any character below level 5. Also be warned that there is a priest who will patrol various rooms in the castle who is also very hard for low level characters to kill but I have good news for those who keep dying to him - you need not actually try to kill him as he will remain stationary and his only ranged attack paralyzes you and does not cause any damage. The only way he can damage your characters is if your characters get within melee range. If you encounter him and don't want to risk any of your characters dying turn off the auto combat by making sure the sword icon is not clicked and flee the room.

There are a few additional rooms of note on the way to the prisoner and I'll mention each in the order you are likely to encounter them:

1)

This room is two rooms to the north of the entrance, and you can heal your characters by repeatedly walking over the circle in the middle of the room. It can be used repeatedly but the characters will have to walk over it multiple times in order to fully heal if they are badly hurt.

2)

I call this the bat room and walking on any green tile will damage your characters - I recommend leaving it immediately and not wasting any time fighting the bat inside. Stay on the gold tiles to get through the room to reach the exit on the other side.

3)

There are two spell books on the tables in this room on both tables - feel free to pick them up. You'll need have access to the understanding ability (either through spell, scepter, or ring) in order to read them.

4)

In the room above there is a ring on the center of the table that you can pick up.

5)

The fireplace in the middle of the room is actually a trap and will spawn a fire elemental if one of your characters walks too close to it. Unfortunately, it appears that you may have to spawn one of these fire elementals at least once as this appears to trigger the teleportation room to unlock.

6)

The screenshot above is the teleportation room. When you first walk in the room will be too dark to use the device, so you'll need to light up the room by using either the light spell or equipping a torch. After you light up the room walk whichever character you want to go first next to the device and press the magnifying glass to look at it. Be warned that you will teleport into a room with two water elementals that will immediately attack the character that went through.

7)

This is the room you will land in after you use the teleport and its best to prepare for how you want to handle this area before you use the port as the water elementals will not stop respawning and will continue to be stronger every time they come back to life. If you aren't careful and you do something like equip a torch and send the person with the equipped torch through first the other characters won't be able to follow if they don't also have a way to light up the room and while you are figuring out how to send the rest of your party through the character that went first will have to fight the two water elementals alone. There are upgraded greaves on the wall that are worth going out of your way to grab in this room as well as upgraded greaves in the room two to the east of this room (though the other pair of greaves are guarded by a trap so take care if you grab them)

After running this castle multiple times and seeing the resulting chaos that ensues once you reach this part of the dungeon I have come to the conclusion that the easiest way to make it past this part is to only send one party member through (preferably the mage) with the intent of sacrificing the character after they grab one (or both) pair of greaves and also completing the main quest step which I will describe in the next room (if the mage has the teleportation spell unlocked that will give the mage a chance to escape out of the area once you've completed your task which is the reason for my recommendation of sending only the mage through). In fact, when I finished this dungeon, I kept all other party members at the entrance and literally ran the dungeon with only the mage.

8)

This is the prisoner room and its immediately to the west of the water elemental room. In order to advance the main story line you'll need to both 1) press the switch on the wall right where you entered and 2) press the ? icon in order to initiate conversation with the prisoner, in that order. Unfortunately the prisoner doesn't tell you anything useful (such as where you are supposed to go next) but since you're reading this guide I can tell you that the next step is to Prince Naakhtkhen's Castle (see step 5 for instructions on where it is located).

Also, if you did decide to send your entire party through the port the exit is only a few rooms away from the water elemental room so make sure to bring your surviving party members there so you can exit the dungeon as your work here is now complete.


Walk-Through Part 5 - Prince Naakhtkhen's Castle
Prince Naakhtkhen's castle is in the North East part of the Ice section of the map. It looks like this:


This part of the walkthrough is a simple one after you locate the castle as you don't need to explore the castle all you need to do is speak to the person inside to advance the storyline:


It turns out that Prince Naakthkhen was attacked by his sister and until you speak with the man inside you won't be able to enter his sister's castle. Your next step is to travel to his sister's castle, which is located on the west side of the ice part of the map (please refer to the map of the overworld for an exact location).

One quick tip: There is a rock elemental that you can encounter in the overworld while traveling through the ice part of the map. Screenshot below shows what he looks like:


He drops great loot and isn't too difficult for your party to kill at this point in the game. It's worth going out of your way to farm him as he has a chance of dropping a power cuirass (it will look like full gold when you drag it in your inventory) that the priest/priestess is surprisingly able to equip despite not being able to use any other cuirass you've found up to this point in the game. This cuirass provides a massive protection upgrade for the priest/priestess and I strongly recommend you find it before entering the next dungeon and equip on that character (though the fighter and scout/amazon can also use it it is not as much of an upgrade for them since you should have already found and equipped some of the weaker cuirass variations by now).
Walk-Through Part 6 - Princess Nakhtkha's Castle
Princess Nakhtkha's castle looks identical to the one you just came from so it will be hard to mistake it once you locate it:


There is no trap this time to worry about so feel free to enter when you ready.

Upon entering you'll be greeted with the same 4 switch trap you've grown accustomed to:


Like the other dungeons, repeatedly pressing the wrong switches here allows you to farm enemies for exp.

There are two things I want to mention before you go any further: First, you'll need access to the unlock spell, as a large percentage of the doors in this dungeon are locked (so hopefully your mage is still alive). Second, watch out for the green man shown in the screenshot below:


He's a bit too strong for your current characters to take on at this point in the game given their levels and equipment. I have managed to kill him once, but he still killed three of my party members, so I was forced to reload my last save. Avoid him.

After you proceed to the first room to the north of the entrance this dungeon splits into two different parts - the north part and the east part. The north part holds almost nothing of value, and you could skip it entirely and not miss anything but for those whose curiosity gets the best of them I'll start with the north section first. Before you go anywhere in the north section, I recommend you immediately go the next room to the east:


This room contains power greaves that the mage can equip which greatly boosts his protection as none of the lower level greaves have been equippable on that character up to this point. The fighter/amazon and scout can also use these greaves so make sure to exit the castle to allow them to respawn after you grab the first two.

Rooms of note in the North Section (I'll mention these in the order you are likely to encounter them):

1)

This is the trap room and it will lock behind you with no way for the person who walked in first to unlock it. You'll find this room by going north two rooms and west one room from the entrance. You'll have to use the mechanism in the mechanism room to unlock the door with your remaining party members (refer to screenshot #3)

2)

An old man resides in this room which is directly below the mechanism room. This room is a great example of why you don't always want to walk around dungeons with the sword icon clicked - he's extremely powerful and can kill your party quickly if you mistakenly attack him. He says little of value unfortunately.

3)

This is the mechanism room and the only purpose I've been able to find in this room is to unlock the trap door in the trap room. To unlock the door walk up to one of the switches and press the use switch button - there will be no indication via text or any sound indicating that the trap door is unlocked but if you switch to your trapped character he/she will now be able to leave the room.

4)

There is a spellbook on the table of this room.

Once you're ready, it will be time to go through the east part of the dungeon. You'll encounter at least two priests and just like the prior dungeon I've found the best way past this part is a non-stop one-man zerg with the magician. I know some of you may not like the idea of leaving the priests alive and missing out on the exp and gold they drop but they still out level your characters by too great a degree for me to recommend engaging them and I'd instead recommend you farm easier mobs to make up for that lost exp & gold. Though the priests can be killed at this point in the game they almost always manage to kill at least one of my party members every time I have tried and you are likely to encounter a similar experience.

Rooms of note in the East section (I've already mentioned the room with the greaves):

1)

This is the fish room, and if any character uses the magnifying glass next to the pool they will die due to being eaten by carnivorous fish. From this room you will need to head east to progress the main story line but if you head to the west you will find the following room:

2)

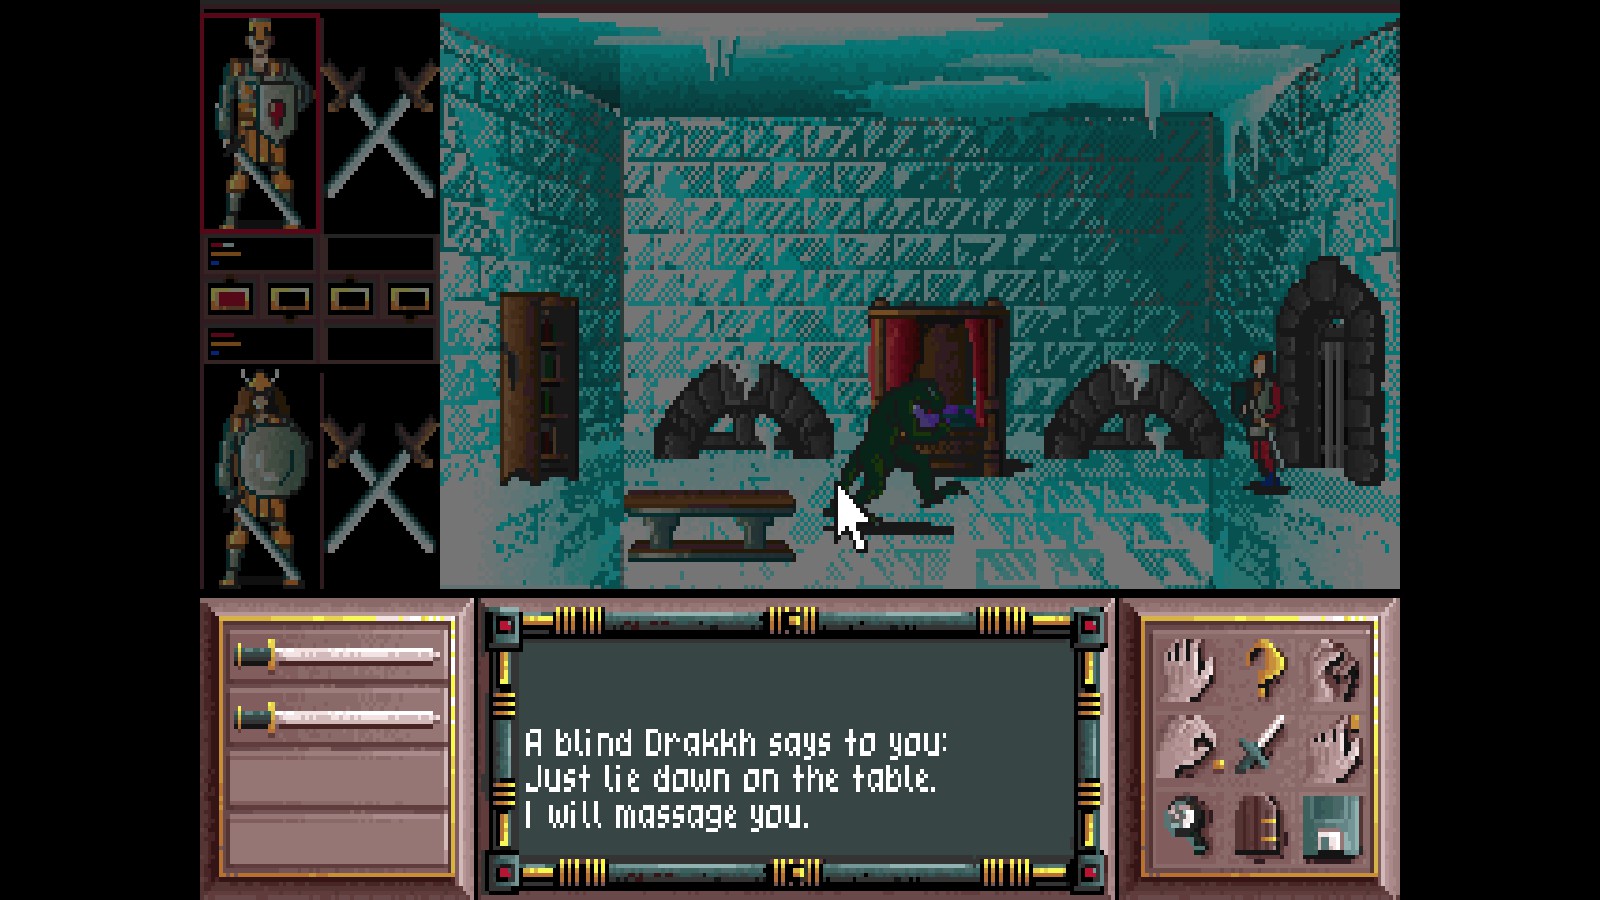
In this room there is a blind drakkhen who mistakes you for the Princess Nakhtkha and offers to give you a massage. Aside from this there is nothing of value in this room that I was able to find but I thought I would mention it regardless in case someone is using keys to try and finish this dungeon (you might want to save one of the keys and skip this room)

3)

Once you reach this part of the dungeon you are close to where Princess Hordthkha is being held hostage. You will encounter no new enemies in the next few rooms so you can rush straight to Hordthkha if you like.

4)

You have finally managed to free Princess Hordthkha and she is very grateful. She will confide in you that she is with the Ninth Tear and she will grant you the gem she was given by one of the dragons, stating "You must have all the gems in order to launch the great conspiracy which will call in the primordial father".

To clarify the story a little further, the Ninth Tear are essentially your allies in this game as they are also fighting alongside you to allow you to hand over the gems instead of having the Fire Drakkhen (your enemies) acquire them all.

She gives you the task of going to Princess Haaggkha's castle, which is in the eastern section of the marsh (please refer to the overworld map for a general idea of where it is located).

Also, worth noting is that Princess Nakhtkha is nowhere to be found in her dungeon, so don't waste any time trying to look for her here at this point in time.
Walk-Through Part 7 - Princess Haaggkha's Castle
Princess Haagghka's Castle is located on the west side of the Marsh part of the map and looks like this:


This is one of the easiest dungeons in the game in large part because Princess Haaggkha is a member of the ninth tear and consequently is your ally so almost all the creatures in this dungeon will not be hostile to your party (save for the green man who will attack your party should you encounter him).

Like the prior dungeon, this one is also split into North and East sections.

In the north section, the only room of interest is the throne room where Haaggkha is located:


Upon encountering her she will explain that she is the leader of the Ninth Tear and she warns you that Prince Hordtkhen is about join the Fire Drakken (who are your enemies in the game). Princess Haaggkha tasks you will killing Hordtkhen before he is able to join the armies of the fire troops. She will also give you a sword and a cuirass so make sure you have enough inventory space for these items before entering the room and engaging in conversation with her.

In the east section of the map there is little of interest until the part where you reach the switch room below:


If you use the magnifying glass on each switch, you'll notice its set to a number, and you can flip the switch to change each one to a different number. The correct sequence for the numbers from left to right is: 4,2,8,4. Once the switches are set up in that order the door in the right side of the room will unlock.

If you've been paying attention to what the creatures you have encountered so far are saying you will realize that for whatever reason, Princess Haaggkha is holding a Dragon hostage at the bottom of her dungeon. The room you just unlocked (shown below) contains the Dragon:


I was unable to come close to killing this Dragon, so I recommend you avoid him at all costs and head to the room directly below where he is located:


This is the armor room and fortunately slaying the dragon is not required to access it. On the wall is a Dragon sword (all your characters can equip the dragon sword) along with even more powerful variations of a cuirass and greaves which the fighter/amazon and scout can equip. The Dragon Sword is the real prize here as it's the most powerful sword in the game and it will greatly aid you in your fight to slay Prince Hordtkhen. It's so powerful that I recommend you leave the dungeon to allow the items to respawn and return so you can continue looting this room until you have fully geared out all your characters.
Walk-Through Part 8 - Kill Prince Hordtkhen
The truth as to where Prince Hordtkhen's loyalties lie is finally revealed - he has been secretly trying to join the Fire side. The old man that is inside the castle at the beginning of the game warns you about this and its finally time to act.


Before you enter the room, I recommend you cast Invisibility on all your characters and have the magician and priest/priestess use their shield spell. When you are ready you can enter the room. Prince Hordtkhen will grow angry that you arrived without being summoned and will immediately attack you. If you have been taking the time to grab the leveled loot and take advantage of some of the opportunities for additional exp I've pointed out in previous aspects of the guide so far you should be able to kill Prince Hordtkhen with relative ease (I was able to kill him with no party member higher than level 8 without taking a single HP point of damage). You'll be automatically awarded his tear after he dies so you now have two of the eight tears to complete the game.

Once he's dead your job here is complete and you should return to Princess Haagghka to report the news.
Walk-Through Part 9 - Return to Princess Haaggkha's Castle


Report to Princess Haaggkha in the throne room and she will tell you that she is worried about the Princess of Fire Hazhulkha as she shows no signs of life. Prince Naakhtkhen is leading the Ninth Tear armies in the desert and you are told to go and assist by traveling to Hazhulkha's castle, which is located on the western side of the desert. Haaggkha also gives you her tear, bringing your tear total to 3. Your party is now strong enough to enter the desert, so we are now going to explore the final part of the map!
Walk-Through Part 10 - Princess Hazhulkha's Castle
Here is what Princess Hazhulkha's castle looks like:


There is a trap mechanic guarding this dungeon. Here is how to get around it (taken directly from the cluebook linked in the references section): "But death is the gift given to those from the north or south. Approach as would the sun and be welcome; if you do not, death awaits. Your position must be precise, for the spell that guards the entrance admits of no error. And indeed the palace looks alike from all directions. Be guided by the arrows that lie on the ground for true directions. Where one goes, all will go".

Upon entering you'll realize you are too late and a great battle has already taken place. The magnifying glass icon can be used in almost every room to get a better idea as to what has transpired. You'll need to reach Princess Hazhulkha to check on her status and she is in the southeast part of the dungeon.

This dungeon is relatively straightforward with only a few random enemies that patrol the rooms such as the one posted below:


None of the enemies should pose any threat to your party and your party (should you have equipped them all with dragon swords) will be able to 1 or 2 shot most enemies.

There are two ways to reach Princess Hazhulkha - either by heading to the southeast or by heading to the northwest and taking the stairs down. It's about the same distance either way so the choice is yours. Eventually you will encounter Hazhulkha in this room:


Unfortunately, you are too late and she has already been killed and her tear is missing. Even though the game says she is dead, you can fight her - I realized this by accident when fighting a random mob that patrolled into the room that caused her to engage my party. She killed one of my characters but my remaining party members managed to kill her. She dropped around 15k jade and also dropped a Dragon Cuirass +2 (the best armor in the game) but I felt bad that I accidentally re-killed one of the good guys so I reloaded the game and ran through the dungeon properly.

The tear is currently in possession of a relatively low-level monster located in the room right below where Hazhulkha was killed. After you kill the creature Prince Nakthkhan will spawn:


He'll state that Hazhulkha's death deserves vengeance and he will task with you killing his sister, Princess Nakhtkha.

One final note: Hazhulkha will disappear if you leave her 'alive' and return to the dungeon later so if you want a chance at the loot she drops you'll have to take her on right then and there. The game assumes shes dead anyway after you speak to Prince Nakthkhan so logically it makes sense to try for the loot (provided you can win the fight without losing one of your party members) but I was too much of a sap to actually follow through with this.
Walk-Through Part 11 - Kill Princess Nakhtkha
In case you've forgotten Princess Nakhtkha's castle is on the western side of the ice part of the map.

Princess Nakhtkha will be in her quarters in the north part of the dungeon. Use the same strategy you used for Prince Hordtkhen and you should have little trouble beating her:


You'll encounter Prince Naakhtkhen again when you return to the entrance of the dungeon:


He'll thank you for taking out his sister as he couldn't do it himself. He then says that they have Prince Hazhulkhen's castle surrounded and that you need to take out Prince Haaggkhen on your way to Prince Hazhulkhen so the next stop is Prince Haaggkhen.
Walk-Through Part 12 - Kill Prince Haaggkhen
As a friendly reminder, Prince Haaggkhen's castle is in the west part of the marsh section of the map.

Prince Haaggkhen is located in his throne room, which is in the Northwest part of the castle, one room directly to the north of the room where you can loot the ring that is on the table. I'll warn you now - Prince Haaggkhen is easily the most powerful of Drakkhen Prince you will have to face.


When I first encountered Prince Haaggkhen I had a level 9 fighter, level 8 amazon, level 7 magician, and level 7 priestess. He completely decimated my party - within 10-15 seconds no matter what I tried my entire party would die and only my amazon seemed capable of inflicting a little bit of damage before the entire party would wipe. Up until this point in the game when you would encounter a fight where you were up against an enemy that was much more powerful than your party I'd advise you to avoid the fight but in this case taking out Prince Haagghken is a requirement in order to finish the game. There's no way around it - he must die.

My solution to this problem? AFK leveling. I parked my party in the first room inside Princess Hazhulkha's castle in the desert and left it on overnight for roughly 12 hours with the autocombat icon clicked just waiting for patrolling mobs to engage my party (there are other areas you could consider AFK leveling as well but at the time this seemed like the best location as the enemies were easy for my party to kill, dropped a lot of jade, and awarded good exp). By the time I had returned I was disappointed to see that my magician and priestess appeared to have died early on but my fighter and amazon had apparently just been nonstop feeding off the mobs. Just to put into perspective precisely how efficient this was I'm going to record the before and after stats of my party after I ran this AFK level stunt (before on left side, after on right side):

Fighter - Level 9, 37,358 exp before - Level 18, 549,259 exp after
Amazon - Level 8, 30,952 exp before - Level 17, 440,418 exp after
Magician - Level 7, 23,975 before - Level 7, 25,369 after
Priestess - Level 7, 14,943 before - Level 7, 18,762 after

My fighter also now had around 450k jade while the Amazon had around 350k jade, which at the time I was thrilled about b/c this meant I likely had enough jade to resurrect my higher level characters if they died in combat (my priestess was still too low of a level to have learned the resurrect spell).

When I was ready to resume playing again I had made the decision that I was going to try the boss fight with Prince Haaghken again despite my magician and priestess still being too weak - I was hoping that my fighter and amazon would be strong enough now to carry the party through this fight and hopefully the rest of the game. I re-entered his castle and led with the fighter first into the room. The fighter unfortunately died within the first few seconds as he was first one to draw the Princes attention - I think the fighter may have gotten off one or two hits before dying. The amazon however went to town on the boss and hit him repeatedly for 50-60 damage (which was a massive improvement over the 10-13 point damage swings she was getting in previously). Within 10 seconds Prince Haagkhen was dead and I had lost only one party member. If I had to guess, Prince Haagkhen appears to have around 300-400 total HP. I know a lot of people don't like being given advice in RPGs which states "You need to level up your characters more" but I literally see no other way to take out this boss as you are quite obviously under leveled when you first encounter him.

Walk-Through Part 13 - Kill Prince Hazhulkhen
Prince Hazhulkhen's castle is pyramid shaped:


There is no trap on the entrance of this castle that will kill your characters but there is a restriction on how you can enter the castle. Taken directly from the clue book linked in the references section here is how to get around it: "Enter not from the directions of the sun; embrace the north wind and you shall be allowed to be pass. Where one goes, all will go".

If you made it past Prince Haaggkhen you should have little difficulty with this dungeon. I recommend you go straight after Prince Hazhulken and he is on the second floor of the castle which you can access by heading to the northwest part of the dungeon:


He'll thank you for bringing him the remaining 7 tears and that he'll be invincible with all of them and shortly after will attack you. He's very easy to kill as a single blow from my amazon (for only 15 damage) was enough to kill him. Once you kill him you will have acquired all 8 tears needed in order to complete the game, but we aren't done with the dungeon just yet.

You'll want to explore the remaining part of the dungeon to the southwest as there is something you need to examine in order to complete the next part of the walkthrough and it makes sense to take care of this while you are still in the dungeon. Not all of the enemies here are hostile in this part of the dungeon as some of them are actually your allies who have managed to infiltrate Hazhulkhen's castle and gain his trust, so I recommend you turn off the autocombat icon when needed. Even a bearded man has managed to sneak his way into the castle:


Keep proceeding forward until you come across the following room:


You'll want to examine both sepulchers in the room using the magnifying glass icon and I'll explain why in the next step of this walk through. One should say "ACCEPT" and the other should say "THE REMORSE"

Also of note is that a few rooms past this one there is a dragon cuirass and dragon greaves on the wall. Only the figher/amazon and scout and equip it and you can return to the dungeon to loot these two pieces of armor as many times as you want.

Walk-Through Part 14 - Read the 8 Sepulchers
In order to complete the remaining steps and finish the game you'll have the read the clue book to figure out what to do next (I have it linked in the references section of this guide). I've taken the following directly from the clue book:

"You must possess the eight gems of destiny foretold. But before the circle may be closed and fate fulfilled, you must view once again the sentences graven on the tombs of the fallen. Visit once more each of the palaces where the figures lay and the words were written. Read them once more. All must be read for the destiny to be complete. The end is at the center of all things. Fate then leads to the lights of the ground, but you must enter there with empty hands. Worldly possessions will impede your path. A light step will complete the cycle and end the mystery. One final step in the right spot brings victory at last.

To clarify, you'll need to obtain a message by reading 8 sepulchers located in 4 different areas (there will be 2 sepulchers per room) and you will then need to destroy all of your equipment and items prior to turning in the 8 tears to the dragons. If you followed my instructions in the previous step of this walk through only 6 will remain and here are the locations:

1) Prince Hordtkhen's Castle:


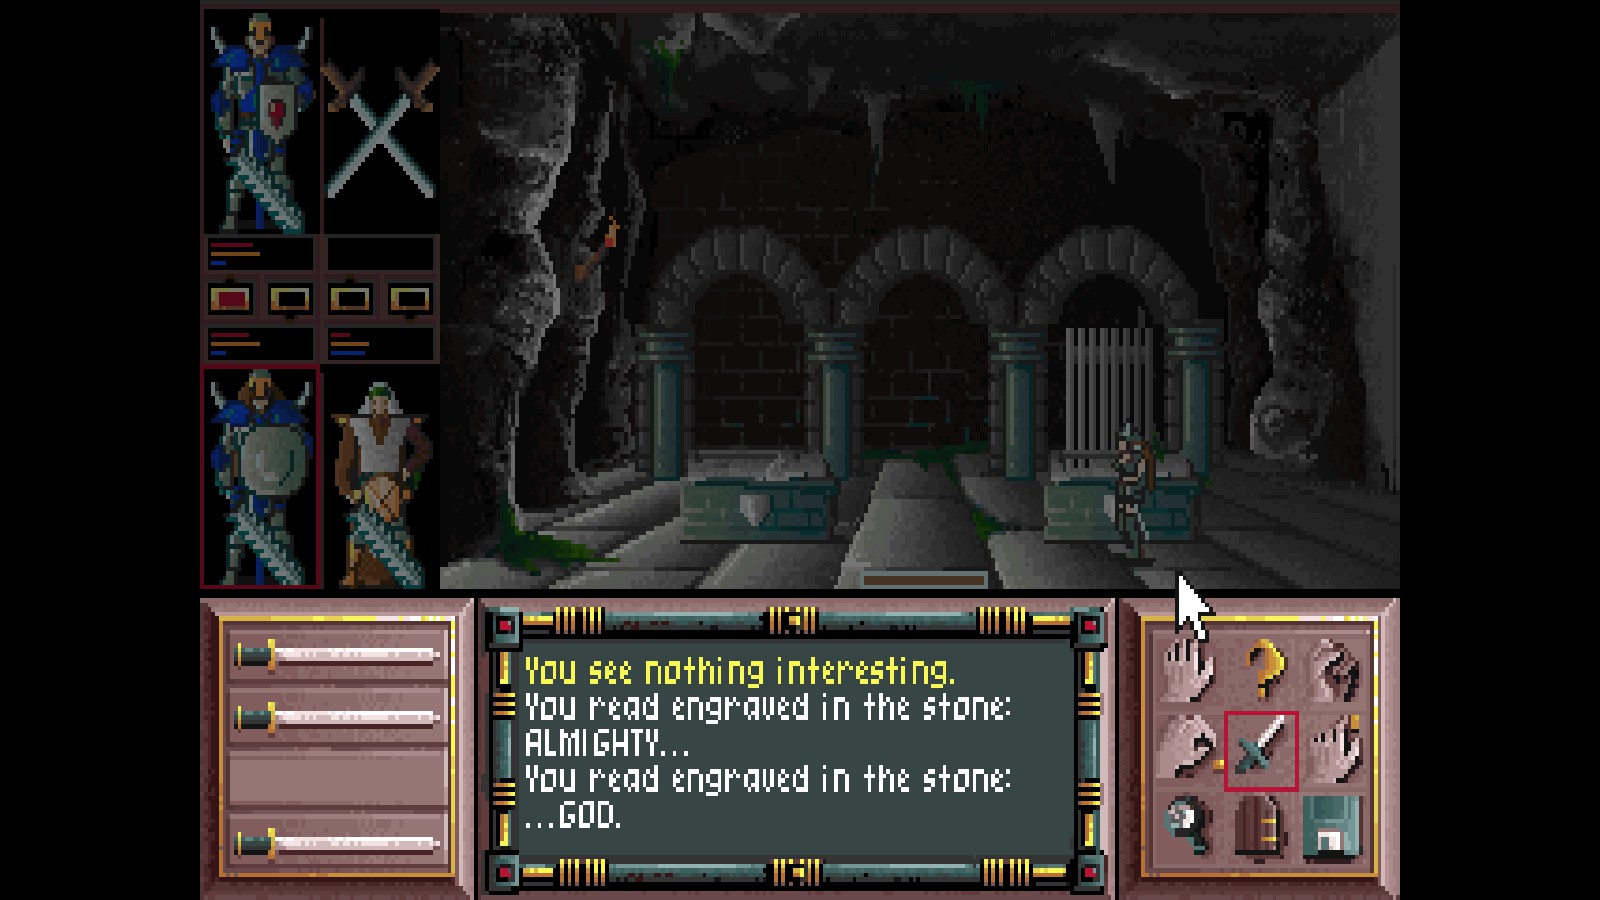
One reads "ALMIGHTY" and the other reads "GOD". These sepulchers are in a secret area within a secret area inside Prince Hordtkhen's castle. To open the first secret area please refer to Walk-Through Part 1 - Prince Hordtkhen's castle (I have instructions on how to access the area there). For the second secret room you'll need to position one of your characters on a pressure plate that is located a few rooms south of the entrance to the secret area. This will open another door that will allow you to find the sepulchers (the door that opens is only a few rooms away from the pressure plate room).

2) Prince Haaggkhen's Castle:


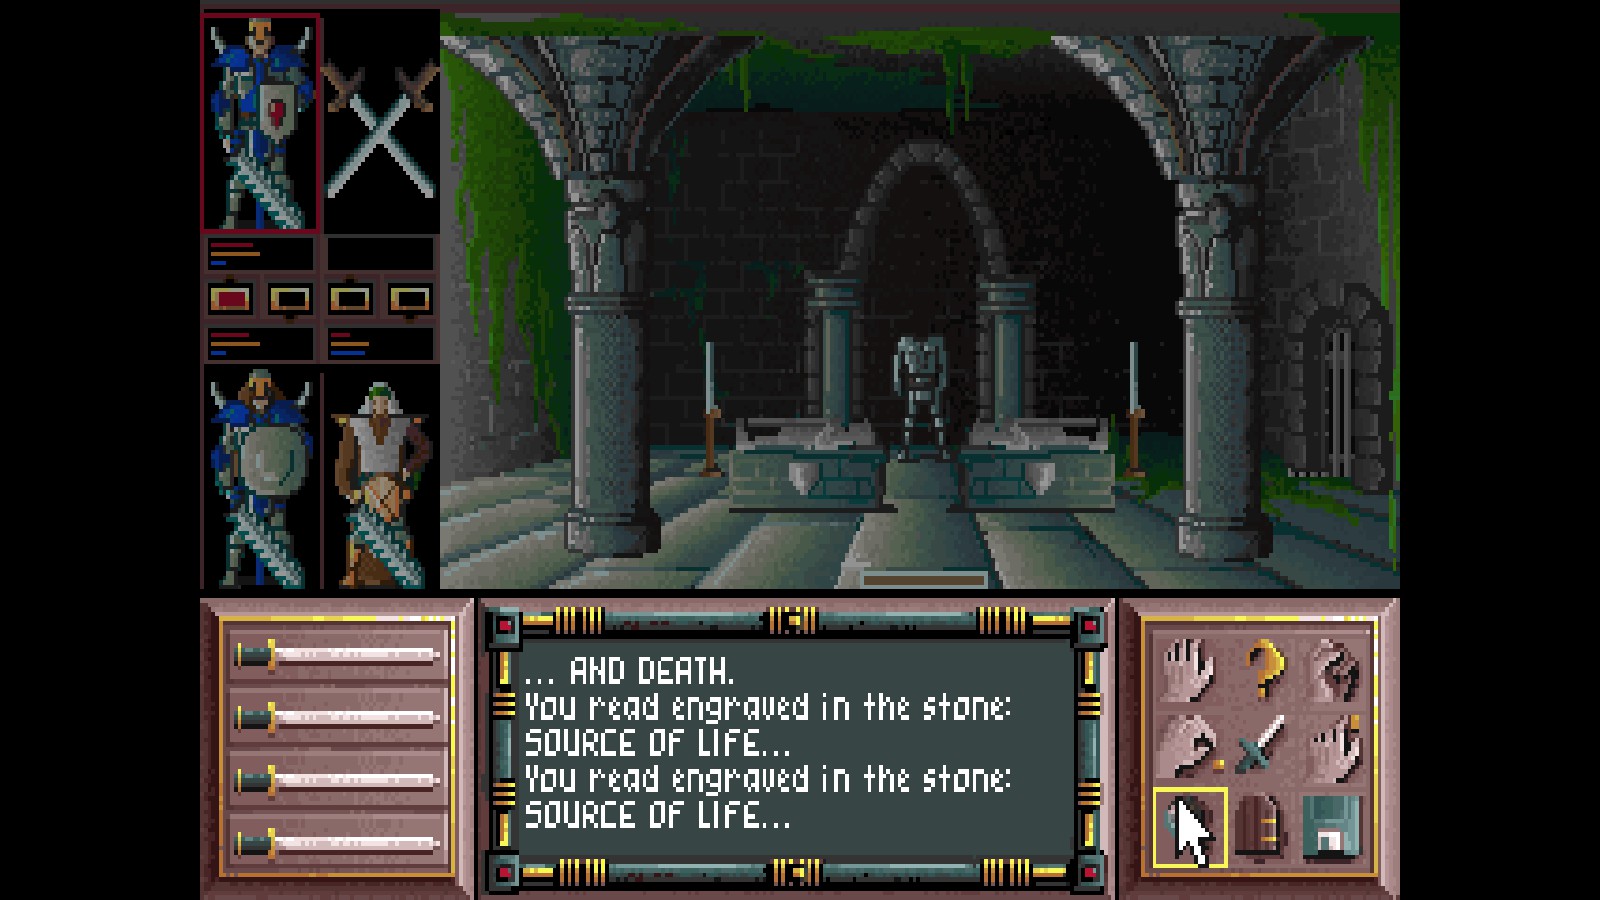
The sepulchers in this castle are in the room where the cuirass and greaves are guarded by a trap. For whatever reason I was unable to activate the trigger to re-open the path to the teleport room, so I was forced to use the magician's teleport spell in order to access the area. Once inside the sepulcher room I was unable to stop the trap from activating and it took me three tries to rush across the room to analyze both sepulchers before my magician died. If anyone knows exactly what it is that triggers the door to the teleport to open and what triggers the trap in the sepulcher room to activate please let me know (I thought I had this figured out previously but now I'm not so sure and I doubt my solution here was the intended one.) The sepulcher's read "AND DEATH" and "SOURCE OF LIFE".

3) Princess Nakhthka's Castle:


The sepulchers are in the east side of the dungeon. They both read "FROM YOUR HUMBLE" and "SERVANTS".

4) Prince Hazhulkhen's Castle:


One should say "ACCEPT" and the other should say "THE REMORSE". Instructions on where these two are located are in the previous step of this guide but if you have followed my instructions you should have already received credit for this one.
Walk-Through Part 15 - Turn in the 8 tears
You are almost done with the game! To complete the final tasks, you'll need to travel to the arrows in the center of the forest part of the map.


You have only two tasks remaining: to destroy all items and equipment currently in your inventory and to turn in the tears (simply unequipping weapons and armor is insufficient and the dragons will still attack you). I recommend you wait until you are close to the arrows and save and then begin the process of destroying your stuff (just in case you decide to revisit an area in the future).

After you've destroyed all your gear you are ready to turn in the 8 tears:


I won't spoil anything else other than what has been posted in the screenshot above.

Congratulations you've just completed Drakkhen!
Map: The Overworld

The screenshot above is taken from the SNES version of the game and is mostly accurate for this version. Please note that there is no compass in this version of the game.

The shop is located in the northeast part of the map, shortly after you cross into the ice zone. It is almost directly north of the eastern marsh castle. It is not displayed on this map.

The inn is located to the west of Prince Hordtkhen's castle and you can buy tips in exchange for jade there. Like the shop this is also is not reflected on the map above.

The map is organized like this:

Ice
___

Marsh
___

Forest
___

Desert

You'll start in the forest section of the game, to the west of the arrows and just a little bit south of the western forest castle.

NOTE: Avoid the desert at all costs until you are instructed to go into that area in the main game. It contains the most powerful enemies in the game.

There are also warp points on the edges of the zones - stepping on one allows you to warp across the map and serves as a method of fast travel throughout the game.
Map: Dungeons
Below are maps off all 6 castles you can explore that I have hand drawn. To best use them refer to the key in the top right corner of each map and also locate the entrance room before scanning the map (it will be in a different location of each page due to the layouts of the various dungeons).

There are also maps drawn by the creators of the clue book which you can access via the link I have in the references section.

Prince Hordtkhen's Castle:


Prince Haaggkhen's Castle:


Princess Nakhtkha's Castle:


Princess Haaggkha's Castle:


Princess Hazhulkha's Castle:


Prince Hazhulkhen's Castle:

FAQs
1) Is there a compass while in the overworld?

Not in the Steam version of the game although a compass does exist in the SNES version. You'll have to rely on common landmarks to help you navigate within the different zones. Also if you are headed straight north or south you can usually see the next zone in the background which helps to let you know you are at least headed in one of those two directions.

2) Why do I keep getting attacked when I cross the arrows in the middle of the starting area?

Stay away from this area until you have collected all 8 tears and read all 8 incantations in the 4 sepulcher rooms. By walking into this area you are summoning dragons who will continue to be hostile to your party until the absolute very end of the game.

3) What use for jade is there in the game?

There are only three uses for jade in the game: to buy items from the shop, to heal/resurrect your characters, and to purchase tips from the secret inn located close to Prince Hordtkhen's castle. The shop is only useful in the beginning of the game. In the SNES version there was a wandering merchant with extremely powerful weapons, armor, rings, and staffs that you could purchase making jade worth acquiring but he does not exist in this version of the game.

4) Is there a way to sleep/rest in this game?

Unfortunately there is not and this is one of the major flaws in the game design in my opinion. Aside from healing spells and phials (which have limited uses) you will have to wait passively for your members MP/HP to return. If passive HP/MP recovery becomes necessary I recommend you park your party in front of a building so that they can't be attacked.

5) Why do I not appear to be getting exp and items after winning certain fights while in the over world?

Just like your party the enemies in the game have the ability to retreat and if they do choose to do so you won't get any loot from them. You will however still get the exp related to the damage your characters inflicted on the enemy.

6) Are the towns worth visiting?

It is not required at any point in the game to visit the towns and they contain only random bits of lore (and some of them are not worth visiting at all). You can safely skip all of them throughout your entire play through and not have to worry about missing any worthwhile content.

7) Why don't ranged attacks seem to work in this game?

In my opinion this is a design flaw. On a positive note the enemies in the game also suffer from the same design flaw so while you won't be able to dish out any worthwhile ranged damage you also won't be hit with much either.

8) Who decided to place crosses in the middle of the road?

A great question and one I unfortunately can't answer. Maybe the developers wanted us to suffer? If you can get through an entire play through without accidentally bumping into one I salute you!

9) Why did you create this guide?

I've been an avid gamer for practically my entire life and over the years I've relied heavily on guides to help me progress forward with difficult games. Sites like GameFAQs and later YouTube allowed users to upload tips that literally helped save me from shelving games I may have otherwise been unable to finish. As my way of saying thank you for all the help I've gotten over the years I wanted to give back to the community so I've chosen to write a community guide for Drakkhen, which to date is one of the most difficult games I have ever played and to be honest needs a guide more than any other game I've played so far on Steam.
Update Log
4/7/2019 - Additional grammar errors corrected throughout the guide. Added a Legal section.
4/2/2019 - Corrected a few grammatical errors in several areas of the guide.
3/30/2019 - The guide has been released on Steam!
Legal
Copyright 2019 Matthew Leto
4 Comments
Zyos  [author] 12 Dec, 2020 @ 11:27am 
That's brilliant captiveateher I never thought to try and decode the symbols by comparing them to to spells! Please let us know if you find out what any of the other phials do. Based on what you put down it looks like most of them impact your passive stats.
kattegory 11 Dec, 2020 @ 2:27pm 
Hey! I don't know if you or anyone else is playing this game still, but I've been picking it up and I decided to decode all of the draconic! I'm working on figuring out some other stuff about the game too, but here's the language stuff!

draconic [imgur.com]

Tysm for the guide, btw!!!!
Zyos  [author] 21 Jul, 2020 @ 10:52am 
Great suggestion DDRJake! I'll try that in my next playthrough
DDRJake 21 Jul, 2020 @ 1:46am 
Thanks for this. The part at the end where you had to revisit all the graves and then remove all your equipment was absurdly cryptic.

As for ranged damage, if you fire a bow then while the projectile is mid-flight equip a dragon sword, you will do intense damage. Enough to ravage Prince Haaggkhen without hours of grinding levels.