

Install Steam
login
|
language
简体中文 (Simplified Chinese)
繁體中文 (Traditional Chinese)
日本語 (Japanese)
한국어 (Korean)
ไทย (Thai)
Български (Bulgarian)
Čeština (Czech)
Dansk (Danish)
Deutsch (German)
Español - España (Spanish - Spain)
Español - Latinoamérica (Spanish - Latin America)
Ελληνικά (Greek)
Français (French)
Italiano (Italian)
Bahasa Indonesia (Indonesian)
Magyar (Hungarian)
Nederlands (Dutch)
Norsk (Norwegian)
Polski (Polish)
Português (Portuguese - Portugal)
Português - Brasil (Portuguese - Brazil)
Română (Romanian)
Русский (Russian)
Suomi (Finnish)
Svenska (Swedish)
Türkçe (Turkish)
Tiếng Việt (Vietnamese)
Українська (Ukrainian)
Report a translation problem


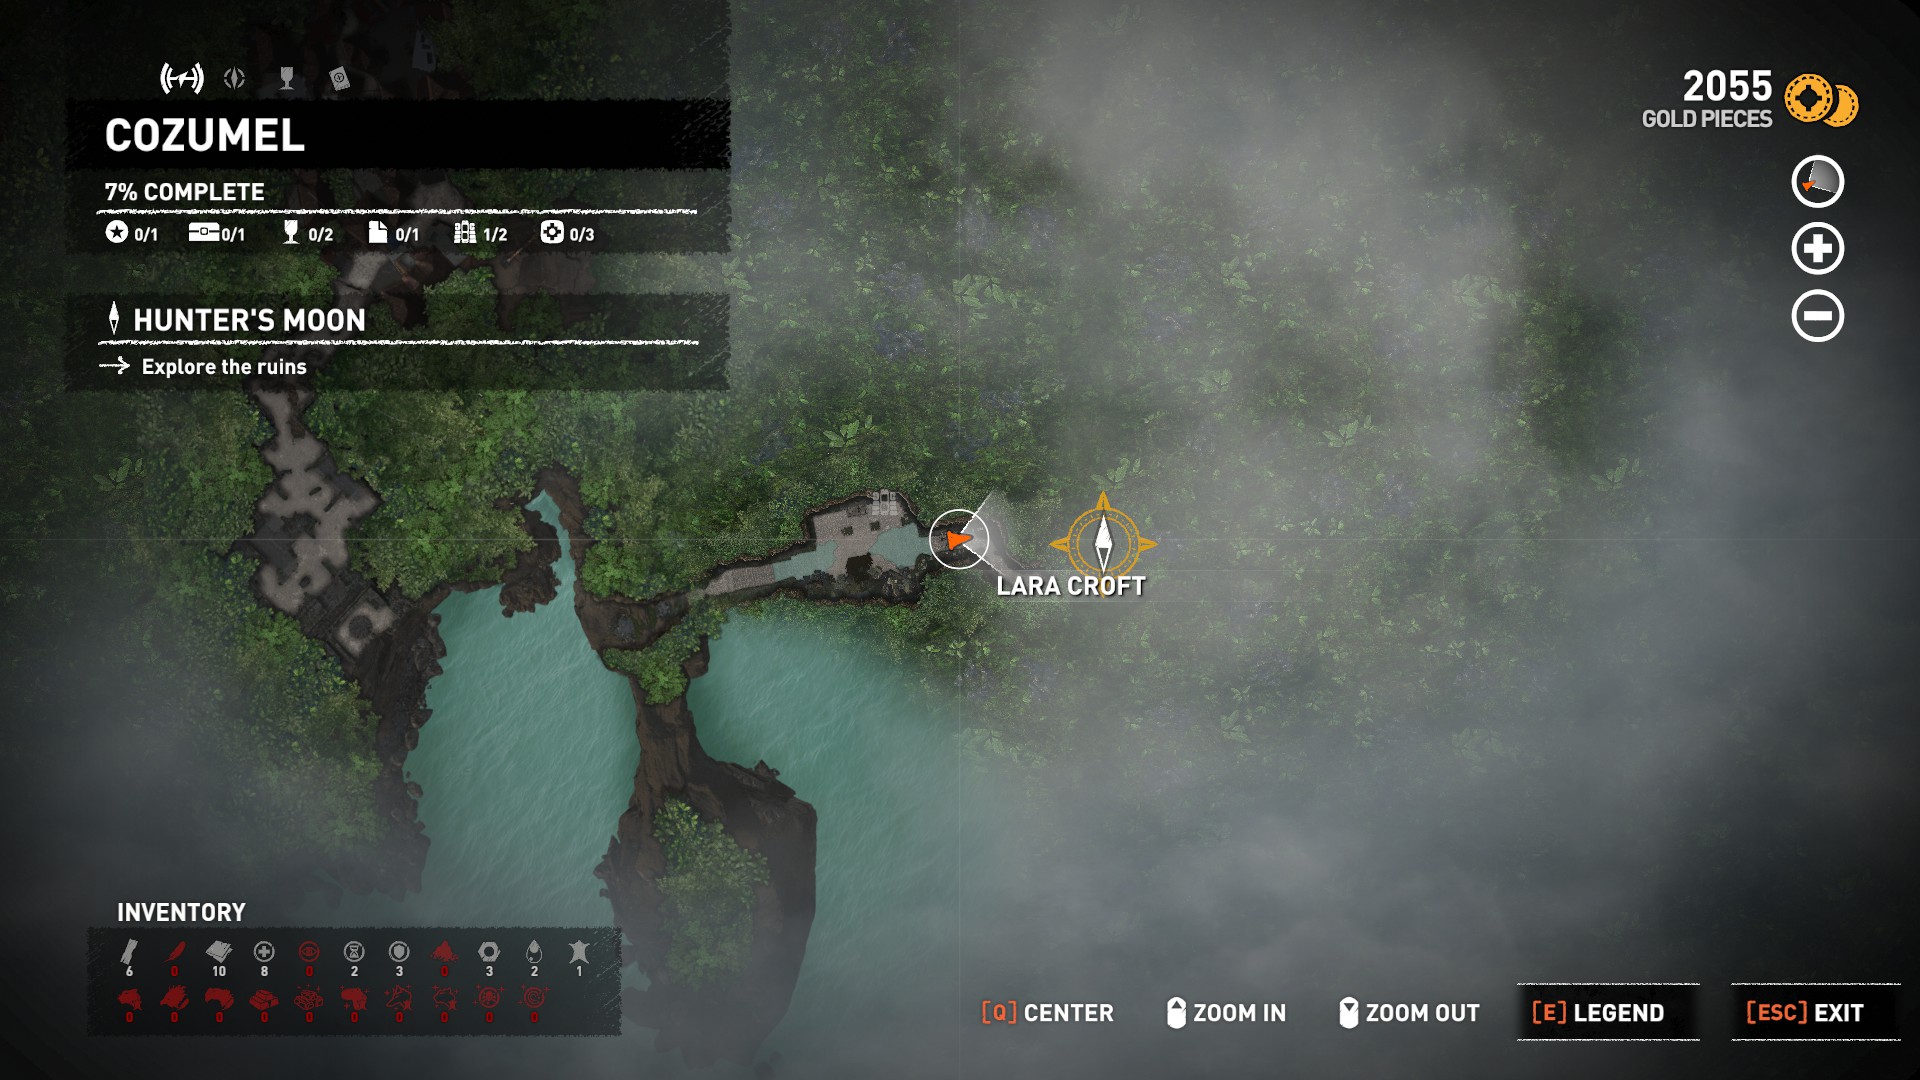
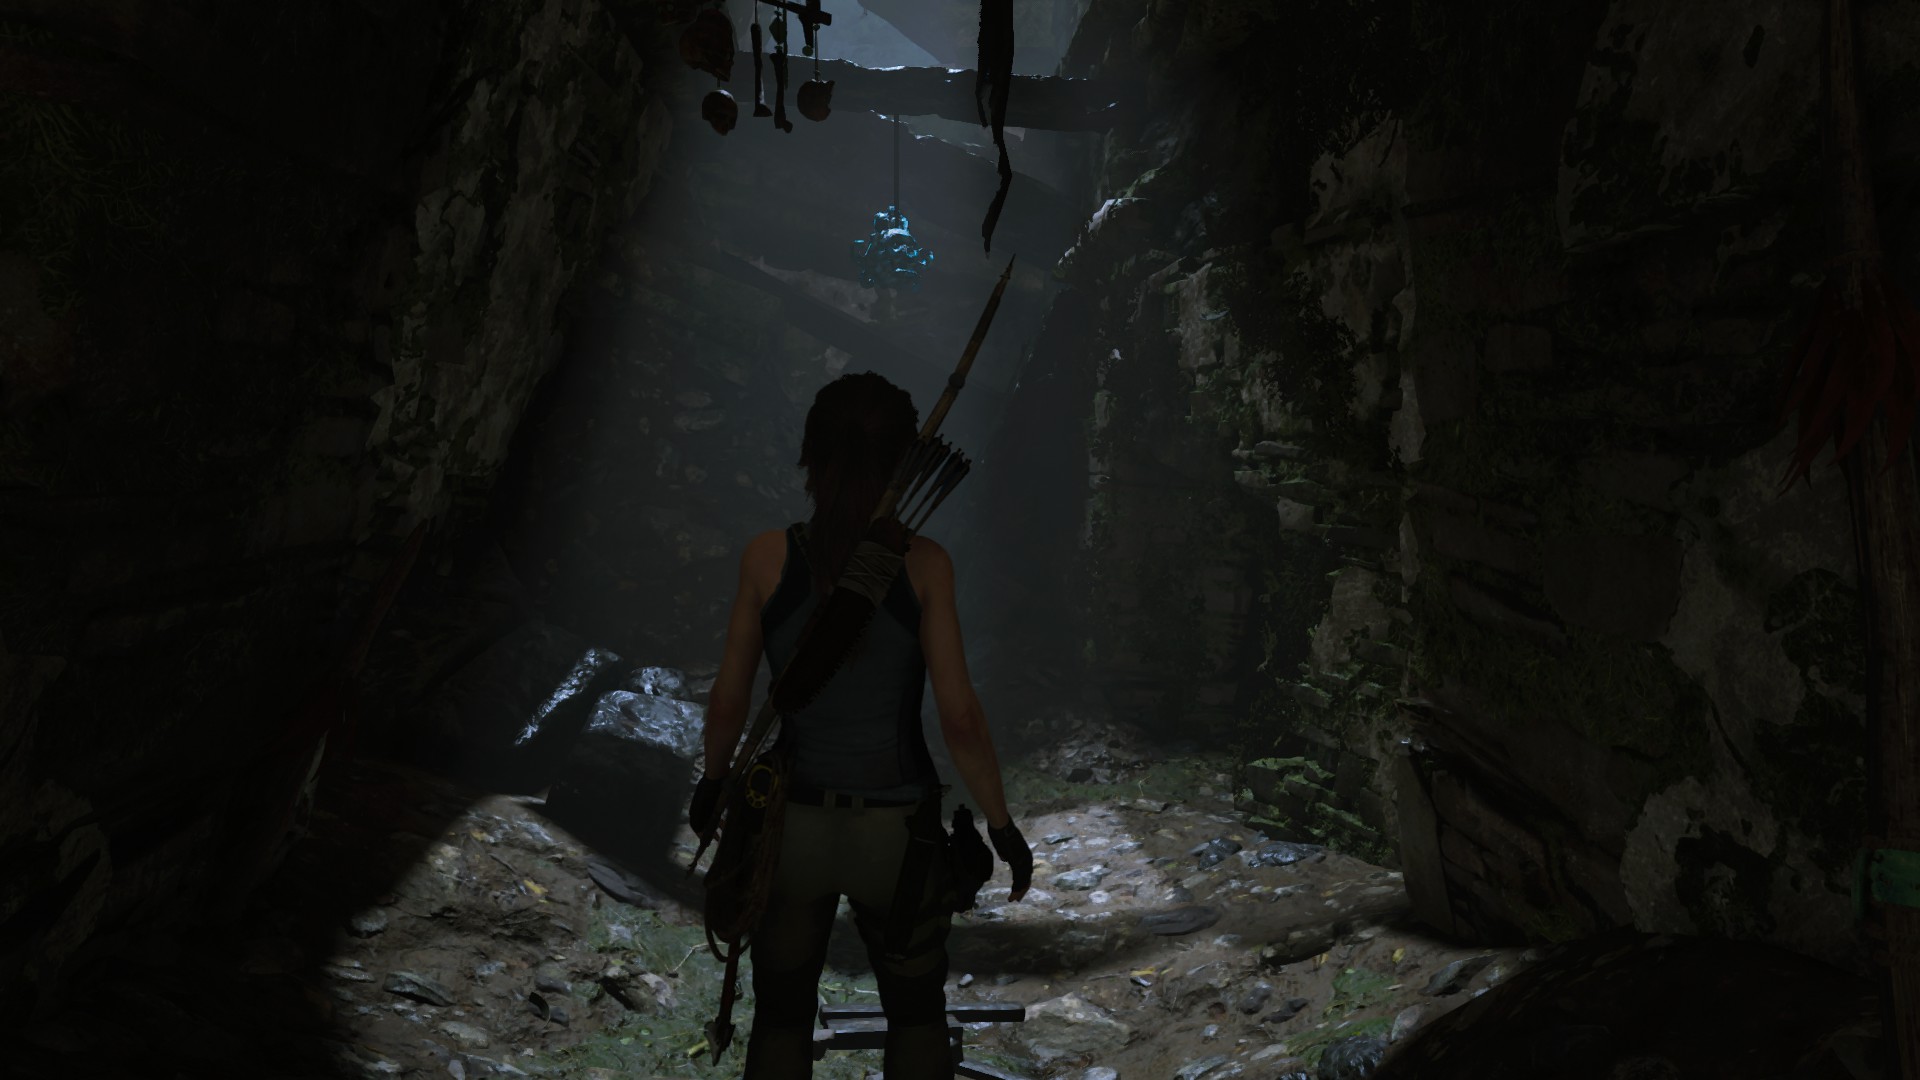


first one (unfortunately at this point I hadn't quite figured out what to do with them, so screenshots are from a bit more distance, and then forgot to take a screenshot whilst rappelling down)
https://steamproxy.net/sharedfiles/filedetails/?id=2576805958
https://steamproxy.net/sharedfiles/filedetails/?id=2576805927
https://steamproxy.net/sharedfiles/filedetails/?id=2576805901
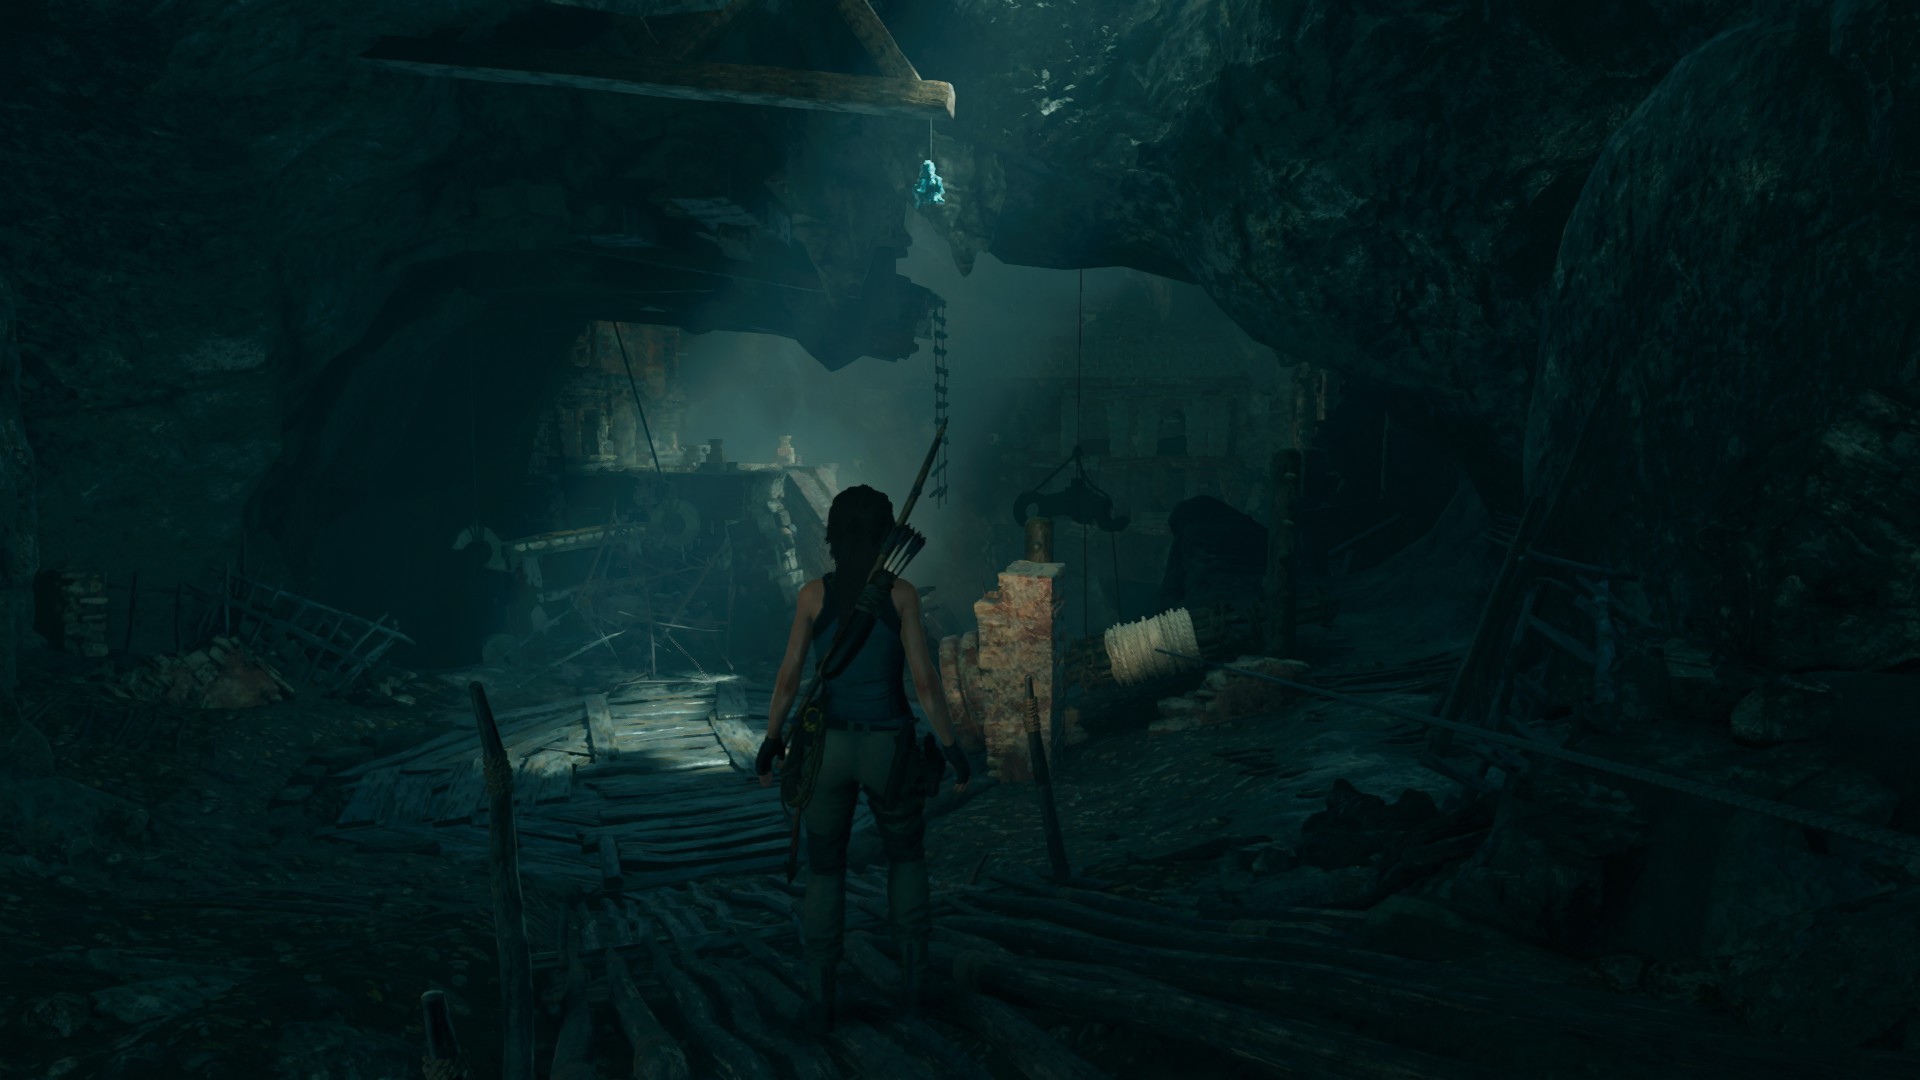
second one:
https://steamproxy.net/sharedfiles/filedetails/?id=2576805984
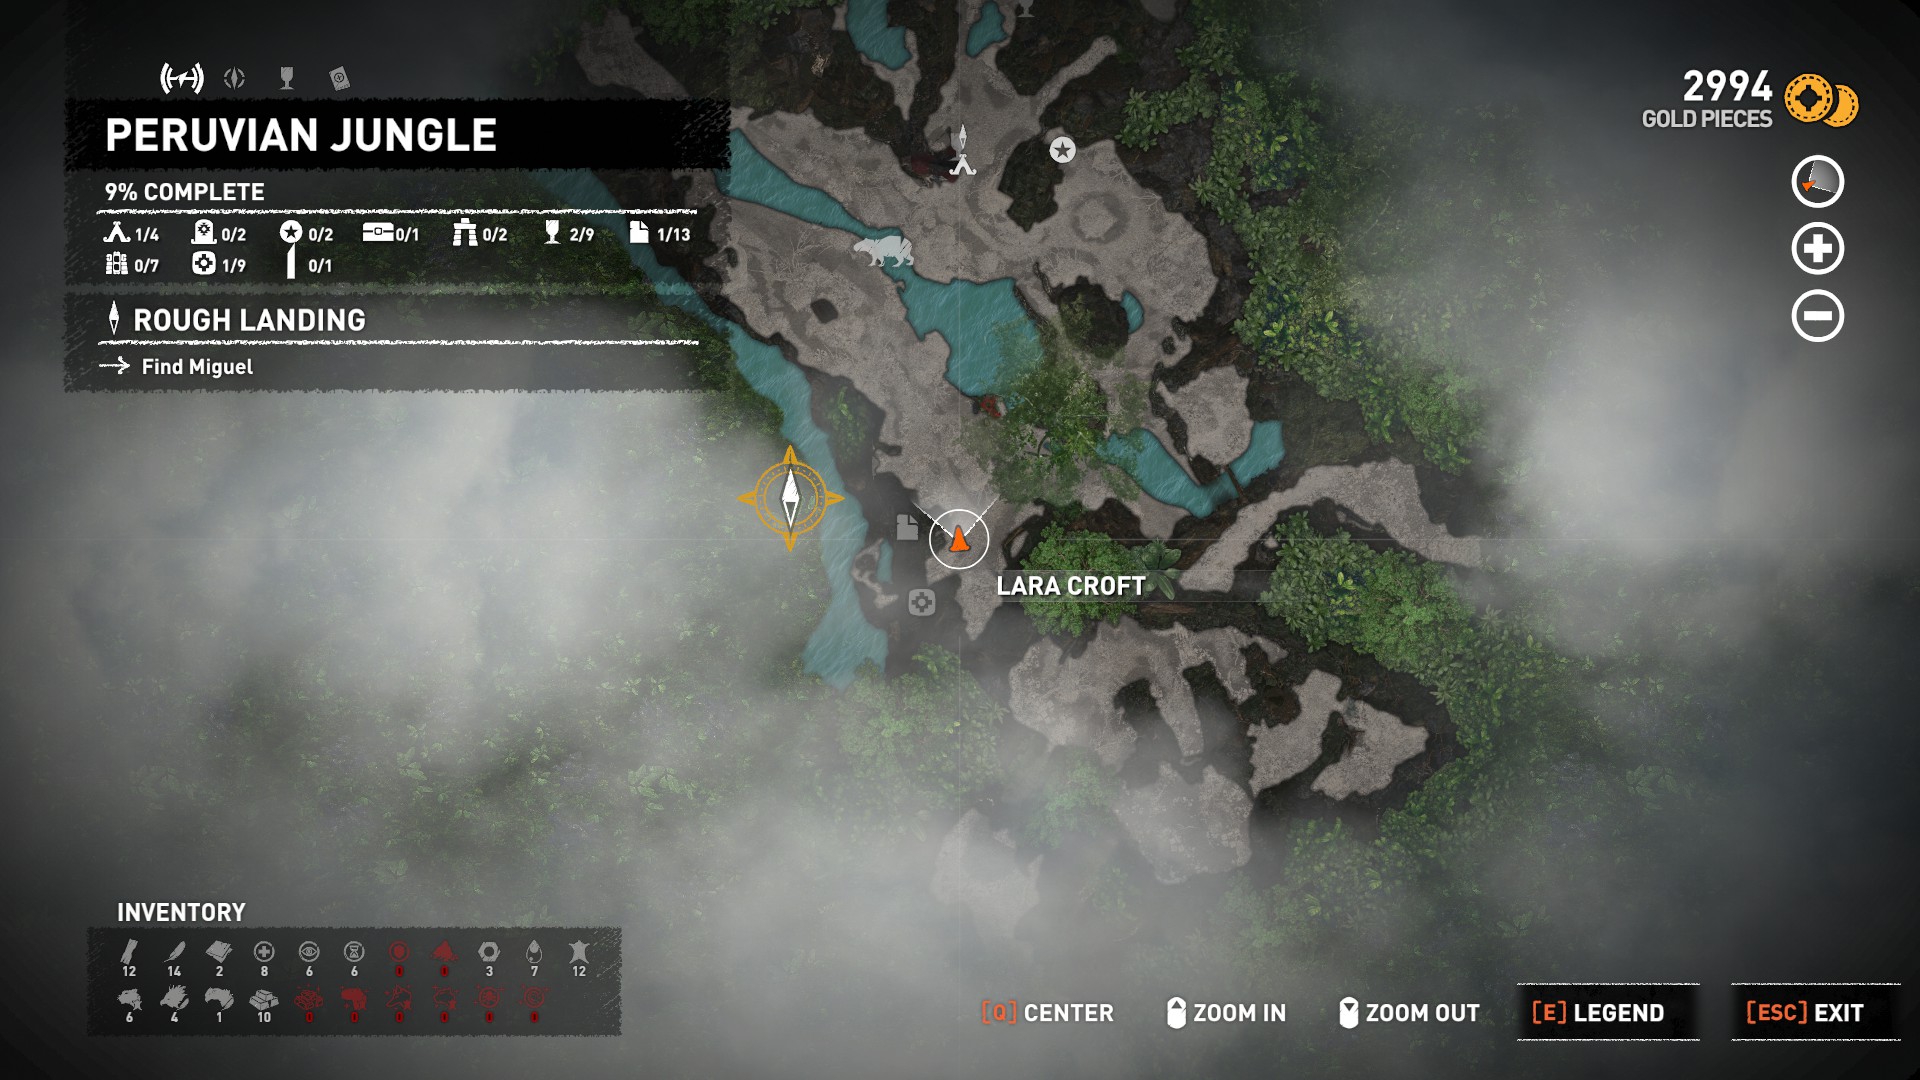
third one:
https://steamproxy.net/sharedfiles/filedetails/?id=2576806021
https://steamproxy.net/sharedfiles/filedetails/?id=2576806051
They're probably not the best screenshots, but at least for now I suppose they should help out more than no screenshots at all; feel free to use whichever ones you think are useful
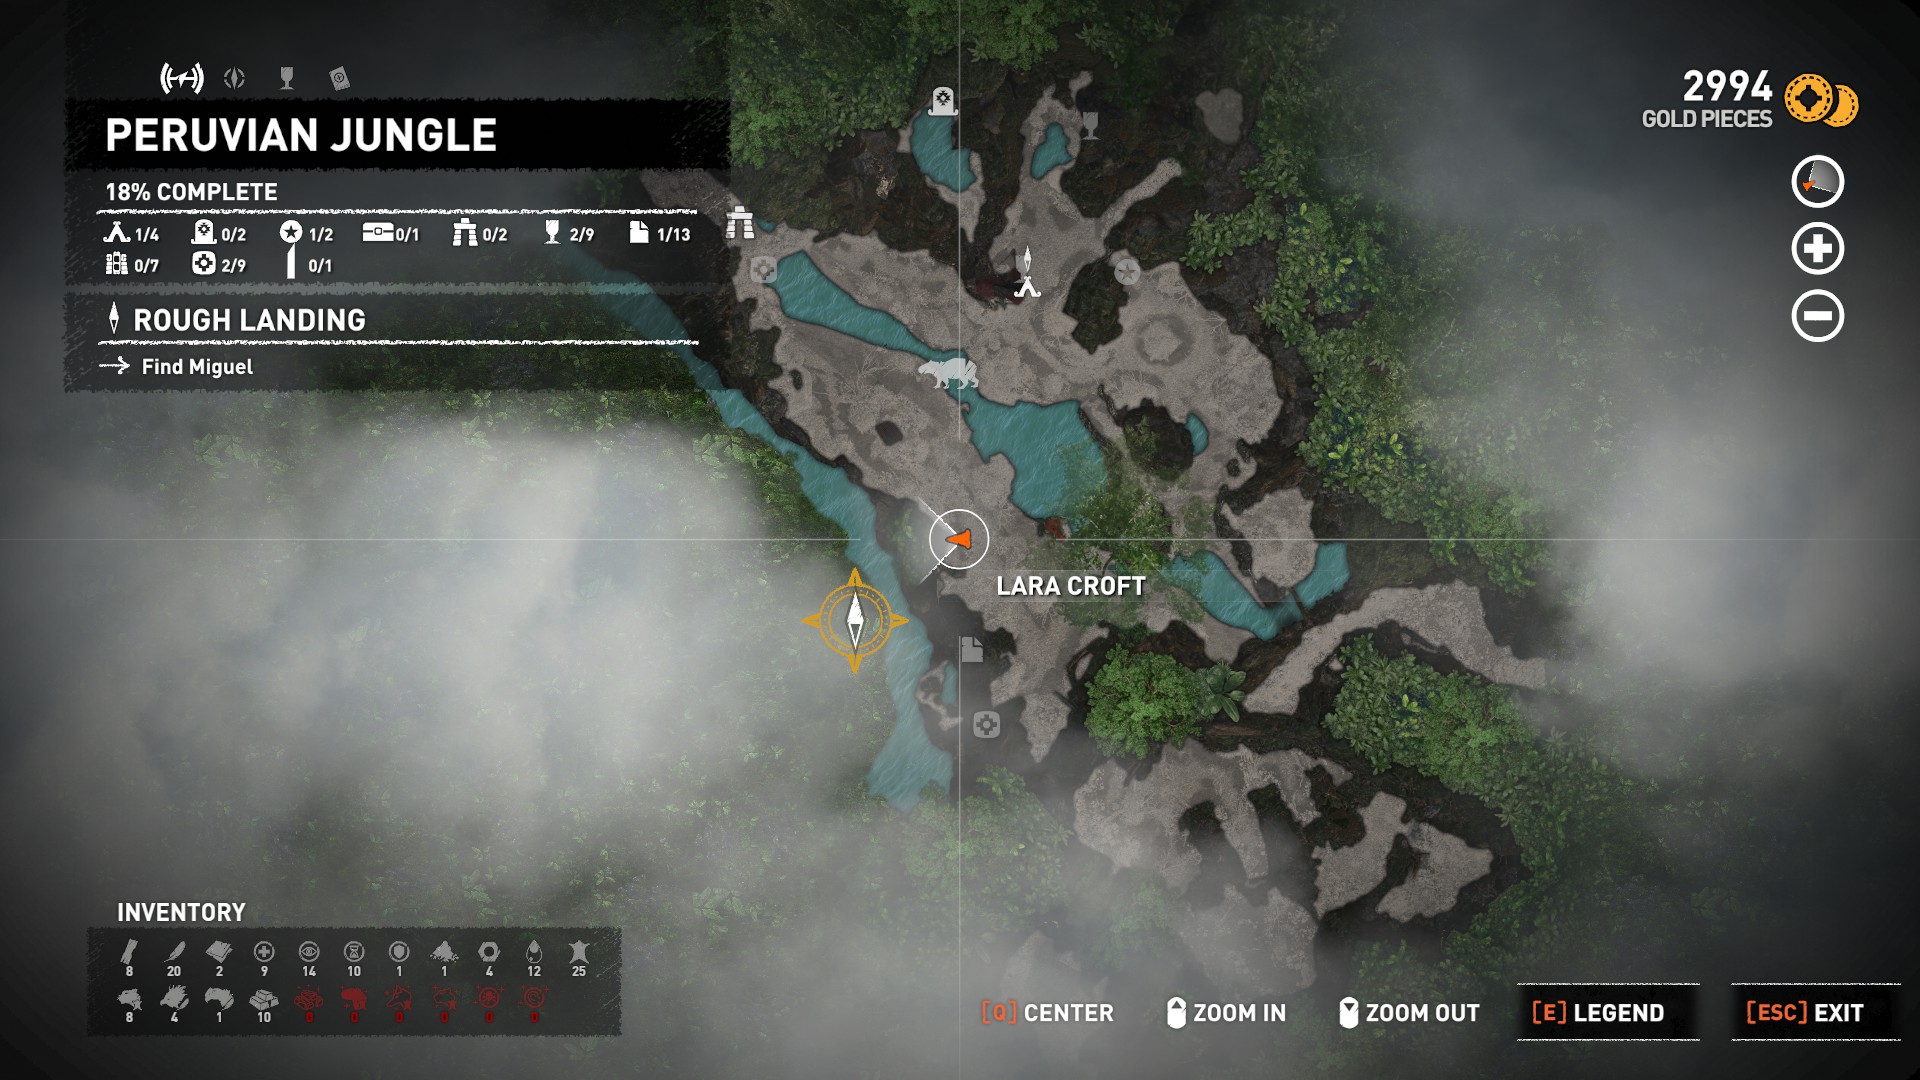
The first effigy is also on the left side of the temple before the survivor bag.
https://steamproxy.net/sharedfiles/filedetails/?id=1742779850
https://steamproxy.net/sharedfiles/filedetails/?id=1742779633
https://steamproxy.net/sharedfiles/filedetails/?id=1742779671
https://steamproxy.net/sharedfiles/filedetails/?id=1742779763
https://steamproxy.net/sharedfiles/filedetails/?id=1742779796
the mission place cutting those flag poles near the ruined tower campsite
https://steamproxy.net/sharedfiles/filedetails/?id=1669415330
https://steamproxy.net/sharedfiles/filedetails/?id=1669415597