Half-Life 2

Half-Life 2

7,115 ratings
Lambda Locator
By revlob
A guide for completing the Lambda Locator achievement in Half Life 2. Every location detailed, with screenshots.
27
178
18
7
32
31
7
12
23
11
5
9
14
14
7
10
10
8
6
4
4
   
Award
Favorite
Favorited
Unfavorite
Introduction
In order to progress in this achievement, you will need to move Gordon to a series of specific locations. Most often these locations are caches of items, signposted by one or more spraypainted Lambda symbols, rather than the symbols themselves, so ensure you've tried to pickup the items in each cache before continuing to the next. Some caches will have multiple Lambda symbols associated with them, and some symbols do not indicate the location of a nearby stash, serving only to indicate the main route of the game.

I would recommend you enable Steam notifications while attempting this achievement, as there is no in-game prompt that you have found a location, and some locations do not have symbols associated with them.
"Which Symbols Am I Missing?"
If you've already made some progress towards this achievement, and want to know which symbols you are missing, you'll have to do a bit of digging around in one of the game's files. If you go to the directory where you installed Steam, and open the following file:

Steam\SteamApps\common\Half-Life 2\hl2\gamestate.txt

Inside you'll see a series of "blocks", each of which represents your progress towards one achievement. One of these blocks will have a line labelled "data", which will contain a string of hexadecimal characters. For someone who has completed the achievement, the data string will look like this:

0x00001FFFFFFFFFFF

The part we're interested in is the last 11 characters, which is all the Fs in our example. If you convert the last 11 characters of the string into binary (search online for "convert hex to binary"), you'll get 45 binary values representing the state of each symbol in your achievement progress:

11111111111111111111111111111111111111111111

So if you take the data string from your gamestate.txt, and convert the last 11 characters to binary, you'll get a 0 instead of a 1 for each symbol you are missing, and luckily they are listed in order (so if the first binary value was a 0 instead of a 1, you'd be missing the first symbol).
A RED LETTER DAY

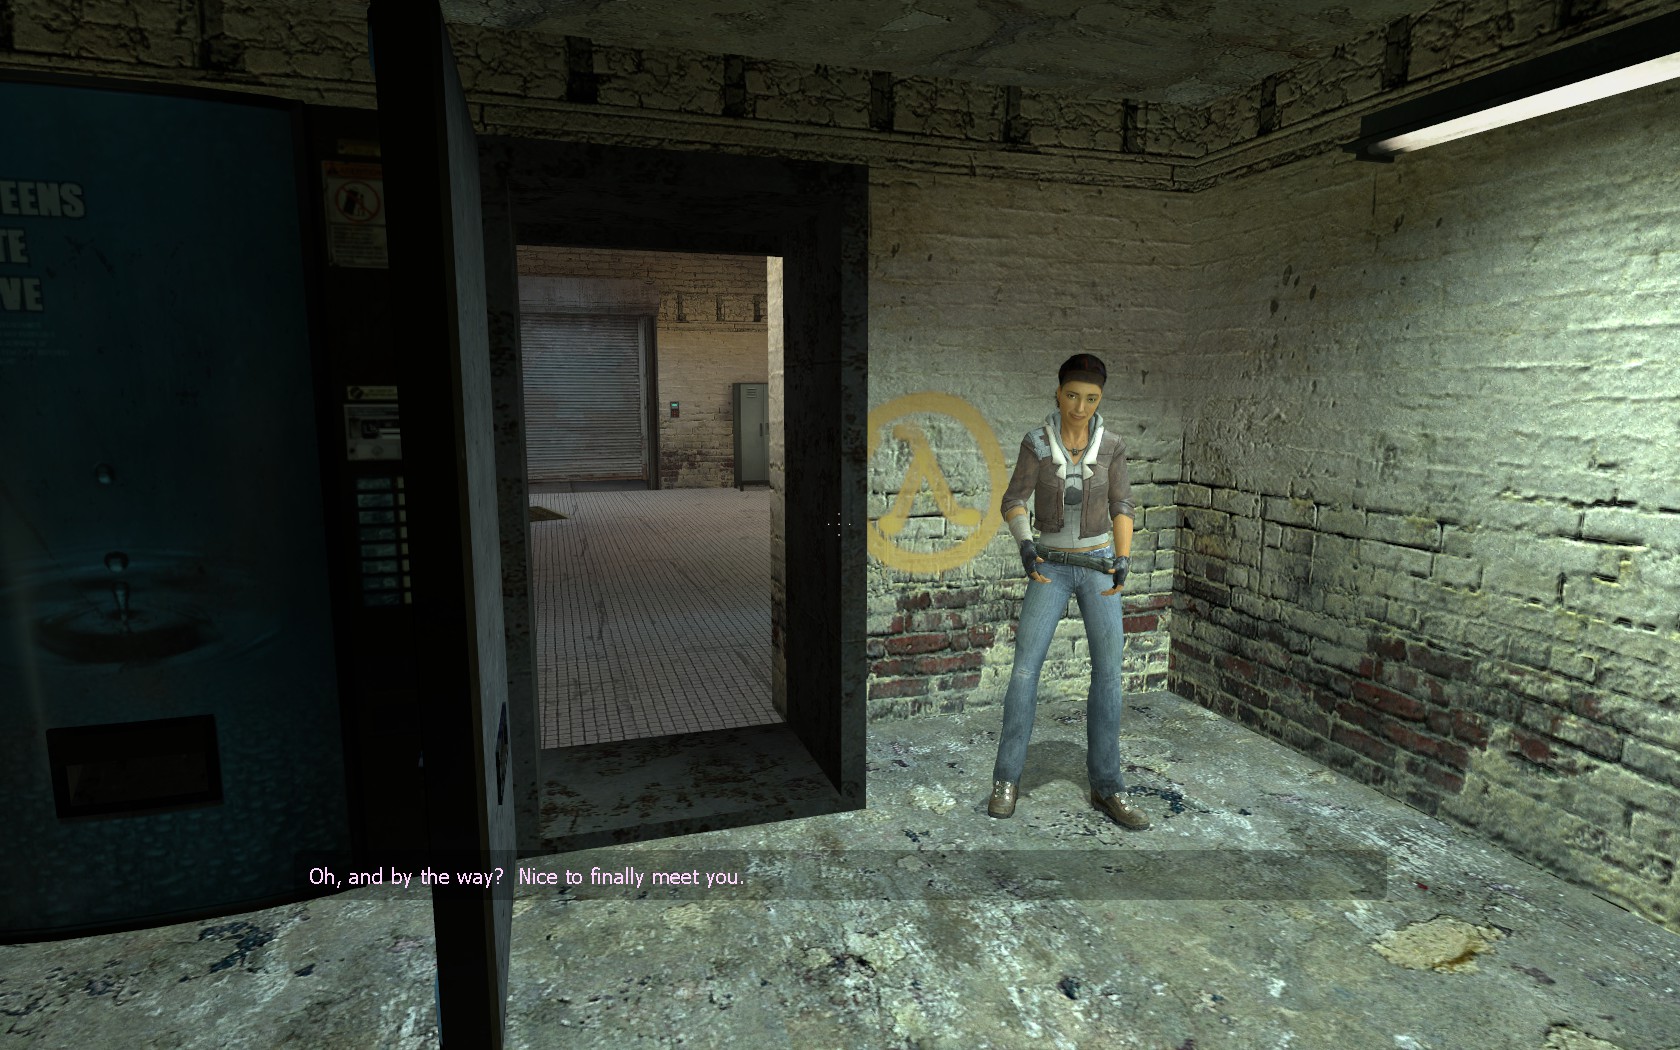
1/45 The first location is next to the vending machine right before meeting Dr Kleiner. No cache is associated with this Lambda, just make sure you brush against it on your way in to the secret lab.
ROUTE KANAL

2/45 Inside the boarded-up building immediately after jumping over the first moving train is a cache of items clearly marked by a Lambda symbol.


3/45 This location is impossible to miss. During your escape from the lab, the entrance to a shaft between some shipping containers is marked with a Lambda symbol. When passing through, you'll find another Lambda behind the supply crate blocking your path.


4/45 After encountering your first mounted machine gun, you must break the supports on a platform in order to cross a ledge. After dropping down behind the wall of rubble near the wrecked blue van, the symbol is clearly visible and marks the location of a supply crate nearby, under the corrugated sheet.


5/45 After being fired upon by a helicopter for the first time, go through a nearby blue door partially hidden by a stack of barrels. Go down the stairs inside, and you will see the Lambda underneath the gantry. A nearby ladder leads to the cache below.


6/45 While crossing the large steam-venting pipe, you'll notice this Lambda on your right. Break the planks next to the symbol and drop down to grab the supplies.


7/45 This location is marked by two Lambdas. The first you'll notice as you progress, and reach a curved room containing planks supported on scaffolding. If you continue along the planks without falling off, the second Lambda marks the location of a cache.


8/45 The last location in this chapter is immediately after dropping down into an area containing radioactive waste. To your left are some planks which will allow you to reach a pipe above you. At the end of this pipe is the cache.
WATER HAZARD

9/45 Very shortly after starting this chapter you'll notice a mark on the wall to your right. Exit the airboat, and climb the nearby ladder to find the cache.


10/45 Around the corner from the previous cache is a red barn. Once inside, work your way into the roof, and hit the barrel stuck in the winch with your crowbar. This releases a container of items into the water below. Pick up the items to trigger the achievement progress.


11/45 Soon, a gunship will drop off three Combine soldiers. Next to where it landed is a circular grate marked with a Lambda. Crouch-jump onto a barrel to reach the opening, and at the end of the pipe is a cache.


12/45 A while later you'll find yourself under fire from an armoured car, which shoots rockets at you. Keep going until you encounter the second such car. This one is situated above a grate in the wall, marked with a Lambda symbol. Park adjacent to the grate to avoid rocket fire, and pass through via a hole on the right to locate the cache within.


13/45 This cache is clearly marked by a Lambda symbol as you continue through an area underneath apartment blocks, surrounded by large support pillars. Exit your airboat and remove the bricks from a basket on the ground serving as the counterweight to the basket containing the items.


14/45 After opening a large gate to progress, you head under a bridge and a helicopter will start dropping mines on you. Before continuing, look to the left underneath that bridge, where you'll find an alcove containing a marked cache of items.


15/45 During the helicopter chase, you will pass through a tunnel of partially submerged pipe segments, emerging into a larger covered area. Look above you and to your left, and you'll see a Lambda symbol next to a supported platform. Crash the boat into the supports to drop some crates and grab their contents.


16/45 The chase continues and you'll pass through a wide channel with steep angled sides. Just before a large red building above you and to your left will be some distinct green graffiti. With speed you can get the boat up the side, or get out and locate the cache down the short passage at the top.


17/45 While still being chased, upon reaching a pair of bridges with barnacles underneath and Combine dropping from above, look to the left before passing under and there is a cache in the dark area underneath another bridge.


18/45 After the boat is upgraded, you'll pass under a couple of bridges (on one of which is the G-Man) and come to a fork underneath a tall building with red lettering on top. Take the right path, and a cache awaits you inside a makeshift shelter. Beware of headcrabs.
BLACK MESA EAST

19/45 The only Lambda in this chapter is easily spotted near the start, and marks the ladder you must climb after exiting your airboat near a wooden pier. There is no cache associated with this symbol.
WE DON'T GO TO RAVENHOLM...

20/45 After encountering Father Grigori for the first time, you'll enter a building in order to switch off an electric fence. Before leaving, there is an air duct above the large green generator on the left. By crouch-jumping you can reach the duct, which takes you to a hidden cache outside.


21/45 The Lambda marking this cache is easily found next to the car crushing traps. To reach the cache, jump on top of the nearest car after dropping it, then hop over the fence with the Lambda on when the car reaches its highest point, then search the back of the dark area beyond.


22/45 Shortly you'll come across Father Grigori again, this time directly opposite you on the other side of an alleyway, shooting zombies. After clearing the area below and dropping down, you have to climb a ladder to proceed. At the top, walk to the end of the beam and turn left, where you'll see an opening in a roof with a Lambda inside. There is a medikit immediately inside but the cache is further in, towards the back of this space. The next Lambda location is not for a long while yet, so if you're following these in order keep going until you reach the mines.


23/45 The final location in this chapter is immediately above you once you exit the mines. Turn around, and above the archway is a Lambda symbol. Climb up, and there is a weapons cache behind some ducting.
HIGHWAY 17

24/45 After being dropped by the magnet, follow the faint track in the sand up a hill, and use your turbo to jump over a broken bridge. Around the next corner, the Lambda marking this location is clearly visible on a red shack at the side of the road. The cache is inside.


25/45 At the first thumper, you can gain entry to the nearby house via a cellar door, marked by a Lambda symbol but partially obscured by some tires. Inside, use the grenade crate to preemptively deal with the poison zombie in the room above you. Once it's gone quiet, you can reach the cache inside by stacking the crates and barrels nearby.


26/45 After the gunship fight at NLO, and after moving the car with the crane, you'll encounter a second gunship while jumping over a missing bridge. Deal with the gunship using the crate of rockets in one of the cars blocking the road ahead. After clearing the path, a blue van at the side of the road contains a cache, and is marked by a Lambda.


27/45 After encountering a rockblock in the shape of a Combine forcefield, you remove the chocs underneath an APC, the source of its power. On the opposite side of the road is a fenced area containing a large white gas tank, and a Lambda symbol. Use a barrel to climb over the part of the fence which is partially torn down, and locate the cache inside.


28/45 The last location in this chapter is shortly after the previous one. After exiting a tunnel you'll see a dropship take off from a large house in the distance. Upon approaching this house, check the jagged outcrop of rocks behind you. Just out of sight from the road is a fenced area containing some crates and barrels, as well as a cache sitting on top of a Lambda symbol.
SANDTRAPS

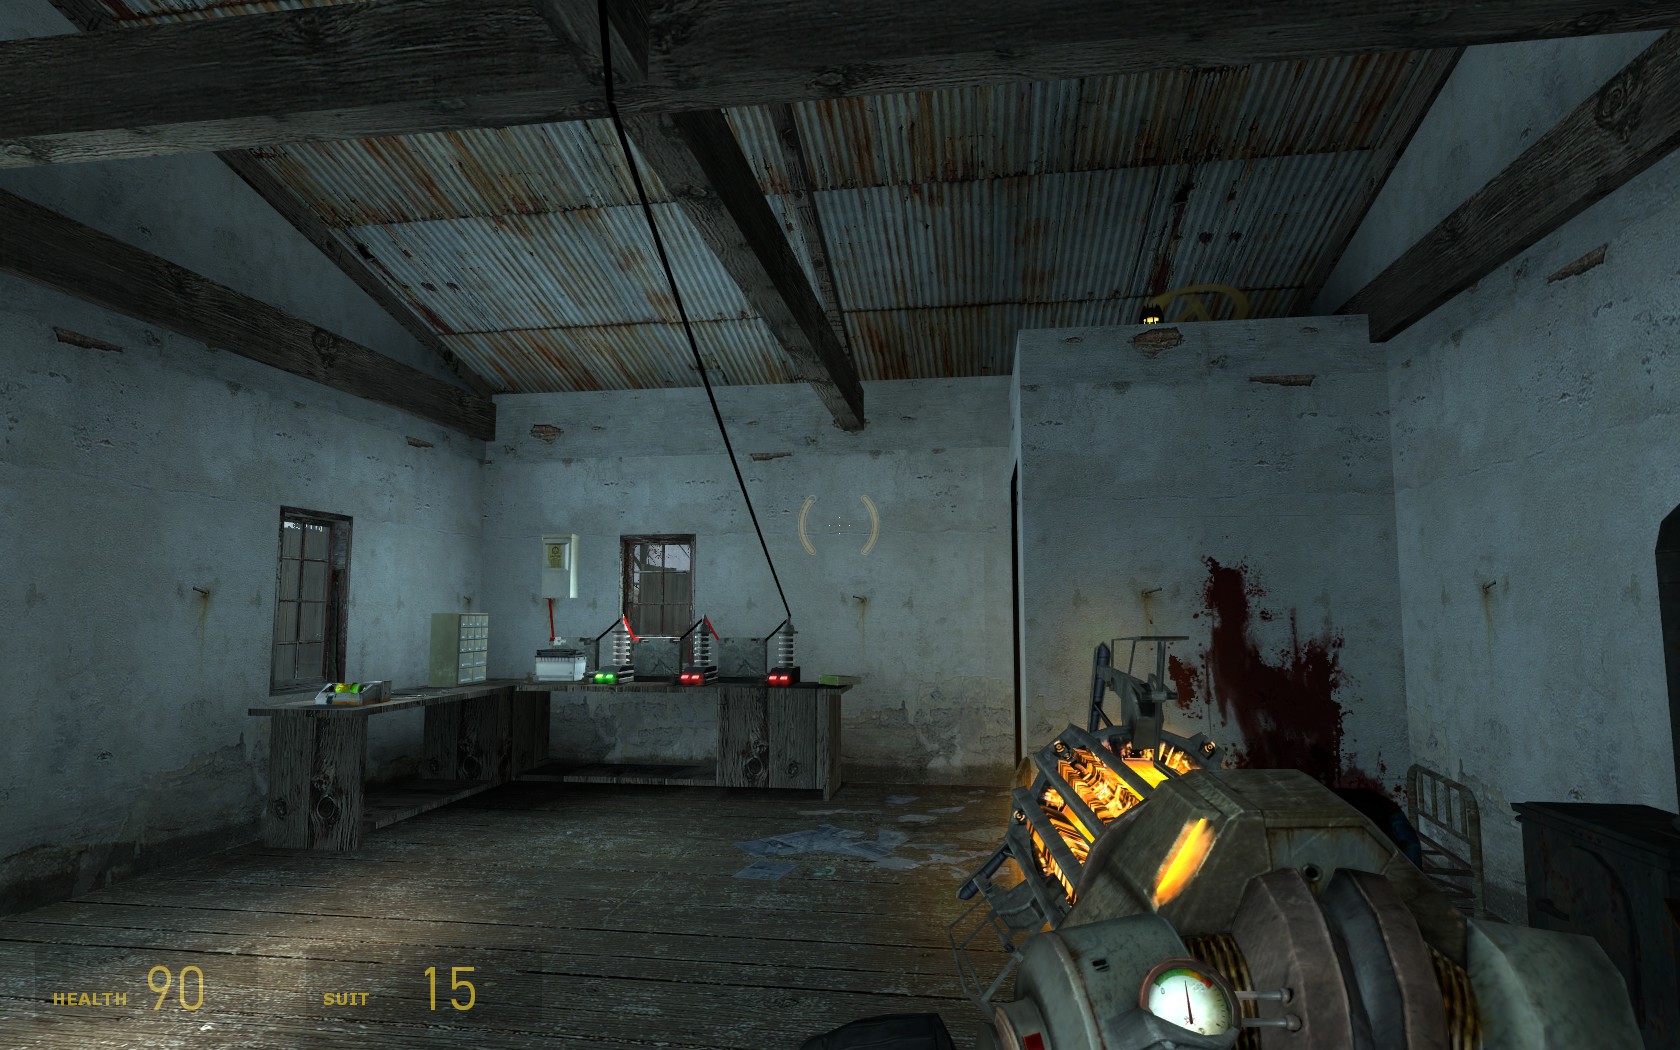
29/45 Continue until an oil tanker blocks your path. In order to open the gate on the other side you need to enter a building where you'll find a rack of batteries. Above the doorway leading to the toilet is a Lambda sprayed on the roof. Use the gravity gun to grab the Combine rifle charge up there.


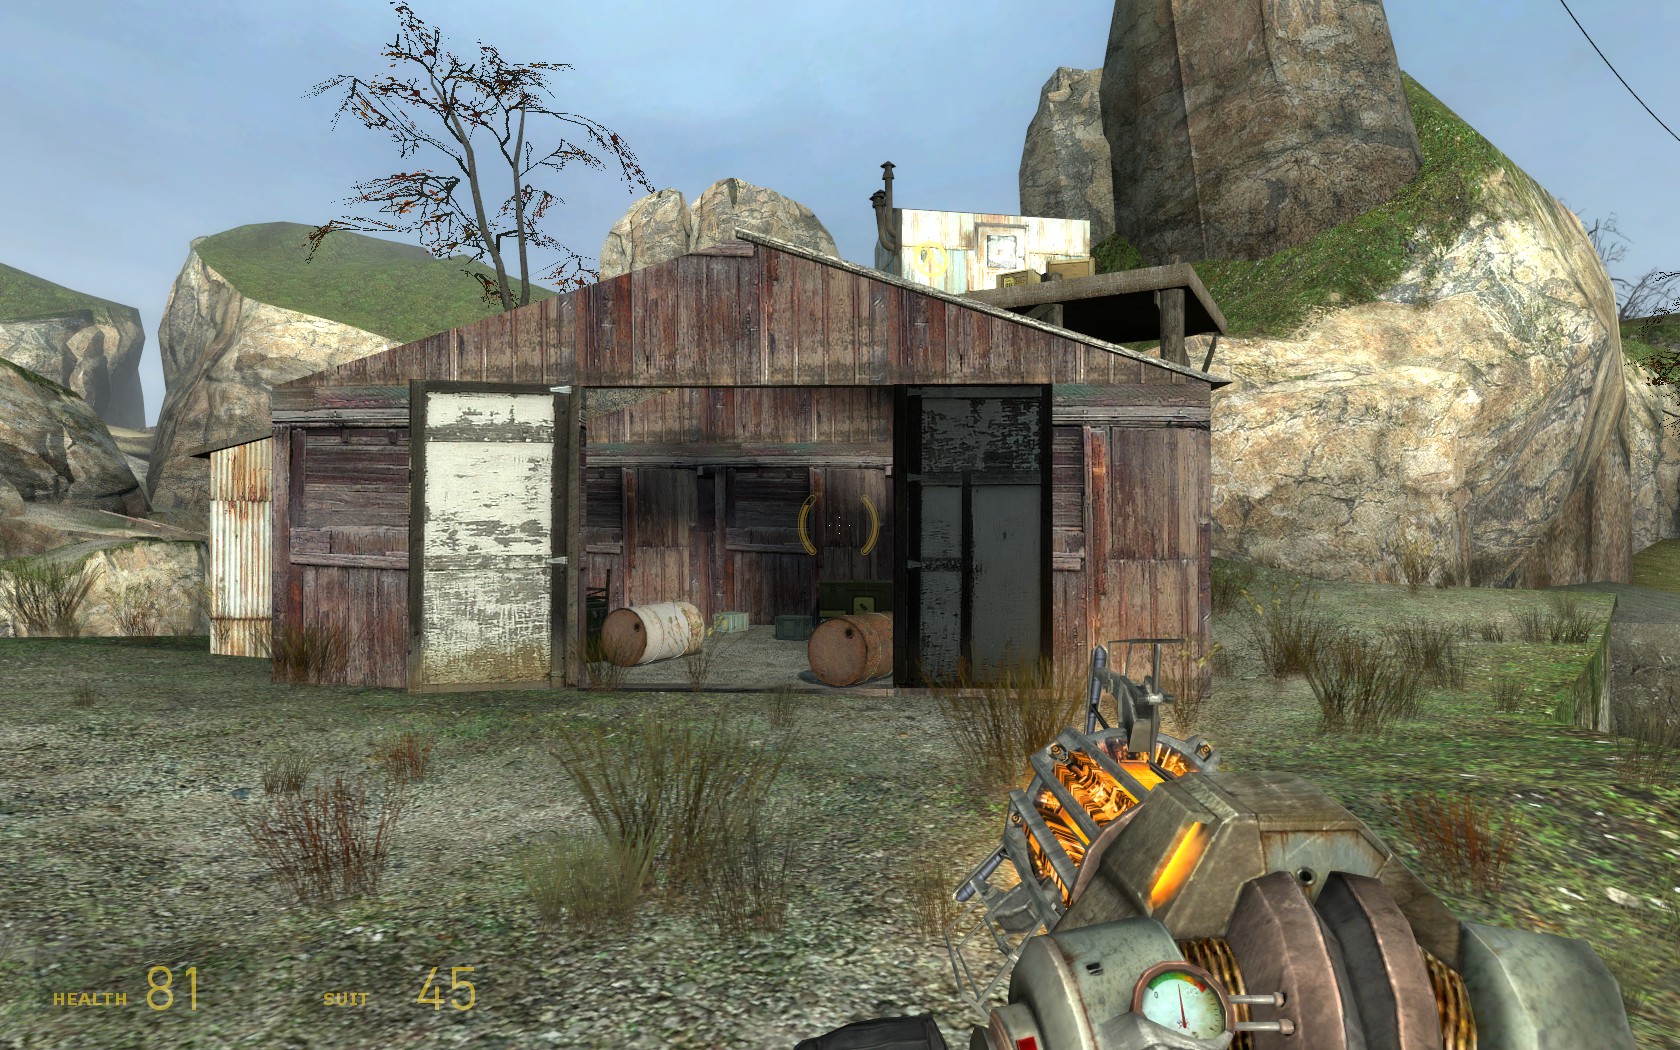
30/45 The second and final location in this chapter is found while crossing the sand on foot. In the large open area where you hop across rocky outcrops, there is a large brown shack with its roof missing in the middle. The easiest way to reach this building is to make a bridge using the long plank on the neighbouring outcrop. Once you've reached the shack, climb up by stacking crates and barrels to reach the ledge above, where another shack marked with the Lambda symbol indicates the presence of a cache.
NOVA PROSPEKT

31/45 Not far inside the complex, the first Lambda is hard to miss. In an area containing three pillars and two automatic sentry guns above you, you'll see the symbol next to a door. Break the planks to find a cache inside.


32/45 After finding the dead Vortigaunt, proceed upstairs. Beyond the first laser tripwire you encounter is a doorway through which you'll spot a Lambda. The cell door it is next to can be slid aside to reveal a cache.


33/45 The final location in this chapter is near the laundry room (the one with several washing machines in). A small passageway to your right is blocked by a short railing. Hop over, and the cache is in a room around the corner. Beware of the poison zombie.
ENTANGLEMENT

34/45 The only Lambda in this chapter is found after you and Alyx split up. She'll open a gate for you, and in the area beyond is a vending machine on your left with a Lambda symbol above it. Use the gravity gun to grab the items on top.
ANTICITIZEN ONE

35/45 The first of several locations in this chapter is right near the start, immediately after you emerge from the building after dropping down the elevator shaft. Stack a crate on the green dumpster to reach the top of the large blue container, then hop onto the ledge behind the fence. A small supply crate making up this cache should be easily visible next to the wall.


36/45 A little while after first encountering hoppers, you'll enter a courtyard in which you'll receive fire from a Combine soldier at a window above. There are a handful of explosive barrels around, and the one nearest a small red shack has a Lambda next to it. Behind the barrel is a metal sheet you can remove to uncover a cache.


37/45 After leading your squad through a series of buildings, you'll come to an underground room where sentry guns stand watch over a hole in the wall. Through the hole the path splits in two, the left route taking you down a corridor with a loading point, and the right leading up some stairs. Go up the stairs and use your gravity gun to smash the crates next to a Lambda behind a fence, pulling the items towards you.


38/45 An underpass full of Manhacks awaits you. In the second segment, after going around a wall of rubble, turn back towards the collapsed roof. A fire indicates the presence of a shelter containing a cache.


39/45 Hard to miss. After a resistance fighter drops a bridge for you, keep going until you have to drop a bridge yourself by pulling a lever. If you didn't notice it, the Lambda cache is immediately before the bridge, inside the ruined building.


40/45 You'll probably spot this Lambda as you descend through a ruined building and encounter Combine soldiers fighting fast zombies. On the lowest level, the symbol is visible through a doorway, and in order to reach the cache through a fence you'll need to pull the nearby crates towards you with the gravity gun.


41/45 After the standoff with Alyx at the generator, you'll proceed underground. Keep going until you reach a room with Combine above, and zombies below, on a series of catwalks. A vertical pipe going down the middle of the room has a ladder on, which will take you to a cache hidden in the darkness of the lowest level.


42/45 Again you'l come across Combine fighting off zombies, this time in what looks like a sewer. After dropping down into the lower area, a passageway leads off to the left. Follow this, and shortly you'll come across a ladder on your right. Ignore this ladder, and continue onwards. You should notice the Lambda ahead of you, where the passage splits. The cache is hidden in a hole in the wall, use the gravity gun to extract the contents.


43/45 This location is very close to the one previous. Standing in front of the last cache, look to your left and you'll see another passageway with capped metal pipes inside. Climb over these and you'll see another Lambda at the end next to another cache.


44/45 The last location in this chapter is in the room with the lift. Fight your way to the very top, but before dropping down to the level with the exit, navigate around the red corrugated building using the narrow ledge. There is a Lambda behind, and the penultimate cache.
FOLLOW FREEMAN

45/45 The final Lambda location in the game is quite far into this chapter, but hard to miss. After disabling the supressor, and fighting a number of Striders in the plaza outside, you'll head into an underpass. A Strider will burst out of the wall behind you. Take a left into the large opening in the ruined building, and fight your way to the top while under fire from the Strider. To continue, you'll head down a short stairwell, and hop through a hole in the adjacent building. Immediately inside is the final cache, a stack of supply crates in front of a Lambda symbol on the wall. If this is your final location, you should be awarded the achievement at this point. Congratulations!
1,771 Comments
Partylad619 1 Jul @ 10:58am 
Huge thank you!!
Markoska 25 Jun @ 10:02pm 
thank you for a great guide!
叉cosiek 19 Jun @ 9:09am 
lol
Jassper !✌ 18 Jun @ 5:50pm 
lol
The Man 15 Jun @ 3:47pm 
thanks, good guide.
The Vertabraetor 10 Jun @ 8:00pm 
Thanks dude :]
FenecK 7 Jun @ 9:28pm 
Legend.
LOL
GORDOTRYHARD!︻ 一 4 Jun @ 1:42pm 
lol
spaghetti 4 Jun @ 7:31am 
w guide !!!