
Install Steam
login
|
language
简体中文 (Simplified Chinese)
繁體中文 (Traditional Chinese)
日本語 (Japanese)
한국어 (Korean)
ไทย (Thai)
Български (Bulgarian)
Čeština (Czech)
Dansk (Danish)
Deutsch (German)
Español - España (Spanish - Spain)
Español - Latinoamérica (Spanish - Latin America)
Ελληνικά (Greek)
Français (French)
Italiano (Italian)
Bahasa Indonesia (Indonesian)
Magyar (Hungarian)
Nederlands (Dutch)
Norsk (Norwegian)
Polski (Polish)
Português (Portuguese - Portugal)
Português - Brasil (Portuguese - Brazil)
Română (Romanian)
Русский (Russian)
Suomi (Finnish)
Svenska (Swedish)
Türkçe (Turkish)
Tiếng Việt (Vietnamese)
Українська (Ukrainian)
Report a translation problem


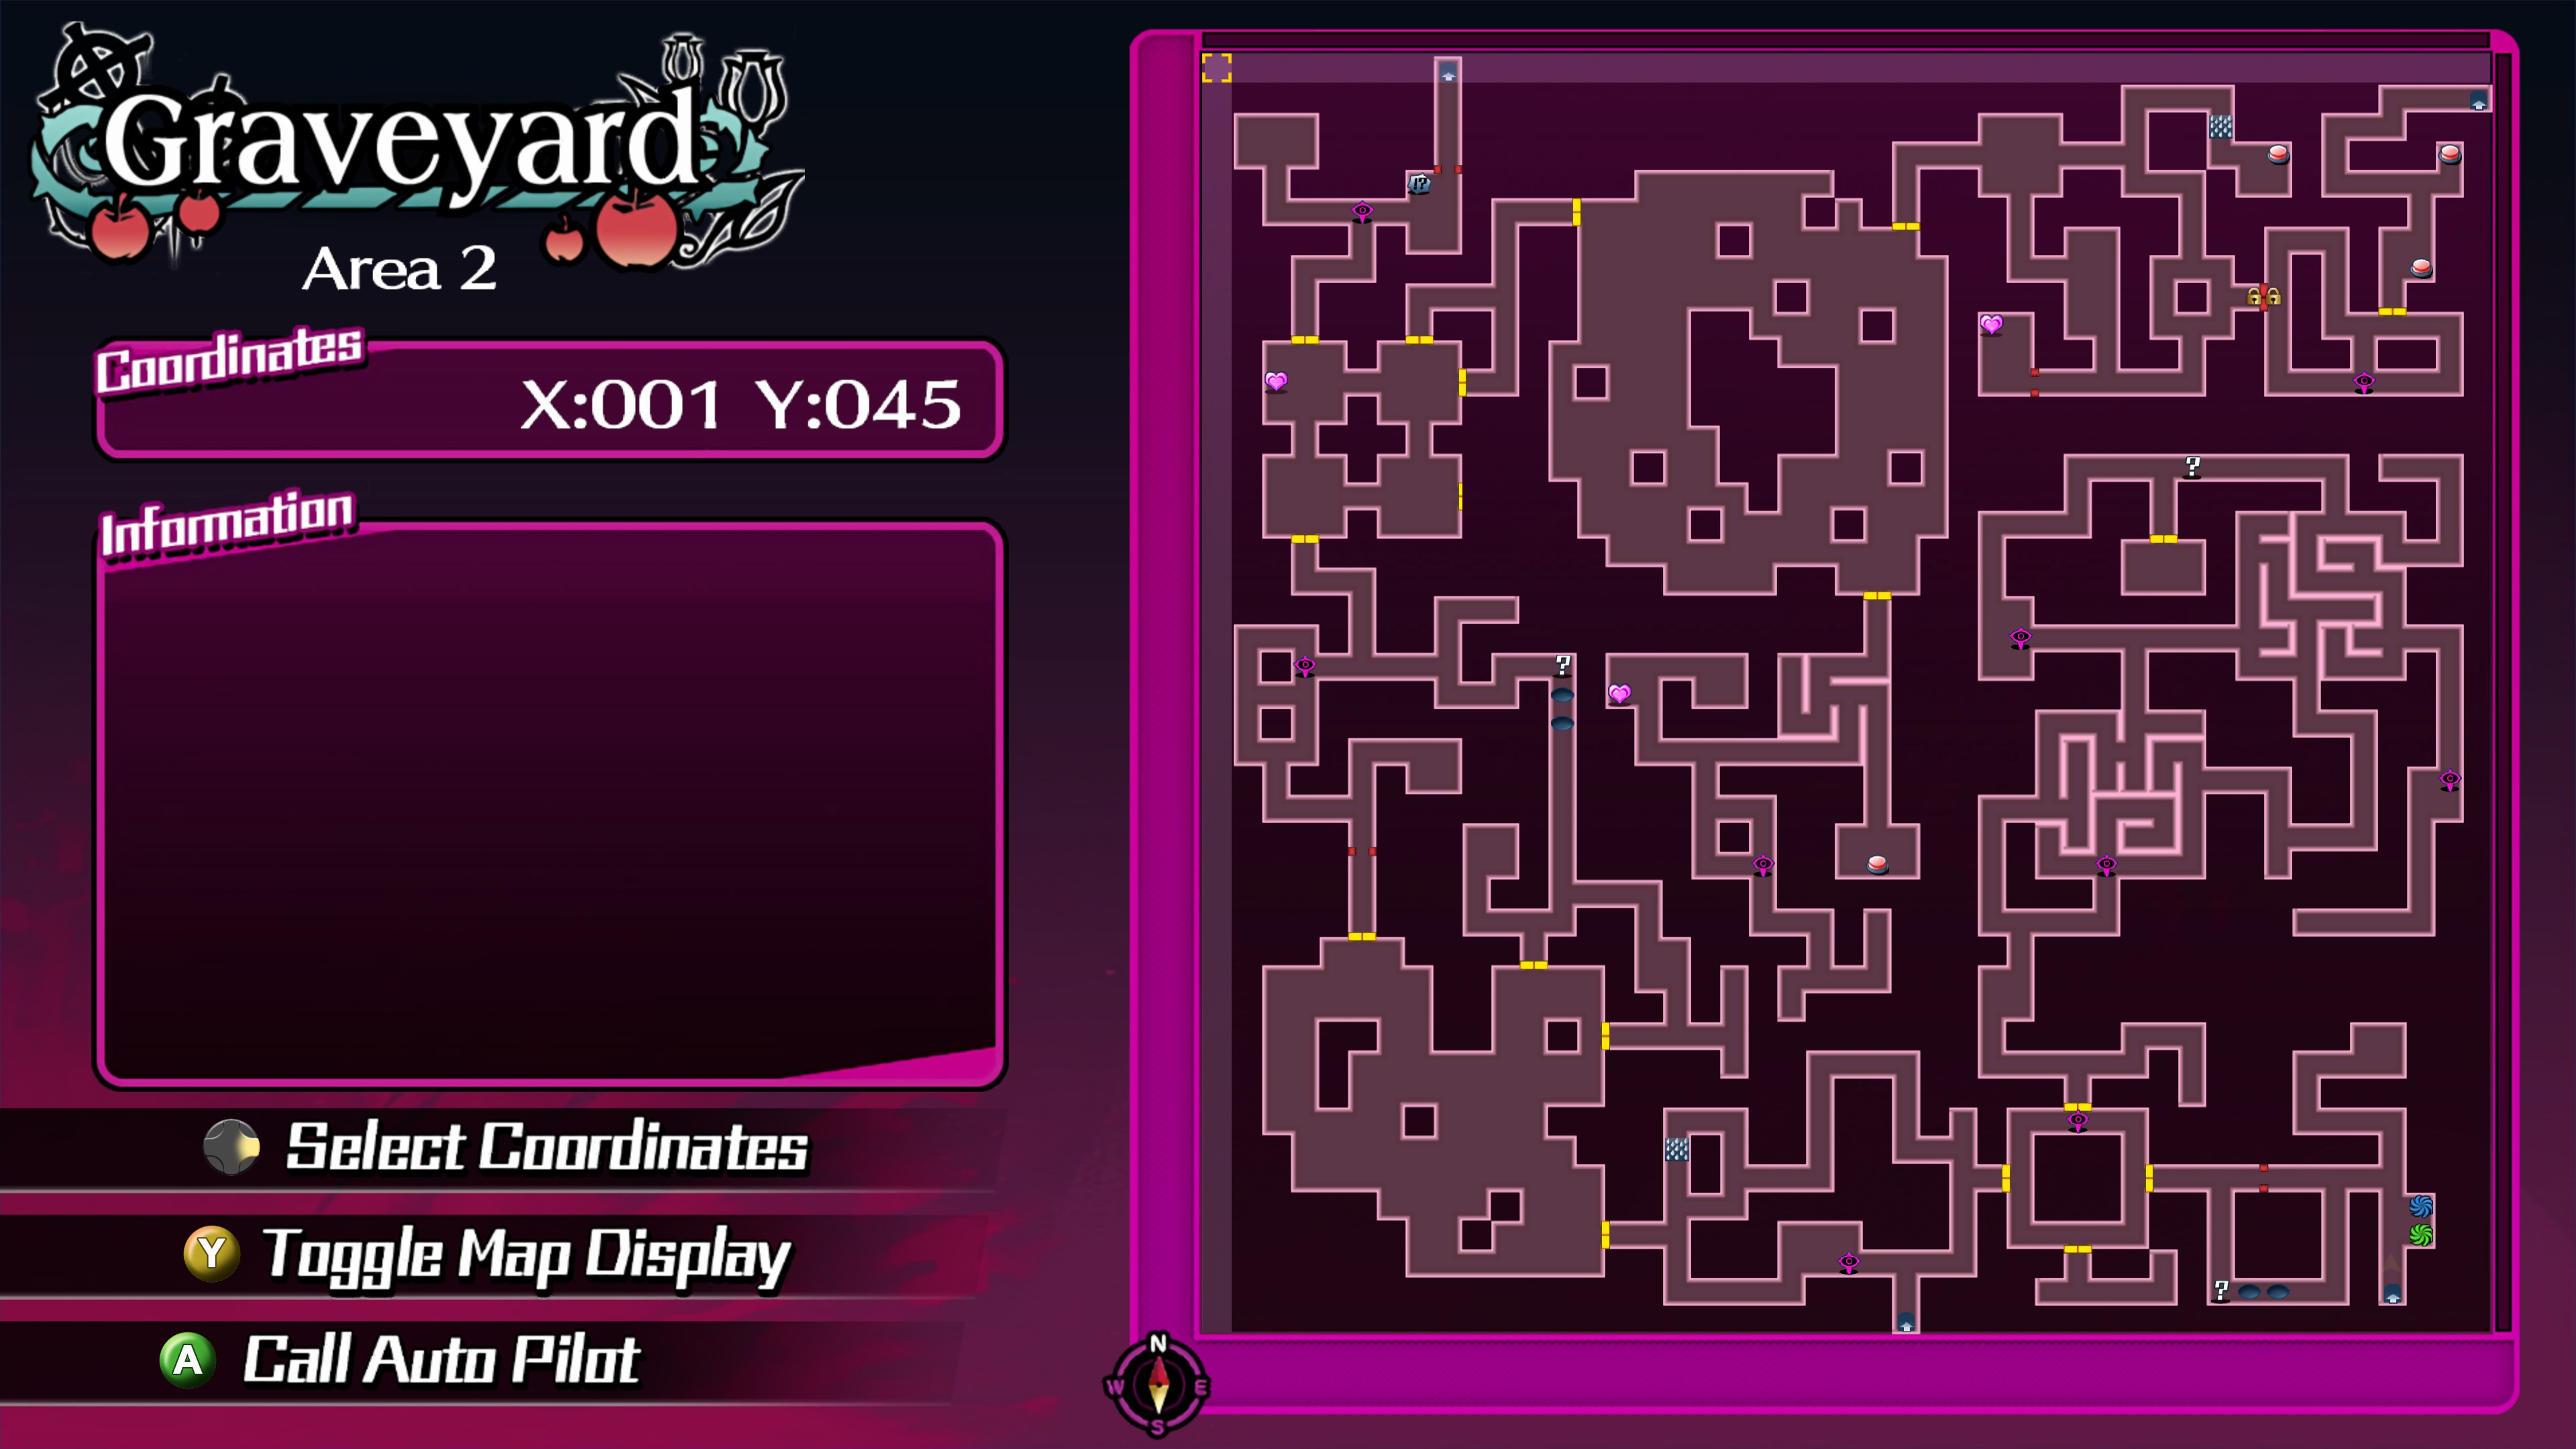
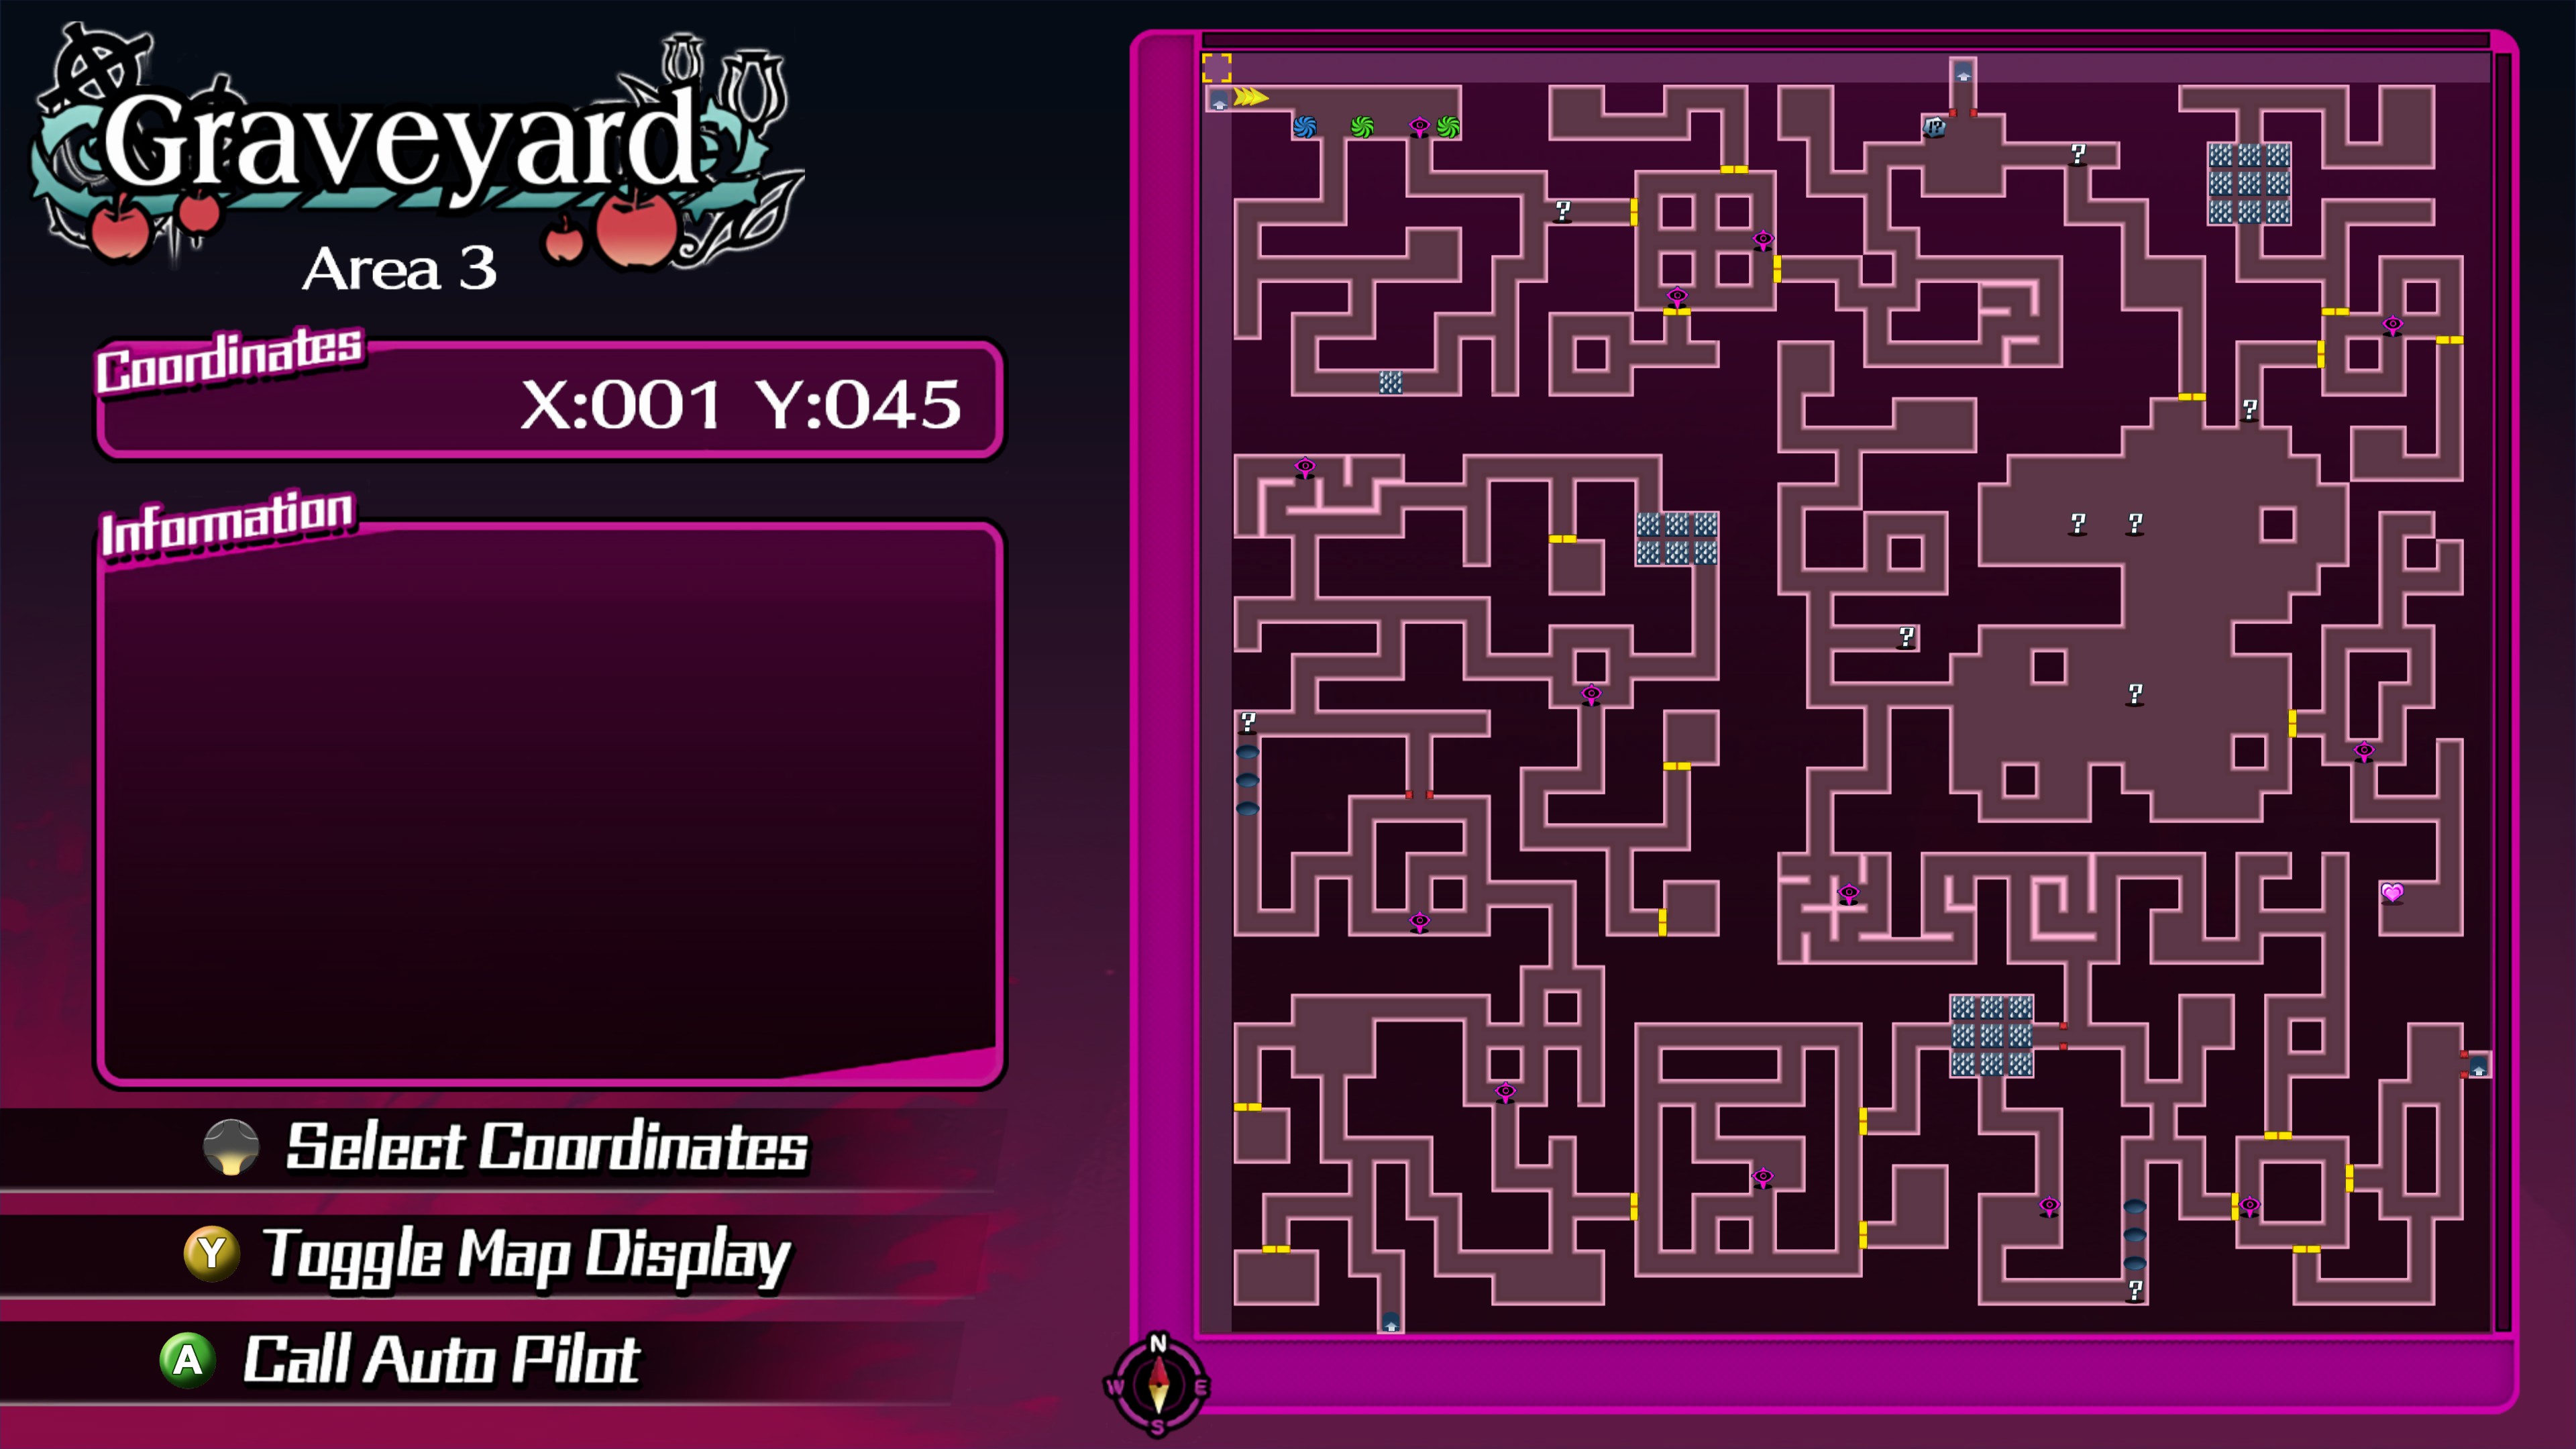


In the pathway filled with Dragon Statues that breath fire, you can use Rapunzel's Bloody Skill to fill the map with the Dragon Statues, which will be marked as "?". Actually, one of them is actually marked in your map.
This is getting to be a hassle and it's incredibly frustrating, I'm not sure what I'm missing here.
(Example:
With party of 5 members (not including Jack) - 6000 exp = 1000 * 5 exp for each active member, 1000 - to Jack, 500 exp - for each backline member;
With party of 1 member (again not including Jack) - 6000 exp = 3000 exp to active member, 3000 exp - to Jack, and 1500 exp for each backline member)
So, to maximize exp for backline you need to have only one party member active (for example in my case "Destroyer" Alice with all crit and damage buffs + "Amber Red" spam).
Maybe it will help some players with grinding.