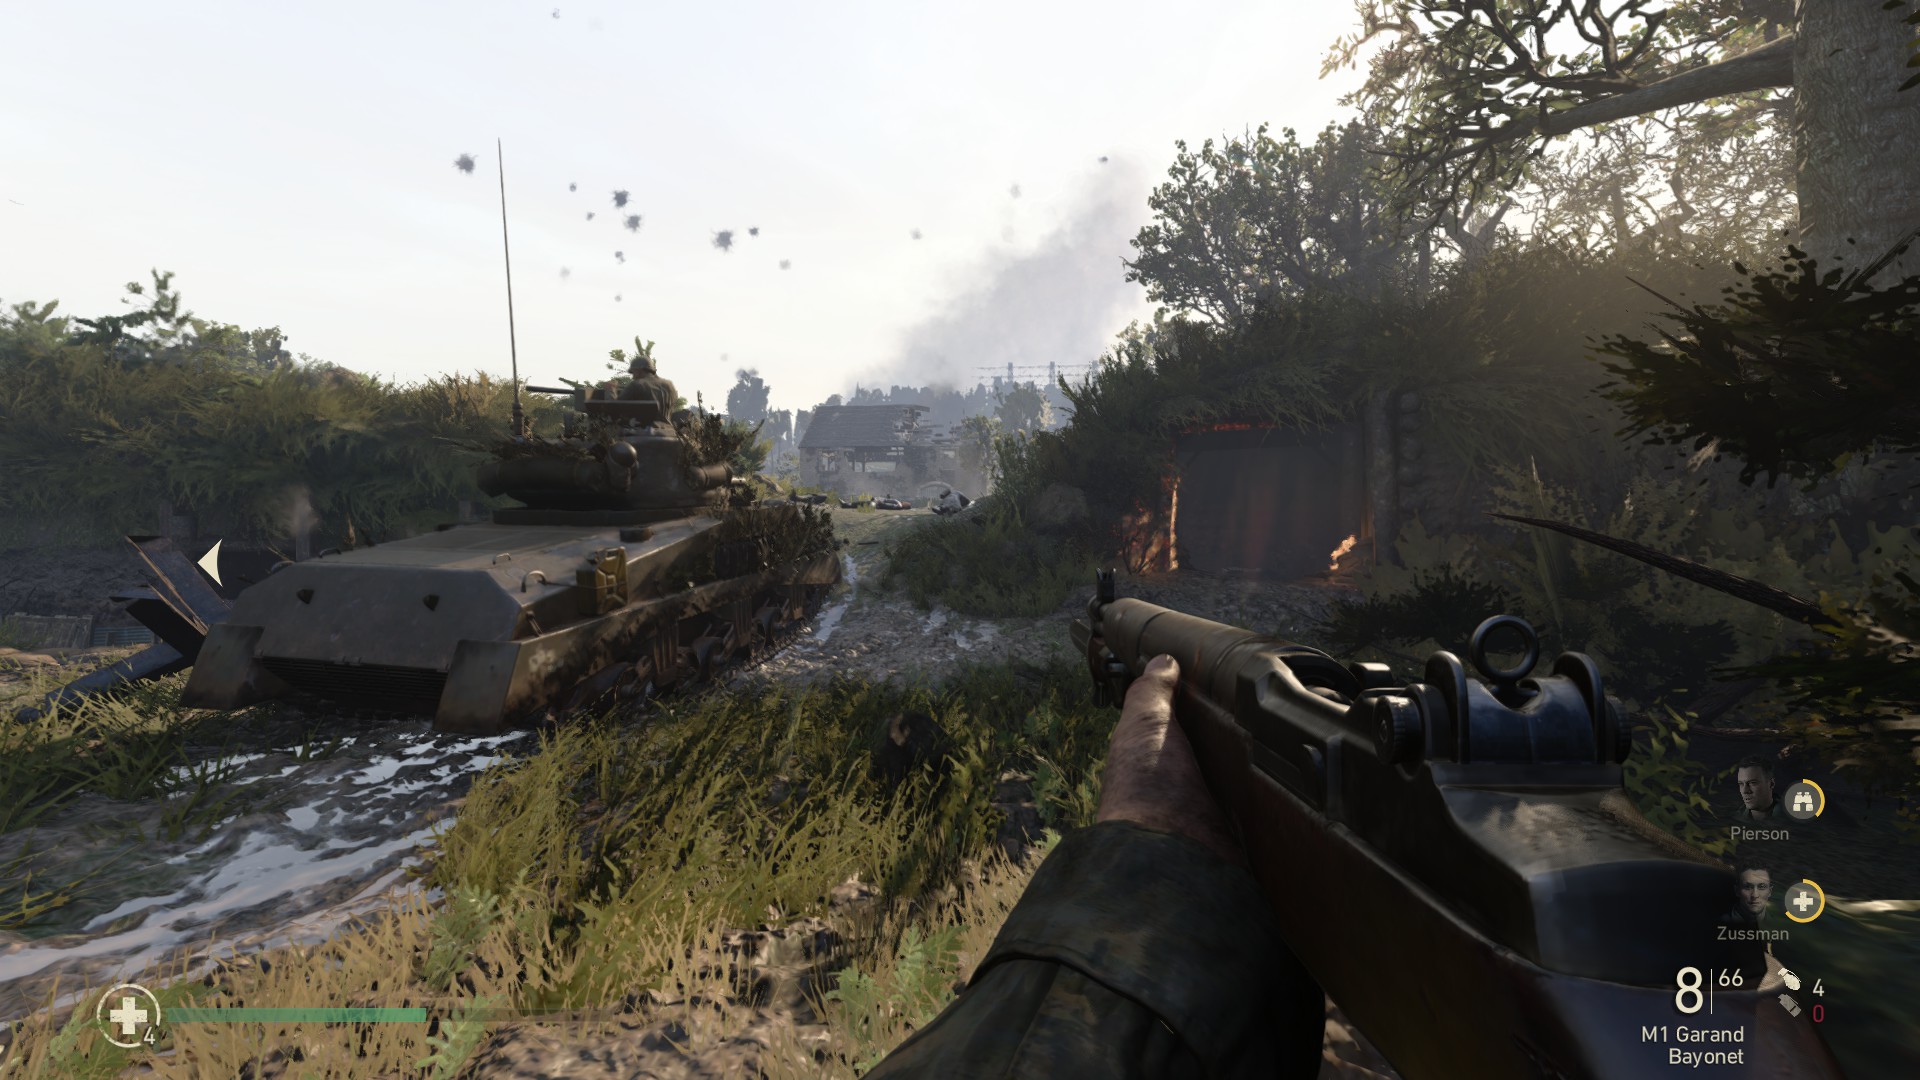
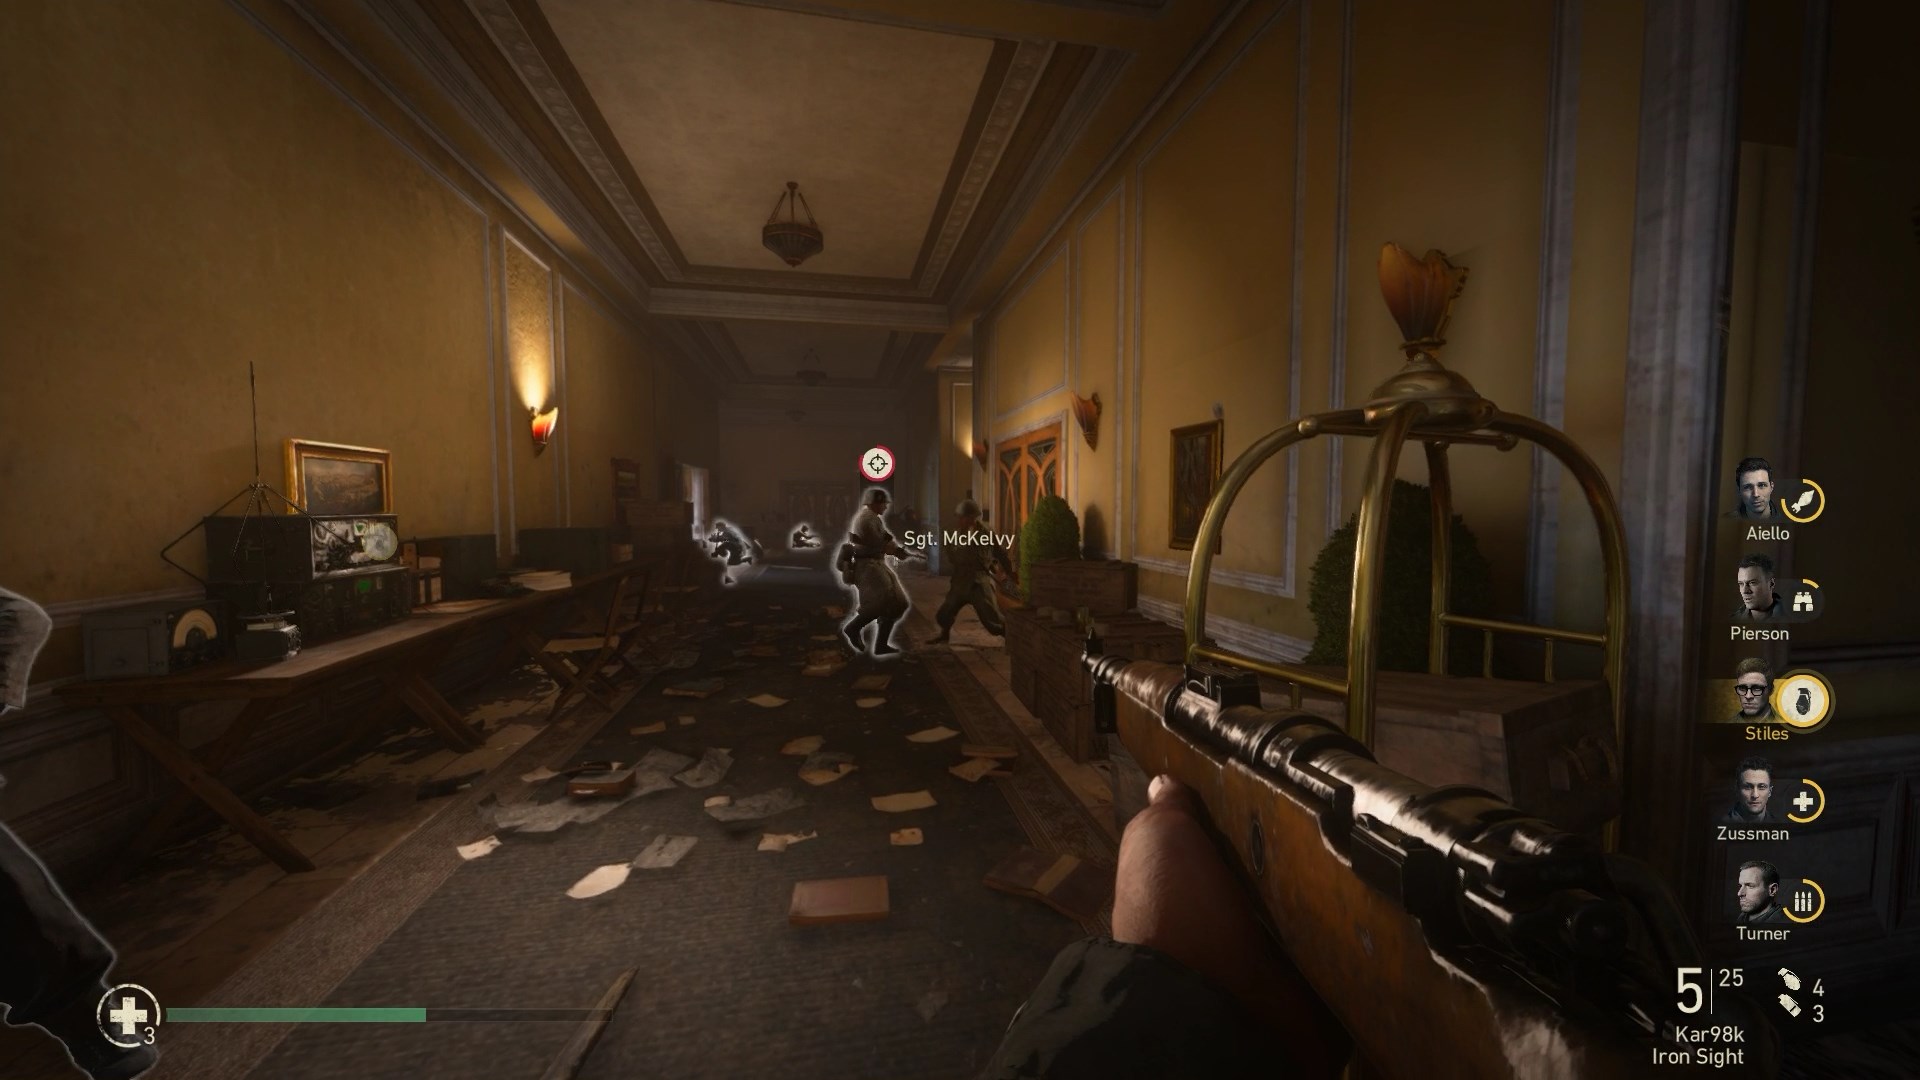
Call of Duty: WWII

Call of Duty: WWII

638 ratings
100% Achievements [+Mementos, Heroic Actions]
By Jepp
This guide contains over 92 images, be wary.
A brief description of how to get each achievement in the game, as well as images to guide you to mementos and heroic actions.
23
2
3
2
   
Award
Favorite
Favorited
Unfavorite
Story Achievements
Long Way from Texas
Complete D-Day.


The Paddle
Complete Operation Cobra


No Sanctuary
Complete Stronghold.


Last Stop
Complete S.O.E.


Champagne and Caviar
Complete Liberation


Human Cost
Complete Collateral Damage.


Death Factory
Complete Death Factory.


Our Men
Complete Hill 493.


Worst Christmas Ever
Complete Battle of the Bulge


No Sacrifice Too Great
Complete Ambush.


These achievements are gained after completing each mission as you would expect. These can be done on any difficulty.

To The End
Complete the campaign.


This achievement is awarded after completing the Epilogue, when the credits start to roll.

Distinguished Service
Complete the game on Veteran difficulty.


You can go back to any previous missions and play them again on any difficulty (including Veteran).
Mission-Specific Achievements
All of these achievements can be done (and I would recommend that you do them) on the easiest difficulty: Recruit.

D-Day
One of the Lucky Few
Breach the seawall in under two minutes without taking MG fire.


This one can be tricky. Stay in cover as much as possible and try to run the smallest distance between cover. It sounds silly, but try not to run into MG fire aimed at other soldiers. The achievement will unlock after the quick-time event when the actual seawall is breached.

You can load the last checkpoint at any time from the menu to re-attempt the achievement if you take damage from the MGs.

If you are still having trouble, there are other guides available online specifically for this achievement.


Operation Cobra
Ack Ack
Protect your tanks by shooting down all planes in Operation Cobra.


This is done about halfway through the mission when you use the flak cannon to shoot down planes. This one can be tricky because there are checkpoints in the middle of the sequence, so if you miss one you have to go from the start of the mission.

I would recommend counting them as you go, keeping in mind they are generally in groups of 2 and 3. Be liberal with checkpoint loading if you are unsure whether a plane went down.

By my count, there are exactly 20 planes to shoot down.

Stronghold
Marksman
Cover Zussman from the church without missing a shot in Stronghold.


Make heavy use of Focus to ensure every shot counts. Playing this mission on an easier difficulty will let you see hit markers, which can help to ensure you haven't missed. Reload a checkpoint if you miss a shot to give this achievement another go.

Your shots do not need to kill enemies in one hit. As long as they all make contact, they will count.

S.O.E.
Sunday Driver
Complete the driving portion of S.O.E. without hitting any obstacles.


This sequence starts after opening the door in the post office. Drive as slow as you feasibly can in order to avoid obstacles, including walls. You'll get it right when Pvt. Zussman takes over driving.

There are a few checkpoints during the sequence, but you can load to an earlier one as soon as you crash if required.


Liberation
Silent Night
Sneak through the courtyard undetected in Liberation.


I didn't have too much trouble with this one. I basically stuck to the right side where I could and circled around to each objective. Again, you can load to last checkpoint if you are detected.


Collateral Damage
Gasoline Cowboy
Rescue your allies with the Sherman while keeping your armor above 80%.


This starts when you reach the field phone at the start of the mission and start playing as Perez. It can be pretty hard not to take damage, but again you should load last checkpoint when you take too much damage. I would recommend loading if you take any damage from any of the tank encounters.

If you have enough armour remaining, the achievement will unlock as Perez picks up the phone in the tank.


Death Factory
Fog of War
Sneak through the Dragon's Teeth undetected in Death Factory.


Again, not too bad considering you can just reload checkpoints if you get seen. To be clear, the "Dragon's Teeth" area starts after you escape the ambush and get up again. Taking out the dog at the start of the area doesn't count. I personally stayed to the left in the first area, and the right in the second area.

If you are still in stealth when you meet up with Turner, he will take out a nearby enemy at the same time as you. If done correctly, the achievement will unlock after you open the door to the next area.

Hill 493
Suppressive Fire!
Successfully escort the pole charge engineer to the pillbox in Hill 493.


This isn't too difficult. Open fire on the pillbox bunker until your squad calls out that they are suppressed, then tell the Private to advance with the pole charge. Repeat till he reaches the bunker.

Battle of the Bulge
Flyboy
Protect the bombers by personally shooting down 12 enemy planes.


This can be hard. There are a total of just 20 planes (8 in the first part, 12 in the second) that need to be destroyed, and your allies can sometimes be relatively efficient. They can even steal your kills.

I would recommend you shoot whenever you can, but keep your weapon overheat in mind. Keeping aimed on an enemy can help to keep them in view, but they are generally harder to hit when you do this, so it can be better to just free aim.

Ambush
Infiltrated
Reach the sniper perch without being detected in Ambush.


Again, not too difficult with the ability to reload a checkpoint if you get discovered. There are plenty of checkpoints too. Killing enemies is fine as long as it doesn't get you detected. The achievement will unlock once you've climbed up to one of the overwatch positions.

The Rhine
Defender
Protect the convoy by shooting down all the planes in The Rhine.


Similar to Ack Ack from Operation Cobra, but the planes are in larger groups and come closer together. There is a checkpoint about halfway through, so reload a checkpoint even if it's possible you missed one.

The last three that come for you can't be destroyed because they get taken out by your planes. The achievement will unlock when this happens if you didn't miss one.
Squad Ability Achievements
These abilites can be used by certain members of your squad while you are with them. The ability can be used once, then must recharge by defeating enemies. I was able to unlock almost all of these in a single playthrough, though if you are having trouble just replay a part of the campaign with the required squad member. Activating the ability, loading a save and using the ability again counts towards the progress, so it can be farmed that way.

Friend in Need
Request Zussman to toss you First Aid Kits 30 times.


I See Movement
Request Pierson to spot enemies 25 times.


Praise and Pass
Request Turner to toss you ammo 20 times.


School of Hard Knocks
Request Stiles to toss you grenades 15 times


Who needs a pendant?
Request Aiello to toss you signal smoke and call in mortar strikes 10 times

Misc. Achievements
Slow and Steady
Spend 3 minutes using Focus in the campaign.


While using a rifle, hold the button indicated to slow time and steady your aim. Focus regenerates automatically while it's not being used.

Potato Masher
Save 5 allies by throwing away a live enemy grenade.


To throw a live enemy grenade, stand over it on the ground and press the button normally used to throw your own grenades. You can generally get this by hanging around your squad throughout the campaign.

Chain Smoker
Disable 50 enemies using smoke grenades.


Easiest way to get this is throw smokes at infantry any chance you get. Especially when you are with Pvt. Stiles who can restock your grenades now and again. Enemies have a sort of staggering animation when they have been disabled.
Mementos & Heroic Actions
Locations of these will all be listed in appearance order in the following sections.

Mementos
There are three mementos available in each mission throughout the campaign.
Pieces of History
Collect all 33 mementos.


There are 3 mementos in each mission.

Heroic Actions
There is at least one Heroic Action in each mission, which can vary between saving an ally from a fight, dragging injured allies and forcing groups of enemies to surrender. They are all timed and require you to act quickly.
If your ally dies or doesn't spawn reload the checkpoint and give it another go.
Rescuer
Save 8 allies locked in struggle.


Kill an enemy before he kills one of your allies.

I've got you!
Drag 10 allies to safety.


Move an ally into cover to save them. Once you start dragging them, another icon will show, leading you to the nearest cover.

Quarter Given
Get 6 groups of enemies to surrender.


Clean up most enemies in certain areas and keep your weapon trained on remainders to get them to surrender. Even though it says 6, there are actually only 4 unique opportunities to do this, but it will unlock after those 4.
- D-Day
Overview
- 3 Mementos
- 2 Heroic Actions

Memento 1/3
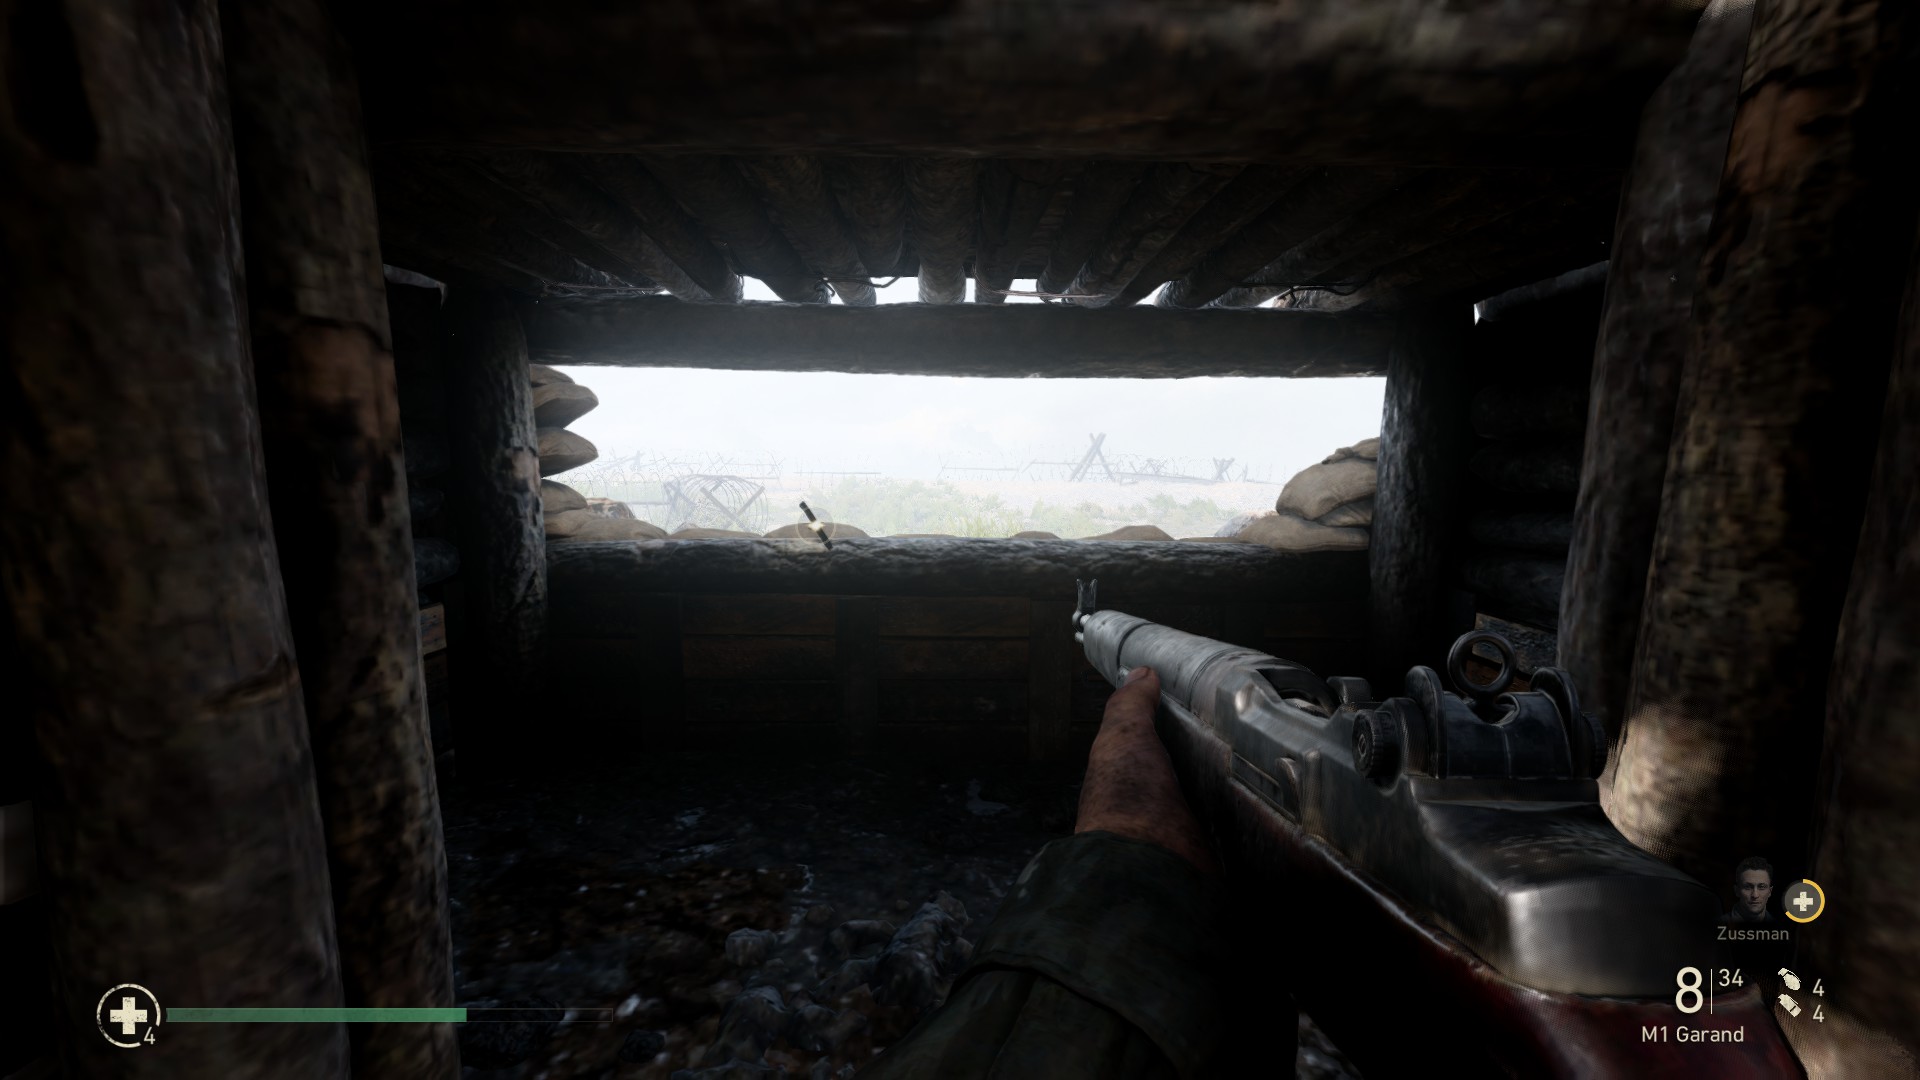
After breaching the seawall, continue till you reach this location inside the first trench.
Instead of continuing left out of the trench, move forward and into the small room of cover on the right.
The first memento is stuck in the wooden ledge facing the beach.


Heroic Action 1/2
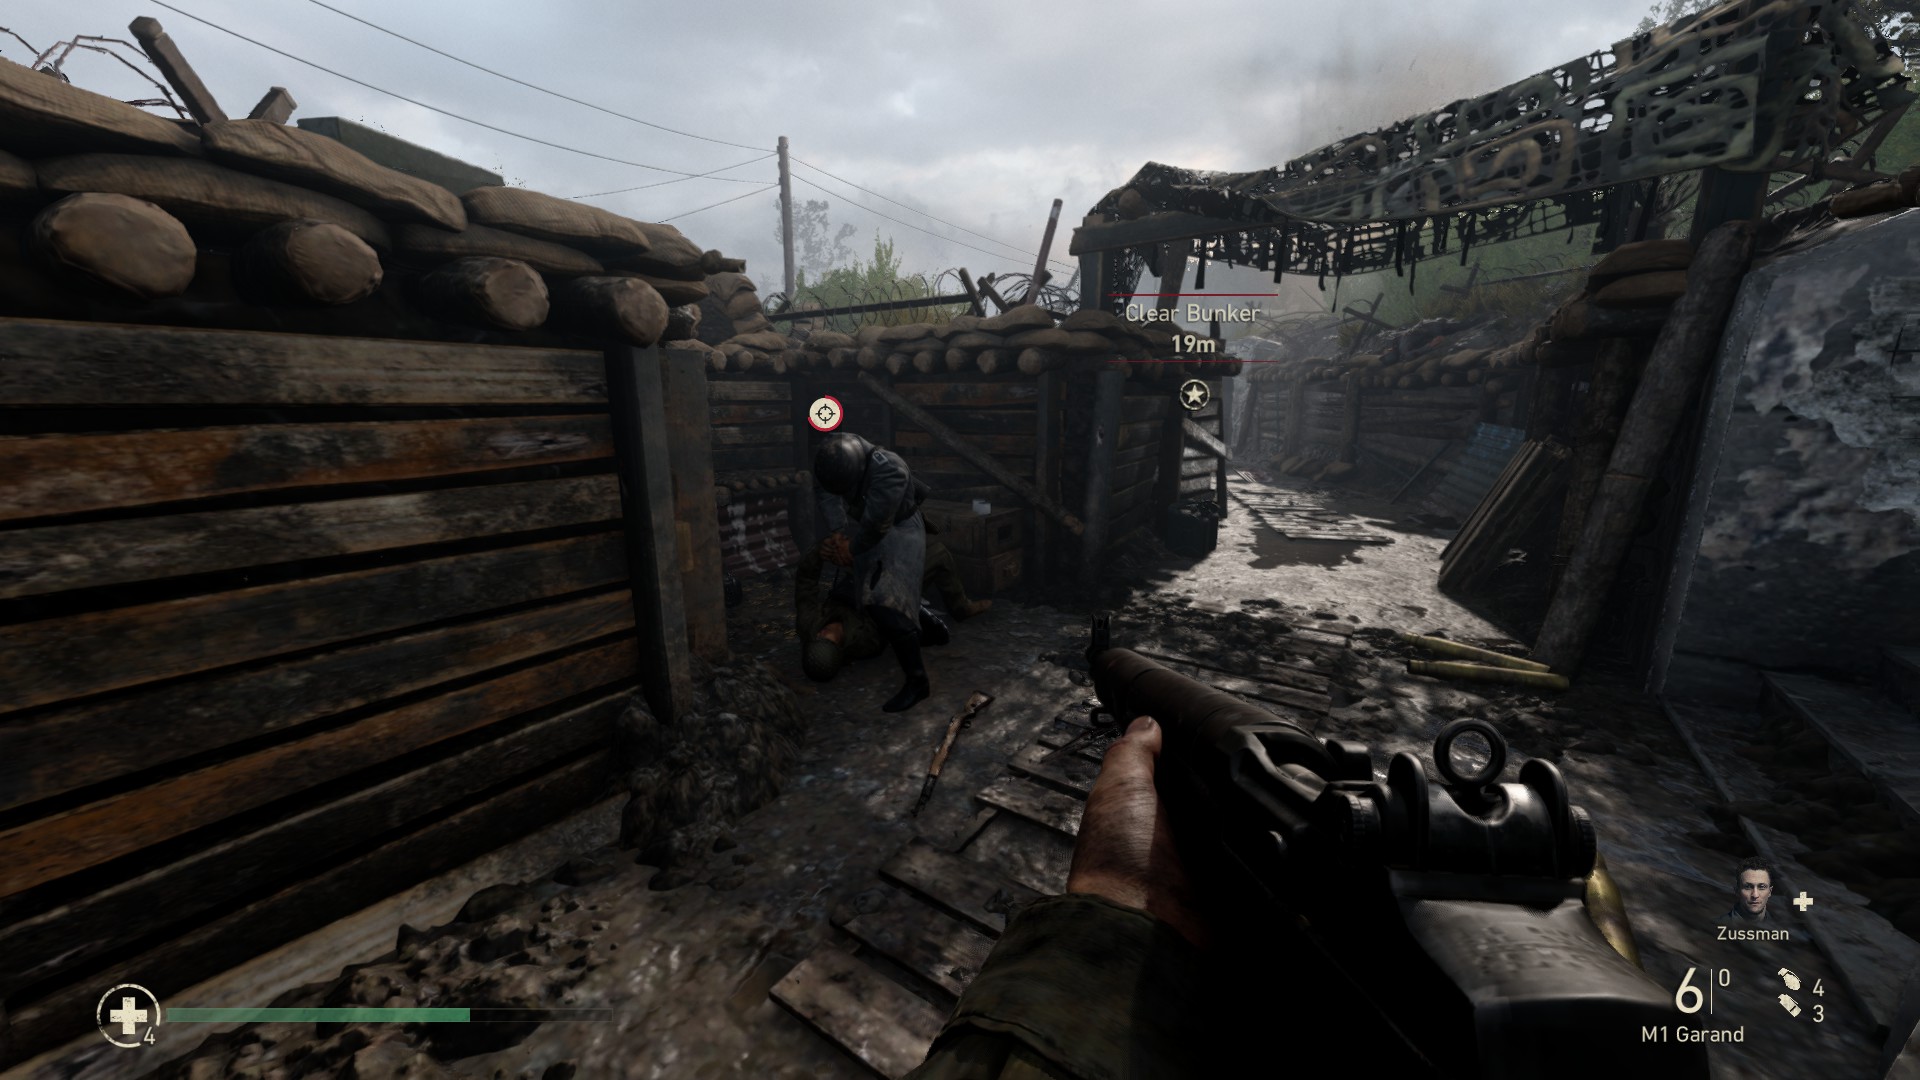
After clearing your first bunker, you'll be in another trench. Following the only path will lead to your first heroic action.
You're given plenty of time to save your ally in this instance.


Memento 2/3
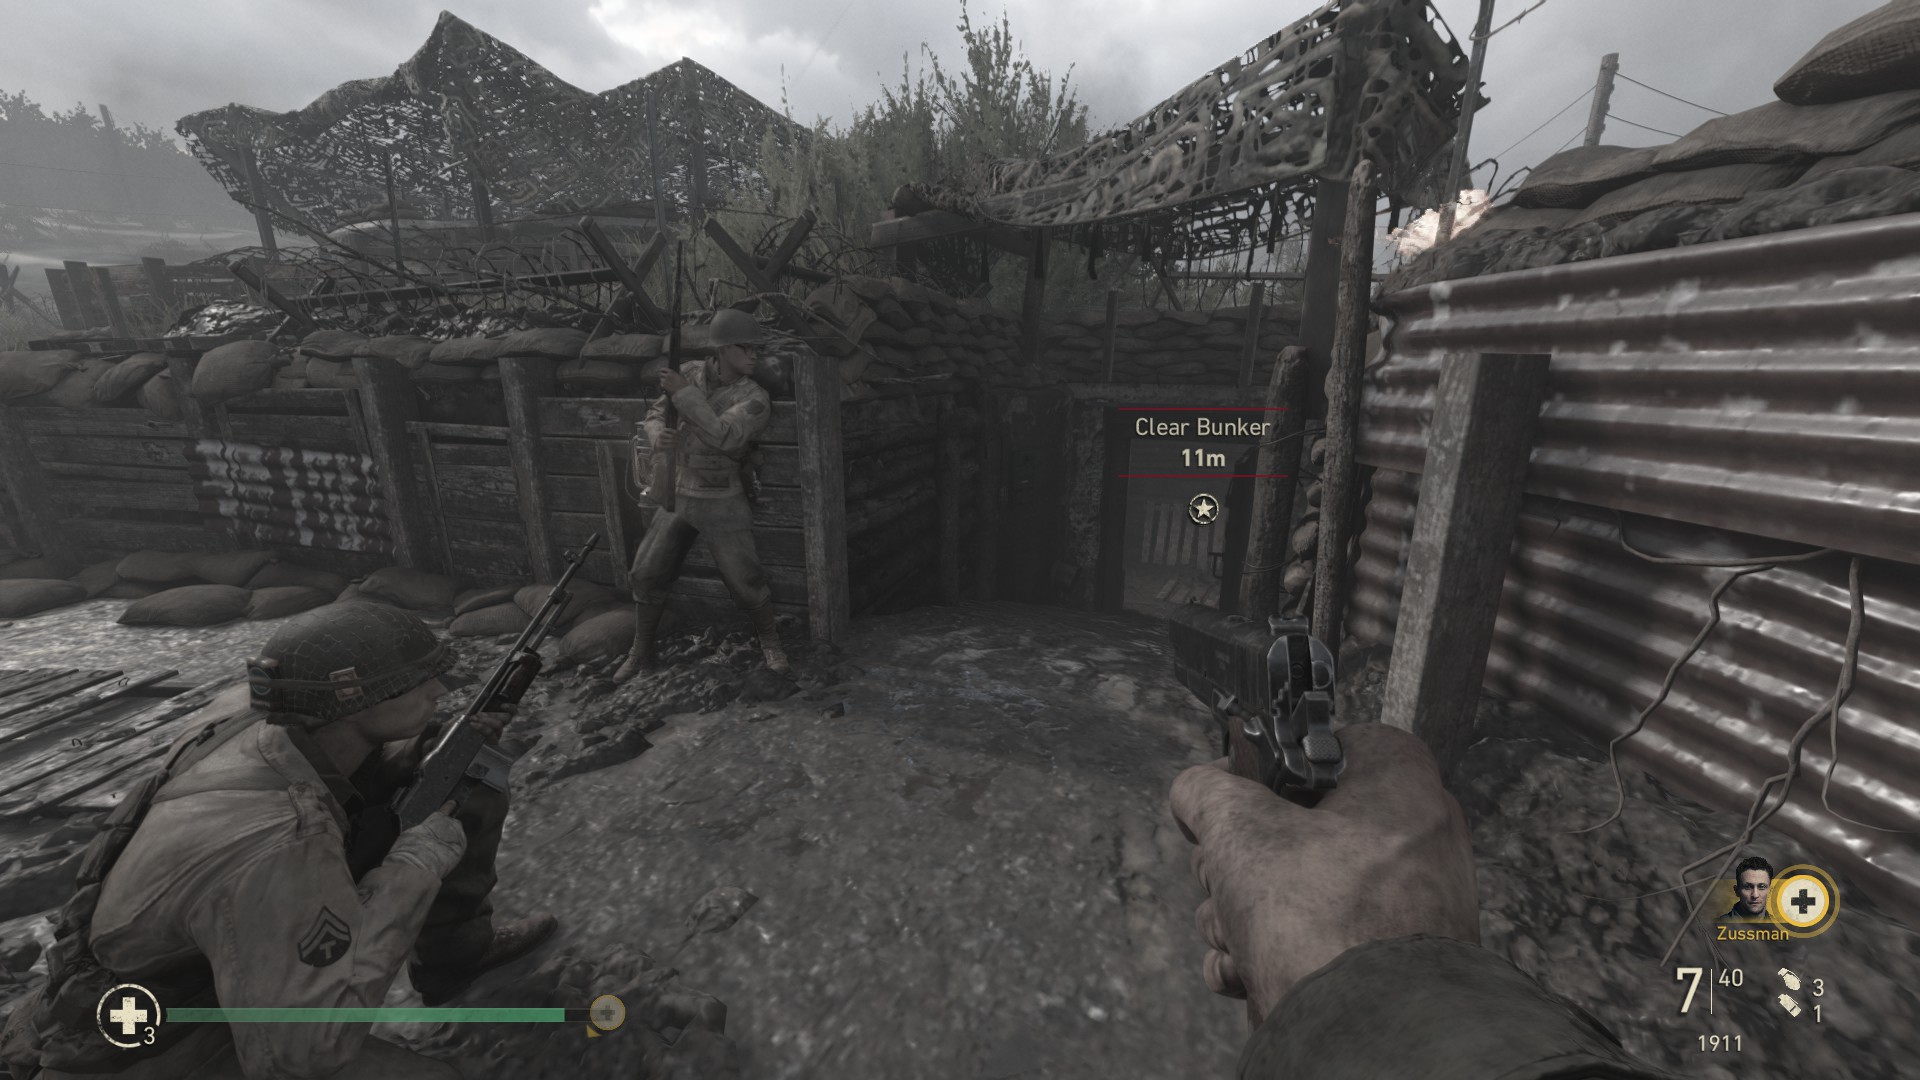
After clearing out your third bunker, you're supposed to backtrack to reach the next bunker.
Instead of entering it, swing a left and backtrack even further to another door that is now open.
This momento is sitting on the right side of a table in the far side of that room.


Heroic Action 2/2
After collecting the previous momento, you'll finally enter bunker number four. Passing your various allies, you'll eventually enter a room to see another ally struggling to fight off an enemy.
You have less time to save him this time, so be quick. (You can reload a save if you miss it)


Momento 3/3
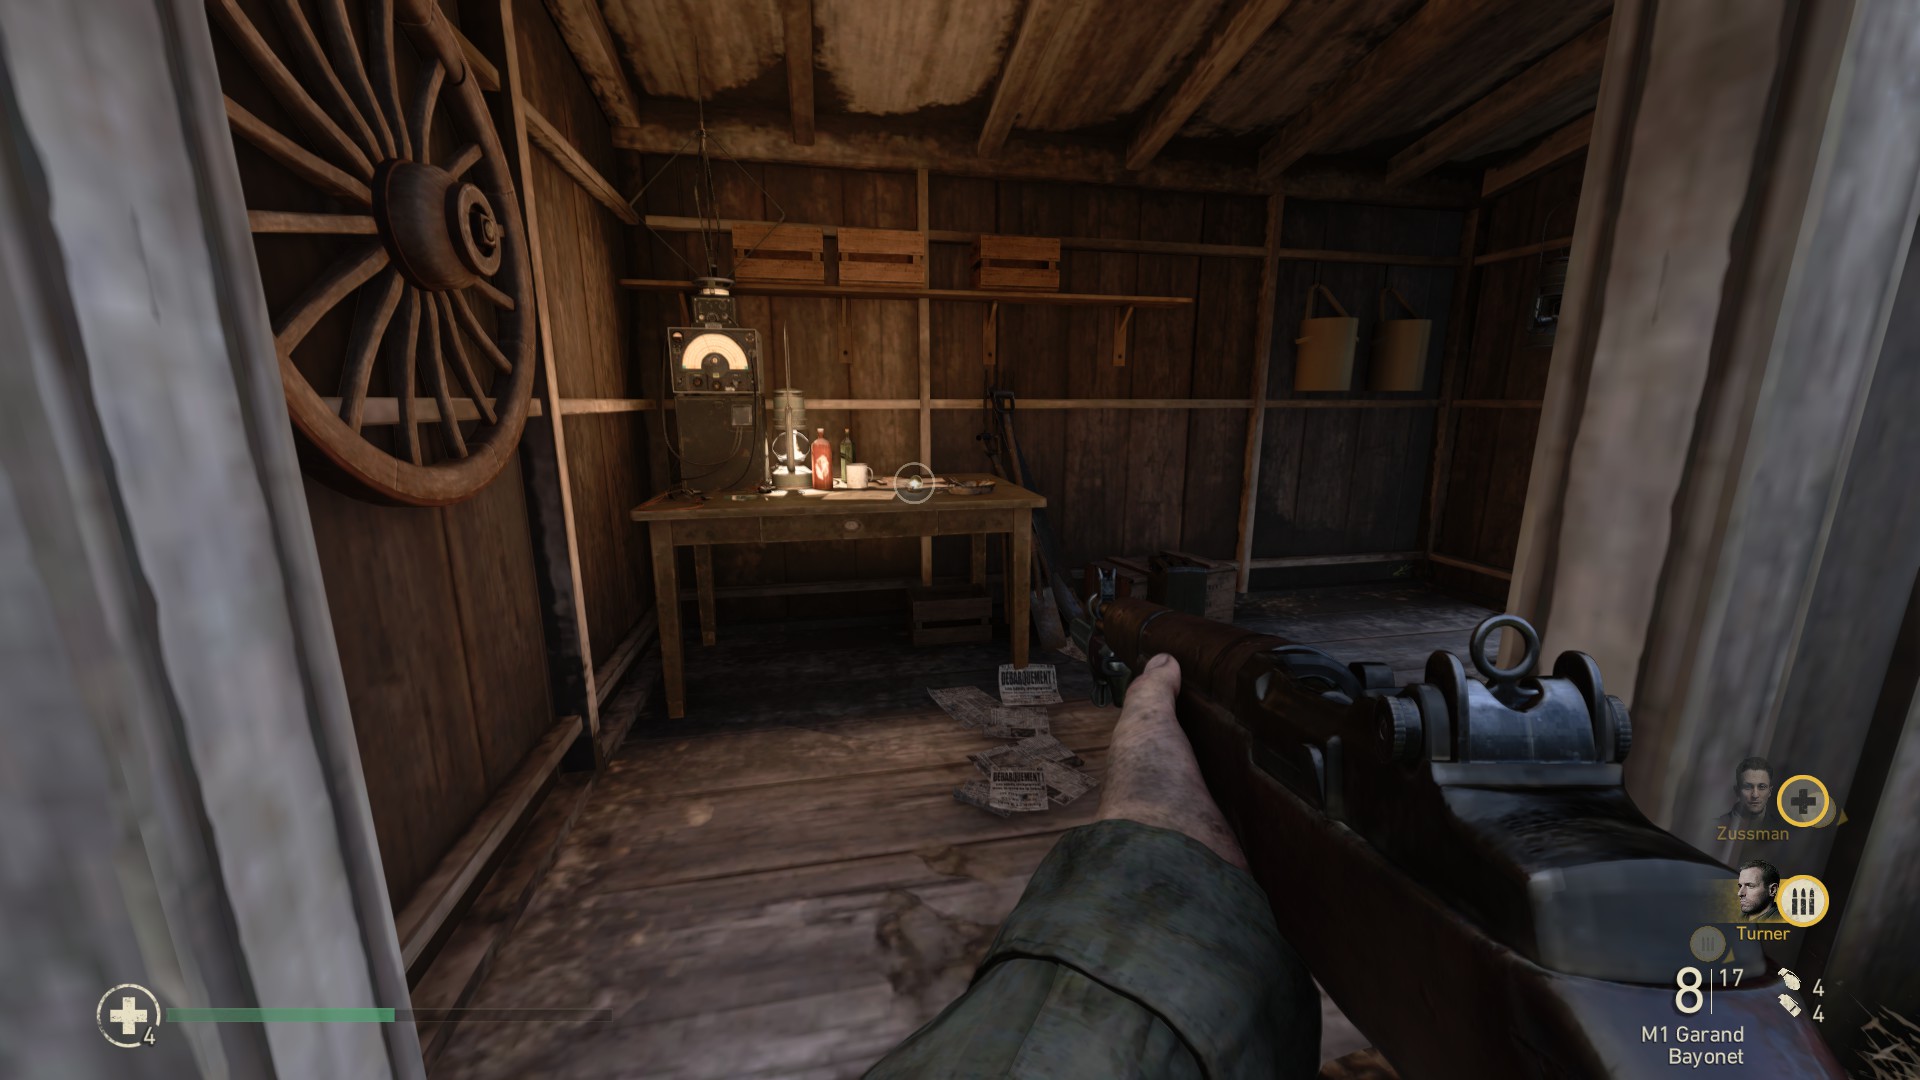
As you enter the area of the artillery you must destroy, enter the stables on the left side of the area and go to the far end of the building.
The last memento of this mission is sitting on a table by the far door on the right.
- Operation Cobra
Overview
- 3 Mementos
- 3 Heroic Actions

Memento 1/3
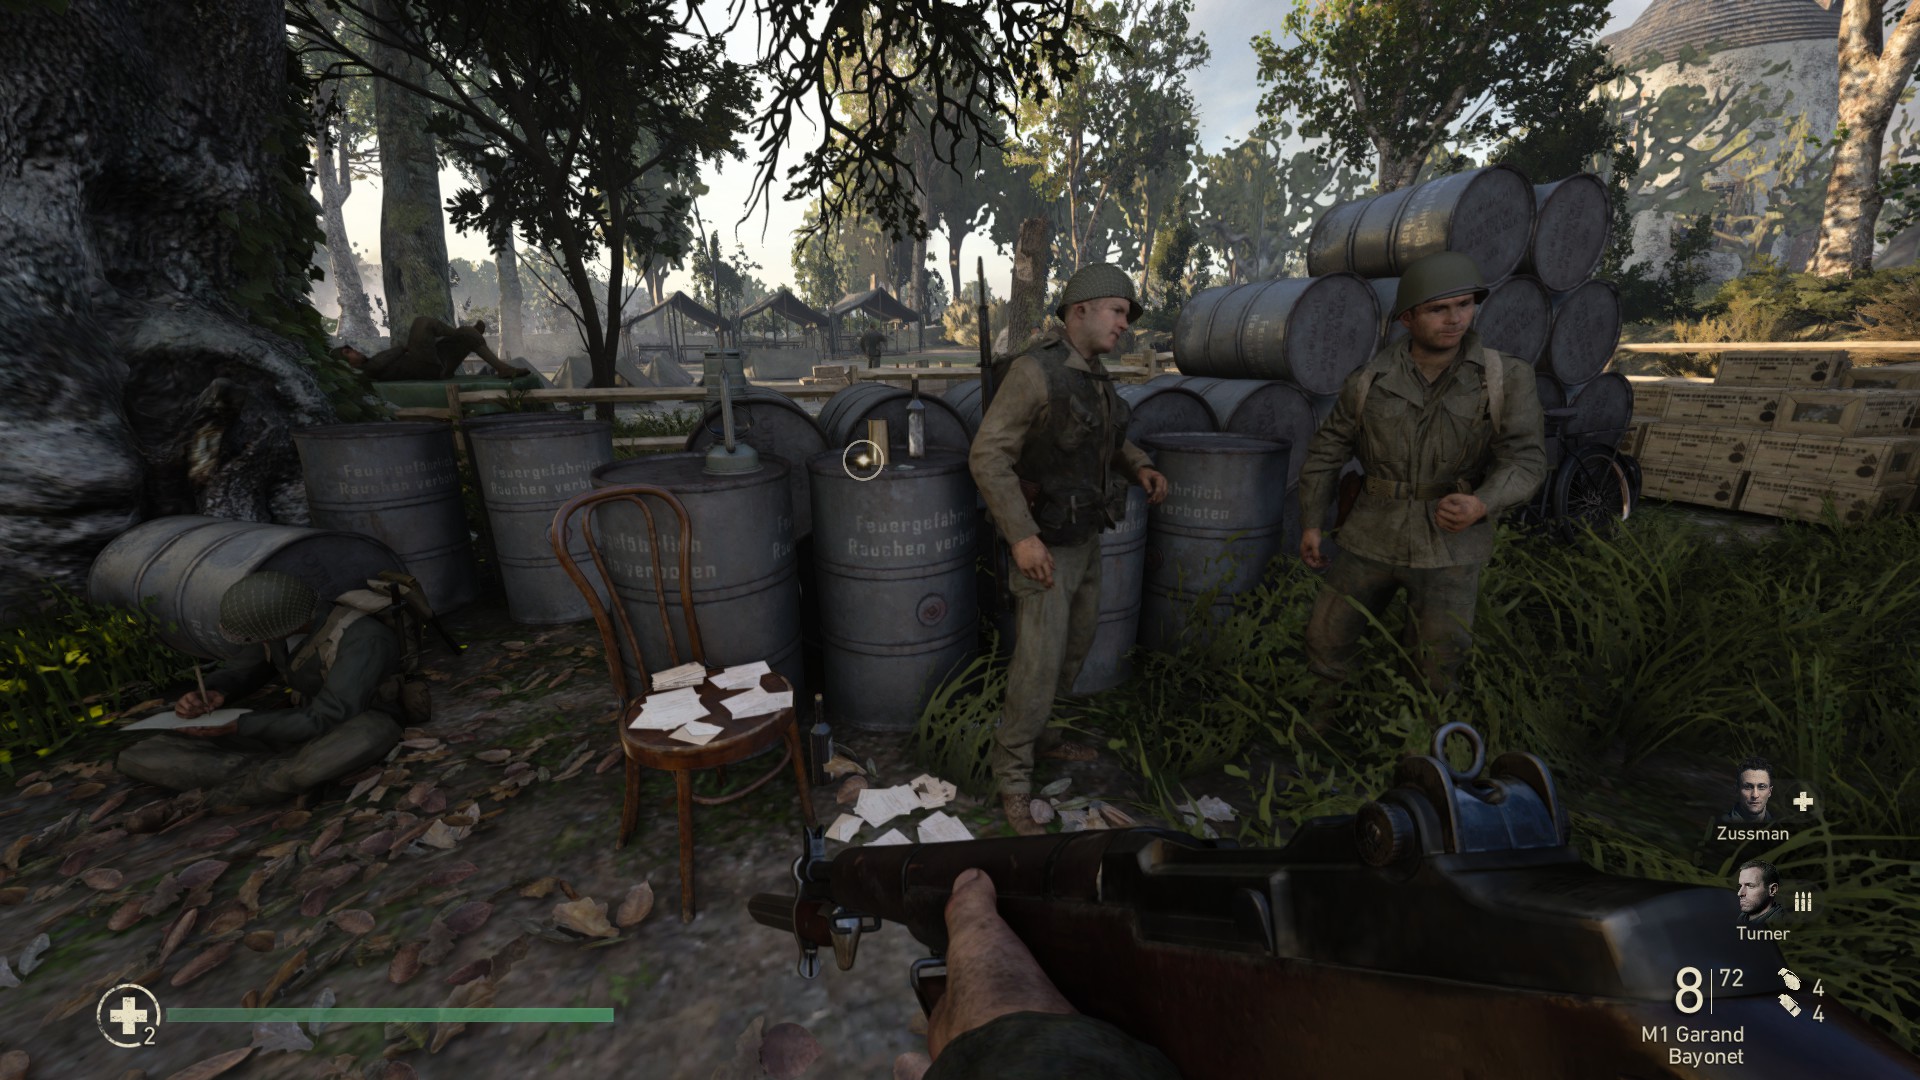
At the very start of the mission before getting on the tank, go to the right side of the area.
There are some barrels behind a few guys talking.
The memento is sitting on the barrels.


Heroic Action 1/3
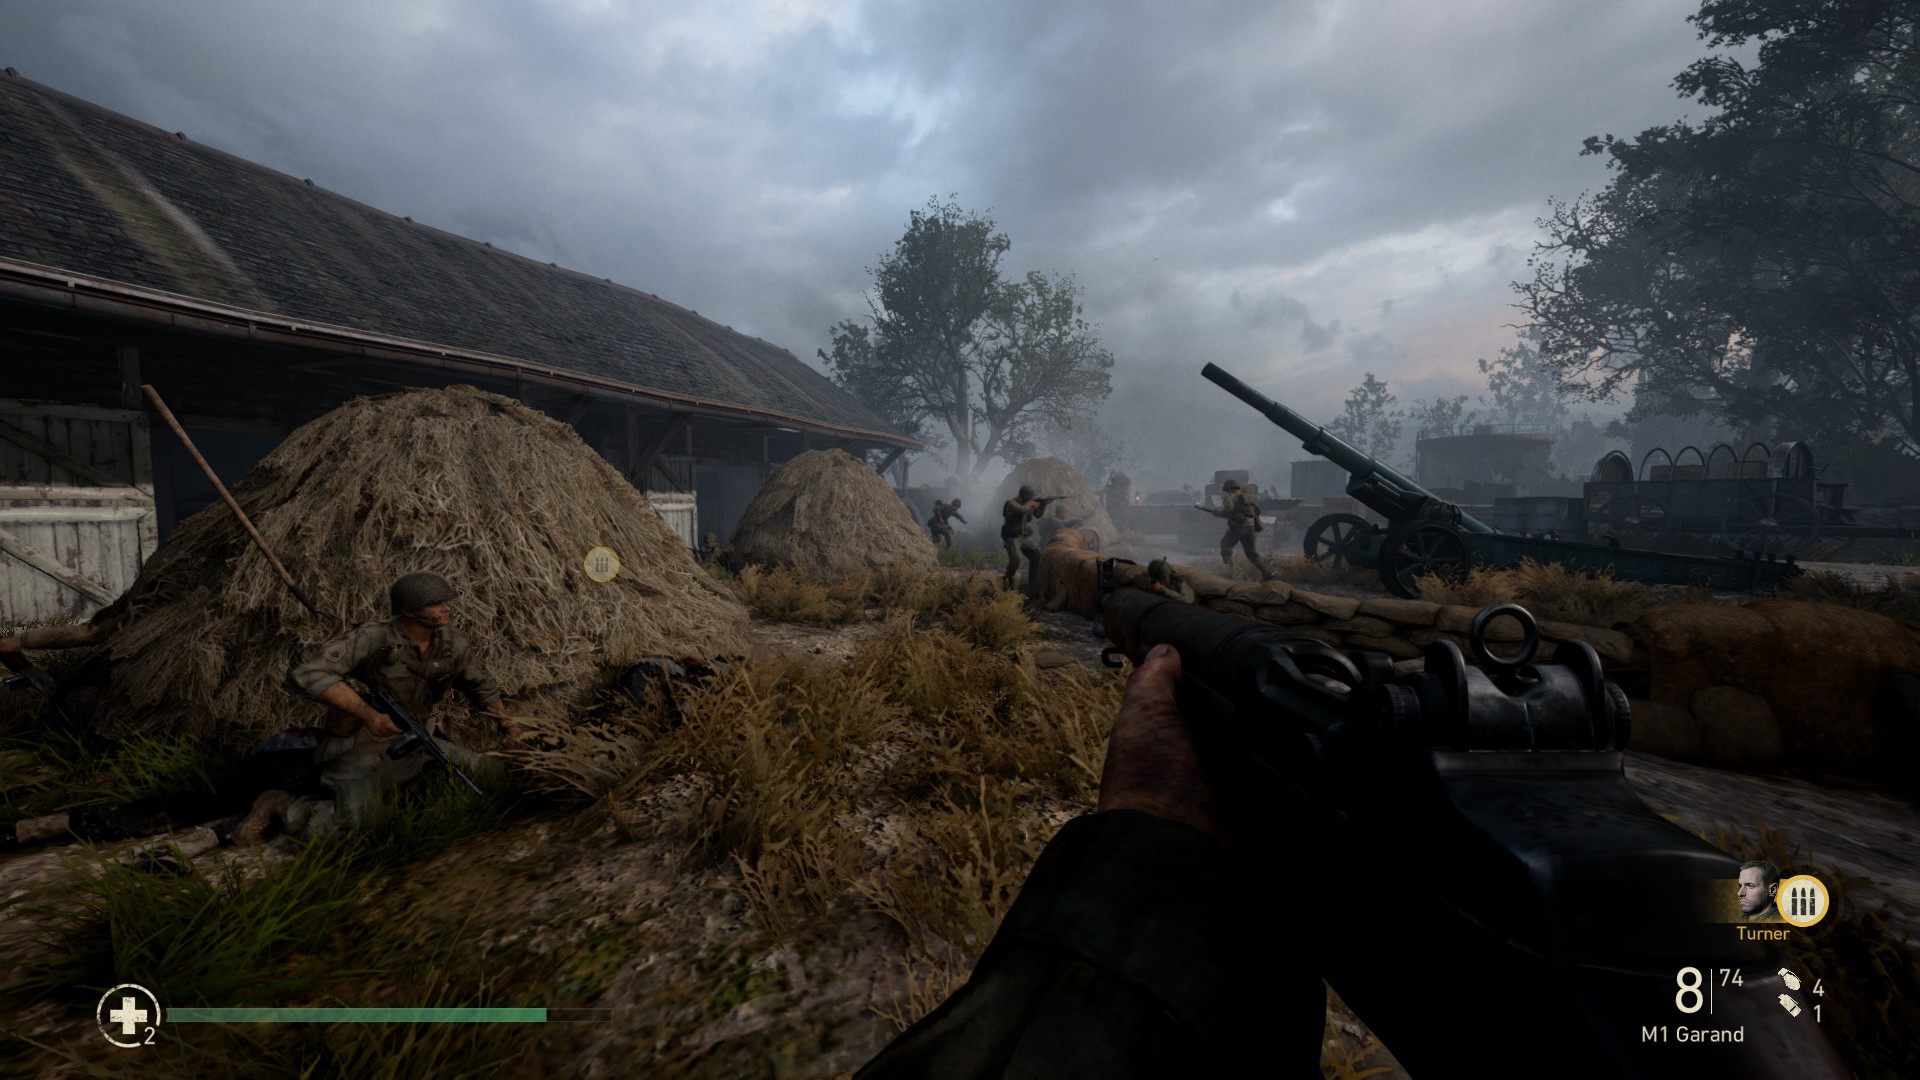
When you get to this area with the piles of hay, drive the enemies back into the forest.
Take out the Krauts shooting at you here, but be prepared to stop firing when they surrender.
Hold aim on them to complete the action.


Memento 2/3
Not too far ahead you'll reach another field past the orchard.
Head to the shed on the left side of this area.
The memento is sitting on a bench inside the shed.


Heroic Action 2/3
Advance with your tanks, sticking to the right side, till they are about to drive over a trench. Enter the door furthest on the right.
There's a memento here, but rush past it and to the left first to help a struggling ally.


Memento 3/3
As mentioned, this memento is further back.
Head back toward the entrance you came through and find the body slumped against the corner.


Heroic Action 3/3
After taking a sniping position and blowing up the ammo piles, continue forward with your armour.
Once you reach another trench, start taking out enemies, but be wary of another surrender once you have taken out enough of them.
- Stronghold
Overview
- 3 Mementos
- 1 Heroic Action

Memento 1/3
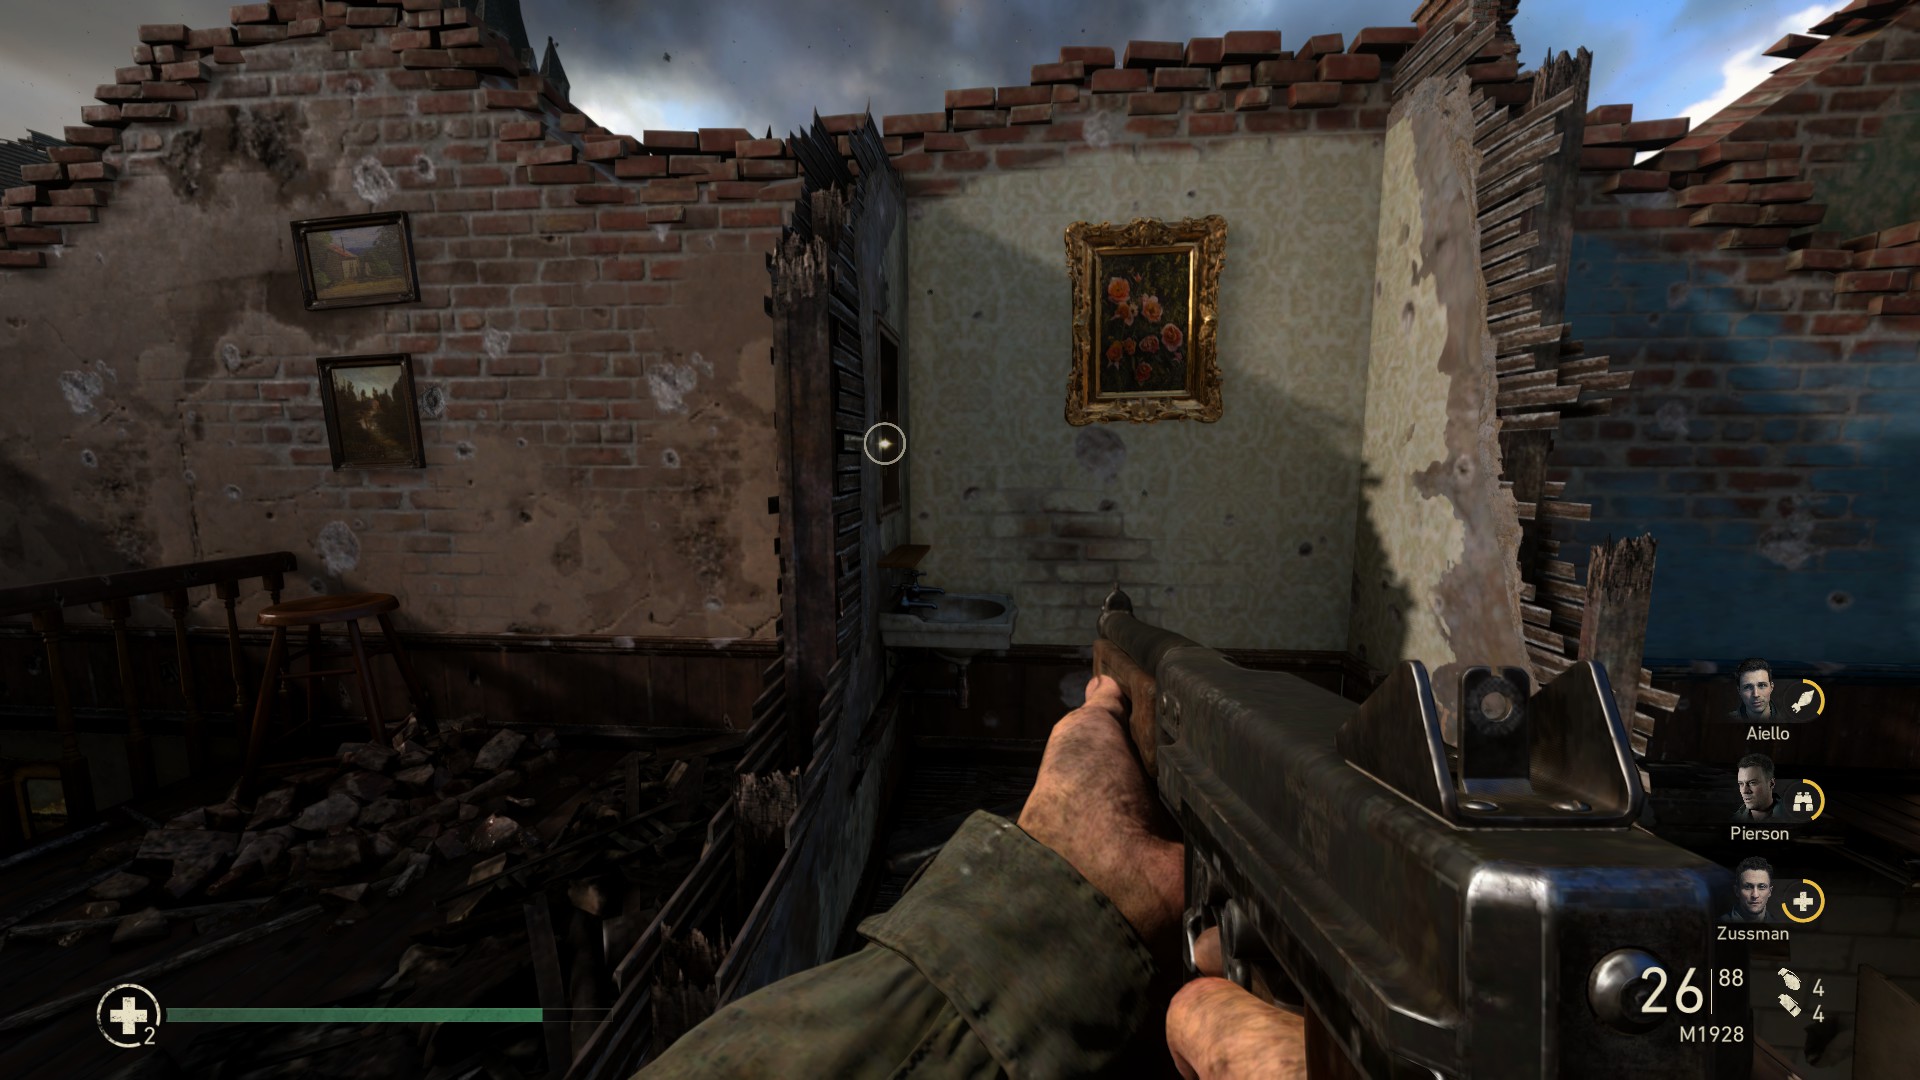
In the dilapidated house at the start of the mission, move upstairs and look at the area with the completely broken floor.
Sticking to the left wall, carefully step close to the edge and look back at a mirror on the wall.
This memento is hanging off the mirror.


Heroic Action 1/1
Coming up on the church, a half-track will burst into the area.
This results in an ally going down and needing to be dragged to safety. If they don't appear, load the last checkpoint and enter the area again.


Memento 2/3
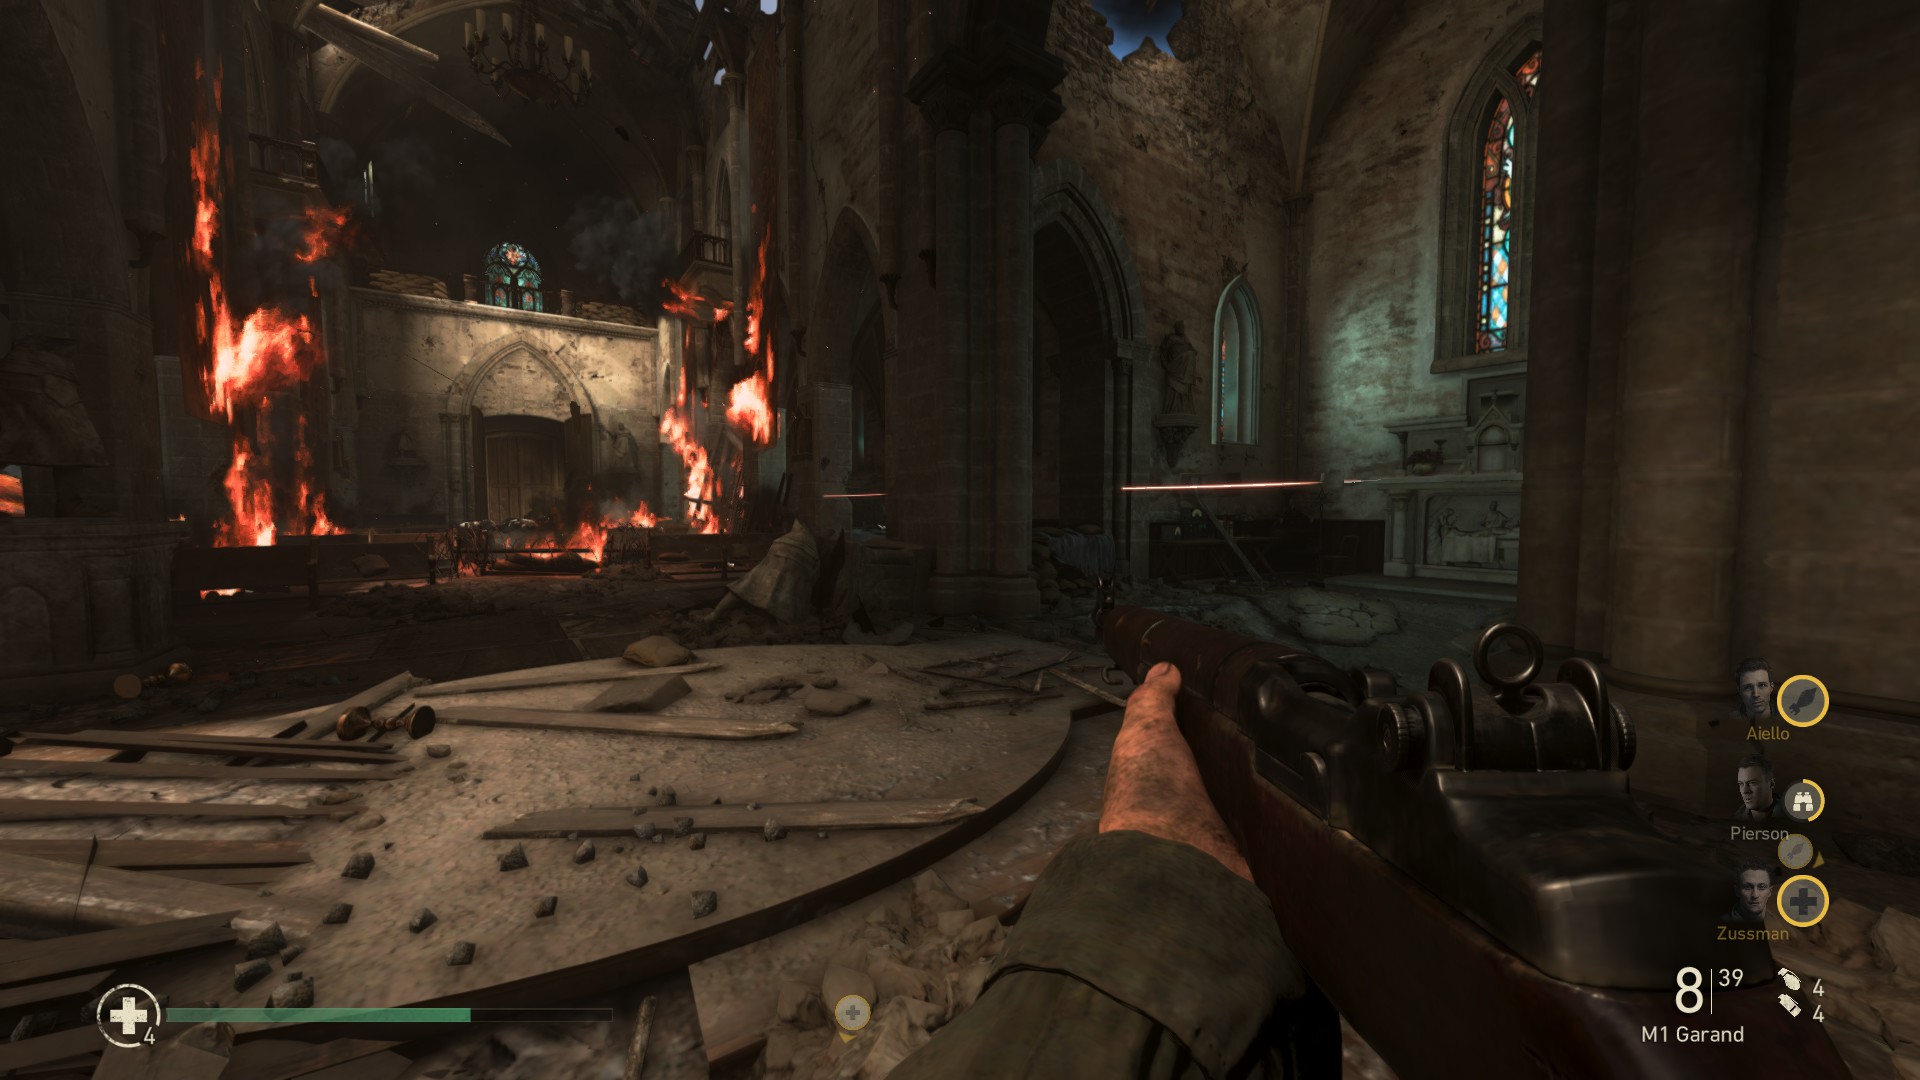
Inside the church, go to the section on the right side.
In that area, look back towards the way you came to see a small hole in a wall.
The memento is hiding in there.


Memento 3/3
On the ground immediately after the sniper section, move to the right side.
The memento is on the floor on wooden planks below a short wall of sandbags.
- S.O.E.
Overview
- 3 Mementos
- 1 Heroic Action

Memento 1/3
There is a house at the start of this mission. Progress through till you come out the other end of the house where an enemy is being dragged out a window. Turn left instead of right when you exit this door.
At the end of this area is three enemies. It is possible to take them out in stealth, but you can just reload your checkpoint after collecting the memento and it will remain saved.
The memento is in the pot next to a door in this area.


Memento 2/3
Once you reach the building with the large bonfire out the front, head inside.
Go straight ahead into a small room at the far end.
The memento is sitting on a table on the left side as you enter.


Heroic Action 1/1
Once you come up on the post office, you'll meet up with some allies.
One of them will need to be dragged into cover.


Memento 3/3
After the train crash, continue just past the second time you need to crouch under a piece of the train.
Instead of continuing left, stick to the right hand side. The memento is sitting on a crate.
- Liberation
Overview
- 3 Mementos
- 2 Heroic Actions

Memento 1/3
Once you get inside, follow the right wall to a door.
Open the door to the bathroom.
The memento is in the first stall from this side.


Memento 2/3
After reaching the north gate, pick the lock of the door in that area.
Entering that door, head right and go upstairs.
At the top of the stairs, head directly across the corridor to the first room.
Inside, turn immediately right and the memento is sitting on a suitcase in there.


Heroic Action 1/2
During the assault, you'll come across a bridge.
There's a guy who needs to be dragged into cover here.


Memento 3/3
At the end of the same bridge, head to the other side of the road on the right side.
The memento is on a few crates in this area.
You'll see it near some wine bottles.


Heroic Action 2/2
After taking the shotgun and going through the first room, you'll head upstairs.
Crowley will bust through a door up here.
Take out a few enemies in that next room until the remainder surrender.
- Collateral Damage
Overview
- 3 Mementos
- 3 Heroic Actions

Memento 1/3
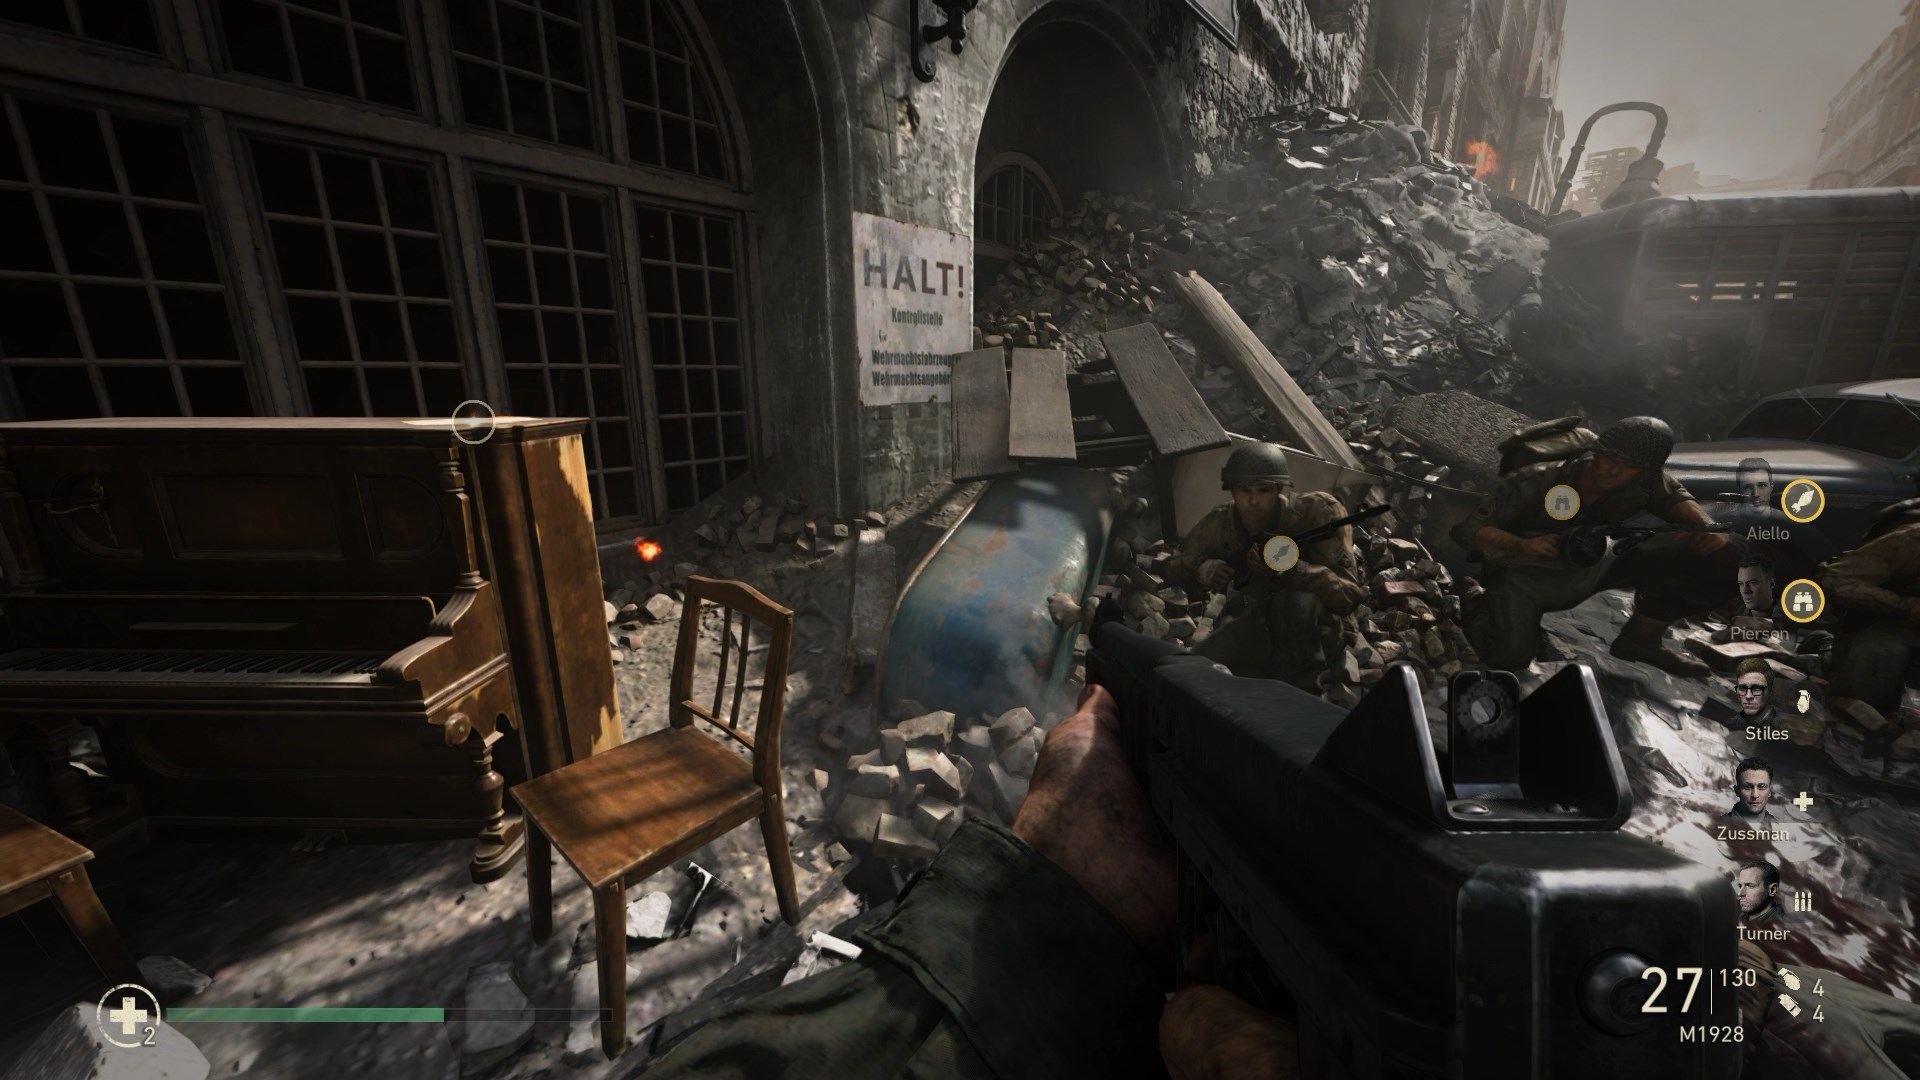
After the tank sequence, you'll meet up with your allies again.
In the area look to the left to see a piano.
The memento is sitting on top of it.


Heroic Action 1/3
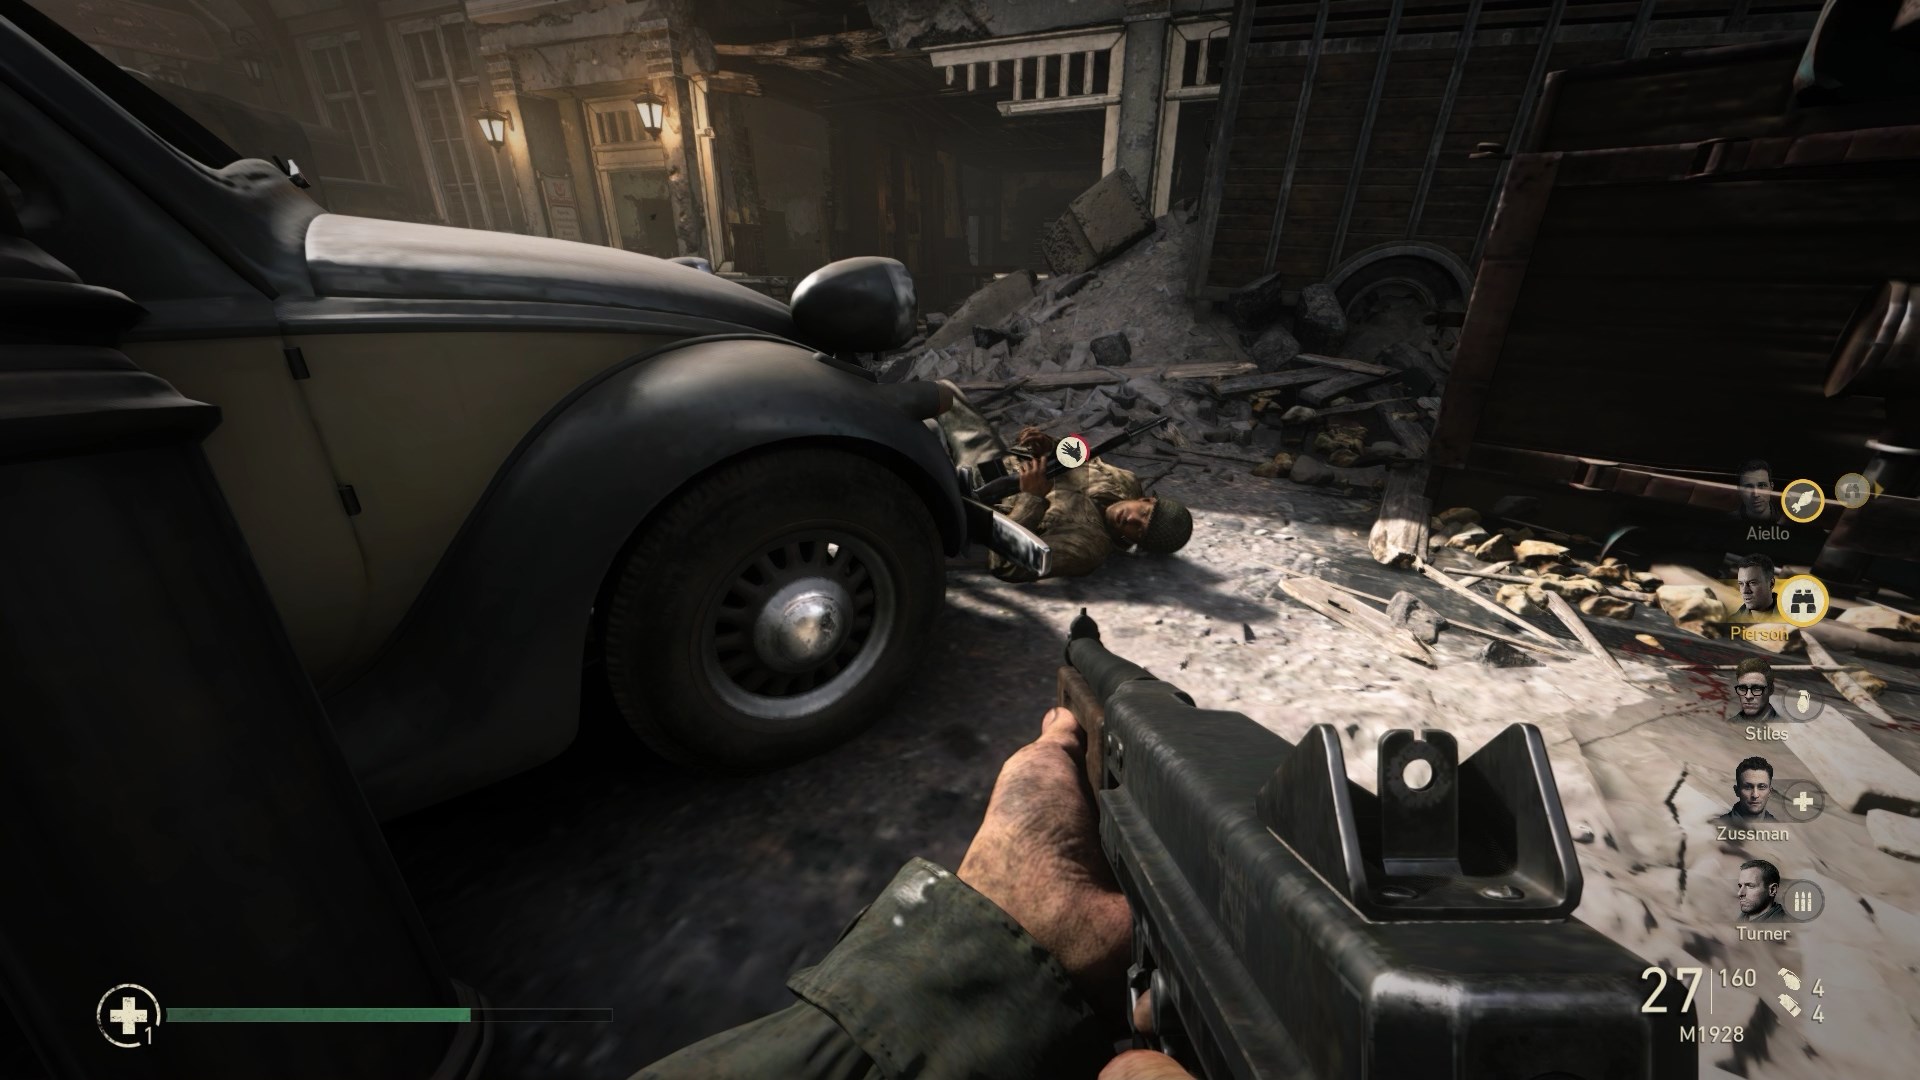
Just past the last memento, you'll be pinned down by MG fire.
An ally will get hit and will need to be dragged to safety.


Heroic Action 2/3
You'll eventually come across a door that barely opens and you have to squeeze through.
Follow your ally through that door.
Enter the next room to find him struggling with an enemy.


Memento 2/3
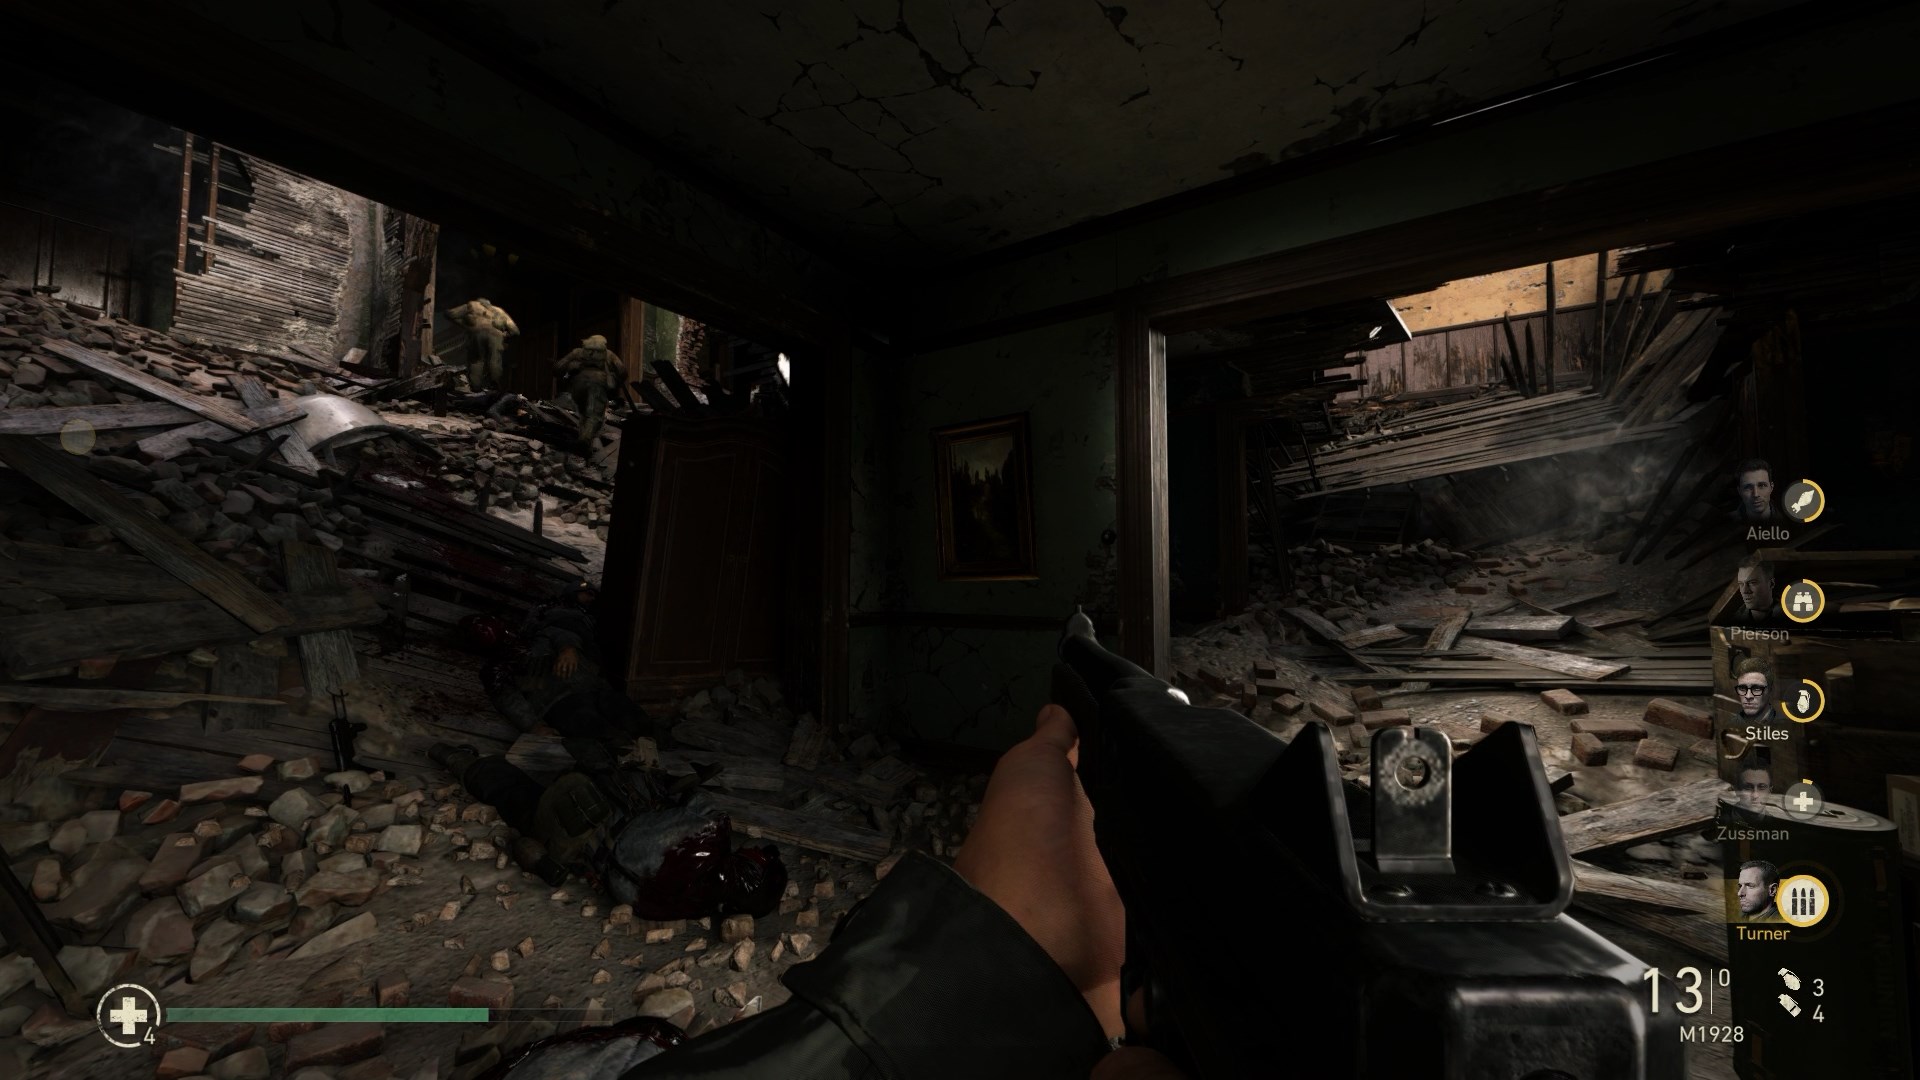
Shortly after, you'll come to this area where you need to go left to continue.
Instead go right, and climb up to the next floor.
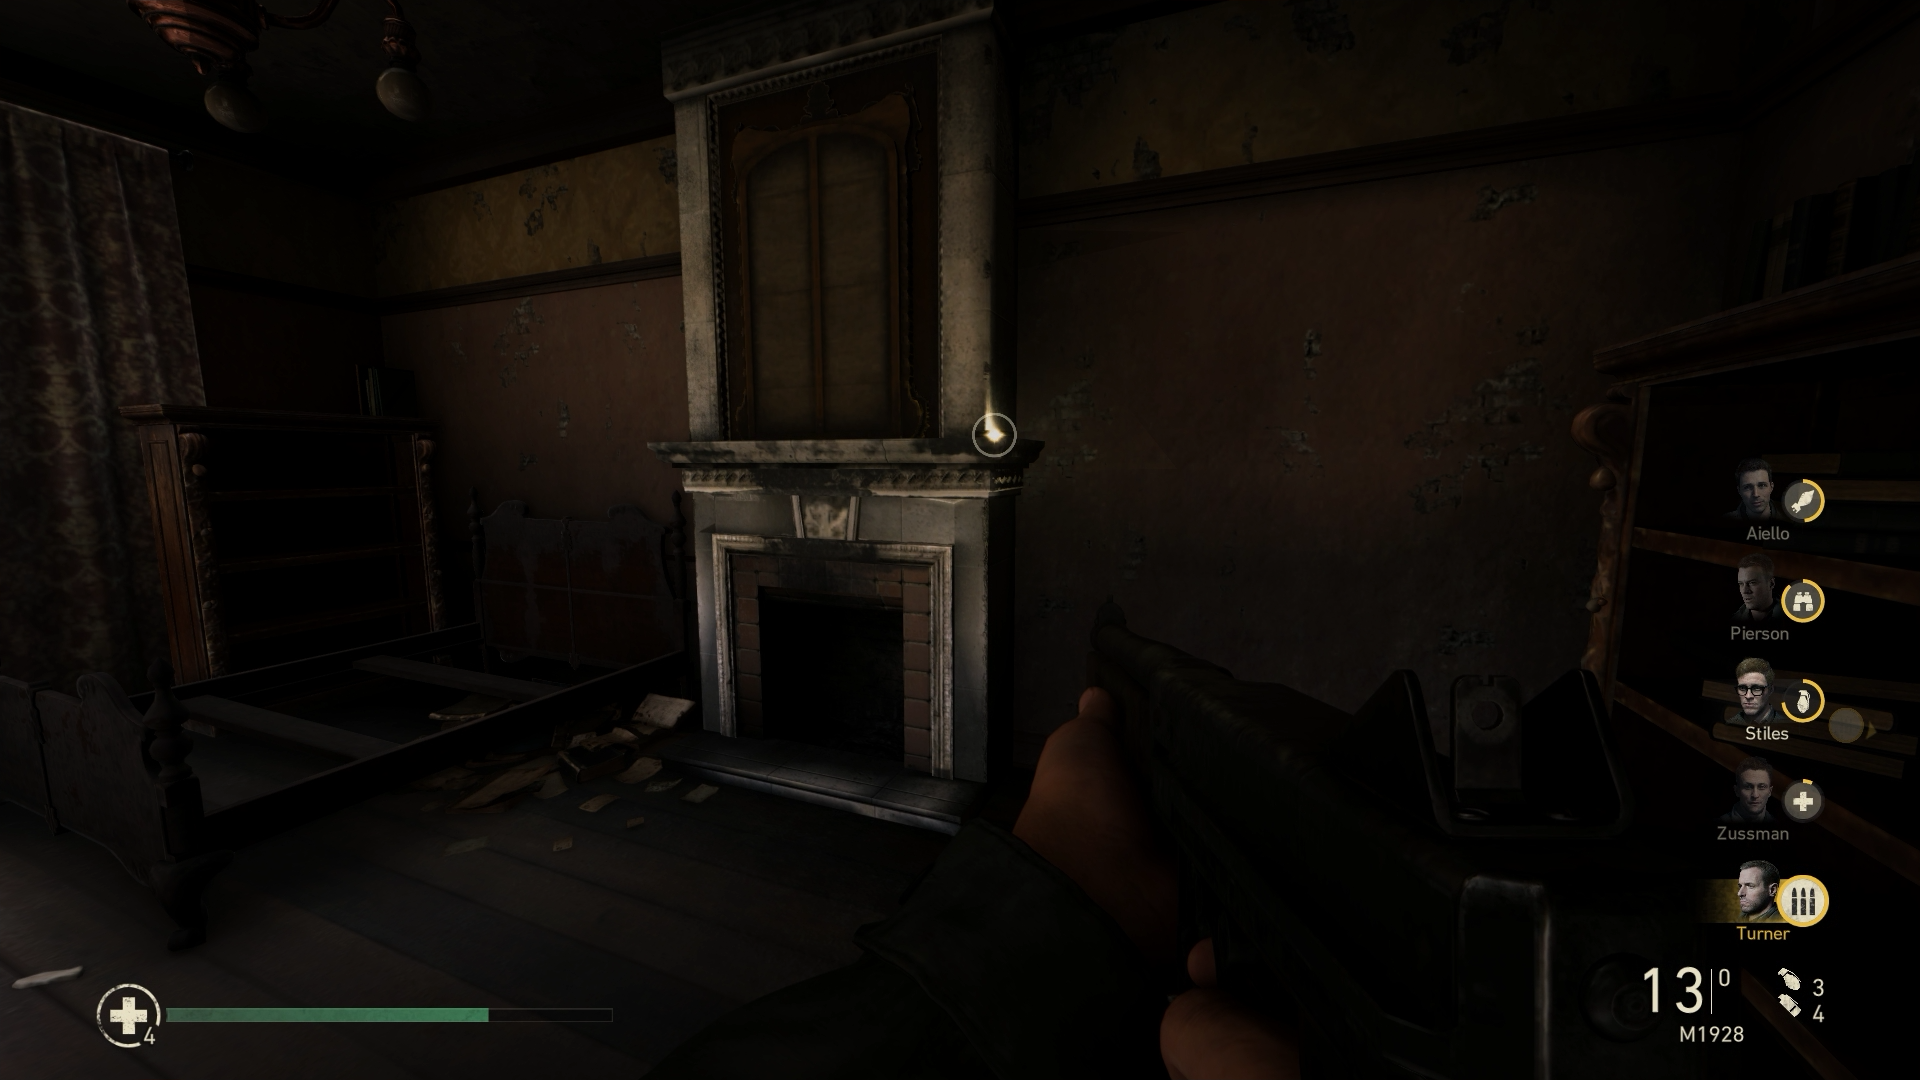
Up here, go straight ahead into the room with the floor that's mostly missing.
Jump over and find the memento on the mantelpiece of the fireplace.


Memento 3/3
After shooting open your third wall, head inside.
Enter the first door on the immediate right.
Check under the counter in that room to find this memento.


Heroic Action 3/3
Continue all the way to the back of the building.
As you enter the corridor at the back, an ally will be locked in a struggle with an enemy.
- Death Factory
Overview
- 3 Mementos
- 3 Heroic Actions

Heroic Action 1/3
While defending the bridge, you'll probably fall back a bit when the enemies deploy smoke.
An ally needs some help at the end of the bridge you originally came from.


Memento 1/3
Following your squad after defending the bridge will lead you to a mortar team you need to take out.
In this area, head around to the back of the truck on the right side of this area.
The memento is sitting on a crate between some smaller boxes.


Memento 2/3
After escaping the ambush and continuing on, you'll come across a dog running at you.
To the left side is a broken plane.
The memento is in the cockpit on the seat.


Heroic Action 2/3
When you start getting shot at by the sniper, an ally will be pinned down here.
You'll have to drag him to safety.


Memento 3/3
Once you reach the sniper and take him out, backtrack a tiny bit to the stairs.
To the left of the stairs there's a support beam that you can climb up on.
The memento is sitting on a chair at one end.


Heroic Action 3/3
Soon you will reach the final area with a few largish building.
Stick to the left side and enter the barn.
Inside, remain on the left to see an ally struggling in a lower area of this building.
- Hill 493
Overview
- 3 Mementos
- 2 Heroic Actions

Heroic Action 1/2
On your first push up the hill, stick to the left side.
You'll come across a downed ally below a fallen tree.


Memento 1/3
After taking out the bunker with the pole charge, take a look around.
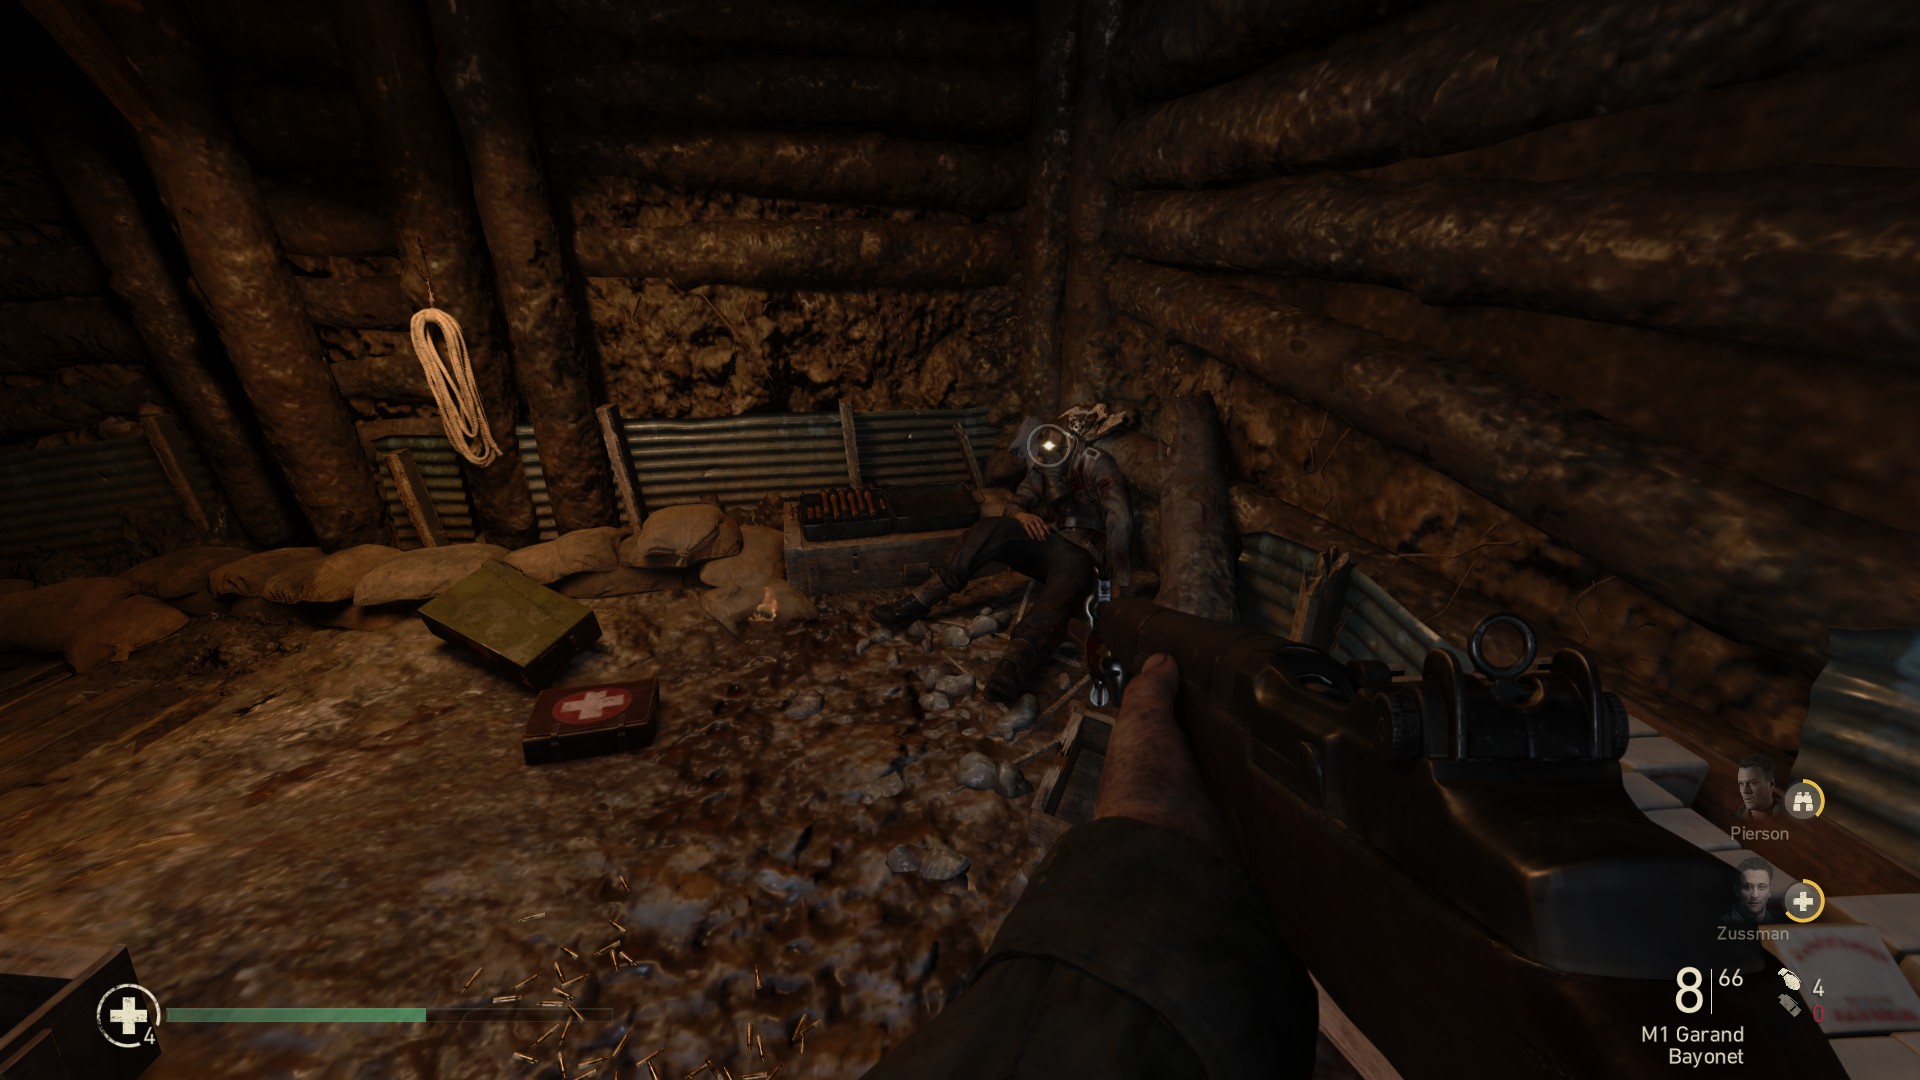
There is a dead soldier slumped against one of the tree stumps, pretty much in the middle of that area.
The memento is sitting on the ground next to him.


Memento 2/3
Soon you'll come across the first piece of artillery you need to destroy.
Check the right side of it to find a small compartment in the wall.
The memento is hiding in there.


Memento 3/3
After opening the door to the next area, stick to the left side.
Walk up to the back of the area to find a destroyed bunker near a small fire.
The memento is sitting on the outside of its window.


Heroic Action 2/2
In the same area, after your first attack on the tank, check the bunker to the far side of the area.
It can be found at one end of the trench.
There will be an ally in a struggle with an enemy soldier.
- Battle of the Bulge
Overview
- 3 Mementos
- 2 Heroic Actions

Memento 1/3
At the start, after picking up the ammo box, check the right side of the path.
The memento is sitting on a rock right there.


Memento 2/3
Still while carrying the ammo box, there will be a few allies set up on the left side on the way to the objective.
There's a box on the left side of the setup.
The memento is inside that box.


Memento 3/3
This one is right next to where you are delivering the ammo box.
It's on the right side, opposite the Christmas tree.


Heroic Action 1/2
When you form up on the wall with everyone, an ally will go down.
You should find him around the middle of the line.


Heroic Action 2/2
After destroying all tanks with the airstrikes, an enemy soldier will rush the trench and will struggle with an ally.
It's around the same place as the previous one.
- Ambush
Overview
- 3 Mementos
- 2 Heroic Actions

Heroic Action 1/2
During the actual ambush, a soldier will go down near the truck closest to you.
This is your last drag heroic action for the achievement.


Memento 1/3
Upon entering the facility in the stealth segment, you should see two aircraft hangars to the right side.
This memento is sitting on a crate in the second hangar, further from the entrance to the facility.
There is easy access to both hangars via a sewer drain.


Heroic Action 2/2
After providing overwatch for Pierson, you'll need to continue to the tower.
Enter the first house you come to, which is pretty much a barracks with bunk beds.
At one end, an ally will be locked in a struggle with an enemy soldier.


Memento 2/3
In the very same room, look to the right side (the only wall with no door).
The memento is on top of some a bench with some other clutter.


Memento 3/3
When you reach the tower, go inside.
The memento is just inside the door to the immediate right.
- The Rhine
Overview
- 3 Mementos
- 2 Heroic Actions

Memento 1/3
While clearing out the first tower, head up a couple floors till you are one below the top and you should see a guy leaning against a support beam.
The memento is right next to him in front of a crate.


Heroic Action 1/2
In the same tower head up to the next floor and take out a few enemies until the remainders surrender.
Despite the achievement asking for 6 groups of enemies, you'll get it here on the 4th.


Memento 2/3
After crossing the bridge, enter the next tower you need to clear.
Head up to the first floor, and look at the next staircase up.
The memento is on a table in front of those stairs.


Memento 3/3
In the same tower, head all the way up to the top.
The very last memento in the game! is in the middle of the room on a small table.


Heroic Action 2/2
After completing the section on the AA gun, you'll head back through the trench.
On your way back, you'll see the last ally struggling with an enemy.
47 Comments
Crow 22 Apr @ 8:03pm 
Just thought I'd add, in "Death Factory", for Heroic Action 3, you can actually get it by going on the right through that building instead. Both ways spawn a Struggle.
Arnold J. Rimmer BSc, SSc. 21 Mar @ 6:55pm 
I already figured it out. Steams COD WW2 has a single player version, & a multiplayer version - both separate "games". It's a real pity the console versions were all in one. I love finishing COD campaigns fully.
Arnold J. Rimmer BSc, SSc. 21 Mar @ 6:52pm 
Is it just me, or does the Steam version have only solo campaign achievements? I tried doing this on PS4 after the game was dead, so there were a few online ones that were not possible, & I didn't bother with the zombies ones seeing as I couldn't do the PvP ones.
gator shaman 11 Mar @ 7:25pm 
For the "Defender" achievement I highly recommend switching to a controller (if you haven't already). ensure aim-assist is on, and turn the sensitivity to maximum. I tried for hours to get that achievement with a keyboard and mouse. I got it 5 minutes after switching to a controller.
🌍『RT』 15 Feb @ 12:46pm 
Hello. Can I achieve 100% without buying the Season pass? I know it unloscks the zombie mode and a few multiplayer maps. Can you guys help me? :)
Godflay 19 Nov, 2023 @ 8:41pm 
Thanks for the guide! Flyboy is sorta easy if you've played War Thunder, but boy was the Defender achievement rough, spent almost 3 hours trying to get that one
MRTRYHARDPOTATO 13 Sep, 2023 @ 11:56am 
Thank you for the guide, (hopefully its not copied and pasted) but the free aiming tip for the "Flyboy" achievement really helped and I did it fist try when I tried after a while, I also recommend hooking up a controller if you haven't already (cause its horrible without one) and turning the sensitivity up to like 8.:broflex:
The Nightmare 15 Aug, 2023 @ 3:37am 
I almast unlocked all anchievements but this guide helped me , somehow.
But i like what you made :steamthumbsup:
Marsh4Life 11 Aug, 2023 @ 8:44am 
Ty
Pirilampo 13 Jan, 2023 @ 11:23am 
Awesome guide, congrats, you helped me 100% in no time

To those who are having trouble with the 2nd heroic action on Ambush, i had it as well.

I was able to workaround this bug by restarting the mission, and the enemy spawned at a different location, outside the red barracks to the left, next to the barrels. Try to roam a bit around the place, without killing many enemies, until it spawns to you