Jagged Alliance - Back in Action

Jagged Alliance - Back in Action

160 人が評価
Jagged Alliance: Back in Action Opening Moves Guide
作者: GreyHunter
This guide is meant to be a helpful resource for planning your opening moves in the liberation of Arulco. It's designed around the team I like to use, Buns and Thor, but can be easily adapted to whichever starting team of mercs you chose. It also assumes you have tactical mode on

I've actually done an LP which is the basis for the tactics in this guide. You can find it here: Let's Play JA:BiA Playlist
3
   
アワード
お気に入り
お気に入り
お気に入りから削除
Squad Selection
In Jagged Alliance: Back In Action, the first thing you'll have to do when beginning a new game, after having a check of the emails and maybe a quick perusal of the RIS report, you need to make a selection of mercs for your opening team. Assuming you're playing on the normal difficulty because you're not a masochist, you've got 40.000 Arulco-bucks to spend.

My preferred opening team is Buns and Thor, because they both come with pistols, Thor has a silencer, and you can get one for Buns in the opening level immediately, which makes the opening game a lot easier as you can take out the foe quietly instead of loudly.

Thor is a good medic with a starting rating of 70 in Medical, meaning he's not too far off being able to use the large 5 a pop Medkit. He's also got an 89 in Stealth, beaten only by Nails' rating of 91, making him a veritable stealth ninja man, especially when combined with his Desert Eagle and silencer. His 64 Marksmanship isn't too shoddy either, but needs a bit of work. His Mechanical skill isn't fantastic, but at 35 he can use the field cleaning kits to maintain your weapons until you get a proper mechanical person. He does cost almost half your starting money, but well worth the investment because of the skills he brings to the team.

Buns is also a solid choice because she's relatively cheap, and she comes with a .45 pistol that has a fairly common ammunition type, and you can snag a silencer for it almost immediately. She also has the trait "Handgun Expert", which as you might expect means she's brilliant with handguns. This is a trait that becomes less useful as the game goes on, but in the early game it makes her deadly. She also has a 48 in Medical, meaning if you invest two skill points in it when she levels up for the first time, she unlocks Medkits, making her a good backup medic if Thor goes down. Her 73 in Marksmanship actually makes her a good shot, and with a little work she can act as a makeshift sniper until you can hire someone like Scope or Raven to be a dedicated sniper. Of note though, is that if you hire Buns, you can't then hire the Scottish demolitions man, Red. Not a massive loss in my opinion as you can still get Barry as a low tier demo man.

Other starting teams that are pretty viable are Grunty and MD, with Buns again as a third wheel, giving you a bit more tactical flexibility, or you could go with someone like Sidney or Raven as a singleton with fairly well developed skills. However I've found Buns and Thor to be the most effective starting team because of their mutually supporting skill sets.
Drassen Airport: Securing Your Supply Line
Drassen Airport is the first map you'll have to play, to establish your landing zone and securing your supply lines. Of note is the fact that if you ever lose the airport, you cannot receive supply shipments or new mercenaries, so don't lose it, because it will be very, very bad.

The first thing you'll see in front of you is a guard tower, which is empty, but does have a silencer located at the top in a box. Grab that for Buns, and then you're set to go forth as Team Stealth Ninjas. You can enter through either the hole in the fence nearby, or go through the front door, but the front door obviously isn't the best approach because when you get there, an enemy will likely be patrolling and you'll get shot a lot. Much more preferable is to head through that hole in the wall and sneak your way into the middle building immediately in front of you.

In this block house/barracks, you'll find a weapons locker, and in the weapons locker is a M870 shotgun and some shells for it, give it to whichever merc you prefer, neither of them are particularly better than the other for gunfights, though Thor has a slight edge with his stealth rating enabling him to get close quietly. Through the door, there's another locker with a set of body armour, which you can grab for later.

If you go back the way you came and flank around the "North" of the map, you can clear the area behind the hanger, before looping down towards the shipping office, passing by Skyrider standing near the helipad. If you come in through the back of the shipping office you can probably coax the enemy into following you out of the sandbag defences in front of the shipping office, a much better prospect so long as you don't get overrun by the enemies with machetes.

After clearing this area, you can move to the larger building slightly to the "South" and clear it out. There's a uniform in the Lieutenant's room, and a pistol that you can sell or keep for later on. Move on to the entrance and eliminate any guards who happen to be there, before heading to the hanger. That should bring you to the last of the enemies, and after killing them, you'll have liberated Drassen Airport. Well done!

Enrico will send you an email saying good job, and you'll now have access to Bobby Ray's online store, and you can order some more ammo for guns if you need it, and equipment. Early on, you probably won't have a need to utilise the store, but if you want to stock up on NATO 5.56 ammo, do so. And it might be wise to get some NATO 7.62 FMJ ammunition (you'll see why later).

Chatting to Pablo, the man in the shipping office will let you talk to Waldo, the local merchant, who has a Mini 14 in his inventory. Buy it for Buns, and get the 90 rounds of ammunition. You can sell off anything you want to, but it's advisable to keep the shotgun for the present.

Finally, talk to Skyrider before you leave, he gives you a quest to find his diamonds, which is linked with another quest you'll pick up soon. Next, you'll be off to Drassen City.
Drassen City: The First Settlement
When you enter Drassen City, it would be advisable not to use the road. A better entry point is slightly north of the building standing in a clearing on the western perimeter. This is a factory using child labour, and is a capture point you have to secure anyway. There's a few enemies near the loading dock area, and if you're sneaky enough, Thor can get close and use his shotgun with Buns providing covering fire from the nearby copse of trees

Be careful when clearing out the factory, because machete wielding nutjobs can pop out and take down whoever is doing the sweep, and if it's Thor, if you didn't find any syringes, Buns can't revive him.

After clearing that, head back towards the town proper, heading through the trees to the south of the factory, and clear out the area around the bar. In this bar is Ira, a freebie merc who you can't hire yet, but she does give you a few missions so it's worth talking to her at some point. Advance down the main road and clear out the area around the church. There shouldn't be anyone inside the church, but there is a large Medkit, which if you decide to increase Thor's medical skill with his first few levels he can use. If not, it's worth a bit so you can hold onto it and sell it.

Moving to the east, there should be a few last enemies by the garage, so advance one of your mercs straight down the middle, preferably Buns, while Thor flanks around the graveyard. This should clear out the town of enemy presence, so head back to the church and talk to Father Walker, who tells you to talk to Ira. Don't bother with this just now, instead move back to the world map and head south to the Water Pump.
The Water Pump of Prizes And Roadblocking
The Water Pump is your next target, and if you enter from the north you can go to the small building there with a firing range. There is a set of tires, and in that set of tires is a collection of diamonds. Oswald's bag of diamonds to be precise, worth $45,000 Arulco-bucks. You can continue with the liberation of the Water Pump, or head back to Drassen Airport to sell some of the diamonds to Waldo.
Assuming that you decide to continue with the liberation of the Water Pump, you can head straight towards the Water Pump through the trees. Make sure to keep low, and you should be able to position at least Thor behind the sandbags in front of the ramp to the roof.
Buns should flank to the side near the wrecked cars to provide enfilading fire on the roof, and Thor can storm it with his shotgun as the enemy attempts to deal with Buns.

After taking the roof, you should be able to draw the enemy into attempting to retake it. Thor should keep his shotgun loaded and watch the ladder. It might be worth swapping Buns to her pistol to save the 5.56 ammunition for her Mini 14 until you get resupplied. Hopefully, you've managed to liberate the Water Pump by staying camped on the roof, but if not just send Thor into the station with his shotgun and he should make short work of the enemies inside. Afterwards, go down the stairs nearby into the generator room to find a valuable necklace you can sell to Waldo.

Head back to the Airport to sell your ill gotten gains. Split the diamonds into two separate stacks by holding left shift. Waldo should be able to purchase two of the diamonds plus the necklace. This should put you at around $31,000 Arulco-bucks, enabling you to hire another merc.
Personally I chose to hire Wolf, because he has a high enough mechanical skill to open the door to the building where you found the diamonds. Nails is another available choice, but I found Wolf and Thor worked better as a team. Wolf is a shotgun expert, and also has the Gunslinger trait. Why the developers thought putting both in a single character wasn't overpowered, I'm not quite sure, especially as he costs less than $20,000 to hire and unlike JA2, isn't on a contract. He comes with another M870, and you'll need to obtain a crowbar for him so he can open the door.

Head back to the Water Pump and open that door, so you can get to the weapons locker inside and thus obtain the M-14. This is why your ordered some 7.62mm ammo from Bobby Ray's, you did do that... right? Give it to Thor, he can make better use of it's hard hitting power, because his high stealth rating will allow him to get into better positions closer to the enemy. Be frugal with the 20 rounds you get, you won't be able to obtain anymore until your delivery arrives, or if you take Cambria sometimes the merchant there will have some in stock. Either way, after Wolf arrives and you gather up your prizes, take out the roadblock, stopping at Drassen on the way there to talk to Father Walker. He gives you a mission to take out some cannibals sitting on a gun cache. And mercs love guns.
The roadblock is fairly open and shut, avoid the mines and play tactically and you won't have any problems.
Mein Mine
The next port of call is the Mines on the road to Cambria. You can assault the mines from behind the roof, using Thor and Buns' silenced pistols. Take out the few people on the roof and crawl your troops to the parapet. If you set them onto guard mode and kneel, you should have a commanding field of fire over the mining complex.

It's advisable to place Wolf facing the stairs leading to the mine garage assuming you didn't buy him a rifle, because he can protect the rear from any enterprising foe with a machete or shotgun intent on ruining your day. After you've cleared the yard of enemies, Thor should flank around the side of the building and enter through the garage door to clear out the interior. You'll find a toolkit in the first room, give this to Wolf as his mechanical skill is high enough to use it and his high strength gives him a large weight allowance. He can use the toolkit to fix any weapons that head into the red in terms of condition, a very helpful ability for when your supply line is extended and teams need to operate independently.

If you've cleared the interior and all enemies were in there, speak to Oswald, if not, move your mercs on the roof along to the west, they should be able to get eyes on any remaining enemies. Wolf can deal with them by heading out towards the barn and flanking if need be. In the barn you'll find a set of extended ears, essentially headphones that make it more likely for your merc to hear the enemy moving. Give these to Wolf as he'll be acting as your point man most of the time.
Speak to Oswald, who tells you if you can take away the mines in Alma and Grumm, the Queen's income will be cut severely. He also gives you a nice diamond worth a fair bit. Hold onto it, because you can sell it once you get to Cambria.
Cambria, City Of Defensive Awesome
Next on the list of places to go is Cambria. Why? Because it has a merchant with lots of goodies and the money to buy the rest of the diamonds, and because it's a good central location to defend against counterattacks from the Queen.

Come in from the northern road, but make sure to skirt around the Hospital and University, they're quite hard to take and it's easier to take Cambria, hire a new merc and then double back. Also more time efficient.
Move first down the alleyway to the police station and prison, it might be an idea to send someone into the house on the right to clear it and establish a firing position in the window. Wolf can use his crowbar on the door to the police station, but you need to support him when he bursts in there because there is likely to be a few people inside. Thor at the window with his shotgun should do nicely.
Inside the police station is a weapons locker, and in the locker is an M4 Carbine. I'd advise giving it to Wolf, because you probably haven't purchased a rifle for him yet. Split the ammo between Buns and Wolf, he'll be using his shotgun more often then the carbine anyway.

Proceed out the other side of the police station and clear out the shop. You might be able to shoot down the street and clear it out at the same time, but if not simply proceed out the back of the shop to where the open area is. Send Wolf up to the archway, he'll probably make enough noise doing so to draw the enemy out into the open where Thor and Buns can make short work of them with full auto fire. Move through the buildings and clear them.
You don't have any C4, or the ability to use it, so you'll have to take the bar the hard way. Leave someone to watch the stairs, and send the other two mercs through the house to the right. If you previously cleared the street, head straight for the bar, and if you have a smoke grenade, use it to obscure the entrance and then rush the place. This should be most of the enemy, but if there are some still hiding in the buildings across the street, just sweep the buildings like you did previously in phase one.
That should be it for Cambria, so head to the merchant and sell all the valuables. This should give you a ton of cash, and I'd recommend you hire Sidney. He's a British merc who is very good with guns, having the Gunslinger trait like Wolf. This makes him an excellent machine gunner because he is able to advance with the rest of your mercs, but takes less of a penalty for using a machine gun while not prone. He's also a good semi medic, making him a good candidate for hanging out with your team sniper, ready to patch them up if need be. Again the Gunslinger trait helps with this, because if someone gets close, he can use his Enfield carbine to keep them at bay. He's also got a super high stealth rating, up there with Thor, and his high perception is almost on par with most snipers meaning he'll be opening fire at longer ranges - very useful in a machine gunner. Though he costs a little more than Thor, coming in at $21,388 total, he's well worth the investment.
You can buy more equipment if you need it, and replace armour if it's getting too damaged. I'd advise getting at least one set of smoke grenades if you don't already have some, they'll be useful in the next area. Buying new guns isn't a necessity, because the next place you're going to has a ton of them.

Down On The Farm It's Cannibal Pie Day
If you went and spoke to Father Walker before leaving Drassen, you'll have the "Cannibal Corpses" quest active. It's not required, but hey you're a mercenary, and rewards are good, right?

Head directly west from Cambria, ahead of you you'll see a farm. This place actually has two quests centred on it; In The Sky With Diamonds, which is Skyrider's quest to recover his jewels, and the aforementioned Cannibal Corpses. The downed chopper is off to the left of your starting position in the copse of trees, deal with it later because for the present the Hick's are going to be bumrushing you like zerglings.
Set up on the hill, and send Wolf down into the fields with his shotgun. He should make enough noise that the enemy comes to investigate. You'll probably have to manually direct fire for Buns and Thor at this point, mainly because of the range, but their fire should be effective enough to allow Wolf to finish off the enemy with his shotgun. Send him in to clear the barn, and watch out for stragglers popping up behind him. Those cannibal farmers carry shotguns like Wolf does, and even he balks at a few rounds of buckshot to the face.
After you've cleared out the barn, move everyone up. Leave Buns to watch the ladder to the underground arms cache and send Wolf with Thor into the farm building. Hopefully you have some smoke grenades as they make this next part much easier. Equip Thor with his shotgun, he's going to need it. Throw a smoke grenade into the door and advance through it. The helpful thing about smoke is that it blocks line of sight, giving you time to get through the chokepoint that is the doorway. If you're lucky, there will be a maximum of two enemies in here, if not, you might have to strategically retreat after shooting a few times. Rinse and repeat as needed, and that should be the Hick Farm liberated.

The gun cache has a few AK's, some other assorted assault rifles and SMGs, and a brand new NF shotgun for Wolf. It actually holds one less round than the M870, but hits harder and shoots faster. Take whatever you want and head back towards Cambria, there's a counterattack coming and you need to be there to defend against it.
Next Moves Tips
So that's pretty much it, you've got a good solid start and if you're lucky it's only Day 3 or so, maybe 4. When your new merc arrives, have them stop in at Drassen, you can now hire Ira as a transport merc, and bring her to Cambria to collect Skyrider's diamonds and take them back to him. While in Drassen you can also complete the Cannibal Corpses quest for a little extra cash.

Hopefully if you express ordered your Bobby Ray's shipment it should arrive before your new merc does, so use them like a mule, though if you've taken Cambria ammunition is less of a problem now.

When your merc links up with the rest of the team, I recommend going for the Hospital and University next, they increase how much loyalty Cambria has to you, which increases the income you receive, well worth it in my opinion. Looping north, attack the hideouts on both sides of the bay, and then head into San Mona. Once you take San Mona, heading to the mansion nearby it will see you meeting the Kingpin, who gives you $50,000 for liberating his fair city. I'd recommend you use this to invest in Scope, an excellent sniper who comes with a good rifle for the early game. She also works well with Sidney, and him with her, which should bump them both to very good morale, vital for succeeding in actions most of the time.

You also get another freebie merc in the form of Iggy, who in my opinion is the best freebie merc of the game. He has both the SMG and assault rifle expertise traits, making him a good fighter in both mid and short range and he's actually a fairly good shot. Of course this means in your team he and Wolf will be stuck on "good" morale, but they excel with short range weapons so the morale hit isn't as important.

It's a good idea to then head south to the rebel hideout and find Miguel, because doing so allows you to hire Dimitri, assuming you liberated the two coastal hideouts. He's a capable, if not fantastic freebie merc, and good for starting the backup team to defend Cambria. Stick him there with a good sniper like Raven and they'll hold it to the end of time. Though you'll need to get them a medic, MD is a good choice, or Spider though she'll suffer from having a man on the team due to being an "Amazon".
General Tips
Always keep a merc with a pistol as a sidearm; there will be occasions where your main weapon will be close to or out of ammunition without enough time to reload. Pistols are good in this case because they have a fast rate of fire and every shot put into the enemy gives your other mercs a little more time to help. The best pistol in my opinion is the Five-seveN because of the fast rate of fire, magazine size, and the ammo it carries. 5.7mm has an armour piercing rating of 200%, very good against any enemy. Pistols are still super effective, even in the late game.

Using snipers effectively can be difficult, because often there is a lack of high ground for them to get on. However when there is high ground it's important to utilise their talents properly. Lesson one, don't have the sniper open fire until everyone else is in position to take advantage of their covering fire. This ties into perception, the perception cone for snipers is generally huge, which means you shouldn't have them on guard mode while people are getting into their positions, because they will spot someone and take a shot.

Secondly, their marksmanship is usually in the high 80's to 90's, and their dexterity usually is similar. This means you can utilise the sniper rifle from a crouching position and not have a significant loss in accuracy. Prone is still ideal, but sometimes, like in the apartment complex in Grumm, you won't be able to use the prone position because of line of sight. Don't handicap yourself by refusing to use crouching.

Finally, carbines are brilliant weapons for snipers to carry as a backup. They will often be in positions alone, and the high rate of fire of a carbine can be invaluable. A sniper using burst mode doesn't have an appreciable loss of accuracy, and burst mode can tear through enemies quite quickly. And of course it gives you time to get someone back to them, hopefully in time to just slap a bandage on them instead of a medkit.

In San Mona, there is a woman in the main strip club named Brenda. Do her quest. Just.... do her quest, the prize you get is well worth it, and don't sell it, hold onto it. In Balime, you will need this thing. Best sidequest present ever.
Closing And Obligitory Plug
So there you are, my opening moves guide for Jagged Alliance: Back in Action. I've also done a Let's Play series of it, so if you want to see this guide in action, check that out. Hopefully this guide will prove informative and helpful in the liberation of Arulco. Give the Queen my best!

Let's Play JA:BiA Playlist
12 件のコメント
SouthboundSoul 2022年7月23日 9時29分 
Don't sell the diamonds at the water pump station... It will fuck you over later.
SouthboundSoul 2022年7月11日 21時44分 
Great guide, except I'd recommend against starting with Buns and Thor. Nothing really against Thor, but Buns is disliked by alot of other mercenaries and will cause problems for you later on.
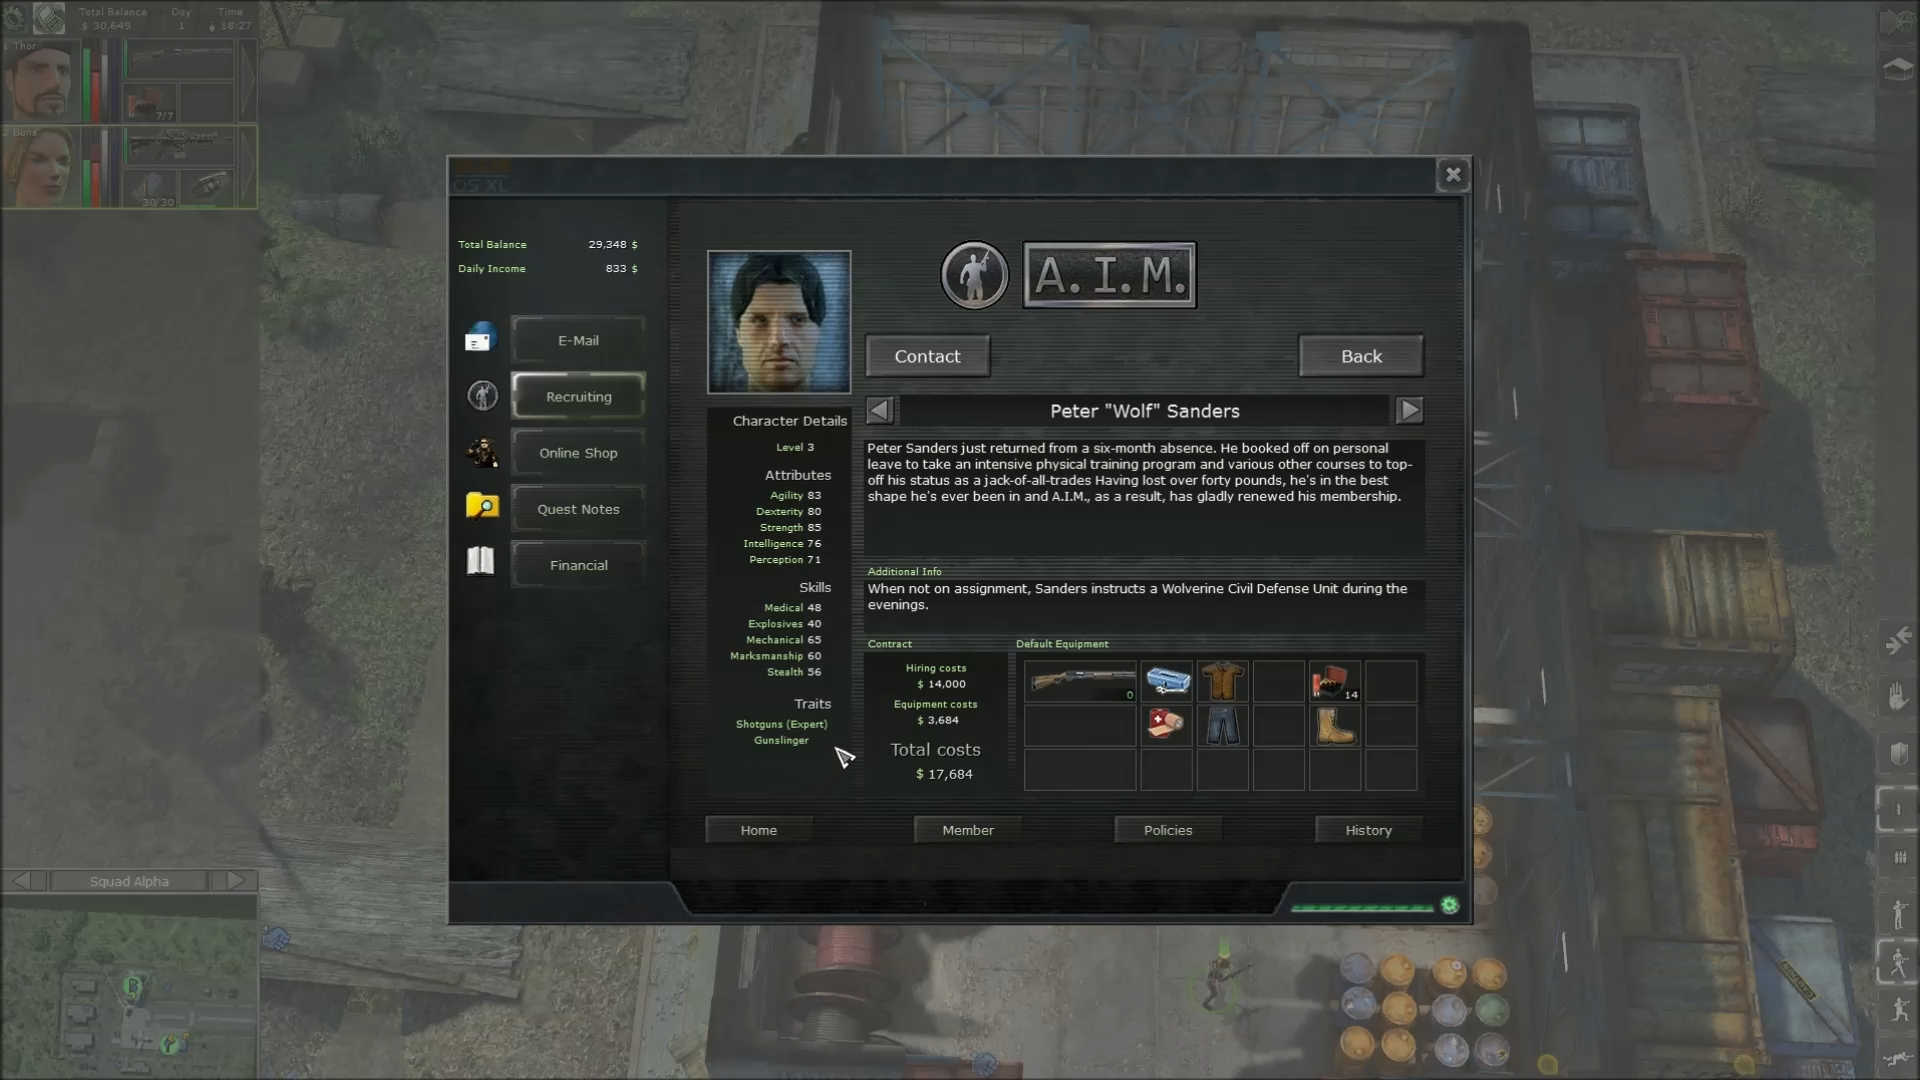
Best starting team is Fox and Wolf, then Grunty for your third merc. Malice is a good choice for number four, because he is a melee expert and also likes Fox, thus increasing Morale.
Sigismund 2015年12月15日 9時14分 
I left this game in frustration when i had advanced a lot and made a lot of wrong build ups, due to the holiday i started it again, and i searched for a guide,
DAMN this is a GOOD guide.
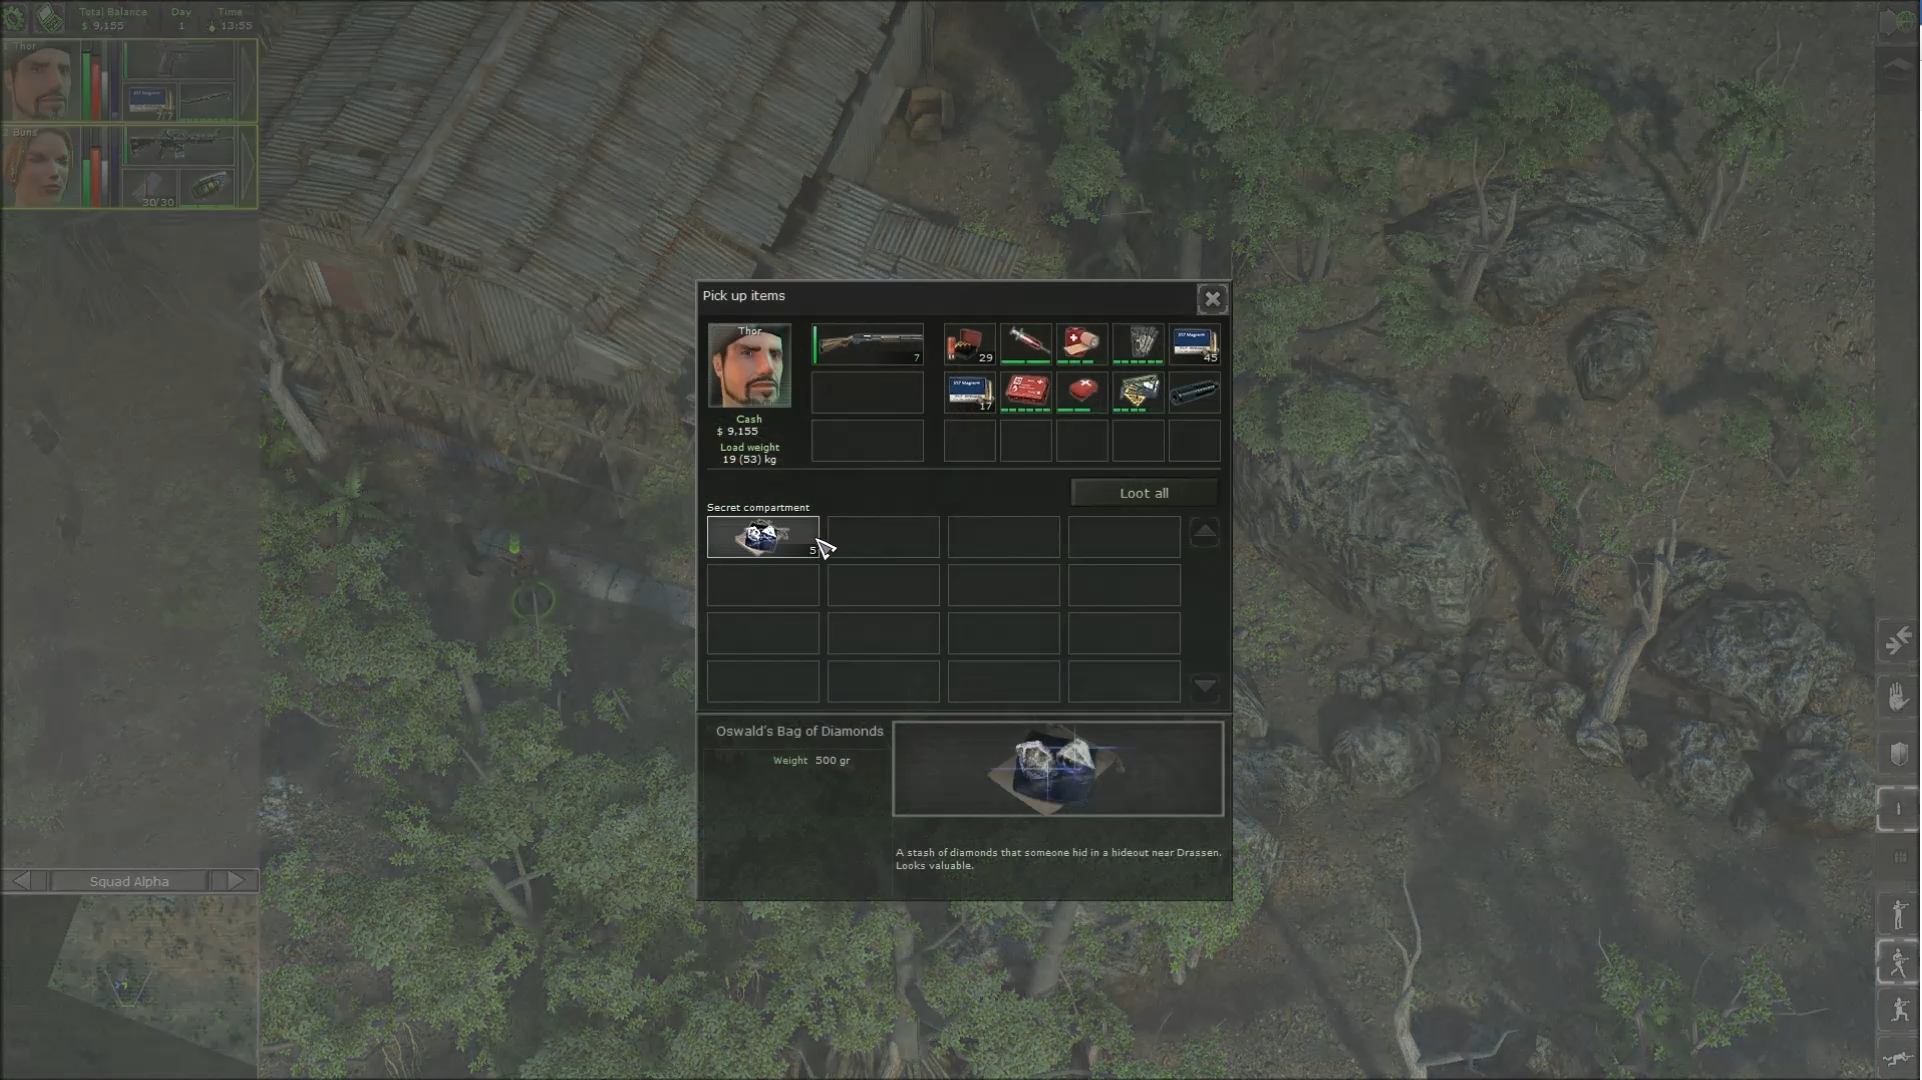
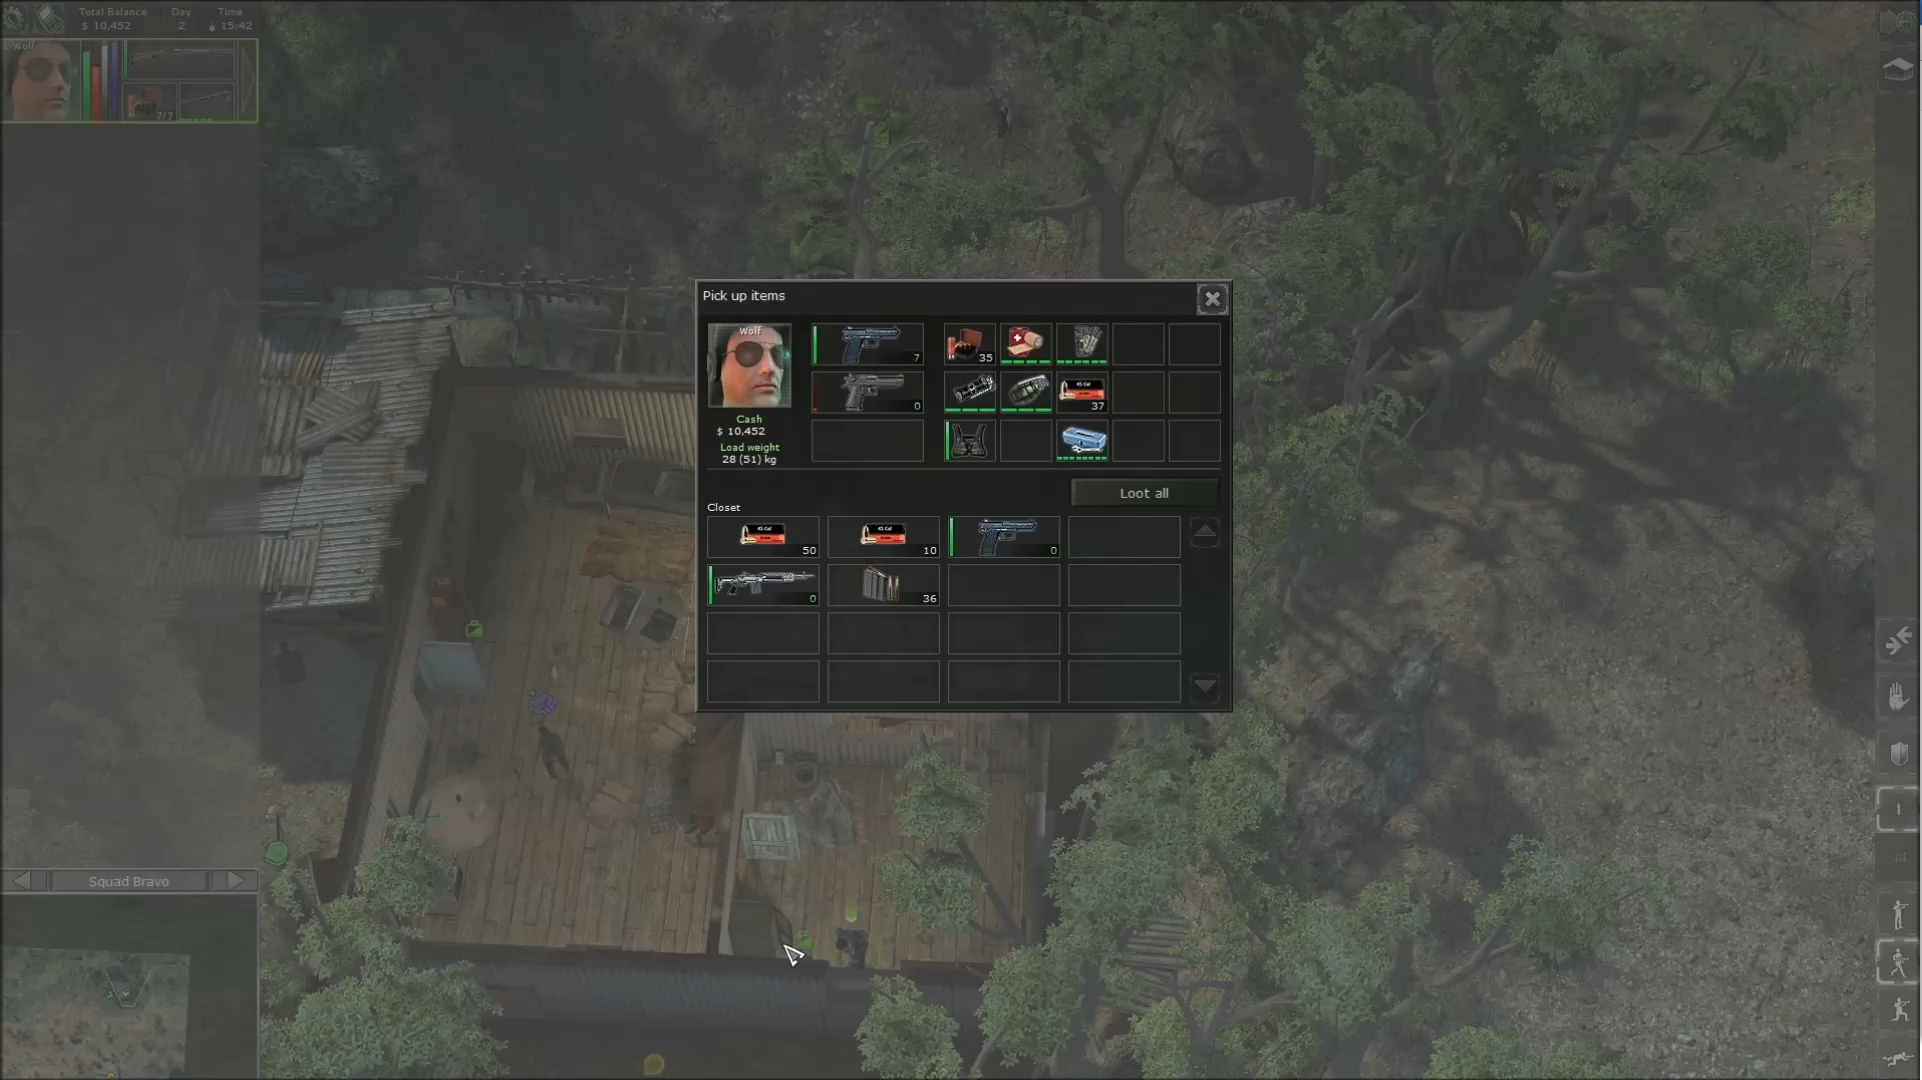
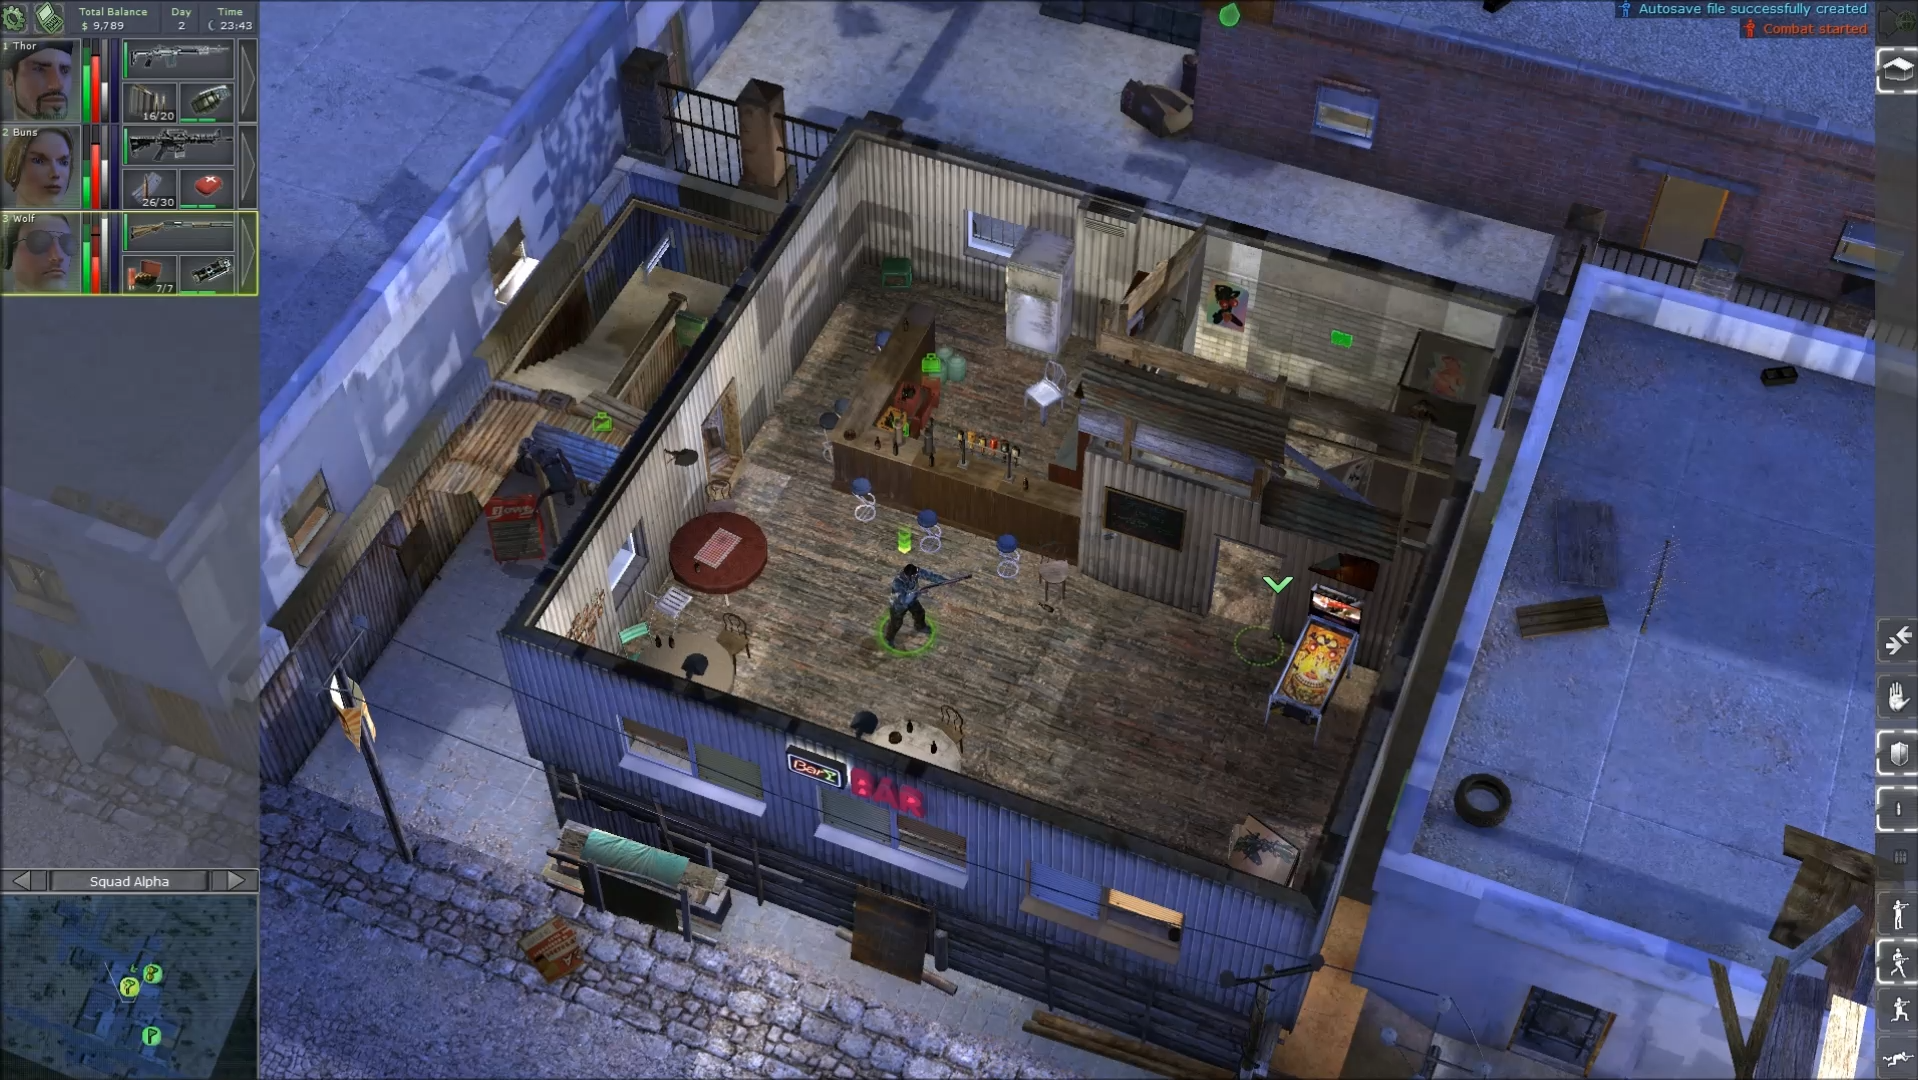
Day 3 and i have liberated all you mentioned above i have more that 40K+ in the bank, a good daily 6K and rising, indeed Thor and Buns made my life easier because they could heal each other and i have also Wolf in my squad & Ira as a (mule)....
75338 2014年4月22日 13時45分 
Nice work.
Joseph@PowellNZ.COM 2014年1月1日 4時28分 
Thanks for a brillant piece of work! Played back in Wildfire days & had missed this game or similar badly. Must admit to be sorry not to have an avatar / character in the action like the old times:Perseverance:
Baruti Madu 2013年8月25日 22時04分 
Nice, Here is a pro tip. When you have somone like Spider who has Amazon trait, or Meltdown with Loner, you can always travle the Amazon with, tho not attatched to another unit. I saw where you said puting Raven with somone else is great and they will hold a spot till the end of time, adding Spider is good, but suffers a moral hit. It does complicate your orders sometimes, but sometimes that good to very good is the difference between a killing shot, your your merc getting killed. I also like using (its been a bit let me think) Bull, Buns, and like two others, in short, Bull for the melee/tank (run in, hit and stack armor on to draw the fire) then somone with medical to patch up, and two good marksmen. This works untill you liberate up to the north eas quadrent. I also like taking Raven as my first choice, then adding Spider, or getting Ira up in her medical knowlage. Thanks for the tips! I may just replay this a bit while waiting for some things to download :)
Fedaygin 2013年7月27日 2時53分 
Very nice guide with lots of depth and can see u really put out some effort for this :) Yeah same always prefer good old fog of war style and didn't see the silencer at tower and good to know there is one =) Wish a nice weekend for all JA series fans.
Dethjonny 2013年1月9日 16時03分 
Good tip on the third merc, thanks!
GreyHunter  [作成者] 2013年1月9日 0時25分 
Nice, nice. I still find the concept of a silenced Desert Eagle hilarious. Gets even funnier when you manage to get the Big Bertha pistol. Fires a 7.62mm rifle round, but can still be silenced. I found the silencer in the opening level purely by chance, I played the game the first time through with Tactical Mode on, and I figured "maybe if I get up high, I can see where folks are at..... oooh lookie a present case. Ooooooooh, silent death <3"
Barry is a beast later on, a brilliant explosives fella and an excellent marksman if you level him right. Wolf can double as the explosives dude though, and you'll rarely actually use C4 so a better choice is a pro sniper for third merc or another assaulter
Dethjonny 2013年1月8日 22時37分 
I started with Thor and Wolf. The silenced pistol was great for stealth kills and if it got too crazy I could fall back behind the safety of the shotgun, haha. I didn't know about that silencer in the opening level in the tower, that's a nice find so early! My third merc was Barry for his explosives, but I don't think I need him so much. I may load an earlier save and go with someone else.