Divinity: Original Sin 2

Divinity: Original Sin 2

193 ratings
The Fort Joy Escapee's Guide Part two: Fort Joy & How the hell do I leave?!
By Fjarunsigr
This is part two of the two part set, focusing on - as the title implies - the starting area of act one, Fort Joy. - It attempts to avoid spoiling any of the content of the game wherever possible and as much as possible, so consider using the various tips and game mechanic related sections even if you aren't interested the main walkthrough sections.

This guide is more of a complete, if somewhat vague walkthrough of the entirety of Fort Joy, and as such, is much bigger than part one so odds are some minor errors have snuck in, if you spot any feel free to leave a comment about them and I'll try to correct them. You won't be able to read through it anywhere near as quickly, but if you want help getting through Fort Joy, this is a pretty comprehensive resource. - If you only want the tips and tricks sections and the like, don't bother scrolling, just use the sidebar for it, scrolling through the entire doc looking for them will take quite some time otherwise.

Recent changes: Corrections, updates etc.
2
5
   
Award
Favorite
Favorited
Unfavorite
Fort Joy walkthrough part one: The Beach & the Shipwreck.
The Beach and the shipwreck

You'll soon wake up on a surprisingly pleasant looking beach, and your character will give a bit of context on what exactly just happened. Before continuing along the beach, If you head east there will be a small human child who you can chat with for a bit more context on the island. With that conversation out of the way however, the only remaining option is south, along the beach.

And perhaps unsurprisingly, a short walk that way will reveal nearby enemies, you can attempt to sneak past these by pressing C and avoiding their line of sight's, as sneak mode reveals them - but I would not recommend it, they're not particularly difficult to kill, and avoiding potential EXP in a game where levels make a huge difference is never going to be the best idea. Make sure to check their bodies and the body of the Magister that they were gnawing on, he usually has some decent items on him.

From here continue further south down the beach, there are plenty of low value items here that you'll either be able to sell off or use in crafting, so be sure to grab some of them at least on the way.
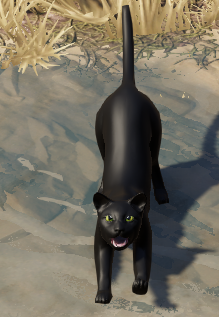
You'll reach a fork in the path pretty fast, the west path has someone you may remember along it, however for the moment take the east path. Take the east path far enough and you'll run into this charming little feline, those of you with Pet Pal can talk to him but he's a bit too confused to really help you with anything, he will start to follow you however. For further details on the cat, please visit the Black Cat part of the Tips & tricks section. - If you intend to keep him, you will want to do so.

You may now return to the western path we previously avoided. You'll find a friend of yours from the ship, namely The Red Prince. Have a chat, recruit him if you want. Even if you're not a big fan it may be an idea to recruit him and just keep him around to help out til you find someone you prefer to replace him with. Encourage him towards whichever style of fighting you think you'd benefit from, and then its time to move on.

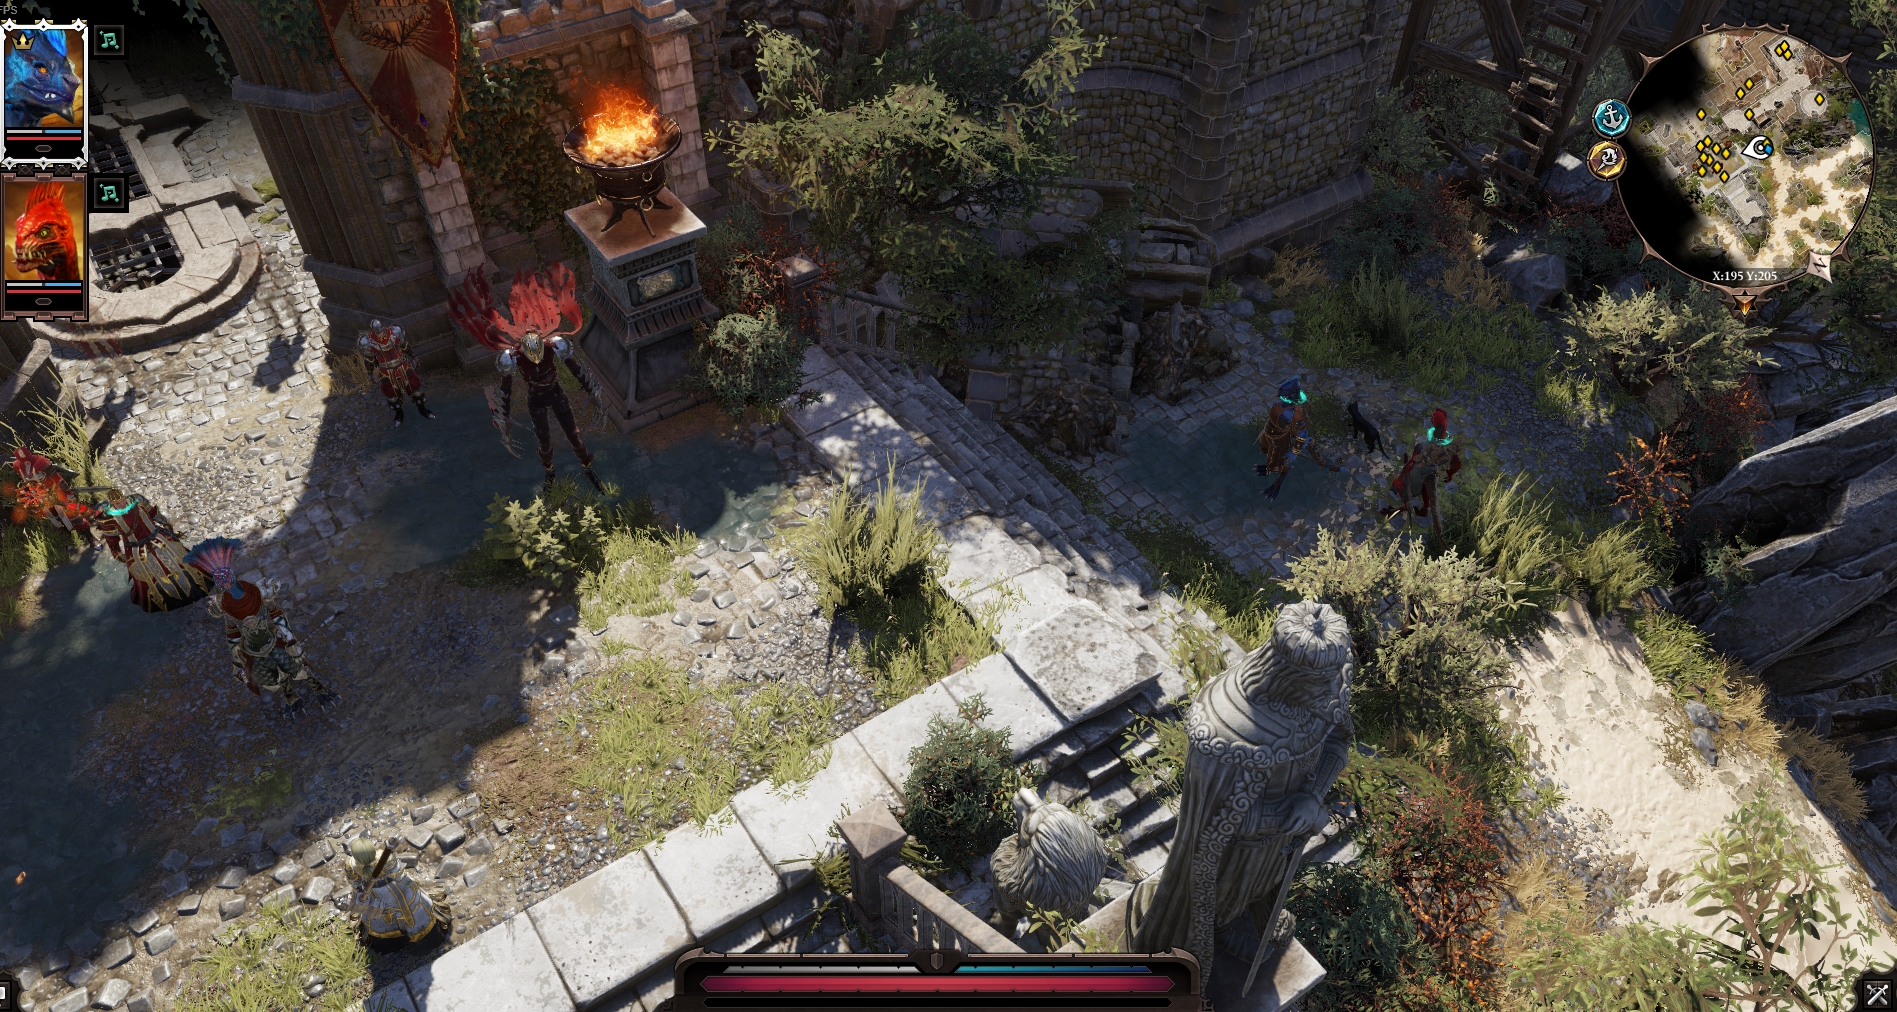
Continue southwards from where you encountered and presumably recruited The Red Prince and you'll find another survivor from the wreck, though not one you'll be recruiting. Remember as well that holding down Left Alt will reveal nearby items, given you just survived a ship wreck you may want to be looking around for things to sell to help get yourself established. Follow the path south further and you'll reach a scene like the one below. For those of you intending to get the Hammered! achievement, please jump down to the relevant Tips & Tricks section.


Approach the group and watch the scene play out, as far as I know there is no way to affect how things play out here so don't consider trying anything. With that little scene out of the way you should have been given a conversation prompt with any party members you have, that being the yellow ! mark above your companions heads, and 250 EXP. So while those events were unfortunate you should have at least gotten to Level Two from them.

Allocate the points as you wish, if you're not certain an early point into Memory or Wits can mean an extra memory slot for abilities, or added chance to detect traps, strike a critical and bonus intiative respectively.

Search the now dead lizard in front of you and take what you can, no matter what an item called Atusa's Leg should be present and it can be useful later, at the very least in helping you escape easier.

From here, follow along the outside walls of Fort Joy and curve back to head North-wards when you encounter rock and plantlife blocking you from the walls, there are a few hidden items back from where you came that the extra point in wits means you now spot and can dig up easily (Assuming you have either a Lizard or a shovel*1 in your party), as well as some other things you should wrap up before entering Fort Joy Proper.
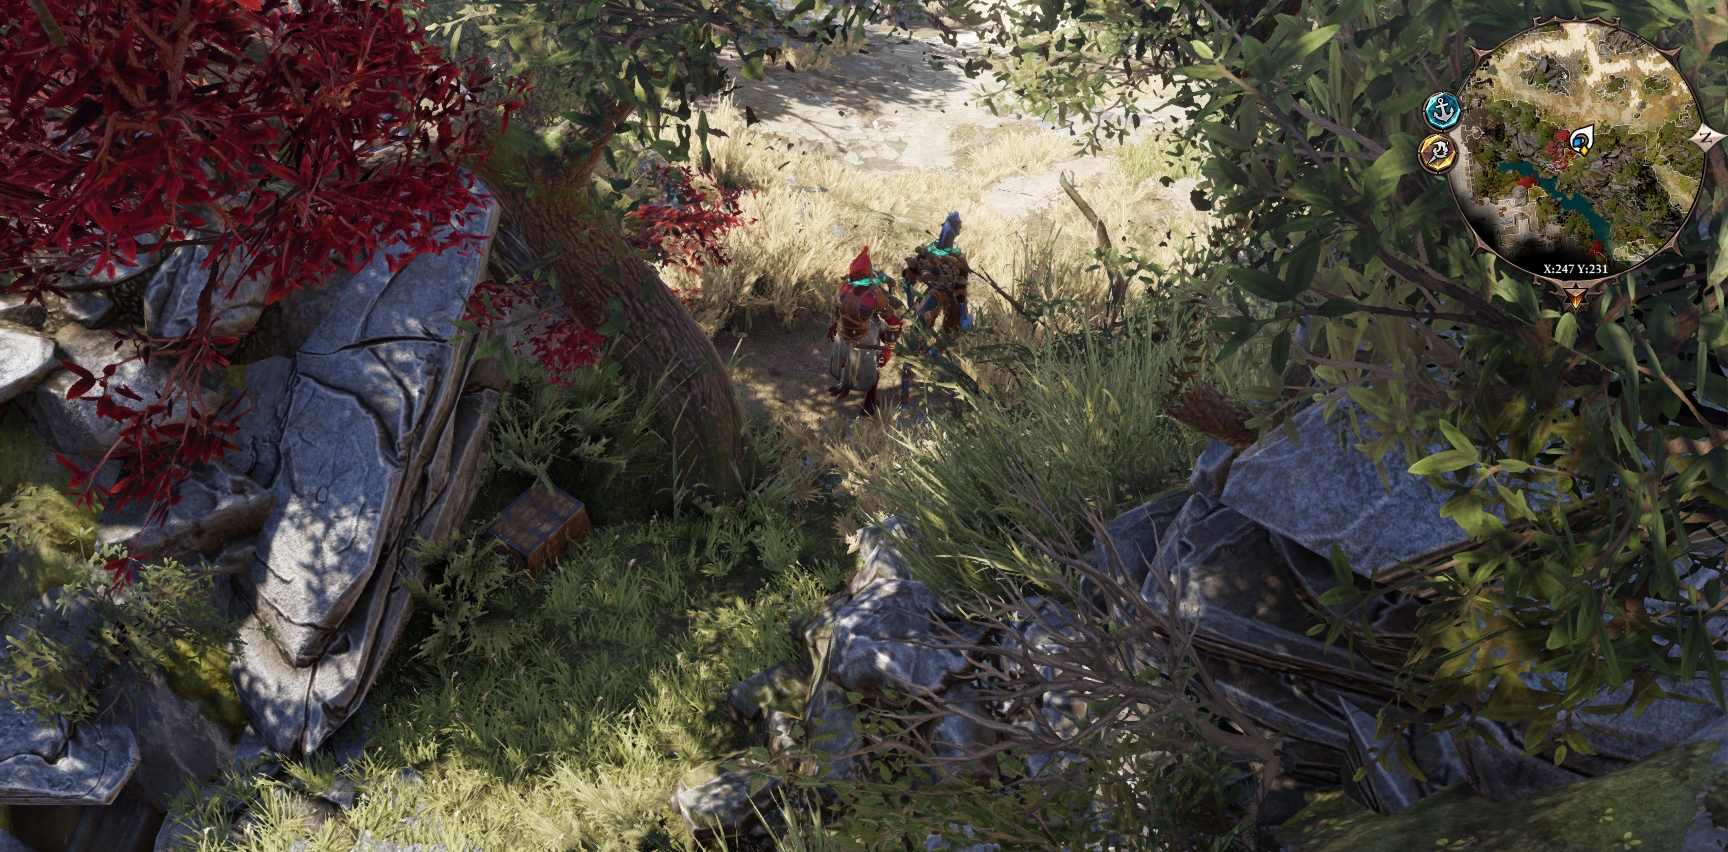
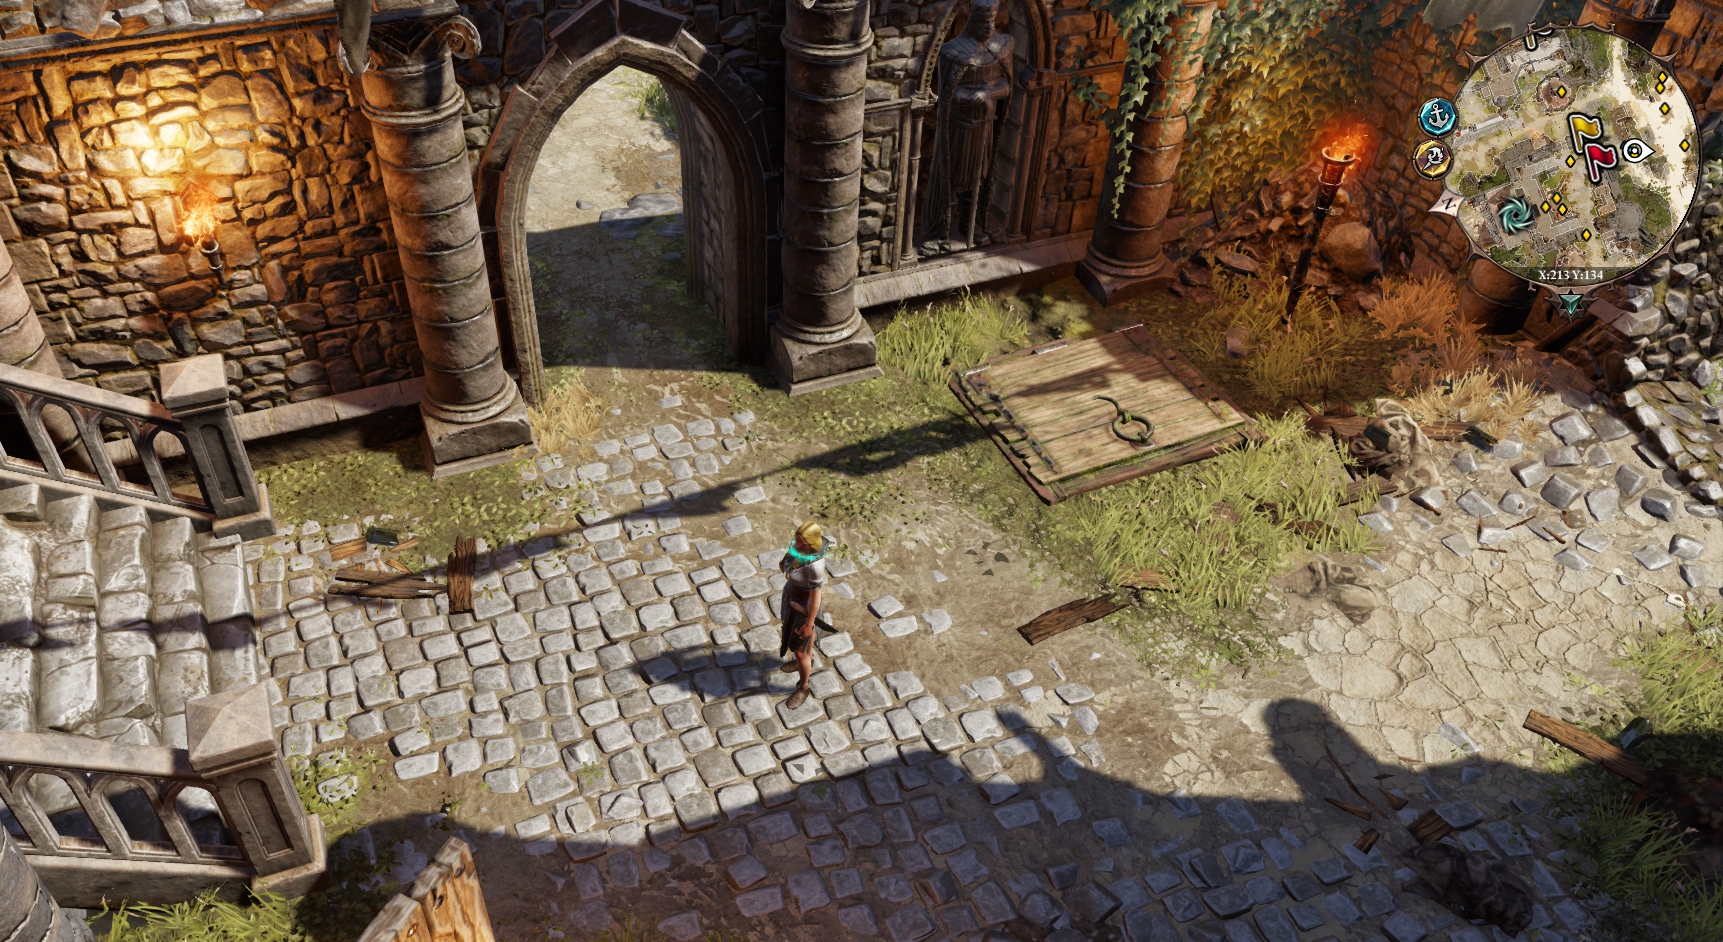
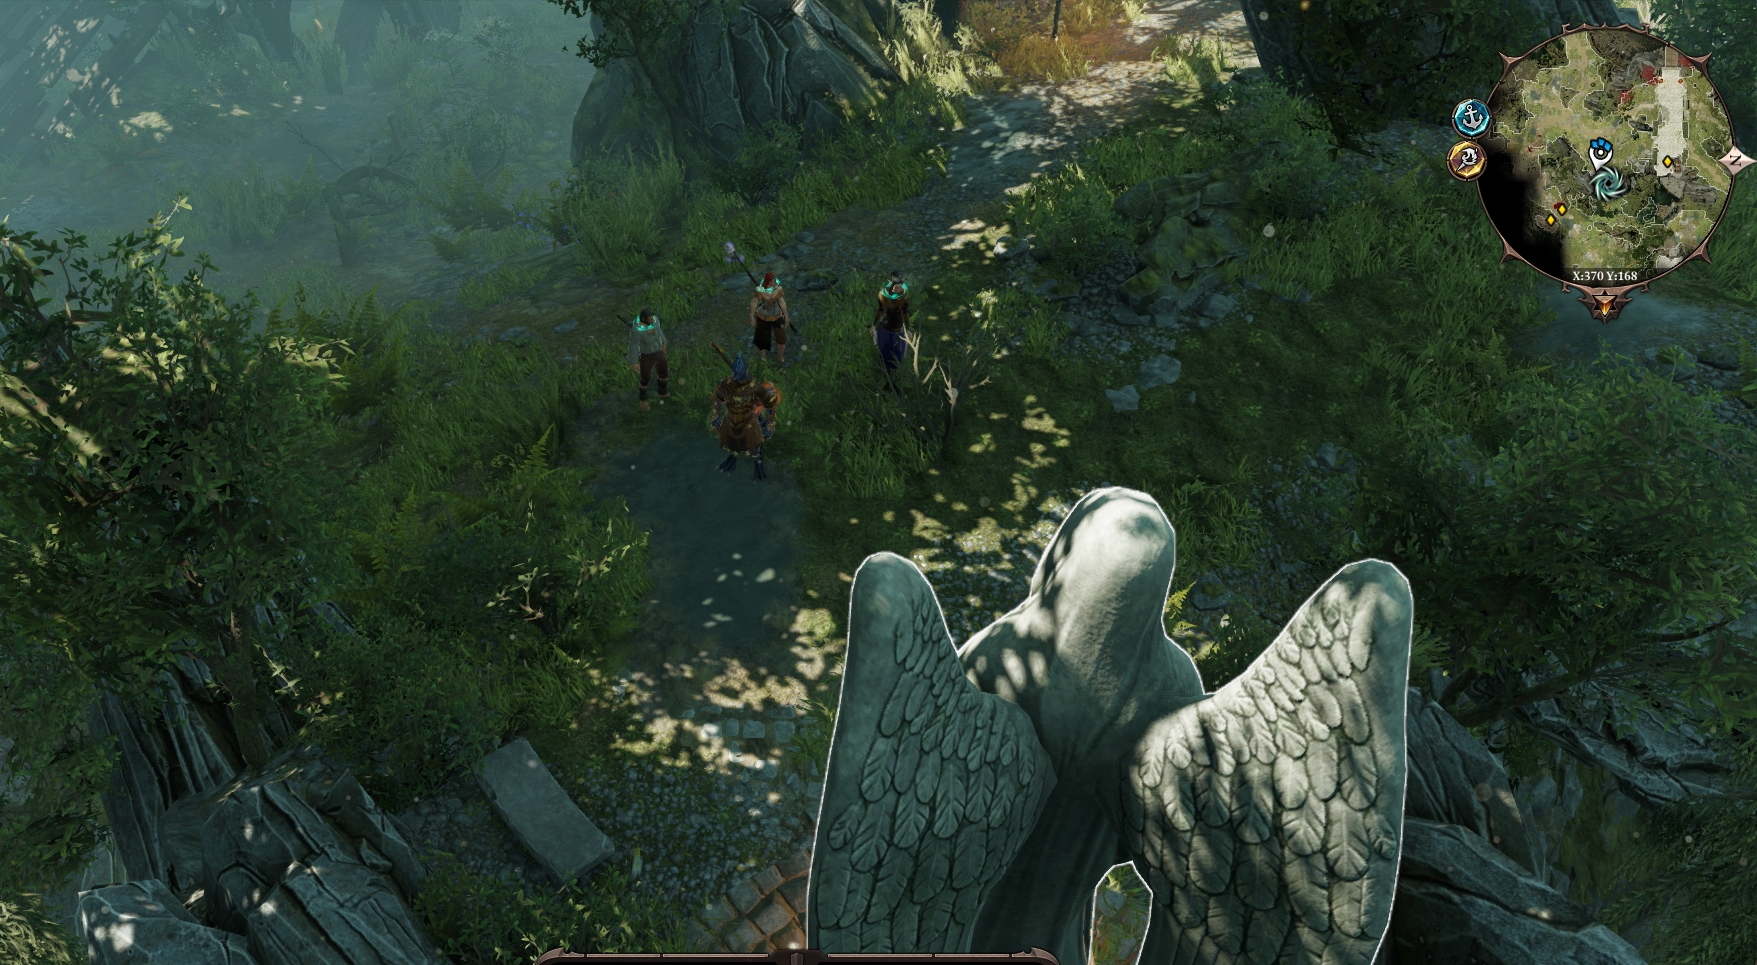
Looking closely from this view will quite easily review a wooden chest hidden below this large slab of rock thats just been left there for your taking. If you have issues finding this exact point use the large red leaved tree as a point of reference, its the only one like it nearby, alternatively, use the coordinates on the minimap in the image.
*1 See the Tips & Tricks: Useful items section to find out where to get a Shovel.


Nearby that one there's a dig spot next to The Red Prince in the relevant image, hiding a Dusty Pouch with a few items in it. The Darling Bow is a very good first upgrade for those of you who wanted a bow, for example. From there, right click on the Dusty pouch itself and choose Pick up. A small container that you can carry like this comes in useful over the course of the game, and I'll suggest some uses in the Tips & Tricks 2 section below.

Continue along the same direction as we were just heading,(north), and you'll stumble across this. With a bit of testing it seems you need 11 Wits to reveal this dig mound, though if you have a shovel you can just right click on it in your inventory and choose dig anyway while stood here, it'll achieve the same thing. Either way, the occupant won't be too pleased with you, and will try to slap you for interrupting his sleep. Make sure to avoid using poison based attacks on him as he will heal from the damage. Fire works well here should you have any issues in this fight, though you shouldn't really unless you're using poison against him anyway.

With that out of the way, head back to where you found the Dusty Pouch, as some of you probably noticed, the nearby plantlife is concealing an entrance to a different area, as you can also tell from the minimap. Pass under them as shown here, and advance forwards, you'll quickly stumble over someone in dull grey robes, and as you will quickly find out that someone is Fane, from the ship. Have a quick chat with him, re-introduce yourself and recruit him to your party for the moment whether or not you like him, as you'll need him shortly from now. Set him up as whatever class you prefer similar to The Red Prince earlier, again don't be too afraid to experiment, you can always respec him for free later. Make sure to grab the nearby Ooze barrel for later use. Typically I pass this off to a member of my team to carry so I don't have to worry about the added 60 weight in my inventory. The various potential uses for this barrel will also be listed below, in the Tips & Tricks 2 Section under the header Ooze barrel.

Expose the nearby poison surface to some kind of flame to ignite it, then wait for it to burn out, or just walk over it and take minor damage you can heal off using your Bedroll. If you do decide to take the Pyromaniac method, be careful not to ignite yourself, your companions, or your cat for that matter while doing so.

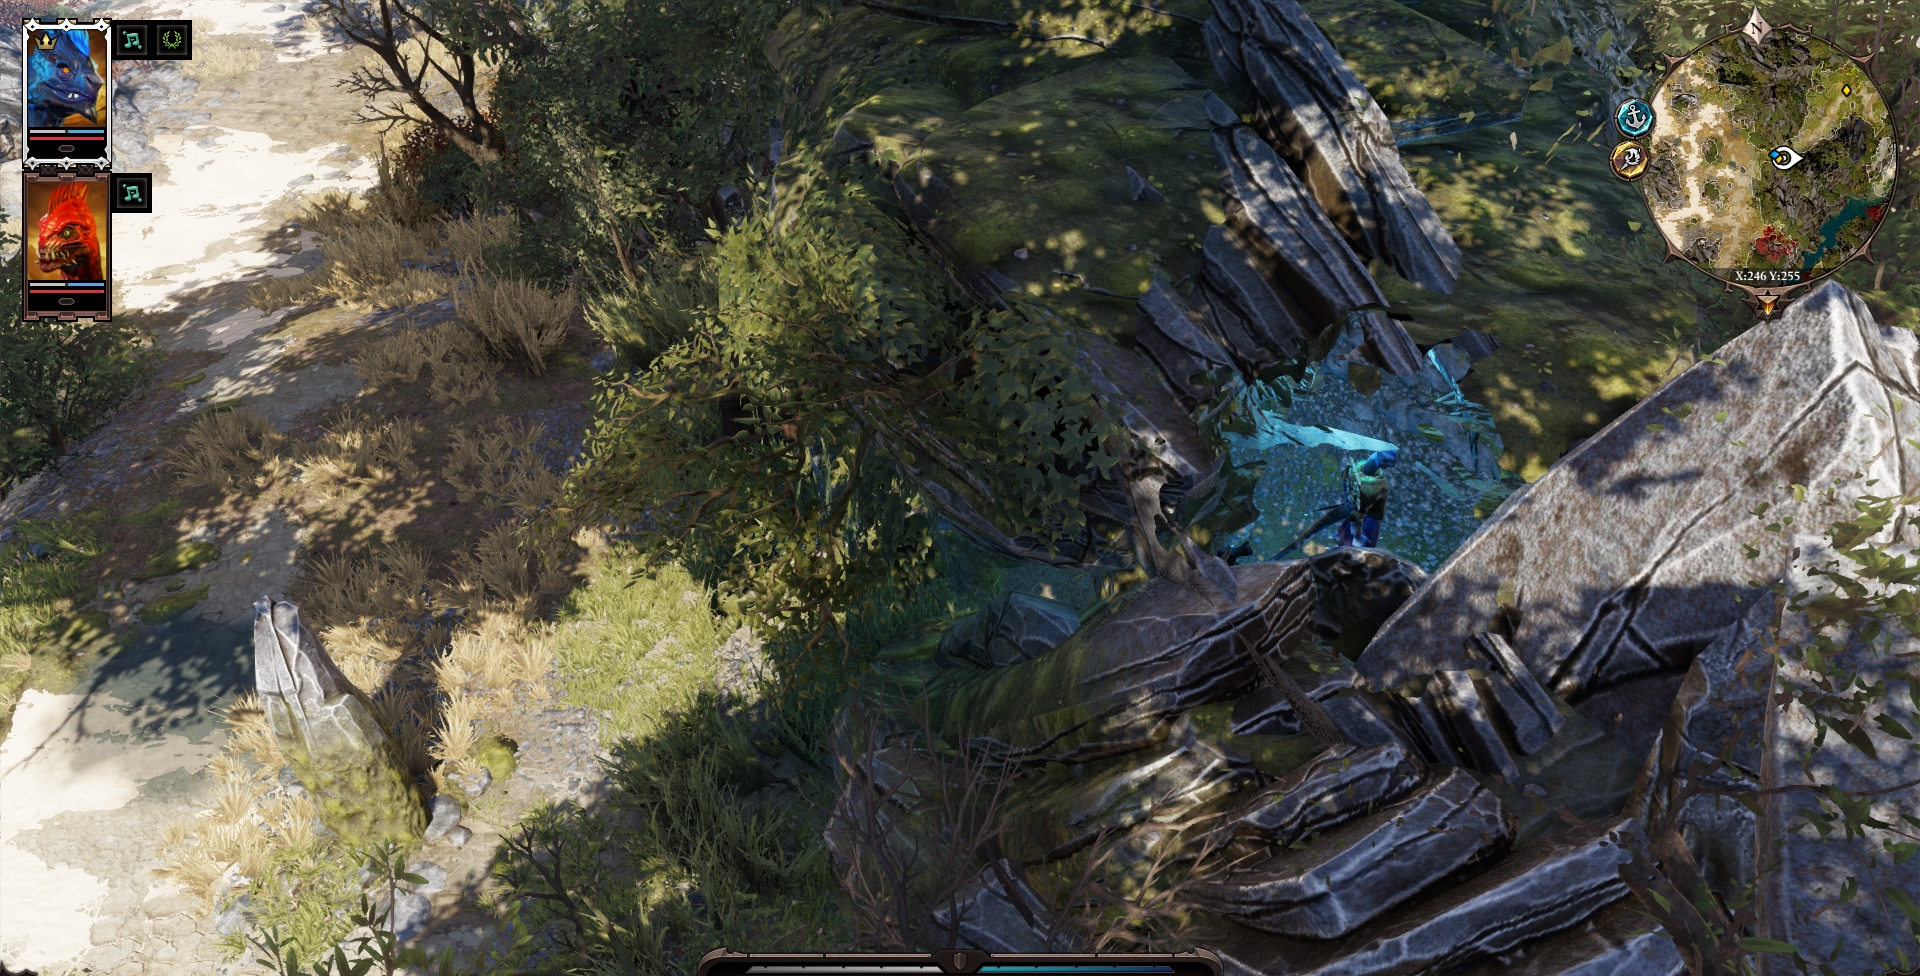
Behind what *was* a poison surface is a small ladder-like plant, which yes, means you can climb on it to get up onto the above ledge. If you just outright gave a move command up there then you'll have already used this exact "ladder". Its highlighted in the nearby image so you know what to look out for in areas that may contain these in the future.
The Return of: Tips & Tricks
A Quick note

For those of you that used part one, you may level up sooner than I do when I mention level ups in this one, this is because I avoided killing anything unnecessary on my test chracter to make sure I don't overestimate when you should have leveled up. - Meaning I have the minimum possible experience prior to starting Fort Joy, so you should have the same or more experience at any point if you follow the instructions completely.

The Minimap, and the associated tools

So pretty early on in this guide I start giving directions, which is useful to make sure you know which way to go. - Unless of course you don't know which way is north to actually be able to use them. So to make sure you've aware of this, your minimap has an arrow pointing north somewhere on it all the time. - Plenty note that as you spin your view around with the camera the north arrow will move around the sides and potentially be hidden under the ping buttons.

With the north arrow now covered, we can move on to the other buttons next to the minimap.
The first of these is the Anchor button, now, this one is particularly useful - Pressing this button allows you to choose any of the fast travel points you have discovered and teleport there, right away. No questions asked.

The second is the ping button, which as you may guess, is far more useful in multi-player than single-player. As far as I'm aware, its the typical kind of ping button where its simply used to draw the attention of other players to a specific point.

Now that we reach the bottom of the minimap, we can get onto the Coordinates. These are not based on where the character you are currently controlling is, but where your camera is currently centred on. You can use these to communicate the locations of things to other players outside of the game, or even in it with friends.

Finally, below the coordinates we reach the Tension indicator, which is the yellow-orange gemstone looking feature at the bottom of the minimap. Now frankly, you can ignore this completely. I know, that sounds like a bad idea - But I actually forgot this was here about 2 hours into my Playthrough and it did not matter at all. What I believe it is meant to do is reveal how "on alert" nearby NPC's are. Hovering over it will provide text that on medium tension levels will tell you to not do anything out of the ordinary for example.

If you want to pay attention to it and attempt to make use of it then that is also fine, but I do not believe it is a necessary element of a playthrough as evidenced by me not using it all and still clearing the game.

The Black Cat
So seeing as your here you've either read through the rest of the guide to this point, skipped to here for more details on the cat, or are just scrolling around randomly. Whichever of those it is, I'm going to be telling you about the cat now. - You see, the reason we avoided going towards The Red Prince previously is because you can recruit him to your party, but if you do, the cat may choose to follow him instead of you. Ultimately this still means its following you because The Red prince would be following you if you choose him as a companion, HOWEVER.

When you manage to escape Fort Joy, if the cat is still alive and with you, you gain a summon ability for the Black Cat. The black cat summoned can leap, move and swap places with the person who summoned it intially. This means it can effectively be used to reposition a character around the battlefield without using much of their AP, all in all, pretty useful.

The reason who the cat follows is important, is because the Summon Black Cat ability goes to whoever it was following the entire time, it does not give you a skillbook or allow you to choose who gets the ability. Therefore, whoever you want to be able to use the Black cat summon should be the one you let it follow. So if you want it for your character, be the only person there when it first walks up to you, and it can only follow you.

Similarly, if you want it for one of your companions in particular, go get them, save before-hand just in case it chooses the wrong person, and walk to where the cat spawns. As far as I'm aware the cat can choose from any active party members, so make your party the smallest it can be to lower the chance of it choosing someone you do not want it to follow.
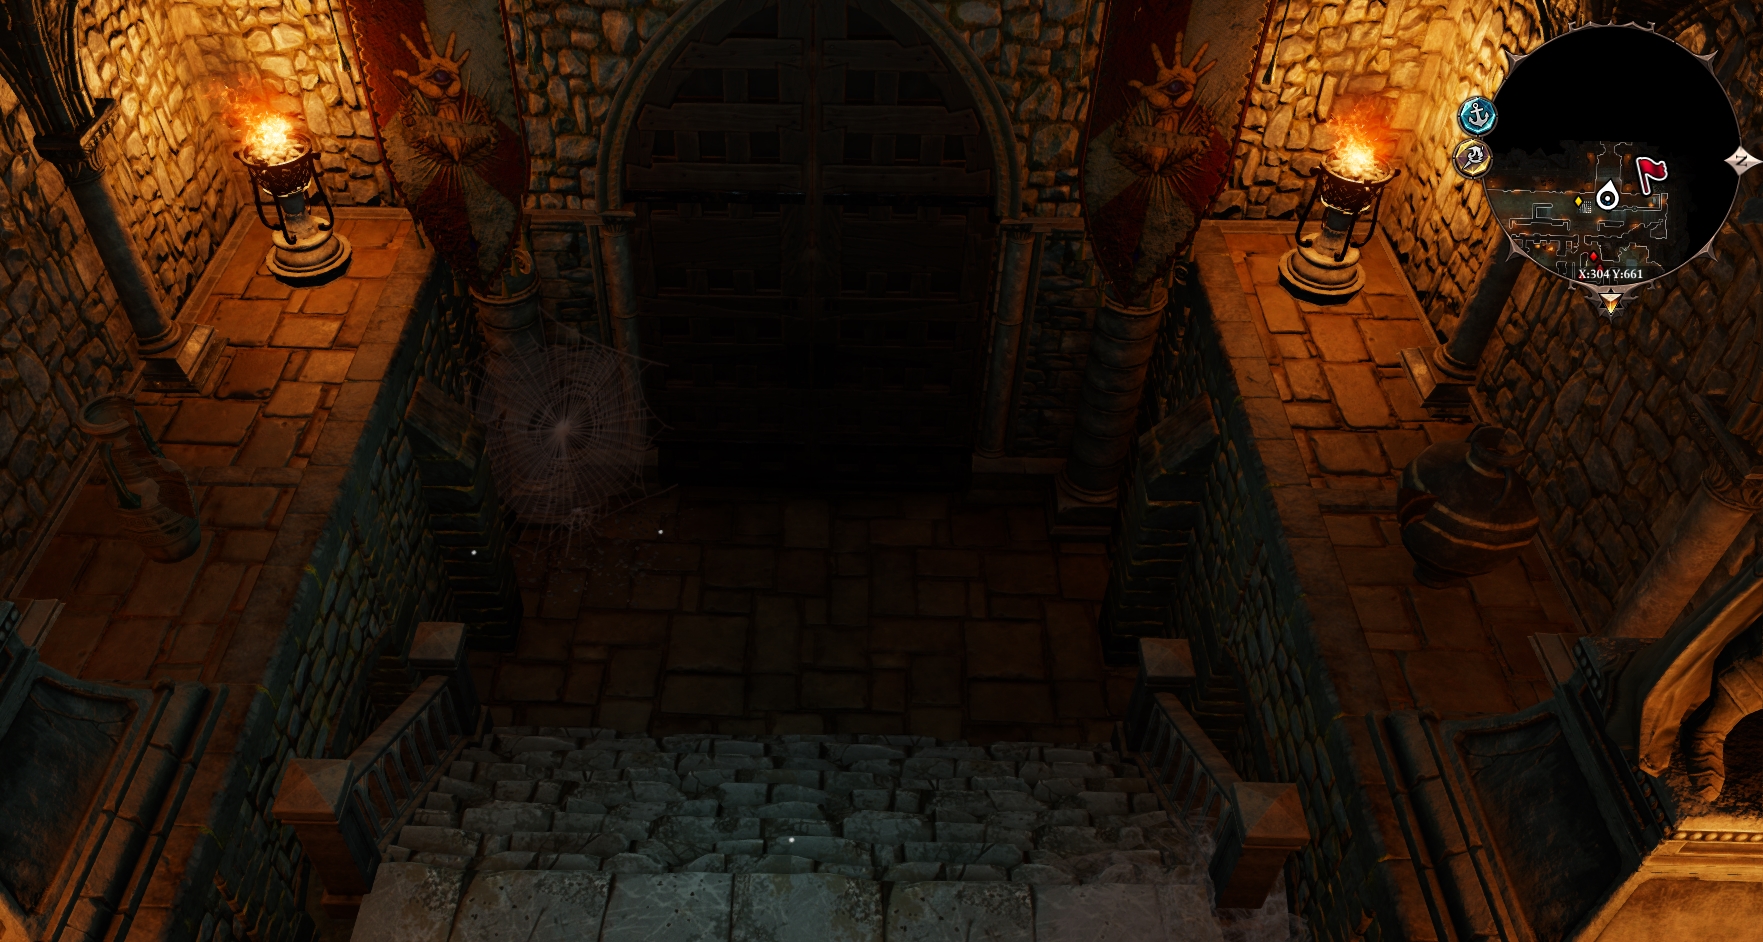
With the choosing part out of the way, there are very few real details to keep in mind with the cat. Typically it runs away when combat starts and comes back after - If you are set on keeping it with you and getting the ability for it, make sure to save often as losing progress because the cat died can be very annoying. Aside from this, avoid the large guarded gate within Fort Joy. One of the magisters there will always shoot the cat if it comes into his line of sight, killing it instantly.

If you picked up Atusa's leg outside Fort Joy proper, you can use this to bribe an NPC later to allow you leave without fighting him and his minions, making it that bit faster to leave and unlock the cat summon ability and the relative achievement.

Hammered!

For those of you who would like to get this achievement, if you followed the suggestions from the first guide in this series you may well have a deathfog barrel on you. If this is the case, climb up the ladder present behind the Red Prince and my custom Lizard in the image where you were told to scroll down from, this ladder allows you to enter the camp without triggering the conversation, and thus making them leave this area of Fort Joy. From there, navigate around til you find yourself near Lohse, a short distance behind Bishop Alexander in the previously mentioned image.

Also please consider that doing this may spoil certain parts of the story for yourself due to the events that right happen after you do it.

Now I would HIGHLY recommend saving before you do this as doing the Hammered! achievement messes with a good number of quests on the island by aggro'ing the Magisters early. That and its not hard to mess this up anyway by accidently entering the conversation by getting too close. - While behind the group of magisters, drag the barrel of deathfog out of your inventory to near Bishop Alexander and shoot it/hit it with a spell from a distance (it IS full of deathfog after all, even if you're undead your entire party probably won't be.)

Provided Alexander was caught in the Deathfog barrels range when it explodes/breaks open, you should now get your achievement. We could discuss that you just used a barrel of the most horrifying weapon known to man-kind at the current point of time to kill a Bishop, but worse things have been done for achievements I guess.

If you do not have a deathfog barrel to do the above, consider just leveling up normally and coming back.

Tips & Tricks: Useful tools
Useful tools

Now throughout the entire game there are a few items that are not consumed on use that are exceptionally useful to have on you, these are listed below with where to get them

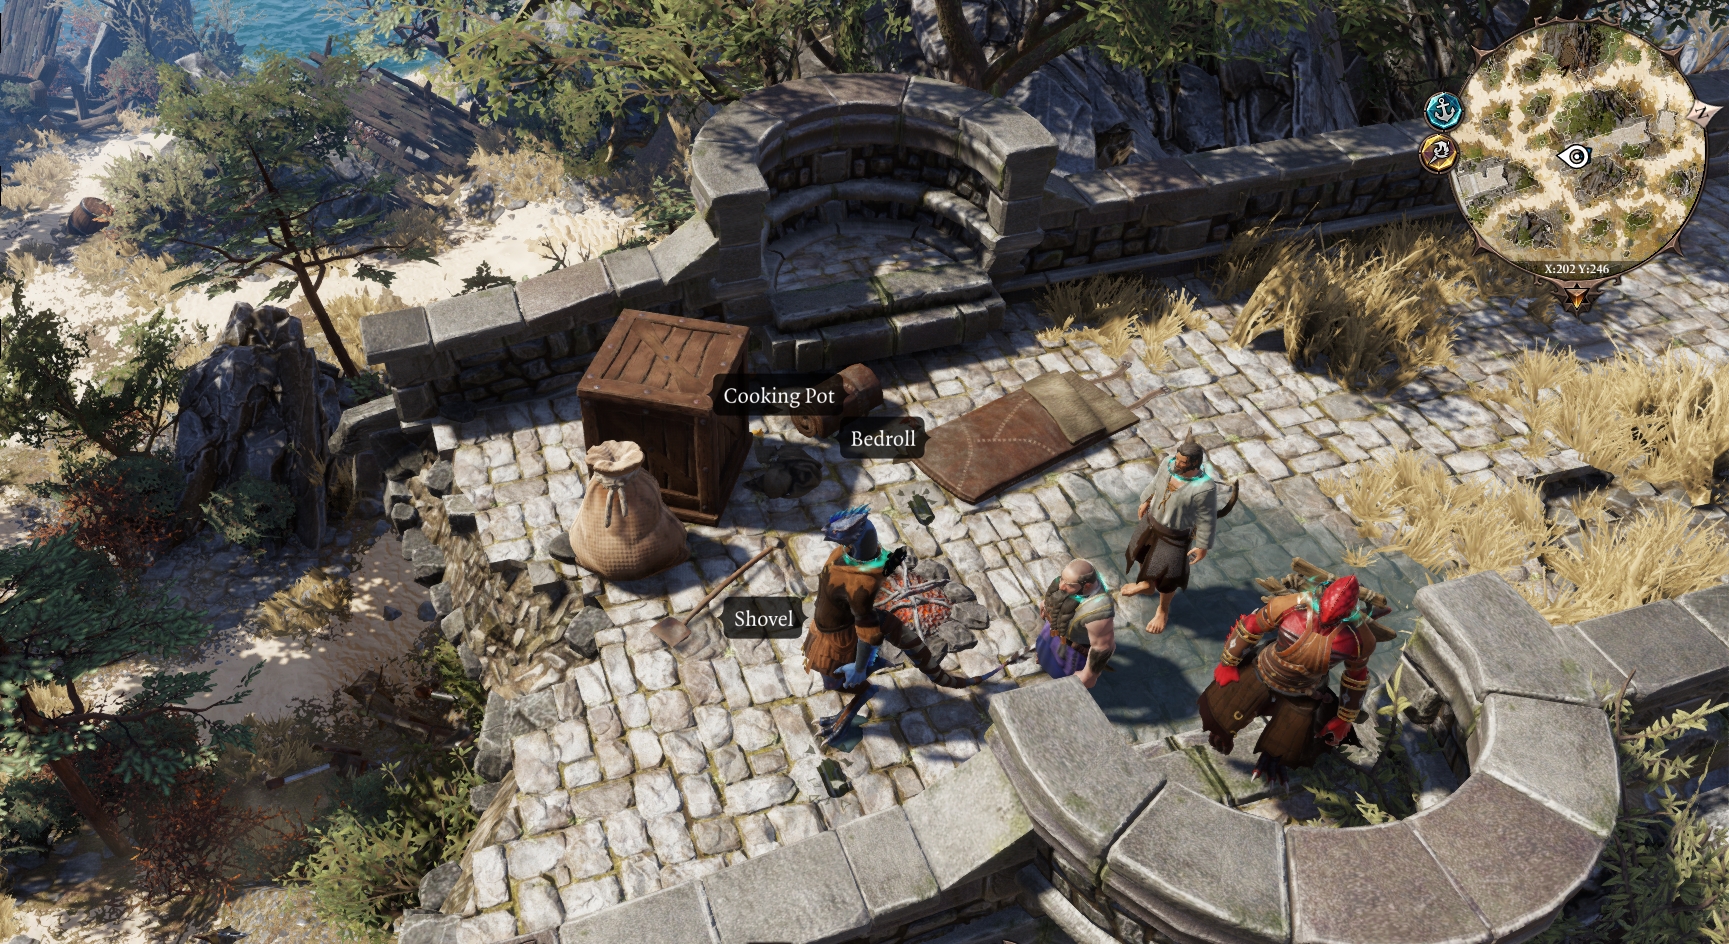
Bedroll: You can pick up three on the ship in the intro, if you didn't there is a chance to get another one just before entering Fort Joy, its found next to the shovel shown below.

Shovel: The shovel allows one major additional bonus over digging as a lizard, and that is that you can dig in places where you do not have a digspot prompt - Meaning if you know for a fact there is a Digspot there, you can use the shovel and dig for it, regardless as to whether or not you have high enough wits to tell there is something buried there. - You can even drag this on to your hotbar and press it whenever you need to dig.

Identifying glass: used in conjuction with the Loremaster skill to identify the properties of some weapons, armour and Jewelry, you can get one of these from the Fort Joy Blacksmith for around 100 gold coins pretty early on.
Fort Joy walkthrough part two: Welcome to the real Fort Joy.
Back to where we left off
So just before the Tips & Tricks section, we found this nice little area off the beaten path. Have a chat with the girl nearby and try to comfort her, you'll get a nice little 100 EXP if you manage it, typically tag-based chat options will achieve it, and there are ways to use other tags, such as scholar further in the conversation even IF they don't appear right away, provided you choose the right options.

Talk to the nearby elf too, as she has dialogue related to the events you witnessed earlier involving Atusa, the now dead Lizard magister who you happen to have the leg of in your pack. Resolve the conversation however you wish and proceed down the slope just past her. There is a small group of turtles here, that as you get close will turn voidtouched and attack.

Its not worth trying to avoid this fight however as the enemies are intended for level two, and the large turtle has a few useful drops. So walk up and fight them, making sure to loot each of them after. If you have issues with this fight, either go back and fetch an additional companion or space your companions out, as the large turtle has a decent amount of AoE (Area of effect) threat he can use, resulting in unneeded damage on your end if your team is bunched up.


Just beyond where you encounter the turtles is a small ship wreck that has a crate and a locked chest - unless you have a character with some lockpicks or a skeleton to hand, you may have to break this open. - IF you do try to break it open, I would advise using abilities and spells as that won't damage your weapon unlike hitting it with a melee weapon. It is worth opening it one way or another as the total worth inside it is typically around 130 or so gold, which is quite useful this early in the game.

With that small(well, significant) side track out of the way, head back to the main Fort Joy entrance where you first saw Magister Dallis and Bishop Alexander. Make sure you save somewhere around here so you don't manage to lose any progress - Imagine how annoying it'd be for example if you managed to lose the cat after doing all that to a tiny patch of poison left near where you met Fane?

Entering Fort Joy
Anyway, now that you're in Fort Joy proper, take a moment to relax and chat with some of the nearby individuals, a few of note extremely close to the gate you just came through are Ifan-ben-Mezd, a potential companion who is currently busy stopping some thugs harrassing an elf, and Lohse, another potential companion who is significantly less busy making the occasional mocking comments about the nearby Dominick, a devout worshipper of Lucian. - For those of you who have no idea who this Lucian fellow is, check out the Gods and the Divine section below.

I would suggest you side with Ifan-ben-Mezd, in his fight with the local thugs. Namely because it improves relations with him by 10. - Depending on the option you choose and what race you are, you might get into a fight with the thugs. As far as I can tell siding with Ifan makes them back off regardless of your race without a fight, where as the other dialogue option telling them to back off results in a fight if you're a non-human.

Either way that issue is resolved and you get a chance to talk to Ifan again, another potential companion for you to consider. With that out of the way you can also talk to Lohse, yet another potential companion for you to choose from.

Should you want to add Lohse to your team as well however, you may run into the issue of having no available slots for companions left provided you could have picked up Ifan, The Red Prince and Fane by this point. Simply talking to one and dismissing them for now will allow you tor recruit Lohse without issue however, so no worries there.- Make sure you take any items of importance off them as you could end up needing them however. The ooze barrel we picked up earlier for example, or the resurrection scroll that each person has one of at recruitment.

From this point onwards I'll be assuming you have a full party - Either two with both characters using lone wolf, or four without using that talent. Even if you don't like some of the characters you have for the moment, there are still two more to potentially pick up but there isn't really a reason to go below a full party number other than to trade them out as that would weaken your ability to fight should you need to.
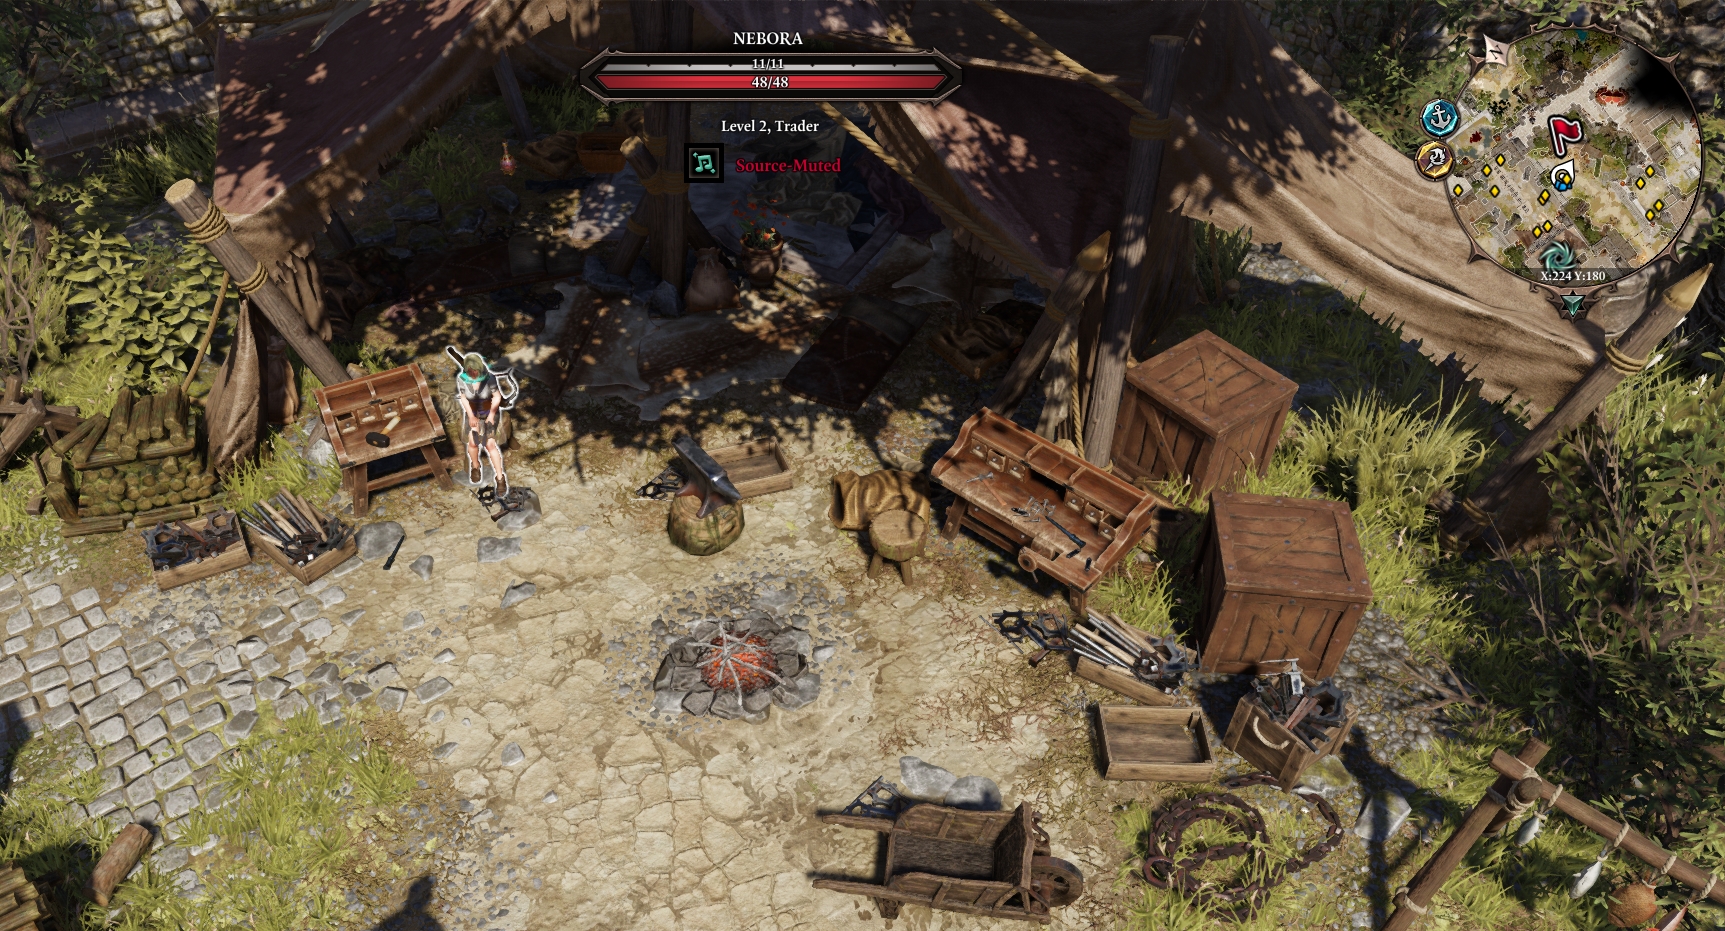
Just east of where you met Ifan and Lohse is a large tent like structure, surrounded by various tools and junk - wandering around in this mess is Fort Joy's resident "Blacksmith" Nebora. Head over and talk to her. You may be interrupted by Fane if you have him with you, I'll explain more below.

With Fane's interruption out of the way, Nebora can now be talked to properly and you can explore what she's selling via the trade interface, available via a button next to her portrait. As listed below, she is one of the potential skillbook vendors in Fort Joy.

IF you have Fane in your party he'll have a specific interaction with Nebora that has to play out first, meaning you'll have to try to talk to her twice to actually manage to. These specific companion interactions with some npc's typically give a new dialogue option with the relevant companion afterwards, and may advance personal quests for them and the like, or provide clues on how to do so.

Every Mother's Nightmare

With Nebora out of the way, spin around and run west til you bump into a Redheaded man named Jeth and a blonde woman named Fara. There is a small and quick to complete quest here that grants a minor amount of experience, so you may as well do it. Talk to Fara and ask her how you can help her. When she explains everything to you, you can spin around and talk to Jeth who will inform you of what actually happened, turning around again after this and telling Fara what Jeth told you will end the quest. Important things to bear in mind, Fara will refuse to speak to you to get you to leave if you are either a Lizard or an Elf, so speak to her while controlling a different party member. Ifan, Lohse or Fane will do. For anyone who doubts what Jeth tells you, ask Fara for the doll with one character, then again with a different one. It'll provide you with a convincing argument what he says is true.

The Dwarf and the Madman.

Moving on from here, head up the stairs behind Fara and then up the nearby ladder that leads to the top of the stone wall. Speak to the nearby Magister Yarrow and you'll start the quest called The Murderous Gheist. From here we're going to run south through the encampment to do this quest quickly and get it out of the way. On the way south you may get a dialogue prompt from an individual named Gawin, he prompts the start of another quest you can do later, in the teamtime just agree with what he says and assure him that you are quite alone, he'll then provide you with details on a potential escape method, but do not rush to do this.
Fort Joy walkthrough part three, The Dwarf and the Madman continued.
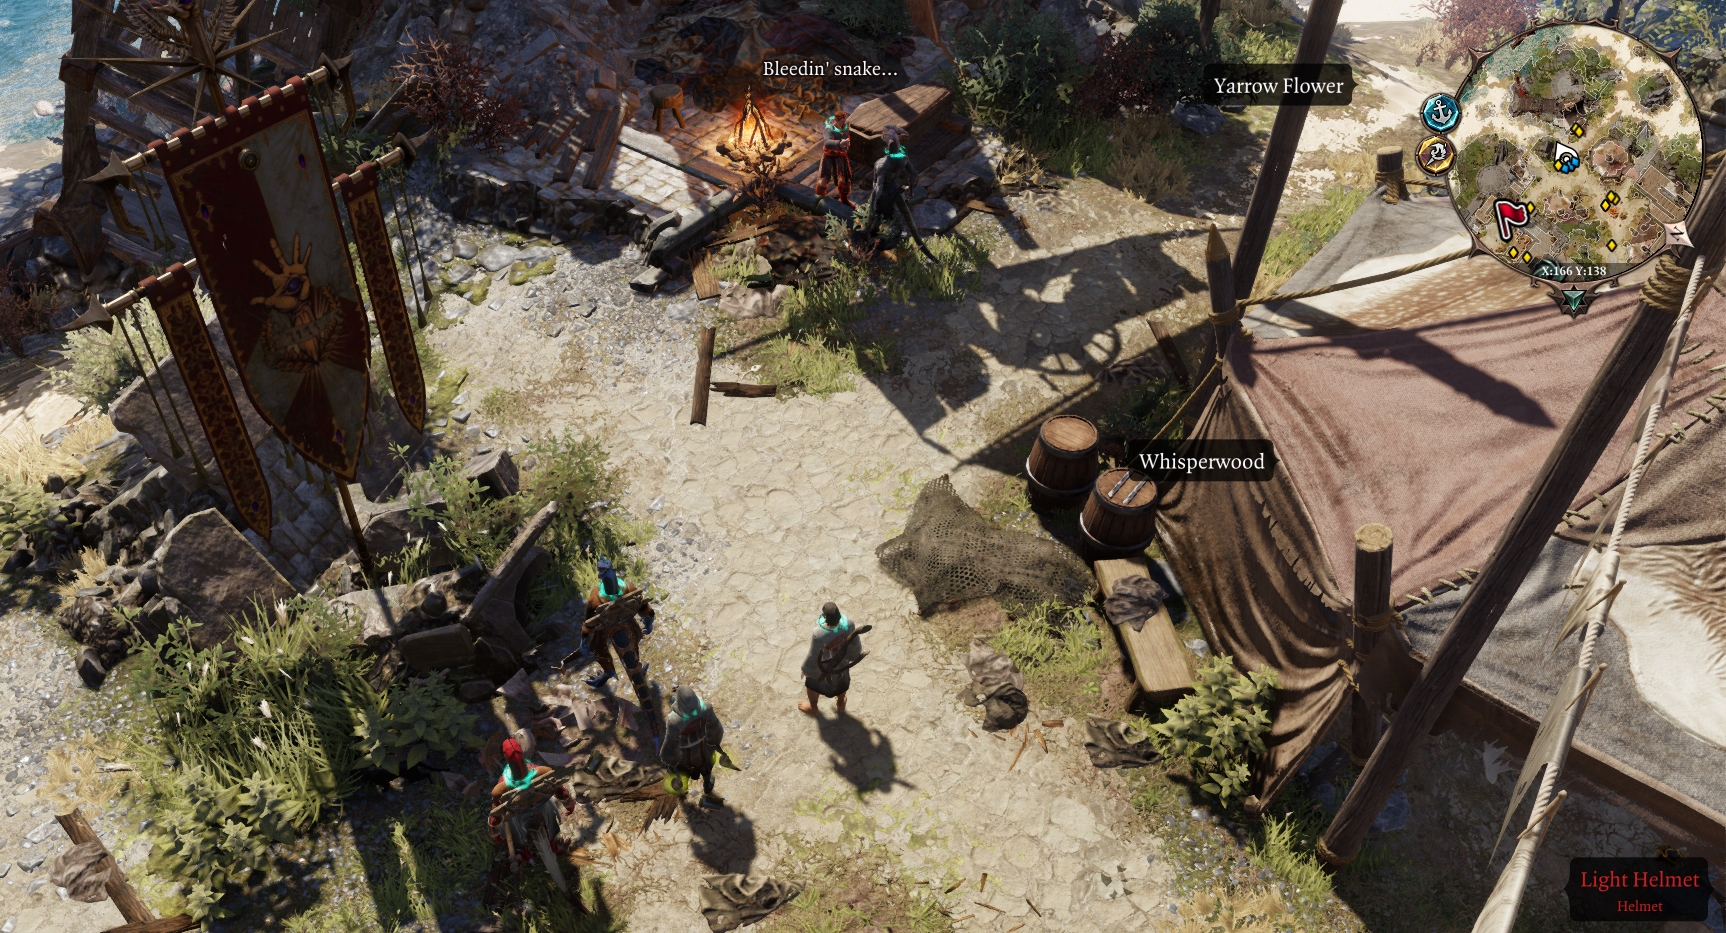
When you reach this area, divert to the west and make sure you grab the Yarrow flower as shown in the image, you'll need it for The Murderous Gheist later. In the meantime if you continue down this path you'll bump into Narin, a human male who'll become very interested in your party if you have The Red Prince among you. When you've dealt with the resulting combat encounter head a little further west and you should end up around the below image.

Nearby is a certain Dwarven friend of yours from the ship, Beast, and the almighty Septa the Ineffable, a source of significant amusement. If you have Pet Pal have a chat with Septa, - If you don't but have Ifan he can do this for you as he starts with Pet Pal, and then move on to talk to Beast.
At this point you can decide to replace anyone who you aren't really liking thus far with him. Spin back to head south and you'll bump into Margo, chat with her, and when you get the options to do so, question her about her family, and listen intently. She'll reward you with a Restoration scroll for your interest.

Your story and The Murderous Gheist.

Continue further south and you'll find Maol, an old elf - You may notice they have an interesting way of speaking, which you can ask him about if you're curious. Explore his other dialogue options and he'll ask you to tell him your story, which can be used to help build your background up if you're roleplaying. Even if that doesn't interest you, agree to it regardless, and go through the dialogue. On the last option, tell him you hope to find something you lost, and he'll reward you with a Ruby, which is by far the best reward he offers.

With that out of the way, head down the eastern path behind him til you reach the area shown here. Talk to Buddy first, with a character with Pet Pal, please note if the person talking to him has the cat next to them he will bark at it rather than talk to you. This can be avoided by walking away a short distance and running back up to him, starting the conversation again - As long as the cat isn't very close it should allow you to start the conversation properly. Ask him about his problems to start the Finding Emmie quest, and if you have some, offer him some fish or meat to cheer him up - Do NOT feed him Atusa's leg, he will not like it, nor will he be pleased at you for offering it, plus you may need it later. Being nice to him will prompt him to dig up a nearby key for you, Buddy's Key which again, is useful later.

With the conversation with Buddy now done, continue a short distance east and you'll encounter a female dwarf known as Doctor Leste, she'll ask you for some alcohol, if you have some, provide it to her for a small boost of EXP and a reward we can claim later.
Continue down either nearby path further east and you'll run into an NPC called Migo, a name you may remember from earlier, only he's probably not what you expected. You should have picked up a Yarrow flower earlier and you need to give him it now if you did so, doing so will calm him and prevent him for attacking, and most likely wiping the floor with you. - If you do not have one, the game should have saved automatically just before you approached him anyway, so no worries there.

He should give you his ring in exchange for the flower, and now that you have his ring run straight back to Magister Yarrow from earlier, as Migo was who she was looking for. Inform her through the dialogue who you encountered and when the relevant dialogue option appears, offer her Migo's ring as proof. Doing so will unlock the Hero Tag, unlocking dialogue options of a heroic nature, similar to the tags which unlock relevant dialogue choices that you selected in the character creator.

After you hand her the ring, Magister Yarrow will run off to where you say you found Migo meaning you now have to run back there as well. Make sure you take a path that doesn't put your cat at risk of being shot by the gate guards near the front of the fort. When you arrive back there you can watch their re-union play out and talk to her to discuss what happened to him, when you finish this conversation with her she will reward you and complete The Murderous Gheist quest for you, granting you a choice of reward, some set rewards, and 600 EXP.

There's a little bit of extra loot nearby, shown here, clear out the chest and then turn back to where you met Doctor Leste. From here head into the nearby cave, as there's a couple of things you should do in here at this point.

The non-humans cave

When you enter the cave you may notice a particular detail, there are no human adults in this cave, this is because the Elves and Lizards of the camp are living in here to avoid mingling with the human population due to the racism humans so typically enjoy,(interestingly, Dwarves are absent from the cave, but maybe they get along with humans well enough) - you saw a good example of it right away upon arriving in Fort Joy after all. Speaking of which, assuming you agreed with the course suggested by the guide earlier, the elf you backed up is in the cave too.

Right next to the cave entrance is a Lizard known as Kalias, he is one of the vendors of the Fort Joy camp, so if you want to sell things off, he is a good choice. Wander further into the cave and you'll be able to talk to Elodi, the elf you saved from Griff's thugs earlier. Speak to her to finish up the quest you started sometime ago, she'll even reward you with a bonus, a severed head, which if you have an Elf within your party can be consumed to potentially unlock a free skill for them - as weird as the gift seems it is still useful if you know how to use it. If you do not have an elf within your party, hold on to it, you'll be able to use it later.

After you've talked to her, find Mody, a small human child within the cave. Speak to him and play along with his games, play hide and seek with him.
The first time is relatively easy as you can just watch where he goes, the second time he will use some kind of Invisiblity buff, simply stand near the sand shown here and he'll walk into you fairly quickly. when he does arrive he'll offer to introduce you to a friend of his which will quick off another quest when you do meet him, however the path Mody takes to him involves a small tunnel that you cannot fit through. There is a dig spot on the sand previously mentioned, dig here and you can find a significantly larger tunnel down to where Mody went to.

Head further into the new section of the cave to meet Lord Withermore, the aforementioned friend of Mody. Talk to Lord Withermore, the conversation will vary dependant on race, but regardless explore the various options and then offer to help him. When this conversation is done click on the spear embedded in his chest and select the pull it out option, if you have high enough strength(12) you can yank it out and keep it as a weapon - If no-one among the party had high enough strength, just smack it til it breaks. With that done he'll thank you and prompt you on to the rest of this quest, Withermoore's Soul Jar. After that, leave that section of the cave entirely and the cave itself for that matter.
The Gods and the Divine.
So, you mentioned a Lucian before?

THE BELOW CONTAINS ONLY ESTABLISHED CANON AND DOES NOT GO INTO THE STORYLINE OF DIVINITY: ORIGINAL SIN 2, as such it is spoiler free and all information can be found in the game, through books, conversation and other interactions.

I did, Lucian was the previous Divine, which probably doesn't help you much without more context.
The Divine is a champion of sorts to the seven gods of the civilised races of Rivellon.

Each major civilised race, such as humans, has a god. There are seven such races, and as such there are seven such gods. Technically speaking one of these gods doesn't have a race per say, but rather the undead. Still, it works.

These gods tend to be pretty prime examples of what you'd expect from their species, except they are obviously, gods. As two quick examples, Zorl-Stissa, the Lizard goddess could be described as elegant and prideful, while Duna, the Dwarf God, is as tough as stone, but equally as stubborn.

A complete list of the gods is featured below;

Rhalic, the god of Humans.
Duna, the god of Dwarves.
Tir-Cendelius, the god of the Elves.
Zorl-Stissa, the goddess of the Lizards.
Vrogir, the god of the Orcs.
Xantezza, the goddess of the Imps.
Amadia, the goddess of mages and the undead.
Fort Joy walkthrough part four: Out of the cave.
And back out into the sunlight
Now that we're back outside, head past Leste and the Buddy, if you head towards the wooden outcropping you'll quick find Sebille, the last remaining potential companion within Fort Joy, talk to her and offer to allow her to join up with you when the option comes up.

Now that you have the option of whichever companions you want, walk into the centre of Fort Joy, just past Sebille, if its your first time entering this part of Fort Joy you'll hear some a quick remark from your controlled character. Try to talk to the Elf, Amyro in the nearby cage and you'll be interrupted by Griff. Go through the ensuing conversation and offer to help Griff find his supplies, provided he free's Amyro. Talk to Amyro again after that conversation for some suggestions.

Griff is one of the main vendors within Fort Joy with a sizable amount of money, so again, if you feel like selling off a few items, this is a good chance to do so. With your business concluded wander up the nearby stairs til you reach where you originally meet Lohse, then interact with the large nearby Shrine to the Divine. You'll be presented with a dialogue screen, choose the option that involves the button Lord Withermoore mentioned to you. Pressing that button will reveal a nearby previously hidden hatch, as shown here. Go down the hatch, make sure to loot the nearby containers, and then head further in. You'll quickly discover a fast travel waypoint down here.
As per usual, you can now access it via either interacting with another fast travel waypoint or using the fast travel button next to your minimap.

The door further in is particularly sturdy, so don't try to break it down. If you can't manage to unlock it via lockpicking, there are no worries however, as there is a nearby lever hidden amongst the plantlife.
Beyond that door there are two further doors, one of which is unlocked. The nearby Dwarf, Zillik is not an overly important NPC but should you have Lohse in your party you may wish to talk to him. Past this point break down or unlock the southern door opposite the stairs heading upwards, into the keep. There is a lizard called Vasyna in here who will panic when she see's you, choosing the intelligence based persuasion check here has always worked for me.

And into another cave.
Head past Vasyna, through the gap in the wall and you'll find a large cave. Go down the south-western slope, towards the area covered in flame. Make sure whoever leads your party is the one with Pet Pal as the NPC you approach may start the conversation for you if it notices you, otherwise start a conversation with the rather large animal and inform her that Braccus is gone, and she'll leave you alone for joy of finally being "free", despite having been free for at least several hundred years - of Braccus at least. While down here, make sure to hold down your Show world tooltips hotkey, Left Alt by default as there are a good number of valuable plants down here, there are also a few corpses you may wish to loot as well.

Head over to the opposite side of the cave, be careful of the rows of fire these slugs create behind them - your party will avoid them automatically whenever and wherever possible so just focus on avoiding them yourself. There is a dig spot shown in this image where the Blue Lizard is standing, You'll find a chest that typically has a nice amount of items within it given how early in the game you currently are.

Heading the opposite direction to that digspot and you'll reach a point with a note that provides ]some details on the slugs within the cave, written by someone who is most likely now one of the corpses strewn throughout the large cave.

There is also a bedroll available here should you be in need of another one, if not you can always take this one and sell it off. Continue down this path and you'll bump into a ladder that leads, once more, back into the daylight. It'll take you out of the cave back to where Migo and Magister Yarrow are. You can also enter the cave via this ladder if you know its here, and I typically end up doing so, but for the sake of the guides flow I believe the other path was better for easier explanation.

With that out of the way you should either be level three or about to about to be level three, either way, pretty much there. Make sure to save here if you still have your cat with you as you've done a sizable portion of Fort Joy at this point.

From here head back to Griff's kitchen area, and talk to Noosey, the blonde human woman near the hatch. After a short conversation she should encourage you to head down there, which is a great idea. Even more so given entering the area just below gives around 300 EXP to the party, just enough to push anyone just below level three to level three. Spend your points accordingly for each character, might want a focus on combat stats from here on because there's a decent amount of fighting to do scattered around Fort Joy.

With the level up now done head back up the ladder you just came down, wander around the camp a bit and maybe check the Tips & tricks two section, which lists the names of each skillbook vendor, so you can run around and try to buy some new abilities with the decent amount of money you should have built up by now, maybe get some new equipment and the like too. Consult the Tips & Tricks two section below for a list on who sells which skillbooks.
Tips and Tricks two: The re-trickening.
Ooze Barrel

The ooze barrel can be a useful item to have access to. It allows you to create poison flasks, which are basically health potions but for Undead characters, and allows you to buff a weapon with a poison damage effect, increasing its effectiveness and value.

To do either of these things, right click on the Ooze barrel and select Combine With, then simply select either an empty potion bottle for a poison potion, or a weapon you wish to give a poison buff. As far as I know the Ooze barrel doesn't have a limit on crafting use as I had the same one for my entire first playthrough as an undead. This can be used to increase weapon sale value to make money. Poison damage from a weapon WILL HEAL undead.

For those of you who do not manage to get the one near Fane, or have lost it somehow, there are two more where you fight the frogs in the cave within Fort Joy, so don't worry too much about losing that one.


The Dusty Pouch

Now as previously mentioned a small container like this in your inventory can be useful. Typically I take this very first container and use it to store keys I pick up throughout the game, clearly up a significant amount of inventory space without actually dropping any of the keys that I may need in the process. Just make sure not to sell this bag if you do this just to losing potentially important keys.

Another useful idea for held containers such as these is placing one on your hotbar if you use scrolls, specific arrowheads, etc. These consumables automatically stack with those already in the bag provided there is at least one within the bag when you pick it up - At least assuming the person who picks it up has this bag on them. This effectively gives you quick access to a select list of consumables while only using one hotbar slot in combat.

Fort Joy Skillbook Vendors

Nebora, the blacksmith, sells Summoning skillbooks.
Gawin, the Teleporter quest giver, sells Aerothurge skillbooks.
Rezik, a blue lizard in the centre of the camp, sells Hydrosophist skillbooks
Maol, an old elf, sells Geomancer skillbooks.
Leste, a dwarven doctor, sells Polymorph skillbooks.
Kalias, a lizard from the house of war living in the cave, sells Warfare skillbooks.
Hilde, a human who wanders around Griff's Kitchen area, sells Scoundrel skillbooks.
Mona, a human suffering from some kind of disease next to the gate, sells Necromancer skillbooks.
Stingtail, a lizard dreamer sells Pyrokinetic skillbooks.
Butter, a human having issues coming to terms with being in Fort Joy, sells Huntsman skillbooks.


Npc's your companions have some kind of interaction with
The below is a list containing the various NPC's the potential companions have interactions with.
Lohse; Sahelia, Zillik.
The Red Prince: Stingtail, Narin.
Ifan-ben-Mezd: Magister Borris, Myra.
Beast: Carson, Laslor.
Sebille: Stingtail*
Fane: Nebora.

*Sebille's attention proves far more lethal than anyone else's interactions, so please do this one last, if at all.


Nails and their uses


Throughout Fort Joy you might find some nails scattered around. And you're now probably wondering why I felt the need to point them out. Well, pick them up and try to combine them with boots, and it will add an Immunity to slipping buff to them. I encountered no footwear items that could be combined with nails for this buff throughout my entire first playthrough so I believe it is possible with all of them. These images feature the way the combine screen should look when done correctly, and the end result.

Fort Joy walkthrough part five: Random acts of violence.
Random acts of violence

Now that you've presumably spent some of the gold you had and got some new skills and the like, we should move on to trying some of the various quest fights throughout Fort Joy that we have been avoiding thus far.

If you had back to where you first met Beast, and head towards the north, you will quickly encounter a group of three Saltwater Crocodiles. This is a combat encounter and a necessary one to make progress in The Teleporter quest. It also grants you one of the most useful early items in the game, a pair of gloves with the Teleport spell enchanted onto them, allowing you to cast it without using a memory slot, for as long as you have the gloves equipped.

You'll get 300 EXP just for going near this area, and there's some more free stuff off to the side. You'll either have to lockpick this or break it open, either way there is typically some decent stuff in side. With the looting out of the way, time to actually fight the nearby Crocodiles. They're level three, and there's three of them, where as there are four of you, and you're also level three each. In other words they shouldn't be too difficult for you to handle in a straight up fight.

If you do end up having issues in this fight, consider placing any characters with ranged weaponry you have on either the raised wooden platform or the chunk of a ship to help them do additional damage and be generally safer. The crocodiles also have very little armour of either type so debuffs can be worth a lot here, for example Tentacle Lash could be used to apply Atrophy and prevent them from using their basic attack, which is a lot of their damage per turn just gone.

Make sure to loot each of the dead Crocodiles as one of them have the Teleportation gloves on them. Now that you have obtained them, return to Gawin - If there are any Aerothurge spells you wish to buy from him, do it prior to this point or now otherwise you will have to wait. Tell him you have the spell now, and follow him to where you originally meet Fane on this island.

From here he'll ask you to teleport him down to the next ledge, near the tree stump. Do so, then stand where Sebille is in this image and he will do the same to you.From this point he will ask you to teleport him over the gap, again, do as he asks and then you'll quickly discover that this method of escape has a flaw or two in it. Regardless, you will then be stuck on the lower ledge.

Now, your options to leave this ledge are listed below.
  • Give the teleport gloves to someone else in your party and let them teleport you back up.
  • Attack the tree stump nearby, climb down the resulting hole and then enter the nearby cave which lands you in the Fort Joy Dungeons.
  • Just fast travel back somewhere else.
Regardless of your choice, The Teleporter will have ended. - You could use the gloves to very slowly teleport everyone over the gap one by one, but there are easier escape methods and you are not ready for the path you'd be taking that way at level three anyway.

With that out of the way, either make your way back to the Fort Joy Square or just use fast travel and head there that way. Head back over to the cave with the elves and look behind where Elodi stands. Move the various barrels and crates out of the way, like so, then destroy one of the barricades to allow yourself into the next section of the cave. Remove the various surfaces in your way - E.g Poison can be ignited, and fire can be put out with water, or if you have a fighter among your team, use his battlestomp ability which will clear a gap and advance further into the cave.

If you haven't picked up a shovel yet which you really should have, there's one on the opposing side of this area from where you entered, so feel free to go grab that. When you move into the rest of the room you will be attacked by three level three Frog enemies. Two of these are green, use poison attacks, and have no magic armour, the third is blue, uses electric based attacks, and has no physical armour. Use crowd control effects on them accordingly as both types are vunerable to some right away.

Due to the prevalence of surface effects in that fight, try to run your controlled character into the centre of everyone else right afterwards and use the Bedroll to prevent anyone dying from left over Damage over time effects. Remember to take items from the nearby area and corpses to sell to help get yourself going. When thats all done head over to the area shown here, where you'll be able to teleport a member of your party up to loot the chest and other items up there, gaining 300 EXP in the process simply for getting on the ledge. Teleport your party member back down when you're satsified with your looting, and then head back to the previous section of the cave, where approaching Rulah will award you with further EXP for defeating the Frogs deeper in the cave.

You can now leave the cave again as the only remaining thing down here is the quest for Lord Withermoore which we haven't finished yet.
Fort Joy walkthrough part six: They're not just oranges.
The ♥♥♥♥♥♥♥ citrus

Its about time we now moved on to doing Griff's little quest, so if you asked the Elf in the cage, Amyro you'll know that who you're looking for repeatedly clear's his throat when you talk to them, like Griff. Not very useful information however unless you've met someone who does that.

If you have the Pet Pal talent however, wander around the western half of the Fort Joy camp area, up to and including the area that previously held three crocodiles, and look for a rat. He will provide a much more substantial hint. - I should note that in my test playthrough I only ever found him in the Crocodile area, but I have seen him elsewhere before in other playthroughs, I guess if he ever goes down to the crocodile area he stays there for whatever reason.

In any case, when you do find him, he provides a much more useful hint to you, that a lizard within the camp smells like oranges. Now, as far as I know there are three total lizards within Fort Joy not including the potential ones in the players party.

So the options for who took the oranges are suddenly nailed down to Rezik, the Hydrosophist vendor, Stingtail the Pyrokinetic vendor, or Kalias the Warfare vendor. So if you head to each of them in turn, you can figure out which it is.

It's Stingtail. Talk to him, and accuse him of stealing Griff's oranges, and you'll find out a bit more about why Griff is upset about his missing Citrus. Follow the conversation along til you reach a persuasion check for him to handover the oranges to you, I have had the most success using the [Intelligence] option. Provided that succeeds he should then hand off the *ehem* "Oranges".

Now, there are other ways to do this but I'm just going to list the optimal way. Give the "oranges" to one particular character in your party, then break them off from the rest by dragging their portrait off to the side. This will prevent the rest of the party following them. Send this character back to Griff over in his Kitchen and leave everyone else near the person who gave you the oranges.

From this point, talk to Griff with the character holding the oranges, and pass them back to Griff. When he asks who did it, inform him that it was Stingtail and Griff will thank you for your help, then send an assassin after him. Switch back to your other party members and attack Silence, the assassin Griff sent, - You can run your other character back to where the combat is occuring during one of your turns, as the combat will not progress until you finish your turns, where as the other characters movement will continue as normal. When Silence has been dealt with, speak to Stingtail and he will reward you for saving his life from the assassin.

With that done, head back to Griff's Kitchen and speak to Amyro who is now free. He'll provide you with an amulet, and a quest for the future before heading off back to the non-human's cave. Make sure not to lose the amulet he gives you as you may want that later. Before you head back inside the cave and speak to Sahelia to claim your reward for freeing Amyro, the person that Doctor Leste was treating has likely died. Go and search his body because he has The Sparkler Card which we'll use later. With that out of the way now go to Sahelia and grab your reward from her for freeing Amyro.

The Sparkler card

As you will quickly find out should you talk to Griff while you stay have the card on you, it is his card. He isn't bothered enough to take it back from you however, so feel free to talk to him to see the dialogue option for yourself. As a matter of fact, he even gives you a suggestion of what to do with it, and its a pretty good one. Head back over to where you first met Magister Yarrow, and over to the card table, if you've been here before you'll know these guys cheat every round to swindle people out of their money and belongings, hell even their overheard dialogue implies it.

So, it's time for a little payback I think. Ask them to play another game of cards, assuming you've played with them at all before, when prompted, choose Lay down the sparkler, when he asks for where you got it, Do not tell him the truth, the group will attack you, instead tell him that it doesn't matter where you got it. - While not very much this still nets you a solid 100 gold for nothing, plus whatever you sell the card for later. While this is ultimately probably less of a reward than a good number of people had hoped, it is still free money, so there isn't really a reason to complain.
Fort Joy walkthrough part seven: Into the arena.
And hit the lights

With the Sparkler scam out of the way, its time to head back into the Fort Joy Arena that we visited for all of about twelve seconds earlier for free exp. Talk to Mia, the Faithful One, one of the NPC's within the arena. Exploring her dialogue and agreeing with her faith in The One will have her grant you an approximately 50 turn magic armour buff, which is a pretty nice bonus for what you're about to do. Save here, as the fight will be easier with this buff, so even if you fail it you can load back, and try it with the buff again.

From here, talk to Thola, the Thorny One and say you'd like to fight, declaring your companions as your help in the fight you're about to enter. This particular fight is designed for level three's, and at this point you should be approximately 60/70%+ to level four, so you should be able to manage. This is one of few fights in the early game where you face equally as many enemies as there can be members in your party however, so it can be difficult.

If you have difficulty with the arena fight, there are a few things to bear in mind:
For one, at this point you have the teleport enchanted gloves, so use them to drag either their mage or their ranged into the middle of your team and beat them to death quickly before they become a problem - alternatively, use the teleport spell to keep either the dog or the knight AWAY from your team.

For another, the nearby wooden tower and ramp will provide the elevation bonus damage to anyone with a ranged weapon in your party, so position accordingly, the dog also cannot reach you up here so should it be the last thing alive you can hide atop the wooden tower and wait for cooldowns or other potential ways to deal with it safely.


When the fight is done you'll complete The Arena of Fort Joy as a quest, granting you a choice of a reward, and some other set goodies. You'll also earn the right to have your character have their source collar removed by Nebora, be careful if you choose to do this as the patrolling magisters may attack you or arrest you for it, depending on how you react to them.

Though given you are now just below level four, or just about level four, I would suggest you do this, and go fight the smaller groups of Magisters, namely the patrolling magister and his source hound, and the two magister guards at the gate of Fort Joy you originally entered by. If you have issues fighting either of these groups of two, applying Atrophy by using Tentacle lash on a target with no physical armour will prevent them for attacking you for a turn, alternatively effects such as Knocked down can be applied by various Warfare skills such as Battering Ram and Battle Stomp

While fighting either group of magisters, the other magisters within Fort Joy will be hostile, meaning should they see you during the encounter they will actively join the side of the other magisters. In other words, deal with the Patrolman and his dog first, as they roam around and could potentially interrupt a fight that is currently going in your favour if they are still around. The other two groups, both guarding entrances/exits to Fort Joy do not move around, and as such are far less likely to interrupt an on-going fight.

The Fort Joy - Dungeons, for real this time.

With those out of the way, open your fast travel menu by the button next to your minimap, choose the Fort Joy - Dungeons, head as far east as you can go til you reach this point.
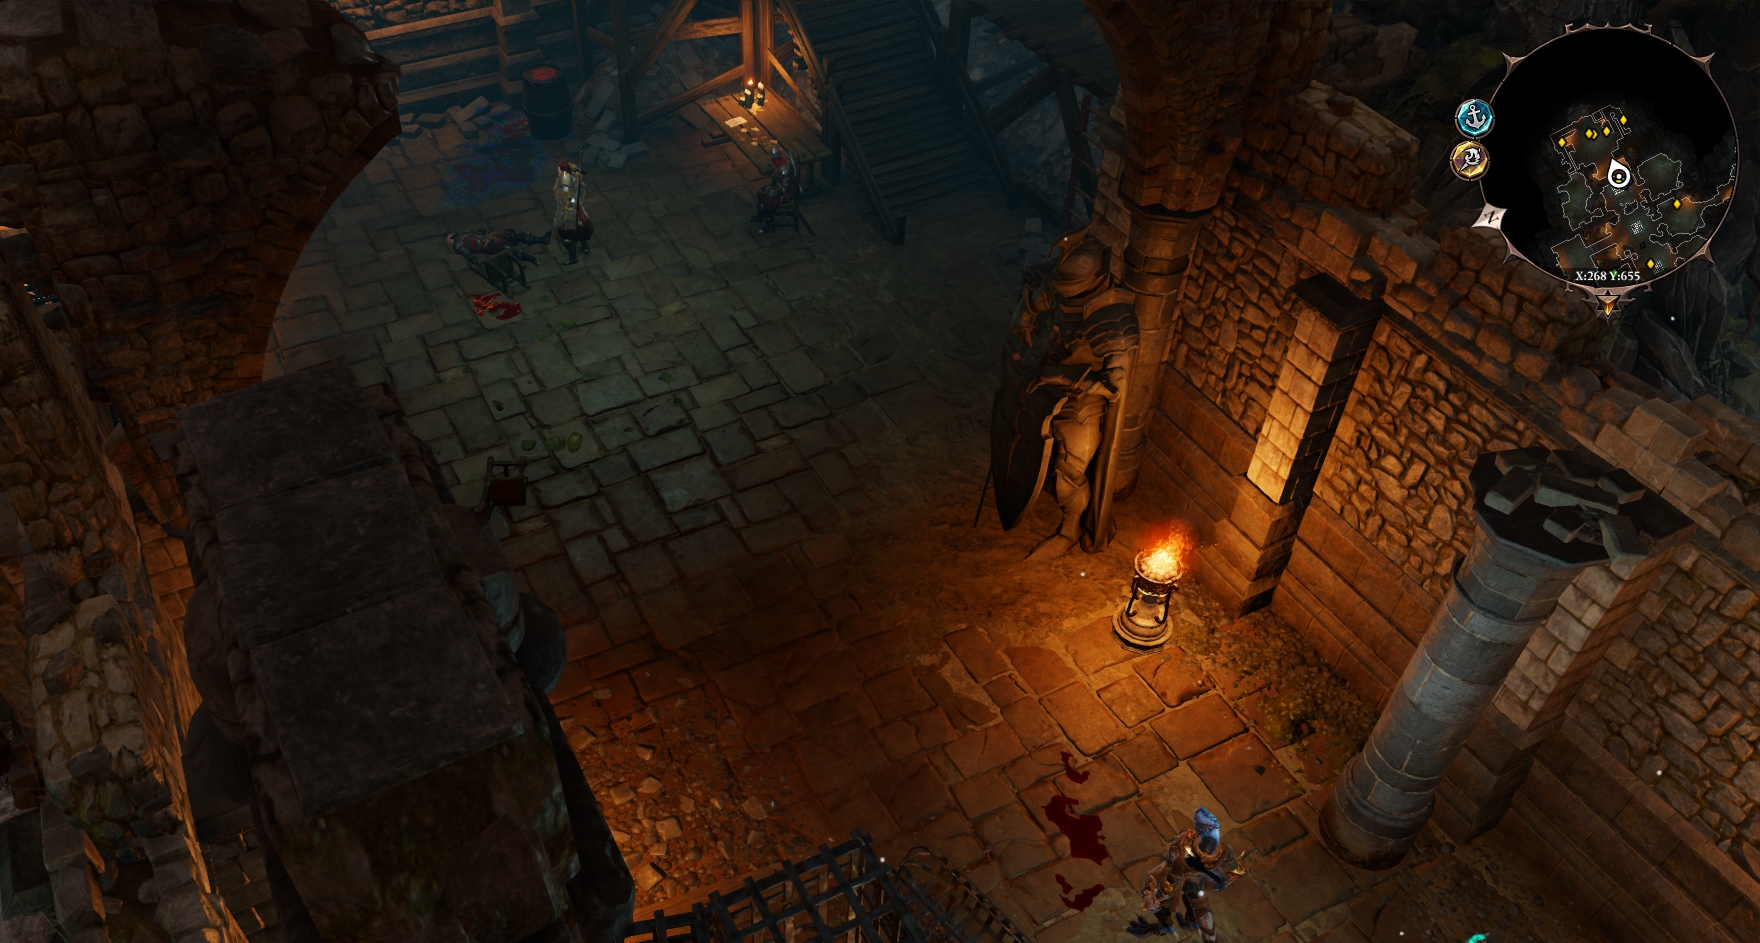
In the room displayed above there is a group of four magisters scattered around a fifth who lies wounded on the ground, while the magister seemingly in charge questions and berates him. If you walk towards them he will start a conversation with the person at the front of your party, and any of the options result in combat with the group of magisters. While there are only four of them and they are only level three, the Magister Houndmaster can summon source hounds to the battle, so deal with him quickly to simplify the encounter.

After the combat is done the wounded magister will speak to you and ask for you to heal him, while it is your choice whether or not you do this, I would suggest you do, at least because he seems to be against most of the rest of the magisters here and as such may help you. If you do not have a healing potion to offer him, you can leave the conversation and cast Regeneration on him for the same result. If you help him, he does appear later in the game and offers a quest related to him in Act three.

Make sure to loot the corpses and check the room afterwards, there is a Prison key on the ground which will save you some lockpicks, as well as a set Zaikk's talon on the magister houndmasters corpse, which can combined with healing potions to turn them into poison ones of the same size, being particularly useful for undead characters - the item is not consumed in the process. There is also a chest up on one of the wooden platforms on either side of the room, so make sure to loot that as well, it isn't even locked.

With that out of the way, spin around and head back to the stairway we've previously ignored, as we now have the key to the door. Make sure to save around here if you still have your cat with you, as the little bugger can get lost quite easily even without dying when you're switching rooms and fast traveling frequently. You'll get a quick conversation with your party as you go to enter the next area.

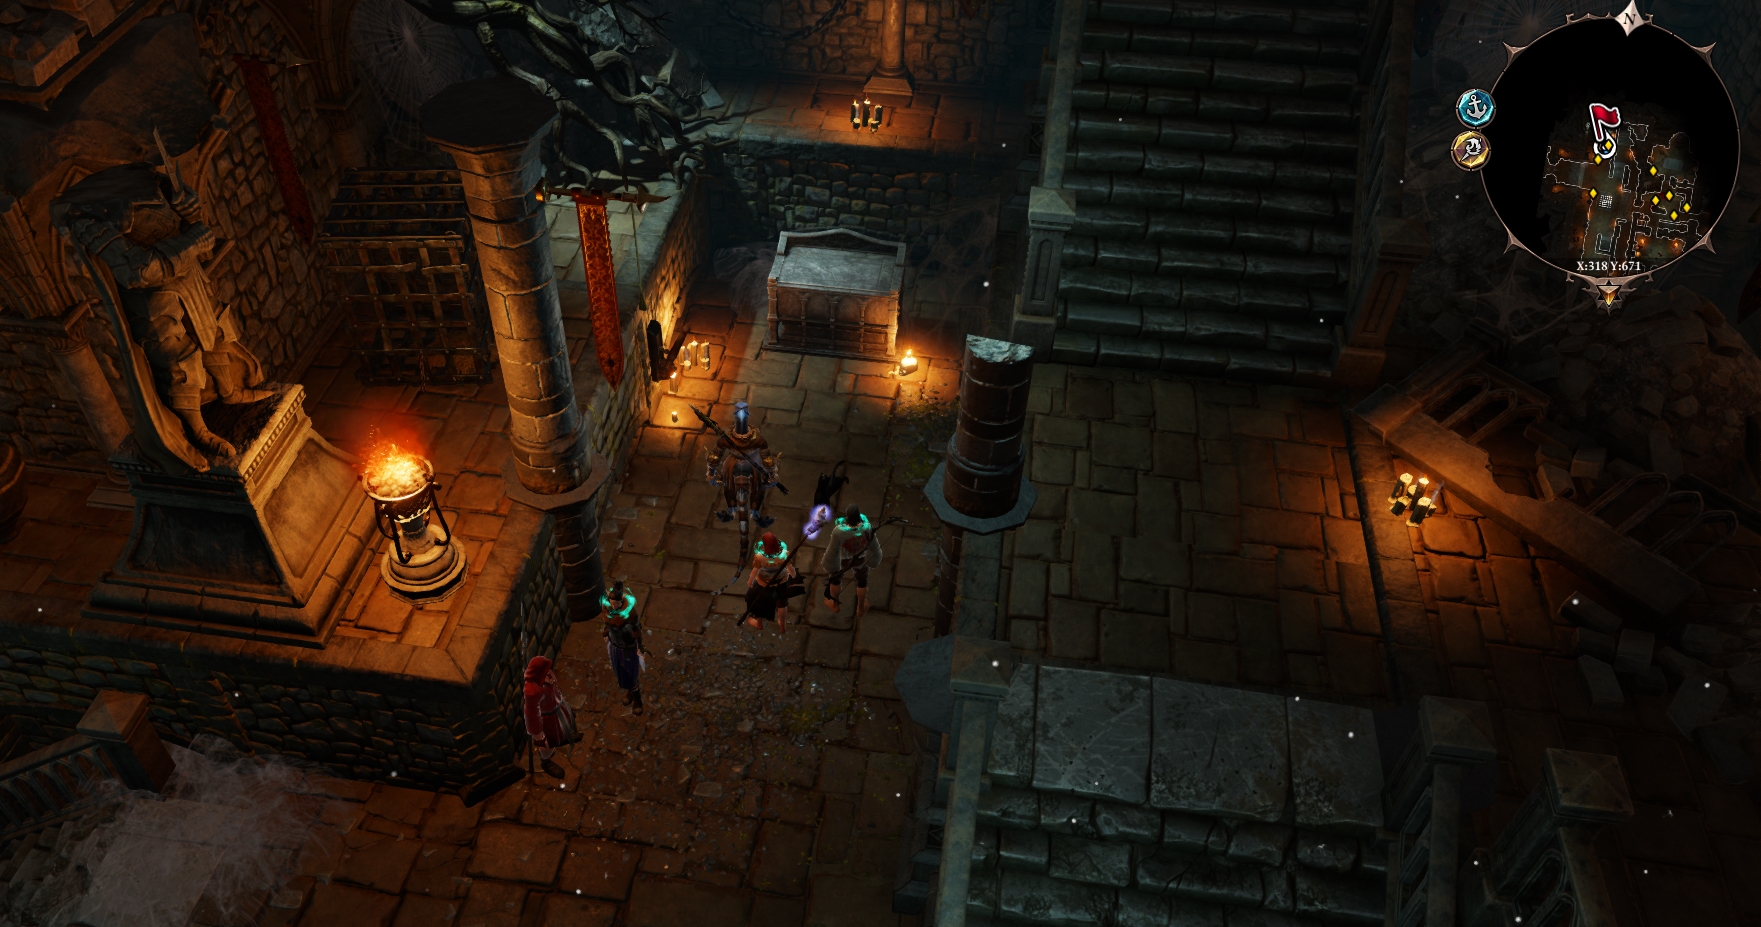
This floor has a good number of Silent Monks just stood around, you can try to speak to them but you won't get any real responses, only a conversation with your companions after. You can kill the monks if you want, they won't help each other in combat and give 200 EXP per kill. So do that if you want to, but otherwise, head straight north. You'll reach the point shown in this image pretty quickly, hug the wall on the lower section and you'll find a lever, again as shown in the image, pull this lever and the nearby stone surface will slide back, revealing a trap door. Use it to access another area and be rewarded with 800 EXP.

Fort Joy walkthrough part eight: WitherQuest.
Withermoore's Soul Jar

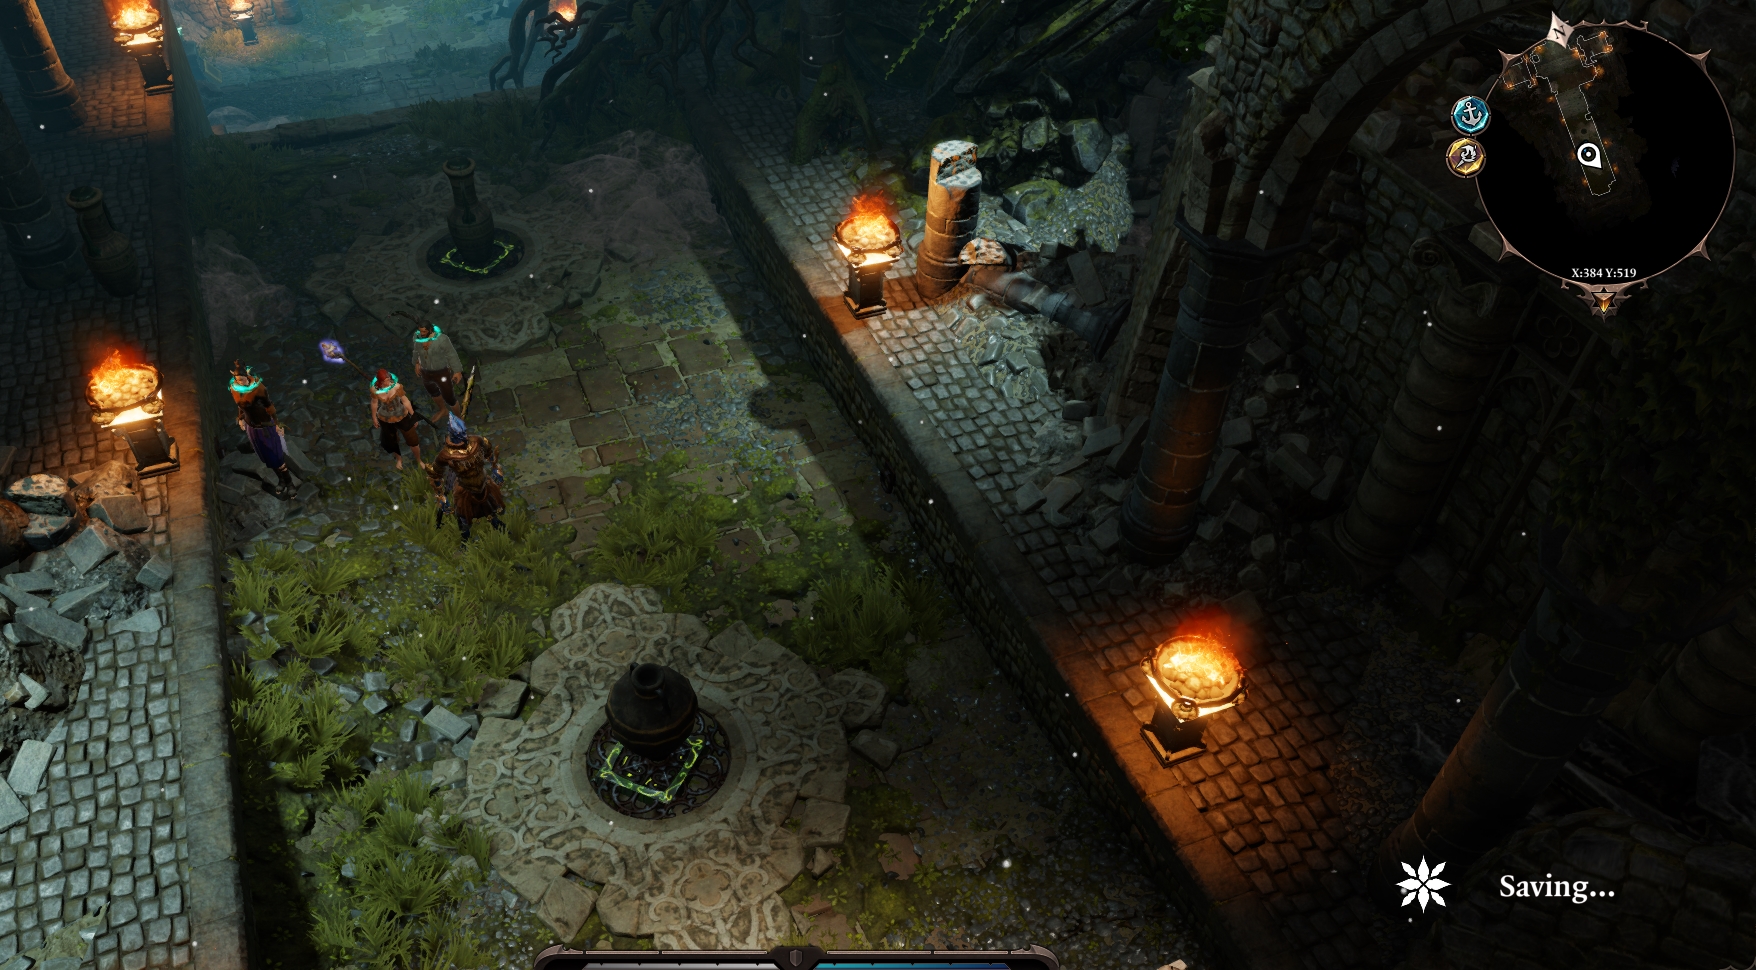
As soon as you end up on this floor you'll quickly bump into a trap spewing out poison gas, for those of you playing undead, this really will not matter to you, however unless you're in multiplayer with a full team of undead at least one person if your party will suffer from it. Luckily you can block up the traps using the vases on either side of the room like this. With the traps out of the way, head deeper into this chamber.


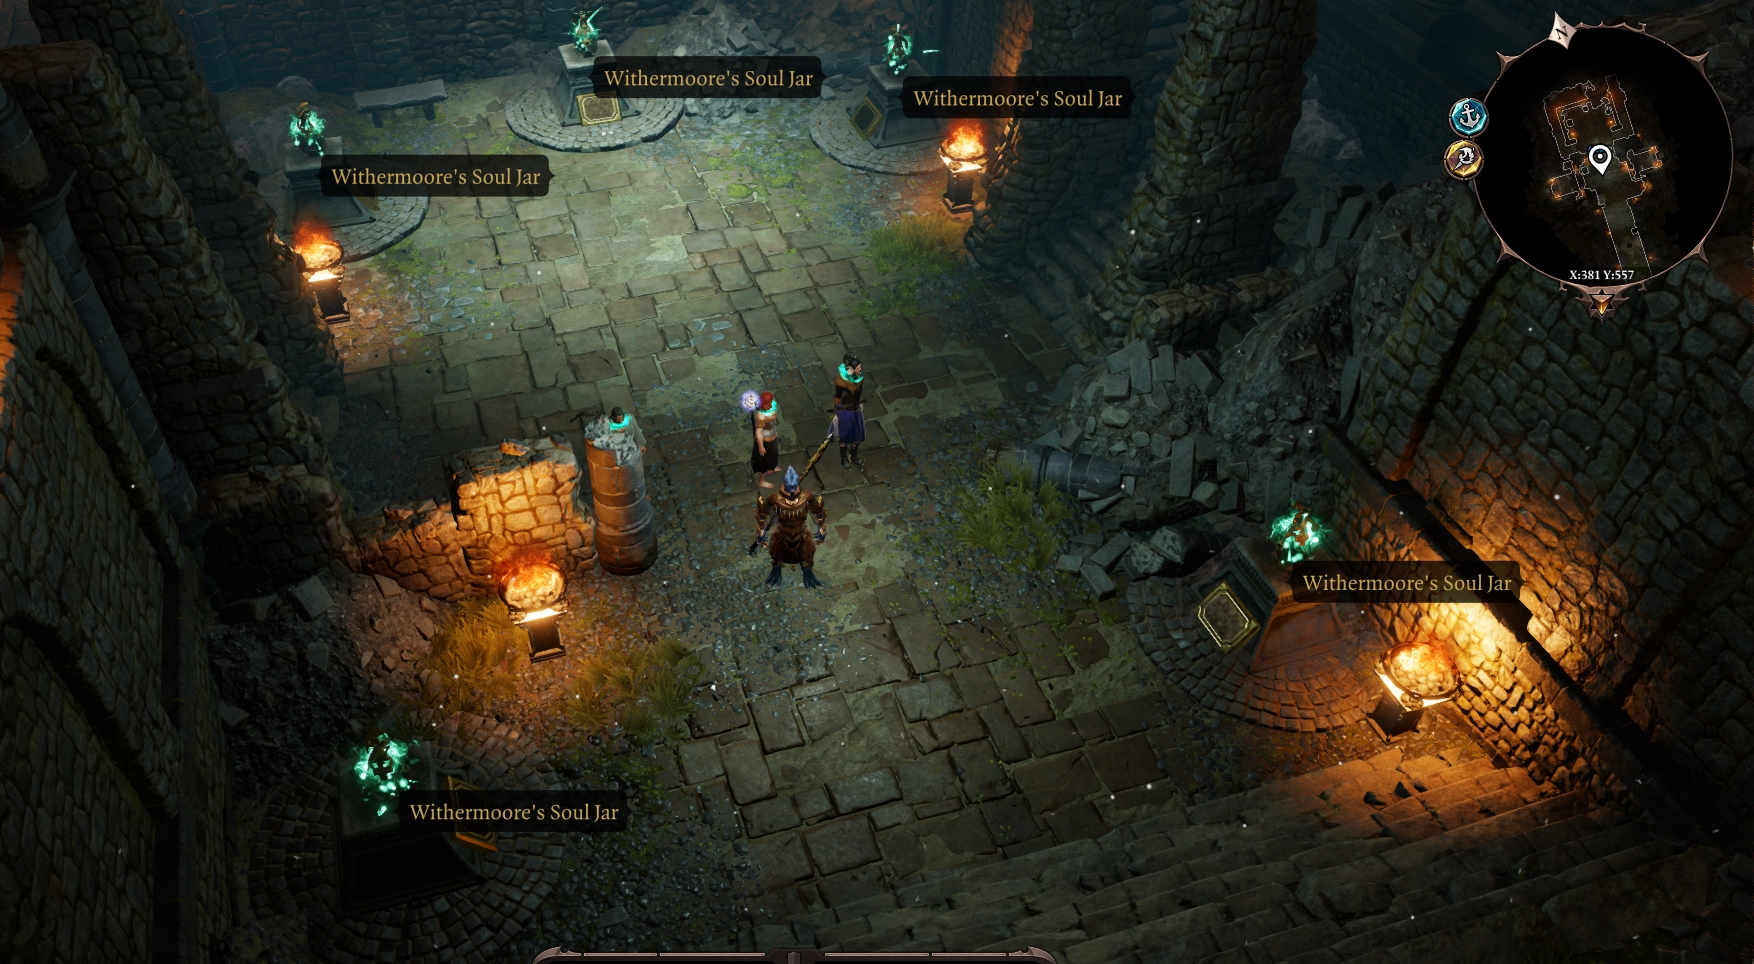
You'll be greeted with a room like this should you hold the Show World Tooltips key. Now, its fairly safe to say that Lord Withermoore was not some freak of nature with five seperate souls, and even if he was, he would probably have mentioned this when he asked for your help earlier, meaning four of these soul jars are probably some kind of trap. So interacting with them randomly with probably spring a trap.

Luckily, the soul jars have plaques below them that provide names. If you're not sure which soul jar is real and you'd like to figure it out for yourself, go speak to Lord Withermoore again, and come back here when you have figured it out. If you don't really care for figuring it out yourself then read the following.

The hint is found within Lord Withermoore's dialogue when he says "Braccus would have made me a supplicant", so the correct soul jar is the one with the Lord Withermoore the supplicant on its plaque.

When you know which soul jar is the real one, you can either attack it here to break it, interact with it and choose to break it, or pick it up, go back to Lord Withermore and tell him you have it, and breaking it when he asks you to. No matter which method you choose you will gain 1400 EXP and will be able to loot Lord Withermore's body when you return to where he was.
The only real difference is you gain additional dialogue when you take it back to him and talk to him first. - The quest does not end here as there is an extra part of it outside of Fort Joy.

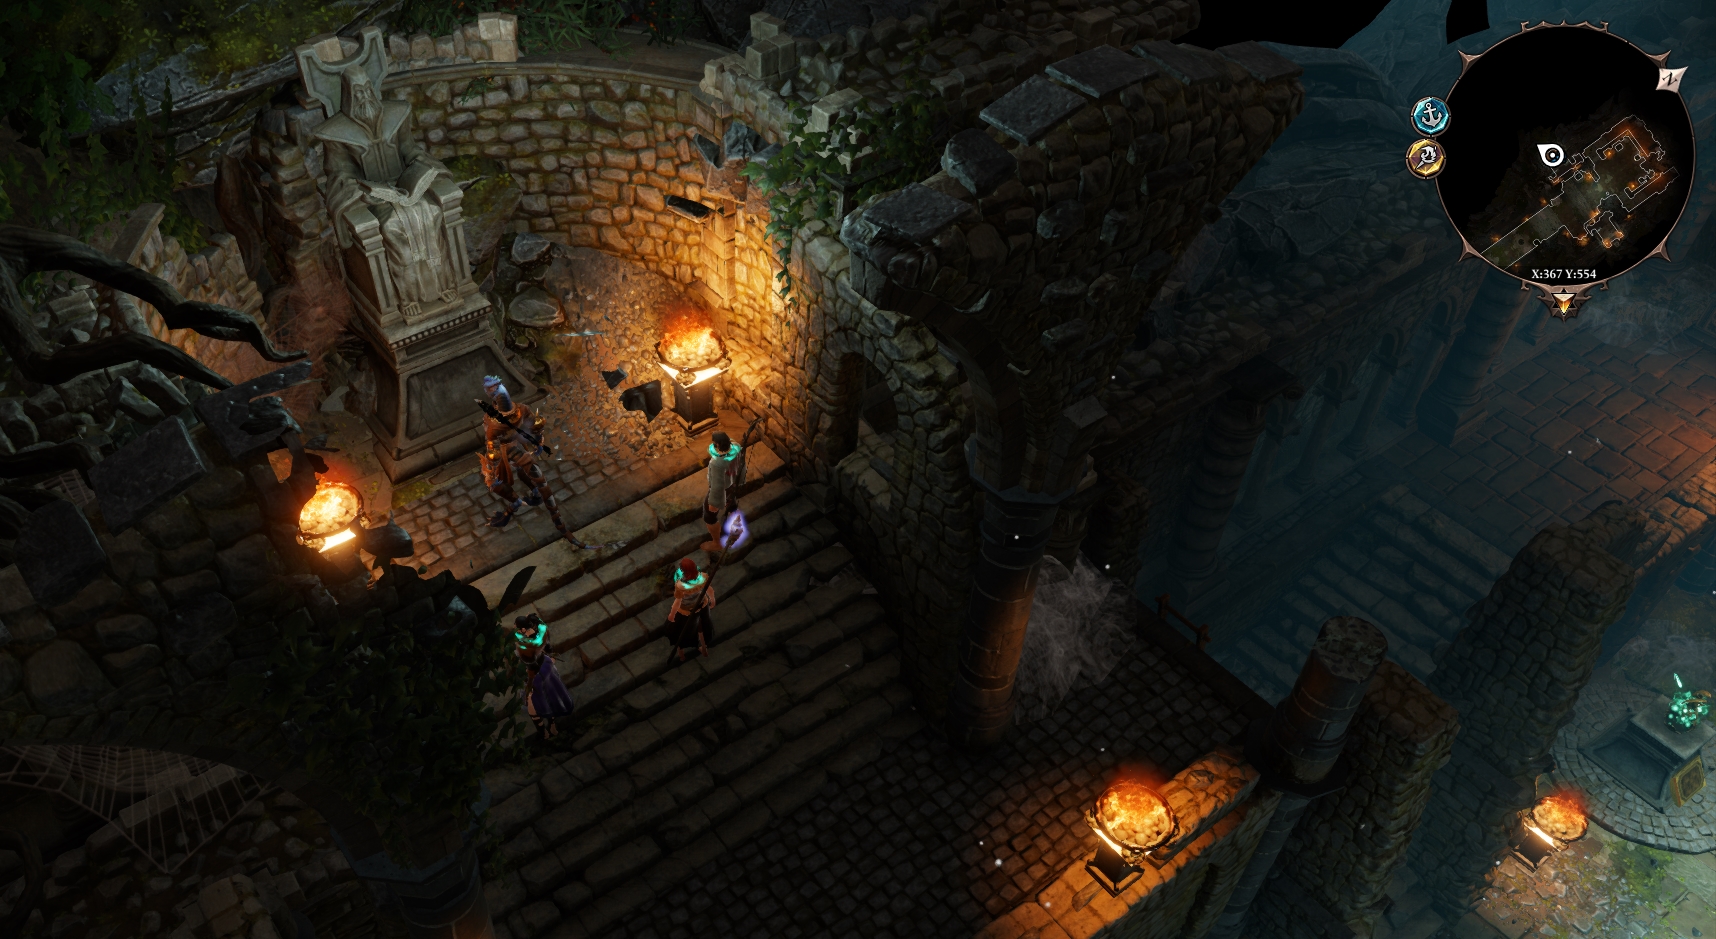
Now that we're done with the business with the Soul Jars, if you head up the ladder on the west side of the room, there is a statue which you can interact with if you have 15 wits, allowing you to scavenge a piece of Braccus rex's equipment, which will start a quest called Artefacts of the tyrant. If you don't have anyone with 15 wits yet, come back for this piece later.

Helping out man's best friends.

With that out of the way, leave the chamber you found the soul jars in, and head back to the bottom of the staircase near the entrance to that chamber. You should find yourself close to a door that resembles this one. You have the key for it from earlier, so the lock isn't a problem. Make sure whoever leads your party into this room has Pet Pal*1 or has the Shiny Red ball item on them as the dogs inside will interact with you right away. To avoid having to fight them, either choose the dialogue options related to telling Emmie about Buddy to close the Finding Emmie quest for 2200 EXP, or throw them the Shiny Red Ball to distract them from you.

*1 Ifan-ben-Mezd has Pet-Pal by default if you have him with you.

There are three doors connected to this room excluding the one you just came from, first open the southern door and grab the Jar of mind maggots off the table, they have a good sale value and can be used to make grenades if you want. Then turn the complete opposite way and go to the northern door. Make sure to use Show world tooltips in here as there is a good number of things worth looting, including the Houndmasters Crossbow and an Elaborate Cage Key which we'll need in a moment.

With your looting out of the way, turn to face the way you came in from and you should notice a small metal cage off in one of the corners, talk to Birdie inside the cage and offer to help him when the option appears, make sure to end the conversation with the option saying "you're getting him out of there."

With that conversation done, open the cage door to earn 1000 EXP upon speaking to him again. Tell him to trust himself and then refuse to put him down, which will prompt a Persuasion check. Hit your quick save key here just in case you choose an option that doesn't work out for you. Typically I choose the Constitution option, but I usually have points into persuasion on my front character at this point so it is possible that is a harder check than necessary. Succeeding the persuasion check will grant you a further 1400 EXP and he will then leave the dungeon.

Before you follow the below instructions, if you have not done so already, drag Ifan-ben-Mezd out of your party and send him alone to fast travel back to the Fort Joy - Square. If he doesn't have the cat following him & hasn't had his collar removed, then you can safely walk up to Magister Borris and progress his personal quest. Talking to Borris now will allow you to pick up a powerful crossbow from Zaleskar later, but Borris will be automatically hostile if you have left Fort Joy at any point, making it impossible to do past leaving Fort Joy.

Leaving on a boat.
With that done, leave that room, ignore the Eastern door in the room with multiple dogs, leaving via the western door you originally entered by. Head south along the corridor til you reach this point.
Walk forward and the magisters will begin a conversation with you, if you wish to avoid fighting them, do as the magister you saved said and tell them that Madam Zoor sent you, and that there is no nobler soul within the realm. If you'd rather fight them simply choose any other dialogue option.

With the magisters either having left or dead on the floor, you will now be speaking to Han, he can either be told to wait for you or you can leave with him right away. I would recommend staying at there is still a moderate amount of things to do within Fort Joy, however if you truly wish to leave here, you can always come back as long as you do not end Act 1.

If you do choose to stay, check the nearby barrels and crates for loot, there is also a painting behind the stacked group of crates and a Battle stomp skillbook hidden between them.
Fort Joy walkthrough part nine: Get me out of here!
The other ways to leave
Now that you've either left and returned to clear out the rest of Fort Joy or simply told Han to wait for you, we shall continue throughout the rest of Fort Joy.

Spin back around from the area with the boat and Han, heading back north til you hit the small steps leading to an eastern path, shown here. Continue on through there and advance into the large chamber ahead, you'll be greeted by Kniles the Flenser who will teleport over to you when you get close enough to him. Any dialogue options with him with result in fighting him here, unless you happen to have Atusa's leg on you, in which case he will smell it, and ask for it, if you give him it he will leave you alone while you're here.

For those of you who don't have it still for whatever reason, sold it or ate it perhaps, you'll have to fight him here. The fight consists of Kniles himself, three silent monks and three meat golems. The strategy that I tend to have success with here is to focus on Kniles quickly as he does a lot of damage and starts in the middle of your team, making him the easiest to burst out of the fight and a good priority target anyway due to his high damage output. Focus on breaking one of his armour types and then applying a crowd control effect such as Knocked Down on him each turn to prevent him bursting one of your team out quickly. The silent monks in this fight will take a while to reach you if you entered the fight via the centre, and they have no physical armour, so when they do use abilities like Battle stomp and Battering ram to prevent them doing much.

Depending on how strong your team is at this point you might have killed all 4 of the first set of enemies before the Meat golems break out of their cages, if this is the case, try to position your team together and adjust nearby surfaces in your favour, just remember to end turns with 2 AP left so that each person has the maximum of 6AP next round when you'll need it. The Meat golems are strong, with good HP and high damage, but they also have no armour values whatsoever, making them vunerable to every bit of crowd control you have access to. The meat golems also have no spells so Atrophy effectively prevents them doing anything as if they were hit by a harder crowd control effect, such as knocked down. Displacing the golems by using teleport is also a very strong way of handling one of them, as they are entirely melee based for attacks, they will have to run all the way back to you next turn.

With that out of the way, make sure you loot the body of Kniles, he has a lot of worthwhile items, among them are Abstinence and Chastity, two very nice early game daggers, a Face-ripper, a tool Fane would like to see, and a key used to unlock a chest over in the room overlooking this area. The ladder up to it, and the room itself are shown here.

With that bit of looting out of the way, head to the opposite side of this chamber from this room, where'll you find a metal fence. Open the gate and walk through, you'll find someone you may remember from some time ago back here, hiding in the corner. Talk to them, then give them a hand by interacting with the large wall sewer grate nearby, allowing them to get out of that horrible place. When you interact with it, you'll also go through the grate, and exit Fort Joy that way, prompting a few things to happen. - For one, if you still have the cat with you at this point you'll get the achievement and unlock the relative ability for leaving Fort Joy with it. You should also be given enough EXP to reach level five. Point your characters how you wish, - remember that you'll need 15 wits at some point to go get that item for the Artefacts of the Tyrant quest if you haven't already.
So at this point you have successfully escaped Fort Joy and yet the guide goes on.
Why? Because there is a little bit of content left relating and inside of Fort Joy and this guide will cover all of it. So if you were purely using this guide to escape, congratulations, you have fufilled your goal at this point. If you wish to continue following it til all of Fort Joy is done, then its time we moved on to the next segment.
Fort Joy walkthrough part ten: That which remains.
So after escaping the prison fortress, you opt to go back in..?

Follow the northern path in front of you and you'll quickly reach a fast travel waypoint, shown here.
If you head a short distance north of this waypoint you'll meet Zaleskar, an undead merchant who peddles some potently powerful weapons and armour. - If you had Ifan-ben-Mezd interact with Magister Borris at any point, he'll have an interaction with Zaleskar here where he is given a powerful crossbow, called Shadow's eye. This crossbow has about 60%/70% more damage than the Houndmaster's crossbow, which was already a pretty good overall weapon, and one of the better ones within Fort Joy, so picking it up without doing all of Fort Joy's content and then going back with it makes some of it significantly easier on you.

With or without Shadow's eye however, we are going back inside Fort Joy, but first if you have anything you want to sell Zaleskar typically has a decent amount of gold, and as such is a valid choice of where to sell off those items. Make sure to also check what he has to sell, as previously mentioned he can have some very nice upgrades for you.

Moving on from here, fast travel to Fort Joy - Dungeons and head back to where you found the trapdoor that lead to Lord Withermore's soul jar - be careful to avoid the dogs, they are now hostile. Head out the large nearby doorway shown here, and you'll be back outside within Fort Joy, you'll be attacked quickly by a magister swordsman, but you have him fairly outnumbered so he shouldn't pose any real threat to you.

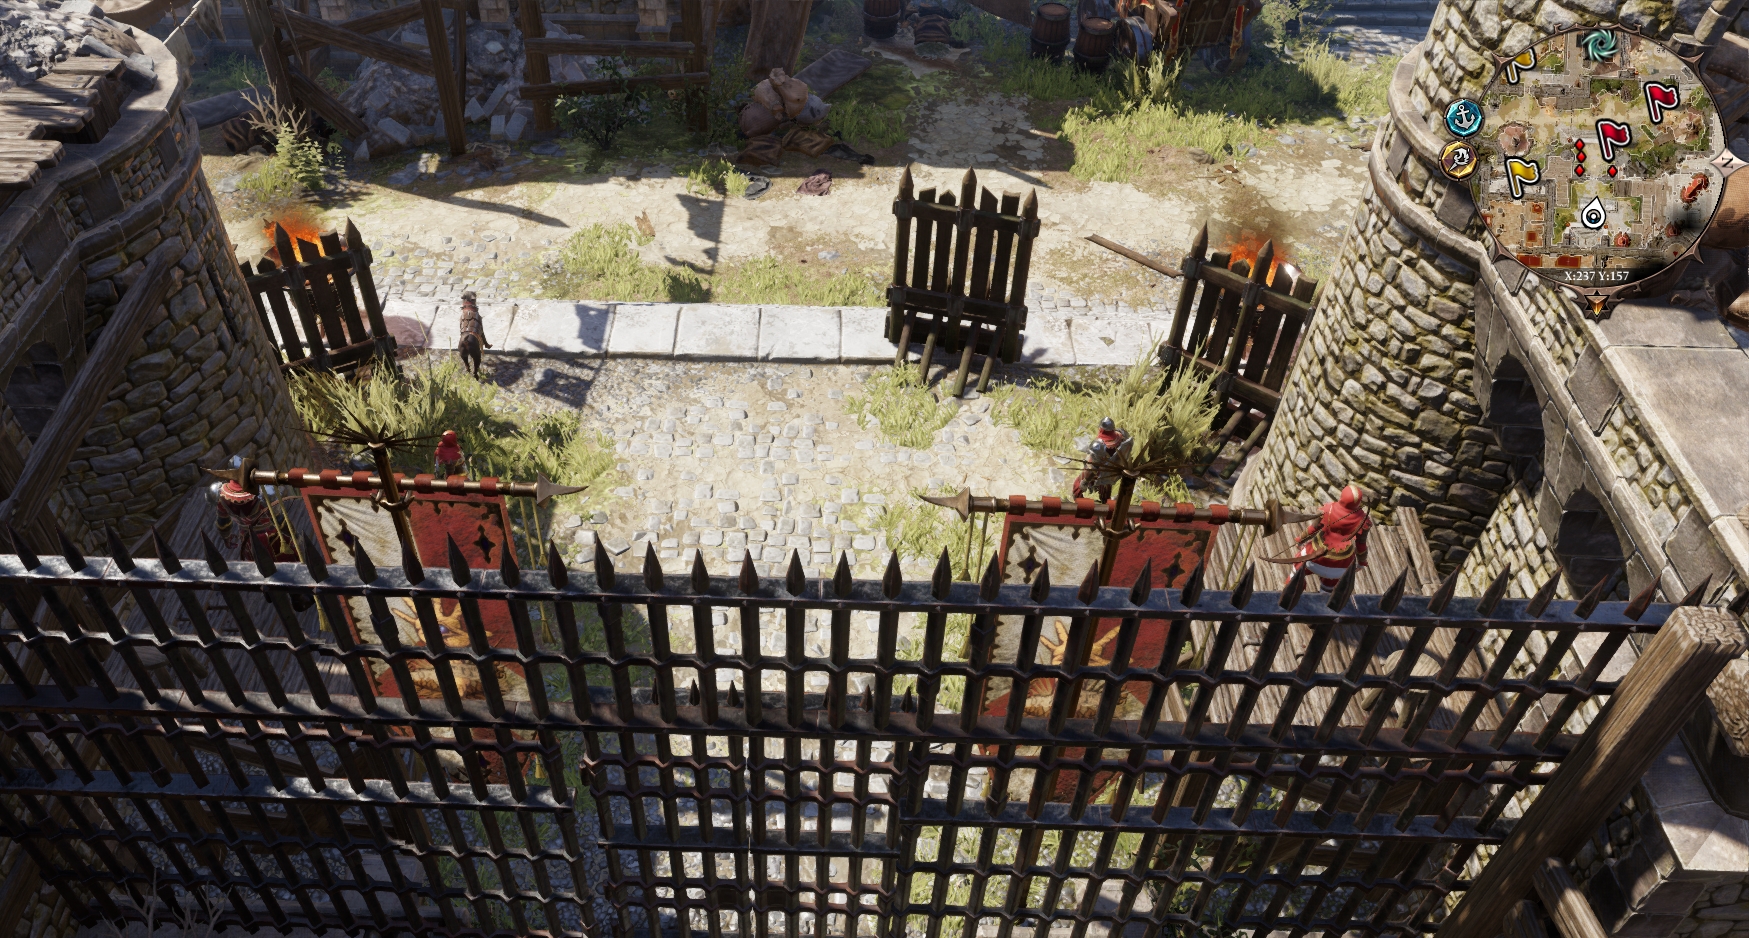
With him out of the way you'll be able to look around, and you'll soon find you have two options, The large front gate of Fort Joy or the nearby stairs. At this point we should probably deal with the magisters defending the front gate, so walk up to the gate to start a fight with them.

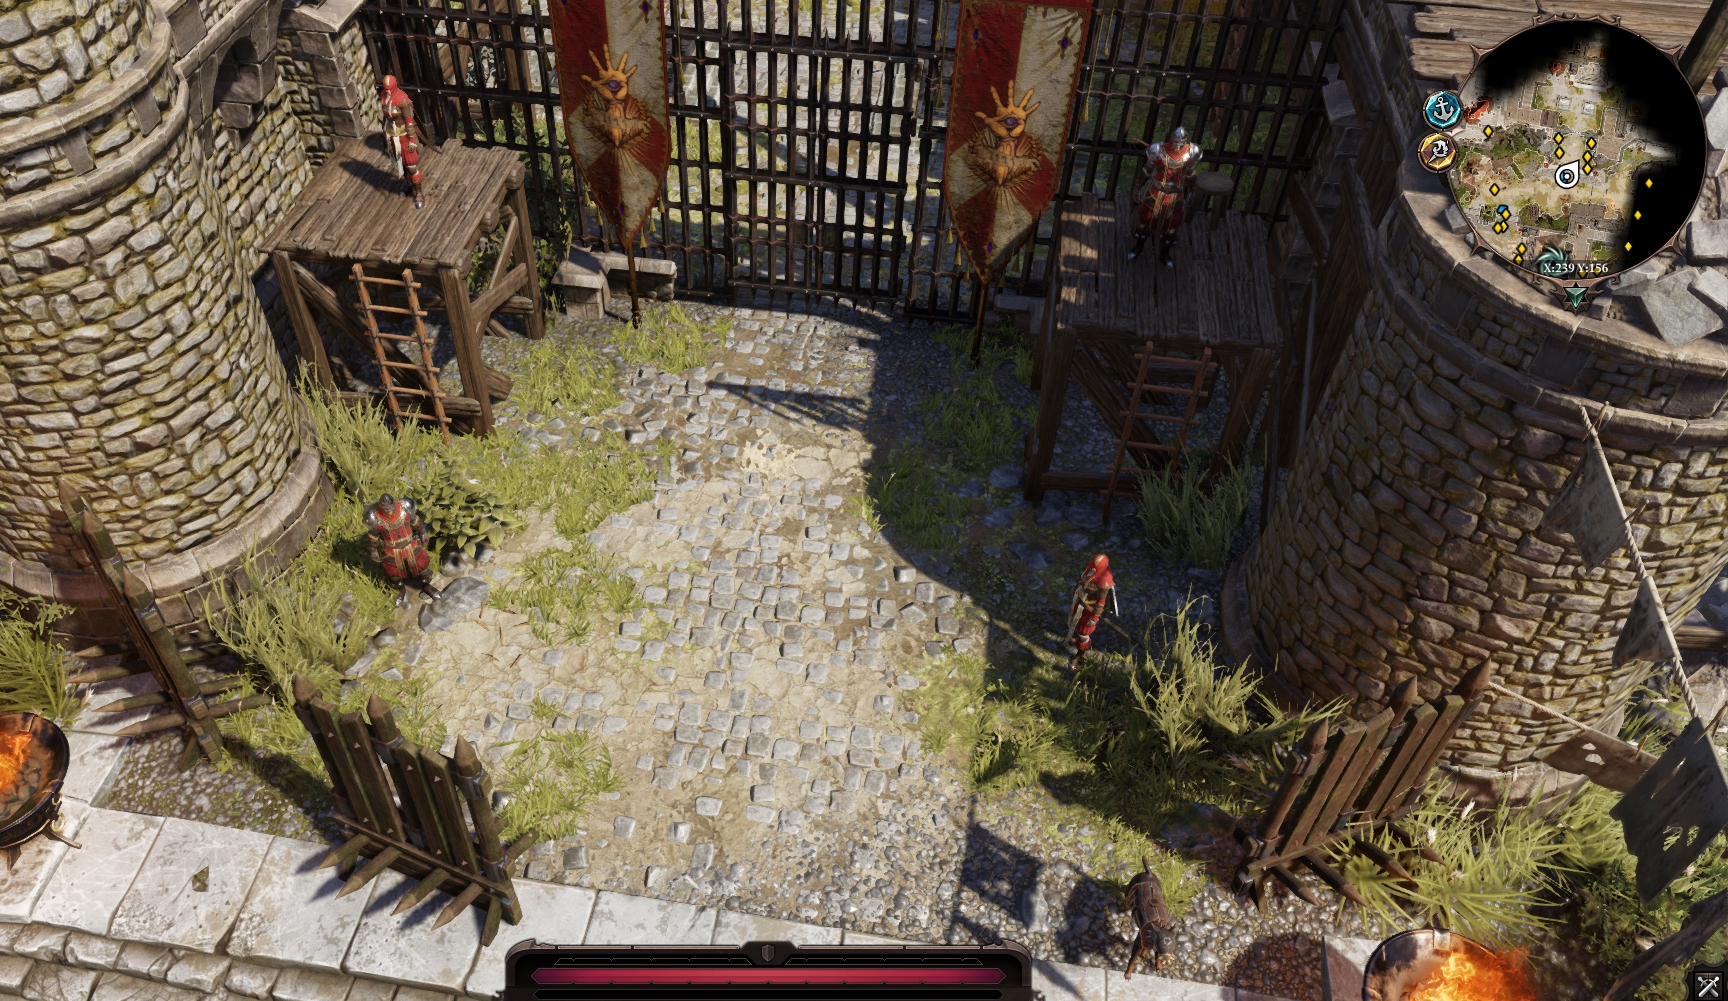
Approaching these magisters from behind makes this fight far simpler, as only two of them can hit you unless you open the gate. So to make this fight easy just focus any ranged damage you have on one of the Archer magisters, and teleport the other one next to your melee characters on your side of the fence. - It is possible for projectile based attacks such as a crossbow bolt to go through things like this fence, you just have to aim very carefully, and make sure the beam actually connects with your target. An example will be given in the Game Mechanics and Terminology section. When you've done with both of the archers you can open the gate and fight the others outright, or just slowly hit them to death with ranged attacks/teleport them into you one by one.

The above method makes that fight pretty simple, so you could fight them from the front if you want more of a challenge, that is up to you. With them out of the way, whichever method you choose to take, advance up the nearby stairs. There's plenty of stuff up her to loot, including a nice chestpiece if you wall the rampart wall all the way west, and plenty of container that could each activate your Lucky Charm if you have any points into that skill.

Saving Paladin Cork

In any case you'll soon find there are more magisters up here, and walking up to them will also result in combat. This time however, there'll be someone else helping you in the combat instance. A Paladin, no less - Paladin Cork will be in combat with the magisters when they start fighting you. Given the angle you've approached however, the paladin is left fighting three of them, while you only have two magisters to deal with. Try to advance quickly towards Paladin Cork, as casting Regeneration on him once makes him a significantly more worrying force for the magisters, namely because three of them have already used a lot of their big damage abilities on him at this point, and he'll survive long enough to use Shields up! and restore his armour values, making him much harder to deal with. Typically, if you can handle the two magisters you intially fight, and the Magister Knight, Trippel he'll be able to tank the two archers on his own, and slowly kill them.

Saving him isn't exactly required for anything, but it does prompt a conversation with him, - If you prefer taking all conversations with a specific character, make sure they're the one closest to him when the combat ends. You will see him again later if you save him, but he is not particularly important.

With all that out of the way, remember to loot the bodies and wide variety of nearby containers, Show world tooltips is particularly useful in this area due to the sheer amount of items around. If you advance east from here you'll quickly reach this area, interact with the wheel shown here to lower the drawbridge and unlock another way to Leave Fort Joy.

With that out of the way, spin around and head inside the building near where you just presumably saved Paladin Cork there's a decent number of lootable containers in here, including two chests visible in this image alone. You will have to lockpick the gate to get to one of them however.

Now there's a fight nearby, through the door that goes deeper into this building. If you want more of a challenge from it enter through that door, if you're finding combat difficult I will show a different approach in the next section.
Fort Joy walkthrough part eleven: Judging the high judge & getting the hell out.
Tactical positioning

If you want to start this fight with a potentially more advantageous position, head back to the Fort Joy front gate and climb up the ladder off to the side of the gate. Walk along the wooden platform and around the side of the building, and you'll find another ladder that you can knock down for potential use later - at this point you're nearly finished with Fort Joy but who knows, maybe you'll need to retreat down it should the upcoming fight go wrong perhaps.

Now, unless you've managed to sell the key you should have picked it up at some point earlier, so try to open the iron door near the ladder you just dropped down. If you no longer have the key, you'll have to either do the fight from the other angle or simply lockpick the door open. - You may also simply be able to break it down, the door only has around 150 HP.

There are a variety of objects within this room of interest, including the spare mace of High Judge Orivand, two chests, an identifying glass on the desk and the book Claws of Deceit on the far bookcase from the entrance. Reading the book will give you a dialogue option with Ifan which will give you a very small opinion boost during the ensuing conversation.

If you move the screen behind the desk out of the way, you can also walk outside by the gap in the wall, allowing you to reach a chest you may not have noticed if you haven't rotated your camera much. When you're done looting that chest and the variety of items throughout the room, seperate your party into individuals who are not following each other by dragging their portraits away from each other, towards the centre of the screen one by one, position each individual of your party to cover various angles of the large brass door opposite the one you entered from. When done you should have a setup vaguely like the one shown here, though most likely with a different party composition.


Use your personal character to open the door and walk forward, starting a conversation with High Judge Orivand, no matter what options you choose the outcome will end the same, you will always end up in combat against him - this conversation also gives a bit of information about the Silent monks that you have encountered so far. You'll be against six enemies for this fight so it can get a little difficult if you're not careful. The best first move here is to retreat right back into the room you just came from and funnel the enemy through the door. This particular tactic makes abilities such as the Lizard innate Dragon's Blaze and Battle stomp very powerful, as they have to potentially send everyone in through a thin gap where you can apply a negative surface or just chain hard crowd control effects into that area. Just keep your melee characters in this room to defend your ranged ones and to kill anyone you teleport in, as advancing into the next room with six enemies will get them killed quite rapidly.

If you have issues with this fight, consider using the teleport gloves to either drag a high priority target into the room with your team, and rushing them out of the fight. Example targets would be Orivand, or the two magister mages. Alternatively, use it to displace either the silent monk or the magister swordsmen away from your team, to prevent them doing damage to you.

With that fight now out of the way, make sure to loot the corpses as per usual, Orivand has a unique weapon, making at least one of them always worth checking. There isn't a huge amount of interest in this room after that combat encounter however, most of the good rewards for dealing with him are in the room you came in from, and the escape method in the same room as him.

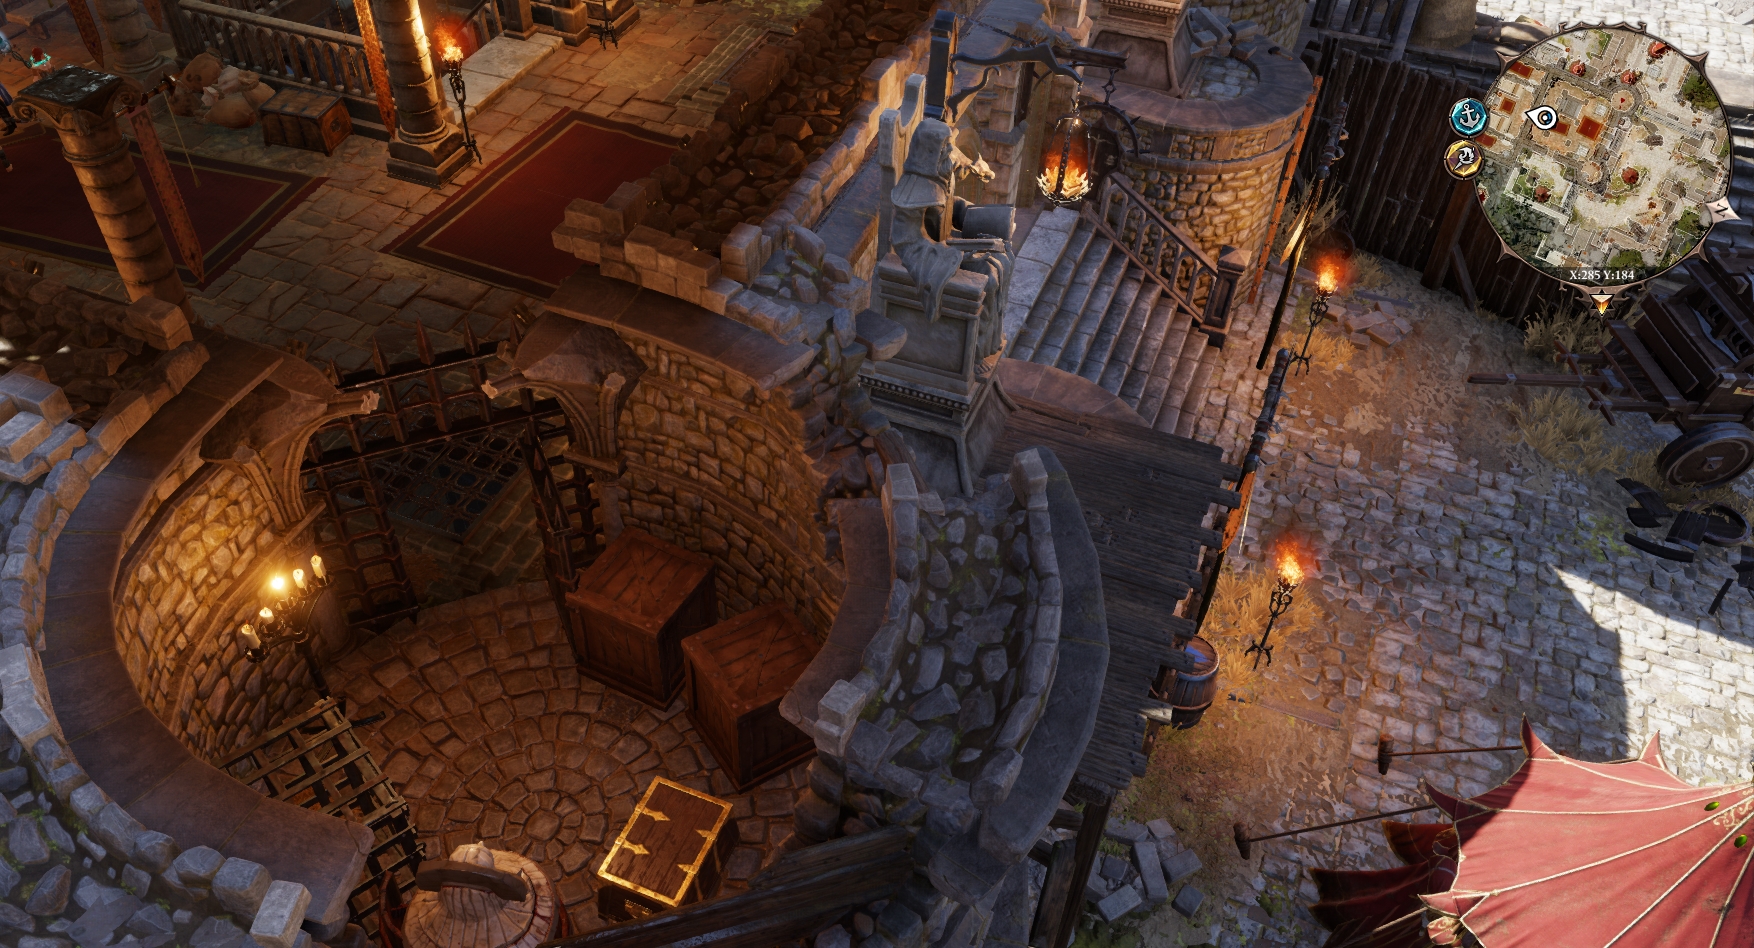
As shown here, the far tower from the side of the room you entered by has a gap in its wall, allowing you to walk out onto the wooden structure outside, and there is a ladder out here you can use to drop down and potentially escape Fort Joy. You will have to move a crate and a barrel out of the way to use this method but thats not particularly difficult to do.


The final escape method, and the final fight within Fort Joy.
Unless you go back and pick on the civilians, anyway...

With the high judge out of the way, head back to where you originally met Paladin Cork, outside the entrance to this building. Continue due north from there, and out the gate in front of you. You may remember this area, you may not. Allow me to remind you.
This happens to be where you teleported Gawin to earlier. Yes, that prat. Exactly. Head east along the stone walkway and you'll be able to see a small group of silent monks, and some magisters on the docks. And we all know what magisters mean by now. Combat! Run into their sight range or get a quick shot off with a ranged character to start the fight, don't worry about the silent monks nearby, they won't side with the magisters here. At this point you should be geared up enough to wipe the floor with these magisters, but if you have issues remember to use teleport to either keep a strong enemy away or to drag an enemy mage into your team and focus them out.

When you've won that fight there is plenty of loot on the docks, as you'd expect. Loads of containers, and plenty of loose items. Nothing incredible on its own really but if you were to sell off everything here you'd make quite a nice sum of gold. There is also a locked chest on the lower floor on the docks, nestled in the corner next to one of the small sets of steps, hidden behind some barrels. One of the magisters will drop the key for it, so no worries about needing lockpicks for it.
You've also probably noticed by now that Gawin didn't seem to make it very far, the magisters kill him here for trying to escape. But hey, I suppose thats what he gets for leaving you behind, right?

With the last remaining combat encounter dealt with, you're probably curious what the last escape method is. Well, quite simply, you can just leave via the docks you have now just cleared of magisters.


Freedom is yours now.
Game Mechanics and Game Terminology.
Armour and weapon leveling

Each individual piece of armour and each individual weapon has its stats determined by the level you are when you discover it for the first time - this means that armour that was incredible at say, level eight, will be worse than semi-decent armour at level twelve due to the armour scaling values.

The specifics of this system are not overwhelming clear but utlimately it means that you should be trying to upgrade your gear as much as possible unless you want the specific bonuses it has, such as a +2 boost to Necromancer. This is a big part of why wandering off for a while and leveling up once, with a few bits of new gear can make a massive difference in terms of a battle that was a previously too difficult to win.

Quest rewards

Some quests offer a choice of items for a quest reward, as well as fixed items for the quest itself. These items are generated by the same system that determines the details of armour and weapon scaling so these rewards should always be relevant to your level, if not entirely ideal. - In other words, they can be good sources for a certain bit of gear your current level set needs, or a more up to date weapon, but they probably won't be the best item you've ever seen at the respective level.

Crowd Control effects, CC for short.

While definitely not unique to this game, there are number of more unusual aways to apply crowd control effects in DIvinity OS2, such as using an oil surface to apply slow.

To quickly explain the terminology for those of you who are confused, soft crowd control effects are those like slowed, they do not Stop you doing things, but they do Impair it.

Hard crowd control effects are things like Silenced or crippled where they prevent you from taking some kind of action. In these examples, Silenced prevents you from casting spells and Crippled prevents your ability to move for their respective durations. Some people debate whether silence is a hard crowd control in other games as it doesn't impair movement, which is typically somewhat more important than casting a spell in those games. However, for the purposes of Divinity OS2, losing spells can be very bad, and losing movement not so much as is normal for other games.

The strongest variety of crowd control consists of effects like Knocked down, where they prevent you from taking any actions during that turn, as in this example, you spend that turn getting back up.

There are other effects such as Teleport, which you can use to displace an enemy, however this is not really a crowd control effect as it doesn't prevent anything. Do not underestimate the value of displacing an enemy however, as it can force them to waste a turn moving if done correctly.

Aiming through gaps?

Divinity OS2 is actually one of the clearest games on allowing you to fire through small gaps as displayed here, you can simply attempt to aim your attack through them. This includes attacks such as throwing a knife, crossbow and arrow shots, and even a good number of projectile spells. All you have to do is make sure the light line connects with your target and that the landing point light is somewhere on them, in this image its present just below Magister Borris' back, so it should connect. And it did indeed connect with him.
Final thoughts
This guide is definitely a bit larger, significantly larger even, than I was expecting it to be when I started, having taken around a week to finish writing up completely.
As stated in the description with it being so big it is somewhat hard to check all of it, so if you see an error feel free to mention it in the comments and I'll get to fixing that when I can.

Hopefully you found the guide useful and informative. Did you find anything I missed? Do you have some cool stories to share from your adventures within Fort Joy? Did you catch some of the references I snuck in? Let me know in the comments below.

Fun fact: this guide features around 60 images, all of which were taken from within my own test playthrough to help provide advice to you and get the numbers I was referencing right.
Good luck with the rest of Act one!
40 Comments
theinfinite 31 Aug, 2023 @ 12:18pm 
Thanks for the guide, really helped me a lot!
Fjarunsigr  [author] 30 Oct, 2022 @ 7:42am 
Yeah, this was primarily intended for players entirely new to the genre as its basically a direct follow on from the far shorter guide for the ship section prior to fort joy.

Div OS2 picked up a lot of people who this genre normally doesn't from what I could tell, so it seemed like something to help them out would be useful at the time.
RedViolin 30 Oct, 2022 @ 4:55am 
path worked great, used the whole guide and there's a bunch of things I missed my first playthrough that I found in this guide. My only complaint is that the guide is a bit wordy with redundant information but since it's intended for new players it's pretty understandable. Now I would love a guide for hollow marshes lol
Fjarunsigr  [author] 30 Oct, 2022 @ 4:16am 
Yeah the opening areas got some wholly new content within the last year or so added in to make it a bit less of a winding path. The guide simply hasn't been updated since then.

Mind, the routes used in this guide should still work, I just haven't really played all the new content enough to have figured out a new one to replace it with.
RedViolin 30 Oct, 2022 @ 4:06am 
There's an entire ship just past the turtles you fight, Pretty sure you know about it but forgot to mention it
Fjarunsigr  [author] 11 Aug, 2021 @ 2:24pm 
This is pretty old by now but back closer to when I bought the game I saw a lot of players bouncing off it, primarily due to issues with the genre for them, so I made it because of that. I haven't played the new update content to even try to get that in here, but it should work as a good baseline for players trying to figure stuff out.

+ If nothing else if you don't want to murder your way through the camp (Aka kill friendlies for bonus EXP) it should provide a nice baseline path that gets you to encounters at near enough the right time to fight them without big issues regardless of most updates.

I'm not sure people actually outright get stuck navigating it so much as like, hit a difficulty barrier and don't know anywhere else to go to level up past it. Or just outright get lost.
Kingflubberguster 11 Aug, 2021 @ 1:16pm 
wait ppl get stuck in fort joy if u cant figure out specific methods u just murder your way off the island thats what i did first playthrough nice that your helping players tho.
Fjarunsigr  [author] 25 Nov, 2020 @ 5:39pm 
No problem. Should be noted there are new areas and fights within the latest gift bag content that I still haven't gone through myself yet - so be careful activating those, save beforehand, etc - I don't really have the knowledge to make corresponding guide sections for those without doing them after all.

As a general rule though, anything 2+ levels on you shouldn't be tangled with unless you both a) save beforehand and are fairly confident with your builds.
Ideally I'd just say stick to fighting things you are either the same level as or above the level of while you're learning the game.

Experimentation with fights that are one or two levels up is fine after you're used to the game - but level makes much more of a difference here than other games would have you think so its often where a lot of newer players fall down.
drmullins 25 Nov, 2020 @ 6:04am 
Followed you to the letter having had issues progressing and wrong fights- made all the difference thank you for taking the time and trouble to help others.
Fjarunsigr  [author] 3 Jun, 2020 @ 5:26pm 
As a note to anyone who finds this guide and is on the fence to buy the game or not for whatever reason: I wrote this damn guide. I'm still finding stuff in act 1 I wasn't aware of around 500 hours in. Trust me, its a solid buy.