
Install Steam
login
|
language
简体中文 (Simplified Chinese)
繁體中文 (Traditional Chinese)
日本語 (Japanese)
한국어 (Korean)
ไทย (Thai)
Български (Bulgarian)
Čeština (Czech)
Dansk (Danish)
Deutsch (German)
Español - España (Spanish - Spain)
Español - Latinoamérica (Spanish - Latin America)
Ελληνικά (Greek)
Français (French)
Italiano (Italian)
Bahasa Indonesia (Indonesian)
Magyar (Hungarian)
Nederlands (Dutch)
Norsk (Norwegian)
Polski (Polish)
Português (Portuguese - Portugal)
Português - Brasil (Portuguese - Brazil)
Română (Romanian)
Русский (Russian)
Suomi (Finnish)
Svenska (Swedish)
Türkçe (Turkish)
Tiếng Việt (Vietnamese)
Українська (Ukrainian)
Report a translation problem


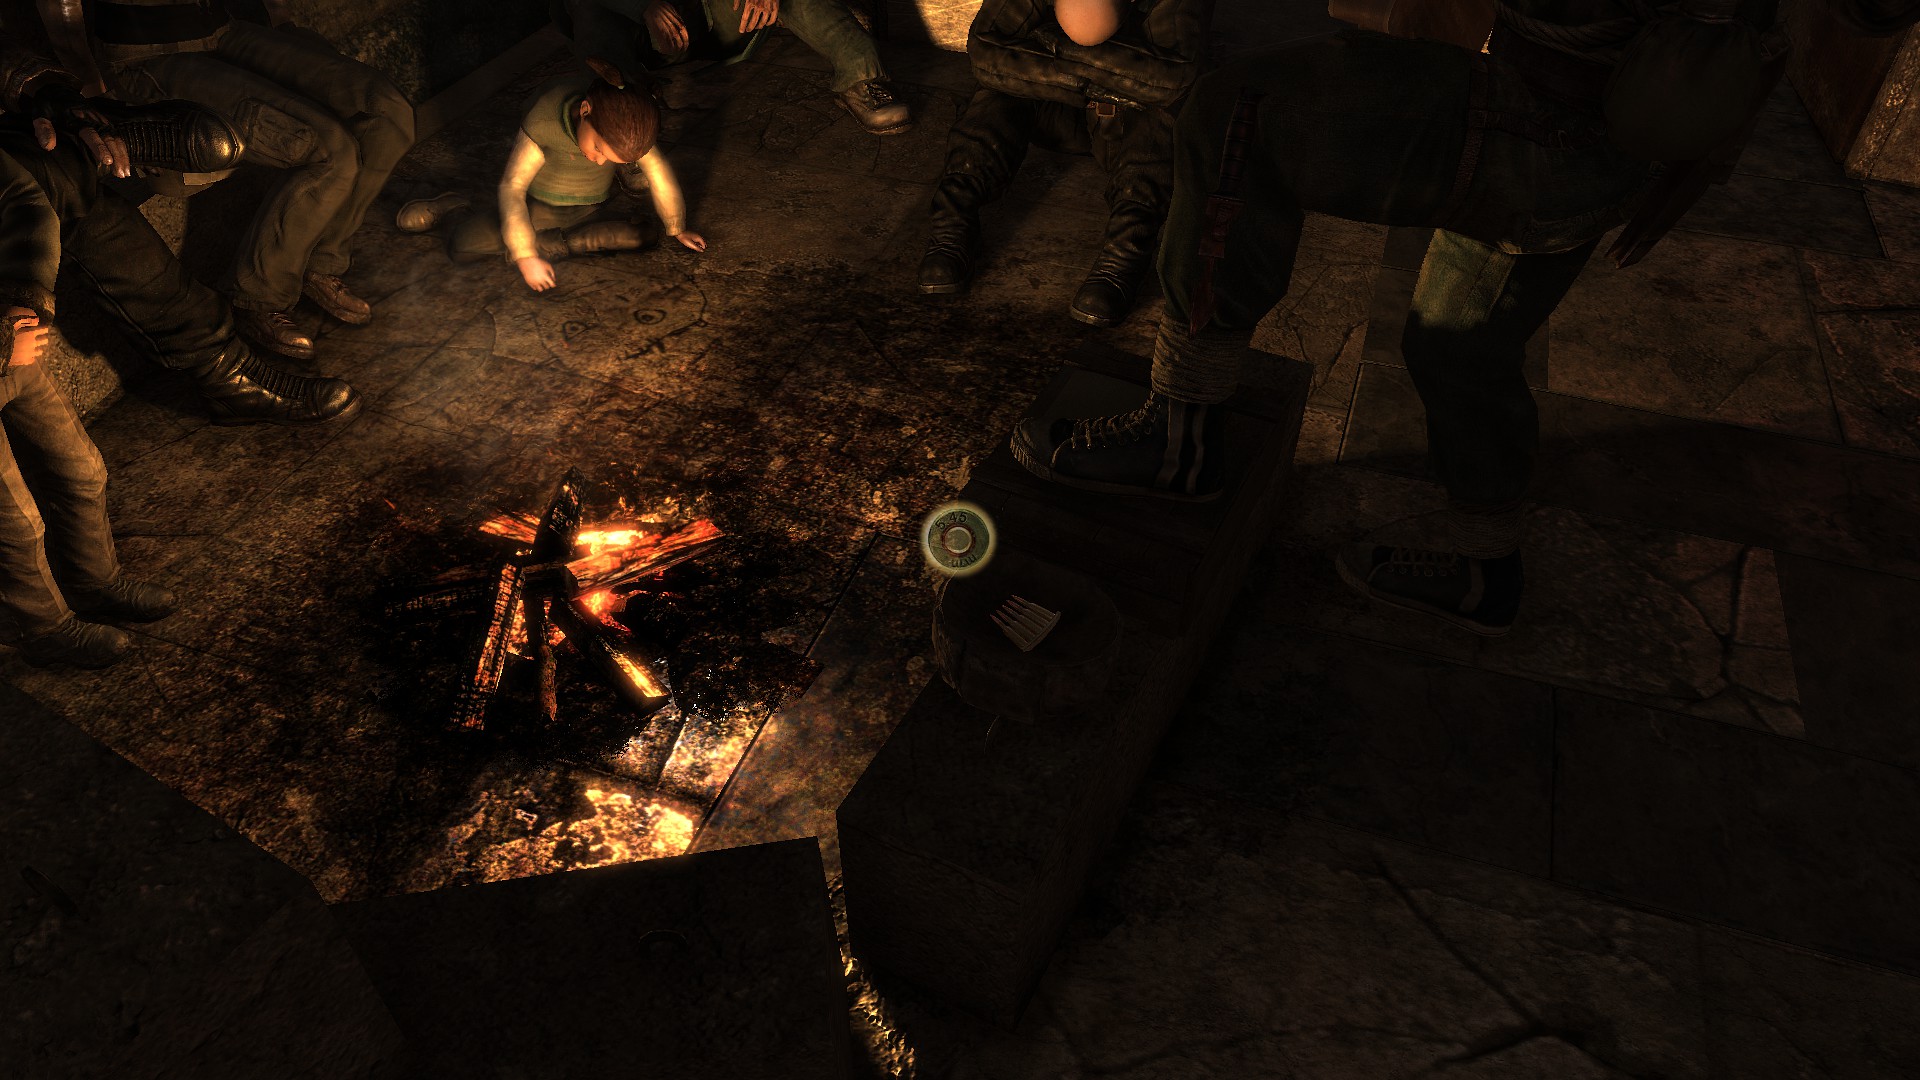
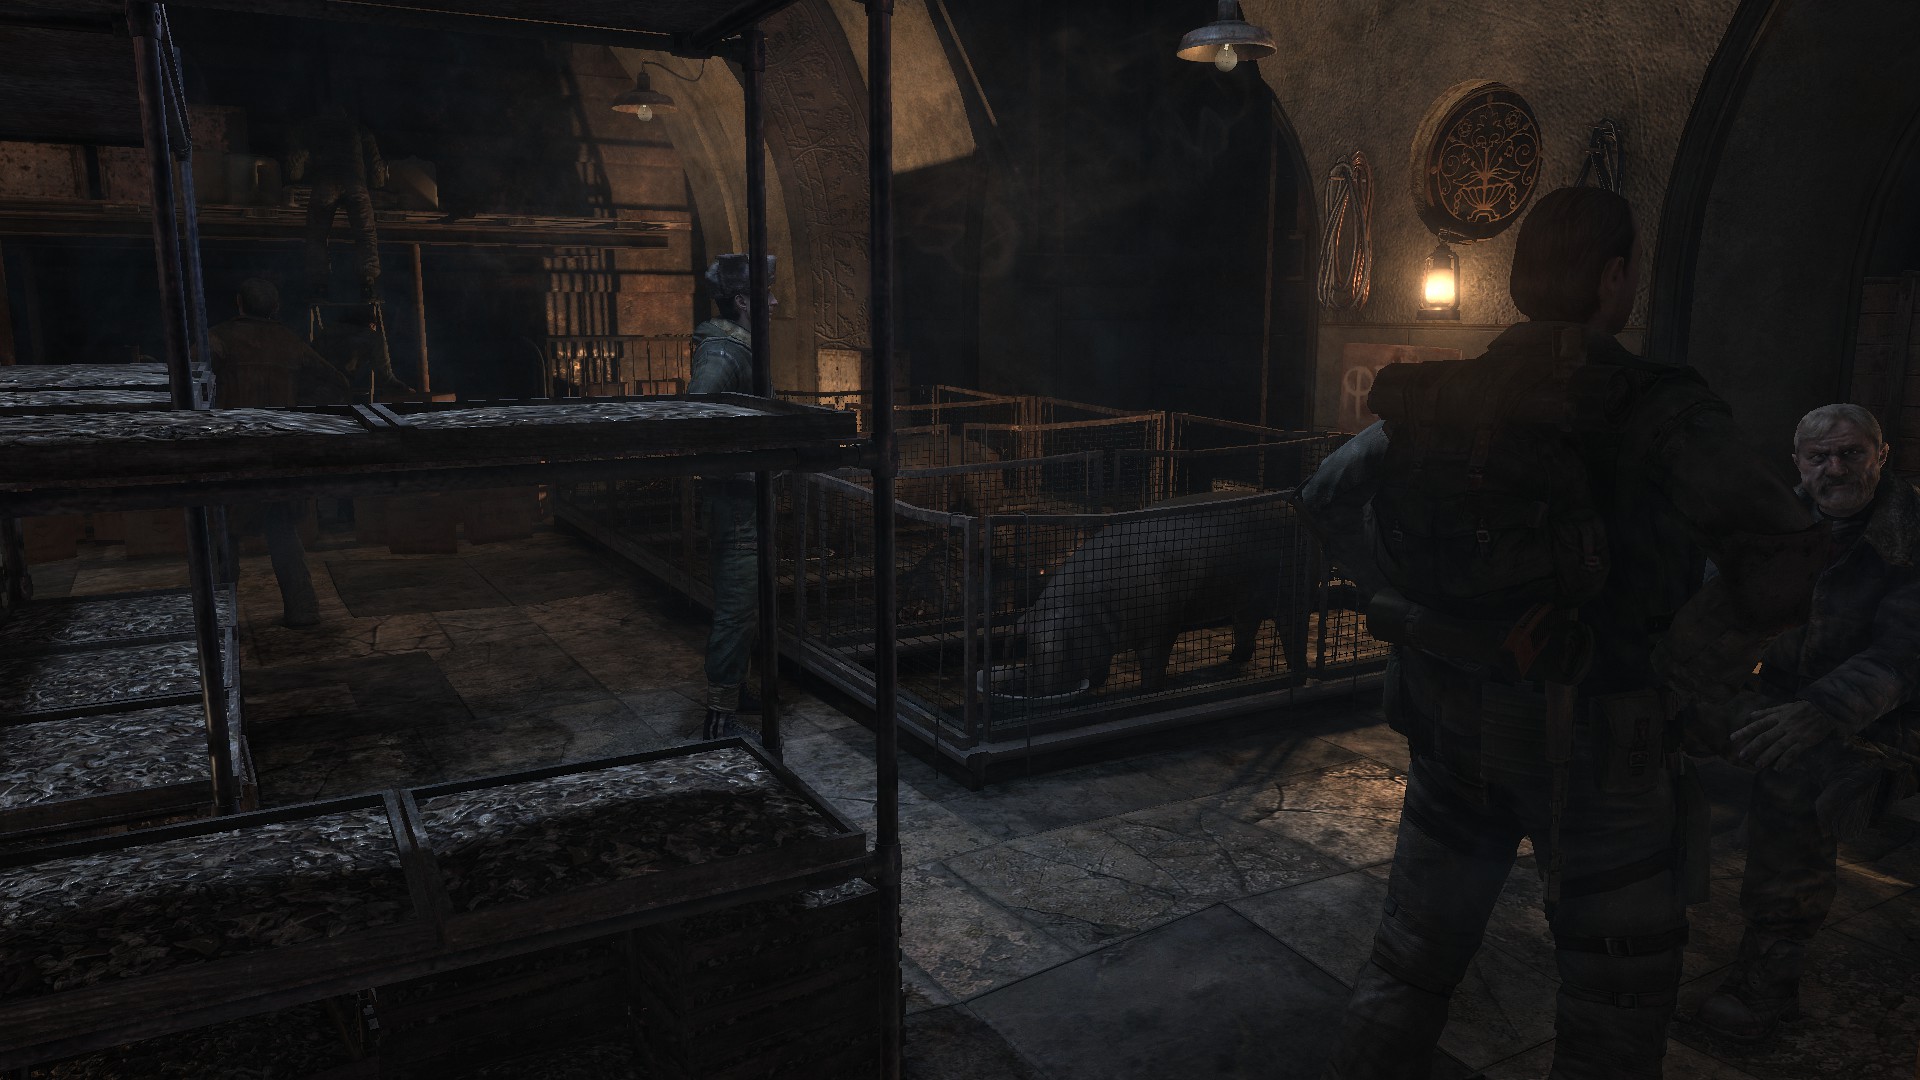
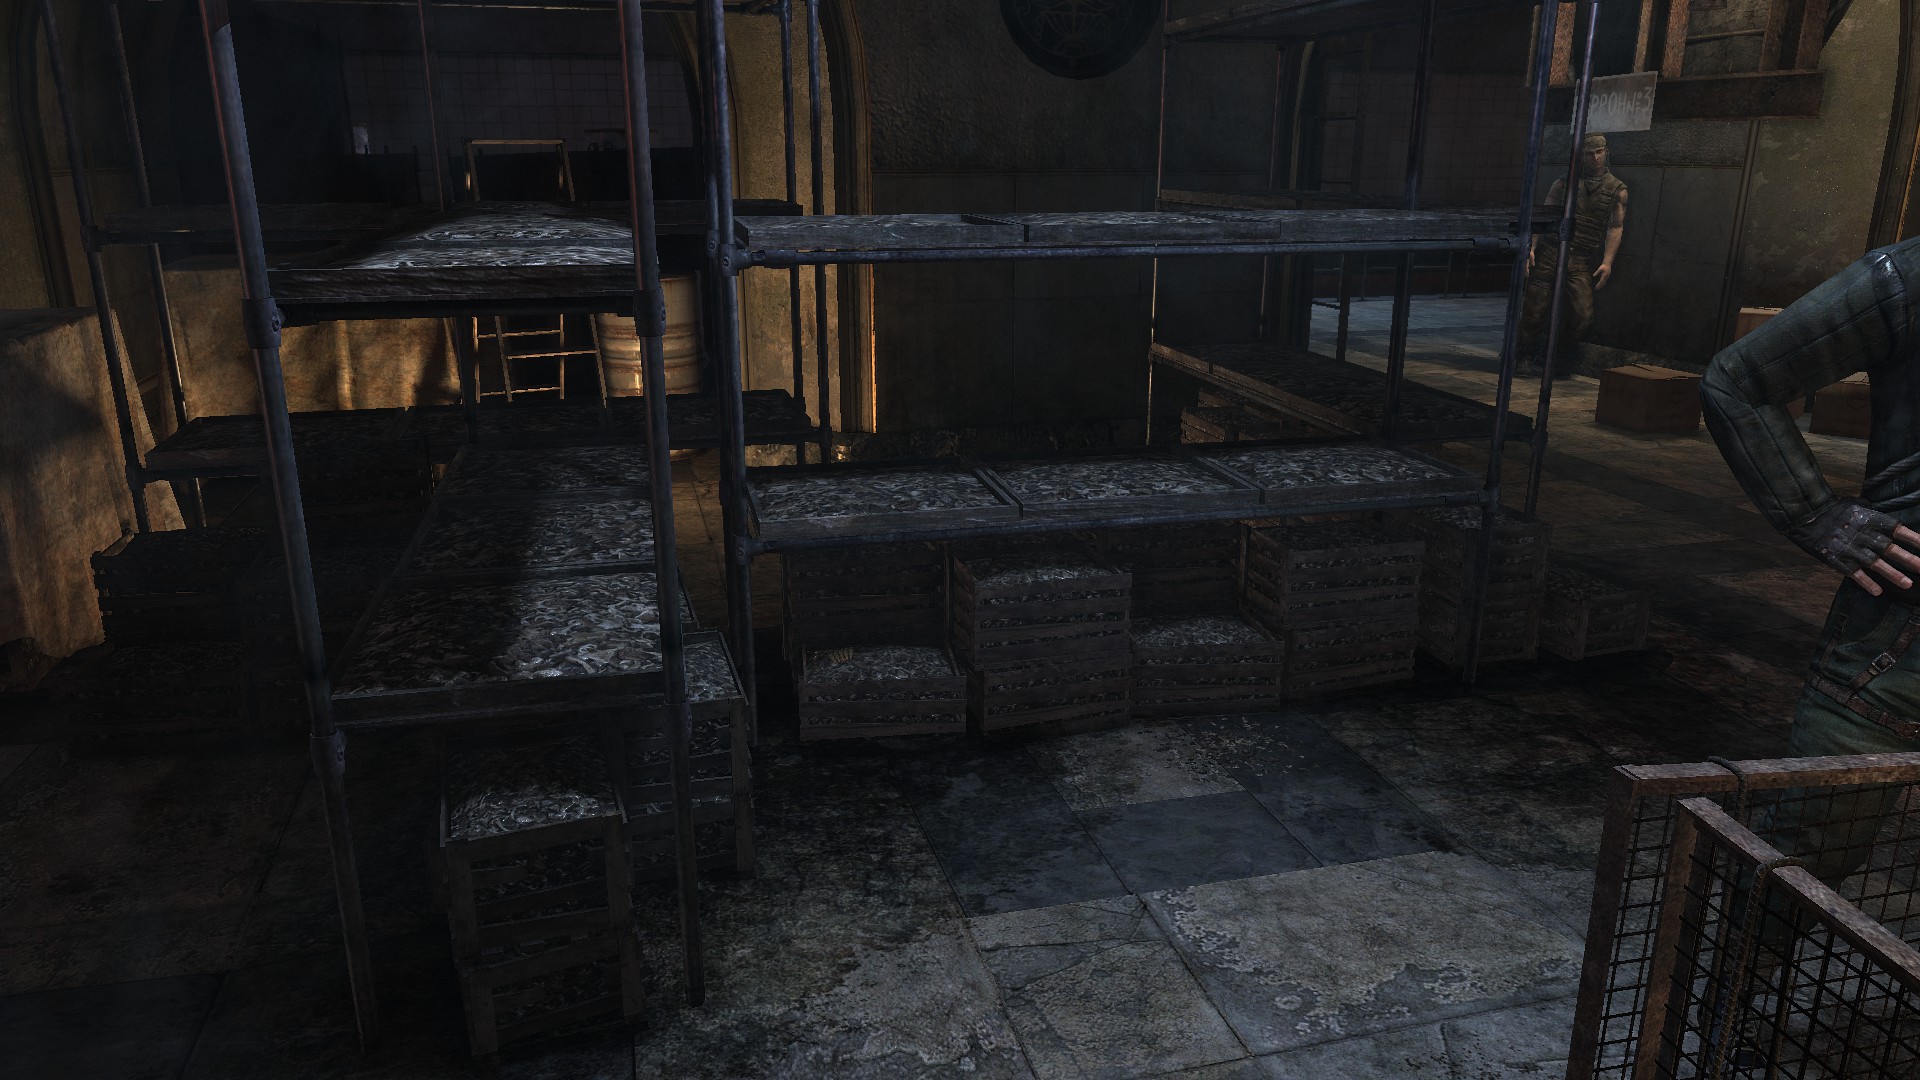
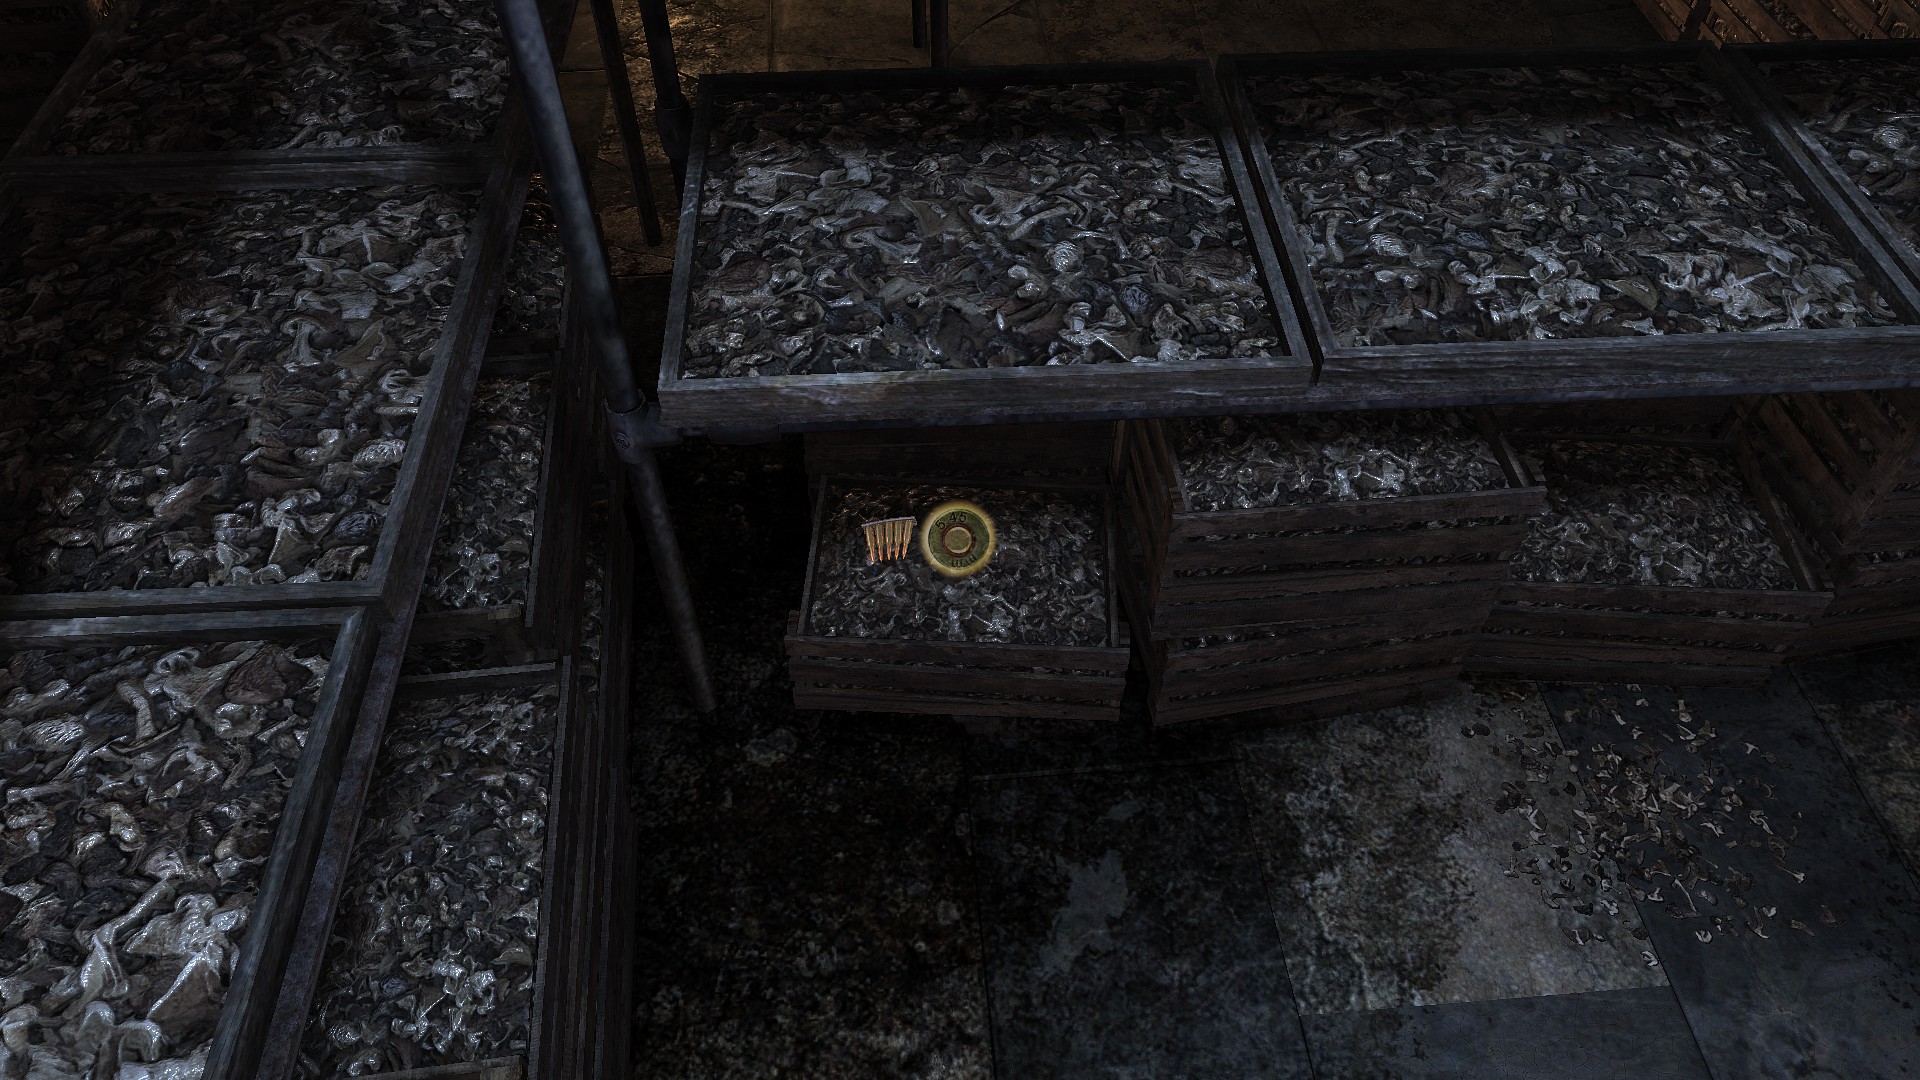

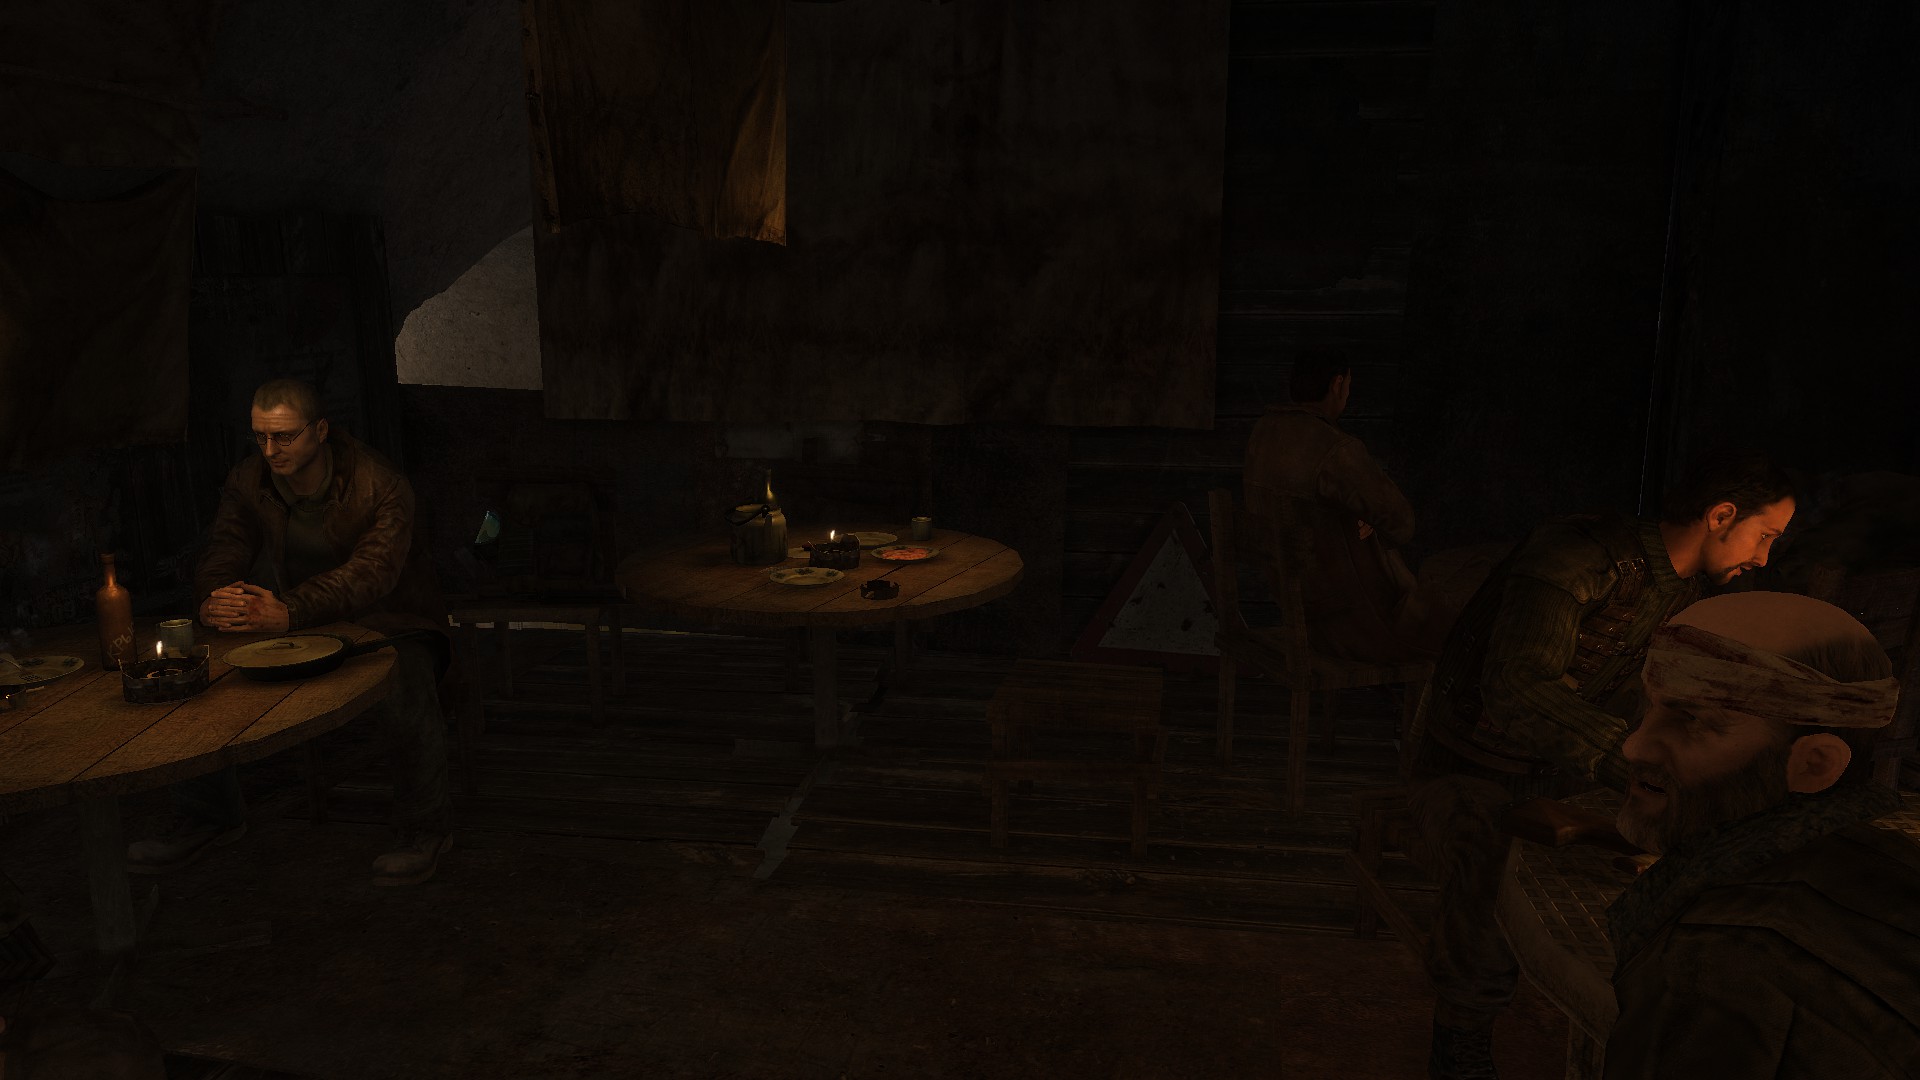
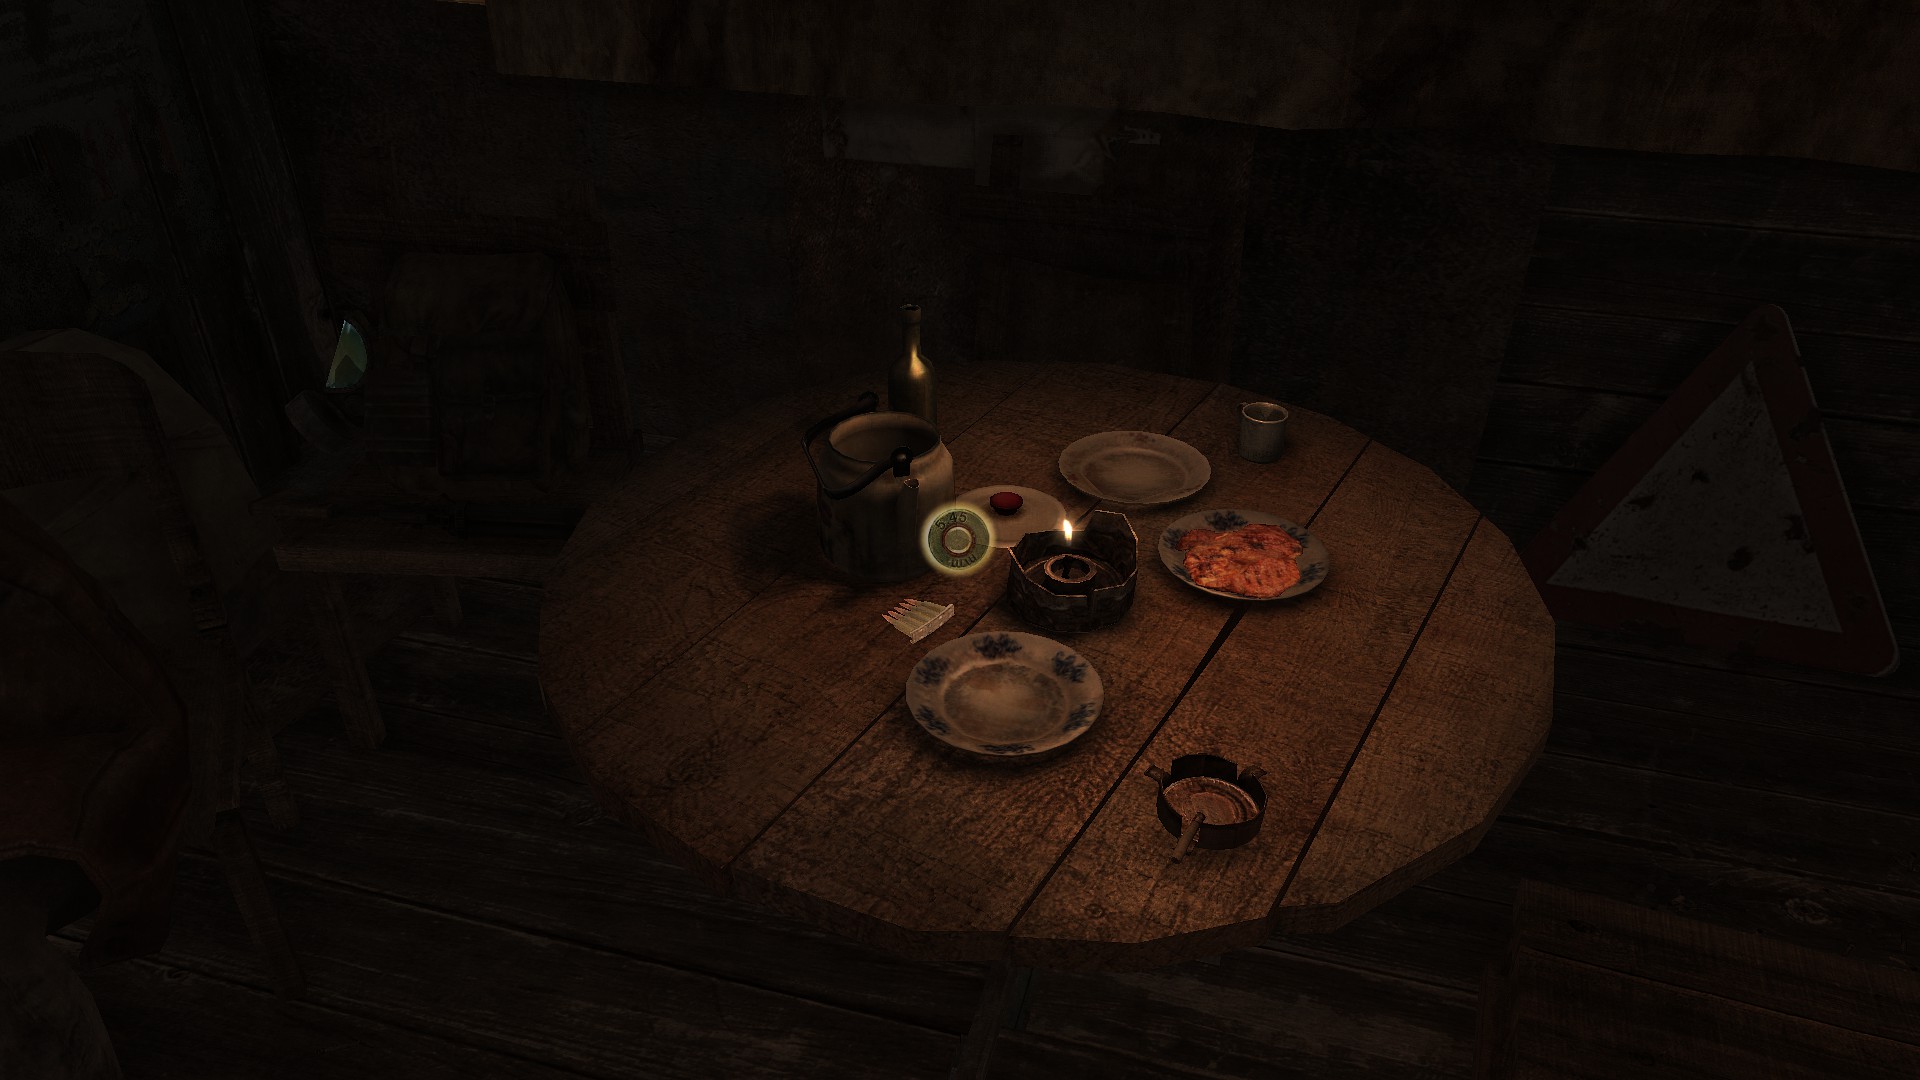
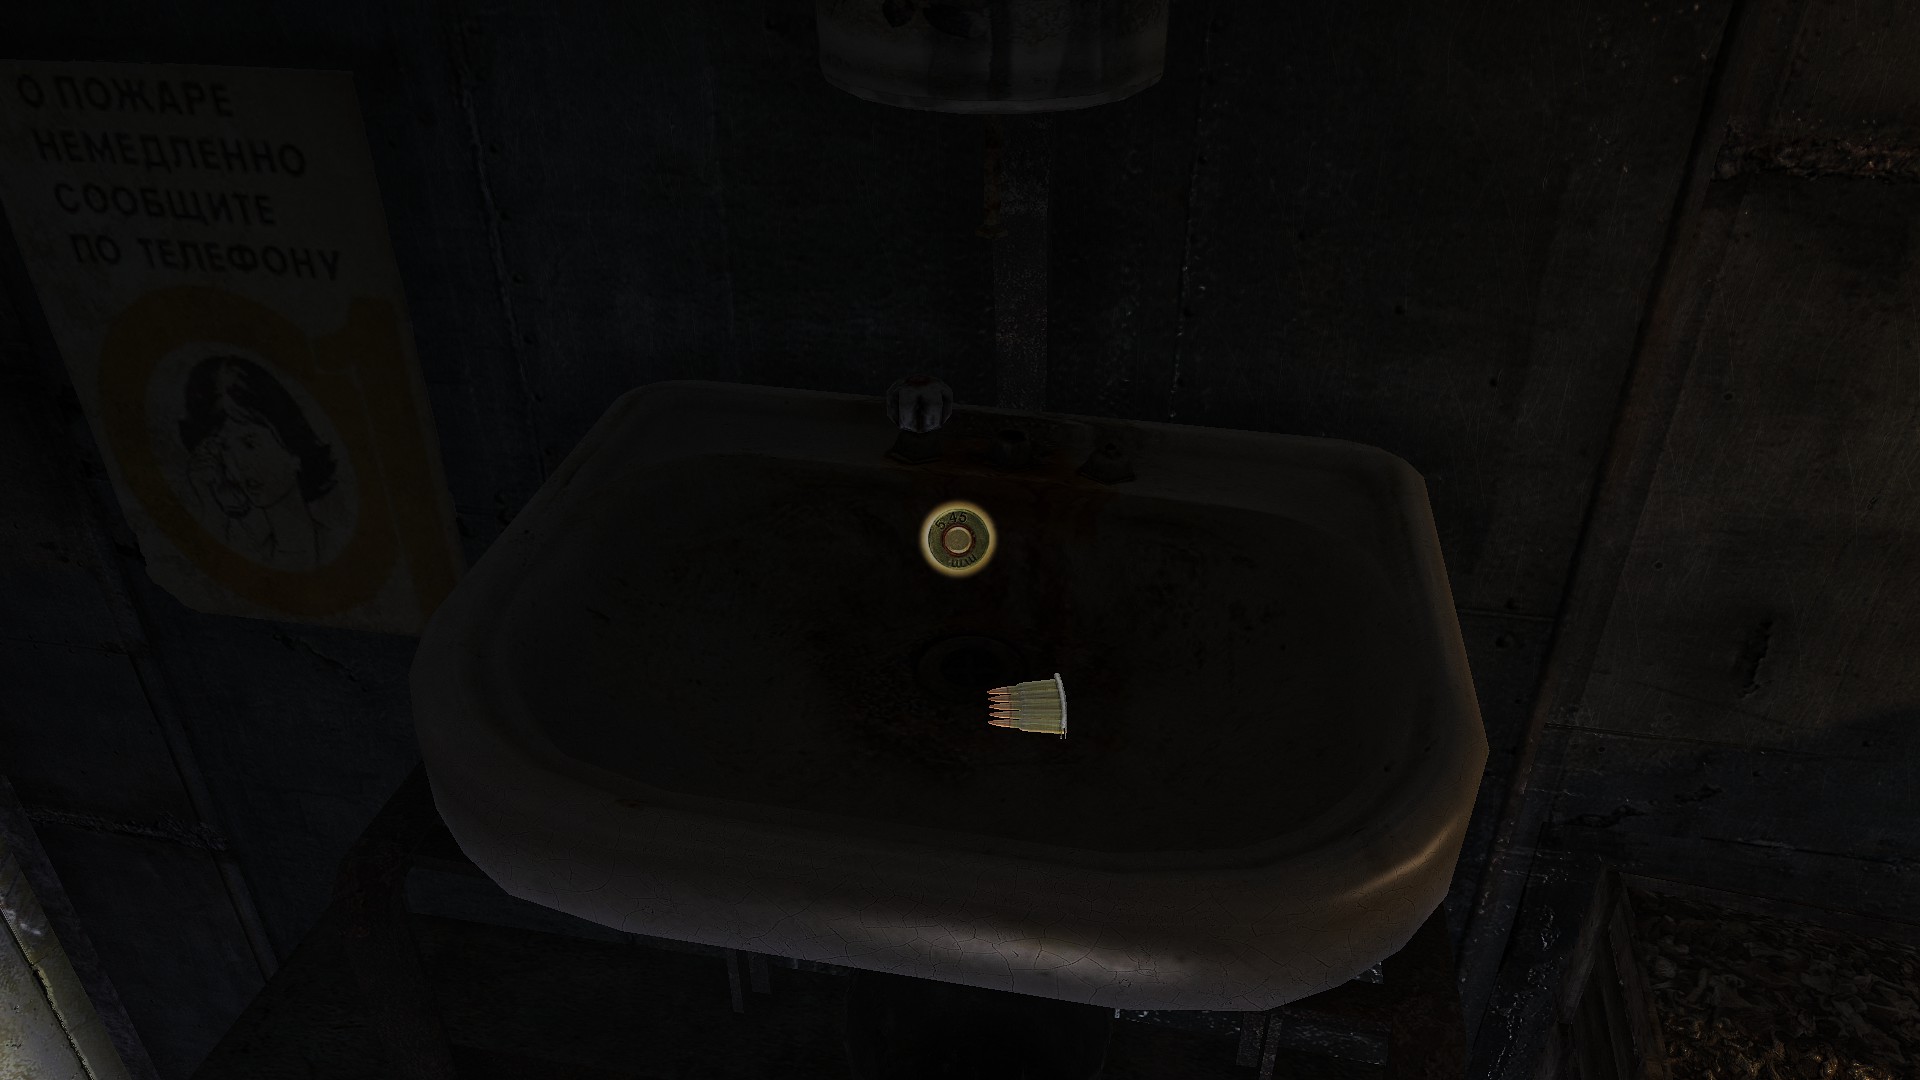
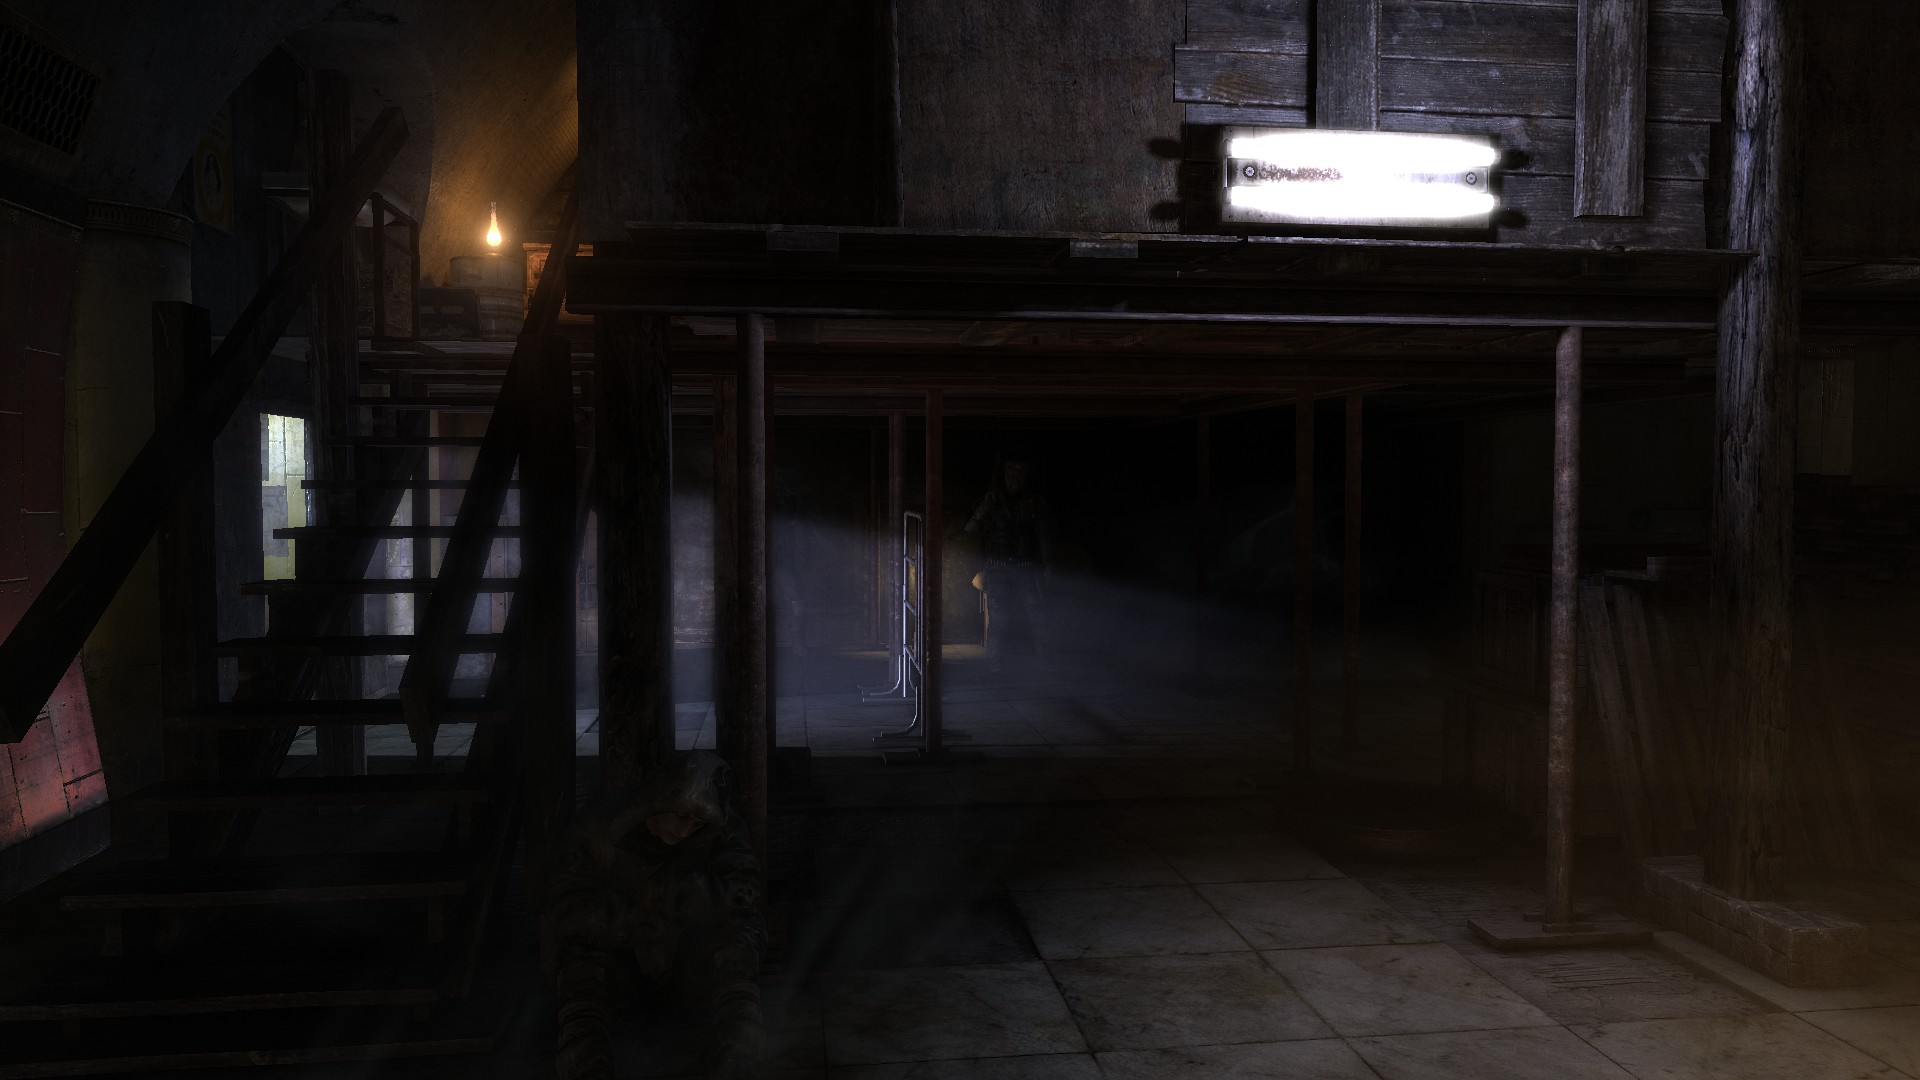
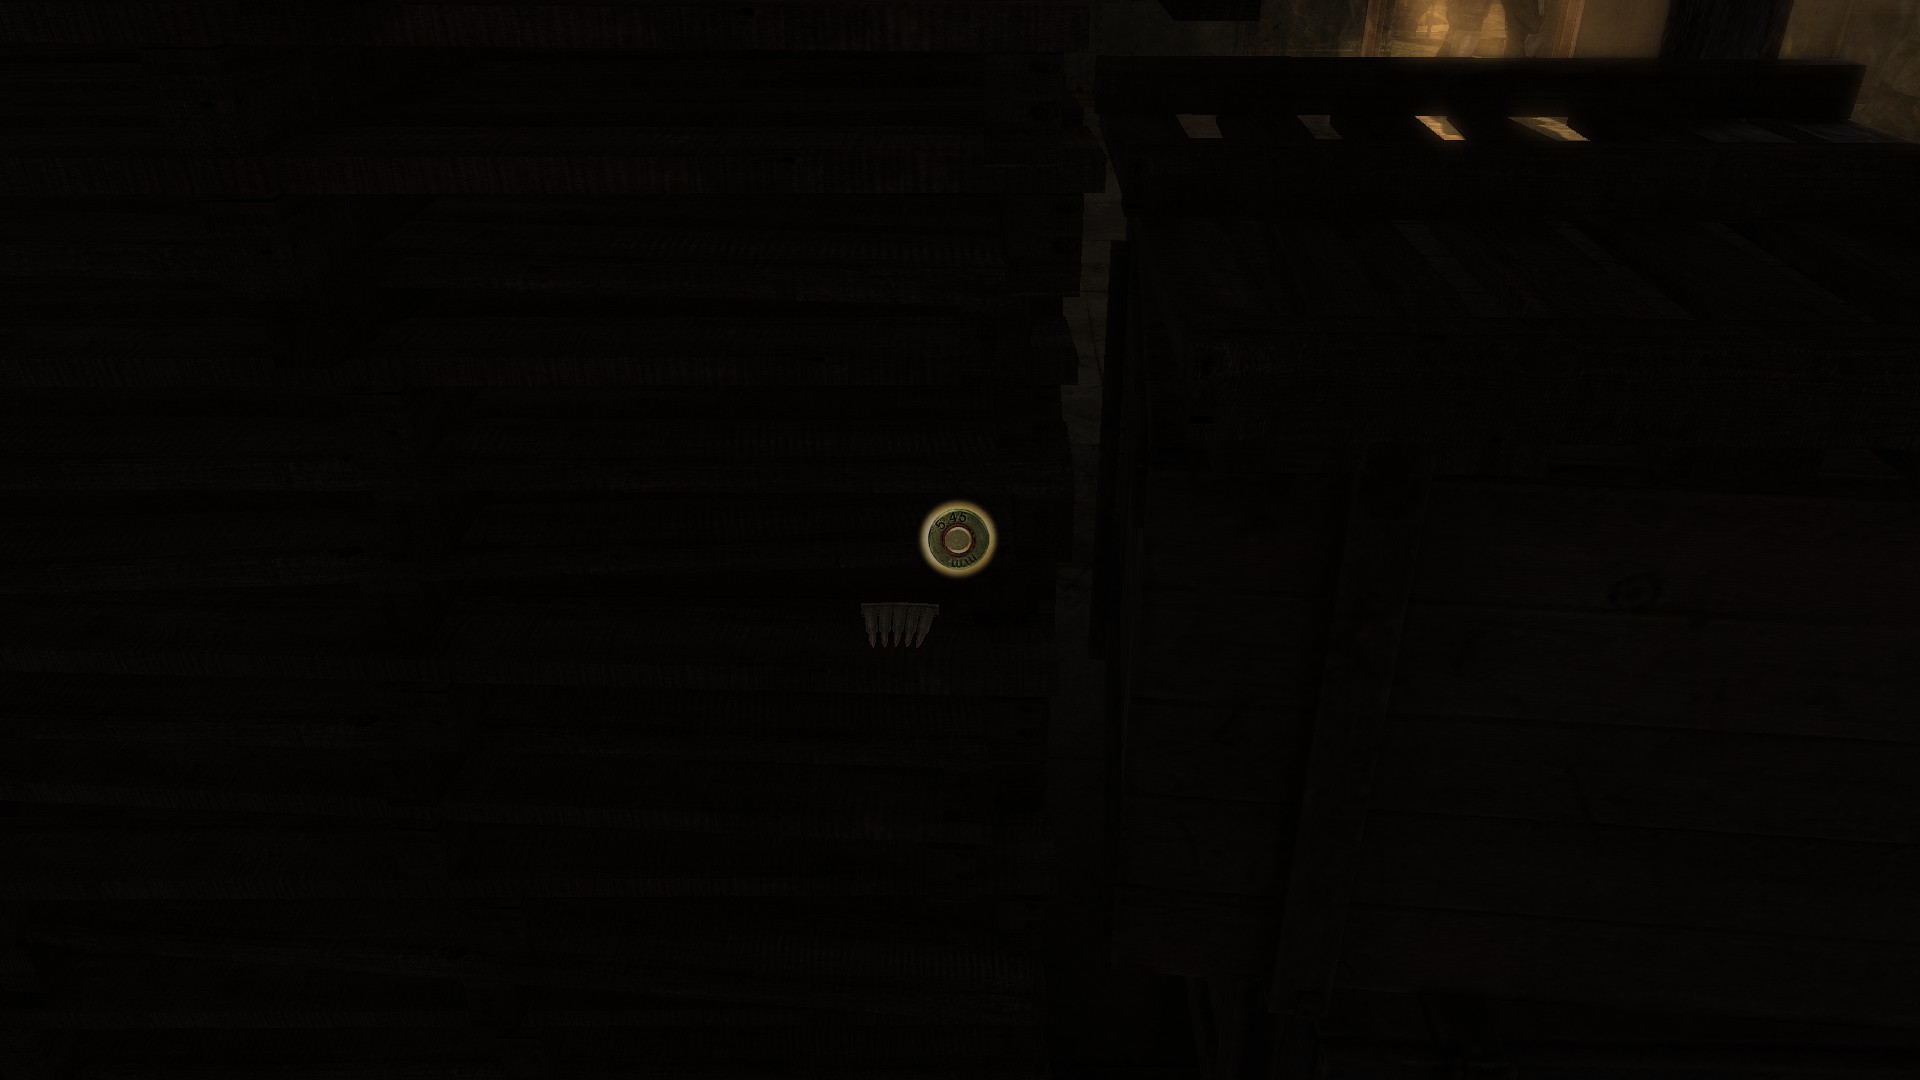
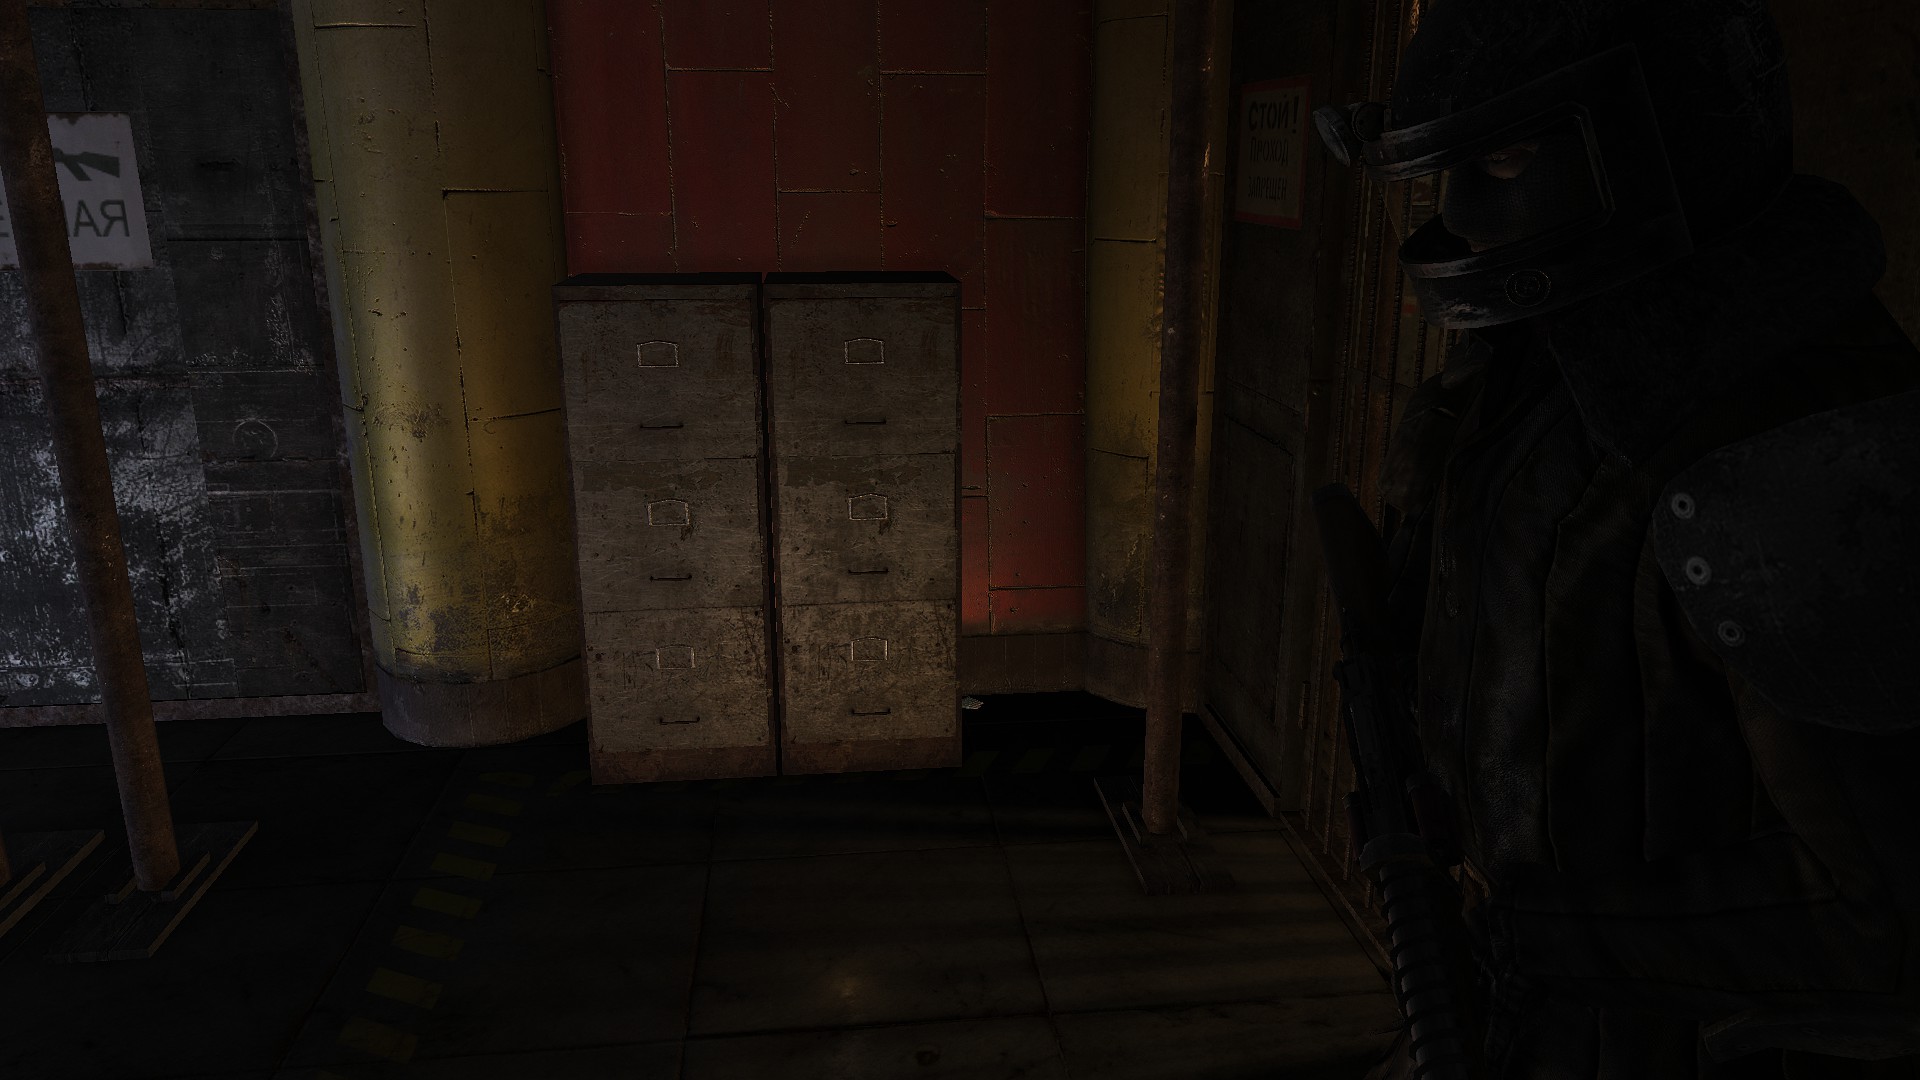
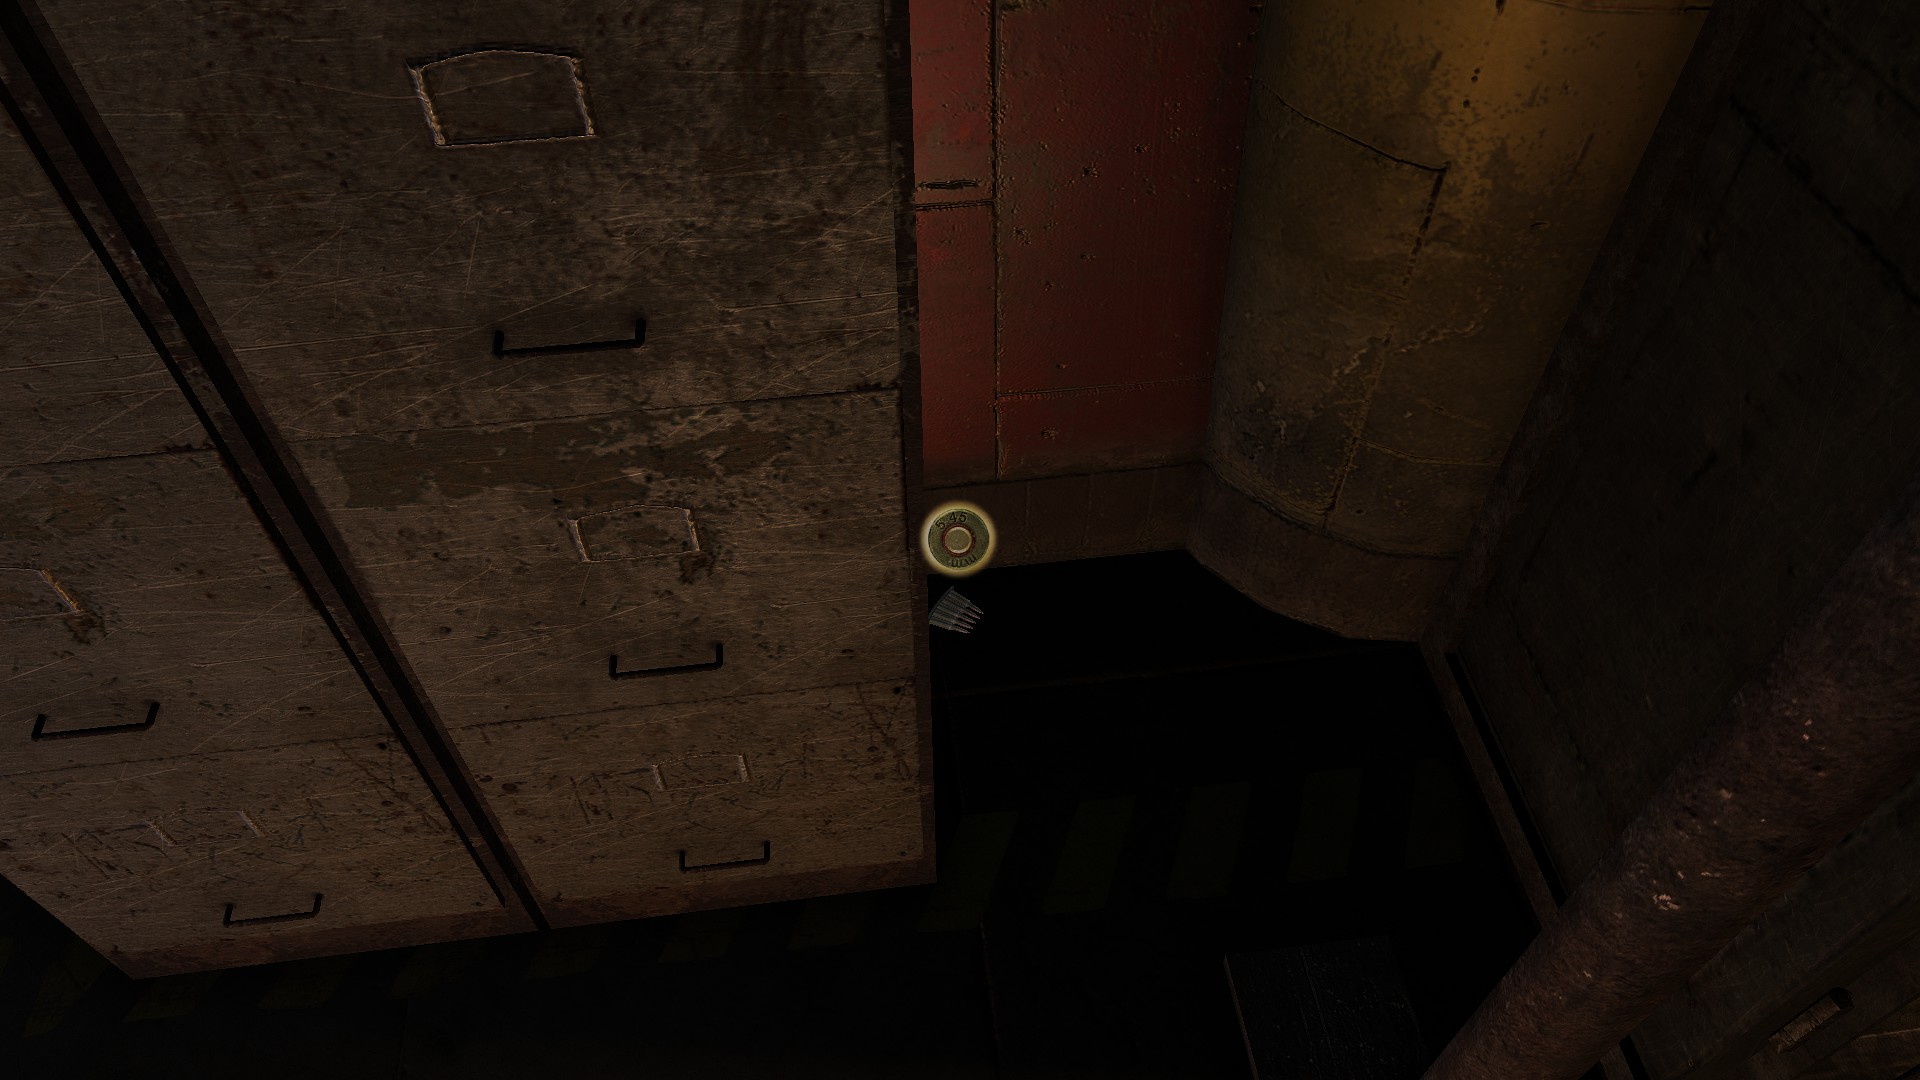
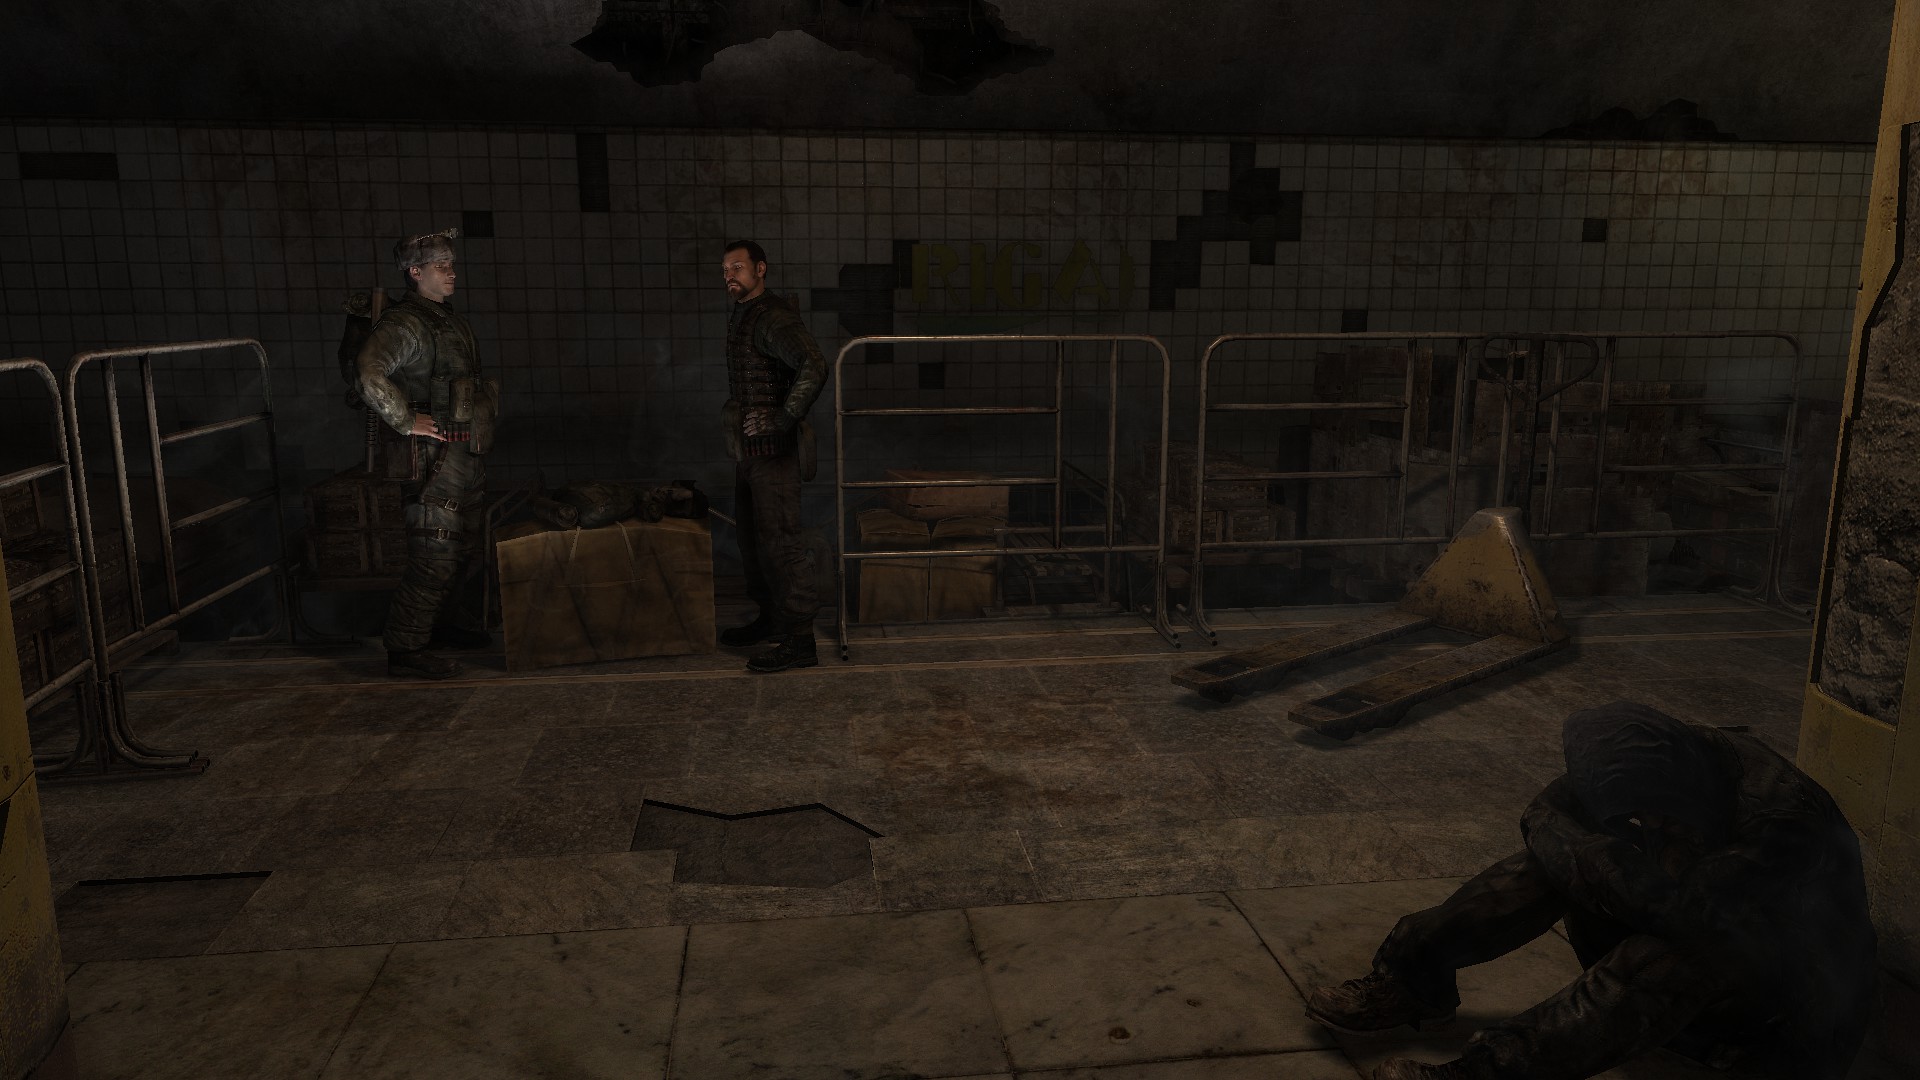
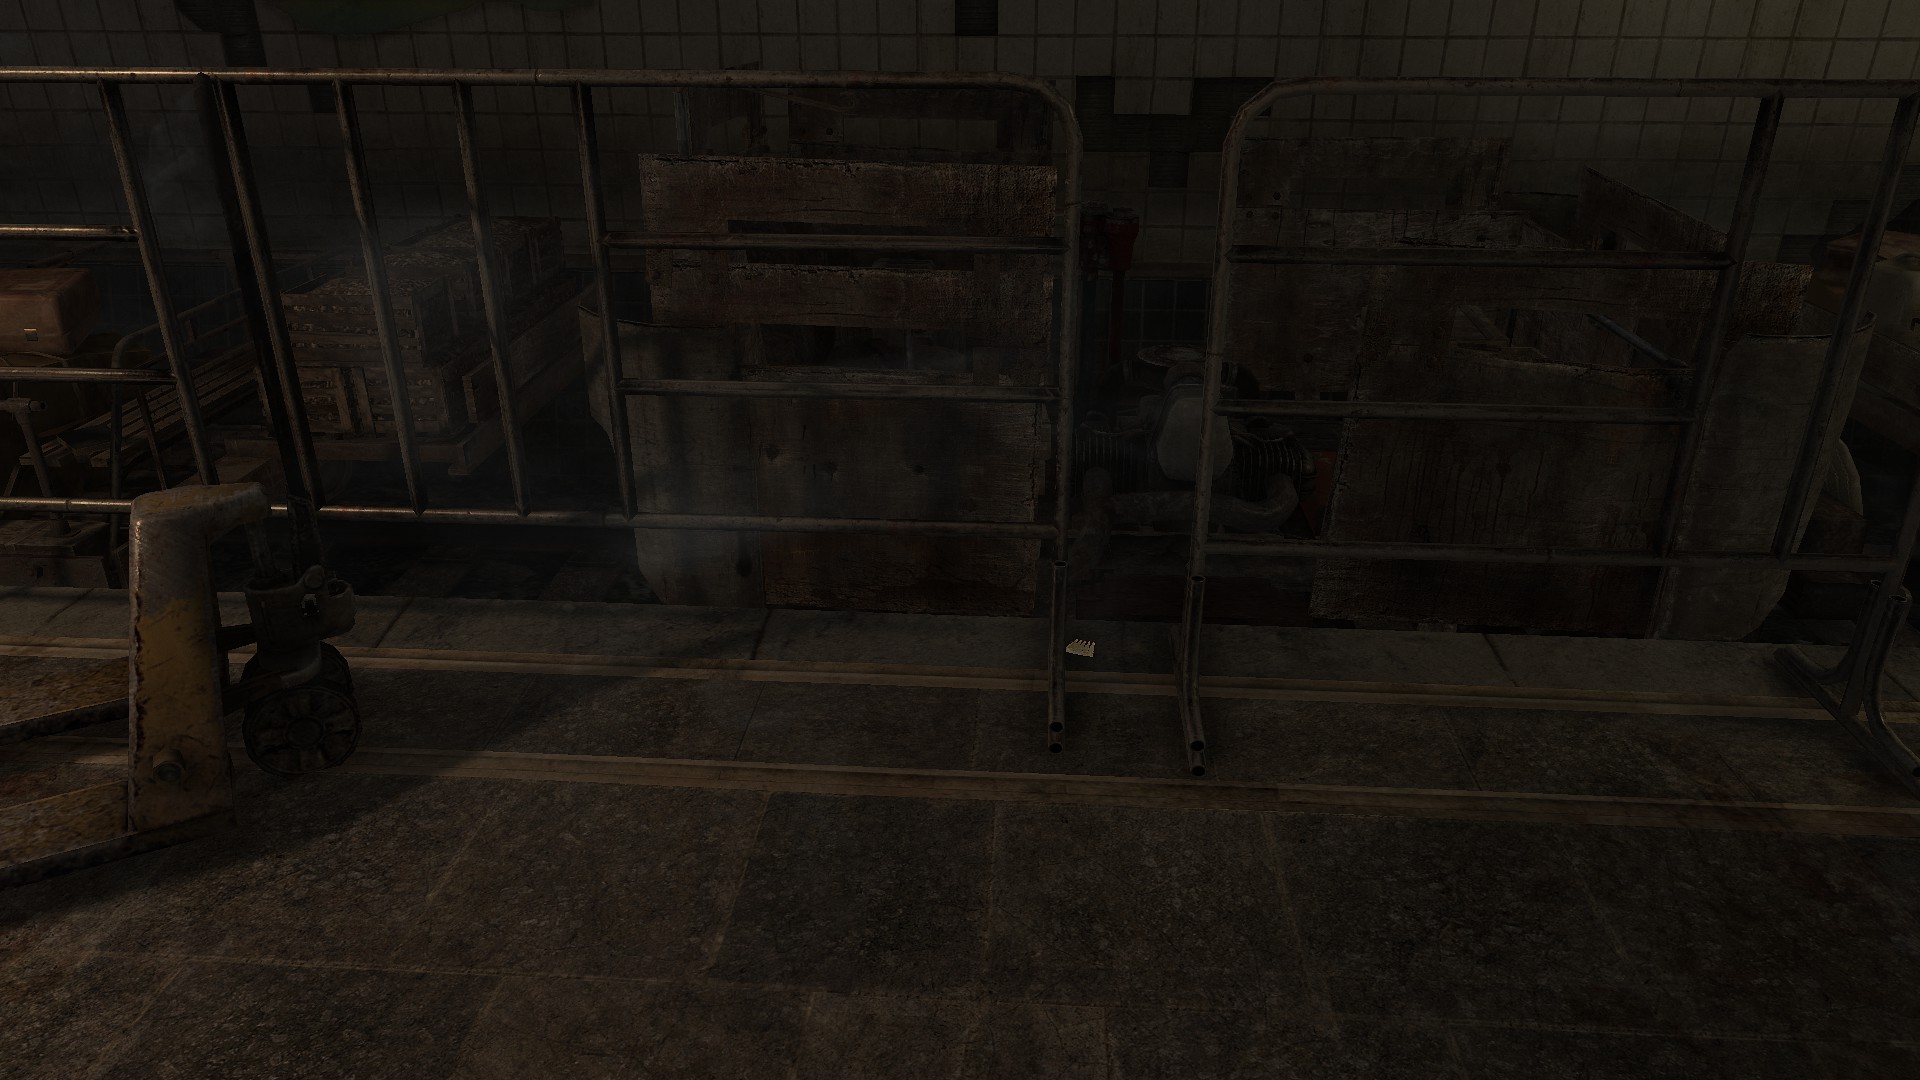
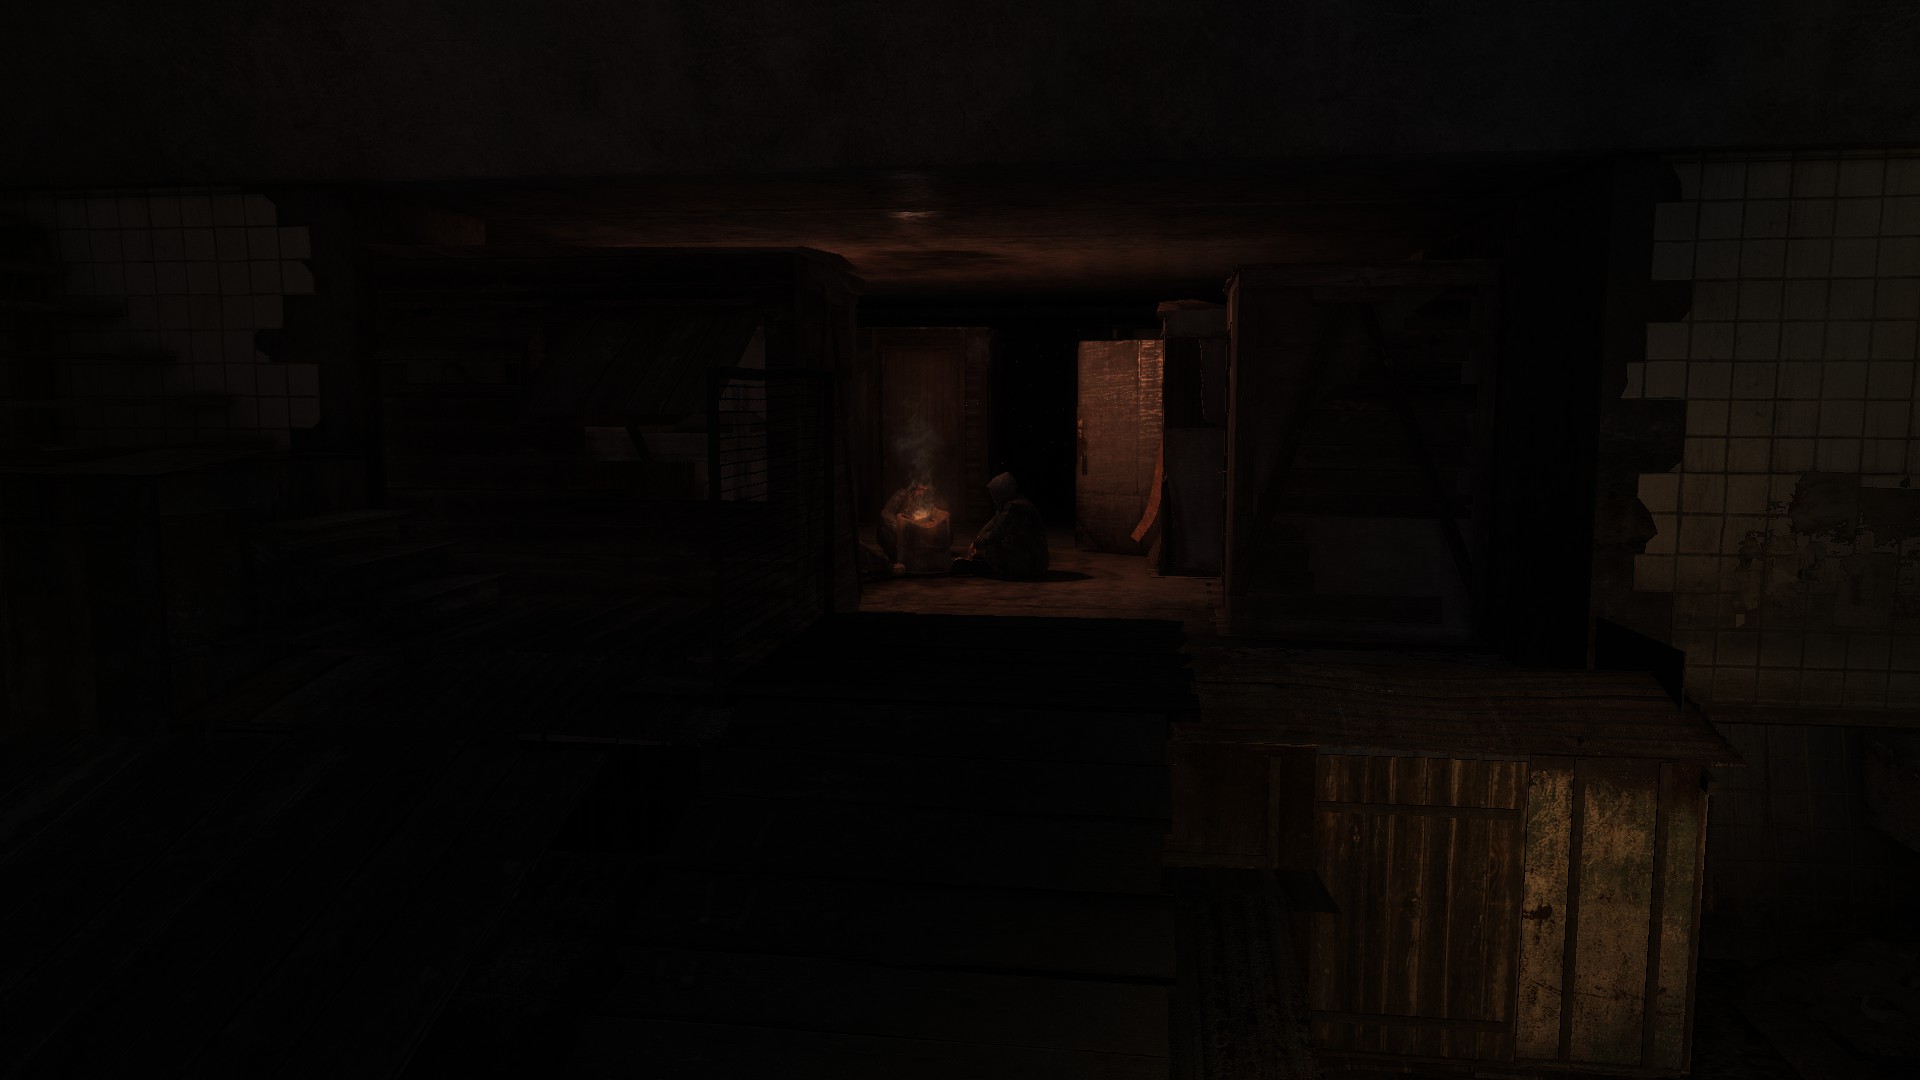
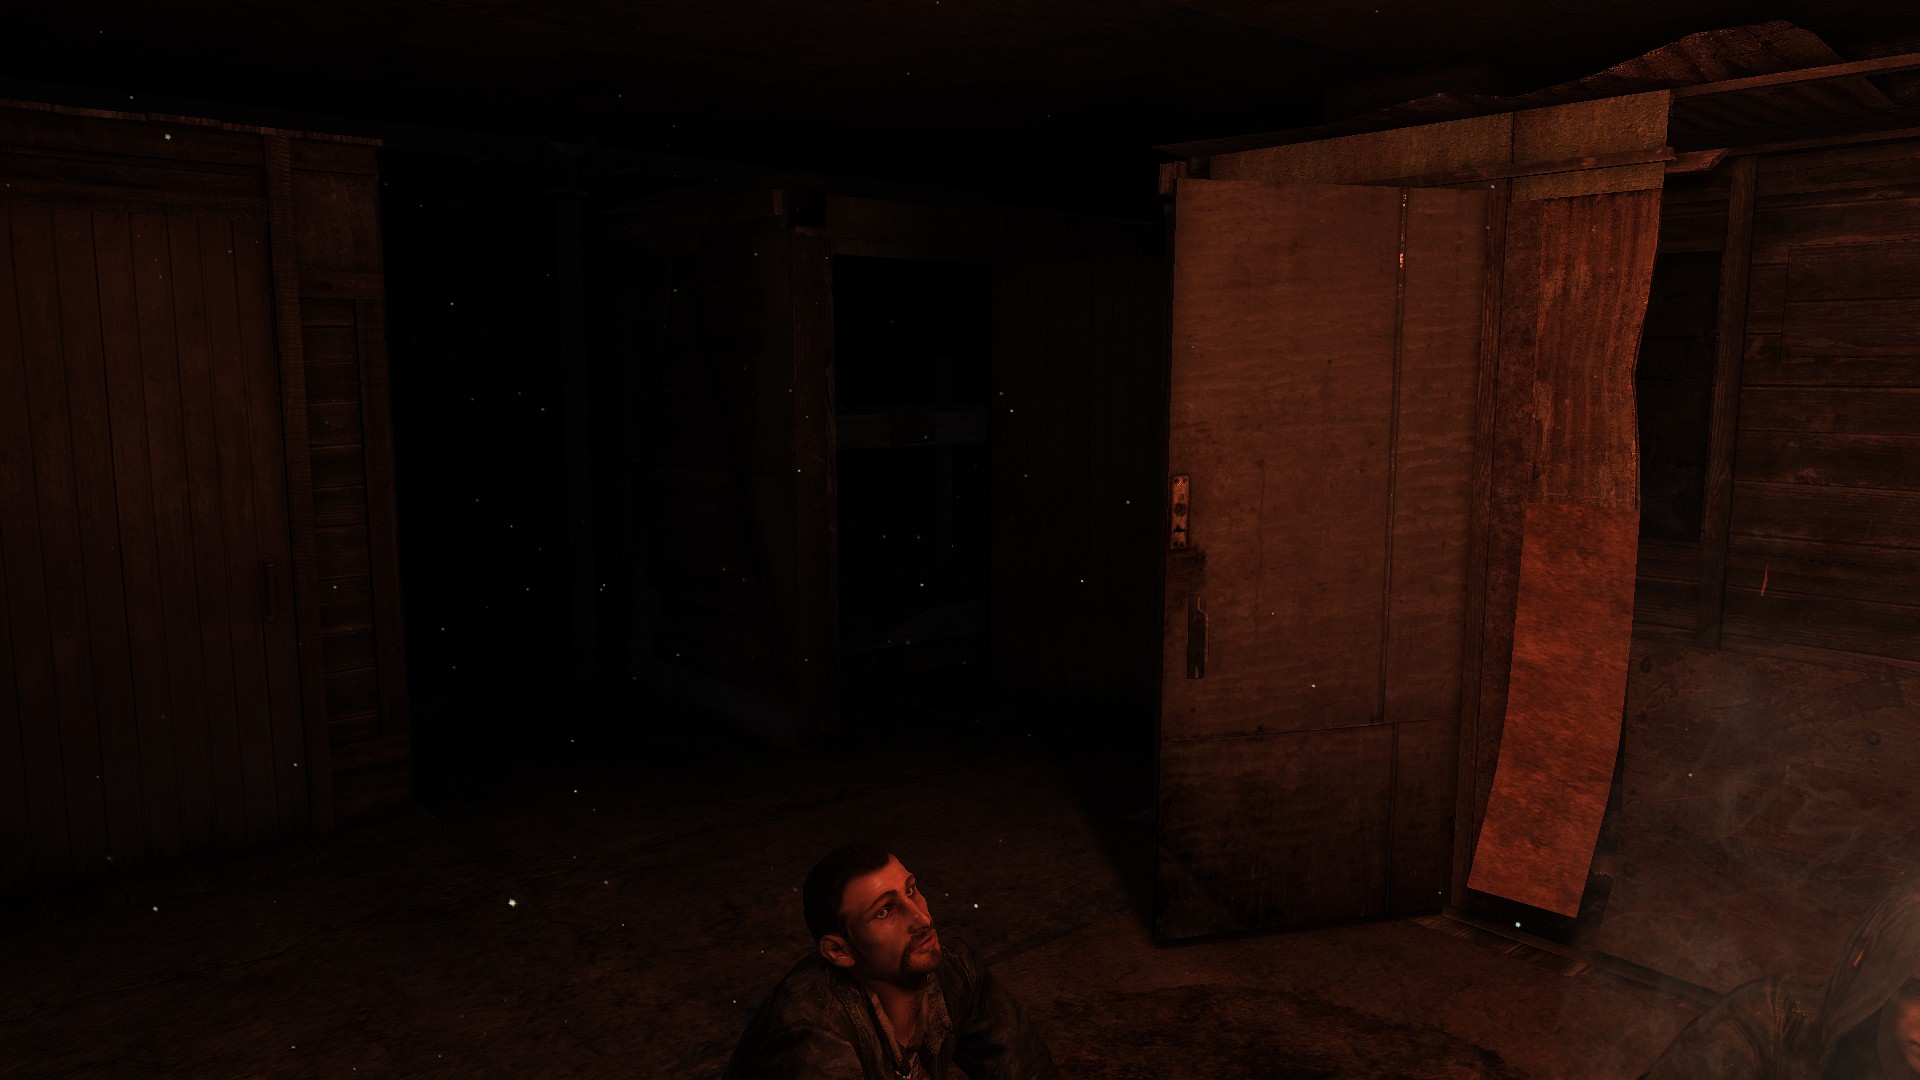
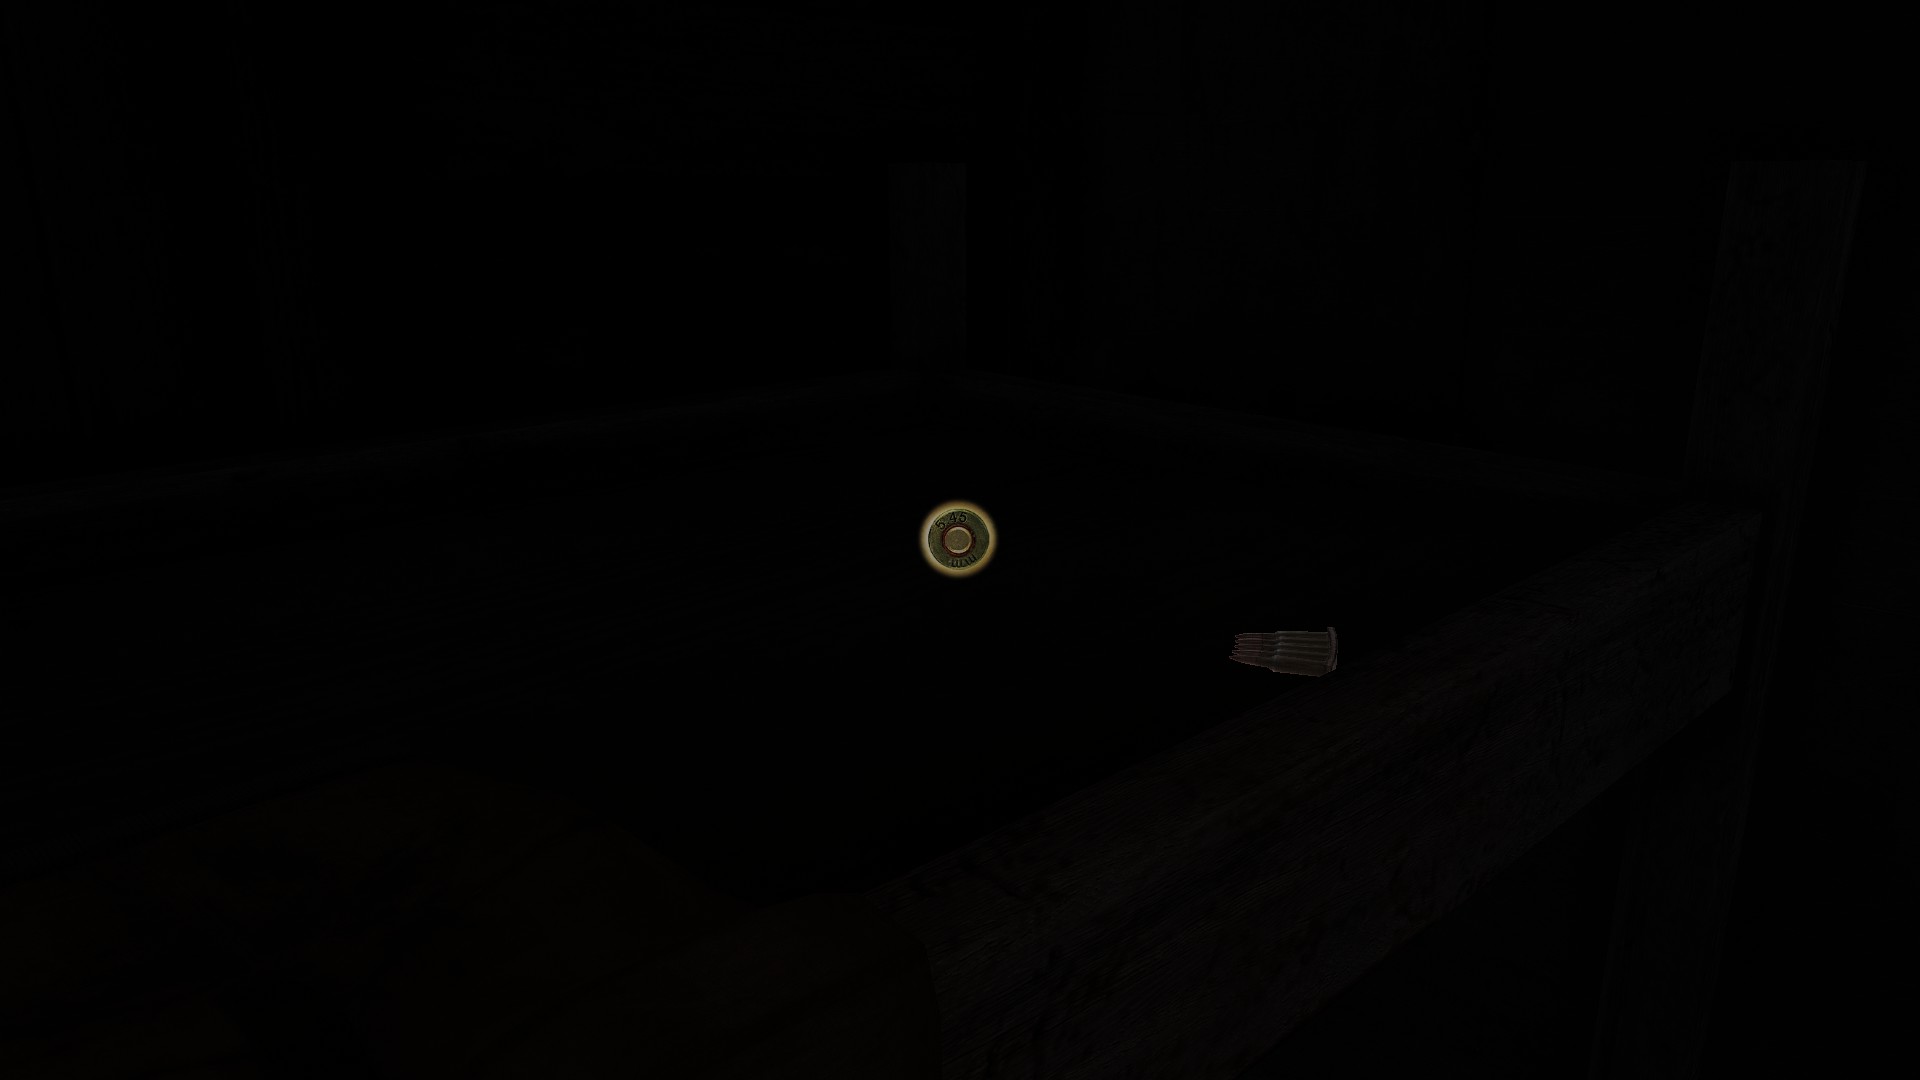
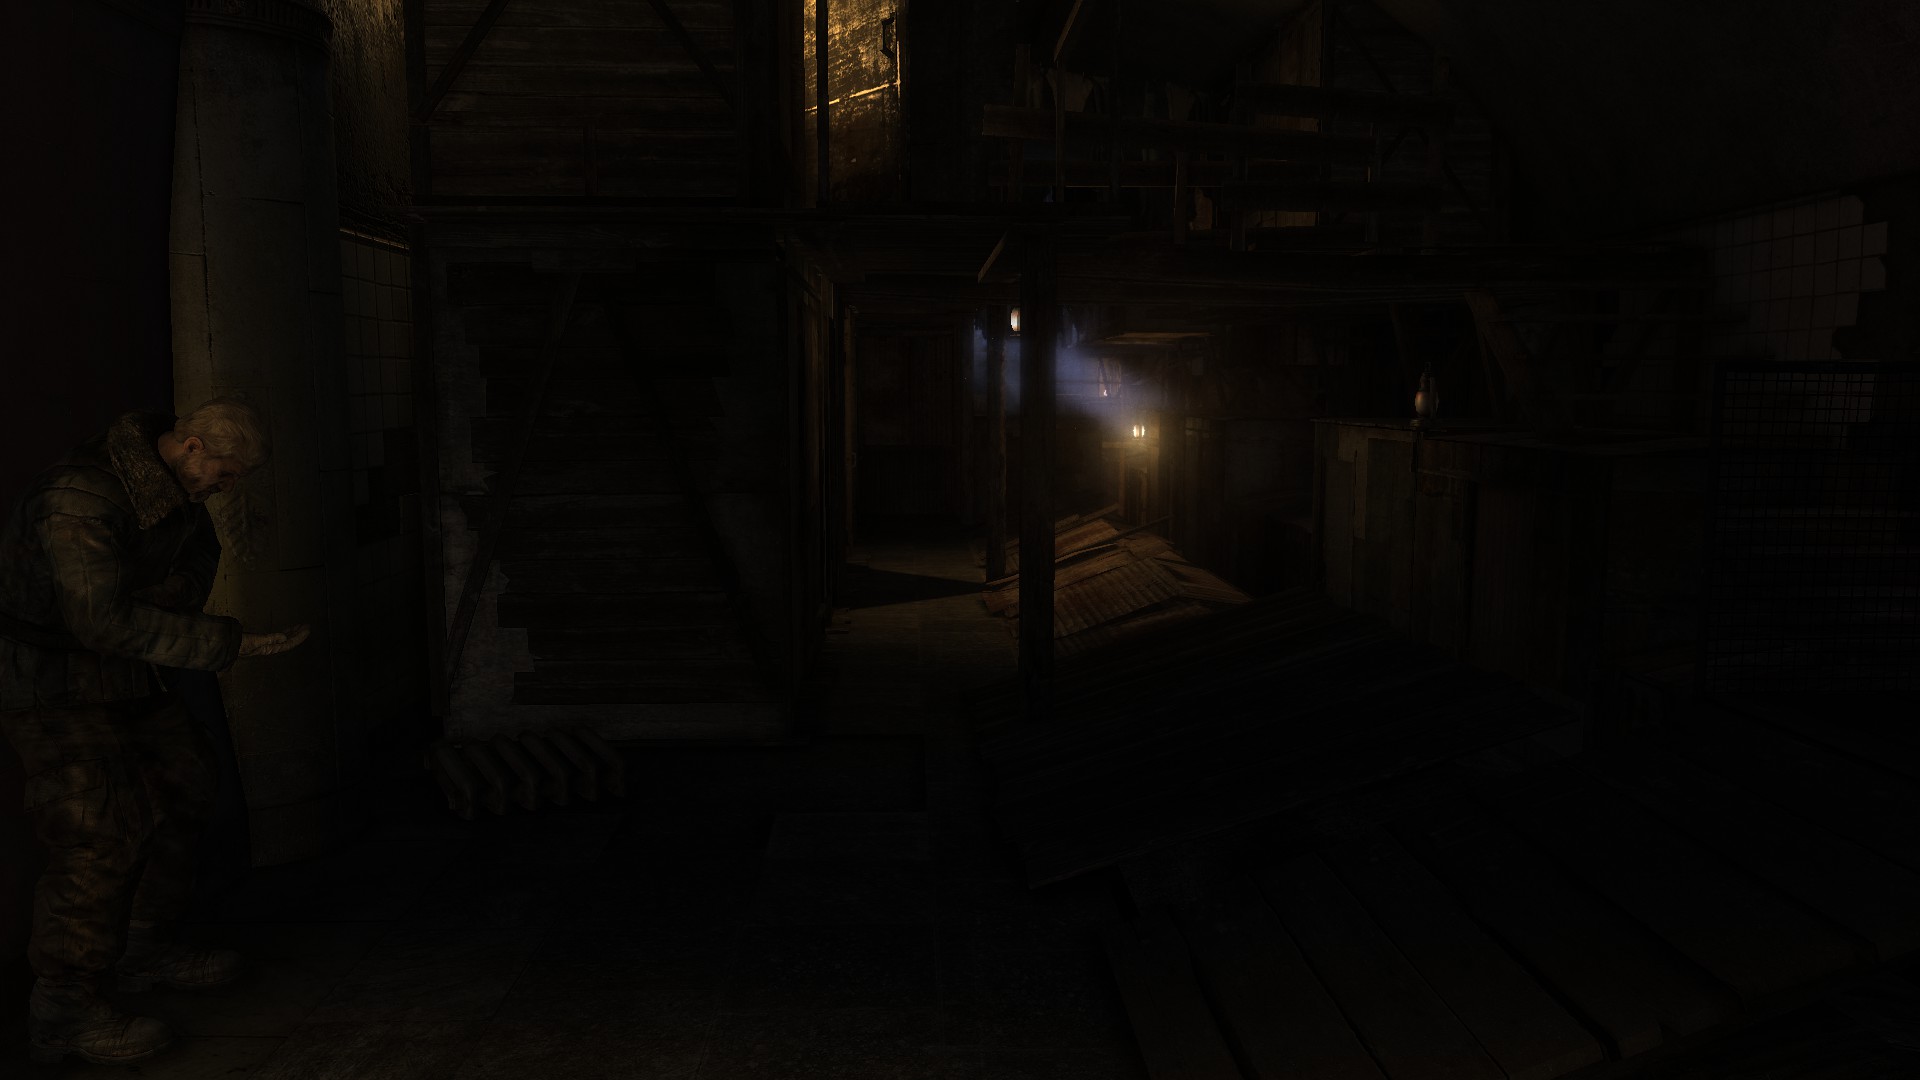
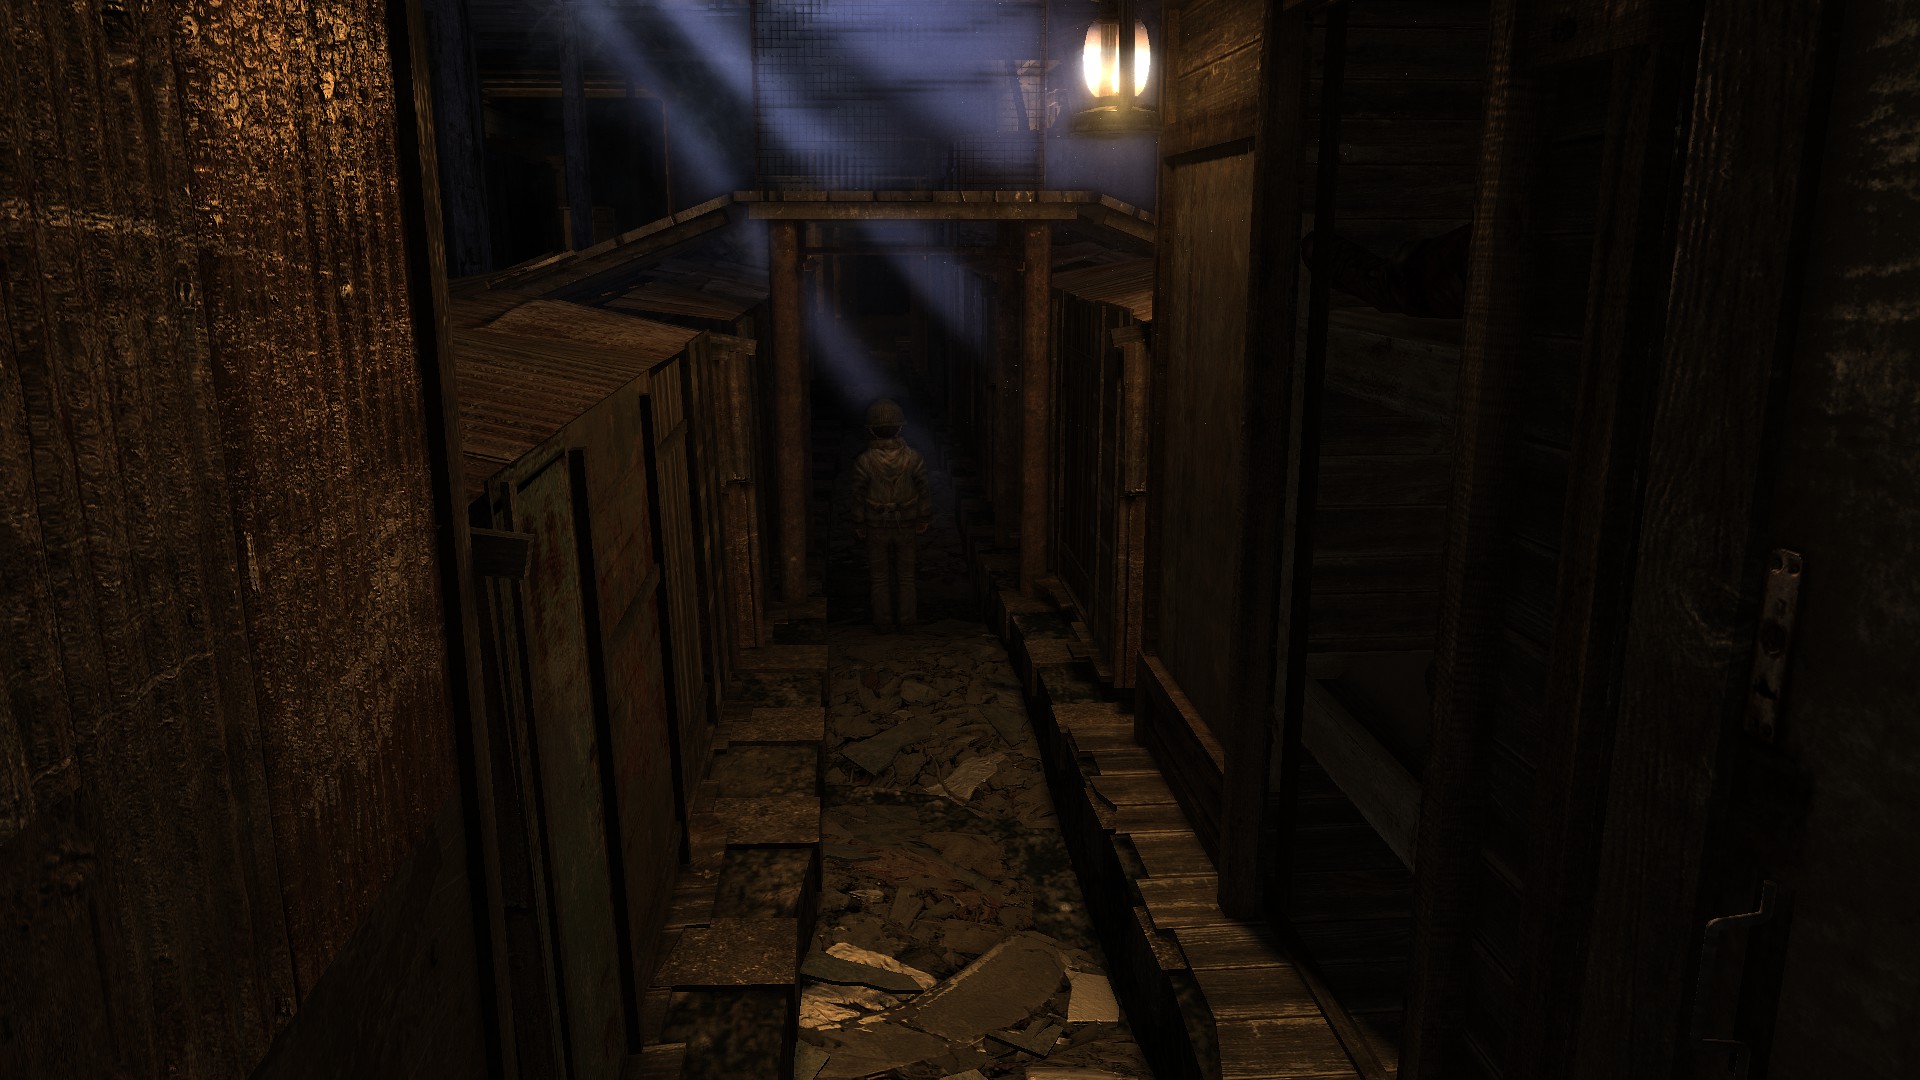
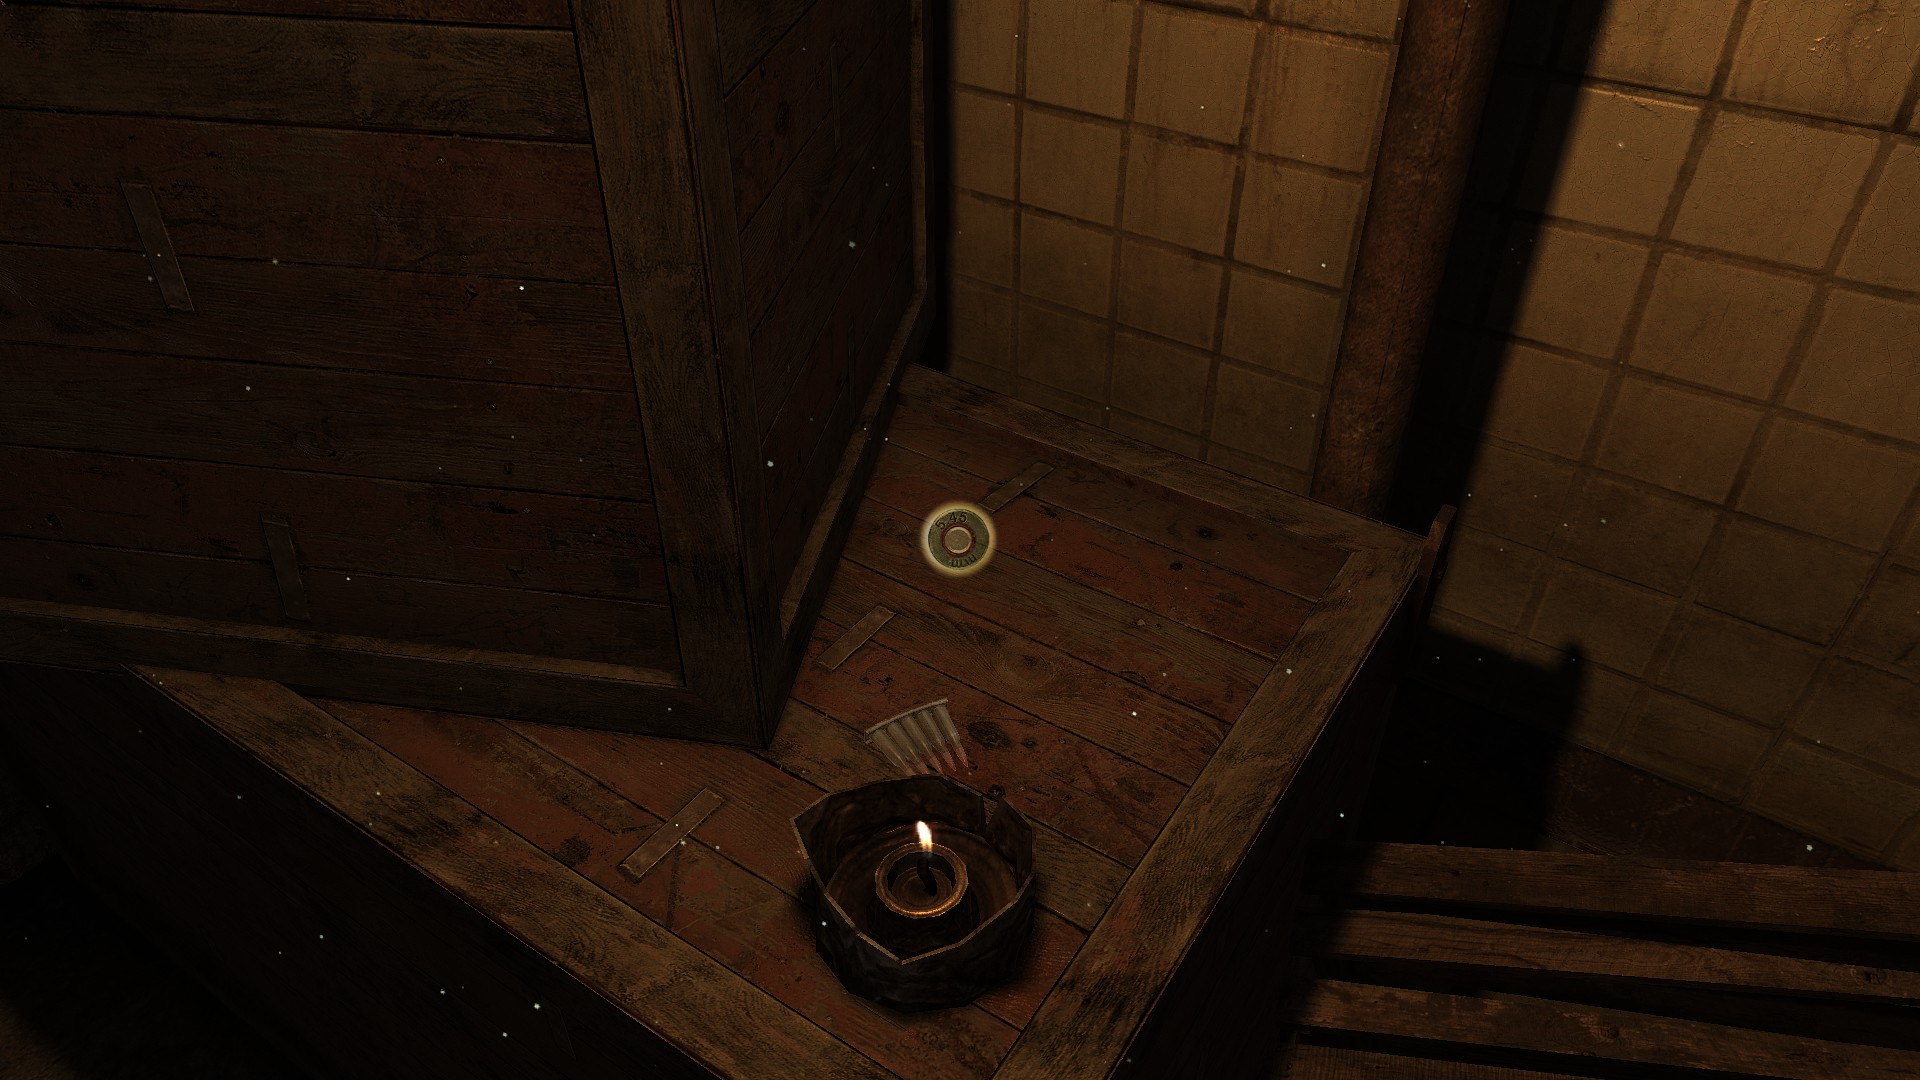


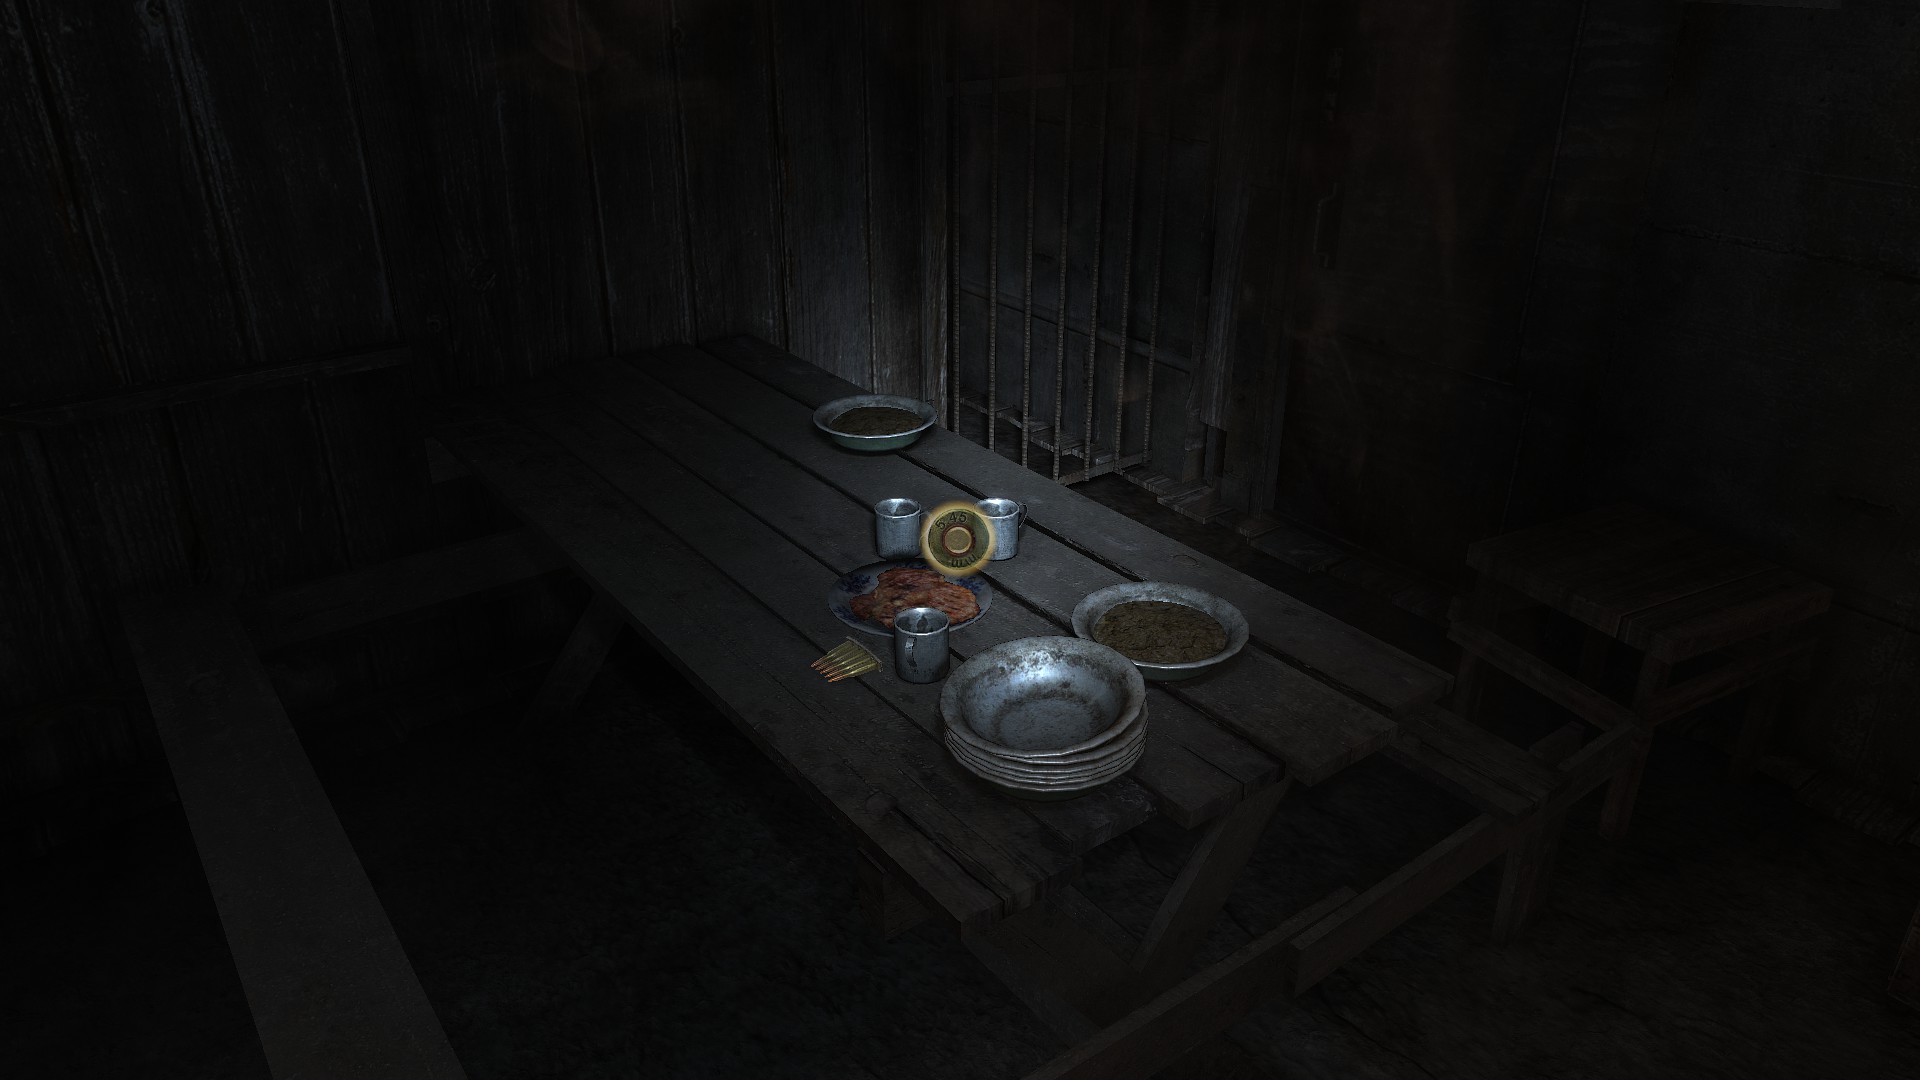
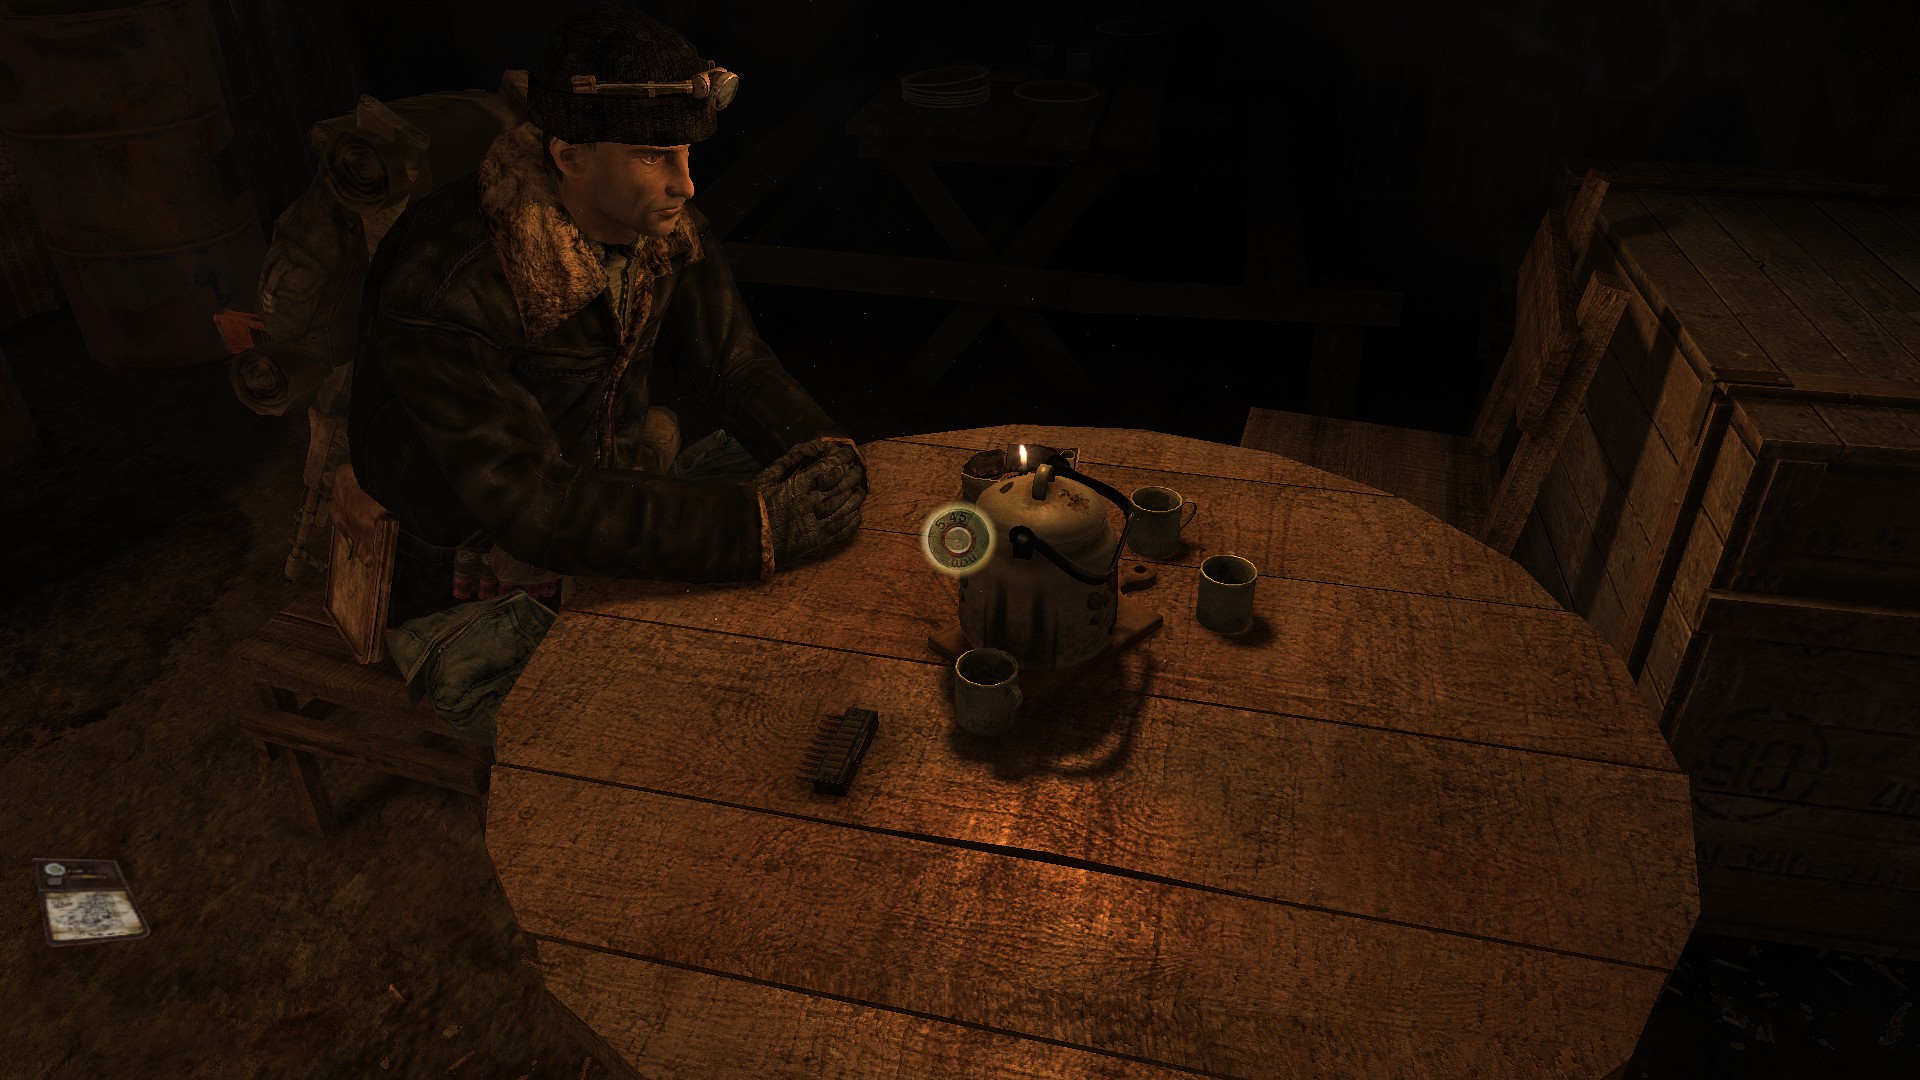
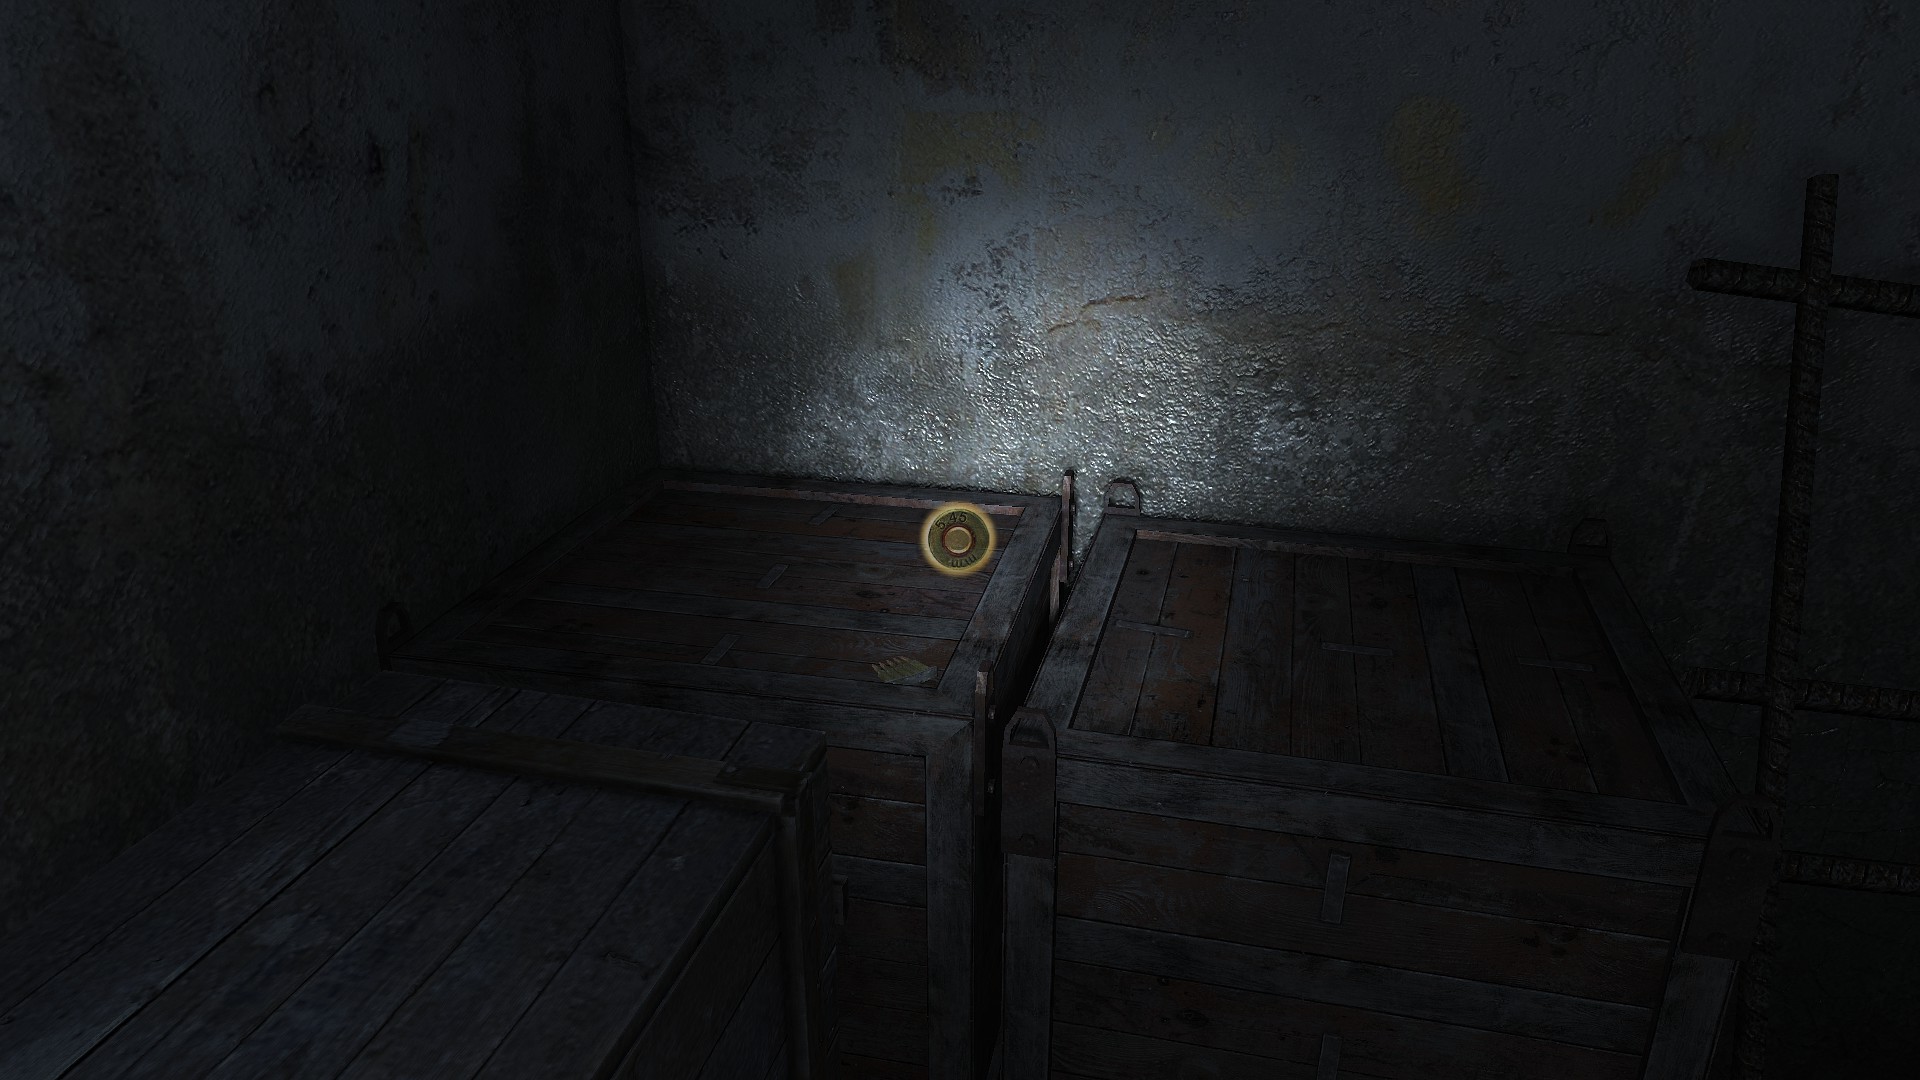

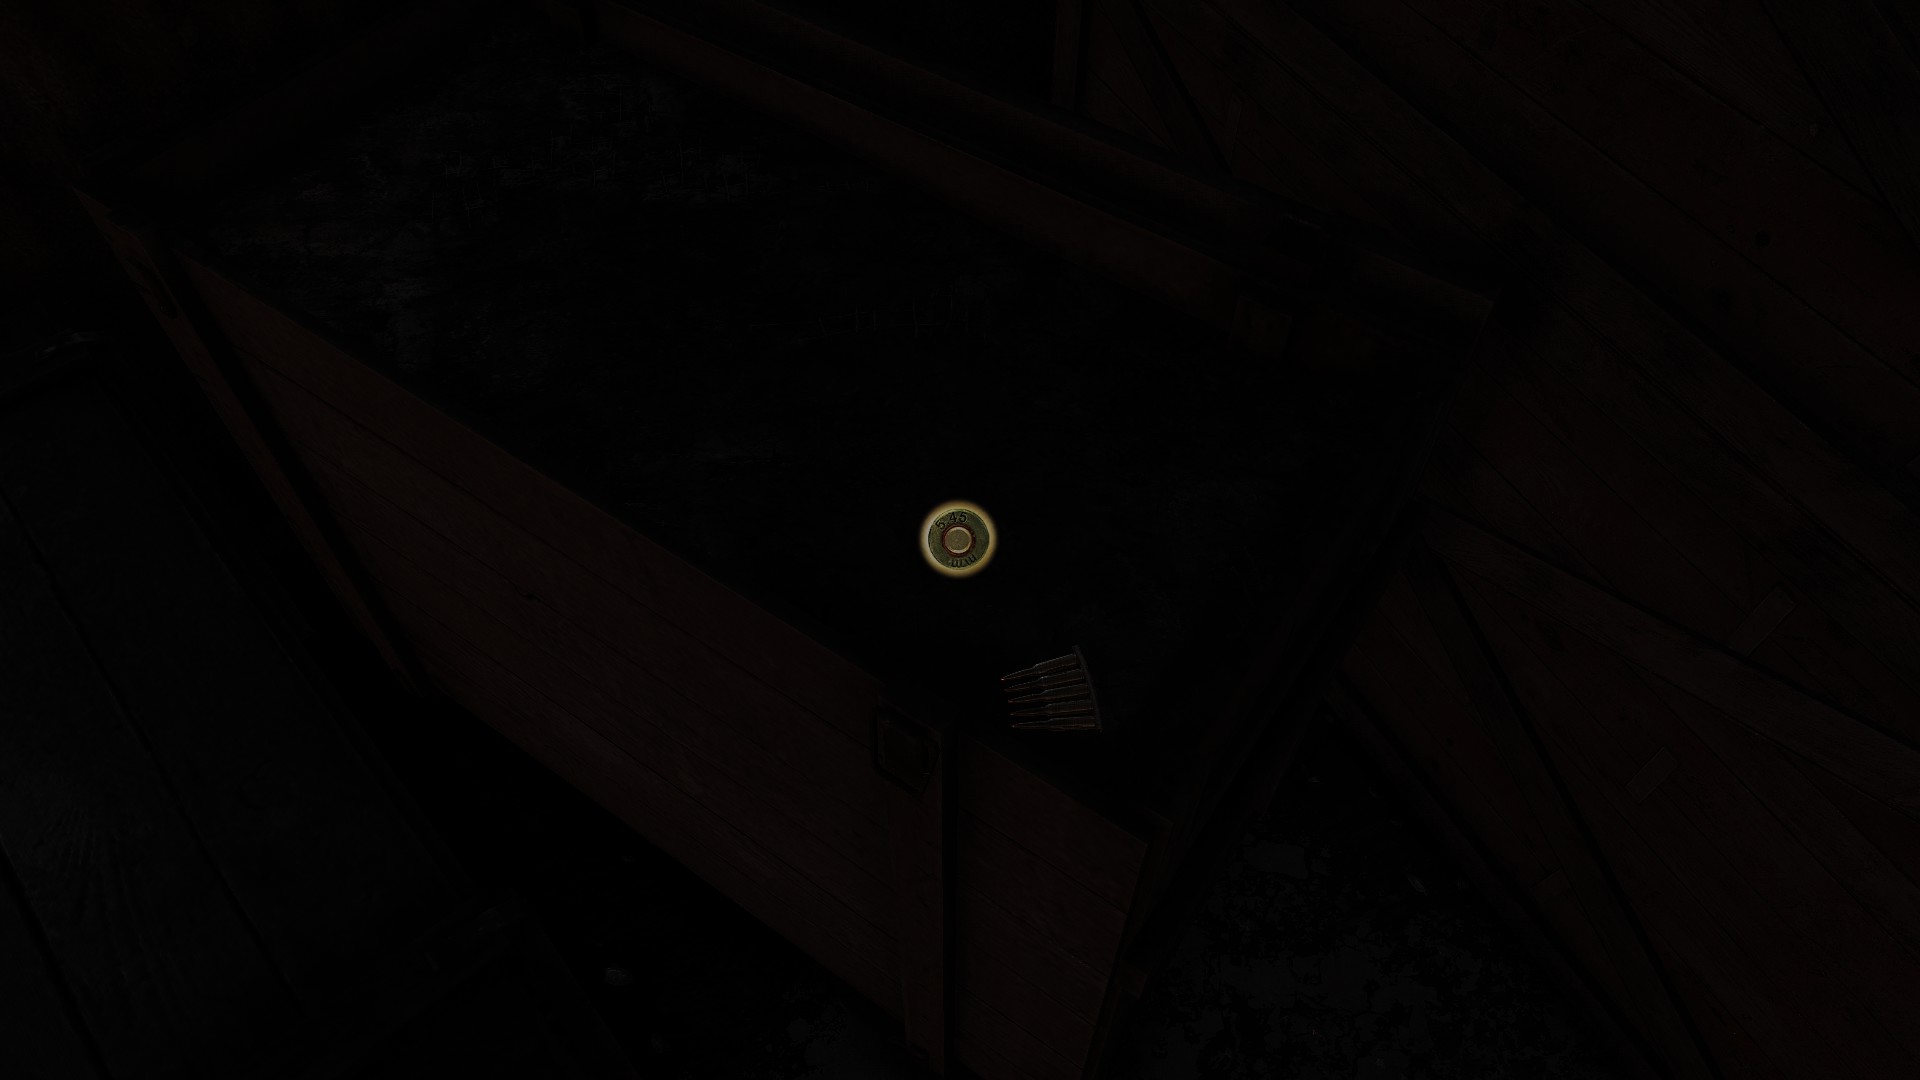

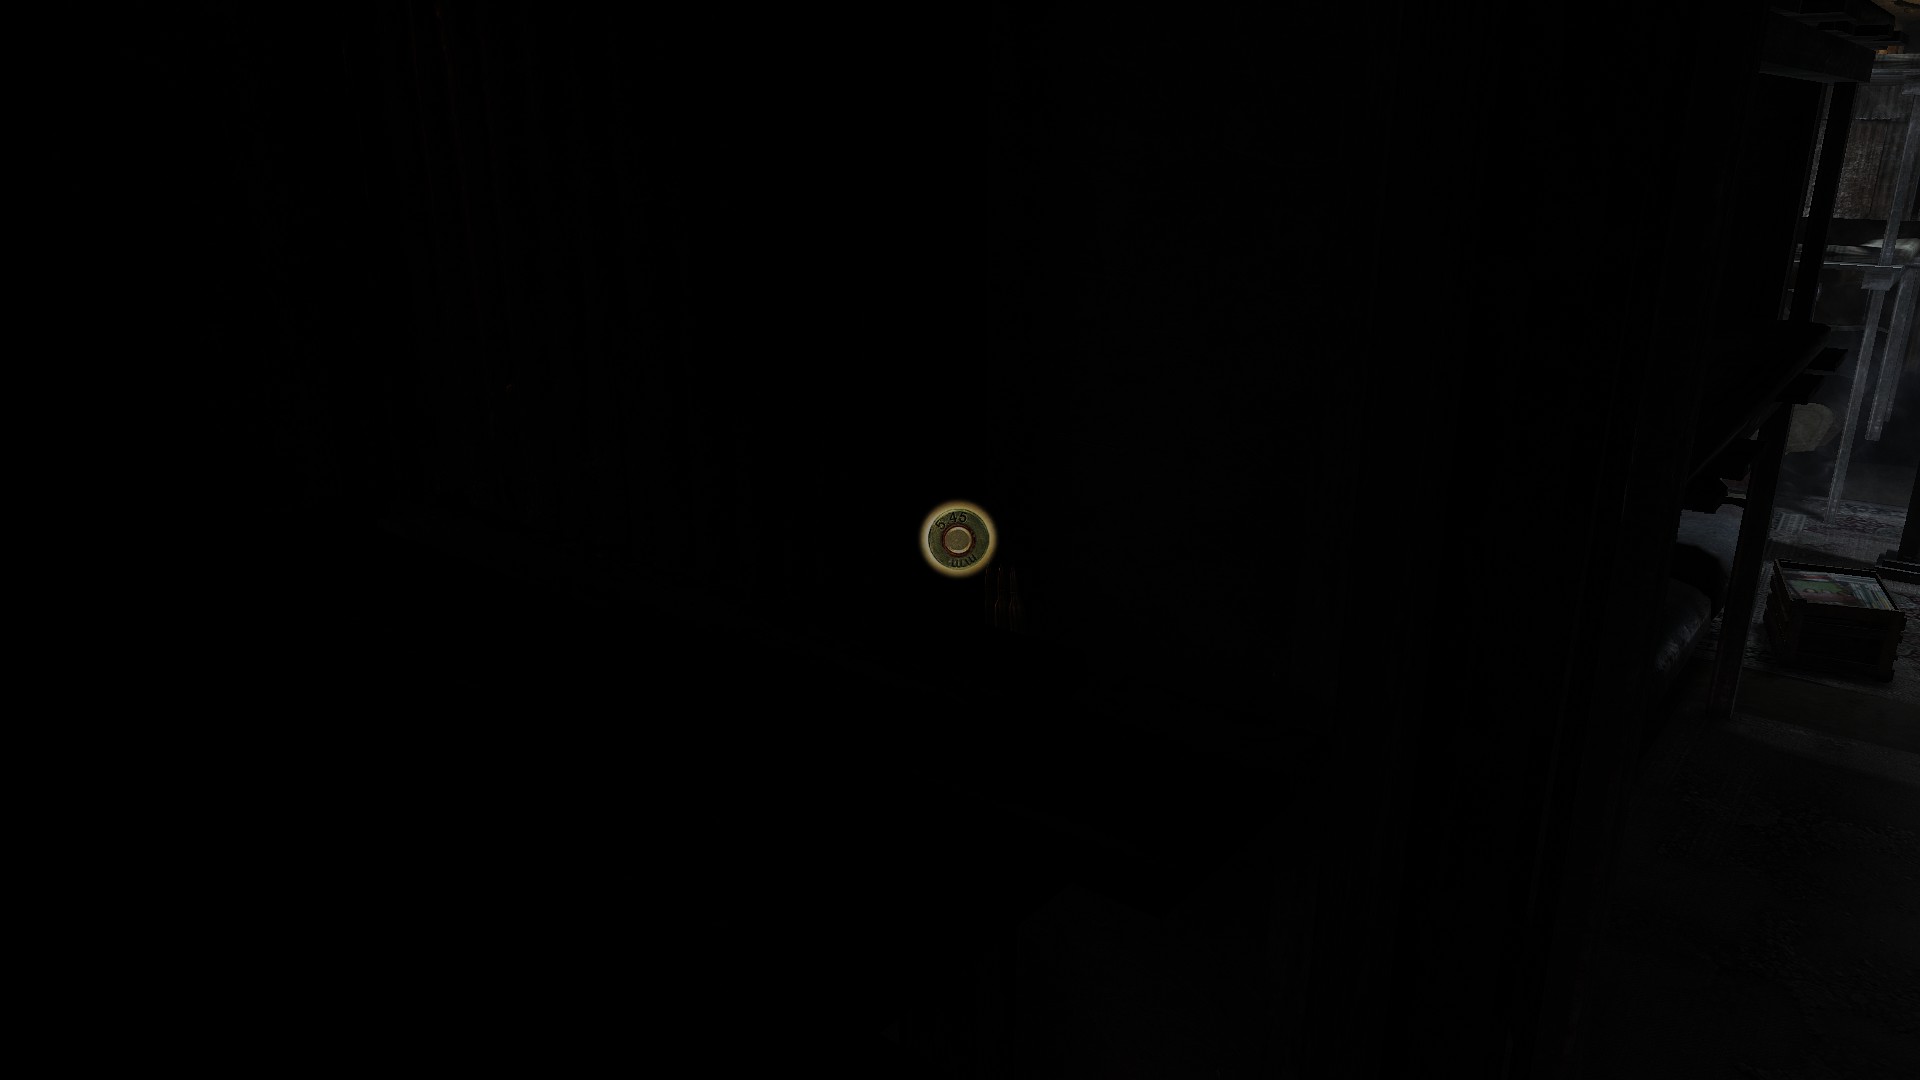
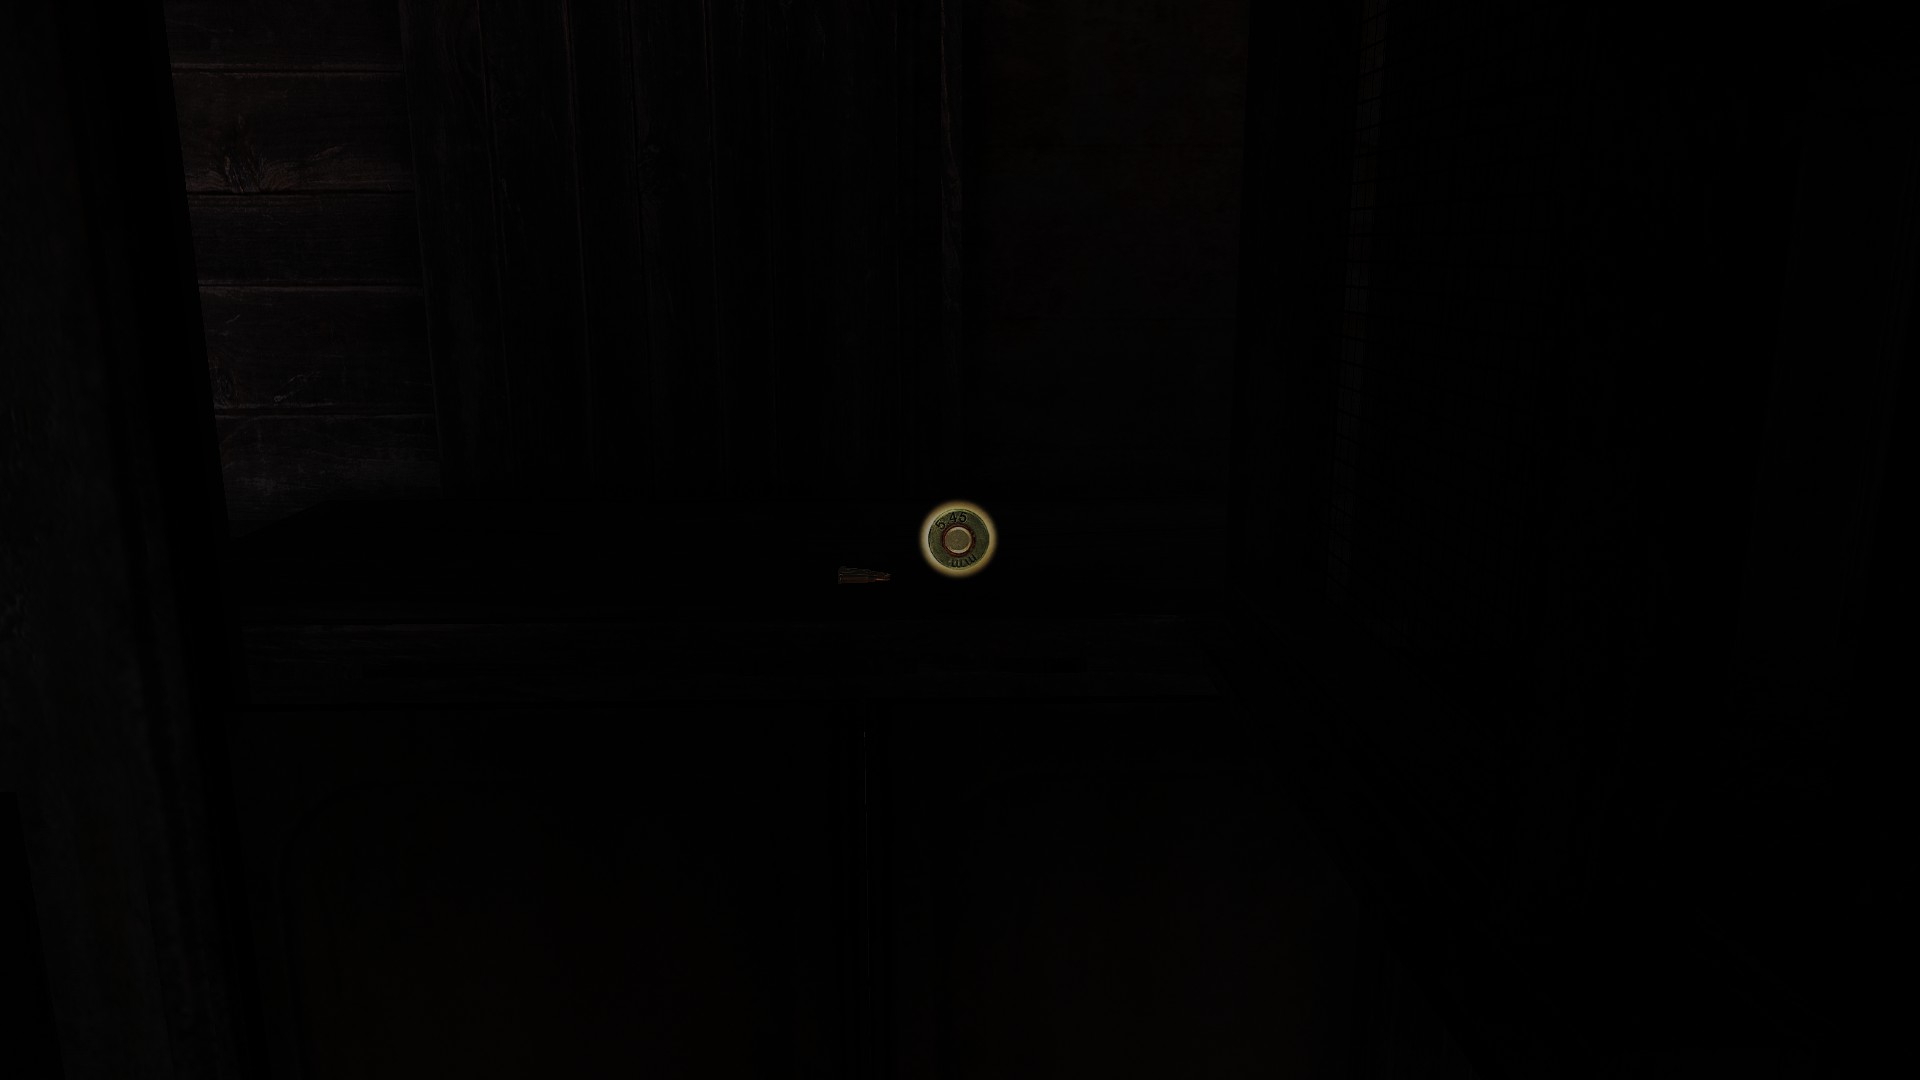

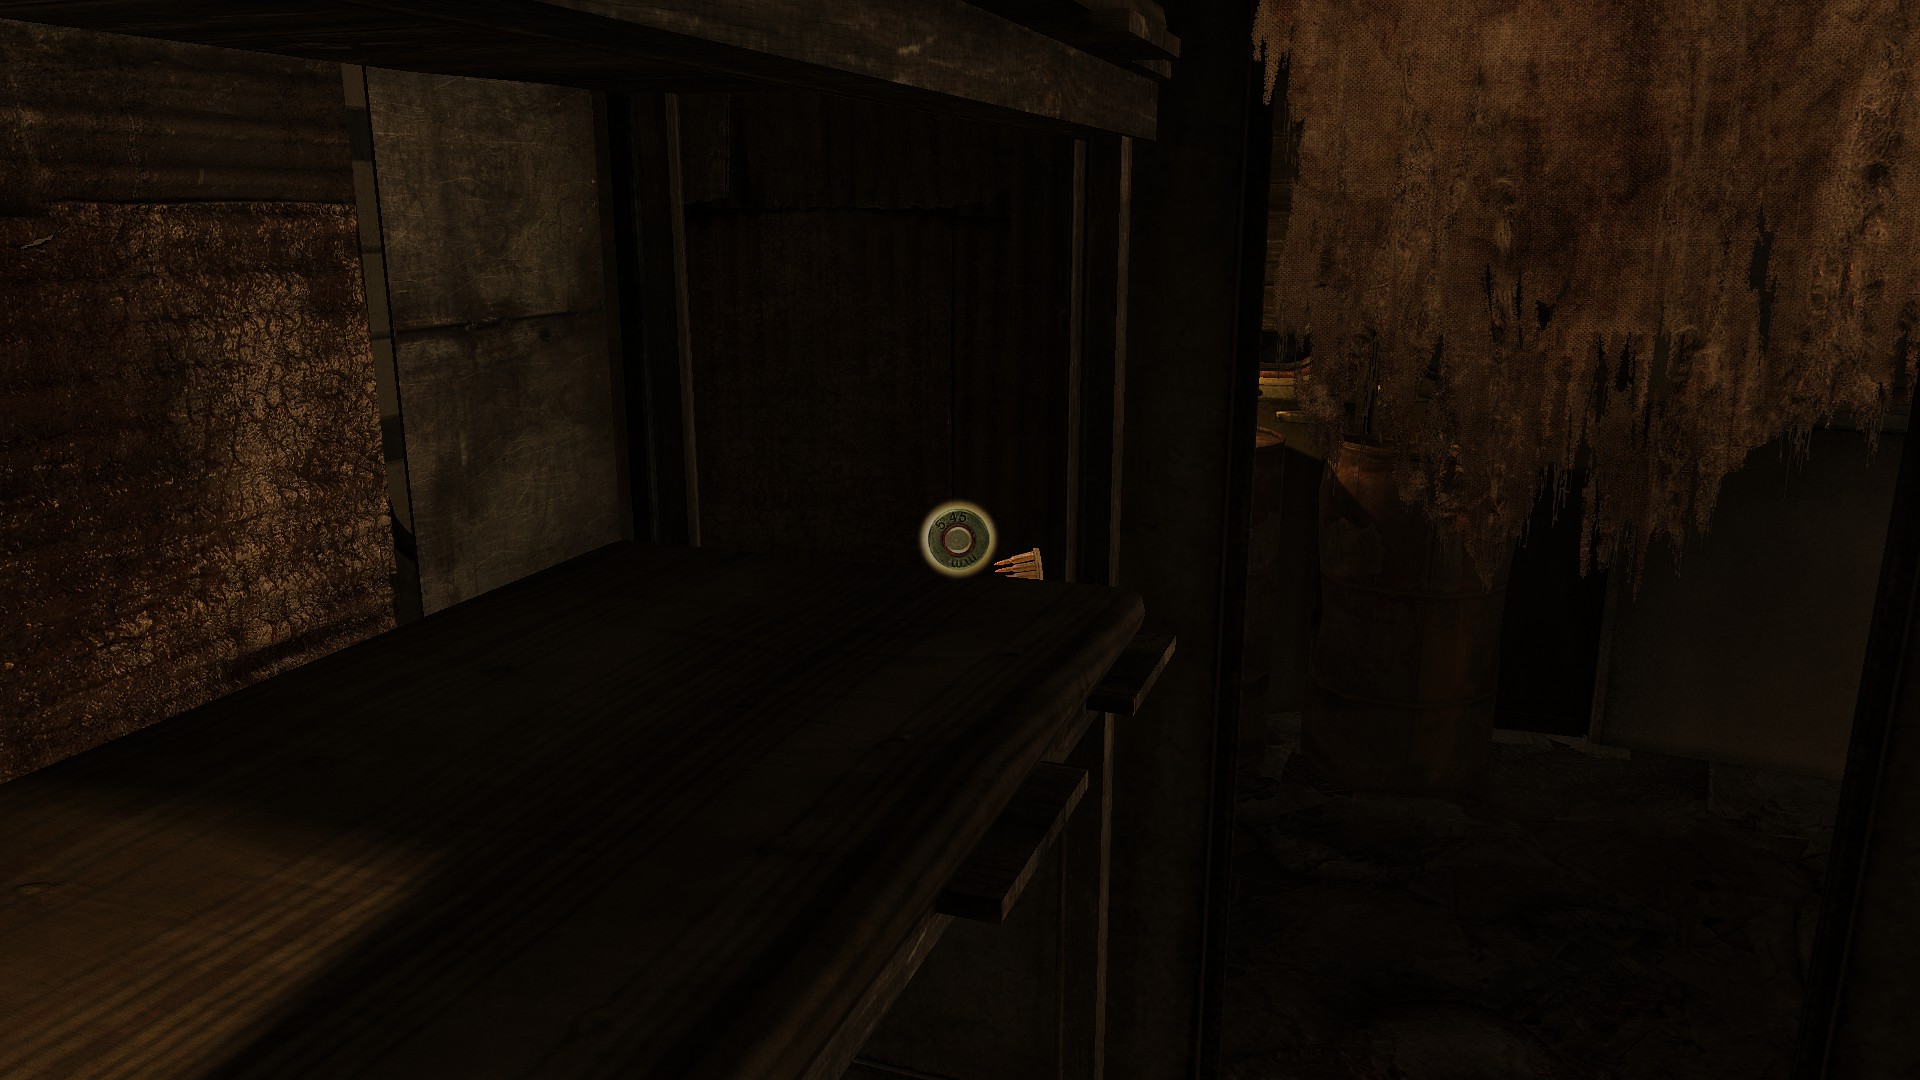
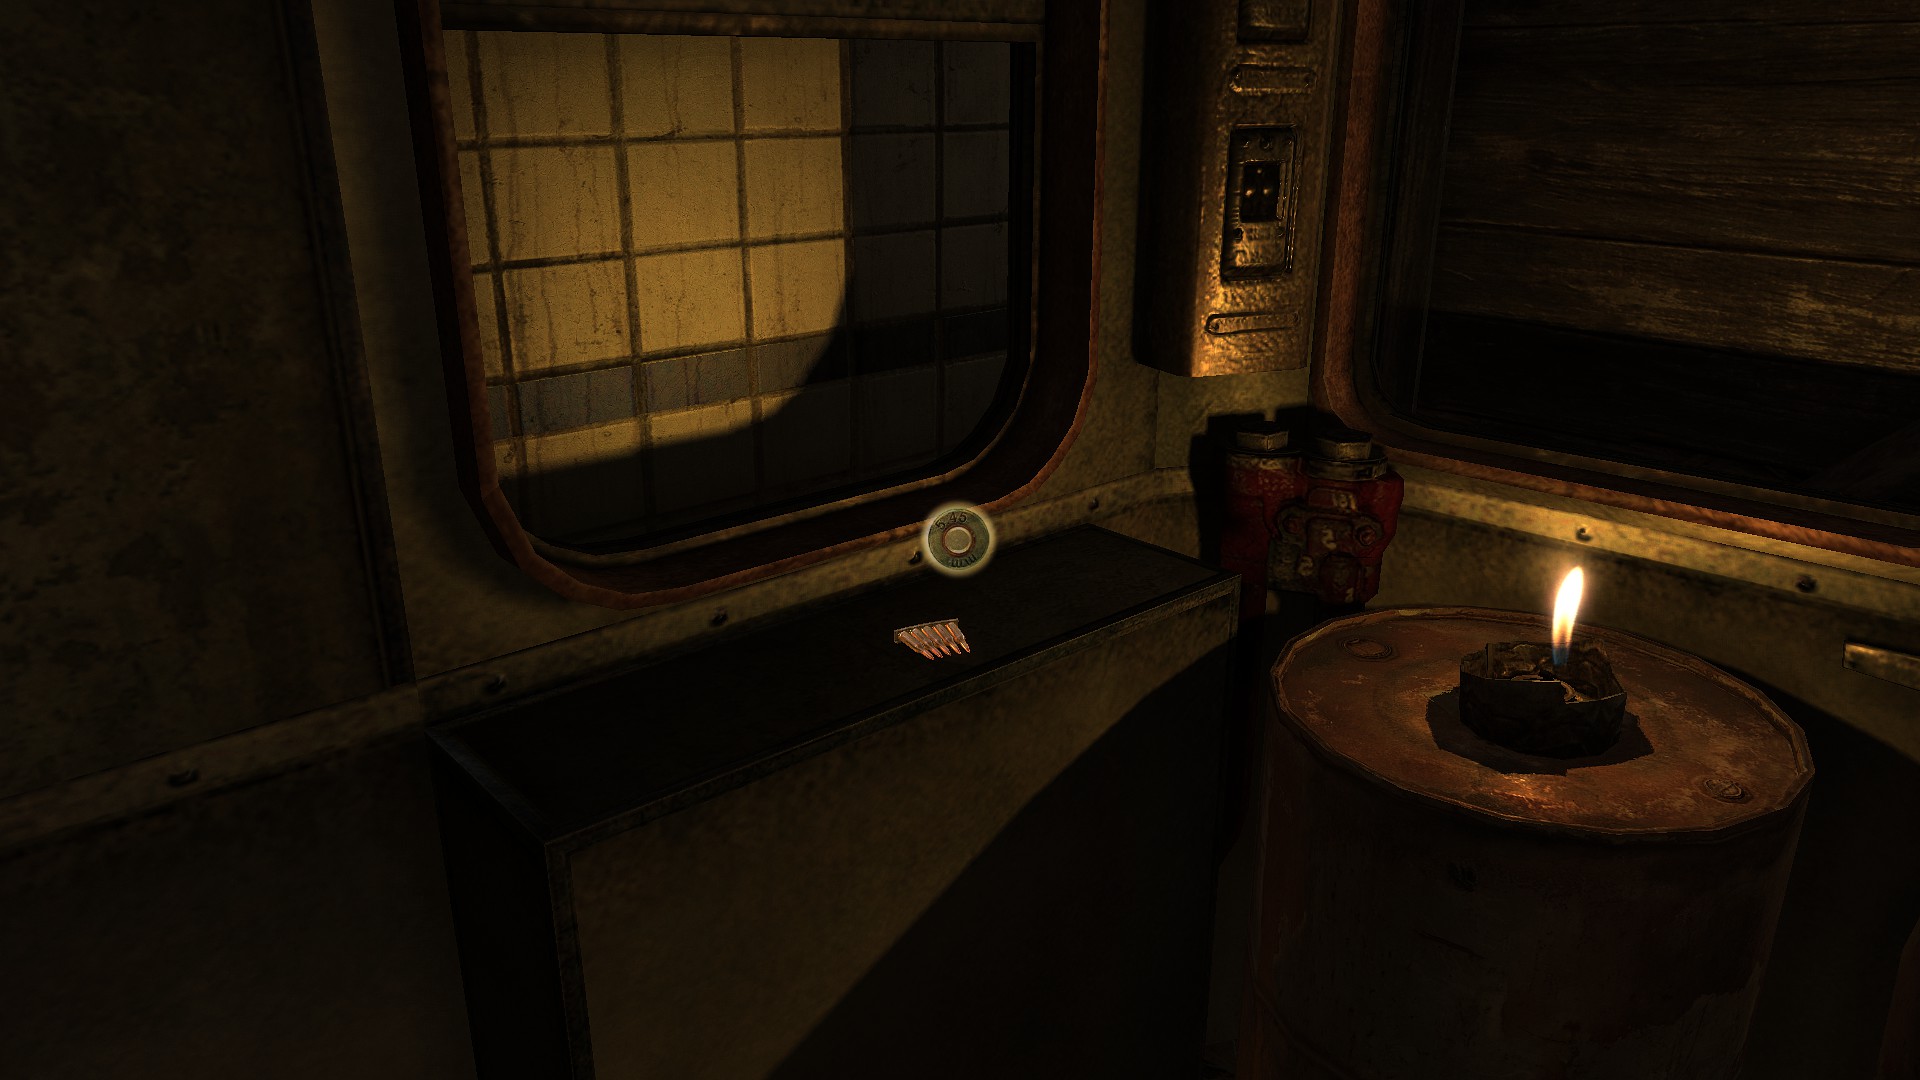
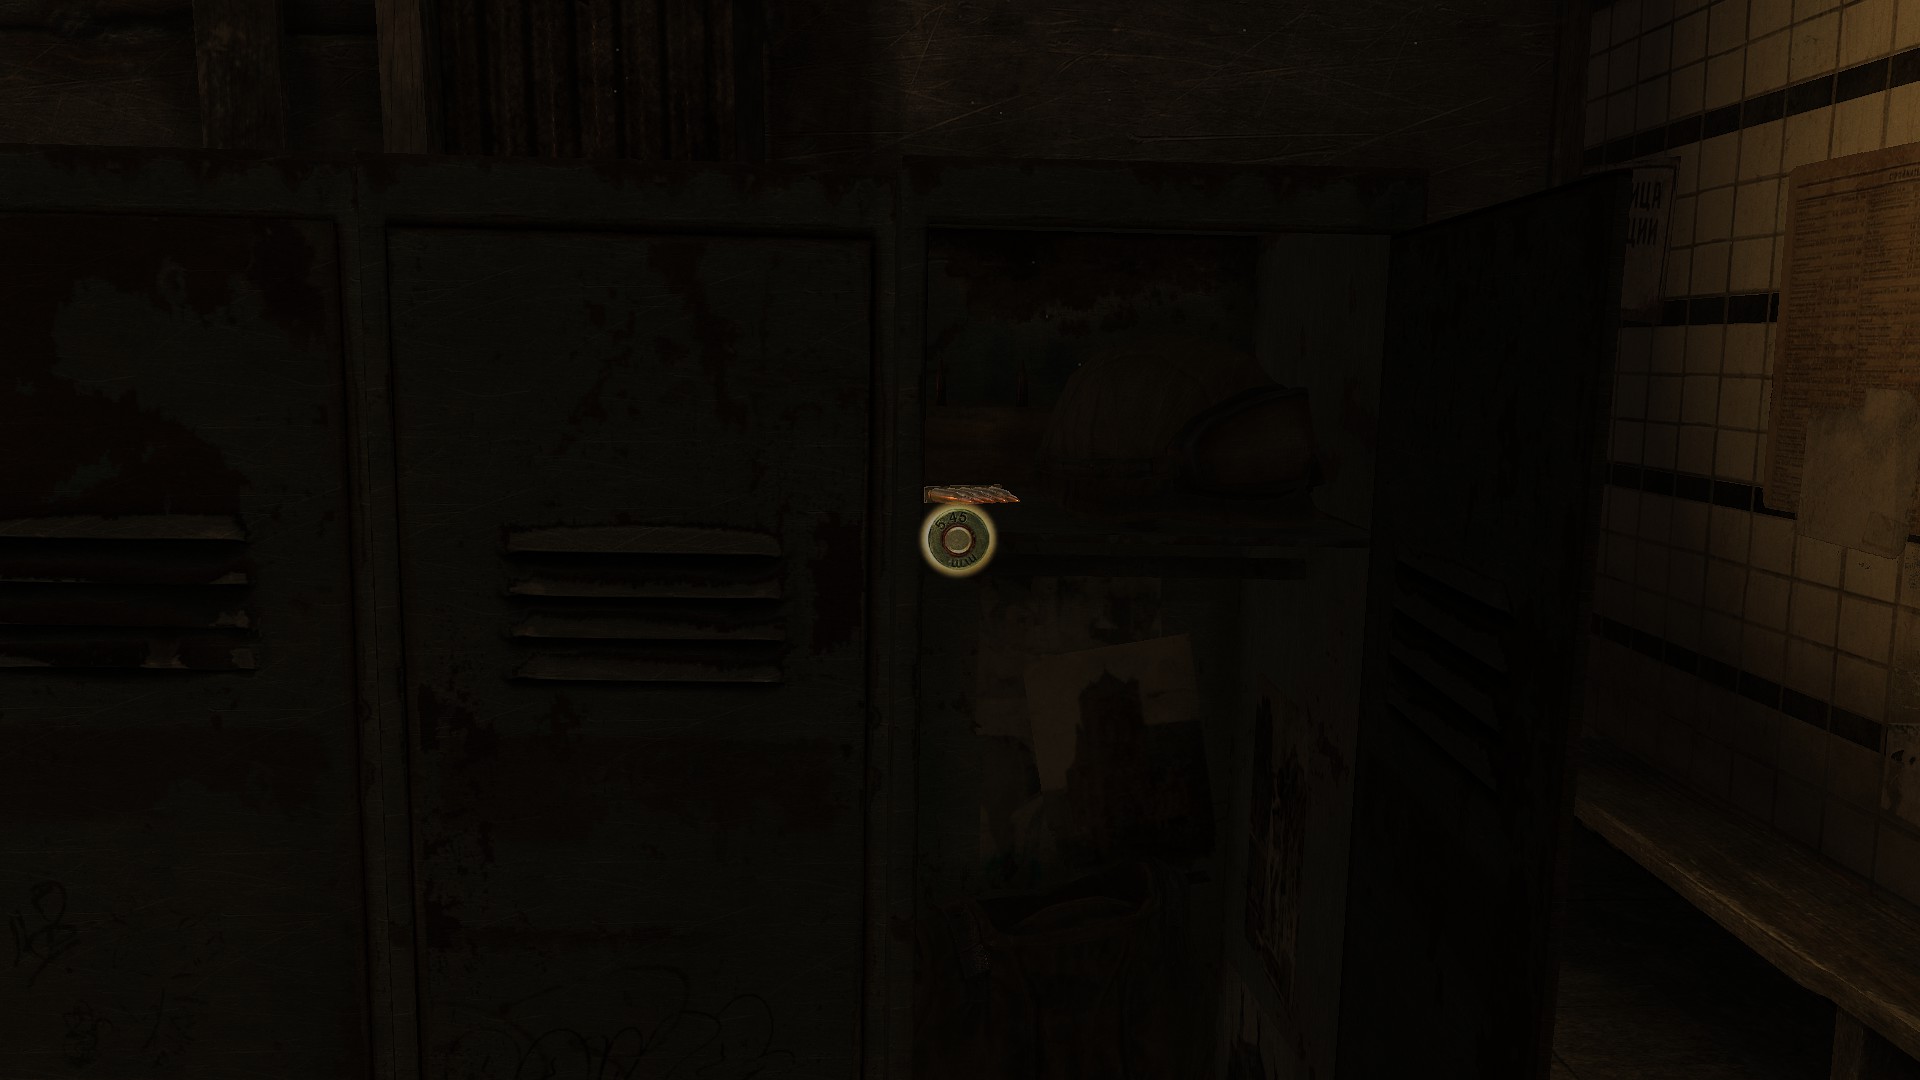
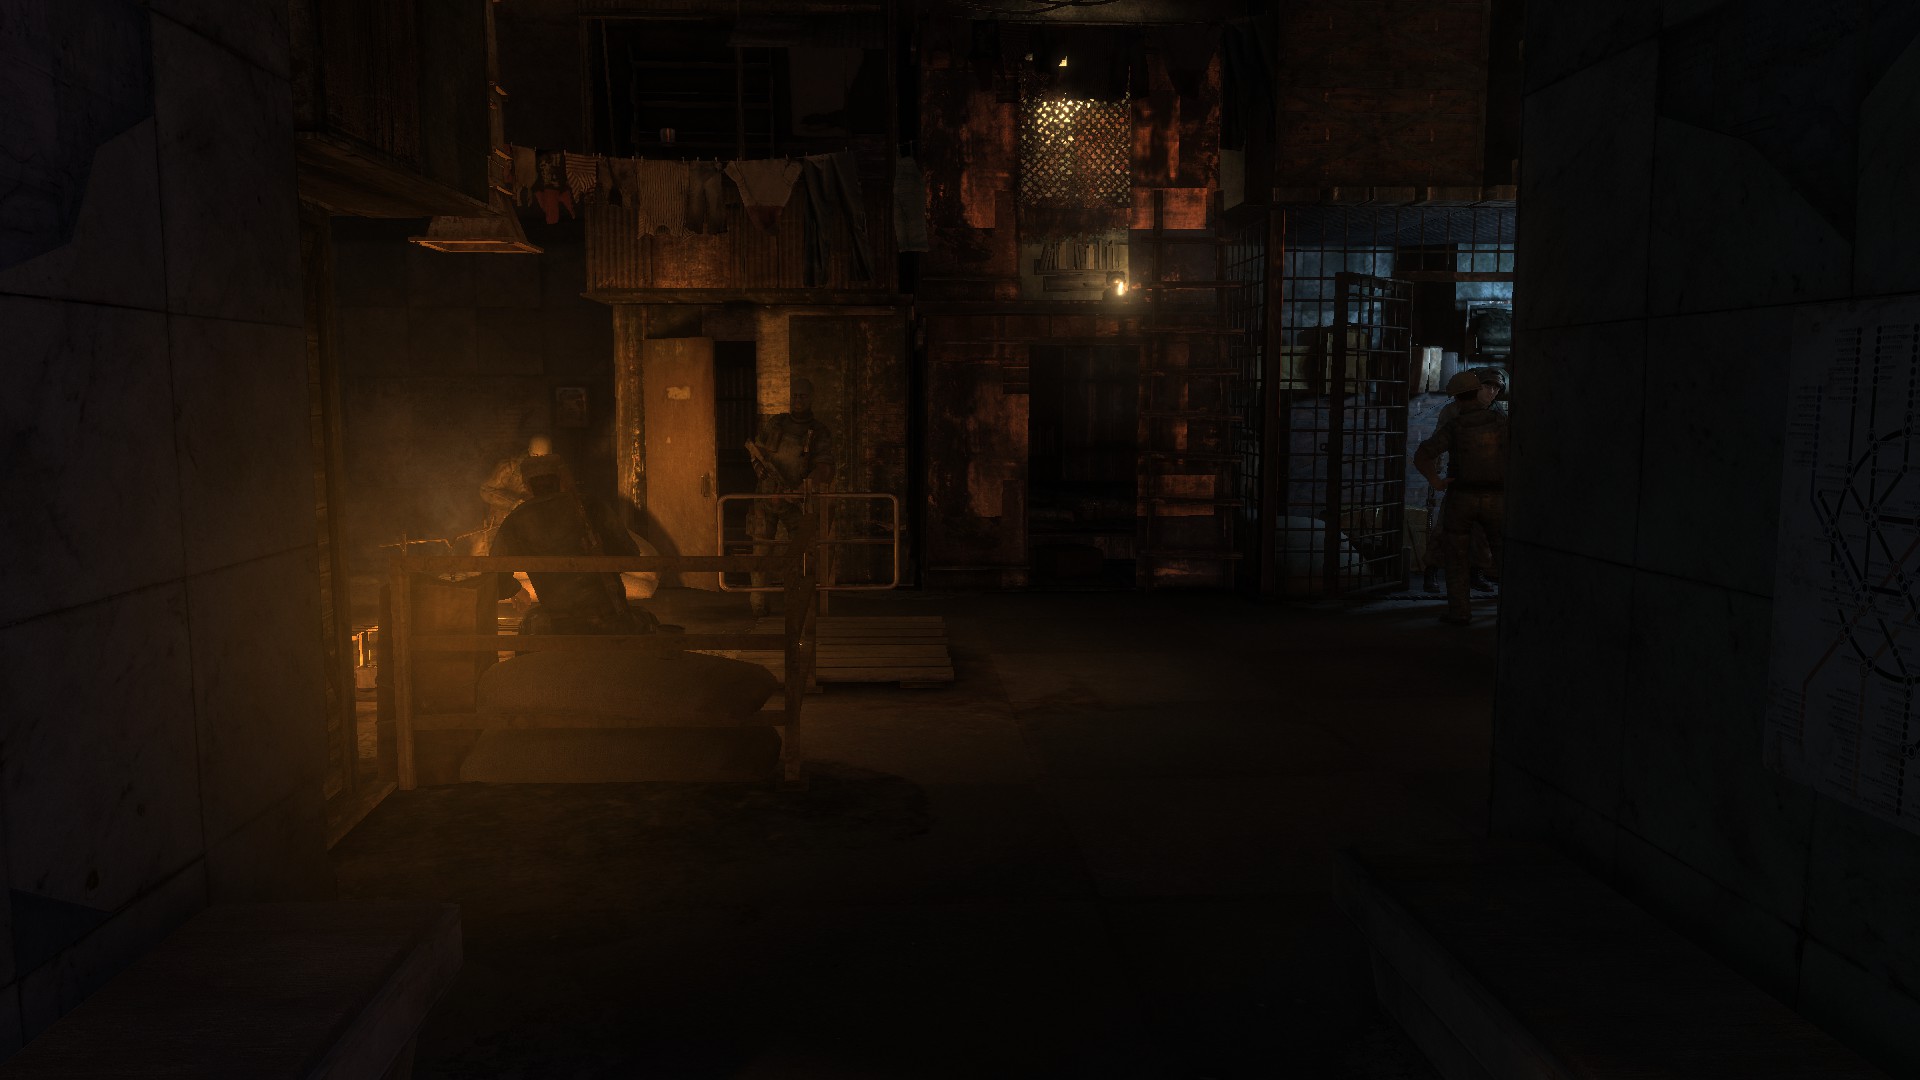

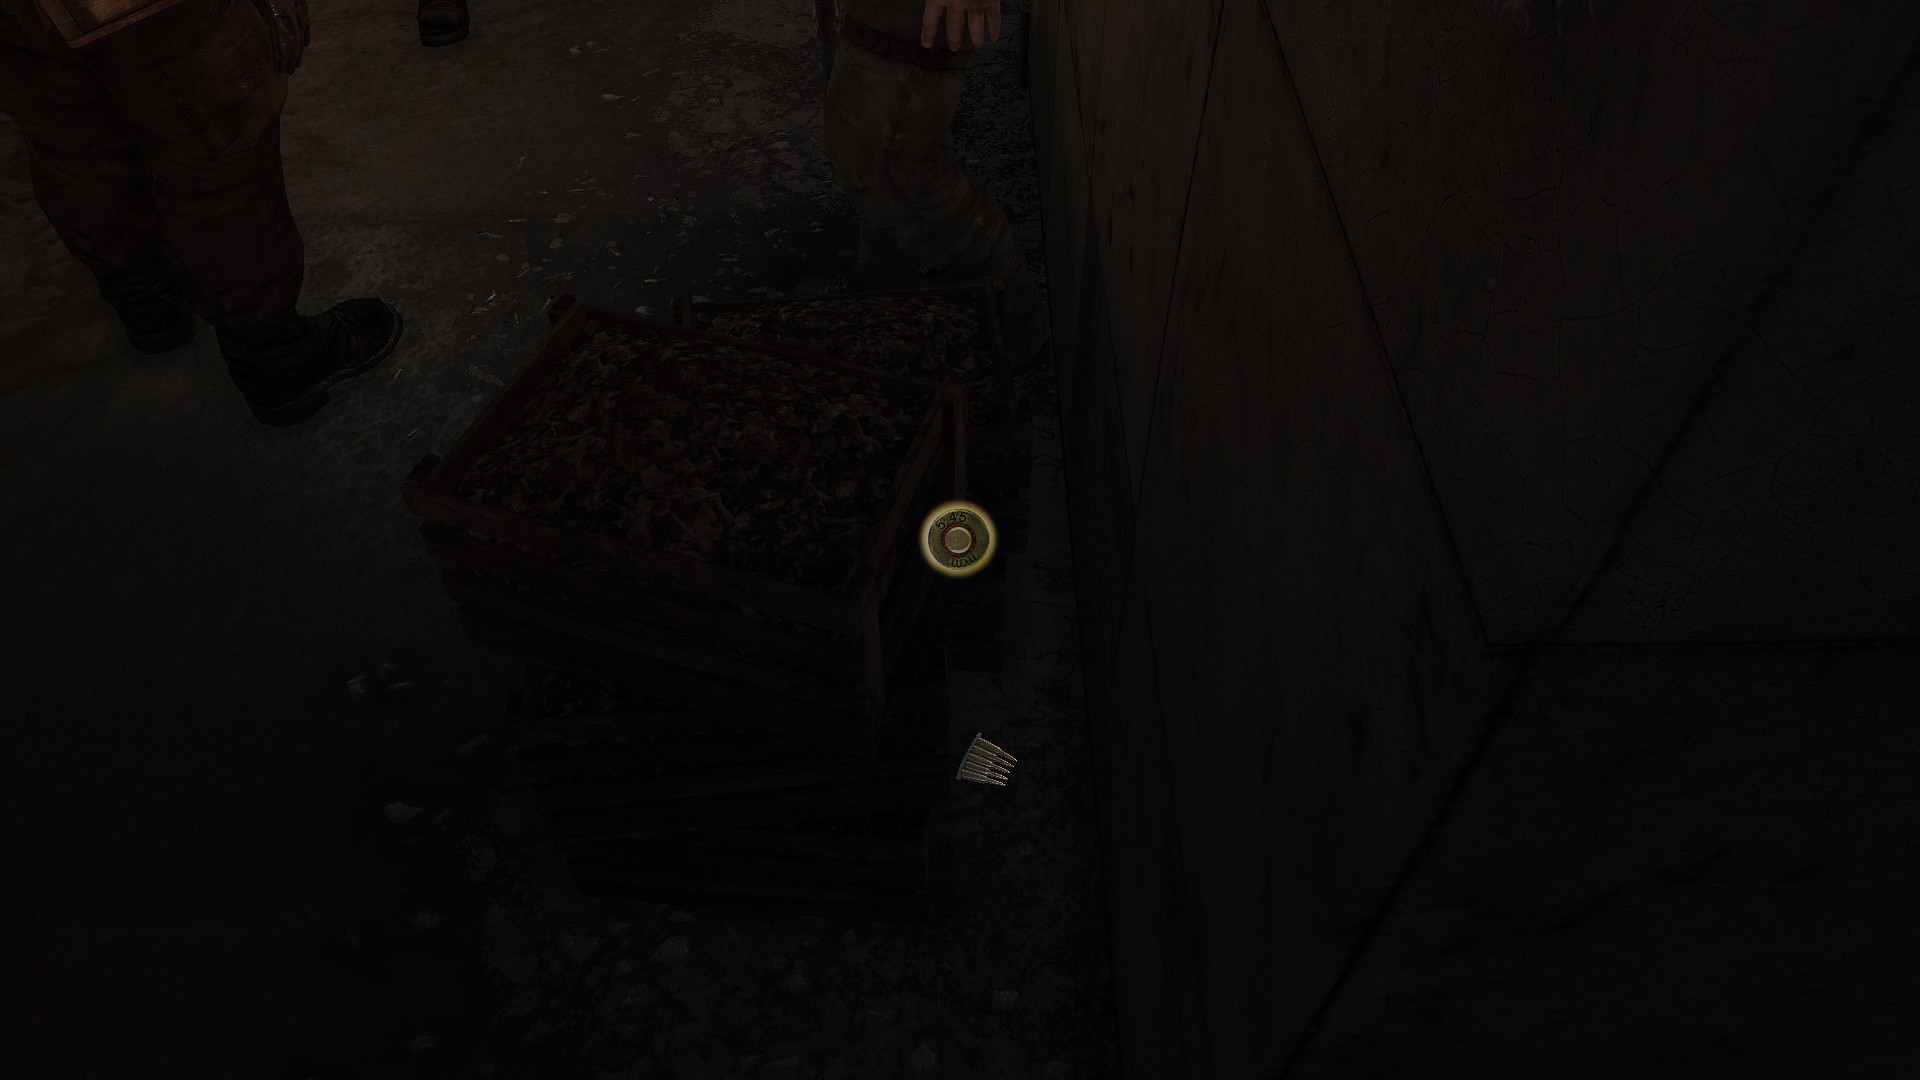

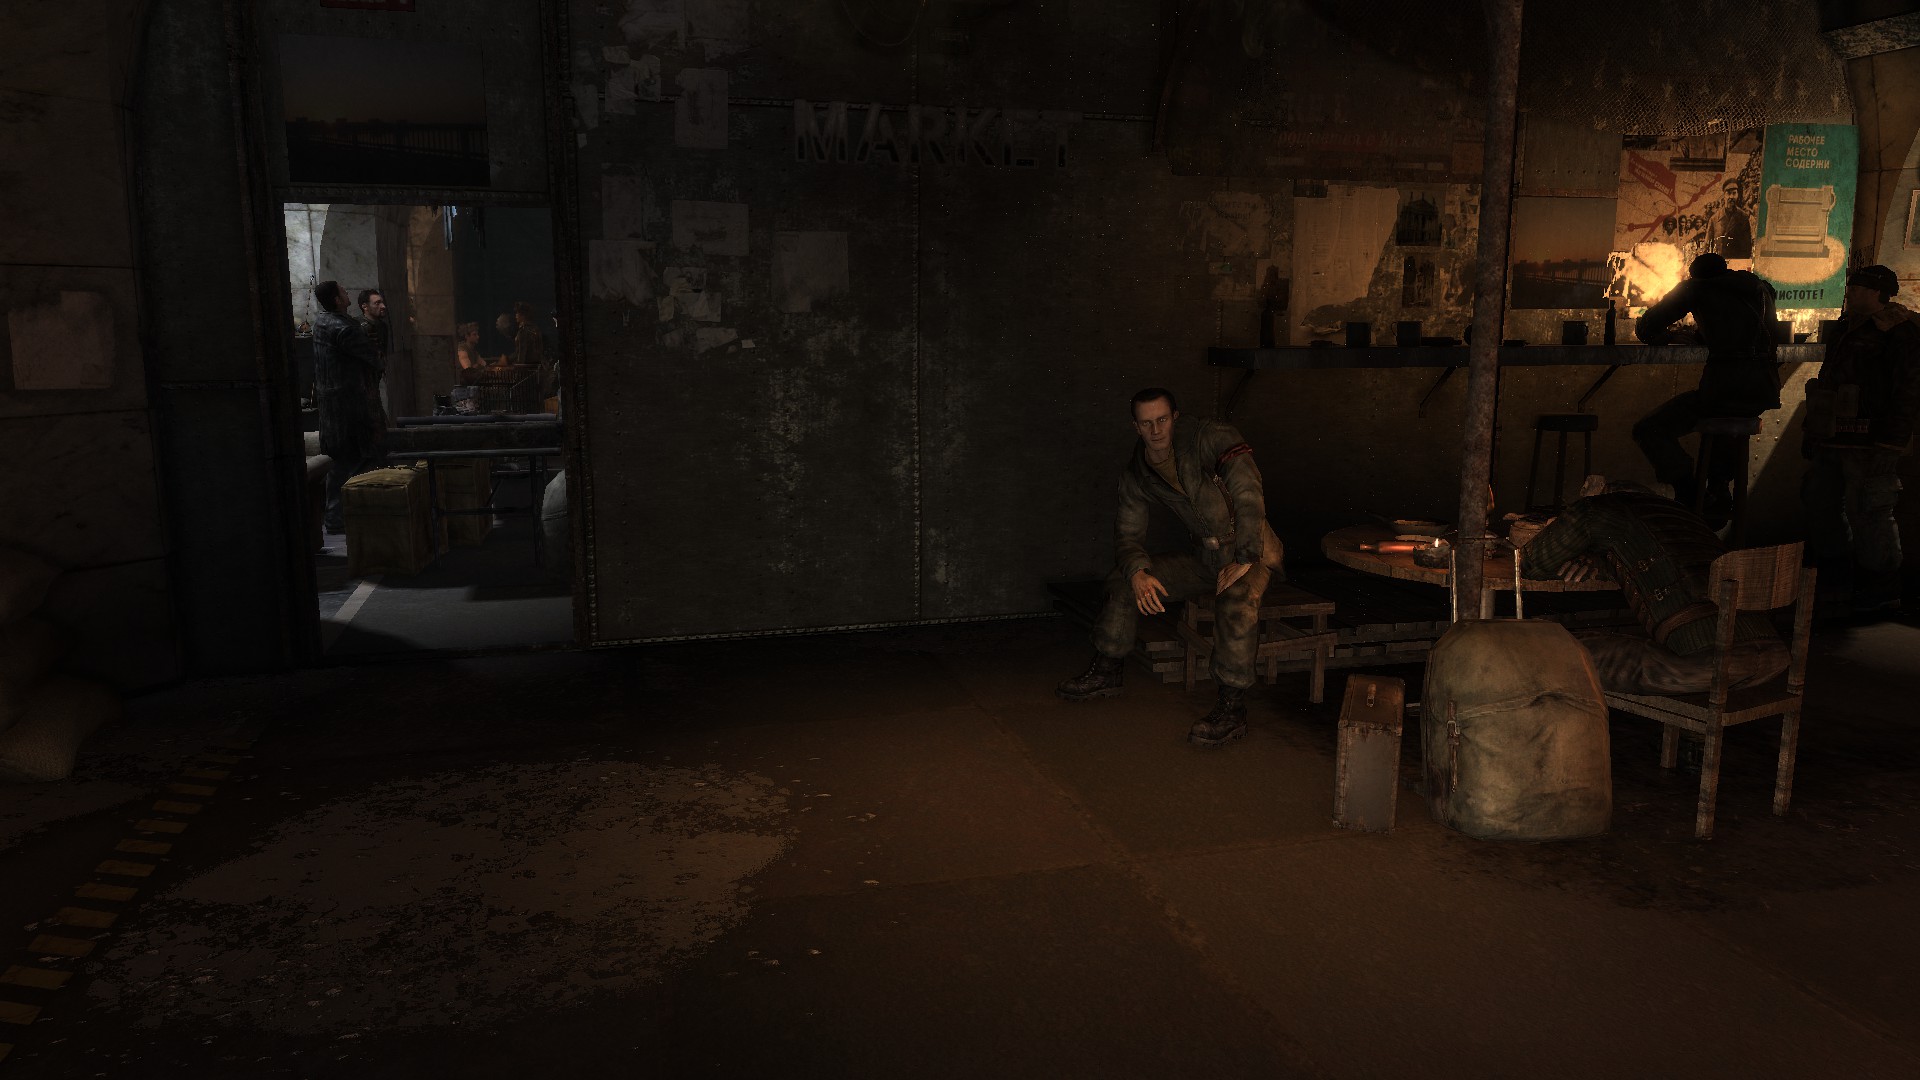
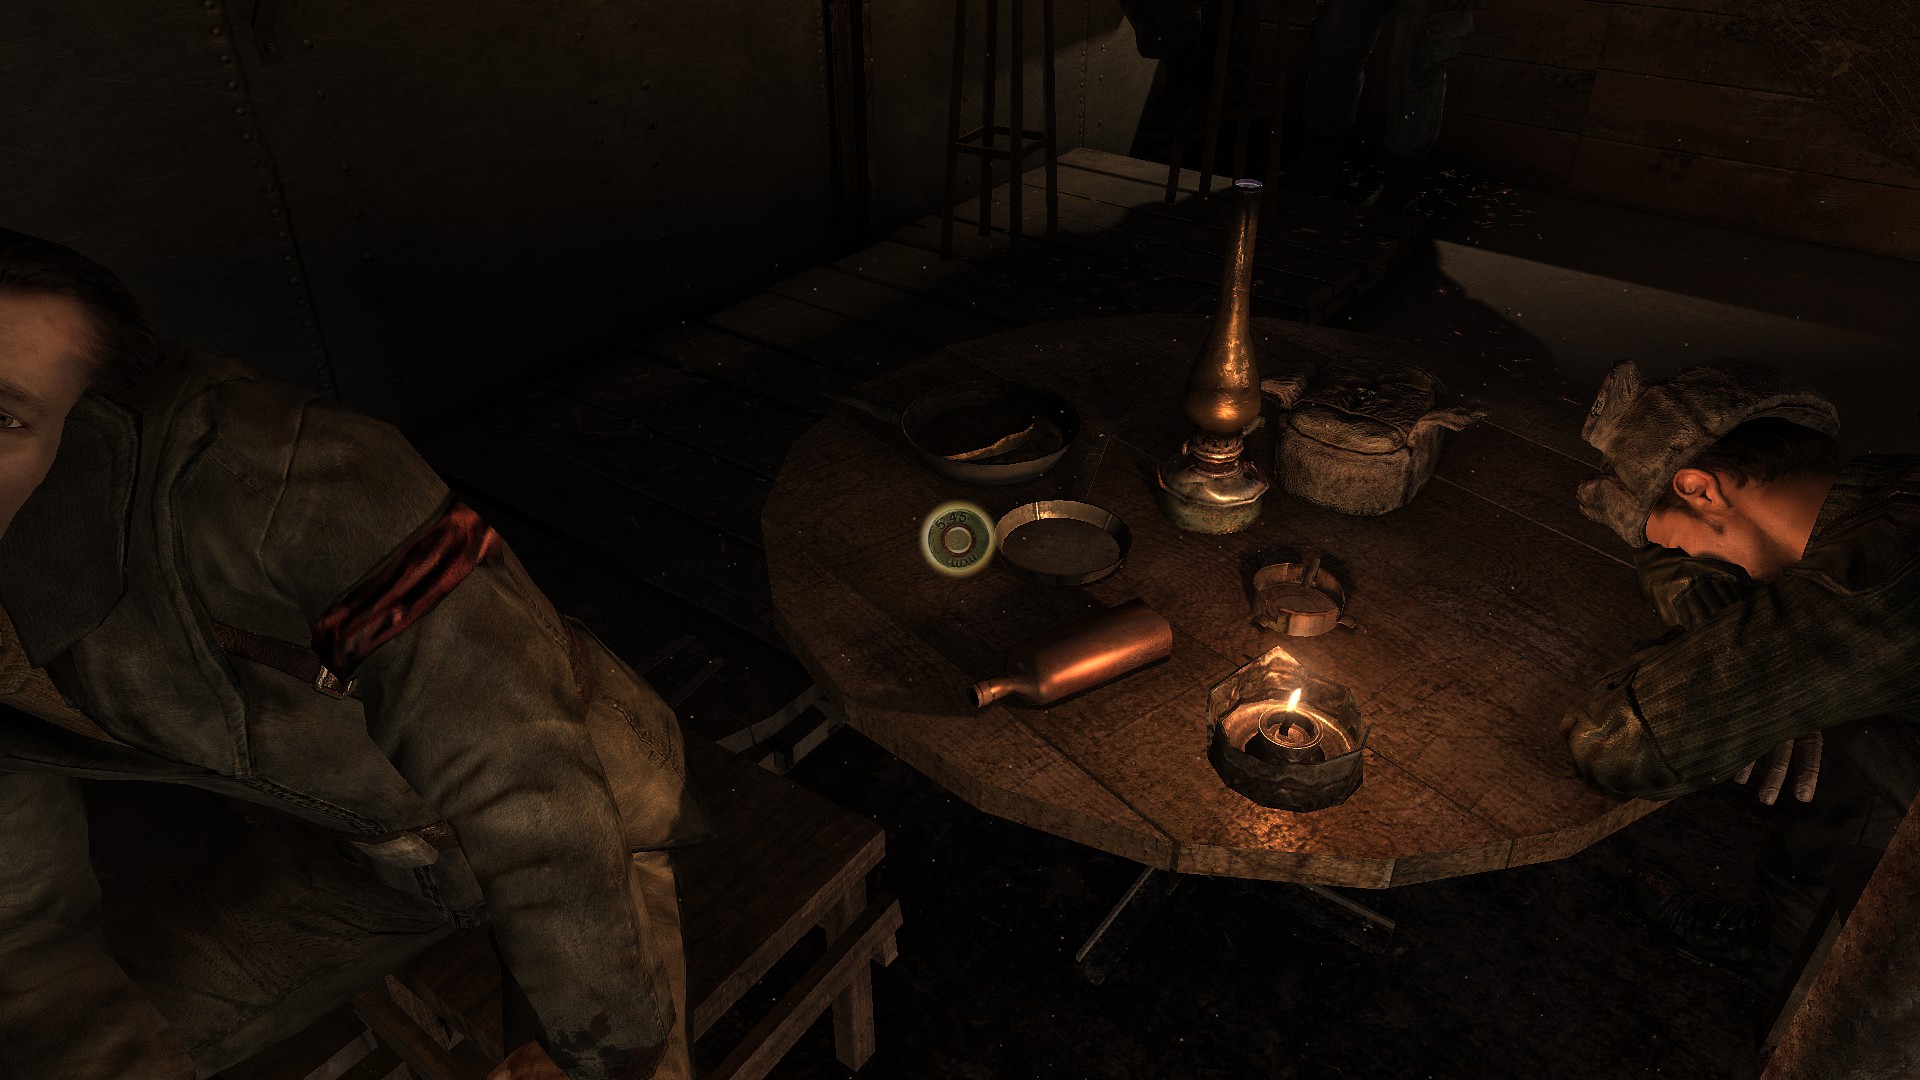
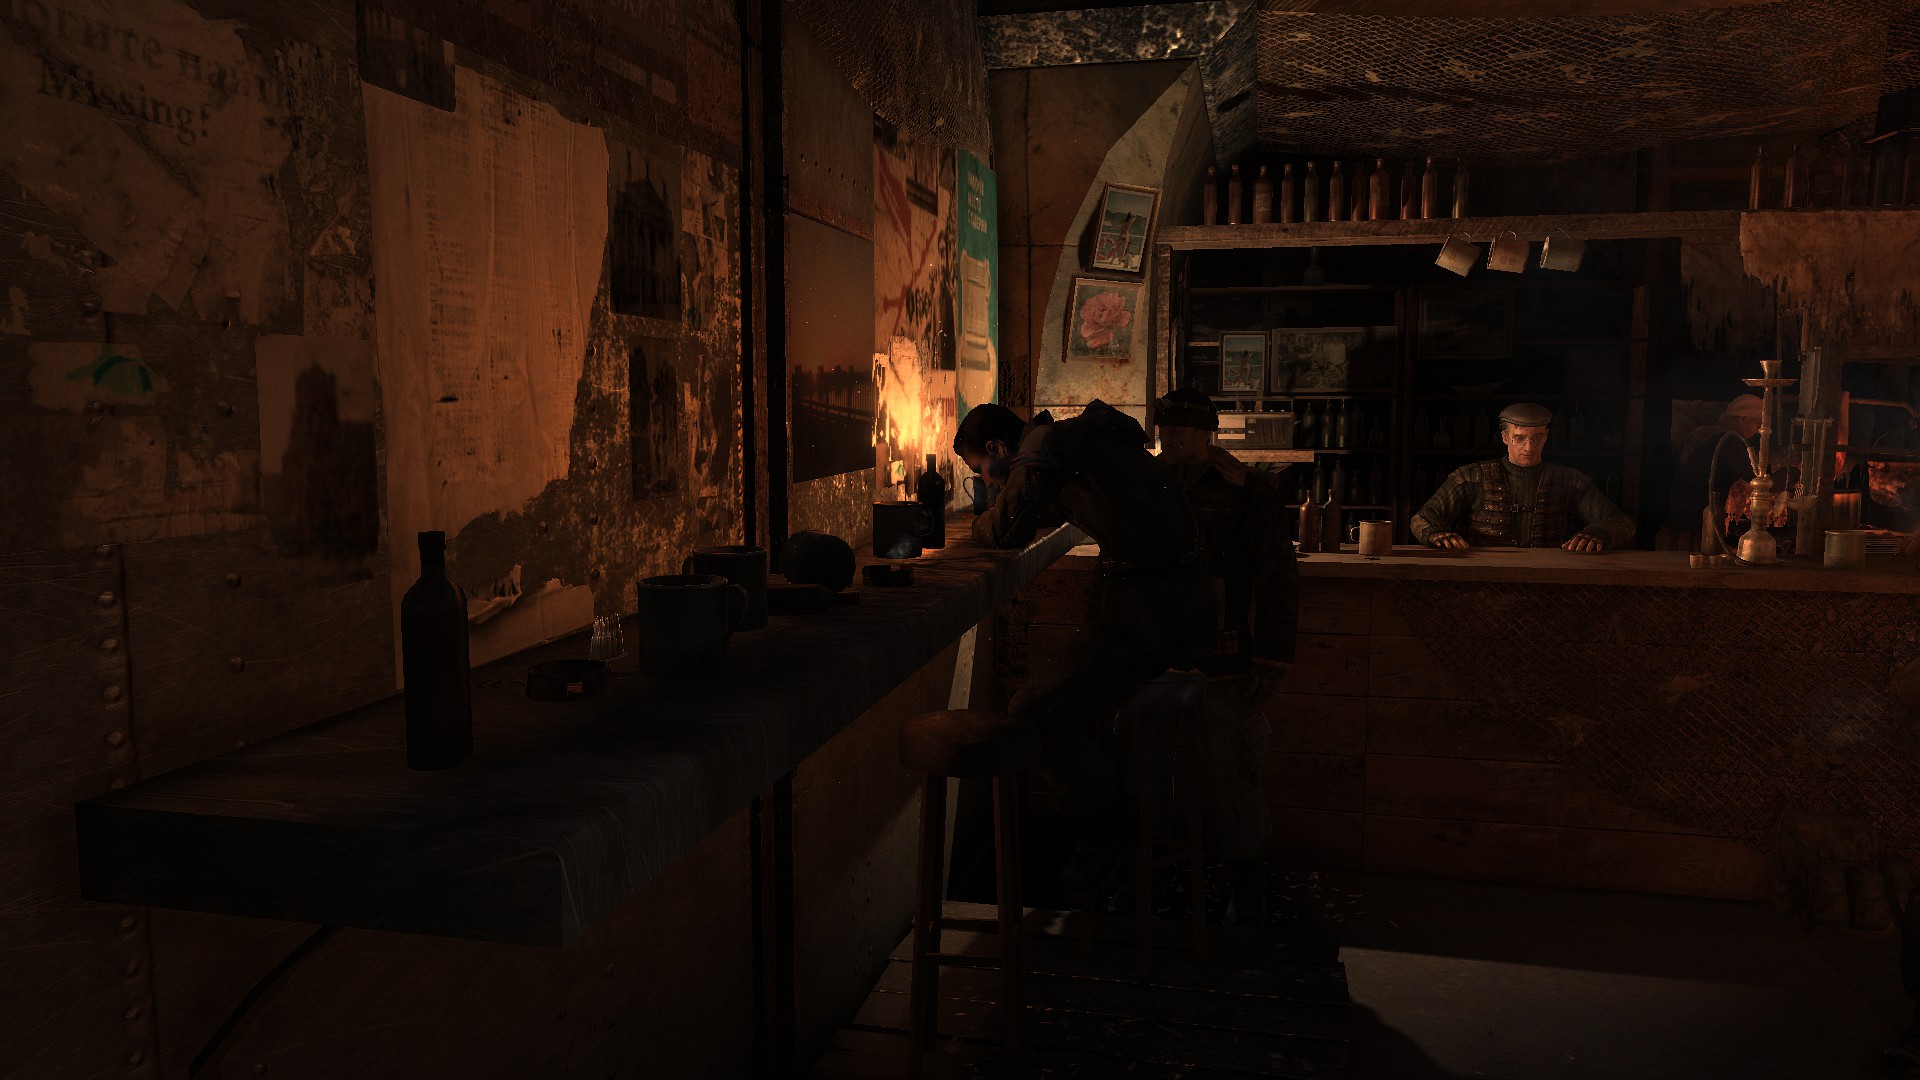
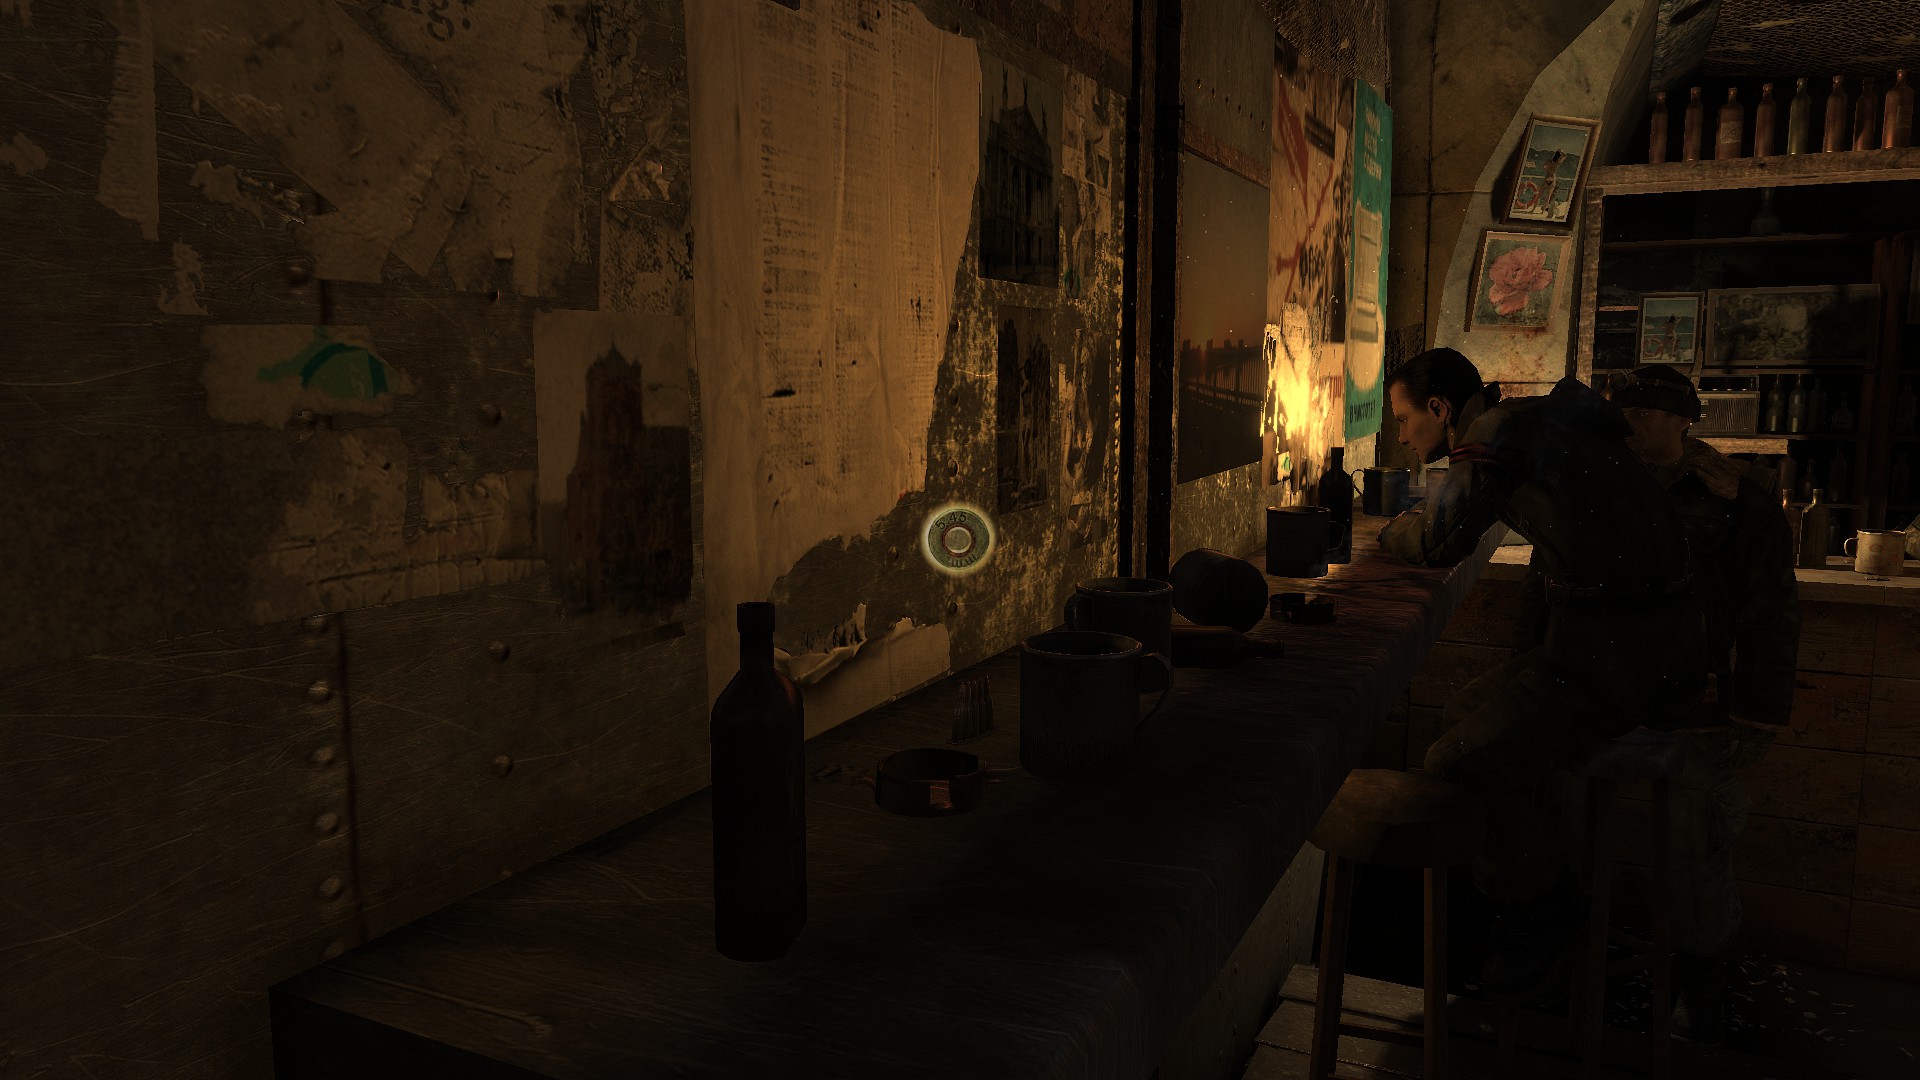
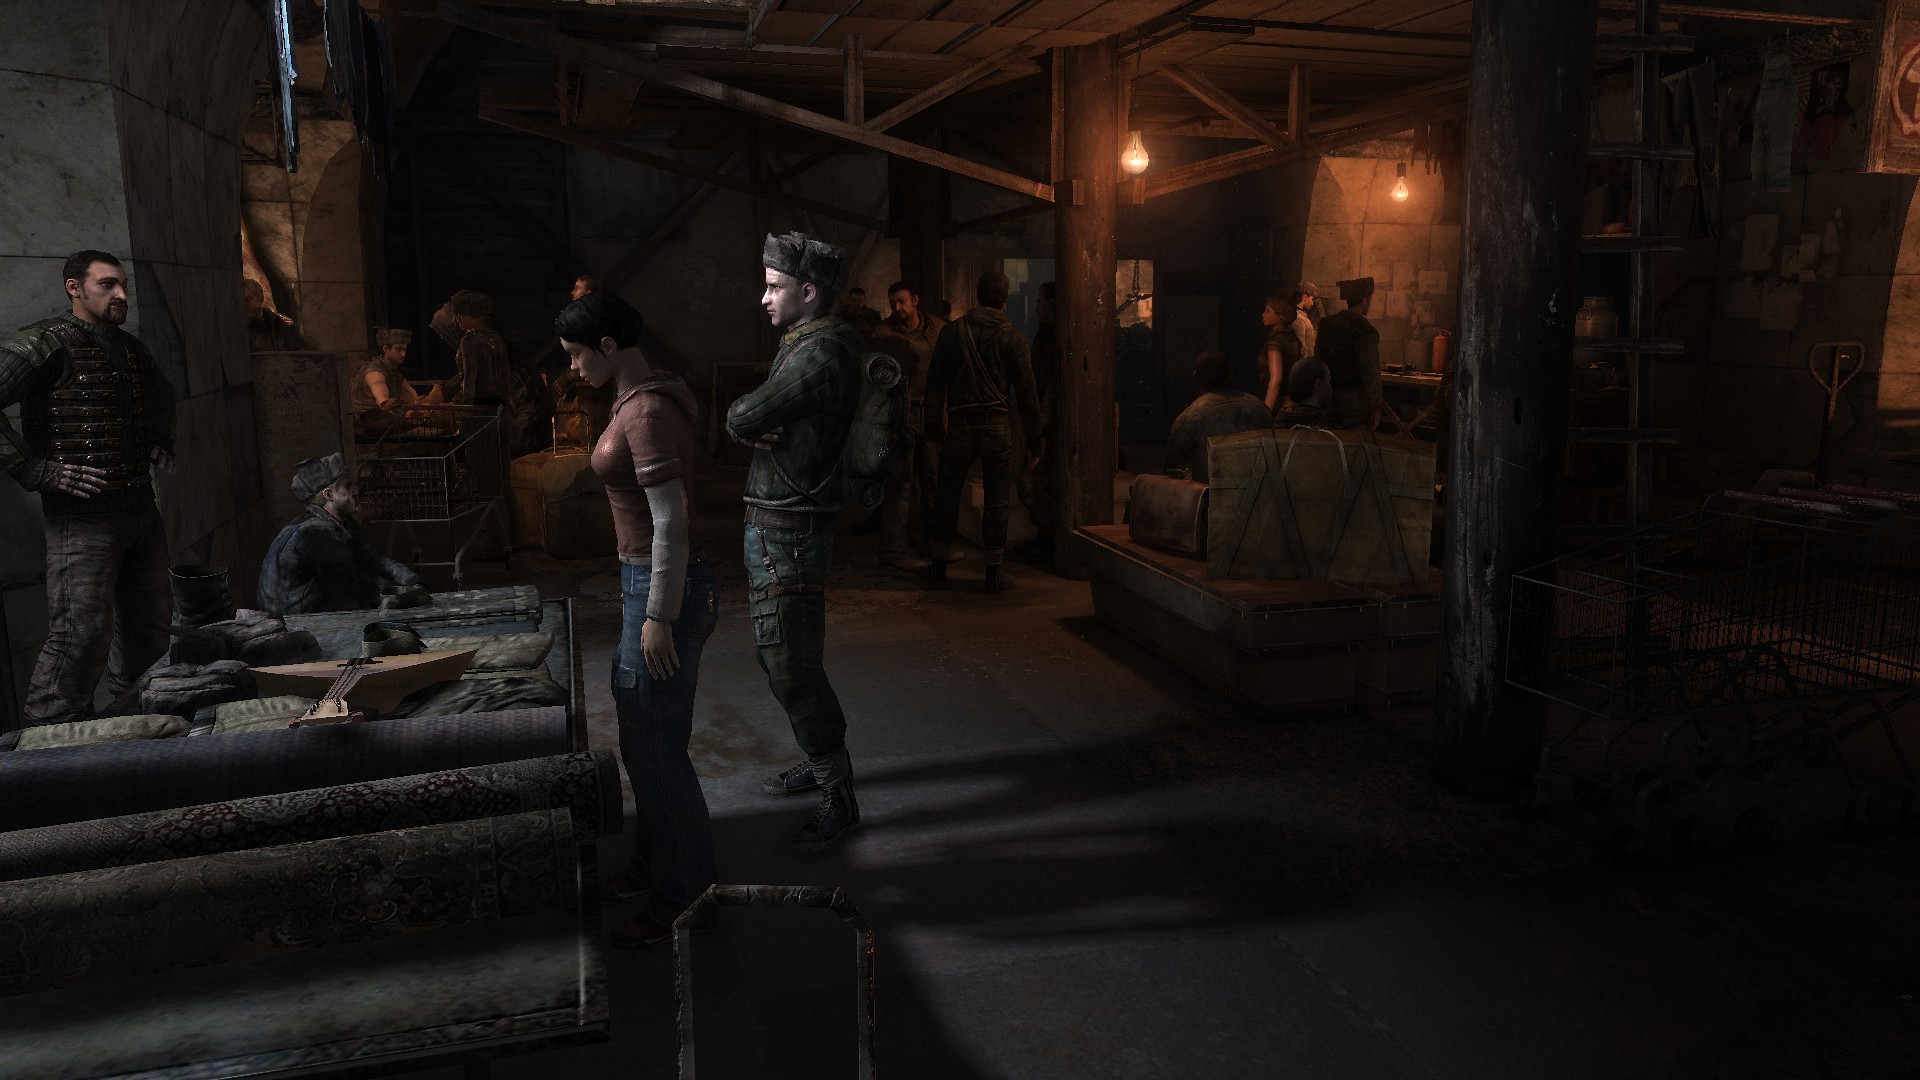
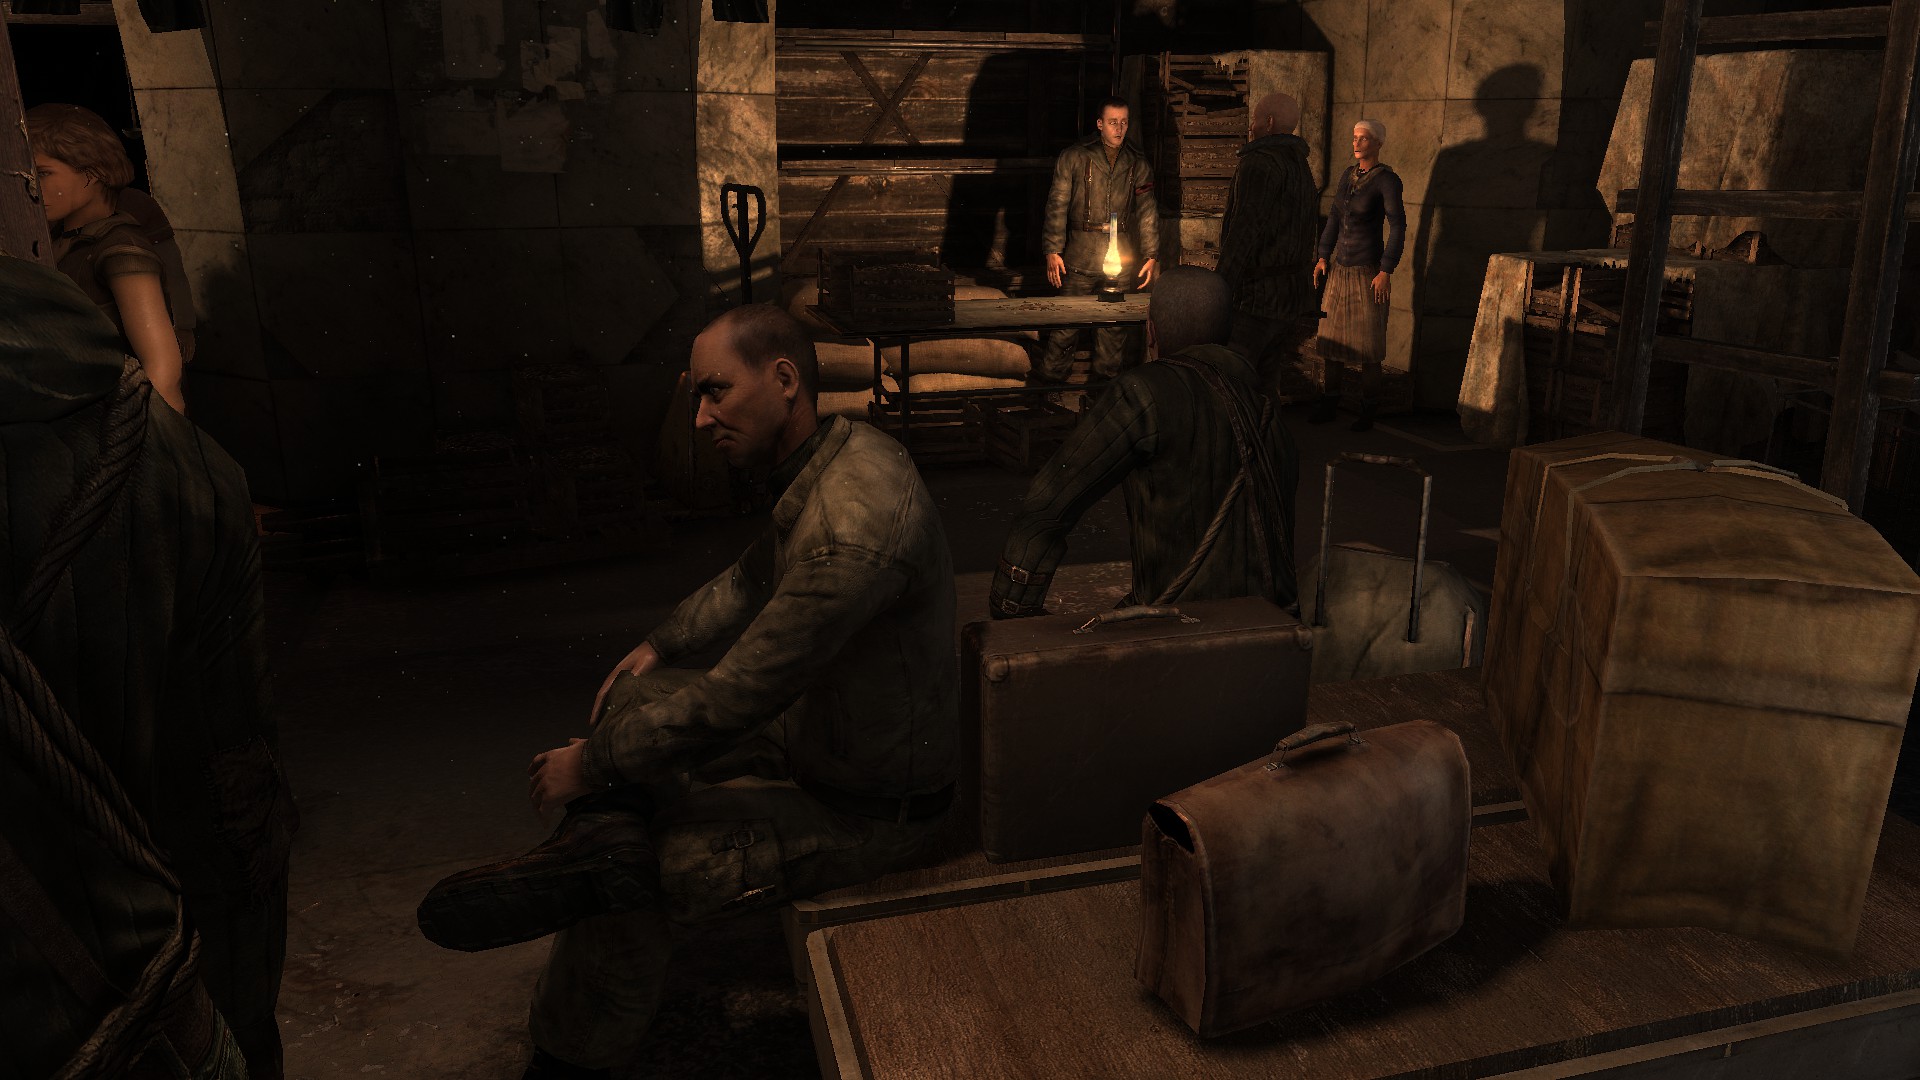
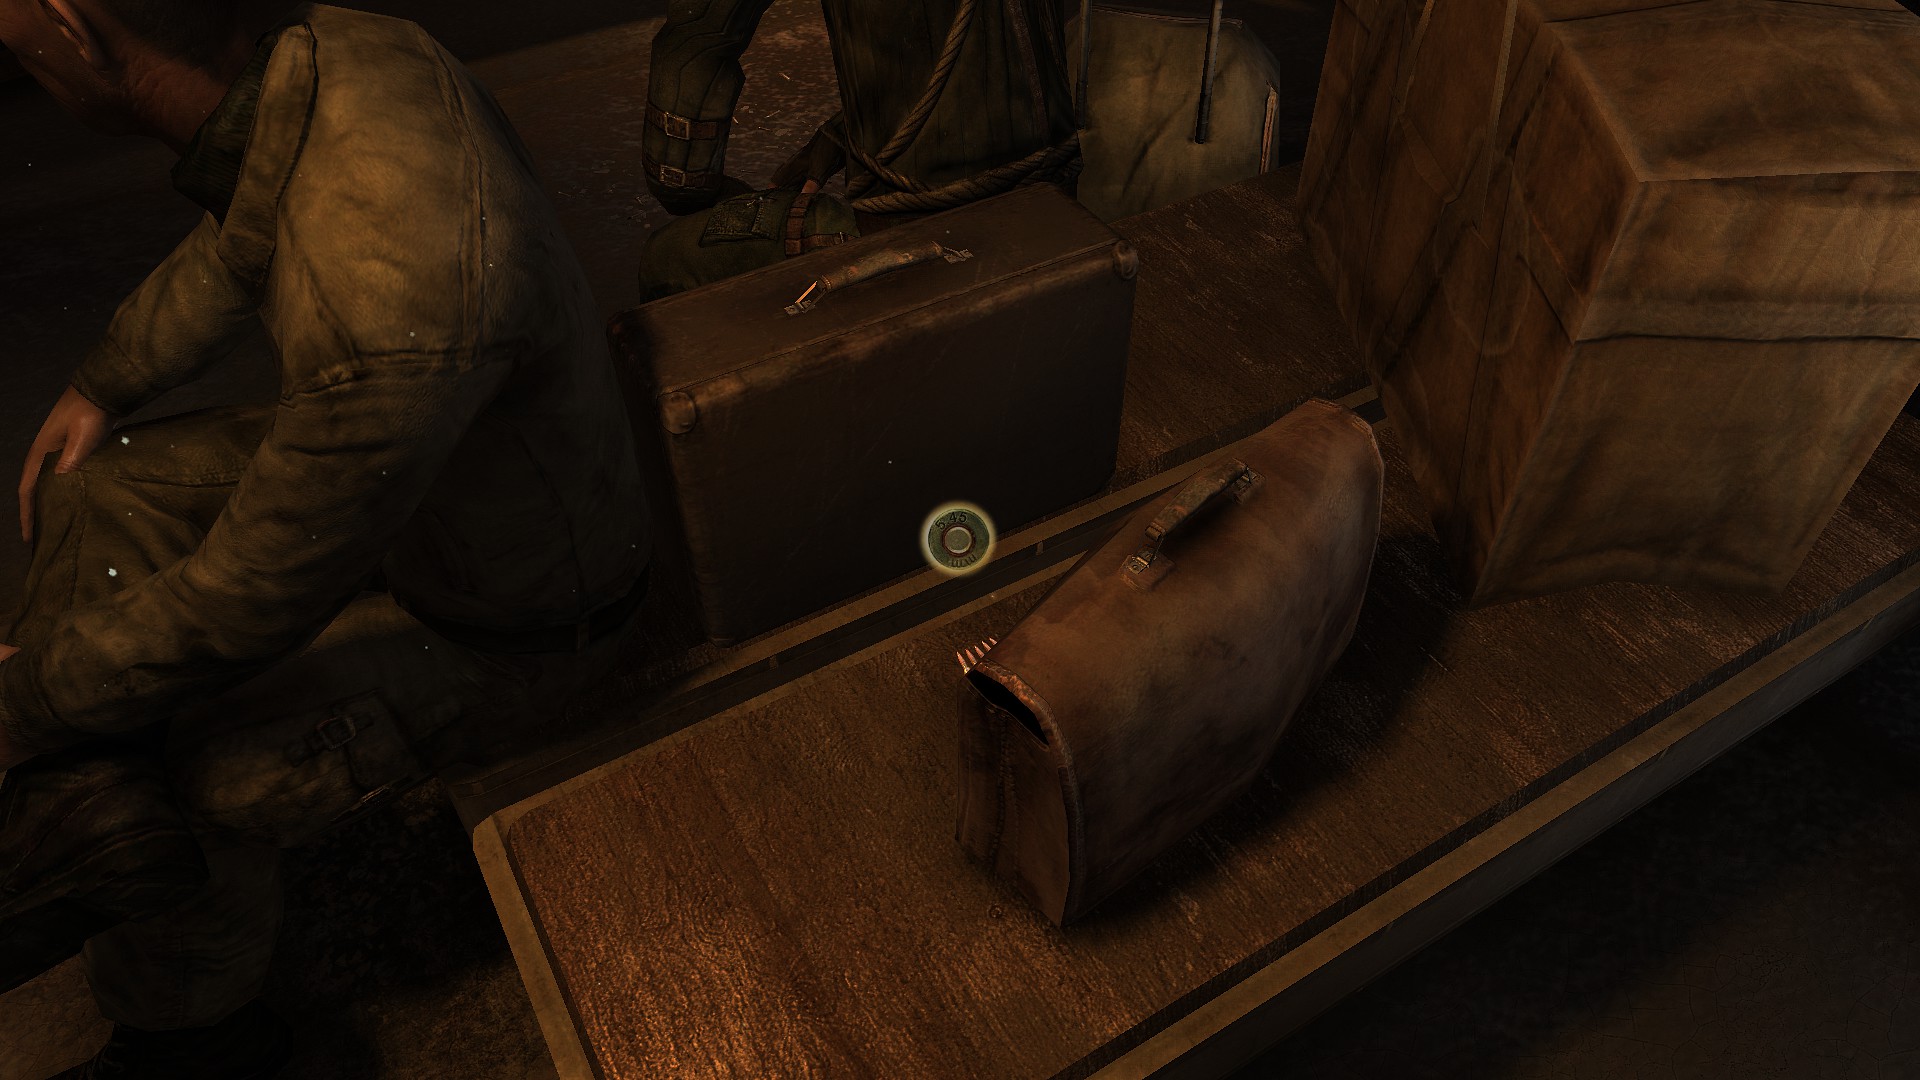
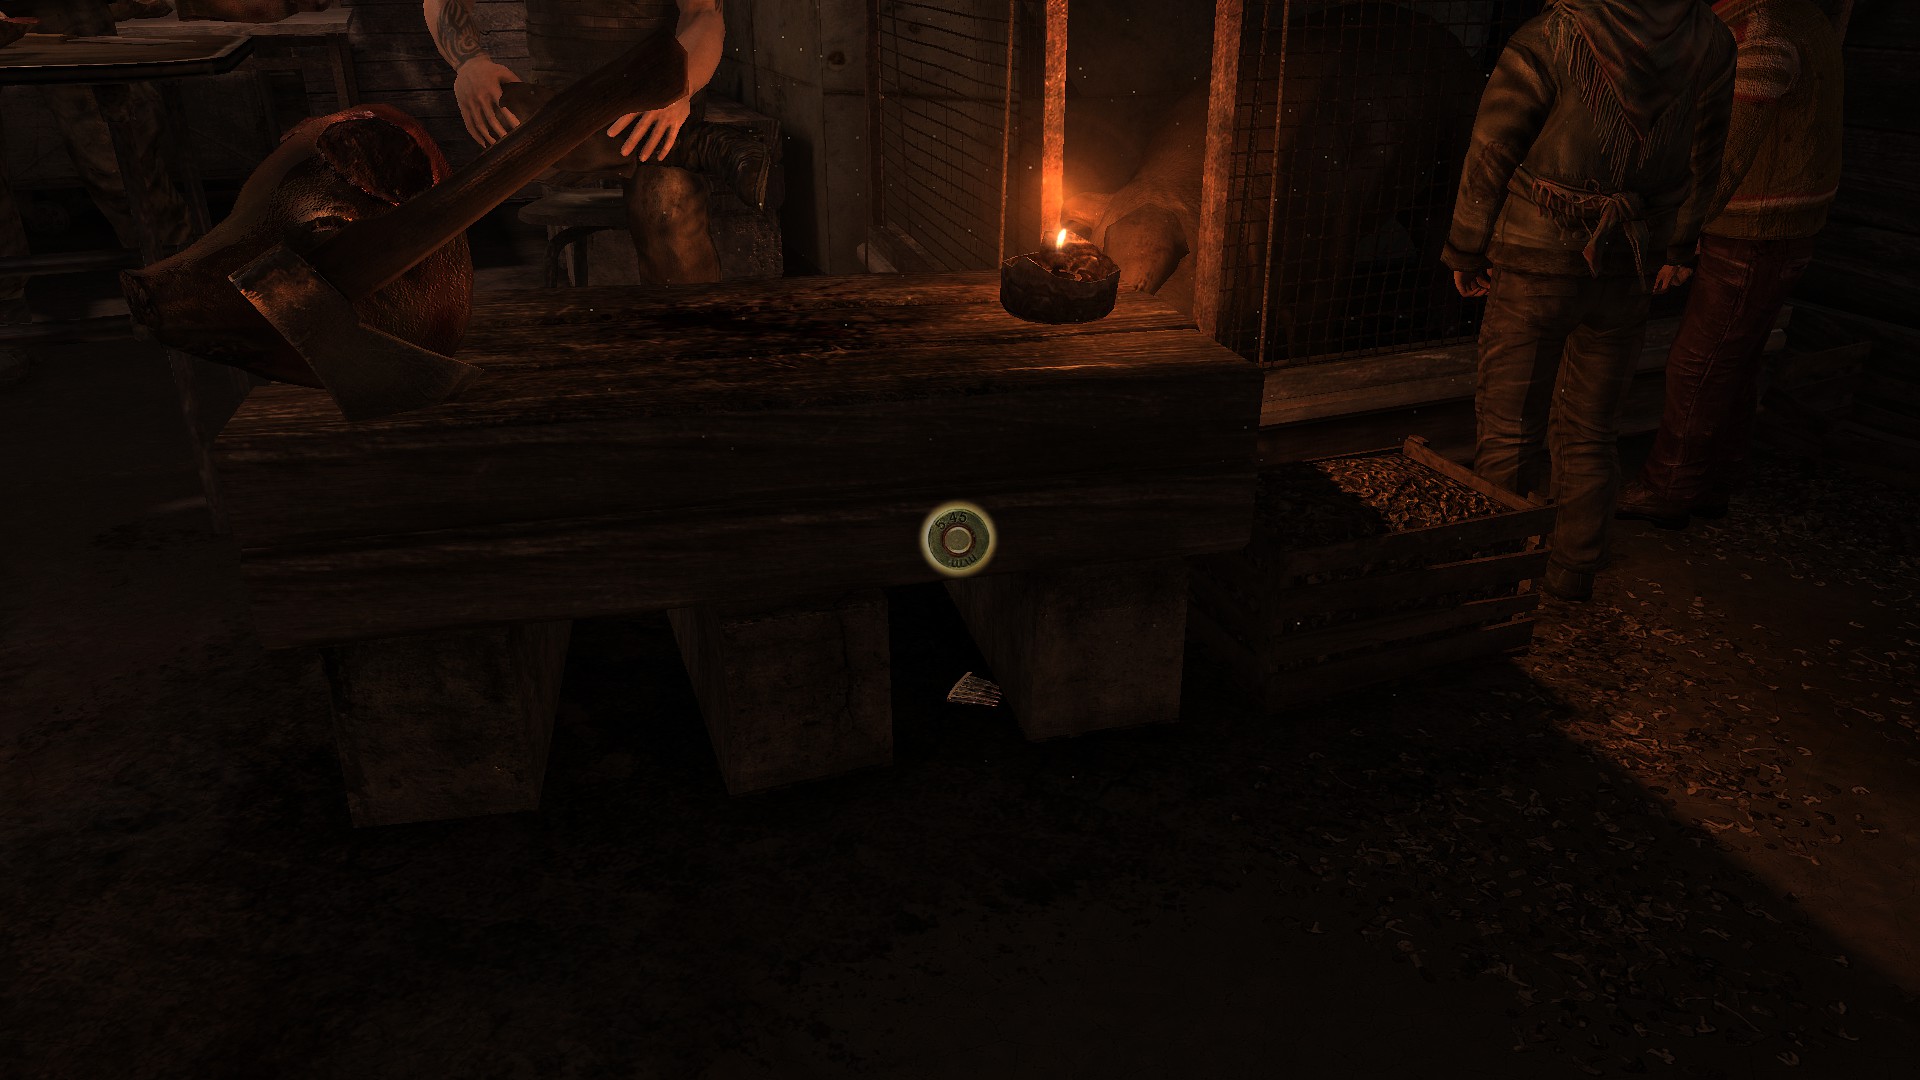
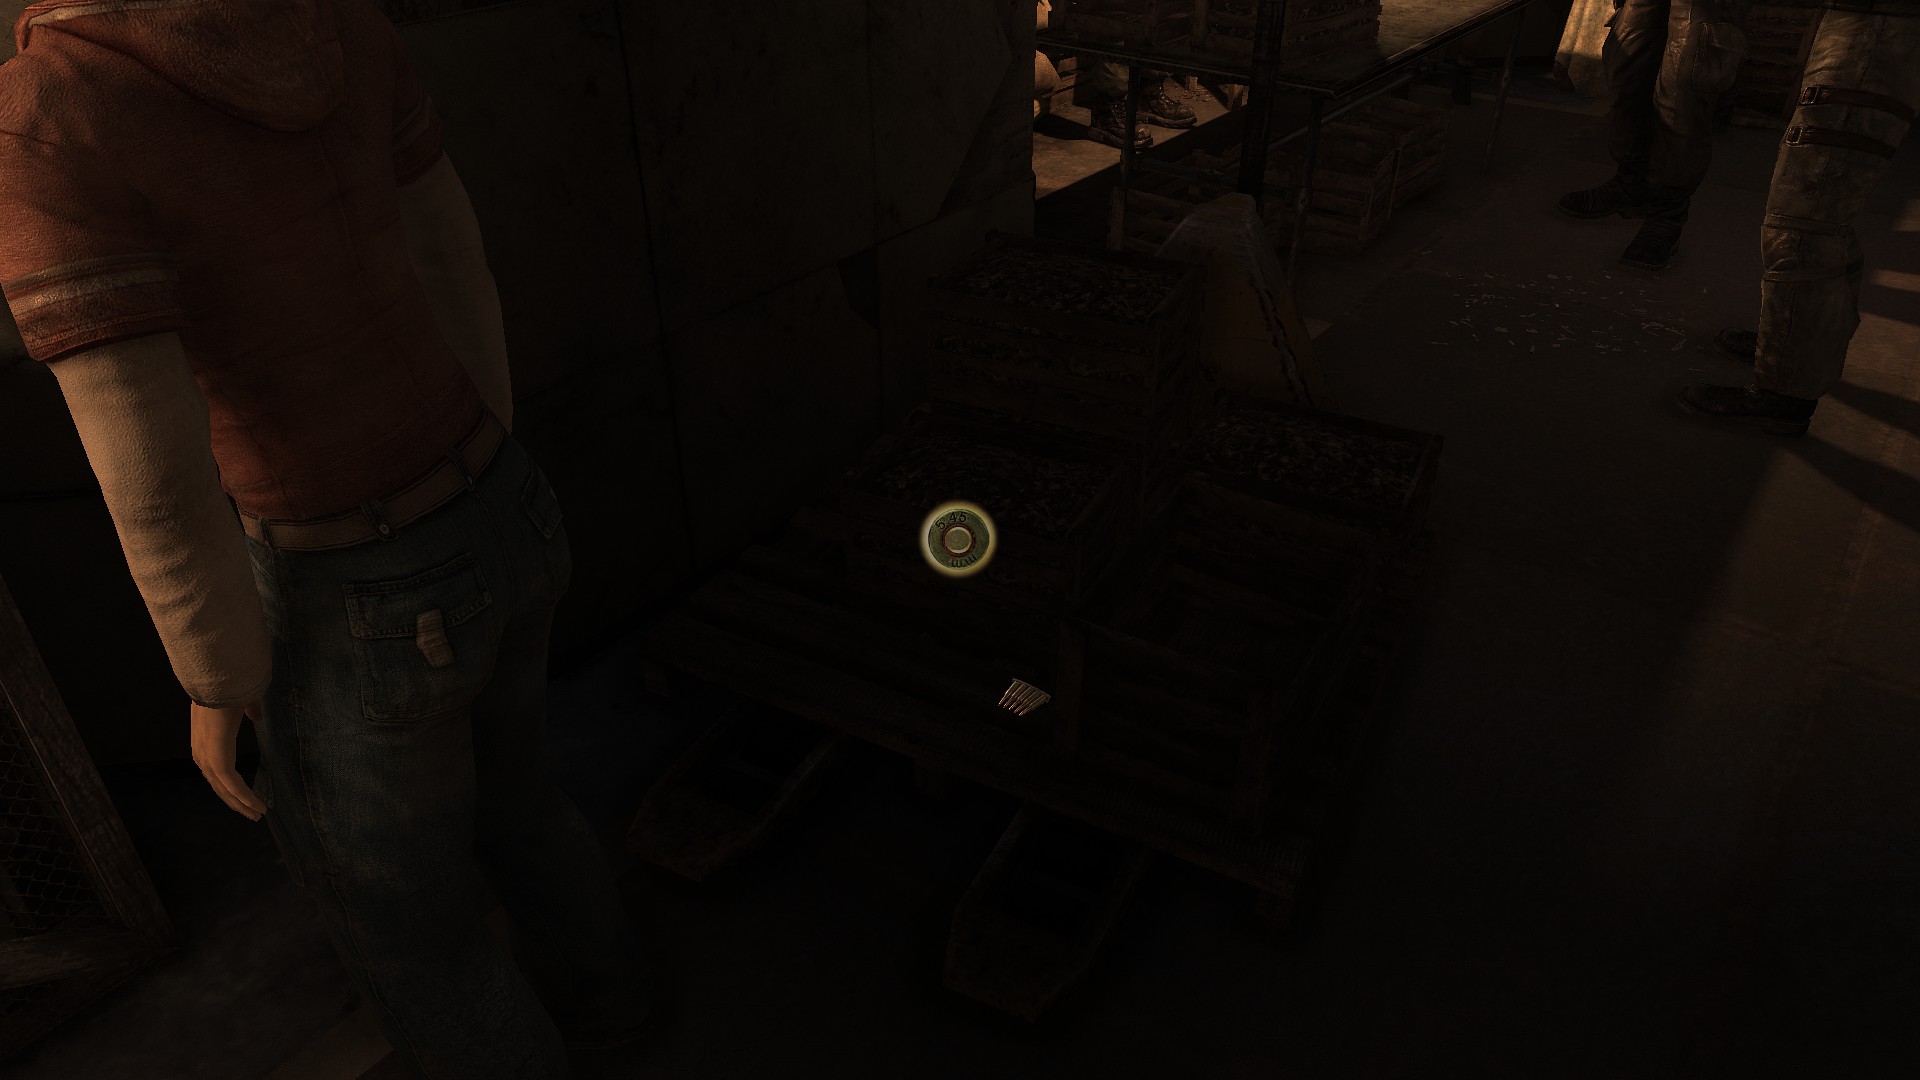
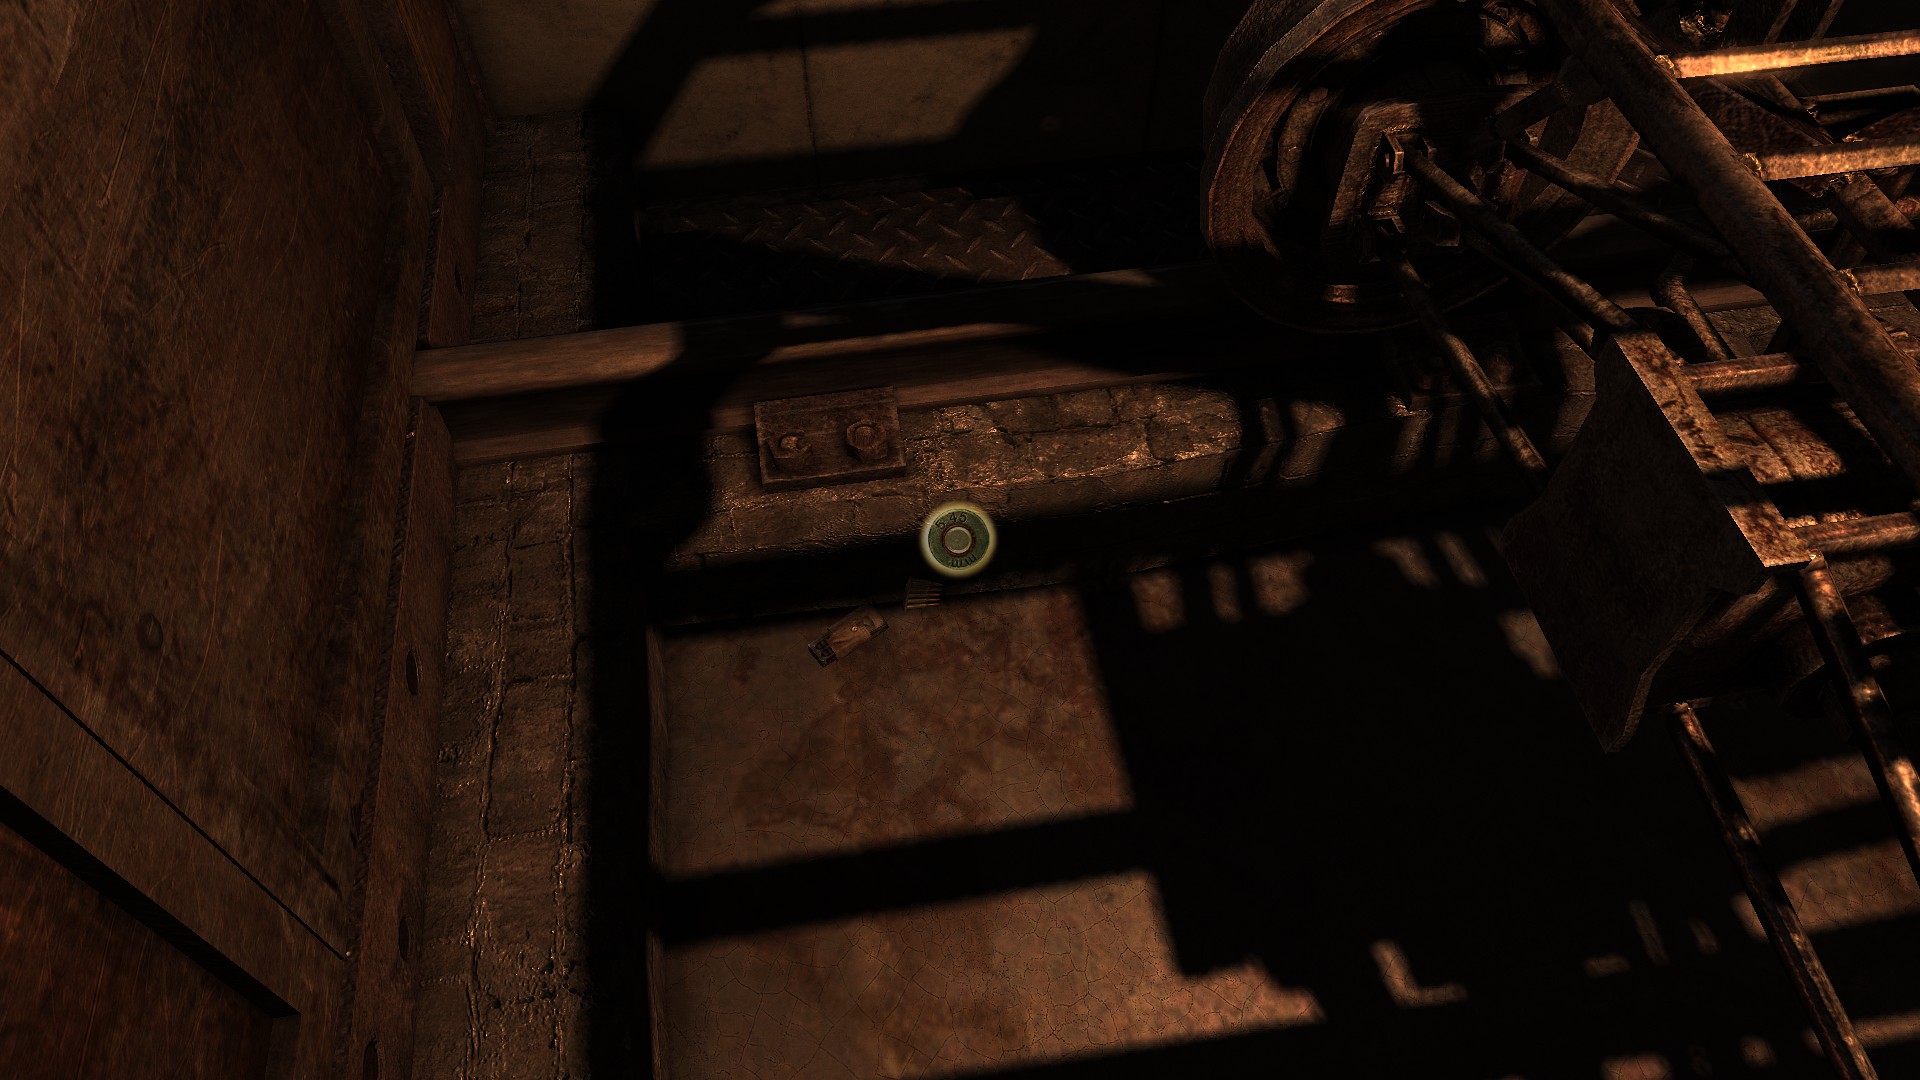
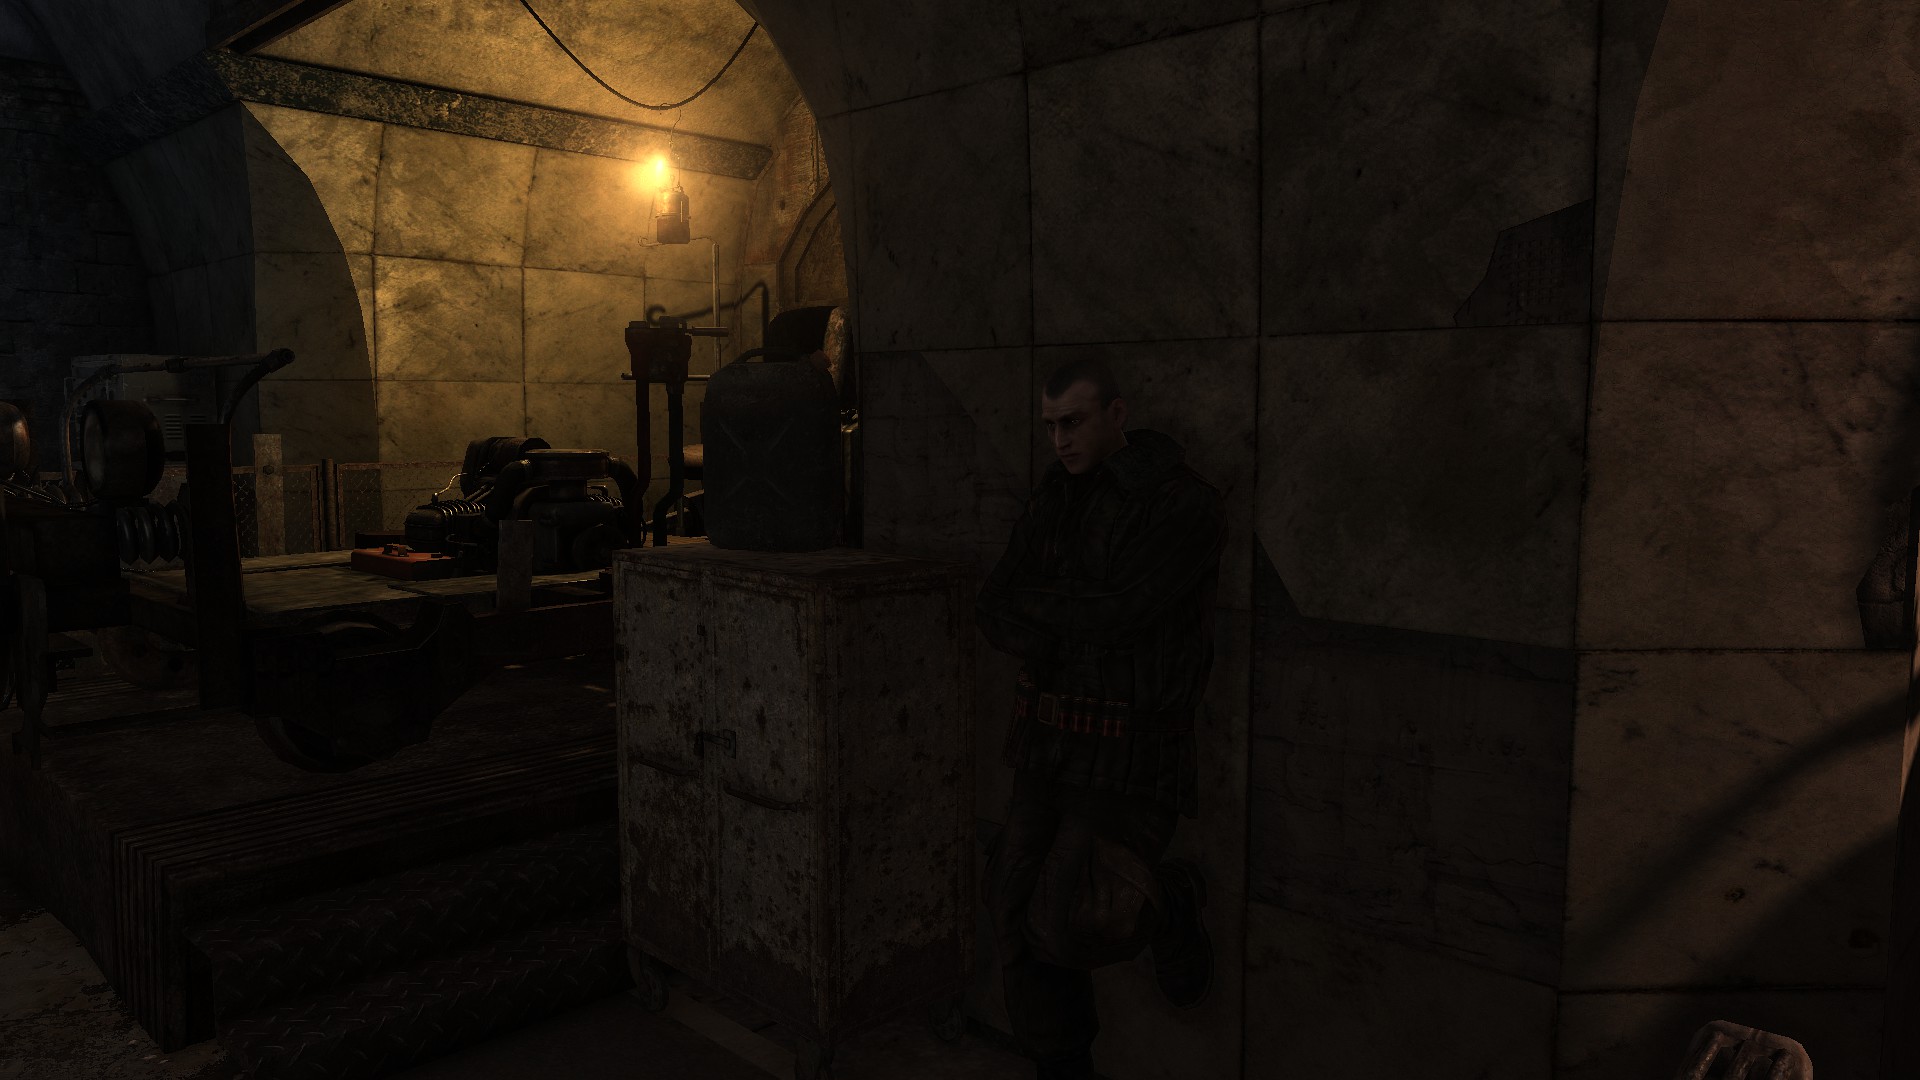
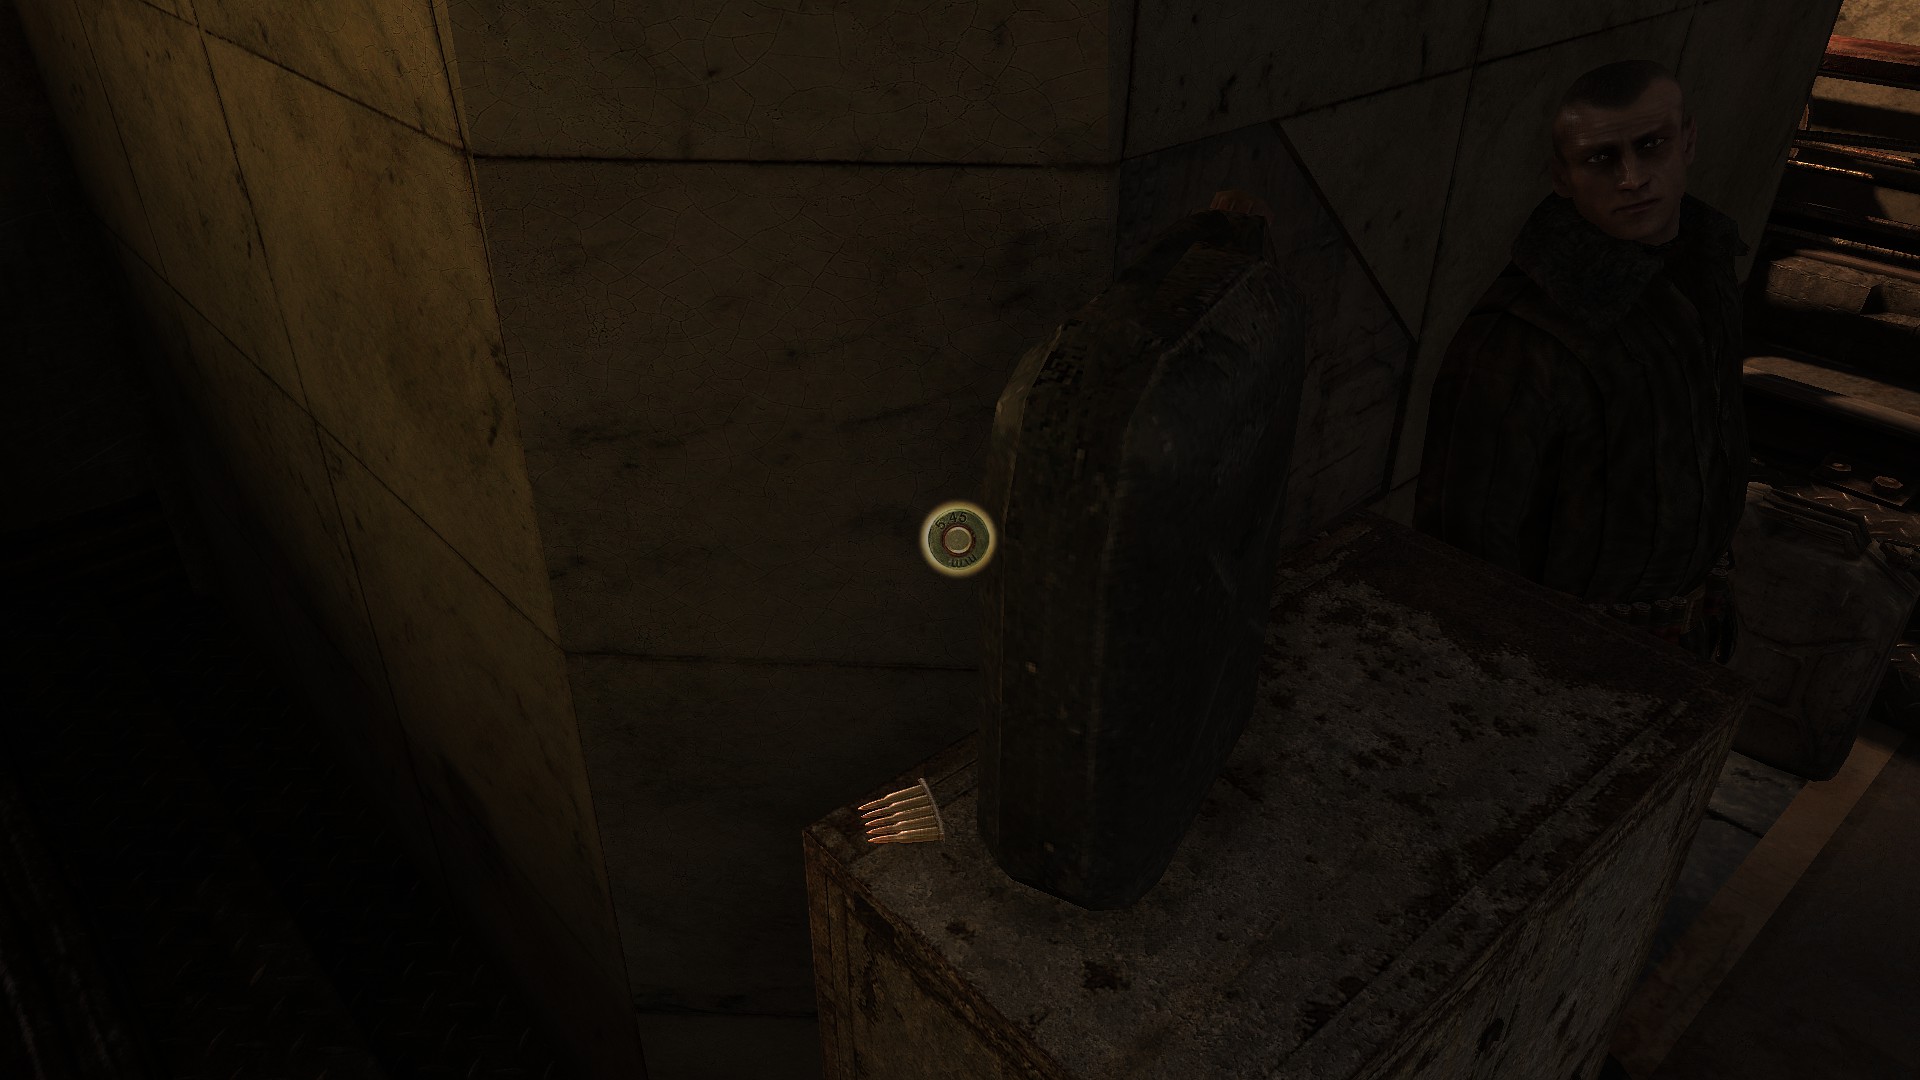
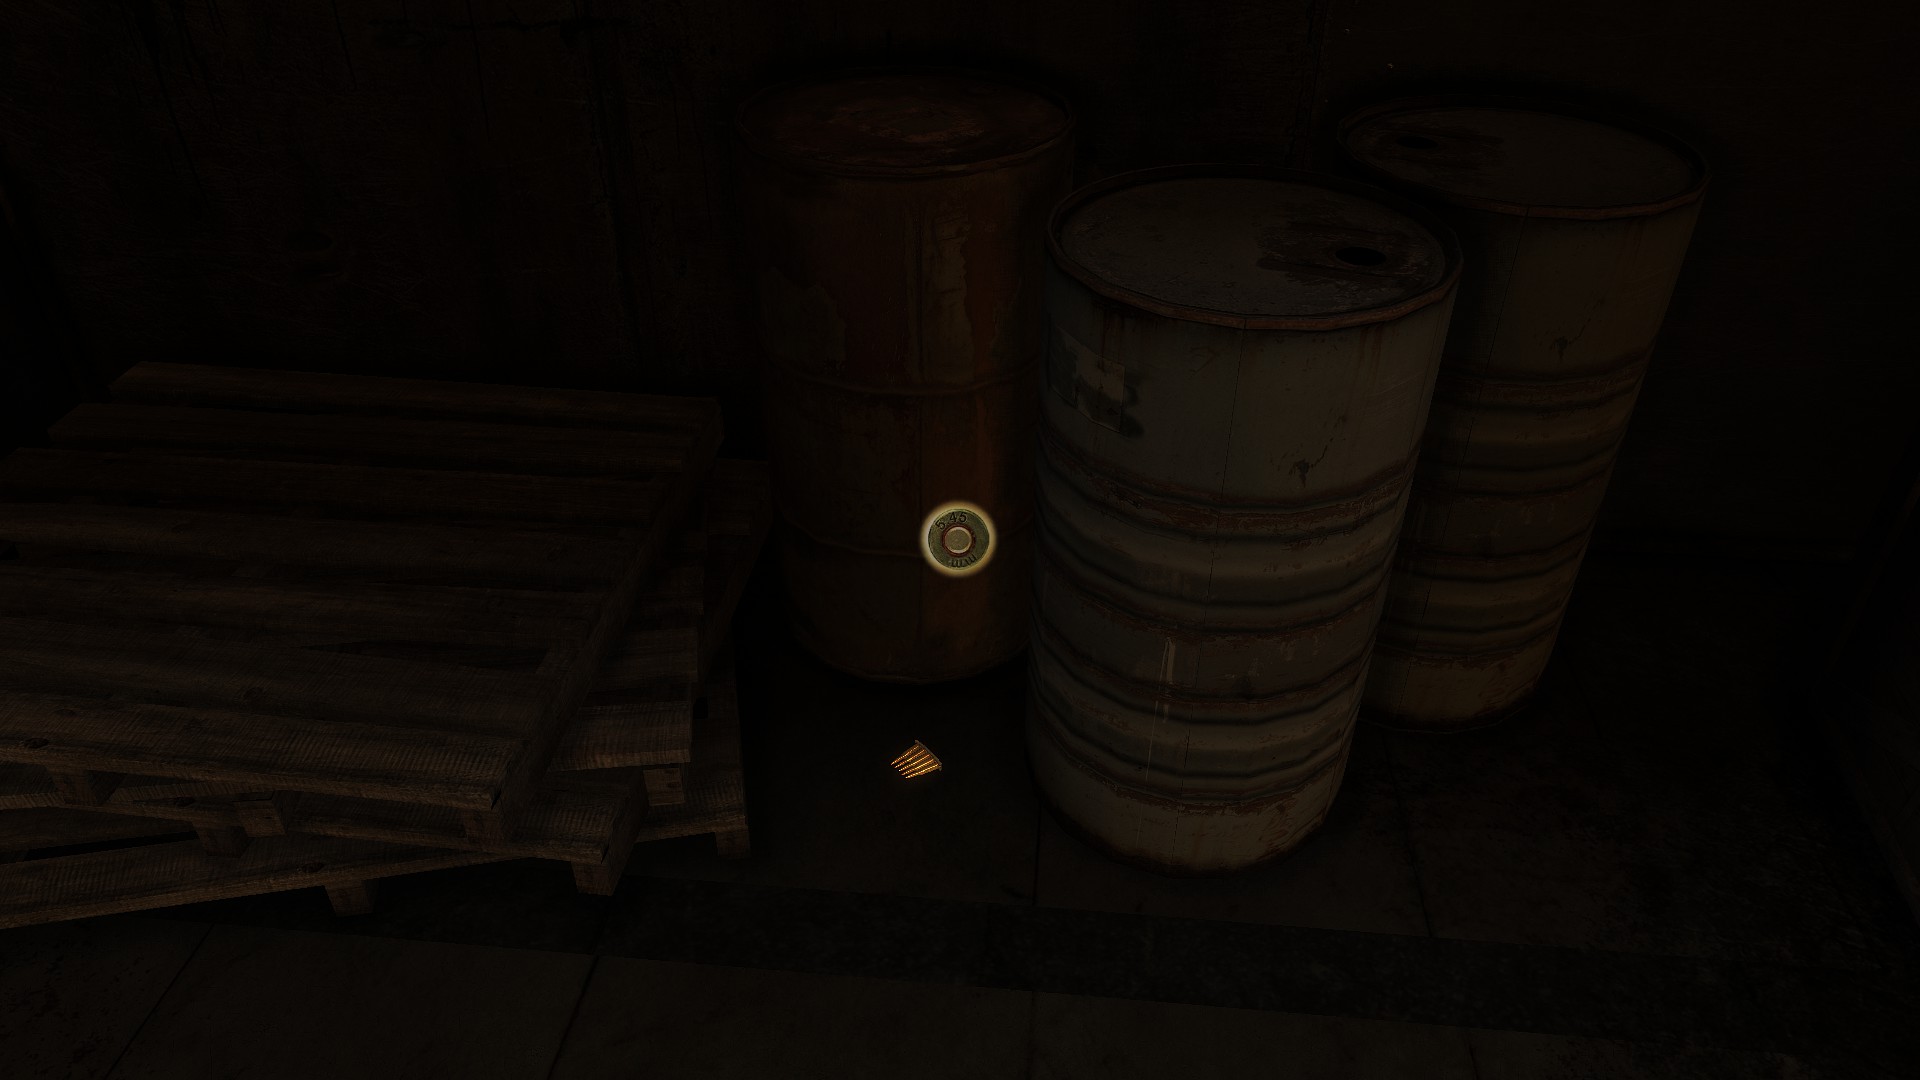
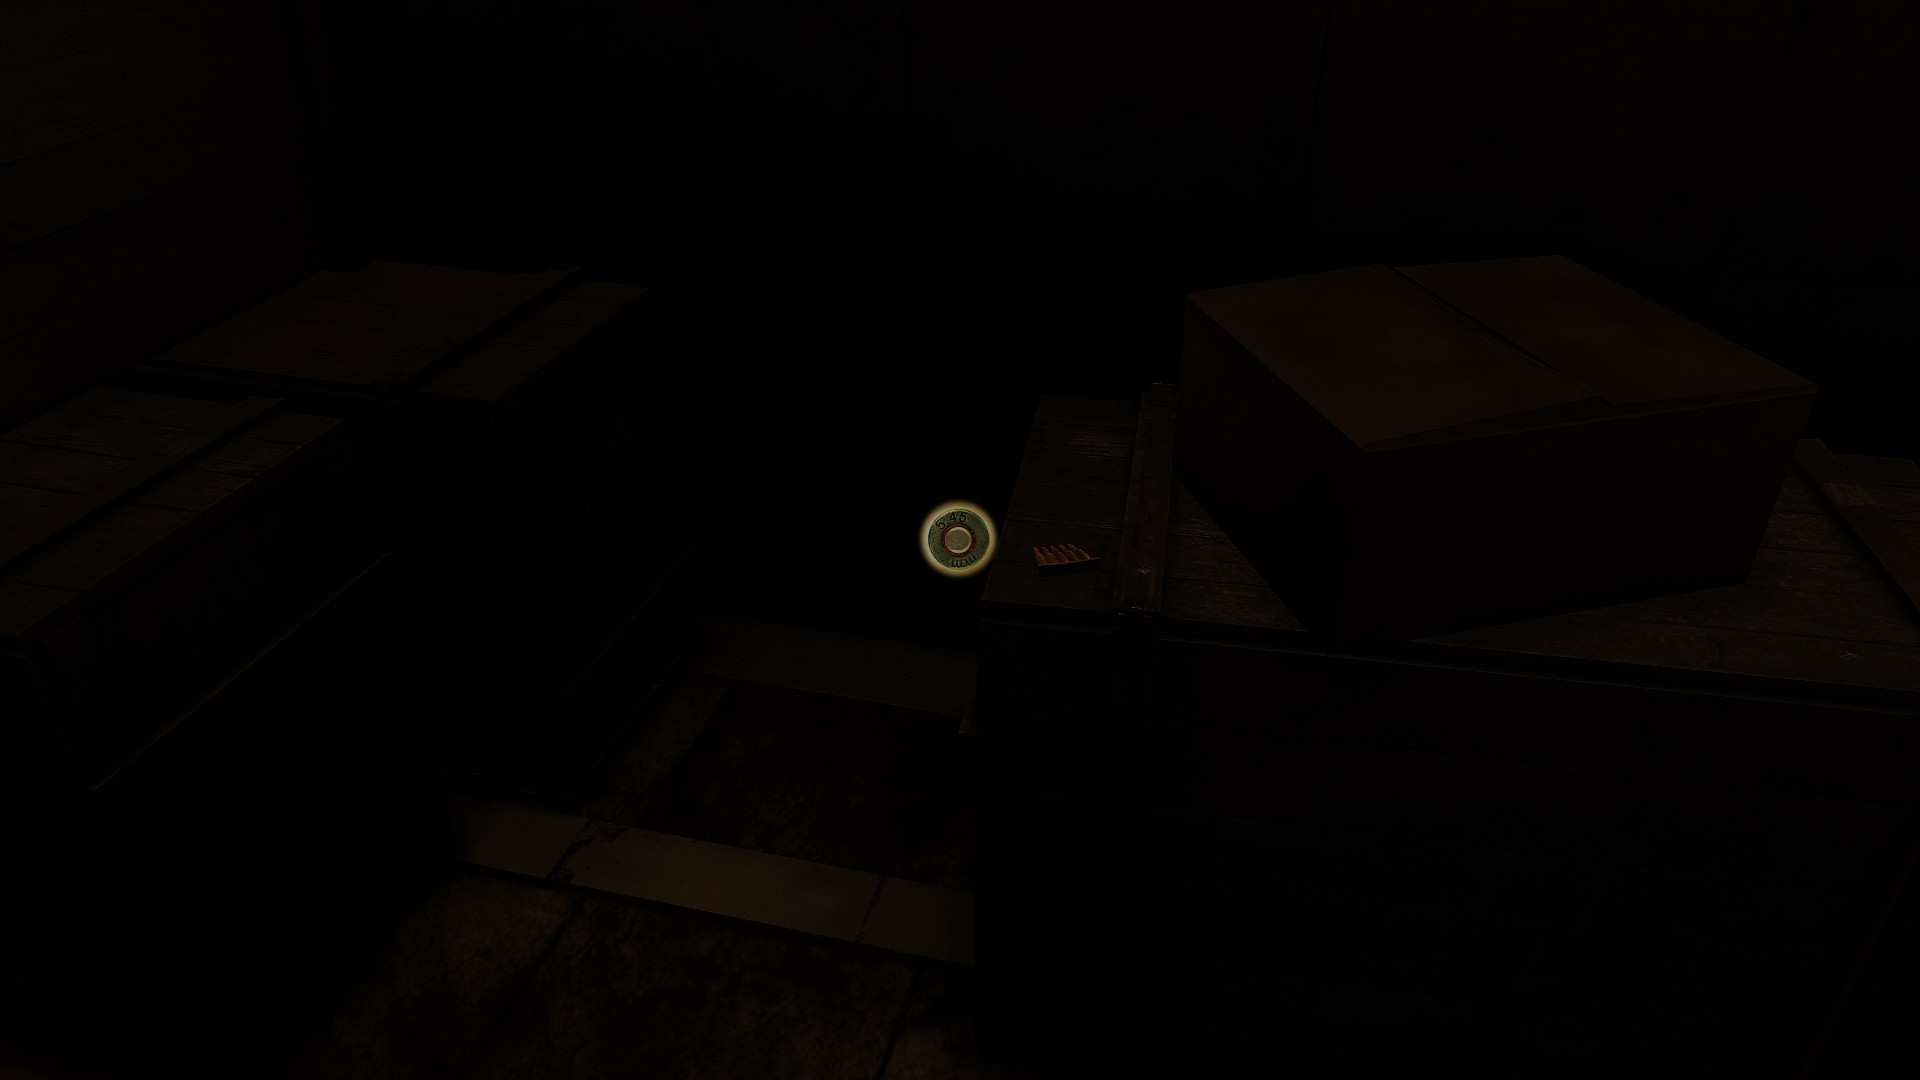


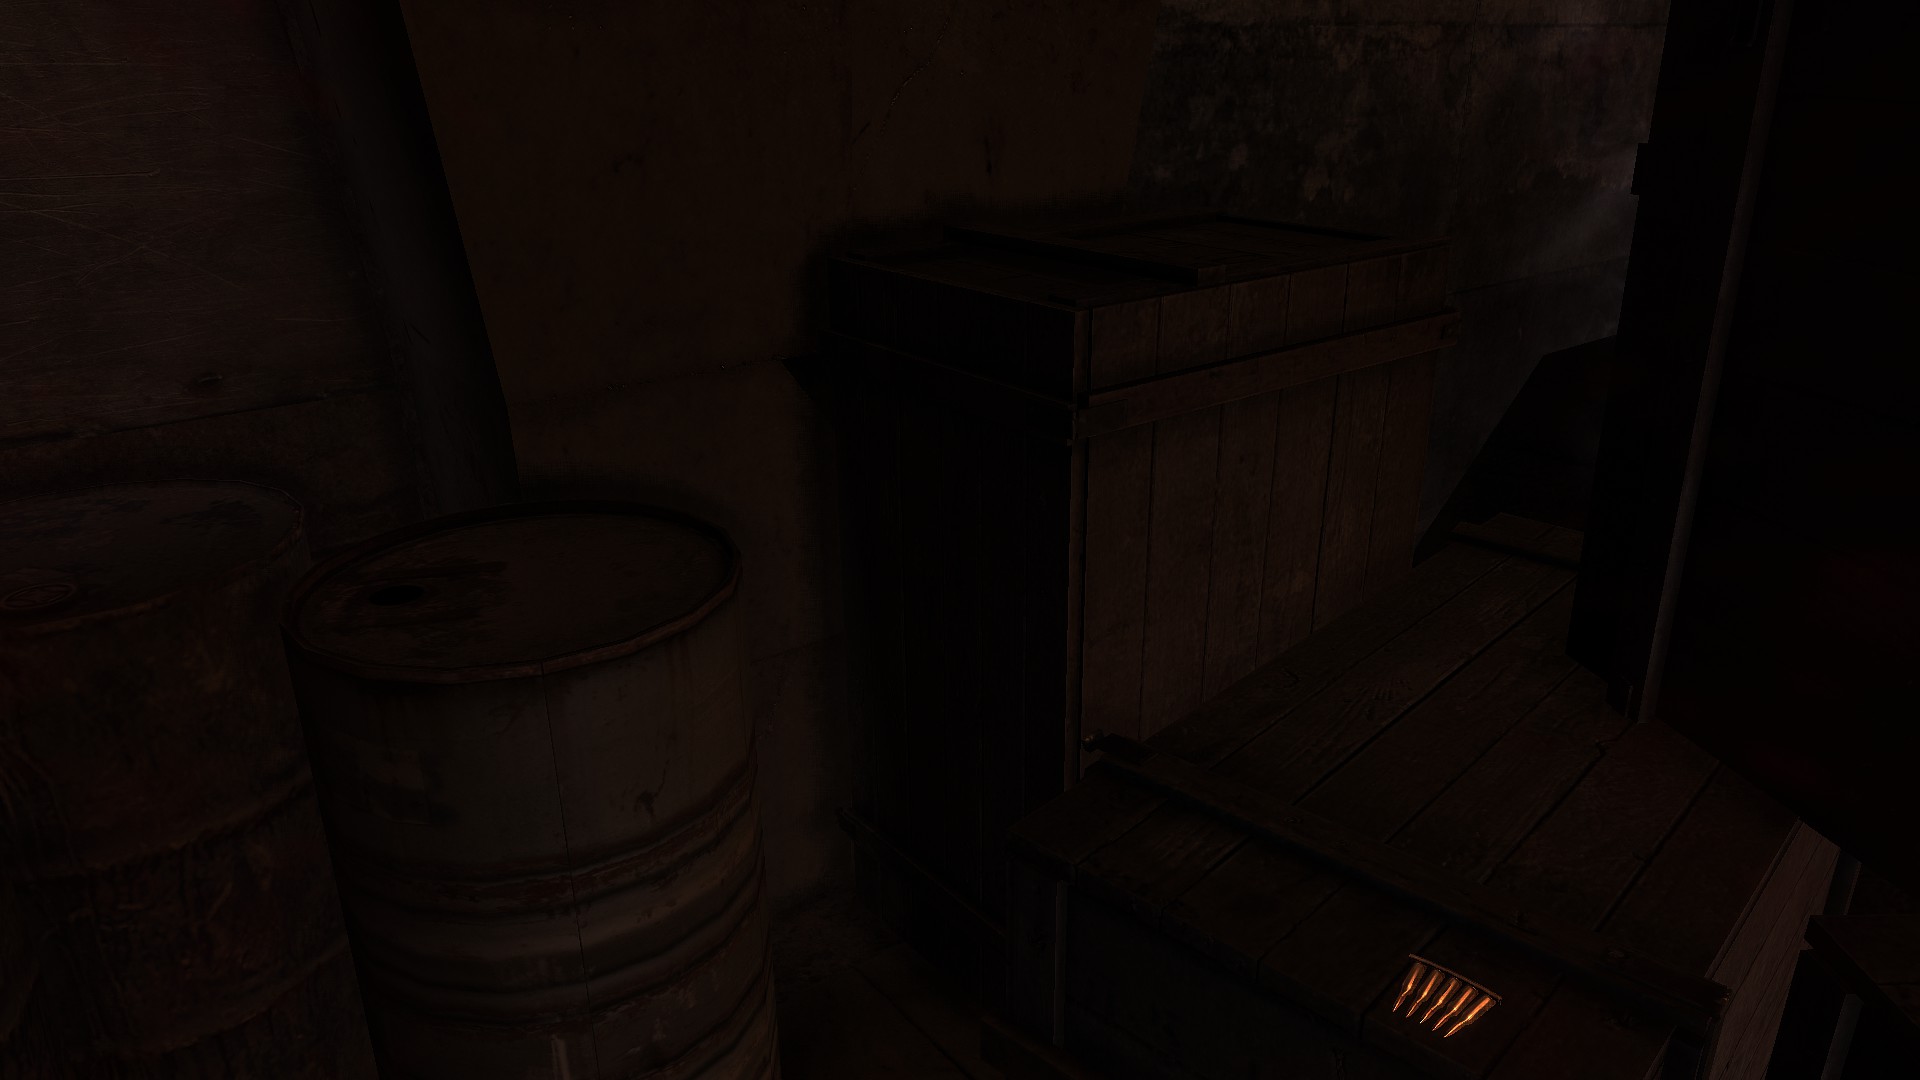
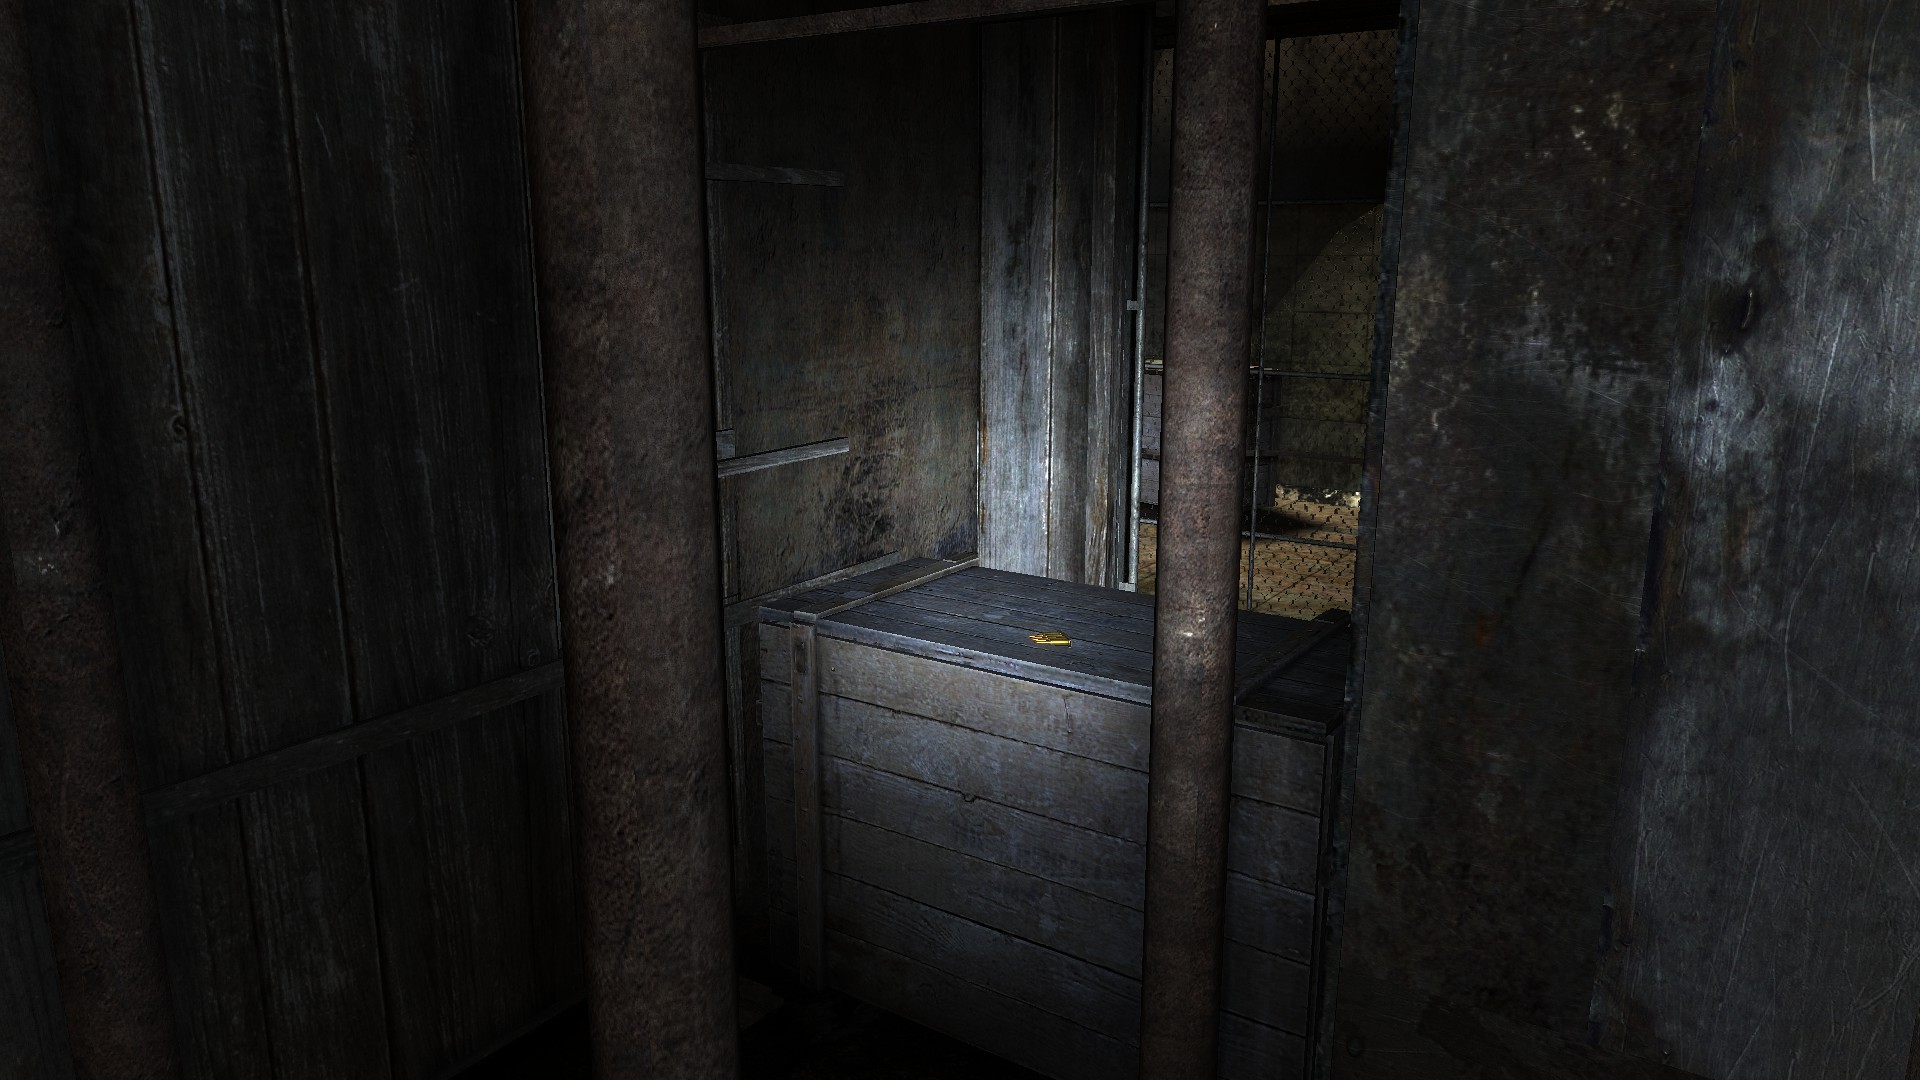

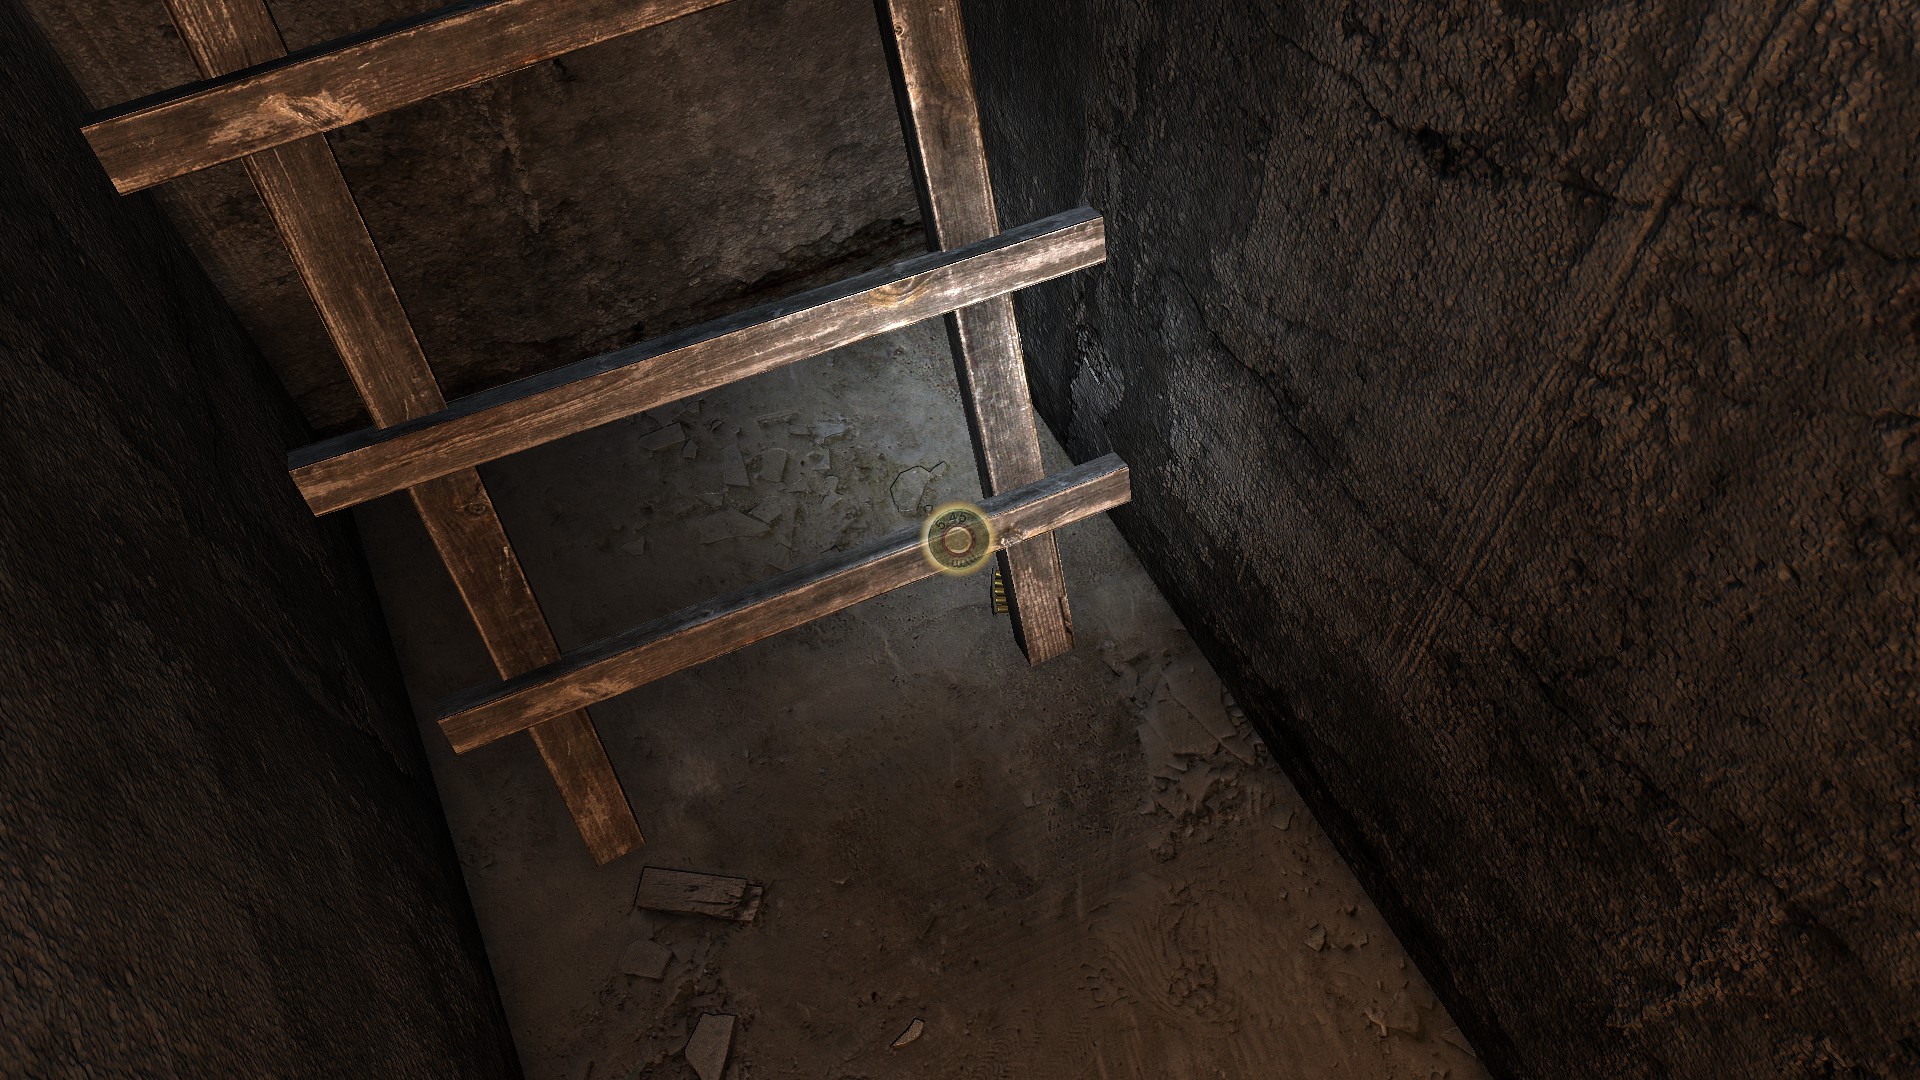


Supposedly, you are not allowed to spend any of your MGRs or the game doesn't register you as having collected the appropriate number of MGRs. Apparently different difficulties also provide you with different amounts which prevents you from collecting the 'correct' amount. Is this true? I definitely didn't miss any of the bullets in the stations.
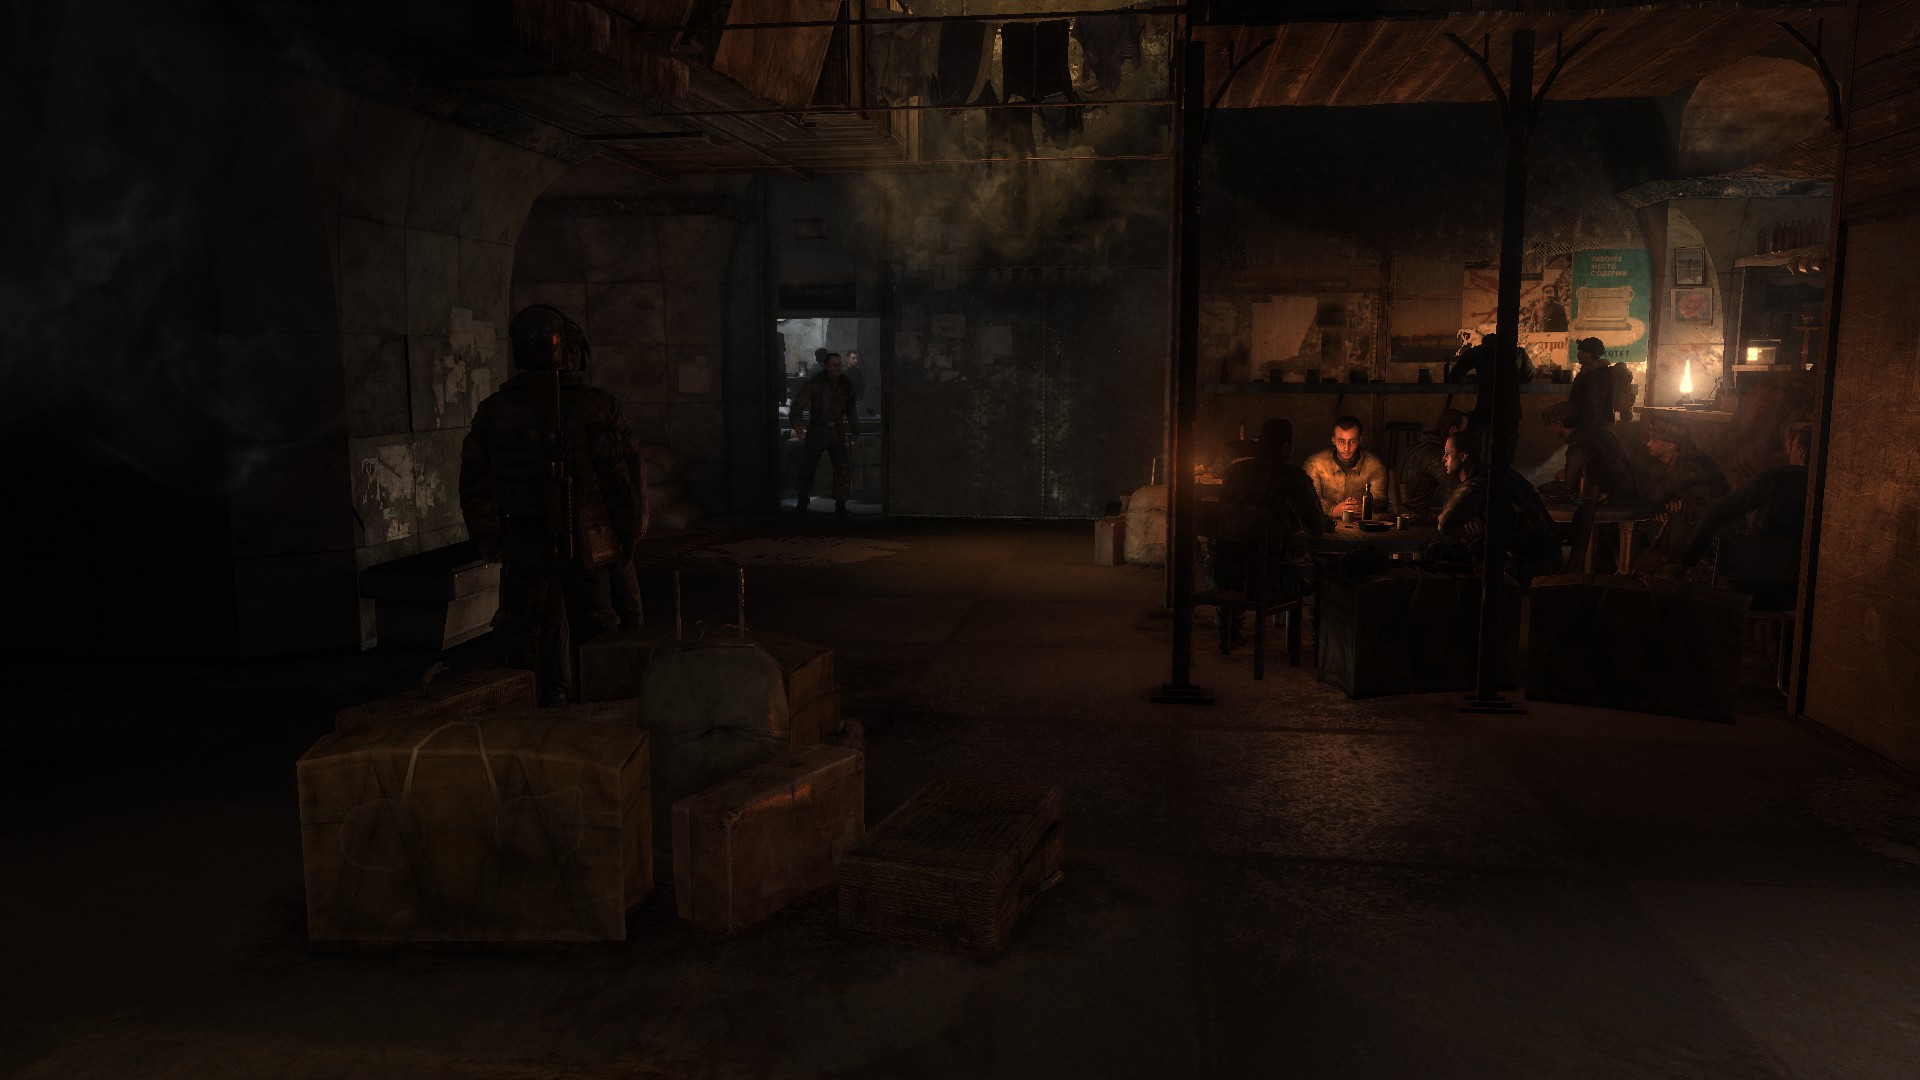
Seems rather silly if so, because Bourbon directs you to spend your MGRs on filters at Market Station...