Team Fortress 2

Team Fortress 2

94 ratings
Gear Up! (A guide to optimal MvM Loadouts.)
By Splosion
This guide is intended for newer players to learn the basic roles and functions of each class in Mann Vs. Machine and their optimal strategies and loadouts. This is by no means in depth or the end all strategy for playing this mode but I will cover the absolute best options available to you which newer users should not stray from starting out.
   
Award
Favorite
Favorited
Unfavorite
Basic strategy and team composition.
Every team in MvM needs the following roles filled in order to succeed.
  • Cash Collection
  • Crowd Control
  • Tank Destruction
  • Buffs & Debuffs
  • Defense
  • Key Target Elimination

Without one or more of these roles missing your chances of succeeding are severely reduced but luckily most of these roles can be filled by multiple classes and some classes can even cover multiple roles. In most games you want the team to consist of mostly high damage combat classes and one "support" class. Generally the most widely agreed upon team setup that consistently works is:

Scout / Heavy / Engineer / Demoman / Soldier / Heavy.

This setup is very very common for veteran MvM players and while effective is far from being the most optimal team setup but before we get deeper into this let's take a closer look at the classes themselves and what roles they can and should be filling.
Scout
Role:
  • Cash Collection
  • Buffs & Debuffs
  • Key Target Elimination
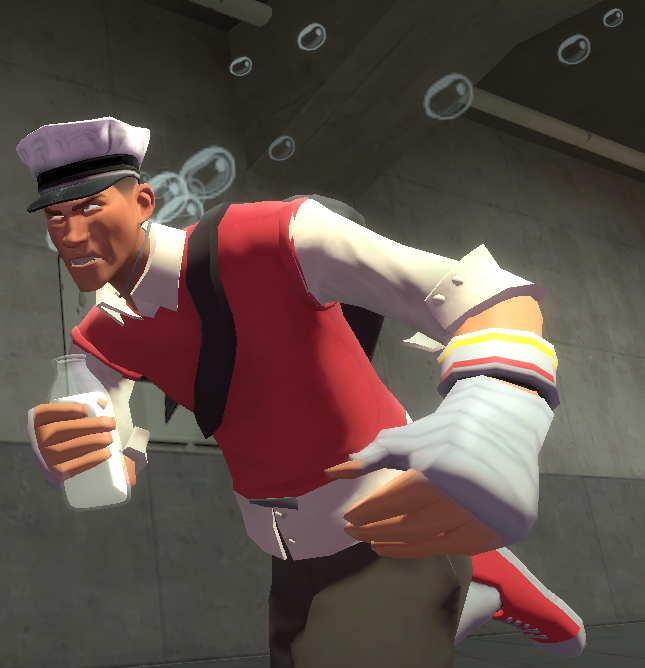
The scout is essential to every MvM team. I will say this again. The Scout is ESSENTIAL to EVERY MvM team!!!

A scout in the right hands with the right loadout is the perfect support class. No one else can collect cash as well as him due to his speed, large collection radius, and health boosts given from collecting cash. Good scouts will not only insure plenty of upgrade money for the rest of his team and himself but also provide healing for his team mates, slow debuffs on the enemies, minicrits against giants, and pack a decent punch with some respectable damage late game. Given all this we have the scout covering 3-4 of the necessary roles already.

Now while the Scout is a necessary part of the team he has a very restrictive loadout needed to pull off what he does.


Loadout:


Mad Milk:

You need this weapon to play a team friendly scout in MvM. I cannot stress enough what an impact this weapon makes here. Not only does this provide excellent healing (and often times the only available healing in MvM) it can be upgraded to slow down enemy robots as well. When playing Scout make sure this is the first weapon you upgrade.

Fan O' War:

Like the Milk you need this weapon. The Fan allows you to mark key targets for minicrits and is a key component for any team facing off against waves with a lot of giants. Another great upside of this weapon is that it needs no upgrading. From round 1 it's as powerful as it ever needs to be so do not waste a single dollar on upgrading this. Whenever you see a giant, pull this out, hit it once, then let your team melt through it.
Soda Popper & Force A Nature:

Both of these weapons are excellent choices here and which you take is largely dependant on what the team really needs. Need more damage? Grab the soda popper, The free minicrits are very easy to come by especially if you have an upgraded run speed.

Need some kind of knockback to reset the bomb? Grab the Force a Nature instead. The knockback from a point blank shot can easily send a small bot flying back to the start of the map or into a ditch to buy your team an extra few seconds of breathing room.
Soldier
Role:
  • Crowd Control
  • Tank Destruction
  • Buffs & Debuffs
  • Defense
Soldiers in MvM can either be very useful or absolute dead weight depending on weapon choices. However when they are doing their job and doing it well there are few classes that can take down a tank better. Aside from his primary role of tank destruction the soldier also offers a small degree of crowd control assistance, buffs, and heavy damage late game.

As with the Scout most teams benefit from having a soldier around but he is one of the classes that can be passed over in favor of something else. Not to say the soldier is bad at what he does (Quite the contrary) it's just this it is possible for his job to be covered by other classes.

Loadout:


Buff Banner:

As with the Scouts milk this is the essential team friendly weapon for soldier in MvM. There is no reason to not bring this since bringing a secondary weapon when you'll have an upgraded rocket launcher is flat out insane. The buff banner gives your team minicrits for the duration of it's charge after dealing damage to enemies, which with the help of upgraded rockets takes only seconds. After a moderate amount of upgrades to your rocket launcher buy the duration increase for this and you will have near constant minicrit damage for you and your team.


Beggar's Bazooka & Black Box

These are the two best options you have for a primary weapon. The beggars bazooka when upgraded can deal ridiculous amounts of damage in a very short period of time, thus making it the best weapon for tank destruction available. Paired with two critical canteens a soldier can take out a tank single handedly in mere seconds using this weapon. Always upgrade your reload speed to it's maximum first if you choose this weapon to get rid of it's largest handicap. Also keep in mind that dispensers will not resupply your ammo while using this so stick close to ammo boxes or keep an ammo canteen on hand.

As for the Black Box I suggest using this for missions with fewer tanks and when you find yourself needing to fight from farther away. The clip size penalty is completely negligible considering it can be upgraded to compensate and the health boost allows you to play a tiny bit riskier.

Disciplinary Action & Escape Plan

Melee is something you won't be swinging at bots so pick something that offers decent utility. There's really only two options worth taking. The escape plan for quick escapes from tight spots or the disciplinary action to help you and your team mates get back to the frontlines quickly. Either of these are excellent choices so pick whichever suits your playstyle best.
Pyro
Role:
  • Crowd Control
  • Tank Destruction
  • Defense
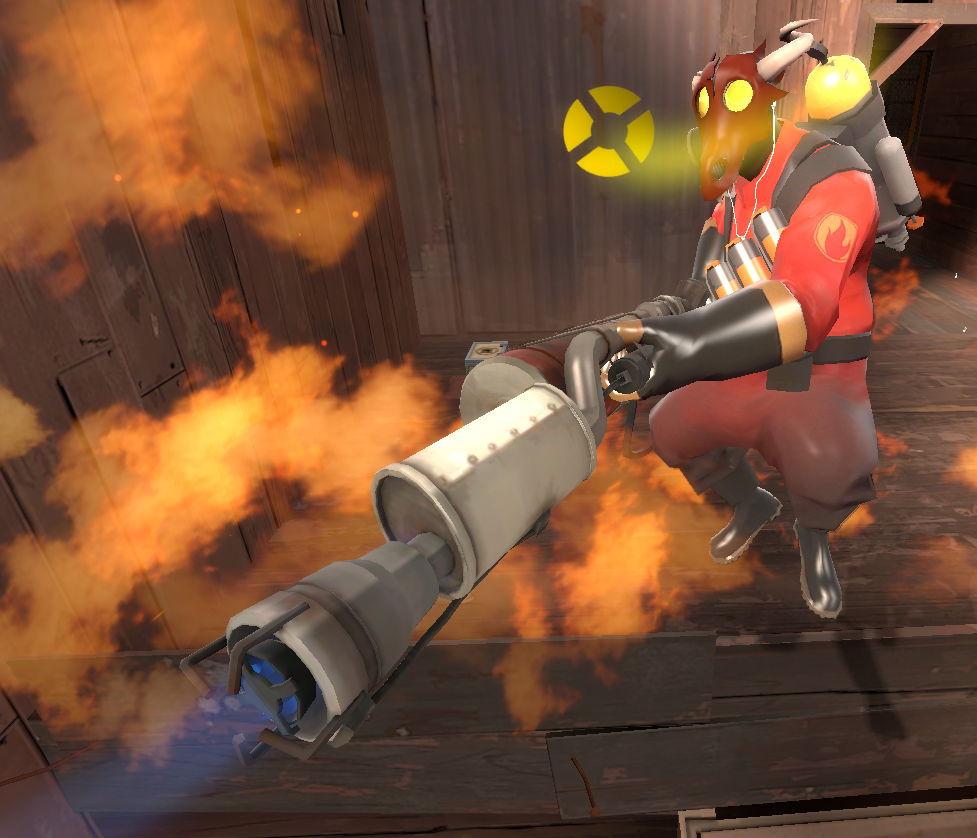
Pyros can be an excellent support and tank elimination class but offer little else. Usually I prefer not having them on my team but on Decoy and Coal Town they can be effective.

The main issue with pyros is how close they have to get to enemies to be effective and in the case of MvM enemies are much more deadly which usually results in pyros being less effective than other classes. The potential is there and in very skilled hands they do some of the best damage in game but here that offensive power can't be utilized since his defense becomes such a heavy issue. Players attempting to use a pyro in MvM should focus on airblasting and stalling the bomb as well as getting in critical flames on tanks.

Loadout:


Flamethrower:

Here we have a rare case of stock being the best option in MvM. The default flamethrower will allow you to retain airblast with no penalty and dish out moderate damage. Always upgrade your airblast strength as soon as possible here and use it. Too many pyros ignore right clicking and to make up for that bit of offensive power you cost the team by playing pyro you need to be airblasting to buy the extra time needed and keep that bomb as far back as possible. Other upgrades you'll want to take are ammo capacity and initial damage, ignore any afterburn boosting effects.

Scorch Shot

The scorch shot while being incredibly underwhelming from an offensive point of view will give you a bit of utility and long range knockback. When closing in on the enemy spam out as many shots as you can to push them back before getting in close. Also useful for shaking up sniper bots.

Third Degree & Homewrecker

If you're close enough to an enemy to hit them with melee your better off using the flamethrower to get that damage in, so again our melee options are defined by utility. If you want to play more defensively and find yourself lurking around the engy nest the homewrecker can be a great tool to help with sappers or if you plan on taking a more offensive route the Third Degree combined with a crit canteen can make very short work of medics.
Demoman
Role:
  • Crowd Control
  • Tank Destruction
  • Defense
  • Key Target Elimination
Demomen excel in MvM down to their core mechanics. Second only to the Sniper in crowd control the Demo is extremely versatile and near essential to any MvM team. Under the right circumstances he can ensure that nothing short of a giant makes it out of enemy spawn and also packs a hefty punch against tanks. The only downside to Demomen are the fact that they are pure combat classes. While offering some defensive stopping power most find they are best suited for hard offense here.

Loadout:


Stickybomb Launcher:

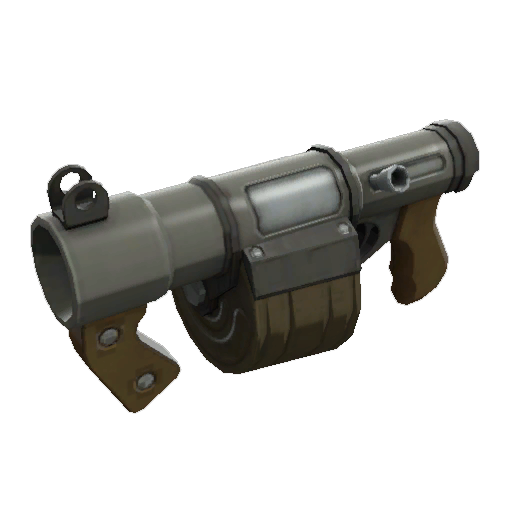
No matter how you choose to play your Demo, good ones always bring the Sticky launcher. Not the scottish resistance, not a shield, and under no circumstances a sticky jumper.

Stock.
Stickybomb.
Launcher.

It's a well known fact that this is the single most powerful versatile weapon in the entire game and with upgrades it becomes a monster of a weapon. If you plan to use this as your primary weapon (which you should) remember to upgrade reload and firing speed first to make it more viable for direct combat. Another good idea when sinking all cash into the sticky is to forego bringing a grenade launcher in favor of booties. You probably won't find yourself needing the grenades with a well upgraded sticky anyways so you might as well grab that health bonus.

Grenade Launcher:

The Grenade Launcher is an excellent weapon if you don't sit it side by side with a sticky launcher, but unfortunately for Demomen we must make that comparison. While I highly advise focusing on the sticky, grenades can be very useful as well if you would rather leave your stickies to the duty of pure "fallback traps". Reload speed is your primary concern with this and later on damage and ammo capacity will be the larger issue. Always remember to invest in these early. The loch N load is a viable alternative but keep this in mind. Both weapons with maximum upgrades are exactly the same aside from two things. The Loch has a smaller clip size, and no rollers. In my experience it isn't worth that early advantage to be stuck with a mechanical flaw like that so stick with stock.

DO NOT USE DEMOKNIGHT WEAPONS!

In the harder MvM tours Demoknights are just flat out bad so for general use you really only have two options for melee and neither offers any utility. The default bottle, or the ullapool caber. I usually stick with the Bottle to avoid the extra self damage but the caber can be a fine emergency use weapon if needed.
Heavy
Role:
  • Crowd Control
  • Tank Destruction
  • Defense

Another one of the essential MvM classes every team needs at least one Heavy. When sitting on a dispenser you effectively have infinite ammo and with the assistance of the scouts milk your high DPS can make you borderline invincible. In worst case scenarios here Heavies are a stalwart defensive class while in the best case they are offensive juggernauts. Don't be fooled into thinking you can take a face full of rockets, spam will take a heavy down in some circumstances and they work best when positioned near cover.

Loadout:


Minigun, Natascha, & Brass Beast:

Basically anything but the Tomislav is perfectly viable in MvM. Just to make sure everyone understands, TOMISLAV IS GARBAGE DO NOT USE!

Now which minigun you take is up to how exactly you want to play. If you plan on running around a bit and want to retain mobility take the stock mini. If you plan on sticking next to a dispenser near cover then consider using the brass beast for extra damage or Natascha for slowdown debuffs. The heavy's job is about as simple as it gets. Hold M1 -> aim at robots.

Sandvich:

You have a minigun...
Why on earth would you use a shotgun.
The sandvich is the best lunchbox item available. Heal yourself or heal team mates. Simple.

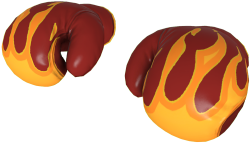
Gloves of Running Urgently:

The G.R.U. is your best option for melee utility. While this weapon is out you will run much faster allowing you to get back into position quickly. A little known upside of these can be made of it's main downside, taking minicrits while in use.

With maximum upgrades in critical defense invested in the heavy these gloves will actually make the critical damage they cause you to take less than non critical damage you would have normally taken. Not very practical outside of a quick escape but still not a bad option to have.
Engineer
Role:
  • Crowd Control
  • Buffs & Debuffs
  • Defense
The final "absolutely necessary" class for MvM. Remember that just because having an engineer on the team is necessary it does not mean you need more than one. More engineers mean more sentry busters, and more sentry busters means more gaps in the flow of combat. Engineer nests are more prone to having terrible players managing them so keep in mind that as an engineer you are not a combat class. Engineers need to be keeping the dispenser available, build teleporters to get allies back into the fight quickly, and maintain sentries to keep area denial in those choke points.

Loadout:


Frontier Justice:

While you'll be seeing almost no direct combat it doesn't hurt to bring a weapon viable for it in the rare circumstance that calls for you to jump into the fray. The frontier justice gives you clips of guaranteed critical hits for every kill your sentry made after it's destroyed. In between waves makes sure to destroy and rebuild your sentry to get these because it doesn't hurt to have that backup plan and they will allow you to deal with enemy spies very quickly.

Wrangler

Always use the wrangler. While active a shield will surround your sentry that absorbs 66% of all incoming damage as well as allowing you to take manual control and shoot the sentry yourself. This removes the range limitation of the sentry and doubles it's firing rate. Keep a watchful eye on ammo reserves late game as the double firing rate will empty the sentry in mere seconds.

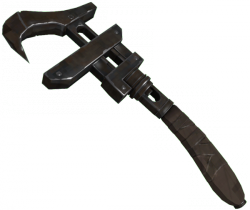
The Jag:

While I highly recommend the Jag for the increased building rate any wrench besides the gunslinger or Eureka Effect will do just fine here. Make sure to upgrade swing speed early on to keep your buildings repaired quickly. As for other upgrades, make sure to max out sentry firing speed early on and increase your metal capacity I also highly recommend avoiding the extra mini sentry upgrade, by the time you can afford it enemies are too tough for it to make a difference and they are usually destroyed within seconds so really it's just a waste of cash that could be better spent elsewhere.
Medic
Role:
  • Buffs & Debuffs
This will come as a shock to some people but Medics are easily the least desirable class to have on an MvM team. Even when using the Kritzkrieg the extra damage is nowhere near comparable to having that medic play an extra combat class instead. It is highly recommended that medics do not participate in MvM, especially the higher difficulties. However if you must play Medic Here is the optimal loadout.

Loadout:


Overdose:

As a medic you won't be contributing to the offense in any direct way so keep this on hand for quick escapes. Remember that the weapon must be out to get the speed bonus.


The Kritzkrieg:

The only medigun you should be using for MvM. All cash needs to be put into this as it's the only saving grace of the medic regardless of how little it offers compared to playing a combat class instead. Making the ubercharge build faster and last longer should be your first concern followed by healing properties and lastly canteen sharing.

The Ubersaw:

The ubersaw is the only melee you'll want to be using here. This will give you +25% ubercharge on each hit but do not try to actively use it. If a stray bot happens to be close by without posing a great risk to you a swing or two is advised. Sentry busters also make excellent saw targets as long as you aren't close to a sentry.
Sniper
Role:
  • Crowd Control
  • Buffs & Debuffs
  • Defense
  • Key Target Elimination
Despite the stigma associated with snipers in MvM they are actually one of the single most powerful classes available in MvM. The reason most are so unwelcome here is that the skill level required to use the class effectively is very very high. Snipers are the best choice for key target elimination, crowd control , and debuffs. I have another guide solely dedicated to sniping in MvM so for those of you looking to play him click the link below and give it a read.

Botkillin's a good job mate. (A guide to playing Sniper in MvM)

Loadout:


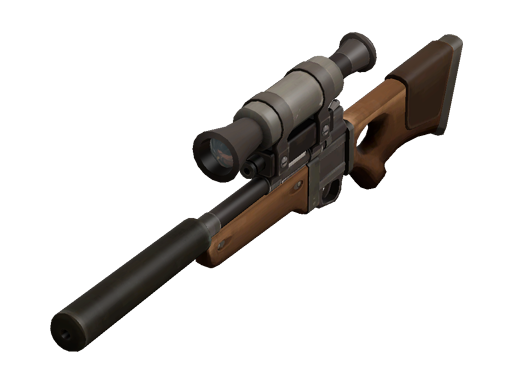
Hitamn's Heatmaker:

As stated in my guide all rifles can achieve the same thing but this is the absolute best choice of them all. The hitman's heatmaker while carrying a bodyshot damage penalty offers utility that makes it excel in headshot spamming which is exactly what snipers need to be doing. Always purchase all three upgrades in explosive headshots first. Without them your long range debuffing and crowd control capabilities are non existant. Essentially all of your upgrade money should be going into this weapon so after explosive headshots are taken care of invest in either reload speed or charge rate.

Jarate:

Some of you may find your team mates crying for you to dump all your cash into the jarate and stay on the frontlines with it but this needs to be kept as an emergency plan B. Jarate does everything it really needs to with zero cash put in. Late game buying the single point of slowing power cant hurt but remember that getting those spammed headshots in is going to be far more valuable to your teams efforts than a few seconds of minicrits.

Bushwacka:

We have no utility melees for sniper so take this in the off chance you have to assist with a tank. The bushwacka turns all minicrits into full criticals so if you are needed on a tank then a friendly soldier's buff banner will allow you to dish out 195 damage per swing. Late game consider upgrading the swing speed if you have already maxed out your rifle.
Spy
Role:
  • Cash Collection
  • Buffs & Debuffs
  • Key Target Elimination
Like the medic spies are extremely weak in MvM. I would almost go as far as to say that they are the absolute worst choice in this game mode. In terms of which roles they fill every single one can be achieved much better by other classes. Spies can collect cash easily but the scout can do this better. Spies are great for taking down medics, but not as good as demos or snipers. Sappers do a great job of slowing targets, but not as much as explosive headshots or mad milk. Doing a poor job of filling these roles is bad enough but when combined with the fact that outside these roles the spy becomes basically idle we see that he generally will hurt a team far more than help it.

Loadout


Enforcer:

This is the best of a bad situation. Even when you need to bring out your revolver (such as when tanks come in) it isn't going to contribute much. The enforcer offers the largest DPS out of the spies weapons but this isn't something you should rely on.

Stock Knife:

There's really no better alternative to stock here. Keep in mind the stock knife requires a lot of upgrades before even beginning to be useful against giants and even at maximum upgrades isn't exactly spectacular.

Dead Ringer:

As soon as you begin attacking you are going to be noticed and you are going to be attacked and this is the only way to survive for any length of time as a spy. With such low health and literally having to be on top of the enemy to do any real damage this watch is absolutely necessary to play spy to even a small degree of effectiveness in MvM.
The Ideal Team
From my personal experience this is the setup I have found works best.

Decoy & Coal Town
  • Scout
  • Sniper
  • Heavy
  • Engineer
  • Demoman
  • Soldier

Mannworks
  • Scout
  • Demoman
  • Demoman
  • Engineer
  • Heavy
  • Soldier

In MvM the most crucial element is teamwork and balance. As long as every role is properly filled and no roles are "overfilled" you'll find that things become much easier. Communicate with your team, make sure the roles are filled and the team is balanced and those shiny botkillers will soon be yours.


If you have any suggestions on how to improve this guide I welcome them as well as any questions. If you would like to read my other guides they can be found in the links below.

Stop thinking like a Medic! (A guide to using the Quick-Fix)Basically Idle (A guide to contributing as little as possible)Begginer's Guide to Trading & the "Mannconomy"Botkillin's a good job mate. (A guide to playing Sniper in Mann Vs. Machine)Sprint N' Splode (A guide to better Demoknighting)
29 Comments
Popeyes Chicken 15 Mar, 2015 @ 12:17pm 
Second I read that spies are the worst class in MvM, I made my way to the dislike button.
Hepta 14 Mar, 2015 @ 5:12am 
Lol this is the biggest piece of meta slave shit I've ever read... not ONE mention of our lord and saviour the MVM demoknight! And both medic and Spy can be hugely useful in MVM... meta noob.
Yumeno 9 Jul, 2014 @ 6:18pm 
I have a question: What is wrong with the scottish resistance? You can set multiple sticky traps and detonate them independently.
Subterranean Homesick Walrus 22 Jul, 2013 @ 4:29am 
Hitman's Heatmaker isn't mandatory either. Machina or Stock are just as good, maybe even better in some situations where you don't want to risk a headshot (in case a small robot is about to drop the bomb). Focus mode can be helpful, but sometimes not so much.

As for your optimal teams, why would you take Demoman AND Sniper, but not Pyro? Pyro has a great DPS in close range, tank control, crowd control, spychecking AND airblast. Sniper and Demo are moot together, because both excel at Medic killing and crowd control, but one is usually enough and the second place can easily be replaced with Pyro.
Subterranean Homesick Walrus 22 Jul, 2013 @ 4:29am 
Soda Popper isn't mandatory here - Scattergun may be a better option if you encounter a few Snipers on the way. As for Pyro melees, Neon Annihilator is a very good choice. It may remove sappers slower, but it still removes them. If you react quick enough, you save your engi's stuff. PLUS you can one-hit KO uber medics if they are wet - it goes extremely well with Mad Milk or Jarate. Third Degree is just suicidal and useful maybe only with a Kritz Canteen - if you provoke the Uber, you're dead meat.

Natascha for Heavy? Never, never use this. Lower damage is DEFINITELY not what you want for a measly slow effect, which is granted with a single Mad Milk/Jarate upgrade. When you go to Rage mode, your damage goes even lower. Brass Beast or Stock, period.
Radioactive Panda 3 May, 2013 @ 11:57pm 
i put charge at bottom because i'm use to be in scope basically all the time which already has 25% increase in charge rate + rapid 300s is basically the same damage as charging with max charge. the upside and downside to this is that if you miss you are technically doing less damage than consistent charge shots that never miss the upside is that you are always explosive headshoting which allows for basically any smaller bots around them to die and if there is 2 or more giants next to each other this is more dps than charge shoting as if you get a good shot it's 2x headshot + explosive.

anyways that's my spew :) please comment on it as give me some feed back. sorry it's such a long post and requires 2 posts
Radioactive Panda 3 May, 2013 @ 11:57pm 
for sniper I would say you only require 1 explosive headshot before getting max reload + max damage. the extra explosive does hurt more but you can easily just headshot one more time. the 80% slow is nice but with 1 upgrade it's already at 50% an extra 30% can wait until other esential upgrades are met.

my upgrade tree is:
1 explosve
3 reload
3 dammage + pen(or whenever you feel like pen would benefit the team) ( in my case i get pen when i start having medics hiding behind giants)
max out damage
max out explosive
max out charge.

DTCC 24 Jan, 2013 @ 5:56pm 
for my grading? 26/27 very nice indeed

why?
the fan of war....
sand man > fan of war, it only takes on upgrade to make the sand man do mark for death. i rather min crit the giants from an distance rather than going up to him and mark him. what if the giant saw you, that means you dead. fan of war = suicide mission, sand man = the right choice (aka the icing on the cake).
Onion Bubs 21 Jan, 2013 @ 10:42pm 
too bad most expert mann up parties will instantly kick you if you aren't a heavy...
Master Betty 19 Jan, 2013 @ 11:02pm 
Scottish Resistence is better than stock because you can have more bombs out and you don't have to detonate them all at the same time.