Zen Bound® 2

Zen Bound® 2

35 Bewertungen
Zen Bound 2 Game Guide
Von Jill of Trades
Who knew bondage was so complicated?
   
Preis verleihen
Favorisieren
Favorisiert
Entfernen
What is Zen Bound 2?
Zen Bound 2 is a puzzle game where you use a rope to 'color' the object in each stage to a certain percentage or 100%. While it may seem simple and basic at first, the mechanics get more complicated as you move on or trying to achieve 100% on a stage.
Basics
The goal is to maneuver your mouse (or controller) to cover the object with much paint as possible with your rope. The 'percentages' vary in some stages. For example, if you cover an object and there are a few areas that aren't painted, the stage will still count it as 100%. Example: Tree of Vitality.


However, there are some stages where it becomes picky, where even a small unpainted area still counts. Example: Tree of Reflection.


So, what's considered "covered" or count as a "percentage?"
The stages vary, but I'll give you an example:

Notice how each figure has a sort of rectangle texture. Cover most of it for it to count as a percentage. Depending on how big the figure or how much an area is worth depends on the percentage.

To give a whole walkthrough on every single stage is tedious, and some stages can be done differently. Instead, I'll give you tips on the ones that seem difficult and a summary for each Tree.
Tips
Backing up your save files
This is very useful if you tend to glitch your rope alot (when your rope gets stuck within the figure). The save files and progresses of your trees are saved in your users/name/appdata/roaming/Zen Bound 2 folder.

Study the figure
Some figures start becoming weird on what counts as a percentage, or when a small area counts as a lot of percentage. If you're having trouble on a stage, just play around first and study what areas count.

Rope moves
Here are two basic rope moves to get started.

Fast-Wrap:
This is the basic one you should know that will help you in the long run. Basically, wrap the area you want as fast as possible and move on to wherever you need to go. This is useful when your rope tends to slide off alot or slide near your used rope.

Anchor:
Very useful if you know how it works. Some figures have corners or edges where your rope can get easily stuck. Use this as some sort of "save point" for your rope. That way, if you make a mistake, your rope starts where your "anchor" was.
Tree of Introduction
Summary: This is the 'novice' course for the people new at the game. It introduces you to the game modes to come. Don't get used to the easiness though, as it gets harder here on out.

On the Nail Bombs II stage, if you pop every nailbomb there is, an achievement will unlock.
Tree of Vitality
Summary: Why so hard instantly? However, there are things to keep in mind: you DON'T need to color it EXACTLY 100%. Look at the Basics and Tip section to see what I mean.

If you're able to 100% each stage on this tree, you're getting the "hang" of the basics ;).
Tree of Challenge
Summary: Not much of a challenge if you know what to do. Basically, focus on the corner nail-bombs of each stage. Some nail-bombs paint more than the others, so explore if you get stuck.
Tree of Nostalgia
Like the Tree of Vitality, but much easier. Every certain length of rope you use (around 10cm or less), you get a nail bomb to use. Use that to your advantage and the stages should be a breeze.
Tree of Reflection
Summary: This Tree seems like a joke, until you come to the Tranquility stage. This stage is really picky on the road to 100%. Wrap it as much as possible and follow the trail of the rope by not making too many gaps.
Tree of Introspection
Okay this tree just decides, for the first level, to give you a tough level (Perseverance).You're gonna have to take your time in the first stage. Up until you used 85% of your rope, you should have the stage 90% covered. Try to keep it like that until you reach 98% and you'll have a good chance of completing the level to 100%. Start from the trunk first, then one ear, then part of the neck, then the other ear. After that, cover the body and when you get to a hoof, cover them up as much as you can. Just watch out when you go to the glowing needle at the end. I've had it accidently completed a ton of times when I didn't want to! Same rules apply for the other animal ones later, and should be a bit easier after you trained yourself to 100% on Perseverance.

When you come to Concentration (OH MY GOD HELL LEVEL.), start on an underarm then complete that arm with little rope as possible. This will require you to be fast on your rope, not to mention this level makes it so easy to glitch your rope. After you finish that arm, move onto one part of the chest area then onto the head. You should only have three rows of rope to fully cover the head. Let part of the rope slide to the top of the head. Once that is done, quickly wrap it to lock it. Continue to the next arm. The goal is to cover as much area with the least amount of rope as possible, since you will need a lot of rope for the bottom part. Once you cover the underbelly, you should have at least 61 out of 100 rope to spare and managed to cover around 74-75 percent (create a backup of your saves incase you glitch your rope!). Here are some examples for a possible 100%:

Tree of Focus
Luckily at the beginning this tree gives you a break from the previous one. It's just the basics, but with only a few nail bombs and the nail bombs only cover a smaller space. Be sure to hit every nail bomb on every stage while completing it for an achievement!

When you come to the final stage, Obfuskation II, It's not as hard as it looks. However, you need to be sure to hit every key point, and the rope will be annoying since it may not go where you want it to go (ex. glitching or getting blocked by a turned rope.) Make sure you only use 4-5 rows of rope when going around and covering the large areas on the inside. Here is an example of a 100% one.

Tree of Reminiscence
Compared to the past two trees, this tree seems like a joke. However, the only problem is that the rope does not paint the figure at all, only the rope bombs do. There's no special pattern for any stage in this Tree, and it is very easy to 100% on each one.
Tree of Conflict
A bit more difficult than the previous tree. This tree is mostly rope bombs and rope. The only concerning, picky stage is Greed, so use the same strategy for Tranquility and try not to leave any unpainted areas.

The final stage, Truimph, is like the final battle for Zen Bound. You have to get 100% coverage with the very little rope you have. First, where your rope starts (and make sure that part is covered), go over half of the leaves, anchor your rope behind the end of the half, go over the remaining leaves, and anchor your rope under the last leaf. Then, go over the tip of the leaf and focus on wrapping around the other tips of the leaves. By going back to the starting needle, you should have 13-14 rope left with 54 percent covered (while the rope being close to you). Follow the same strategy for the next part, except do not try to touch the glowing needle area. Once you cover 98 percent, and hopefuly have around 23-24 rope left being close to you, try and cover the glowing needle part for the remaining 2 percent. If you fail at that, just press the esc key and try it again.

However, this stage glitches easily, so make a backup of your saves! Here is an example of a 100%:

Tree of Tribute
The Tree of Tribute is more of a "Congratulations! You completed the game!" tree, since most of it is easy to 100%. The only tricky one is Secrecy, as the legs can be annoying. Just wrap the legs with at least rope as possible. You can wrap around three legs on each side.

Completed the tree? Congratulations! You get an achievement!
Achievements
Anti-spike

Difficulty: Easy
Achievement Description: Blow up all nail bombs on the hedgehog
How to get: In the Tree of Introduction on Nail Bombs II stage (the final stage), simply have all the nail bombs popped.

Butterfly Collector

Difficulty: Medium
Achievement Description: Complete 10 Trees
How to get: Complete all final levels in the game at least to minimum goal (70%). The earlier trees are easy to master, so just do as many as you can to unlock three flowers in order to unlock the other stages.

Flower Garden

Difficulty: Medium-Hard
Achievement Description: Collect 200 flowers.
How to get: Each time you complete a stage, you receive a minimum of one flower. The goals are as followed: Minimum Goal: 70% ;Medium Goal: 85% ;Maximum Goal: 99%. If you are going for 100% on each stage you go through, you should get the achievement when you finish the Tree of Focus second stage(Konkave II) by getting all three flowers.

Getting the Hang of it

Difficulty: Easy
Achievement Description: Complete the last level of the Tree of Introduction
How to get: Simply complete the last stage of Tree of Introduction.

Gordian

Difficulty: Medium
Achievement Description: Blindly refuse defeat
How to get: Use all available rope on a level and complete the level. You know how you tried to wrap around and end up running out of rope? The stage dims a bit. If you manage to pull the rope close to the glowing nail while using it all, the achievement will unlock. Try doing it on the early levels.

Meticulous Detonator

Difficulty: Medium
Achievement Description: Blow up every nail bomb on the Tree of Focus
How to get: Just hit every nailbomb as you try to complete each stage. When you get to the final nailbomb and touch it on the last stage, the achievement will unlock without the need to complete the final stage.

Nirvana

Difficulty: Linked to Perfection Achievement
Achievement Description: Learn to let go after attaining Perfection
How to get: After obtaining the Perfection achievement, (hopefully you do this while you have your progress backed up), go to the main menu and click Reset Progress. After you do that, the achievement unlocks. If you wish to put your progress back in, exit the game and copy your backup save folder to the main game save folder.

Pacifist

Difficulty: Easy-Medium
Achievement Description: Use all rope but no paint must touch the object
How to get: Play stage where the figure cannot be painted with the rope (Nail bombs or Rope bomb stages). During your time on the stage, there should be NO paint on the figure, even if it's removed. Otherwise, you will have to start over to get the achievement. The earliest you can get this achievement is in the Nail Bombs stage (second stage) in Tree of Introduction.

Perfection

Difficulty: Very Hard-Nearly Impossible
Achievement Description: Complete all levels at 100%
How to get: This is the biggest challenge of the game. Sure most of the stages start becoming easy to get 100%, but the big problem is the certain stages that are hair-pulling aggravating and impossible. There are only three stages I've identified as very hard:
Tree of Instrospection: Concentration
Tree of Focus: Obfuskation II
Tree of Conflict: Triumph

Tied to the Ground

Difficulty: Medium-Hard
Achievement Description: Tie down every flying thing
How to get: Complete all stages that contain flying objects (examples: birds, blimps, planes,etc.) to 100%. The last one to complete is the Aviation stage in Tree of Tribute.

Unwinder

Difficulty: Easy-Medium
Achievement Description: Wrap an object to 100% and then unwind back to 0%
How to get: Play a stage where you can easily get 100% (I recommend the Tree of Introduction). Complete it to 100%. Instead of tying to the glowing nail, just unwind the figure and the achievement will unlock once it is 0%.
3 Kommentare
Cos 14. Jan. 2019 um 5:16 
I hate this game.
Jill of Trades  [Autor] 18. Feb. 2016 um 12:05 
You're welcome Leth! Sorry for the late response. I'm glad this guide helped^_^
Lethrblaka 22. Nov. 2015 um 14:16 
So, after more than a year and a half of non-playing, I've finally completed this game (thanks, backlog)!

It was pretty fun, even though it was annoying when the rope got stuck for some unknown reasons, forcing me to redo everything.

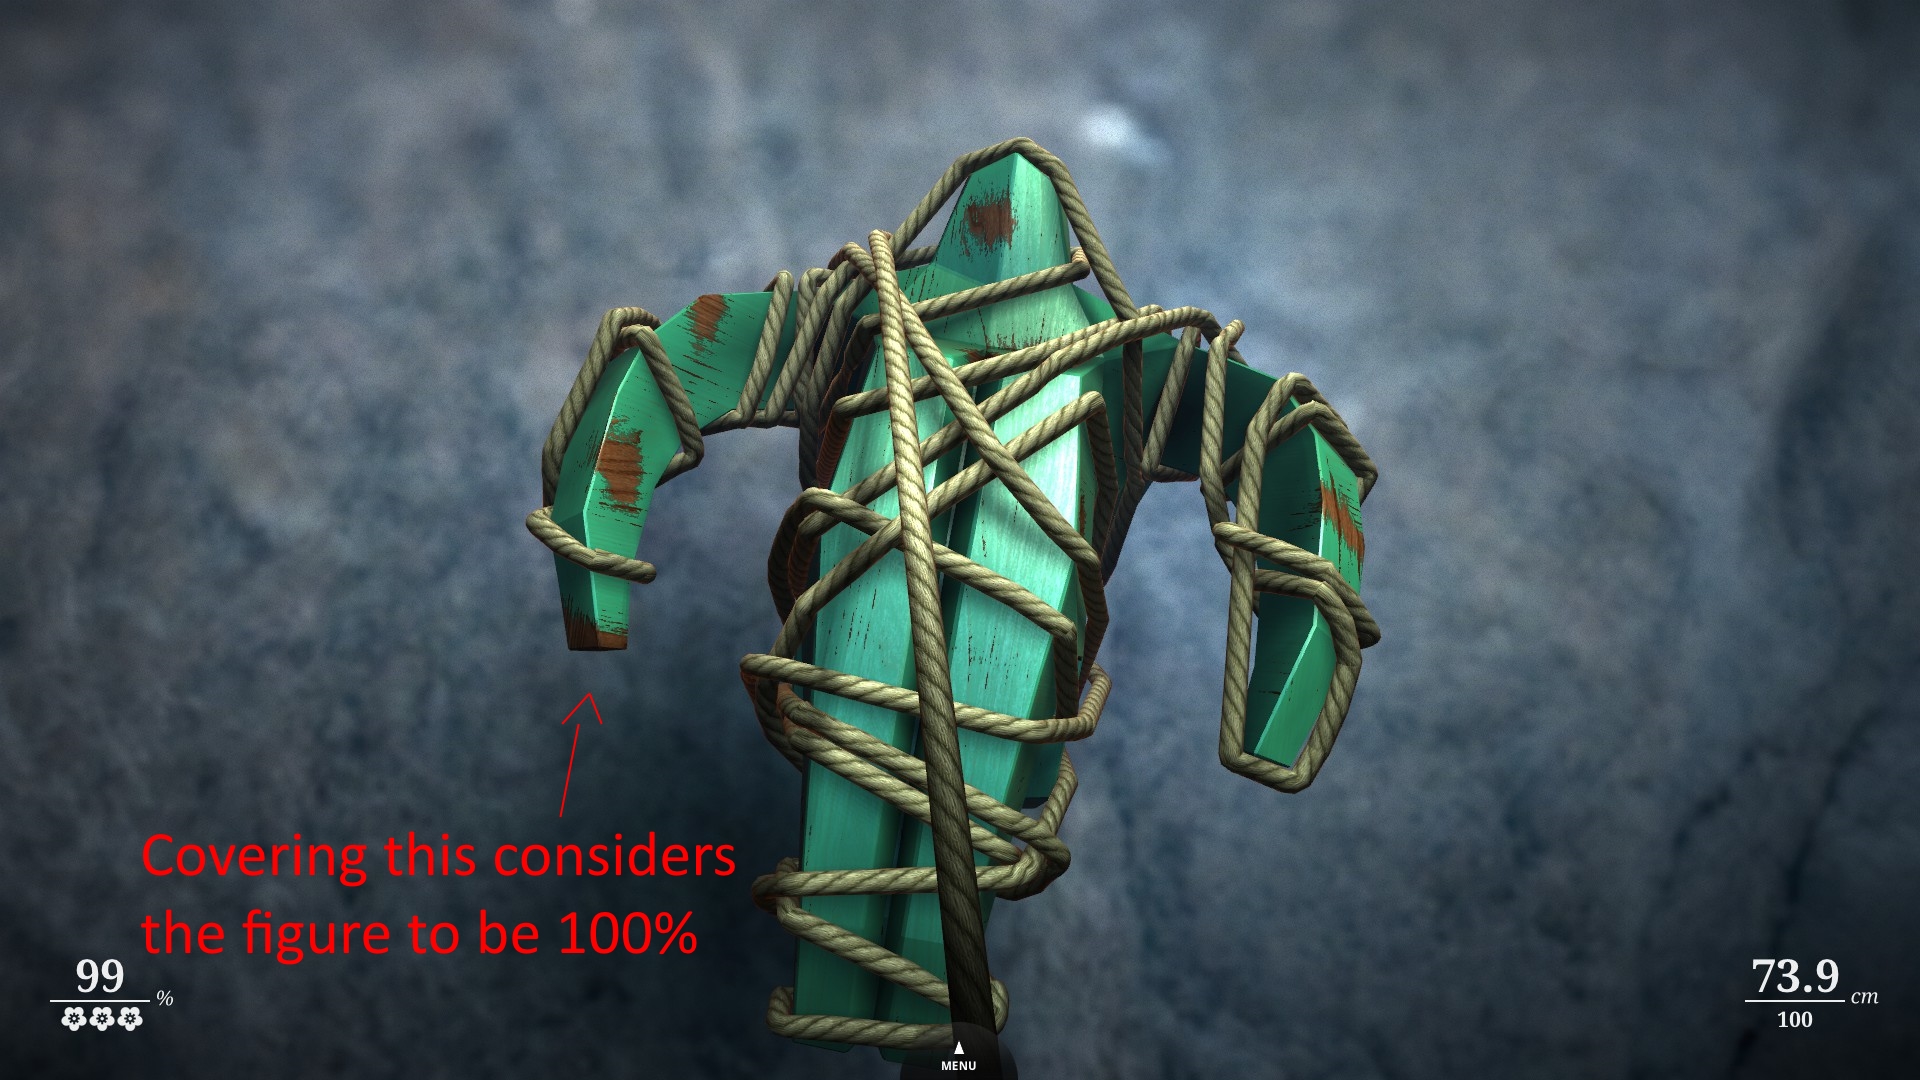
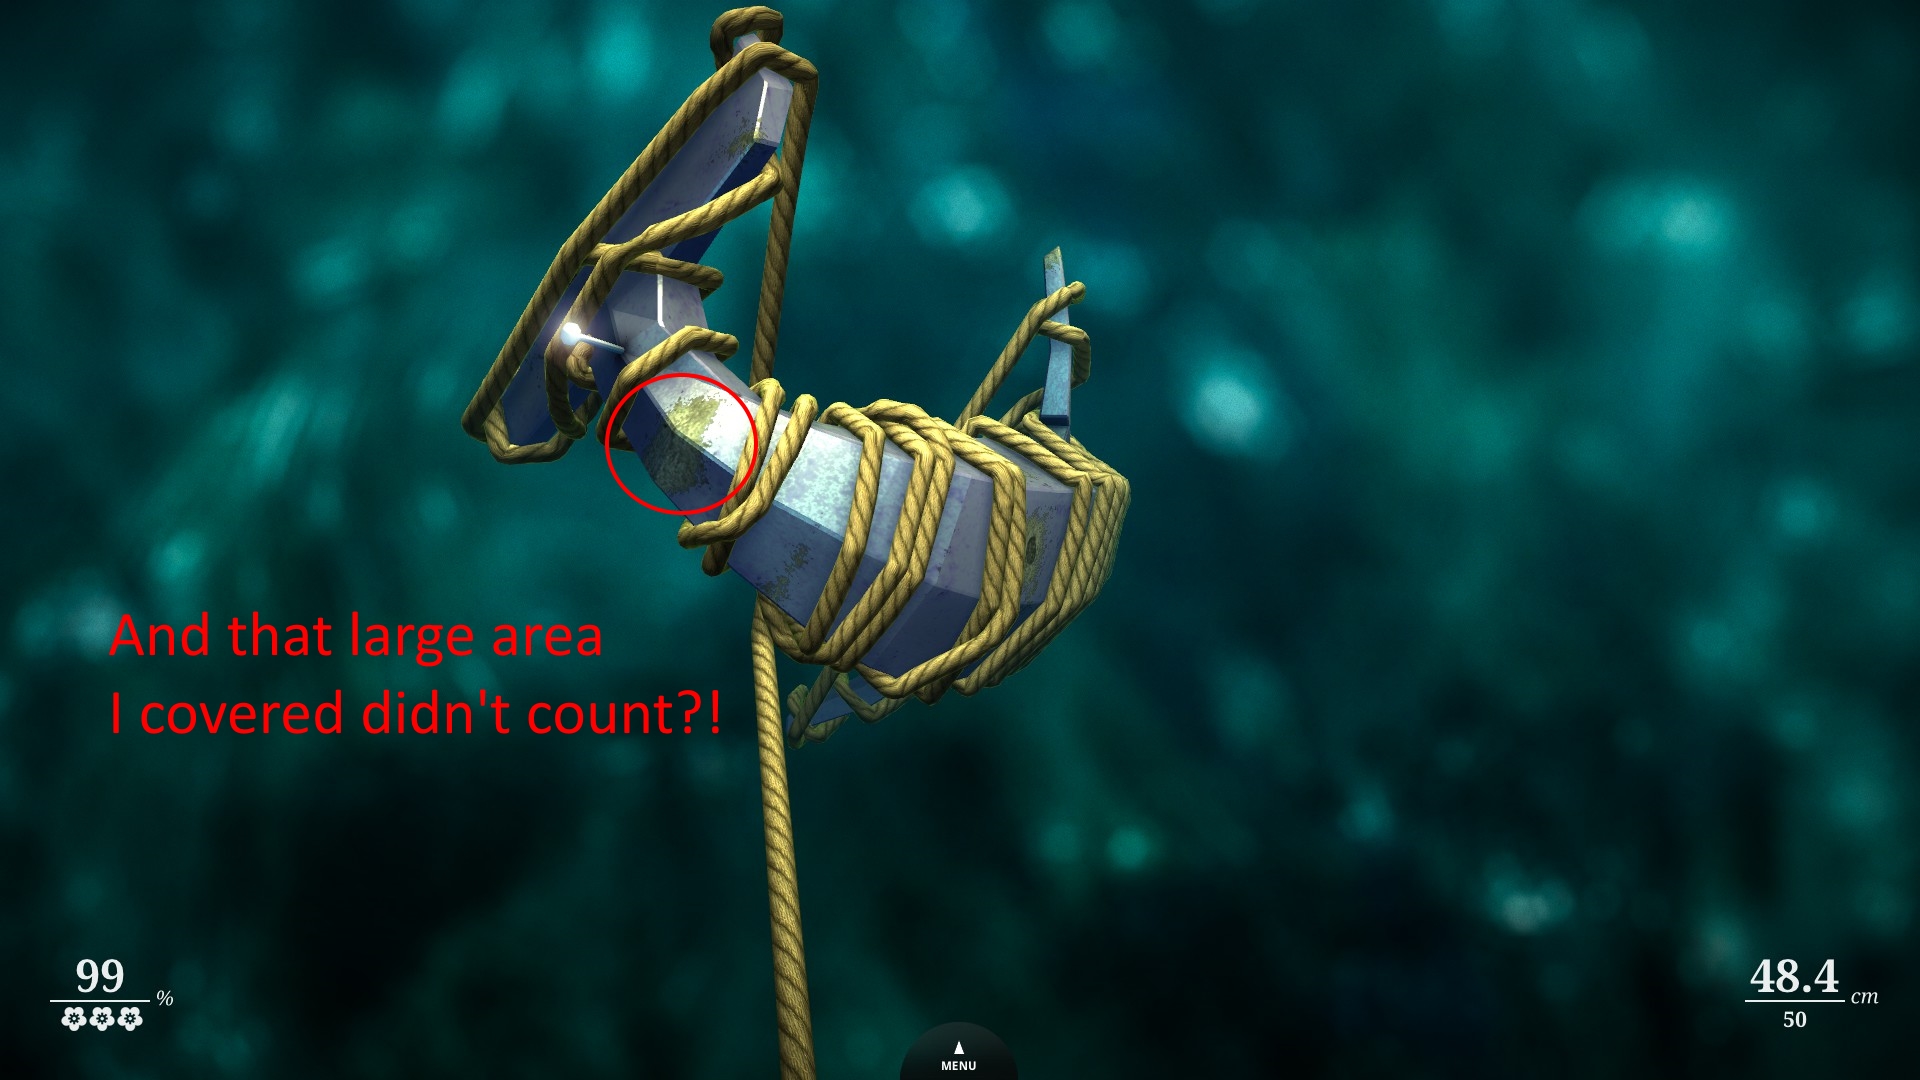
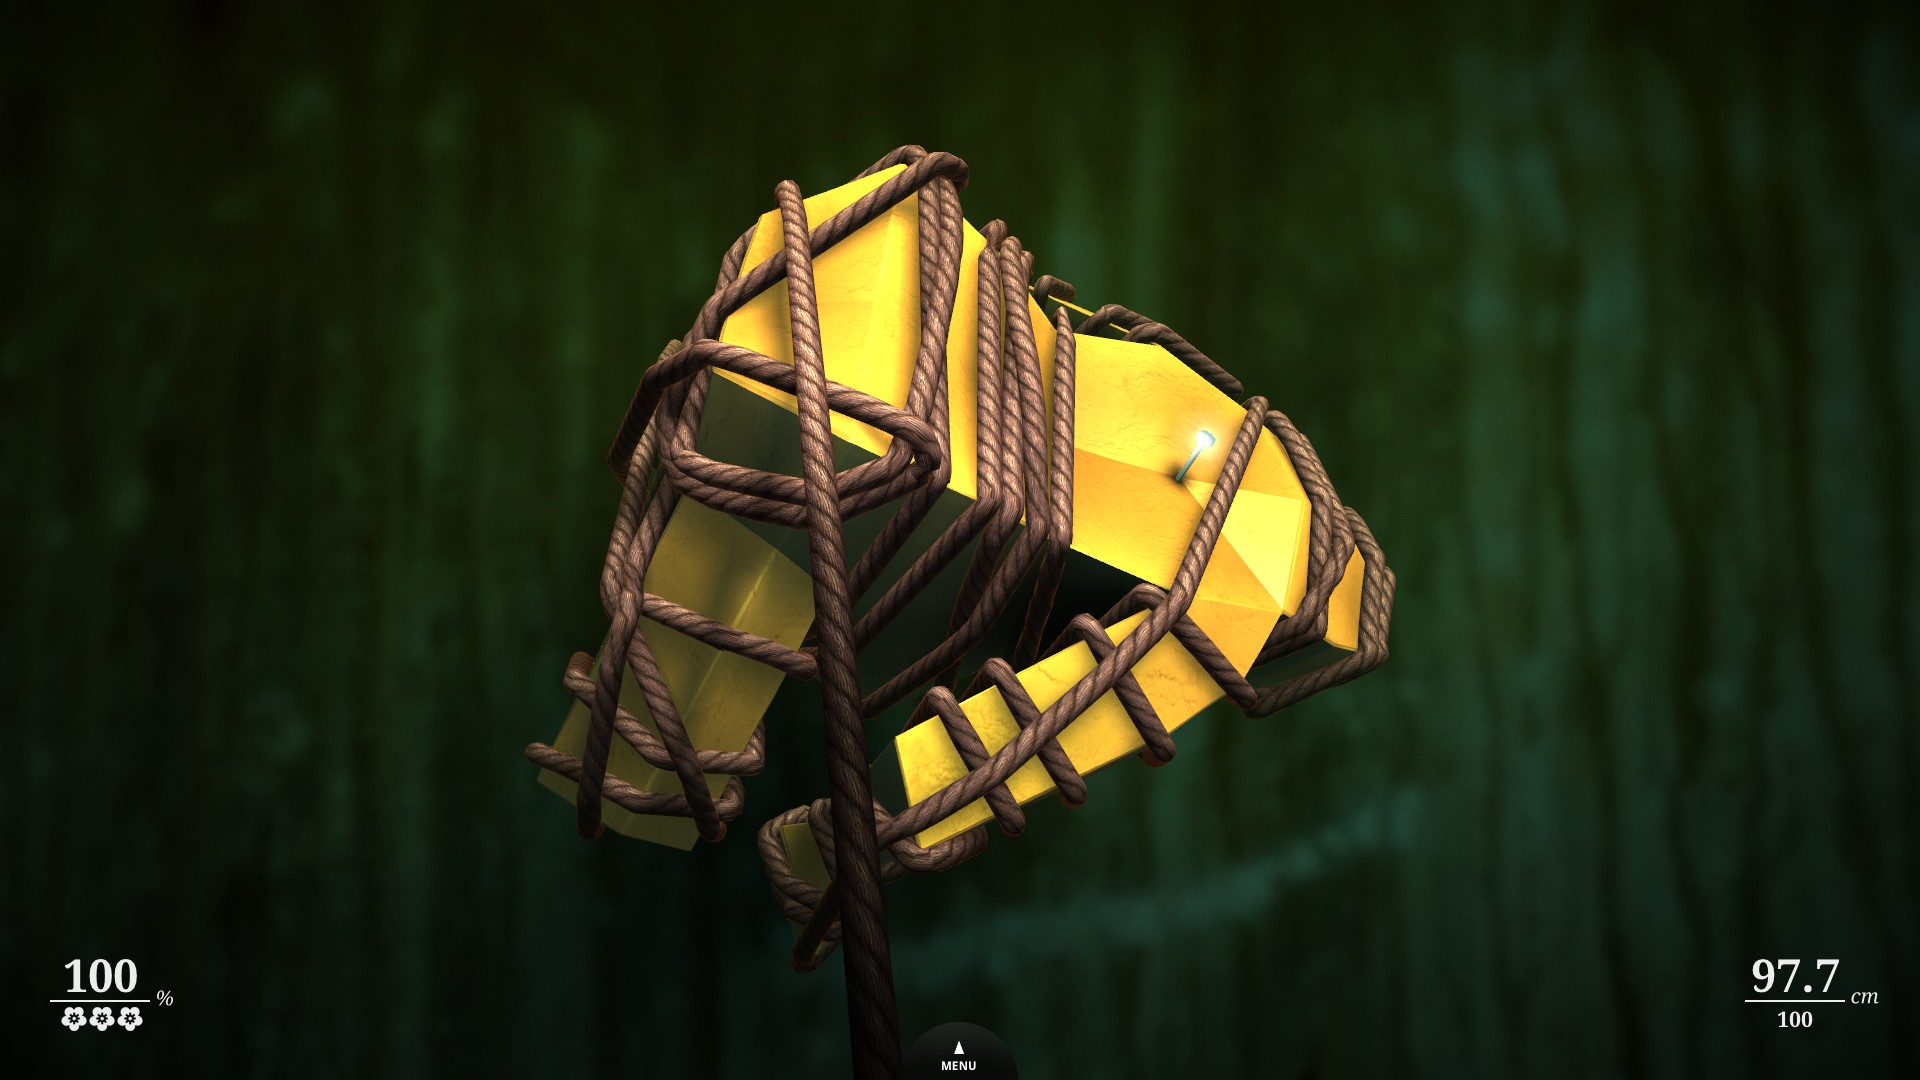
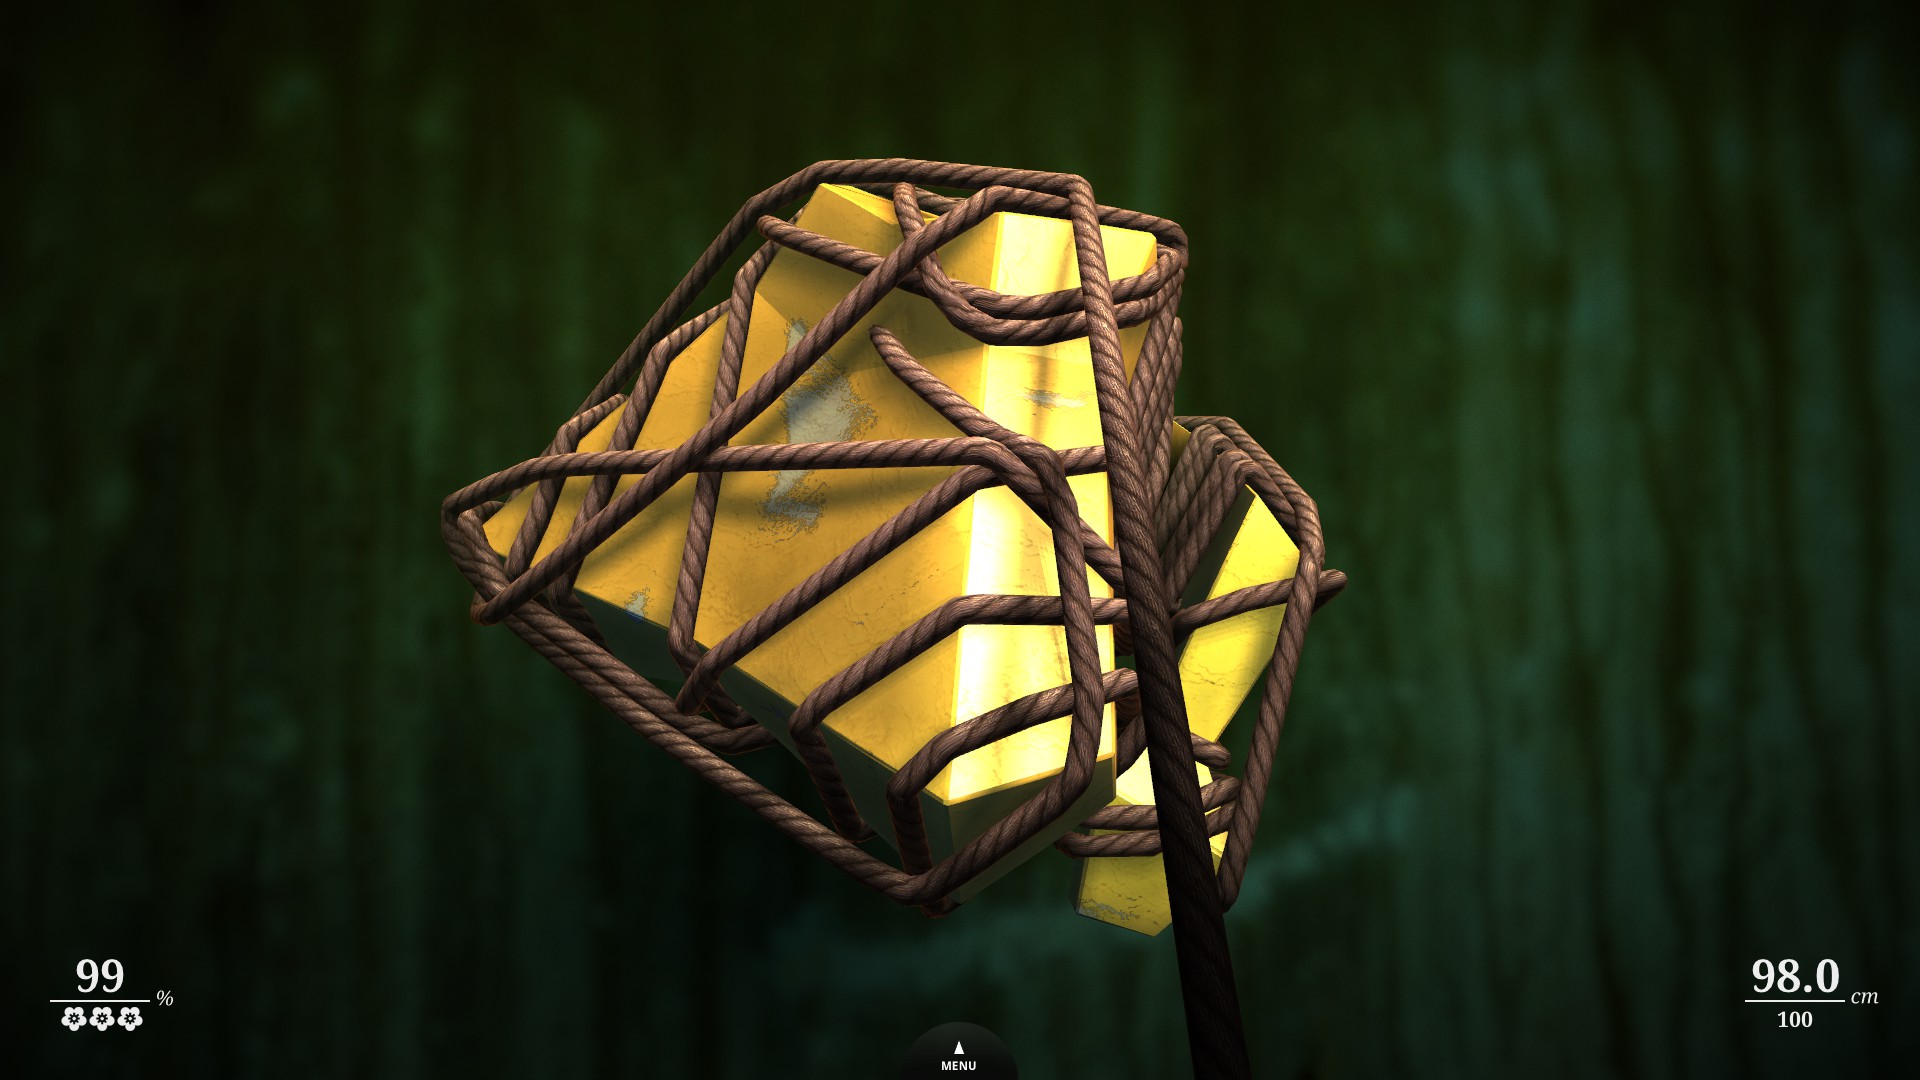
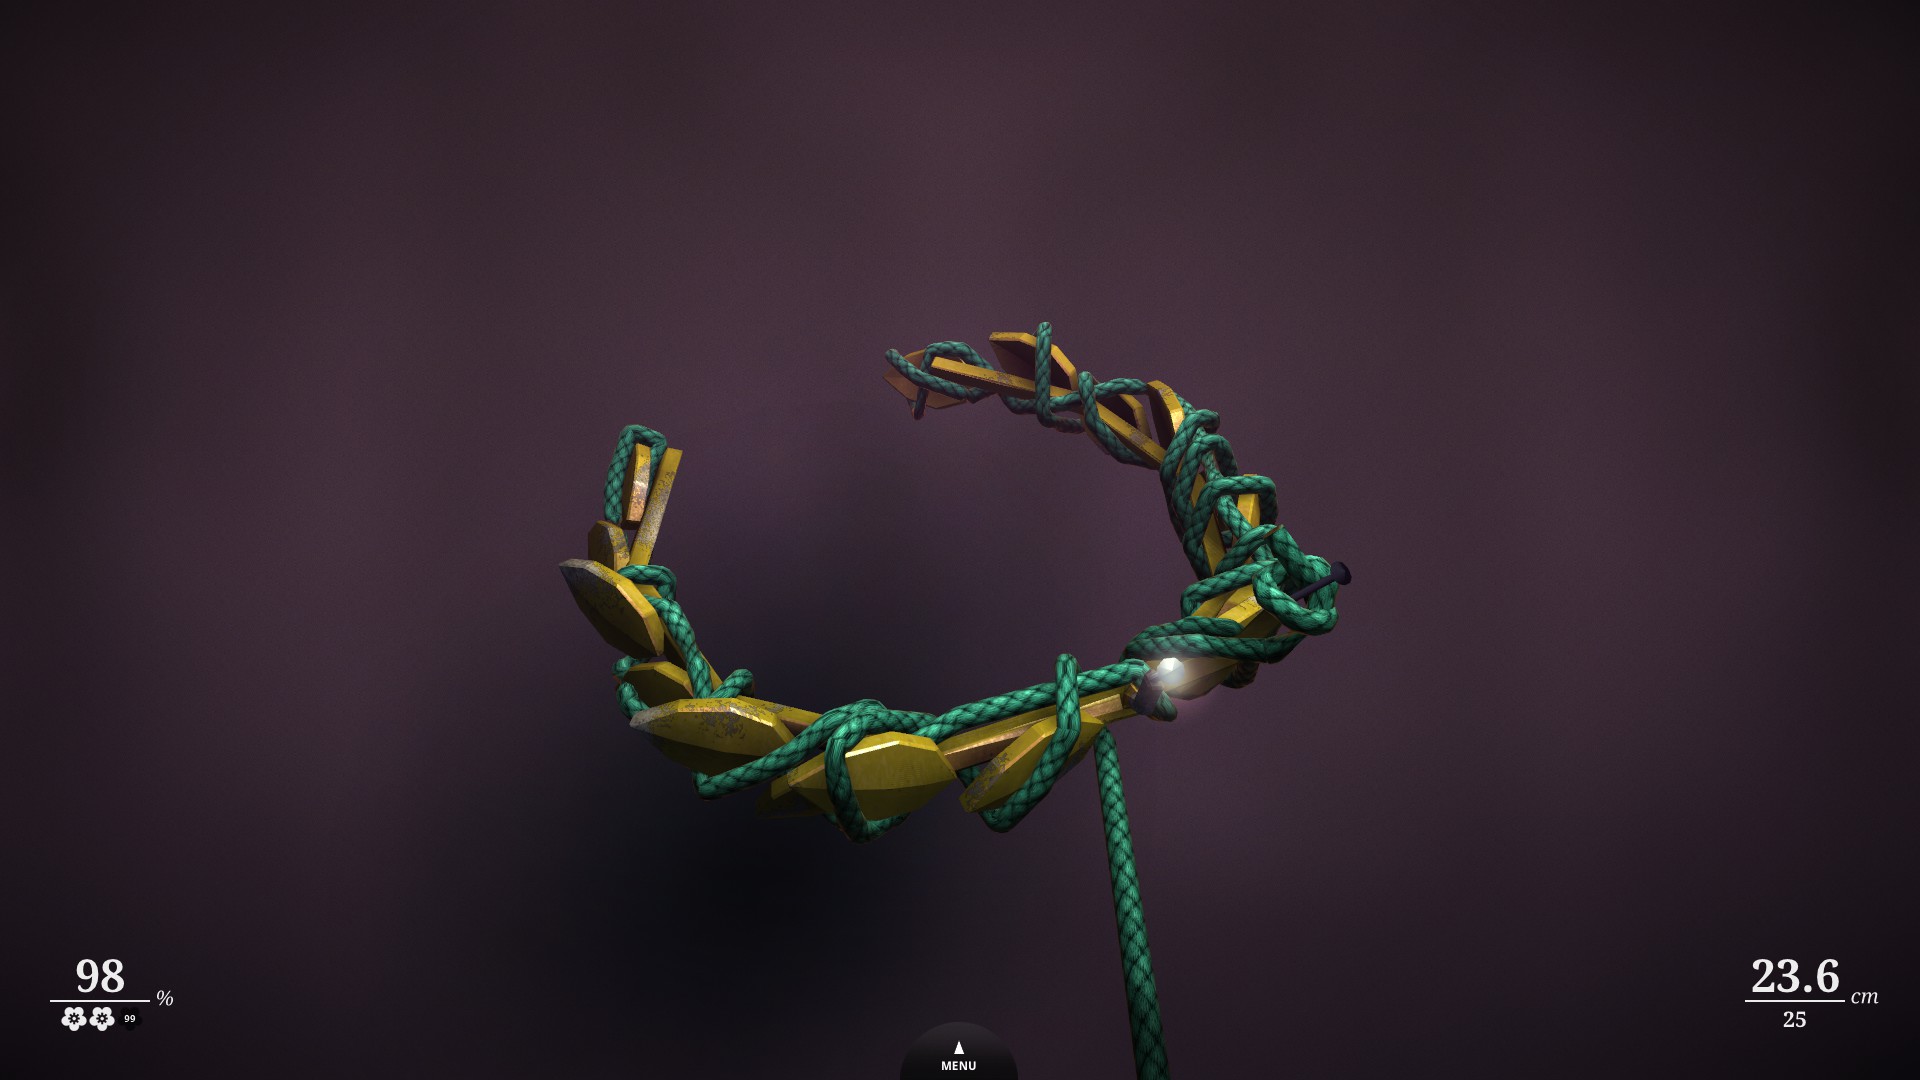
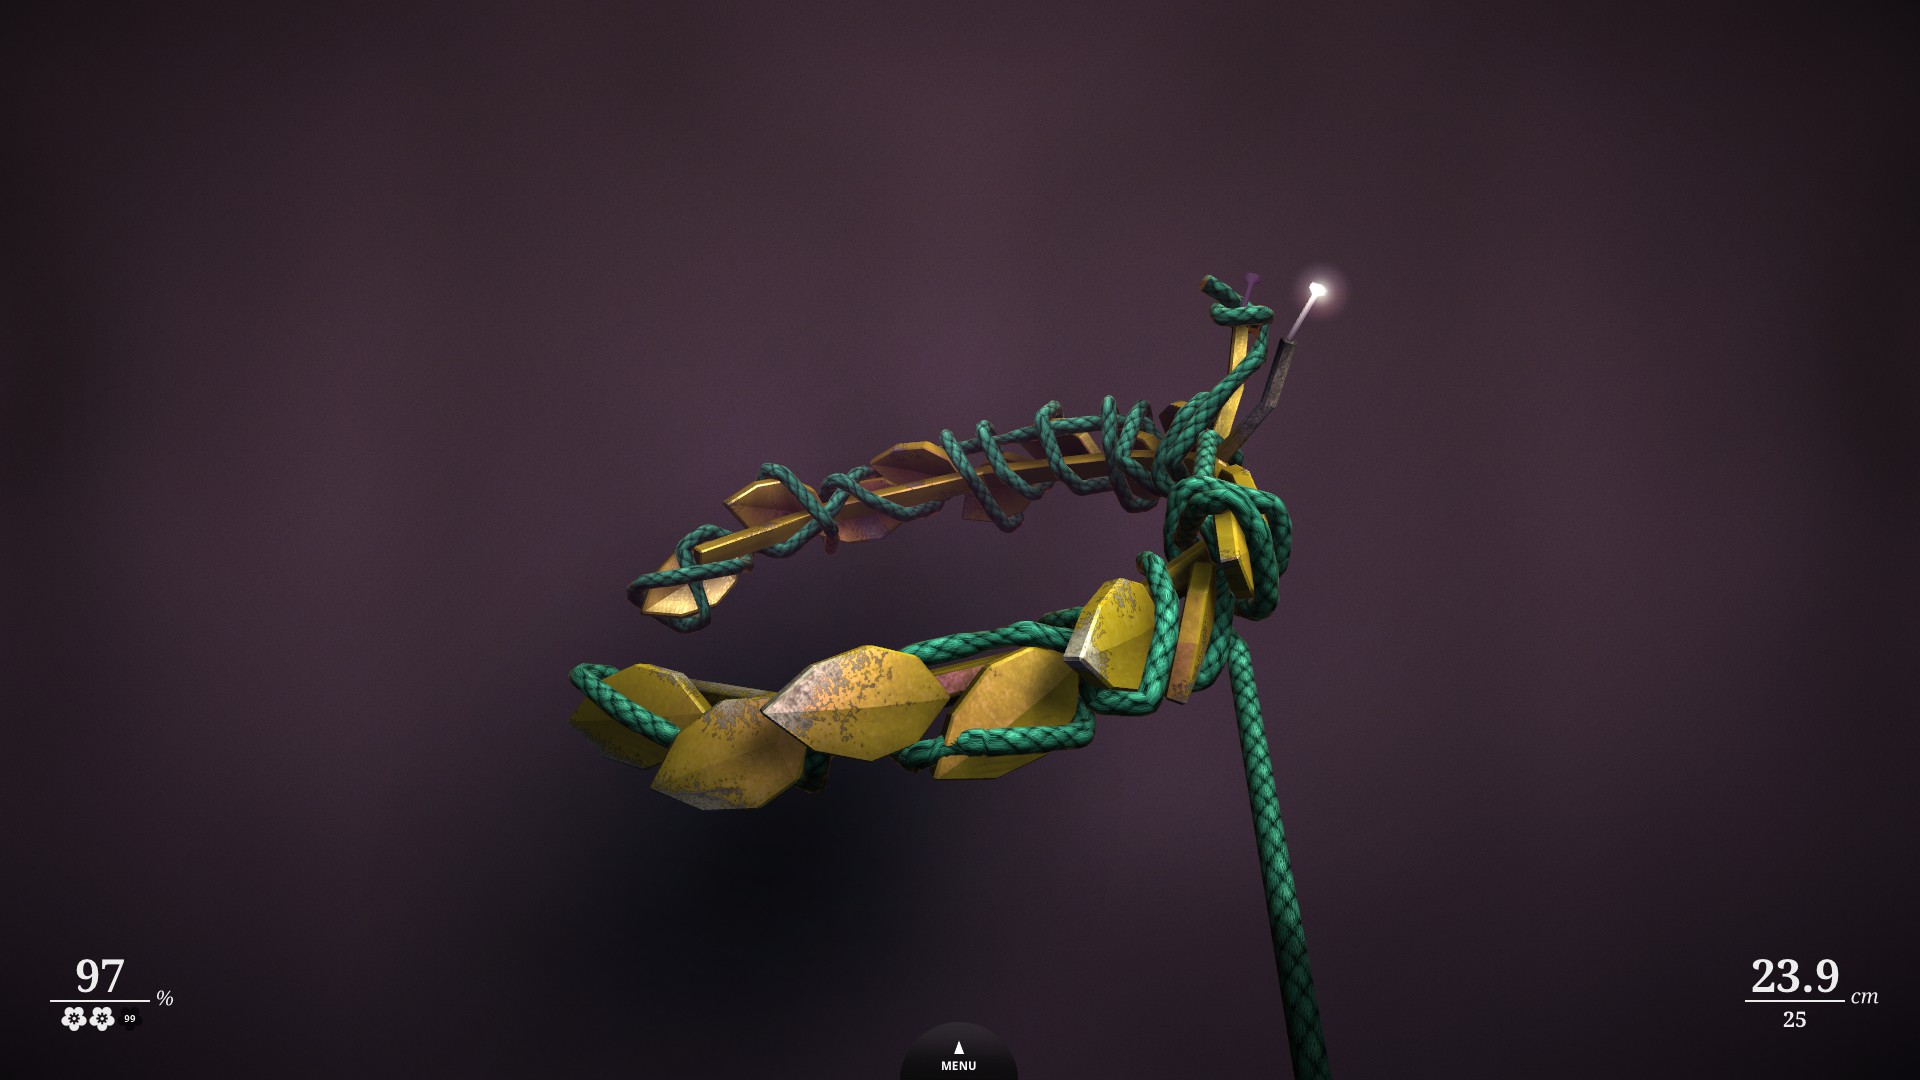
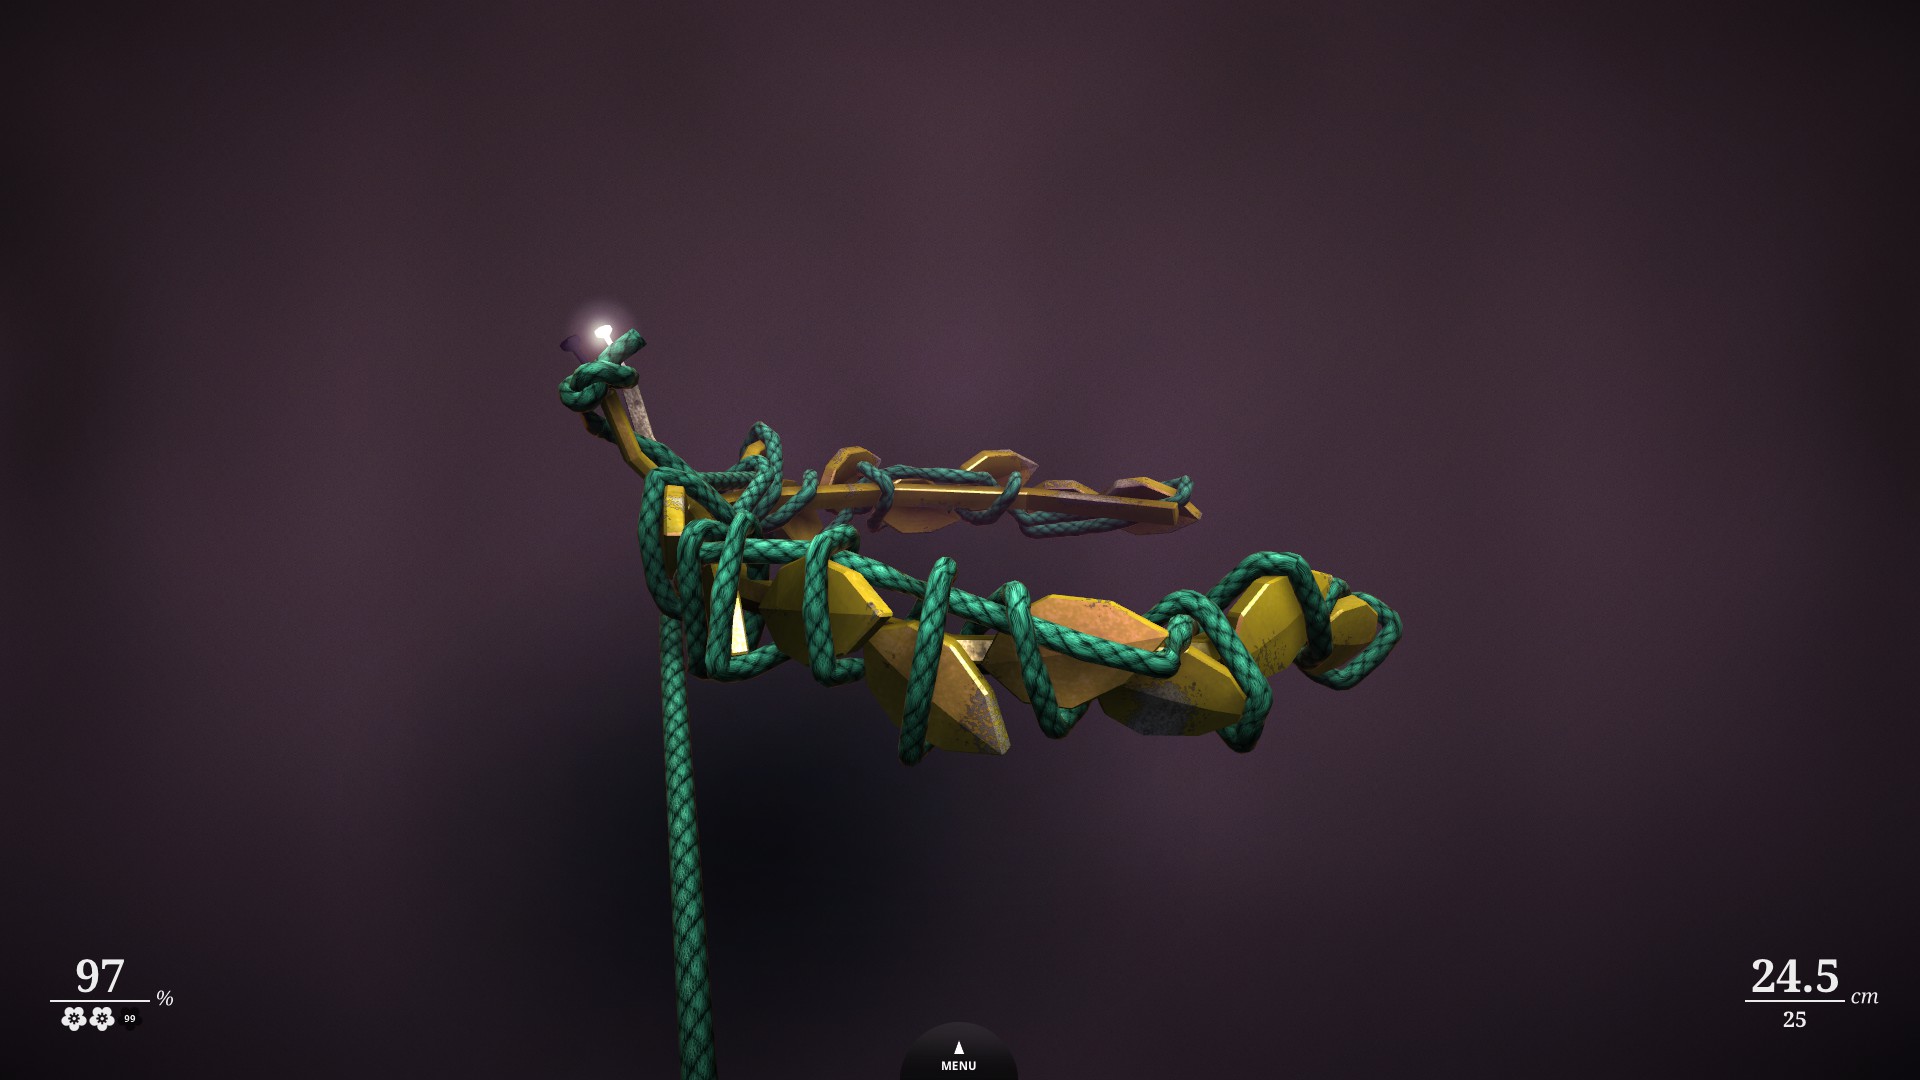
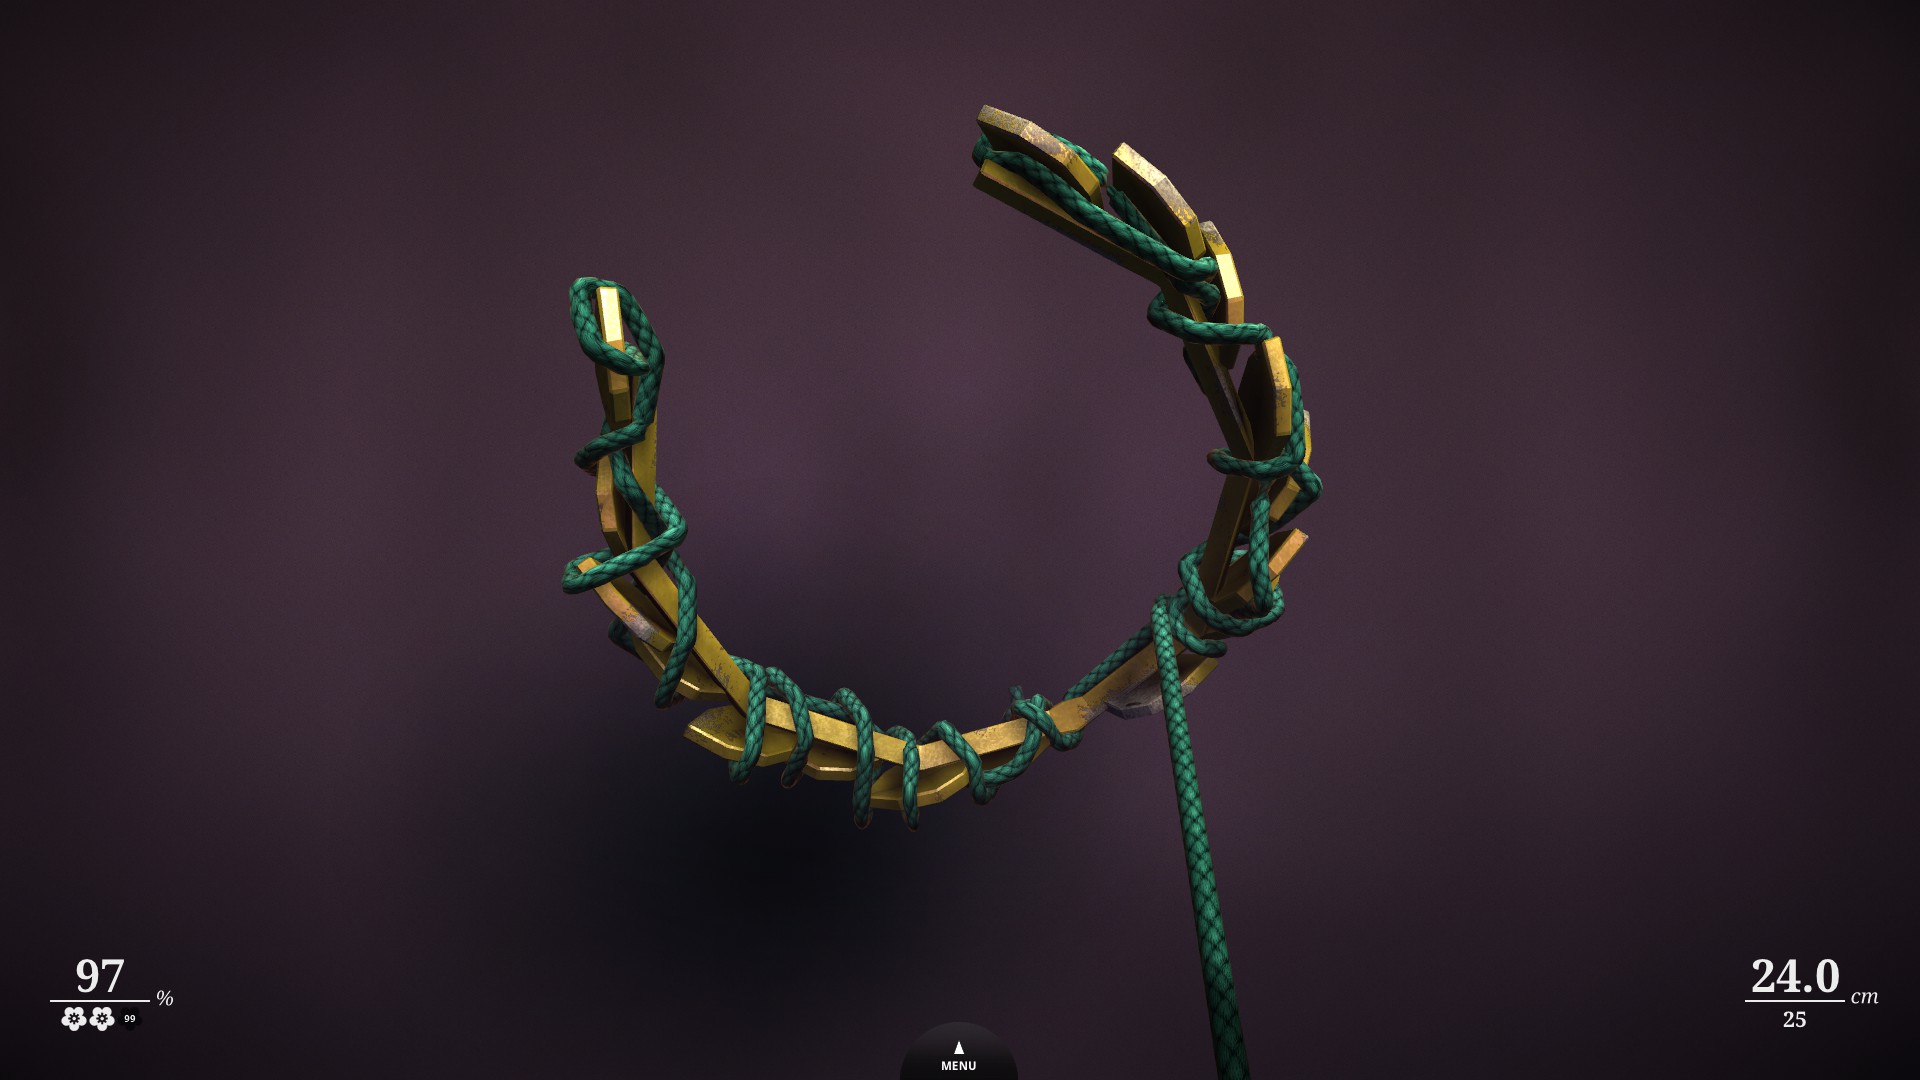
- For Concentration, my solution was probably way messier than yours, I was like "Please, tell me this bit is the last hundredth . . . YES, it is! How am I going to wrap it, though?" But it worked, so I don't care if it's all tangled!
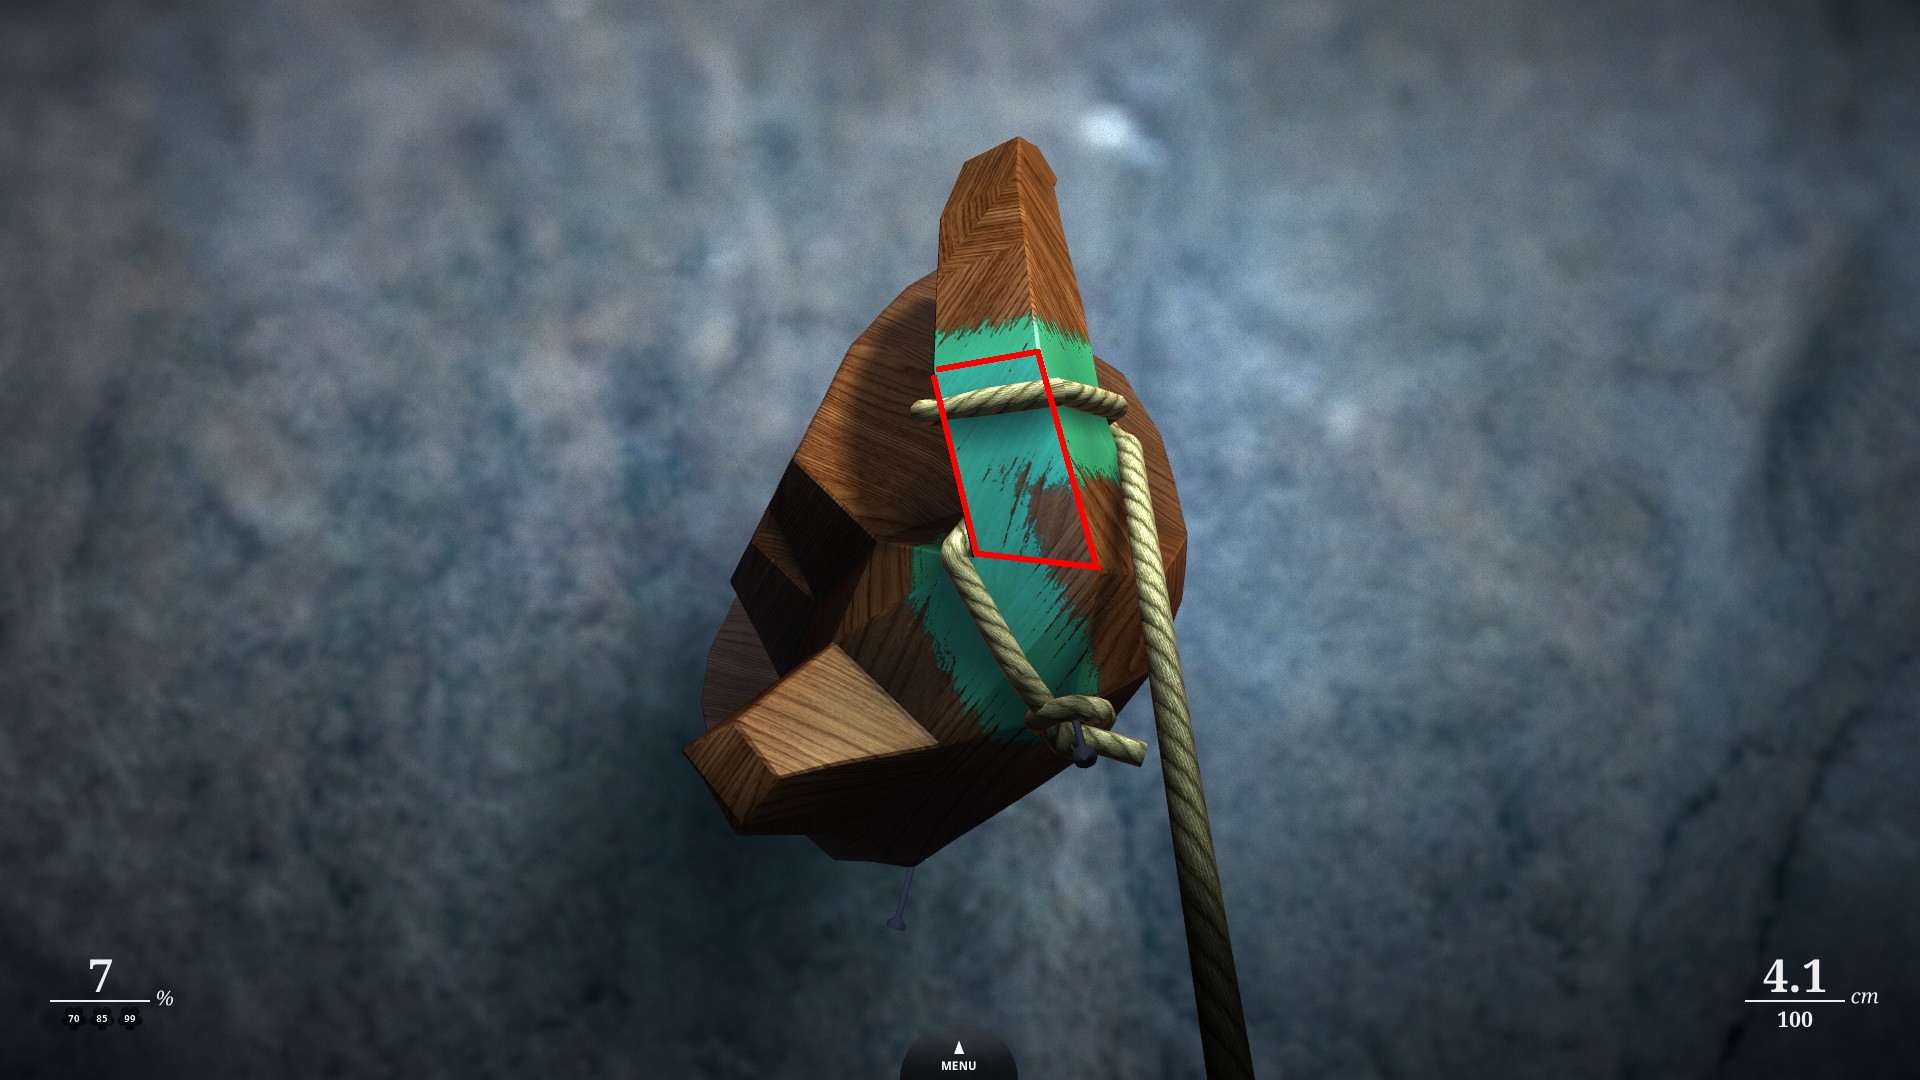
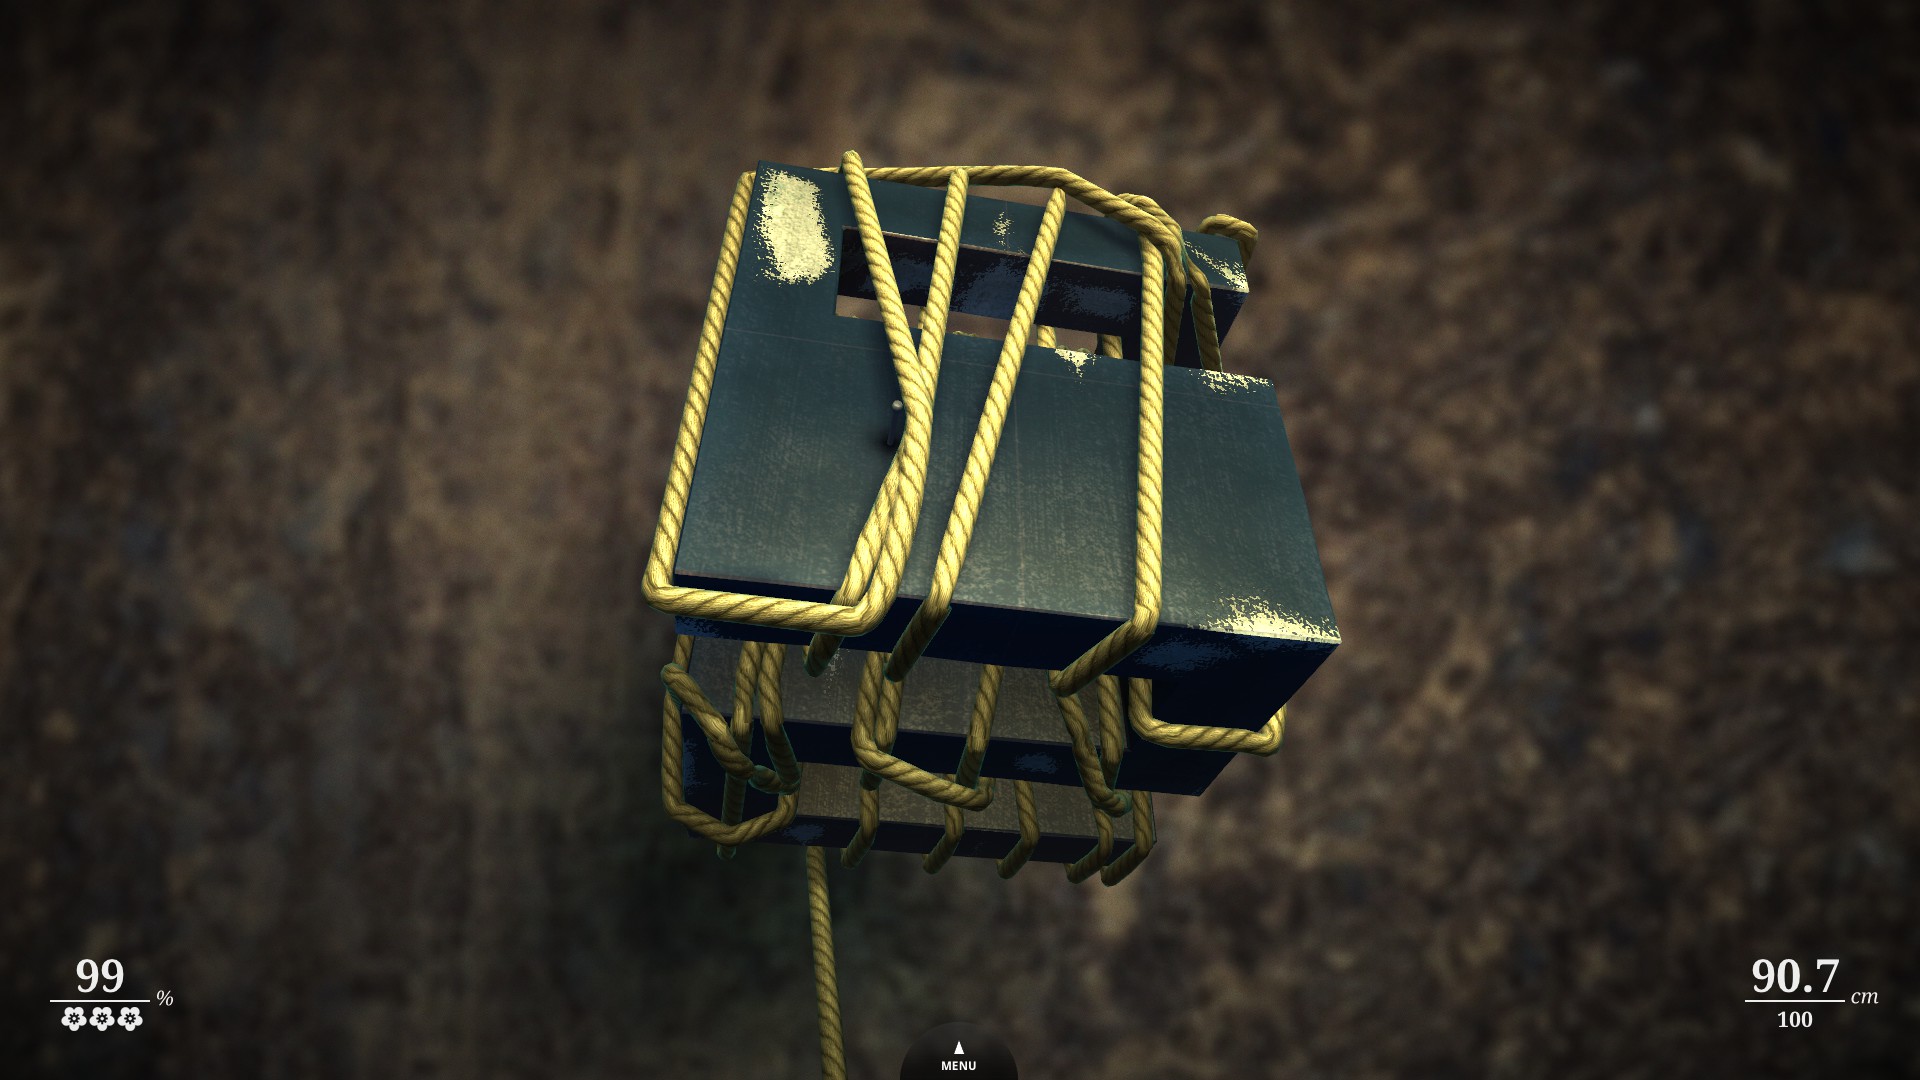
- Obfuskation II was all right. I did something different than on the screenshot: I wrapped the outsides before wrapping the insides, it helped me a lot with the corners.
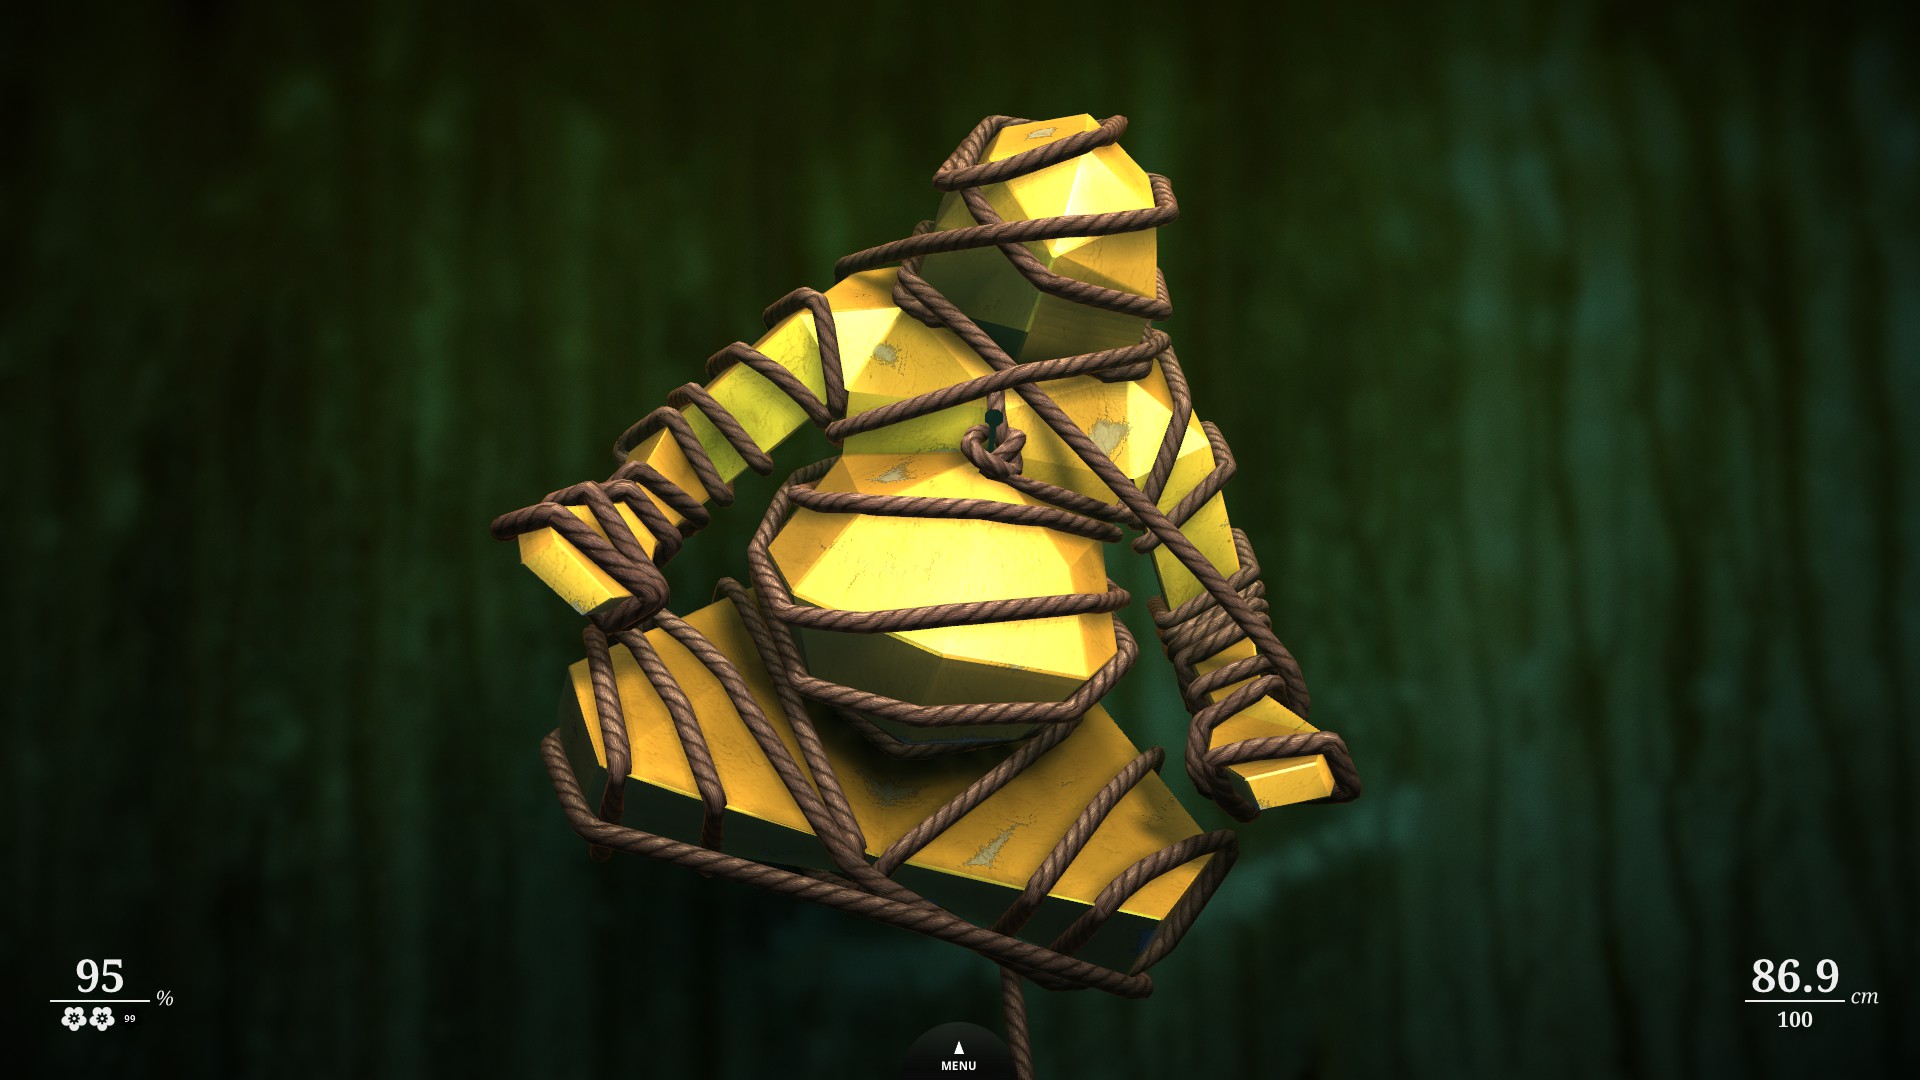
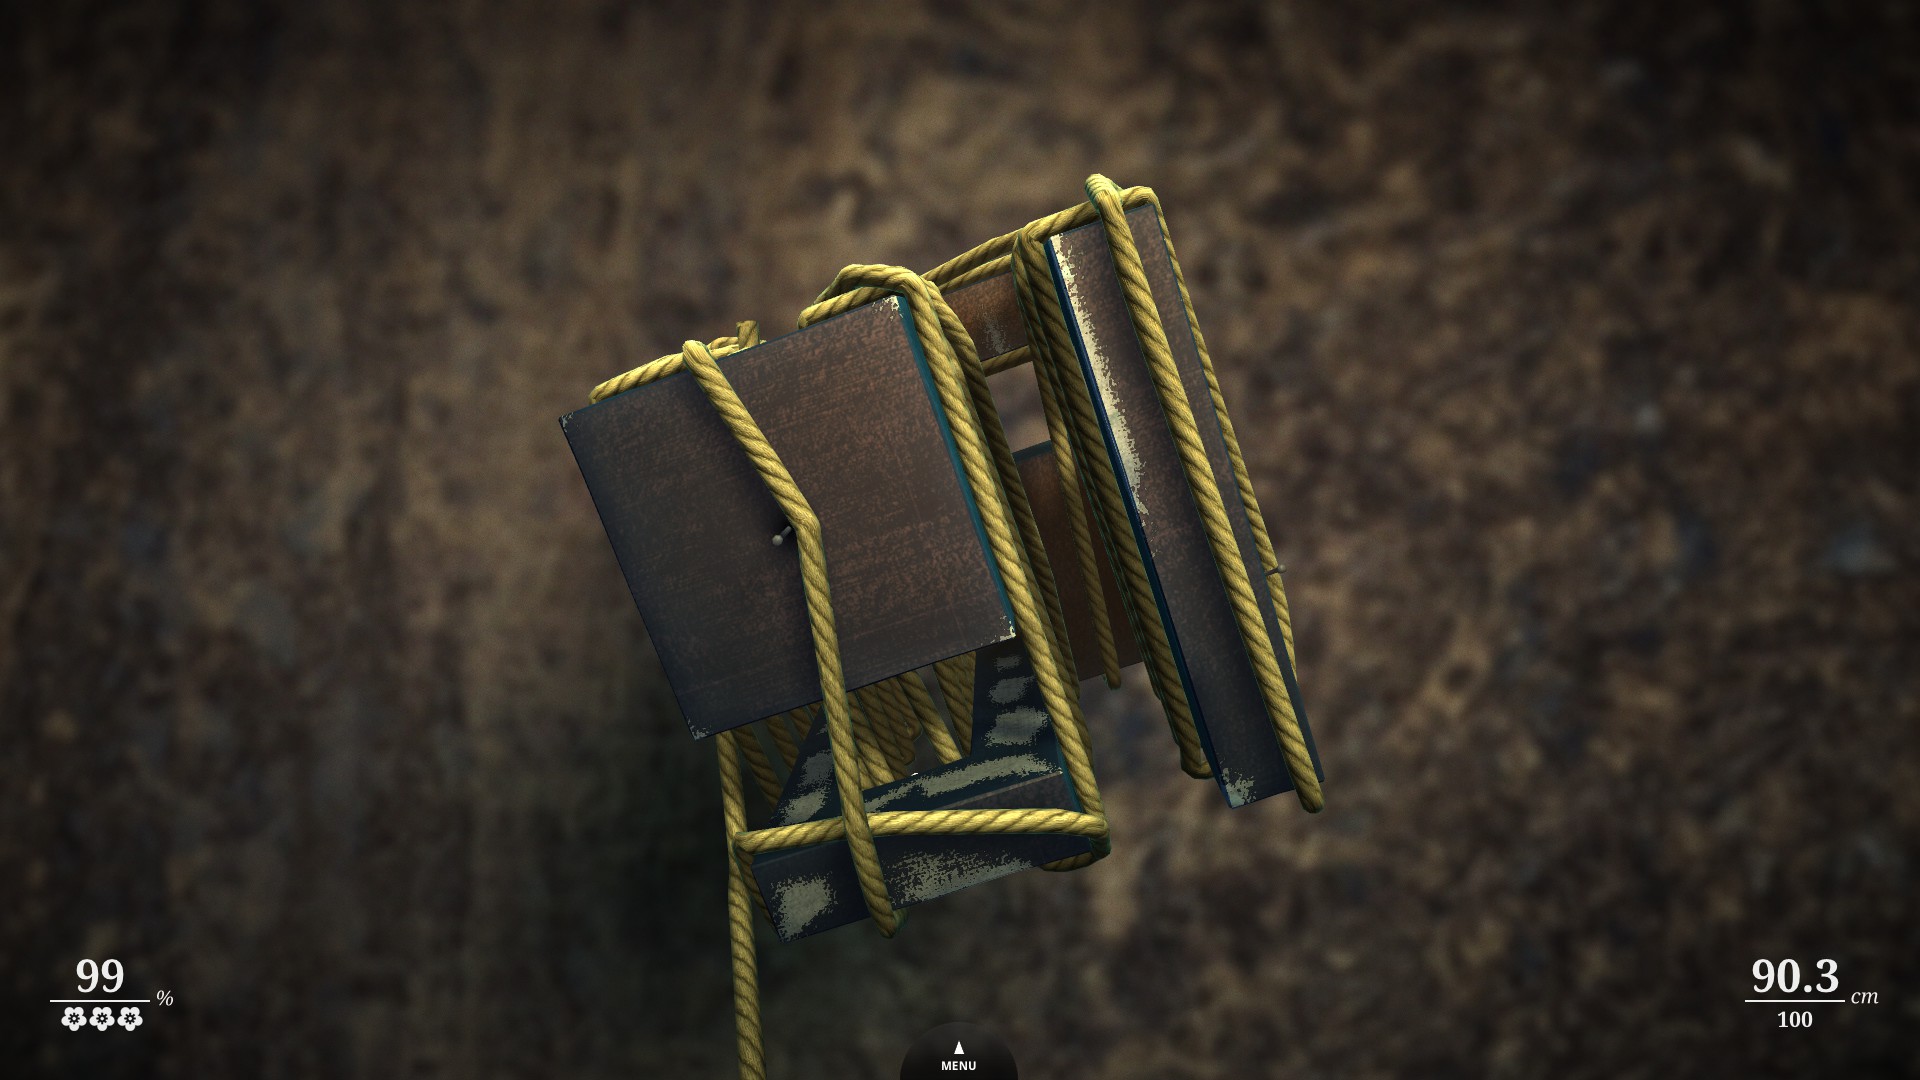
- Triumph was a weird one because you can't really paint everything, you need to leave some places blank to have enough rope to complete the level, but it wasn't that bad compared to Concentration.

Anyway, thank you very much for the guide! :happy_creep: