Subnautica

Subnautica

79 ratings
Lost River and Beyond
By Bort
Updated for Subnautica v1.0.
A guide to a Cyclops-free run to Lost River, the Lava Zones, and the Precursor bases in the depths. Warning, this guide contains spoilers for the late game. I've tried to keep it as relatively spoiler free as possible, but that was never going to be entirely possible now, was it?
   
Award
Favorite
Favorited
Unfavorite
Introduction
After losing my Cyclops to a Ghost Leviathan, I decided to see if I could complete a run to the Primary Containment Facility with just my PRAWN. This expanded somewhat to include establishing not one, but two new bases in the depths.

This is my guide to how it was done, in case anyone else would like to follow in my footsteps.

If you are looking for information about the first half of the game, before you venture down to Lost River, this guide is not for you. Instead, please refer to my first Subnautica guide.

http://steamproxy.net/sharedfiles/filedetails/?id=752208960
Prepping the PRAWN
Your PRAWN is going to be your primary form of transport for this excursion, so before we even think about gathering the resources we'll need, we should ensure our PRAWN is properly equipped.

Starting PRAWN Upgrades
Some of the list below is essential, with the optional accessories marked with ***.

Drill Arm
4x Diamond
1x Lithium
5x Titanium

Grapple Arm *** (I find it helps with getting around, but take whichever you prefer to use)
1x Advanced Wiring Kit
1x Benzene
5x Titanium
1x Lithium

Hull Reinforcement *** (But highly recommended)
3x Titanium
1x Lithium
4x Diamond

3x Storage Module
9x Titanium
3x Lithium

Future Upgrades
There are a couple of other PRAWN upgrade modules that will come in useful later, however assuming you haven't yet been down to Lost River, there will be materials you are missing. Don't worry though, we'll pick them up later. For now, these are the upgrades, and the materials you should take with you. Technically, both of these are optional, but both are useful when exploring the depths.

Depth Module Mk 2 (Build Mk 1 at Vehicle Mod Station, Mk 2 at the Modification Station)
1x Plasteel Ingot
2x Ruby
5x Titanium
2x Lithium

PRAWN Suit Thermal Reactor ***
1x Wiring Kit
2x Polyaniline

PRAWN Suit Jump Jet Upgrade *** (But highly recommended - especially if you didn't bring a Grapple Arm)
1x Lithium
5x Titanium

Like I said, you won't be able to make them just yet, but don't worry about that for now, just gather the materials and we'll build them when the time comes.
Building Materials
So the plan is to create two bases, one in Lost River, the other near the Thermal Power Plant. Some of the materials we will collect down there, some we will take with us. The lists below will tell you what we are going to build, so you know what materials to pack.

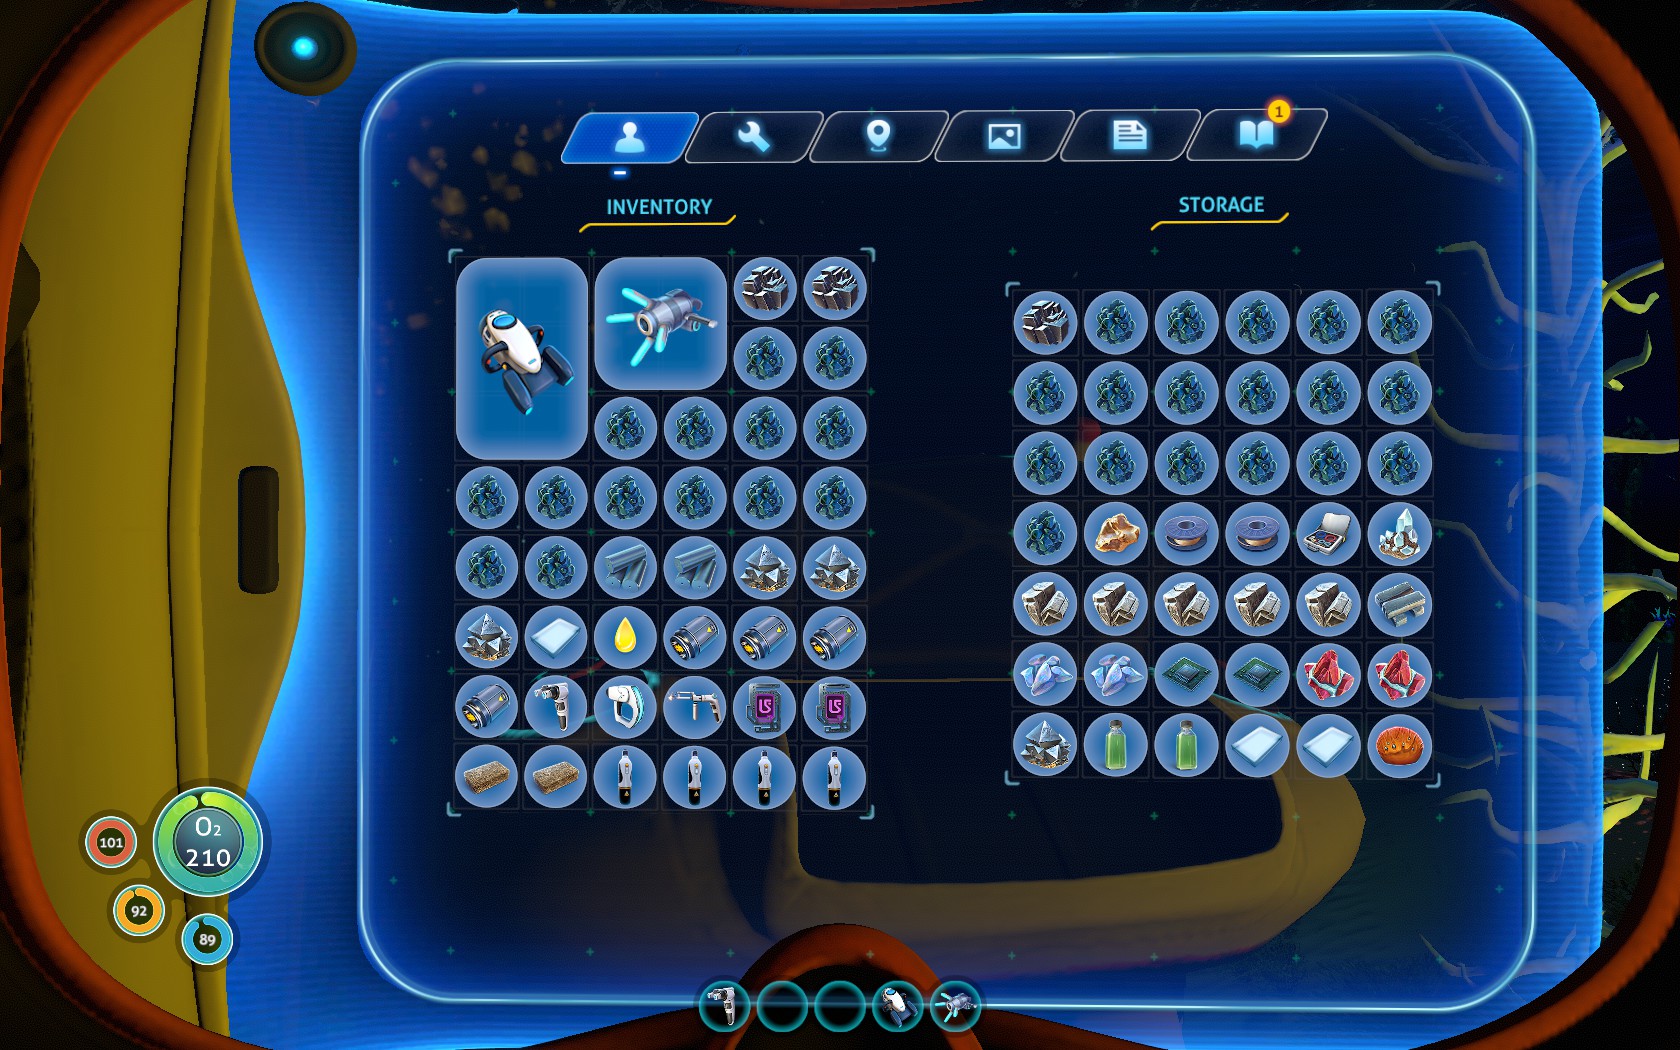
Where there is a constructed or processed component (Titanium Ingot, Lubricant, or Computer Chip, for example), build it before you pack, just to keep as much of your inventory free as possible - your bag and PRAWN inventory slots will both still be pretty full by the time we leave.

Raw Materials List
2x Stalker Tooth
4x Quartz
40x Titanium
4x Magnetite
8x Copper
5x Table Coral Sample
3x Gold
1x Creepvine Seed Cluster
3x Lead
3x Gel Sack
3x Ruby
1x Diamond

Structure Breakdown
Moonpool
2x Titanium Ingots
1x Lubricant
2x Lead

Vehicle Modification Station
1x Computer Chip
1x Copper Wire
3x Titanium

Modification Station
1x Computer Chip
1x Titanium
1x Diamond
1x Lead

Fabricator
1x Titanium
1x Gold
1x Table Coral Sample

2x Thermal Plant
10x Titanium
4x Magnetite
2x Aerogel

Observatory
2x Enameled Glass
1x Titanium

Chair
1x Titanium

Water Filtration Plant
3x Titanium
1x Copper Wire
1x Aerogel

You might want to consider packing resources to build hull reinforcement too, depending on how deep you want your base to be. That's 3x Titanium and 1x Lithium per reinforcement piece.
Personal Gear
So by now you have a pile of components and resources. The essential pieces for establishing a presence in Lost River and at the Thermal Plant. But what else will you need?

I took the following items, and was glad for each and every one.

  • Seaglide
  • Propulsion Cannon
  • Scanner
  • Repair Tool
  • Habitat Builder

You should have picked up a number of equipment modifications by now, all of which are buildable from the Modification Station or Fabricator. These are the items I recommend you have equipped.

  • Reinforced Dive Suit
  • Ultra Glide Fins
  • Ultra High Capacity Tank
  • Compass
  • Rebreather

This does leave open one 'chip' slot. I'd suggest placing a Thermometer in there, if you can find the blueprint for it.

I'm not going to provide resource lists for these items, if you're reading through this guide, you should already have them.

But What About..?

Once you've gathered your gear, and loaded up all your building materials, your PRAWN storage compartment is going to be full, and your bags won't have too much space left either. Here I prioritised food and water, taking Nutrient Blocks and Large Filtered Water. One Nutrient Block was enough to last me until I was established enough to have the Fabricator built, but I did take 4 Large Bottled Water. I also took a couple of Medkits, just in case, and three Purple Artifacts.


I assume your bags are now full. Mine certainly were by this point. Time to depart.
Lost River
Head on down to Lost River. If you've not been before, I'd suggest following the beacon signal for Lifepod 2 (build a Thermal Generator if you don't have the signal yet. You can deconstruct it again, so you can still take the materials), then heading south and down from there. Once you reach the centre of Lost River, where it splits east to the Secondary Containment Facility and west to Tree Cove, it's time to stop and take a look around.

What you are looking for are thermal vents. Put up your Moonpool next to one of these vents, and build your Thermal Generators on top of the Moonpool. You should be close enough to the vent to power your base. You may need a couple of attempts to get this right, I know I did.

Inside the Moonpool, set up the Vehicle Modification Station and the Fabricator. Finally, set up the Observatory and place the Chair inside to give you a good view for when you want to relax.

Note, relaxing can be a good thing. If you have run out of water, for example, and are waiting for the Filtration Plant to produce more, then sitting in a chair will prevent your food and water bars from deteriorating.

Add a Multipurpose Room and a Water Filtration Plant using the Titanium you brought with you for PRAWN upgrades. We'll be replacing that next.

Into The Fire
While waiting for the Filtration Plant to do it's thing, head back out in your PRAWN. Look for Nickel deposits, Titanium deposits, Quartz, and Sulphur.

The Sulphur can be a bit of a pain, as it is usually found in the green rivers you'll see down here, and that will hurt you if you swim into it. There are two ways around this. First, use the Propulsion Cannon to pick the Sulphur out of the acid streams. Or, if you are done mining, remove the mining arm of your PRAWN, so you can wander around down there without fear of acid melting.

Also, do a bit of fishing while you're down here. You're going to need to restock on food for the rest of the journey.

20x Titanium
5x Nickel
3x Sulphur
2x Quartz

While out gathering, it's also time to visit the Secondary Containment Facility, so remember to pack one of your Purple Artifacts.

When you return to your base, build your PRAWN Jump Jets and the first PRAWN Depth Module, add a Locker to your base. Cure whatever food you have Salt for and cook and eat enough to fill your stomach.

Now, it's our first trip into the Lava Zone. We're not going far (we hope), only as far as we need to for some Kyanite. This is a blue crystal that is only found down here, and can only be mined using the PRAWN. Each node will drop 1-7 Kyanite, so hopefully we'll only need two nodes, but more likely three.

5x Kyanite


Once you have at least five Kyanite (doesn't matter if you have more, we'll need those later), return to your base. Build the PRAWN Depth Module Mk 2 at the Modification Station and the PRAWN Thermal Reactor at the Vehicle Modification Station.

Save some inventory space though, since before you move on, you will need to dismantle the Fabricator and one of the Thermal Generators. You should also have 8 spare Titanium, and one piece of Quartz. If you have room for some Copper and Silver, take a couple of each. If not, don't worry about it. Stock up on water, food and Salt. Store any other resources in the Locker here - you can come back for it later.
Thermal Power Plant
The Secondary Contaiment Facility in Lost River will give you a data entry that gives hints which will direct you to the Thermal Power Plant. You need to head down from Tree Cove. One thing I will say is to keep your eyes on your PRAWN's health. There are patches of ground down there that will burn your PRAWN, eating away at it's health, and if you are not careful, it is quite easy to destroy your PRAWN by not paying attention to this.

While making your way to the Thermal Power Plant, gather at least two more pieces of Kyanite (unless you collected enough earlier).

2x Kyanite

The Thermal Power Plant is pretty much buried in solid lava. To find the passage through to the plant, look for the green beacons at the tunnel entrances. They are about halfway up the lava structure containing the Thermal Power Plant.

Once inside the Thermal Power Plant, park up your PRAWN just inside the forcefields and head back out with your Seaglide. It should be pretty easy to find a rocky outcrop where you can build a single Corridor piece of your own choosing. Build a Thermal Generator on top of the Corridor, and add a Hatch at one end. Inside, build the Fabricator, a chair, and a Wall Locker.

Now go and explore the Thermal Power Plant. The large Ion deposit can be mined with the PRAWN, and make sure you pick up the Blue Artifact and the blueprints for the Ion Battery and Ion Power Cell. Oh, and open the portal while you are here.

When you are done, head back out to your new base. You should be able to find somewhere to park the PRAWN so you can swap out the last Storage Module for the Thermal Power Reactor. Again, make sure the ground isn't damaging your PRAWN suit. If you can manage it, I find the cables holding the Thermal Power Plant in place in the cavern are a great place to park. Leave it to recharge, and head into your base.

Use the Fabricator to build a Blue Artifact. You'll need two for the Primary Containment Facility. You should also now convert any remaining Ion Crystals and any Gold and Silver you brought with you into Ion Batteries. I'd prioritize placing these in your Repair Tool, Propulsion Cannon, and if you have any left, your Seaglide.

If you head out with your Seaglide, you can catch some small fish living in the tunnels on the way out. If you need to eat, or catch and cure and fish you have Salt for here's your chance. Try to keep some preserved food and water though. This is your last chance to eat fresh fish until you get home.

By now your PRAWN suit will probably be recharged, and if not it will charge up as you travel. Time to move on.
Alternate Thermal Base
I wanted to try for a more ambitious base this time around, giving this second base water production too. This is what I used.

Multipurpose Room (6x Titanium)
Hatch (2x Titanium, 1x Quartz)
Fabricator (1x Titanium, 1x Table Coral Sample, 1x Gold)
Water Filtration Plant (3x Titanium, 1x Copper Wire, 1x Aerogel)
Chair (1x Titanium)
Reinforcement (3x Titanium, 1x Lithium)
3x Glass (Windows) (6x Quartz)
Thermal Plant

As before, build the components you can before leaving Lost River. You may need to do some mining, but you can find all of the resources you need in Lost River, including the Table Coral, which is there, although in small numbers, and appears green. Don't worry about not bringing a knife. Your PRAWN can mine the Table Coral, but you'll need to hop out of the PRAWN to collect it.

For the Thermal Power Plant, bring one of the generators from your first Lost River base. It can run fine with one, and the second was always meant for this purpose. If you really want to build a new one though, you can find Magnetite in the higher ends of Lost River, closer to the surface, in the blue streams around Tree Cove.

Primary Containment Facility
When you leave the Thermal Power Plant, head out the same tunnel you came in and head roughly east-north-east. It shouldn't take you long to find a way down. Be careful down here. A lot of the ground is lava, and even a lot of the safe looking spots can burn your PRAWN.

As you head down into the Active Lava Zone, try to stick to the right wall and follow it round until you are ready to cross the lava to the Primary Containment Facility. This will give you opportunity to stay high, and find more safe ground for the PRAWN to park for repairs.

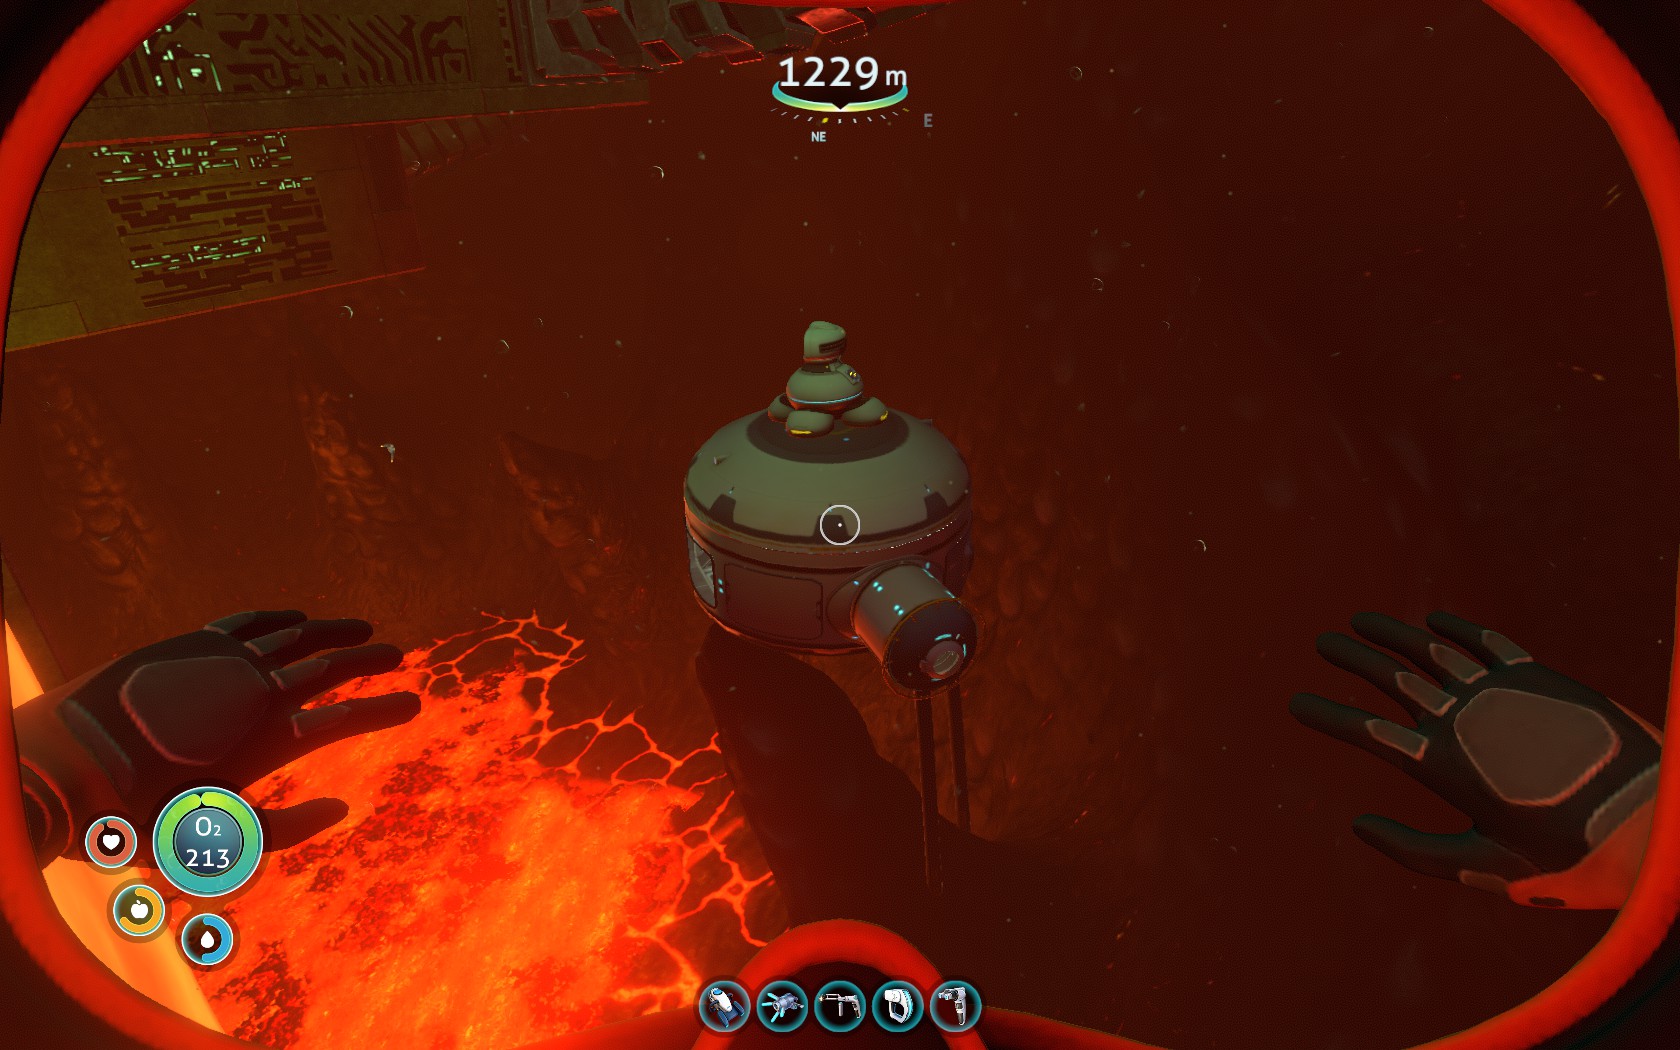
The Active Lava Zone is basically a massive chamber filled with lava, and you need to cross it to gt to the Primary Containment Facility. If you are using the Grapple Arm, it is possible, once you are high enough in the main chamber, to swing across the ceiling to the Primary Containment Facility. With the Jump Jets Upgrade and the Grapple Arm, crossing is, I'll not say easy, but certainly easier than the alternatives. I think so at least, but each to their own.

If you don't have the Grapple Arm, or skipped out on the Jump Jets, it is possible to cross the lava by jumping from one Precursor structure to the next, and so on, like playing hopscotch as a child, only with lava, and a Sea Dragon trying to play.

The Sea Dragon. Try to stay away from it, if possible, but it will probably notice you, no matter how you cross. Best bit of advice I can offer is "Keep calm, and carry on." You can't do much about it if it spits fire at you, but if it grabs hold of you, mine it's skull. You won't kill it, but it will let go sooner rather than later. Get to the Primary Containment Facility and inside as quickly as possible.

You will need to use one of your Blue Artifacts to open the door. Get it open, get inside and up the ramp. Congratulations, you are now safe from the Sea Dragon. Watch out for the little robots though. They will sting if they get too close.

Inside the Primary Containment Facility, you will notice an Ion deposit on top of a column. Go and mine it. It will drop three Ion crystals, and it will continuously respawn. While it's doing that, hop out of your PRAWN and go explore. Scan everything and open the portals, returning to the column for more Ion Crystals if needed. Once you are done, use your other Blue Artifact to open the next forcefield. Before you head down though, make sure you have at least one Ion Crystal in your inventory.

I'll not spoil what happens next, it's pretty obvious what the Ion Crystal is for, and you'll get instructions on what to do next. You will come out by Mountain Island, and can return home to replenish your probably dwindling supplies, and continue your quest from there.

Good luck.
One Last Thing...
You might be aware of a Precursor Cache down in Lost River, that requires an Orange Artifact to open. This is true, and I'm commenting on it here as it doesn't really fit with the rest of the guide, but is still part of Lost River.

You can get to it using a fully upgraded Seamoth (which is why it wasn't mentioned earlier). From the southern most Deep Grand Reef wreck, head down and north. You should find the final Degasi base (which contains the Orange Artifact). From there, continue north and down, and you will find an entrance to Lost River. When the path branches, stay to the left, and the passage will open out onto a small chamber with Precursor cables surrounding some alien remains. Follow the cables to the other end to find the cache.

Note, if you are having trouble finding the Deep Grand Reef wreck or the Degasi base, it might be easier to approach them from Lost River. From the central Lost River location, where passages lead east to the Secondary Containment Facility, and west to Tree Cove, it is possible to travel south. Keep south as your general heading, and look for ways up, and you will come out at the Lost River entrance mentioned above. The Degasi base should be close by, and if you continue south and up, you will find the wreck. Then just head back the way you came to find the cache as above.
That's All Folks
Thanks for reading. I hope this guide has made your trip to Lost River and the Primary Containment Facility easier.

As always, I appreciate any comments, and if you have any questions, feel free to ask them below. I will try to answer them quickly. That said, if you do have a question, please check the comments below first, in case it has already been asked.

If you spot any errors, or see something that may need explaining better, please let me know. I will add screenshots as and when I get round to it, but if you would like to submit any, feel free, and I will of course credit you.
47 Comments
Illumina♥ 30 Aug, 2021 @ 1:00pm 
It's already 2 fucking hours to find PCF, and I'm still trying to find it, the warpers just spam me nonstop. Why do people think it's goddamn easy.
Bort  [author] 1 May, 2021 @ 8:37am 
So far as I know, there have been no major updates to Subnautica since v1.0 was launched, just bug fixes. So I'm not sure what you mean about the guide being out of date, unless you are referring, again, to the Cyclops, and ignoring the very first line of the guide after "Updated for version 1.0"... "A guide to a Cyclops-free run to Lost River, the Lava Zones, and the Precursor bases in the depths."

This was always the point of the guide, to share how I made this trip without the Cyclops, and if people are still finding it useful, then I'm pleased. Just because a vehicle outside of the scope of this guide had improvements made to it doesn't mean the information here isn't valid.
loganjamesalex 29 Apr, 2021 @ 6:36pm 
And that's why I made my comments about how drastically out of date this guide is. New players are still reading it, using it, replying to it like it is anywhere close to up to date.
styack 29 Apr, 2021 @ 7:35am 
Really enjoyed this post. I did things slightly differently just because I was enjoying the Lost River so much more than the 'above ground' game play. My base at the sea vents became huge and with all the materials around I mined some serious amounts of everything. It was the only base I built in the Lost River and I just kept returning to it. Had a planter of Bulbo (sp?) trees for food/water when returning to the base. I really enjoyed playing with just the PRAWN (with jump jets upgrade, no grapple arm). Thanks!
ScarBaII 8 Apr, 2020 @ 11:13pm 
Thank you for such a detailed post. This was very helpful and much appreciated. Well done indeed.
loganjamesalex 4 Jul, 2019 @ 10:38am 
also at the very top, "Updated for Subnautica v1.0."
loganjamesalex 4 Jul, 2019 @ 10:37am 
"Updated
23 Aug, 2018 @ 5:04am"
That's after the silent running update. My bad.
Bort  [author] 4 Jul, 2019 @ 10:35am 
I appreciate the input, but you forget, this was written before the game was launched, during Early Access. A lot of things changed during that time, including the Cyclops.
loganjamesalex 15 Jun, 2019 @ 9:27pm 
Not to mention when you get the cyclops shield which does not require materials from the lost river or deeper then you can turn on the shield while you are cutting your engines if you do get attacked and you will never take damage even from sea dragons.

I built a chair next to my helm so I can sit and watch the ghost leviathans swim past close enough to touch and so long as the engine is off they don't care.
loganjamesalex 15 Jun, 2019 @ 9:27pm 
Just would like to say, I know a lot of people don't like the cyclops for different reasons but if you got destroyed by a ghost leviathan I feel like you fall into the category of people who dislike it because the game explains it so poorly.

Even if you have taken damage from a leviathan there is no reason it should destroy you, cut the engine and it will only attack one time after the engine is dead and give up. If you look at the radar on your right in the cyclops it shows a faint blue circle around the image of your cyclops and that circle represents the distance noise is travelling. you don't need to use silent running unless you are so close to something that it is on your radar and then you can use silent running to almost touch them as you go past. (Silent running is almost as effective at cutting the engines if you stop moving).